Get the beautiful painted finish you have dreamed of! Learn how to paint without leaving brush strokes by using the right products and the best techniques.
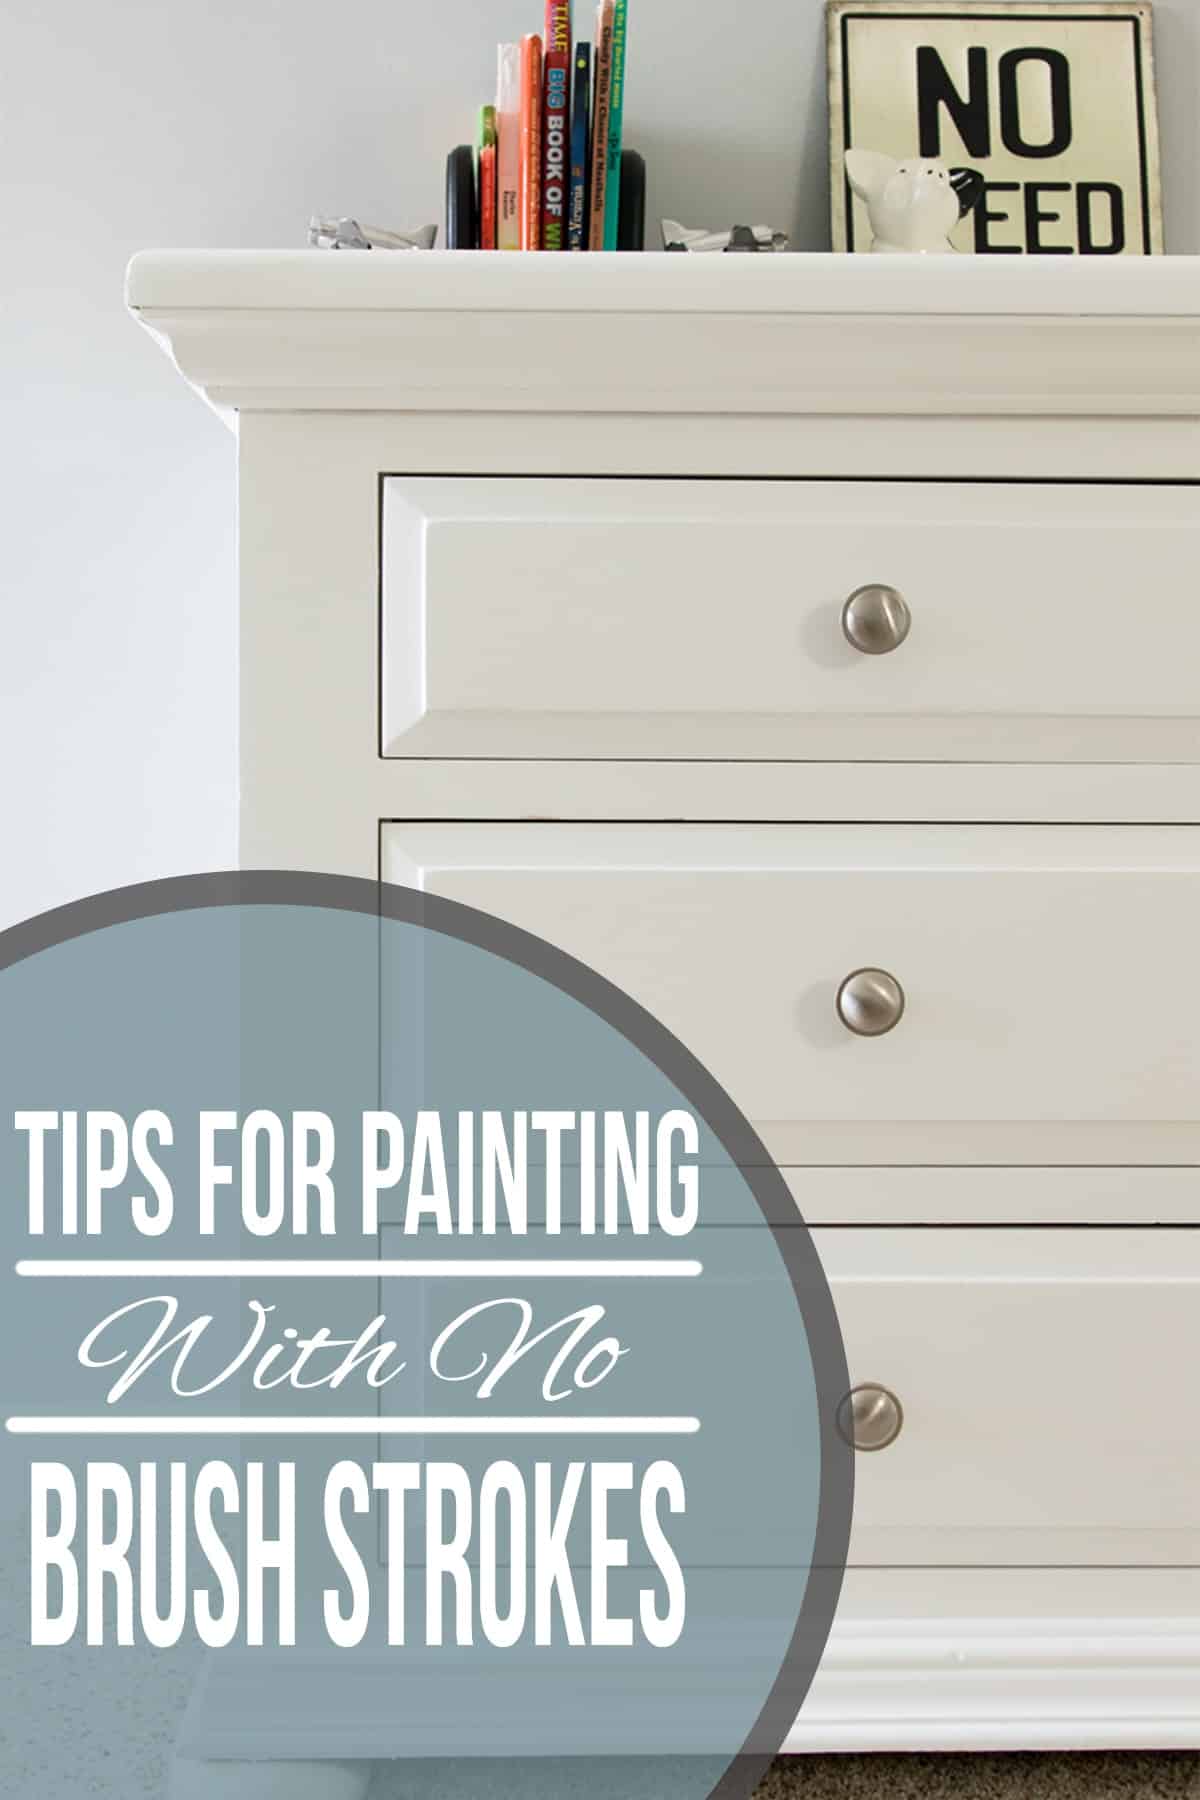
In many applications, avoiding brush marks and streaks is the ultimate goal. After all, you spent a lot of energy prepping your project. You want it too look professionally done.
It is one of the things that I get asked most about with my painting projects. Well, I am divulging my secrets today!
In today’s tutorial, you’ll learn:
- How to paint without brush strokes or marks
- Which products work best for your next painting project
- Painting tips and techniques for the smoothest finish
This guide uses furniture as an example, but it is applicable to all kinds of projects like walls, trim, and even cabinets!
The Best Method
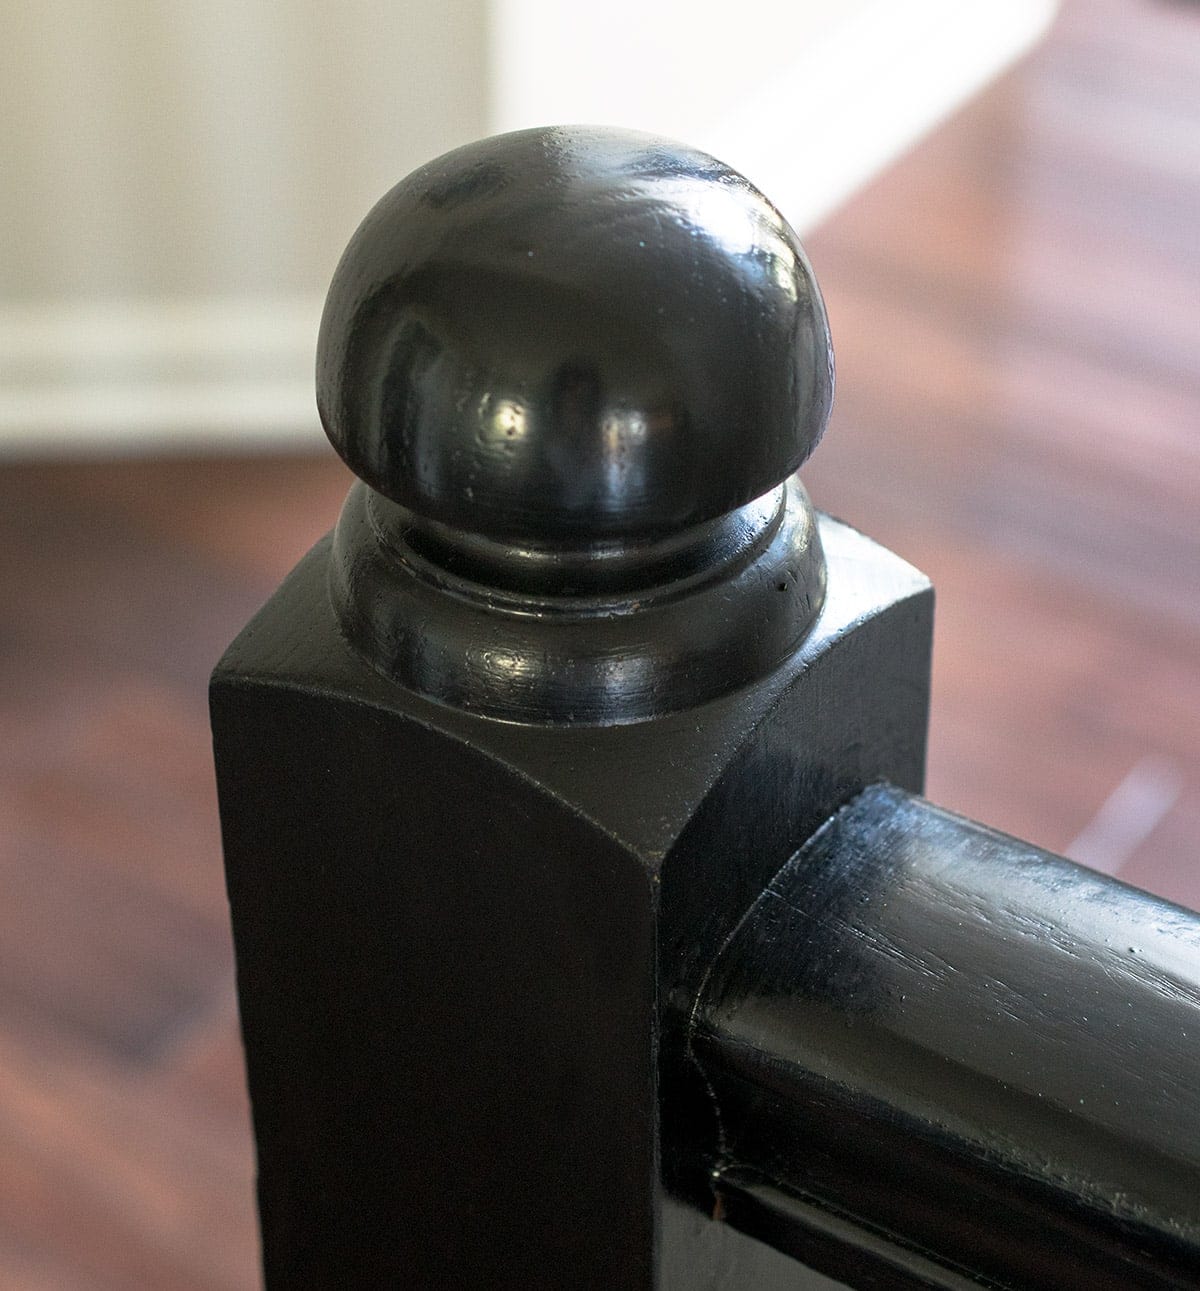
The best way to paint to avoid brush strokes is to use a high-quality paint sprayer. This is the paint sprayer that I currently use and love. However, not everyone has one of these on hand and some projects are easier being painted by hand. Our stair rails and balusters, for instance, had to be painted in place.
If you are interested, we have an excellent guide to getting a professional finish painting with a paint sprayer.
But you can still get a real professional, smooth finish painting with a brush if you follow these tips!
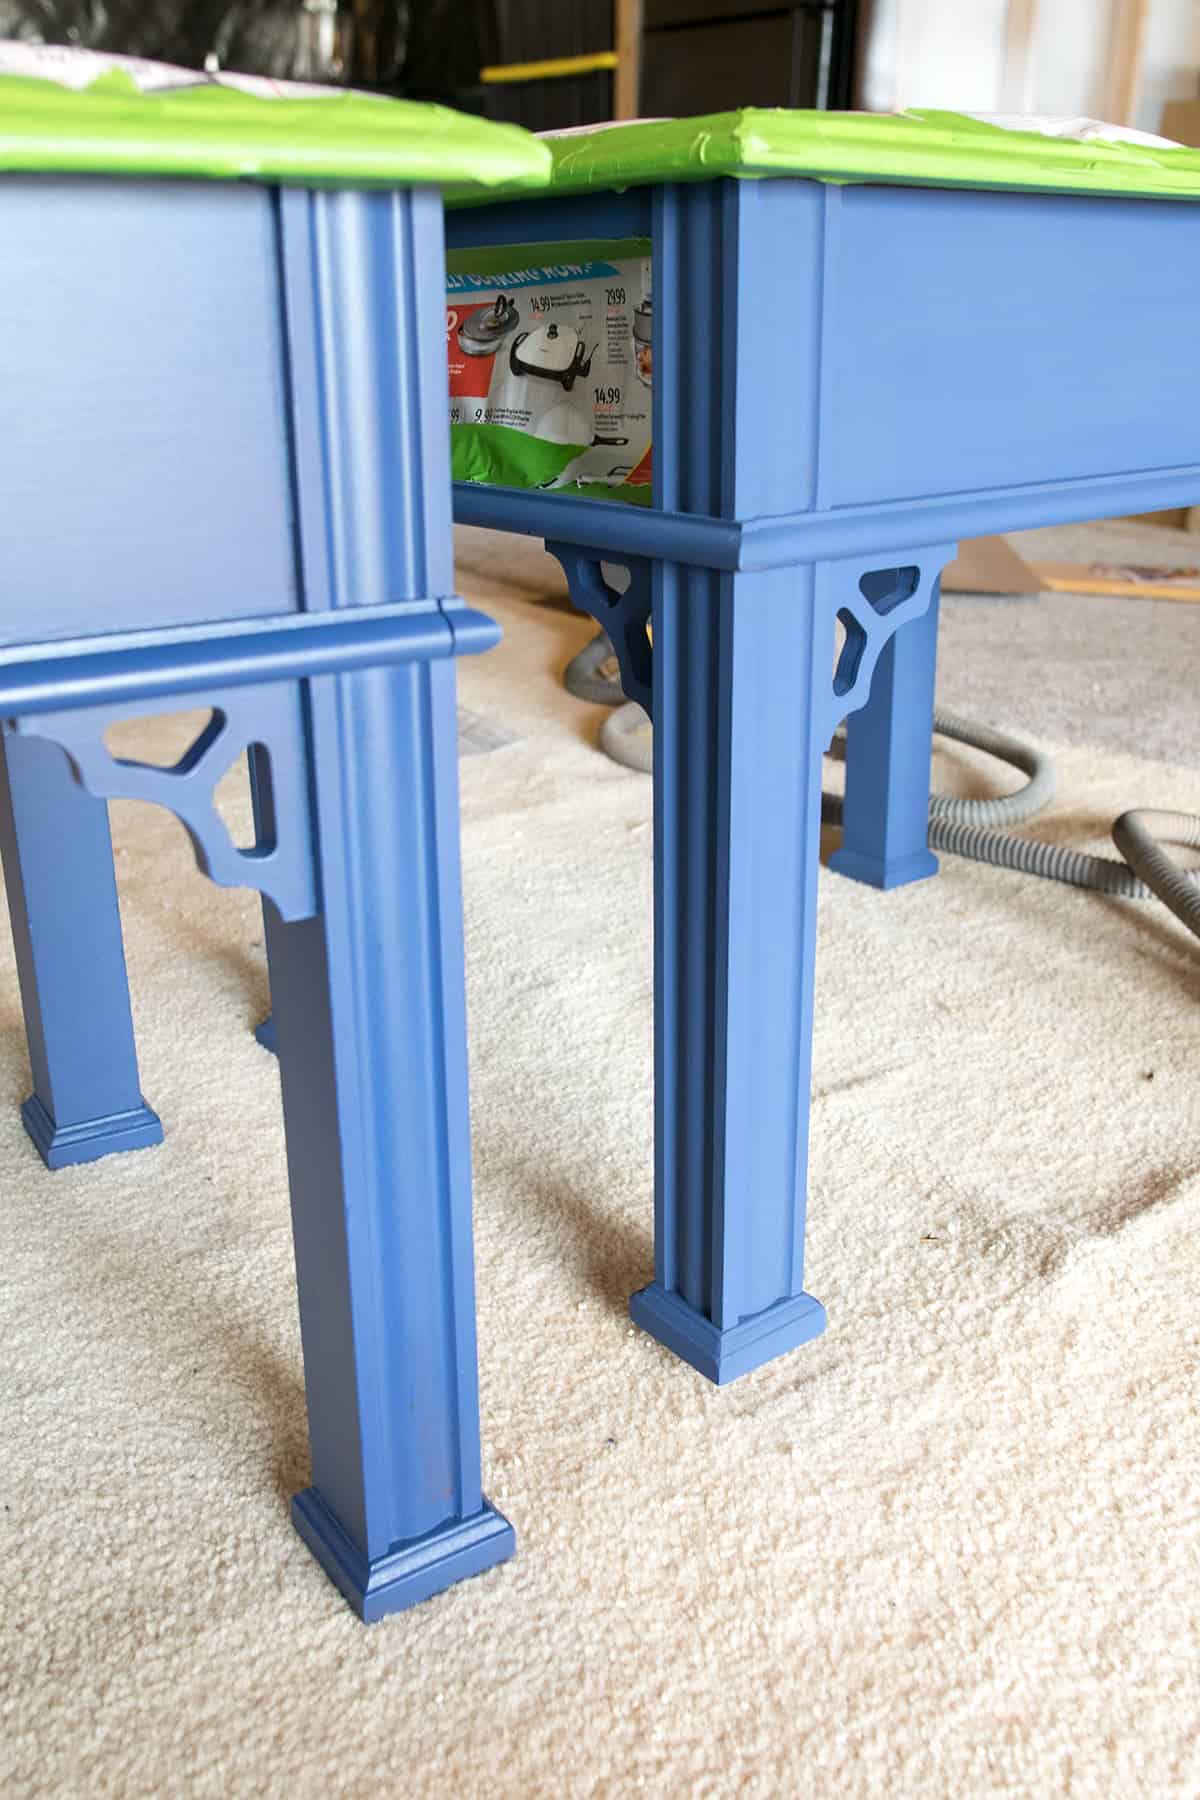
This piece was hand painted with Country Chic Chalk Paint.
Tip #1- Lower Sheen
The easiest way to paint without brush marks is to paint with a matte or chalky paint. Flat paint hides imperfections, including brush strokes the most.
My absolute favorite matte paint is this one by Fusion Mineral. It comes in lots of trendy colors and is pretty durable on its own.
Tip #2 – The Right Paint
Even with a higher sheen paint, you can get a smooth finish by using a high-quality paint with a long working time. Working time is how long you have before the top layer of paint starts to dry, basically how long you have to manipulate it.
Using cheaper paints and pigments will usually result in less than professional results. My favorite paint for higher sheens is Benjamin Moore Advance (satin) or Sherwin Williams Emerald Urethane Line or RustOleum Cabinet Transformations. I have had good luck with Country Chic Chalky Paint as well (I personally dislike Annie Sloan Chalk Paint primarily because of the short working time.)
Tip #3 – The Best Brushes for Smooth Finish
I have tried MANY, MANY brushes and the single best brush I have ever used is this type for details and these larger ones for flat surfaces. The brown taklon are my favorite, but I like the golden as well. These are actually for artist’s painting, but they are amazing at painting household projects. You can also get them from most craft stores. These brushes are usually small and great for details and such, but I have painted doors and other items with them as well.
Tip #4 – Painting Techniques
If you are able to work fast enough, paint in shorter strokes for the best coverage. Then go back and lightly smooth out the paint by dragging the brush from one end to the other. You will smooth out any ridges between the shorter strokes. You cannot do this if the paint starts to dry though, so with this technique you have to be quick.
- Don’t press too hard on the brush. If the brush fibers start to fan out, you are pressing too hard.
- Wet your brush with water before painting. This will let the paint not dry out at fast in the bristles and pre-softens them.
- Paint in the details and then smooth over.
- Going back over semi dry paint will cause ripples. If you miss a spot or made a mistake, smooth it with sandpaper when dry and the next coat will fix it.
- You want to apply a thin coat, but don’t “stretch” the paint on the brush. Reload often.
- Always paint in one direction.
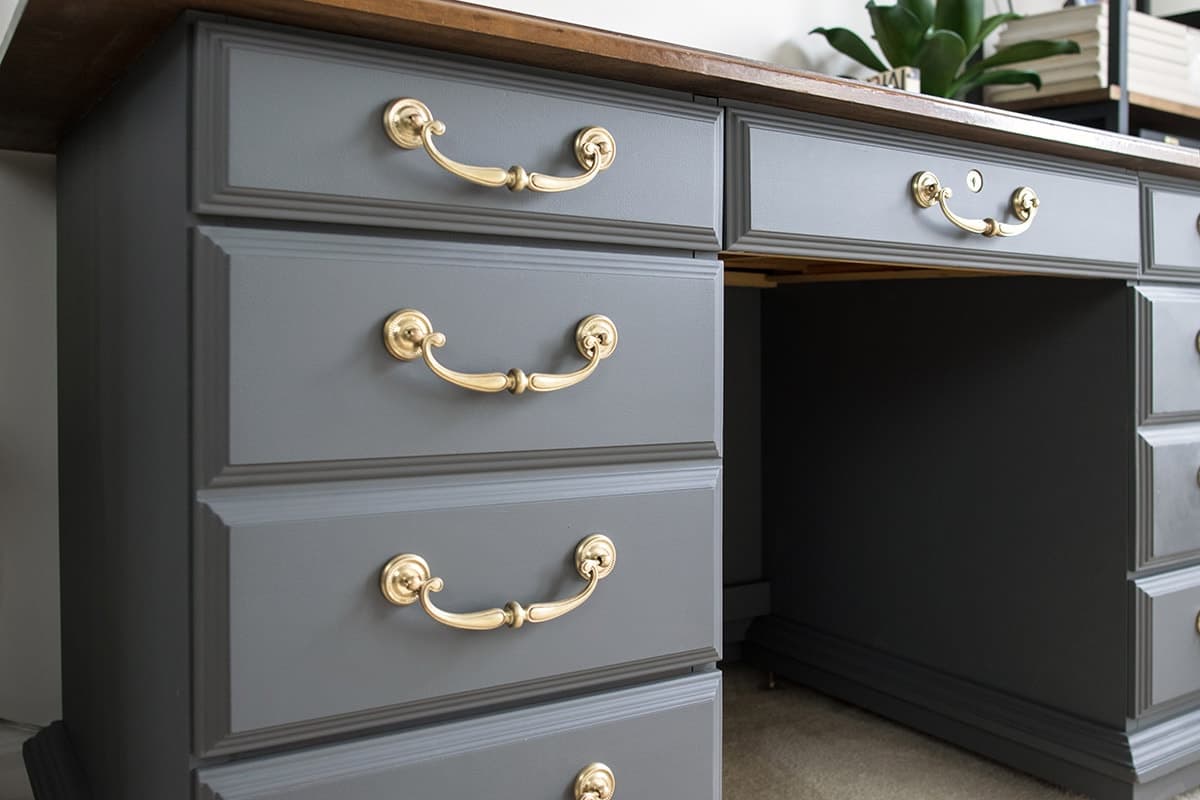
For large, flat areas (such as cabinet panels, drawer fronts, or use a microfiber roller. The paint will dry too fast to make large areas brush mark free. Some paints work better with foam rollers, some with microfiber.
Tip #5: Additives for Smooth Paint
Floetrol is an additive you can add to the paint that will help your paint stay wet longer and gives a thinning effect. It is very popular in acrylic pouring hobby.
I would give a word of caution about using additives. Additives won’t take the place of better techniques; they just make it easier for the paint to self-level. Also, some paints don’t work well with them, such as Benjamin Moore Advance.
Always test an area first before going all in to see if these products help.
WANT TO LEARN MORE ABOUT THE RIGHT WAY TO PAINT FURNITURE? CHECK OUT THESE POSTS:
- The Best Paints for Cabinets and Furniture
- How to Paint A Bathroom Vanity
- The Best Way to Protect Your Painted Furniture
- 9 Amazing Furniture Transformations
- Removing Wood Grain for a Smooth Surface
- What to Know Before Painting Kitchen Cabinets Black
- My White Painted Cabinets- 2 Years Later
Now you know the key things to do when painting with a paint brush that will keep brush strokes from showing up on your project. I use these techniques and processes all the time with glorious results!

Grab our free series "Weekend Home Projects that will Transform Your Life" Sign up below to receive updates including free printables, organization tips, home improvement projects, recipes and more! |
For more painting techniques and Ideas, check these out:
PS I love seeing your creations! Be sure to take a photo and tag #cravingcreative on Instagram! You can also stay in touch with me through following me on Instagram, Pinterest, and subscribing to the newsletter!
Nancy says
What colour black did you use for handrail
Thank you
PAUL ALVEREZ says
I came to this website looking for advice on how to remove brush marks considering i already painted my drawer. sadly sanding it down a bit did not work and i’m stuck
Rachel says
I am sorry to hear that. If you already have brush marks that are in the paint, sanding it down (just enough to get the brush marks out) and then adding a final coat again is your best option. I often use a sprayer for speed and to have no brush marks. Also, the flatter the sheen (less shiny), the less likely you are to see brush marks. A very smooth roller is another option.
Nancy says
I do many projects by hand, you will need to sand out your brush marks, apply your paint in thinner layers, angle your brush when applying the paint. And finally do not ever go over your paint after it has set a little. For example, once you have applied the paint to a section of your project and have gone on to the next but notice that there is a spot on the previous section do not try to fix it. It will get taken care of in the second coat.
I have done a number of furniture pieces, four kitchens and several bathroom vanities, all by hand and no brush strokes, proper prep is essential, tilted brush very important, light sanding between every coat a must in my opinion and good quality paint.
David Wills says
Every time I try to paint I left some brush marks. After reading this I found myself that I’m a fool to choose the right brush and also some time I’ve made mistake to choose the right type of paint. Thanks a lot for your pro guide.
David says
I’ve learnt something new & creative things through this article. Tips can be applicable on my next painting. Thanks for this innovative write up. Keep writing like this.
Sutton Turner says
I like how you stressed the importance of finding the right brush. We are doing some painting this weekend with my friends. Thanks for the tips on painting.
Rachel says
Thank you so much for your kind words! The brush does make a huge difference.
Erin says
What feet did you settle on?
I’ve been lugging this suite of furniture around since the late 90s and love what you did!
Rachel says
We actually ended up going with a very simple design here. I, personally, liked the bit more contemporary and simplicity.