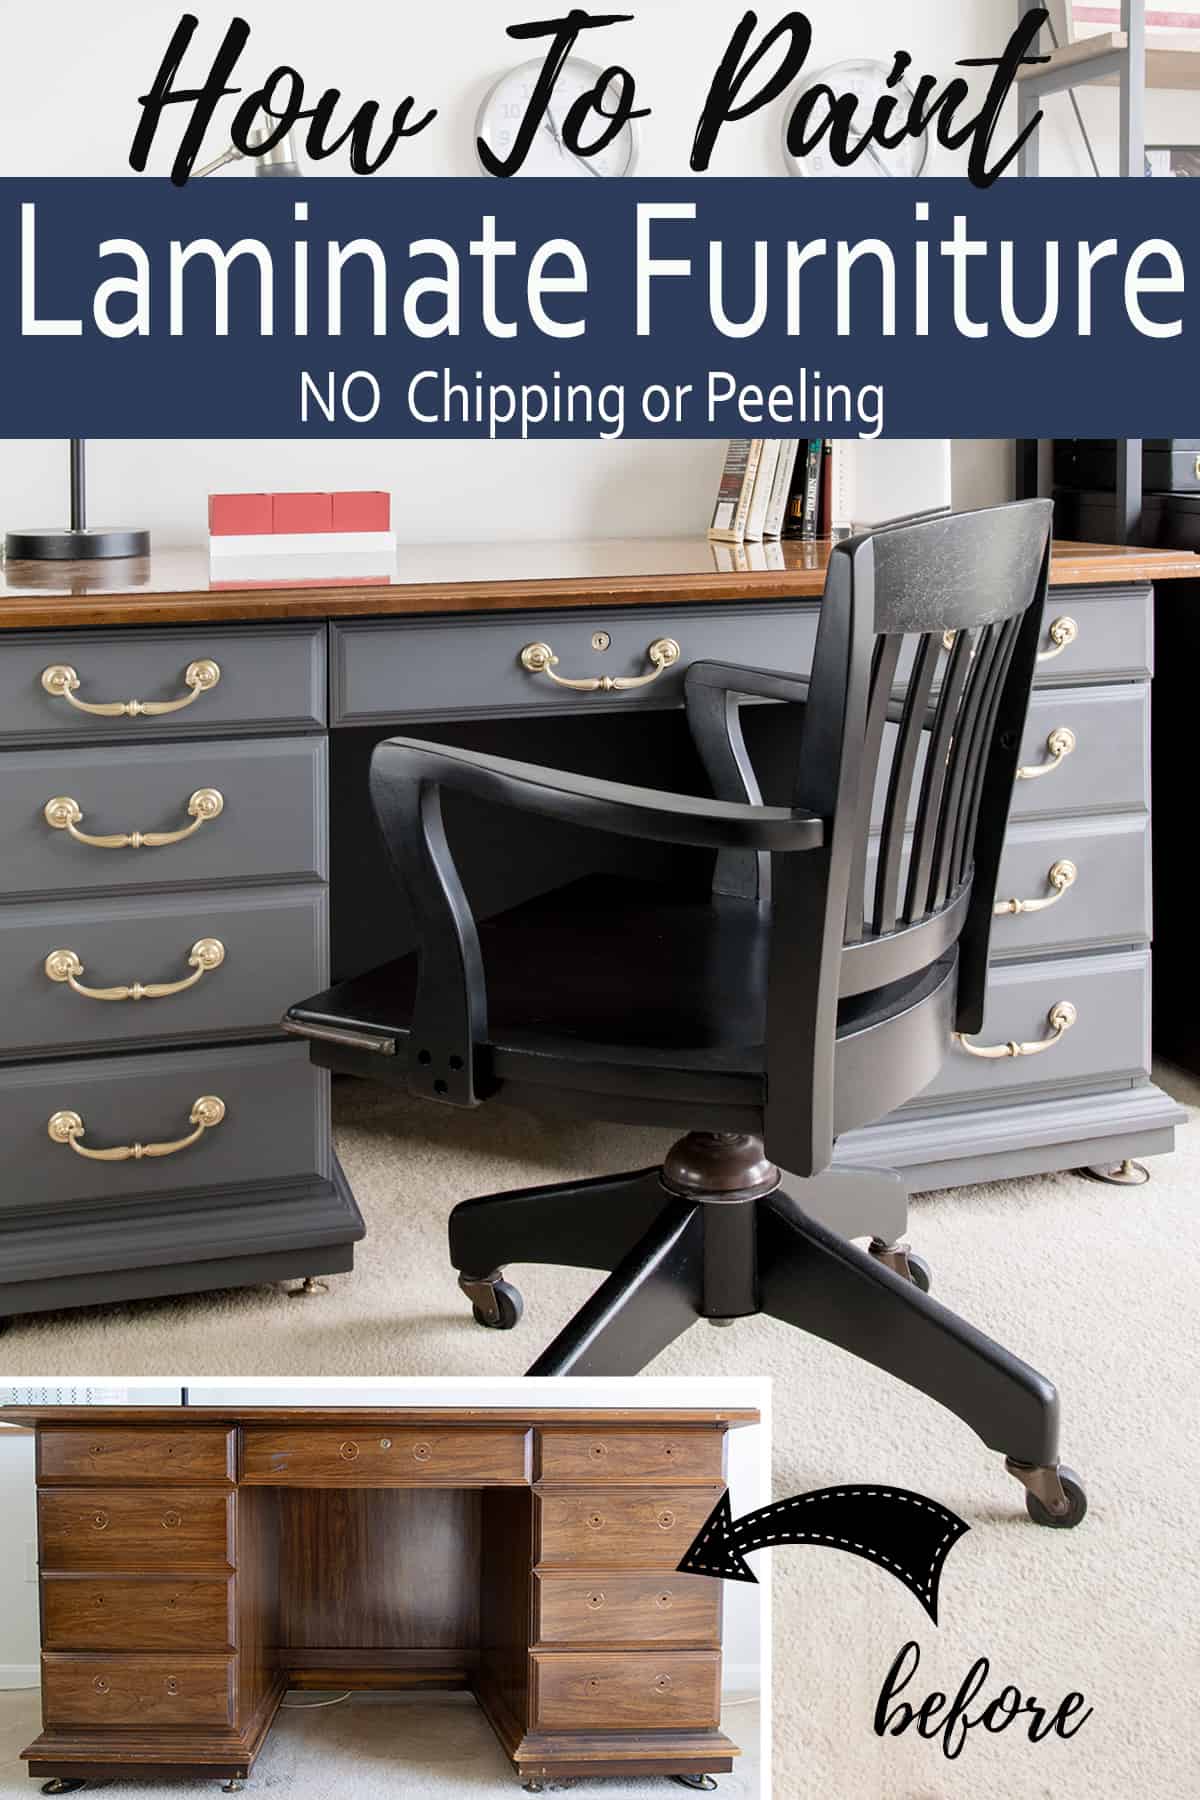
Learn how to paint laminate furniture and cabinets easily with this step-by-step tutorial. Tips, product recommendations, and information on how to identify a laminate surface. Avoid frustrating mistakes for a professional grade piece that shines!
I’ve been painting furniture and cabinets for many years, and I’ve learned a lot of dos & don’ts to achieve a no-fail bond that will last for years. While melamine or other laminate surfaces can be a total nightmare to paint, it is possible to get a professional looking paint job on these tricky surfaces.
Rachel’s Tip: My time-honored recommendations below explain the how and why of painting. Scroll to the bottom for a step-by-step guide with a printable materials list.
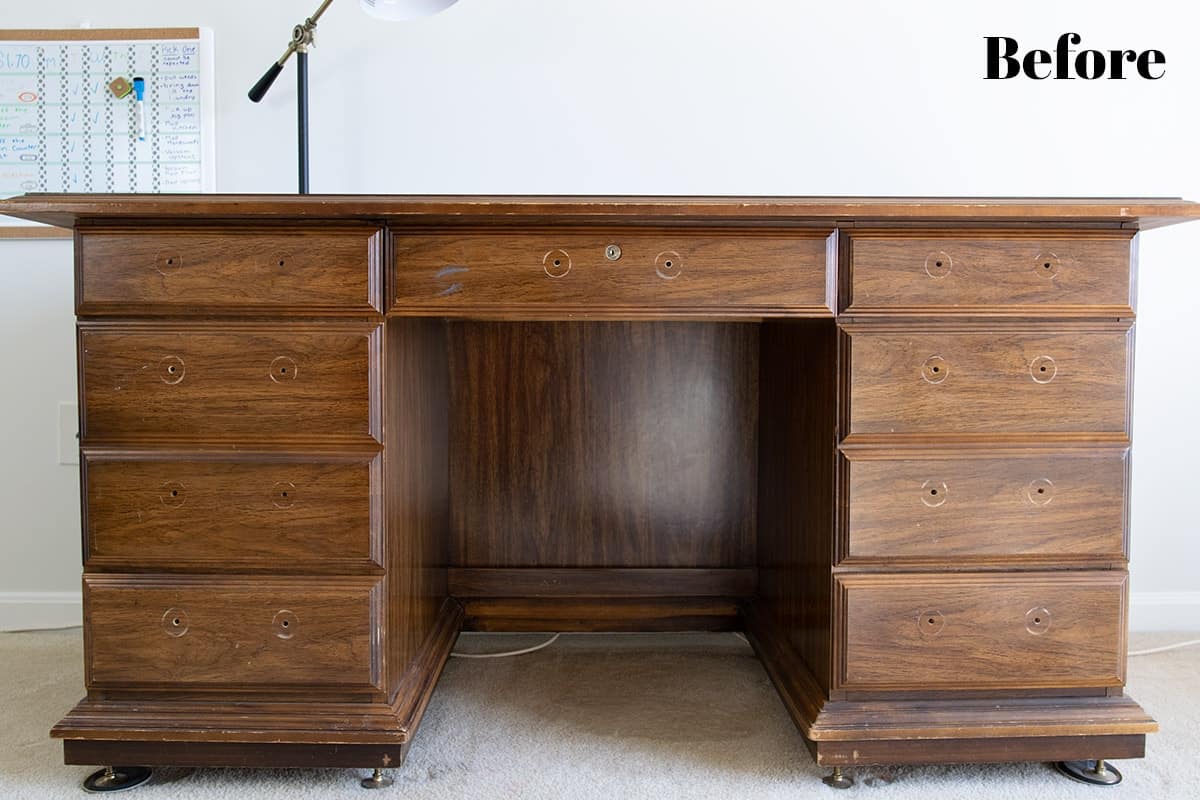
Our Project
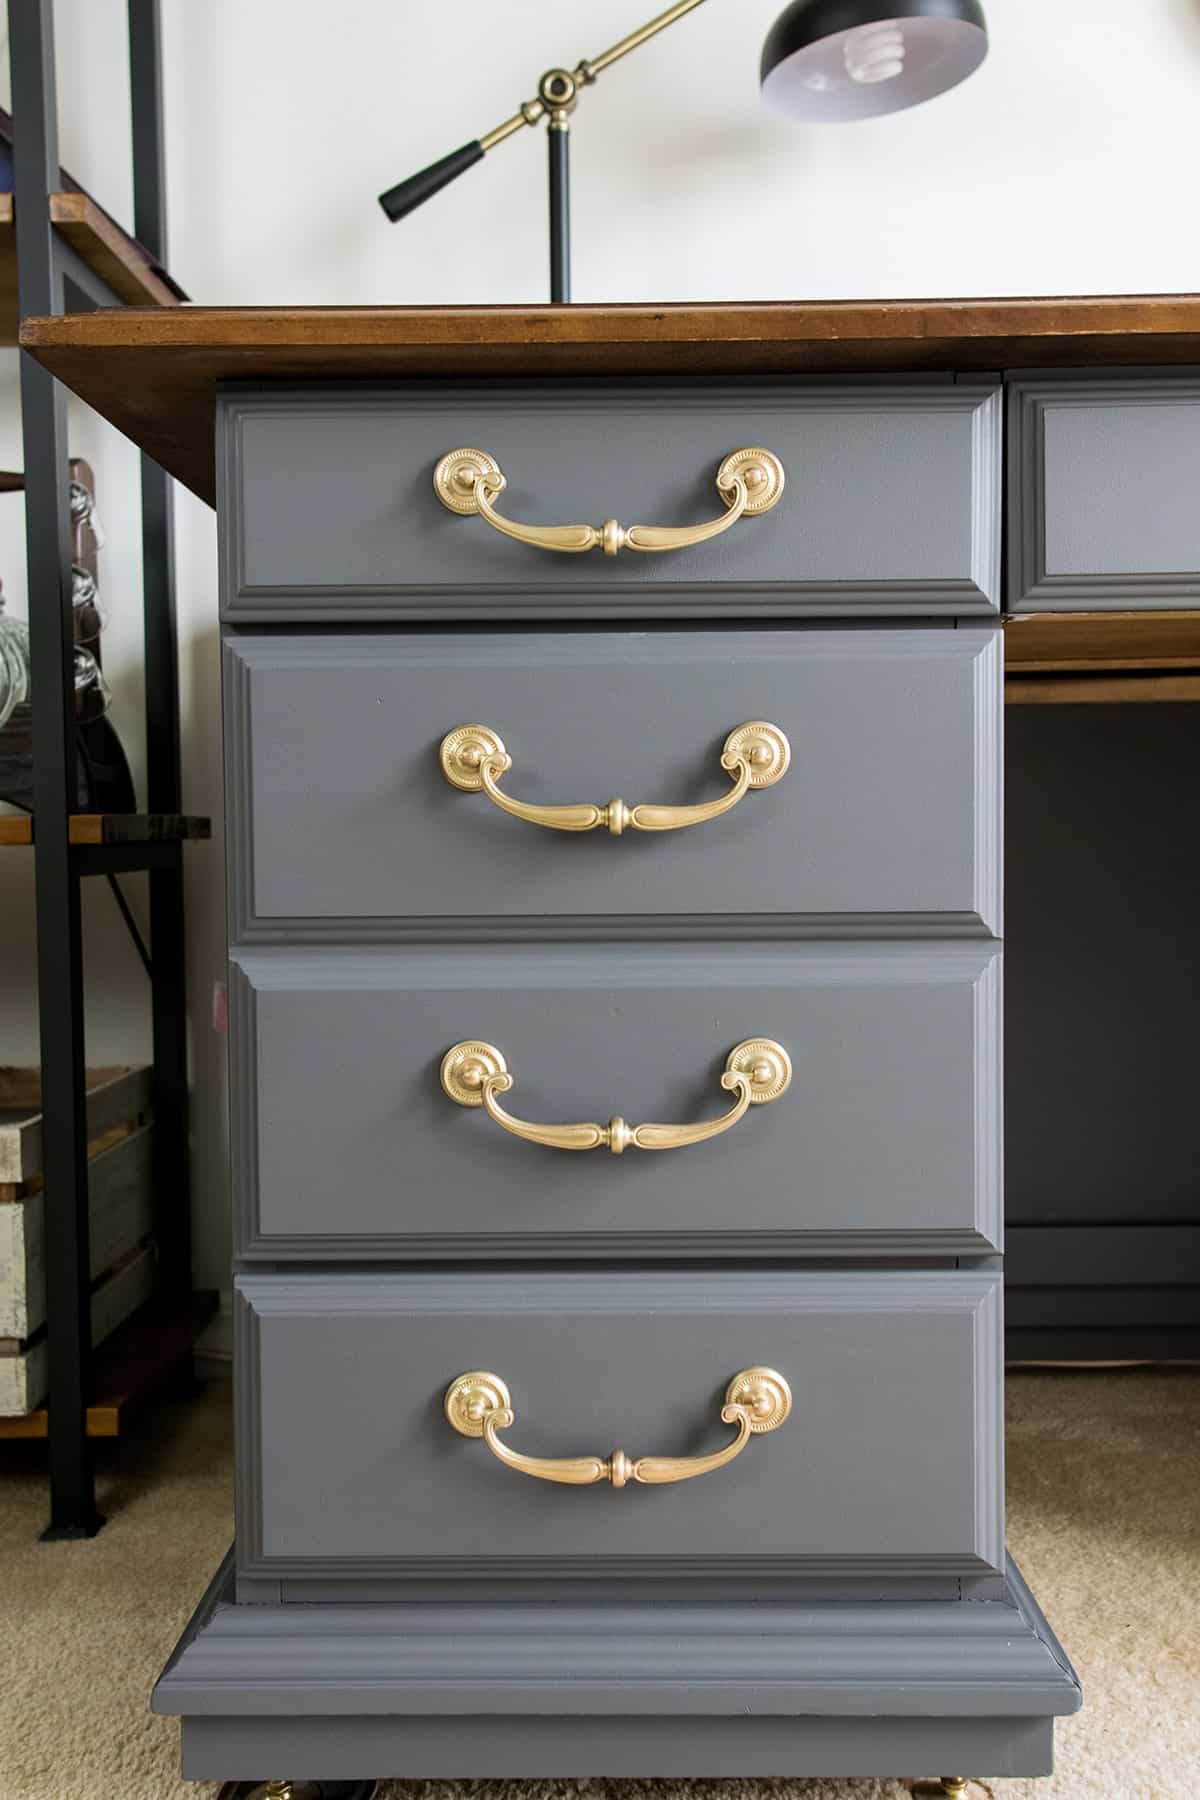
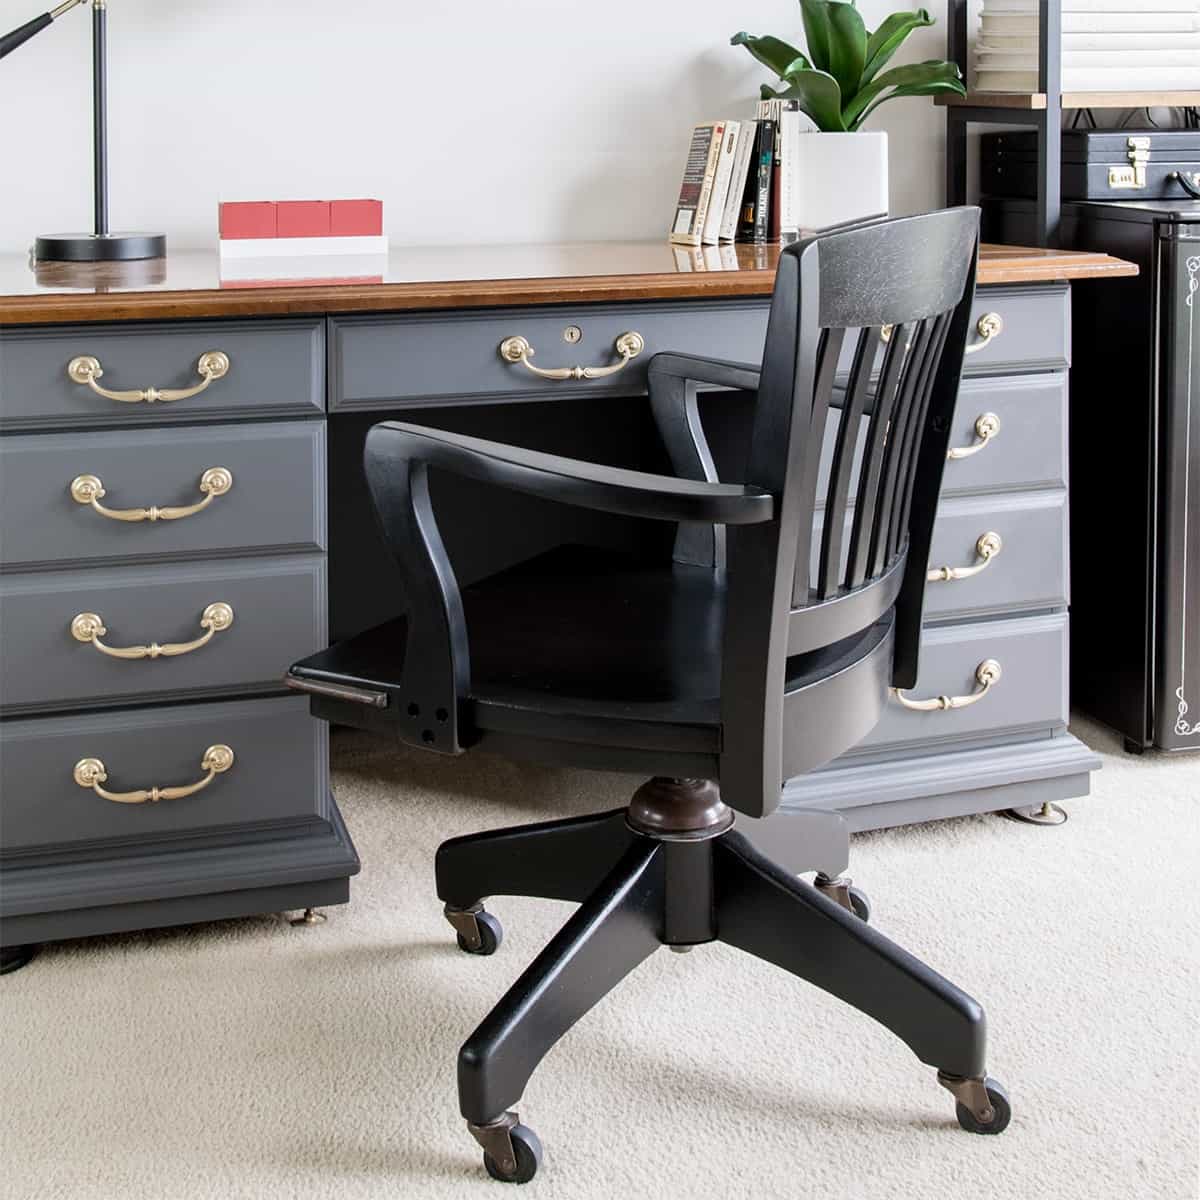
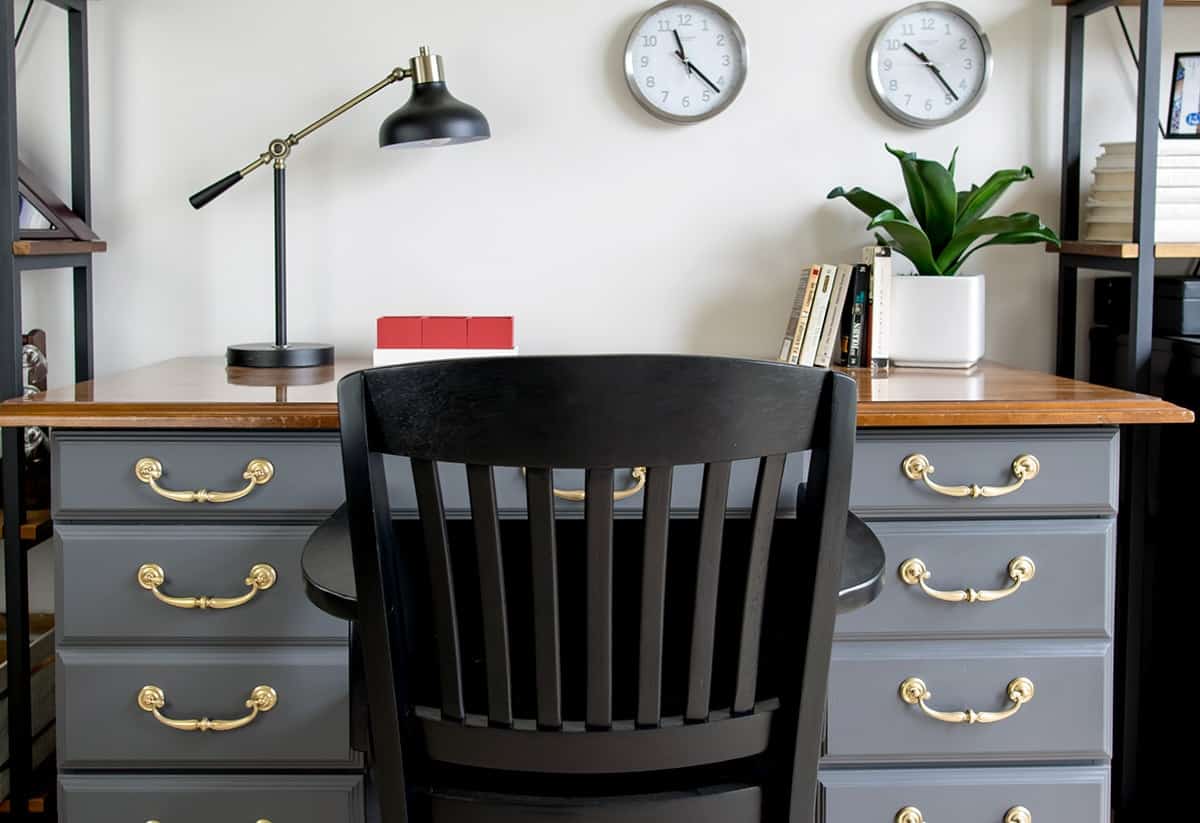
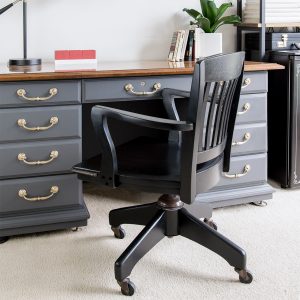
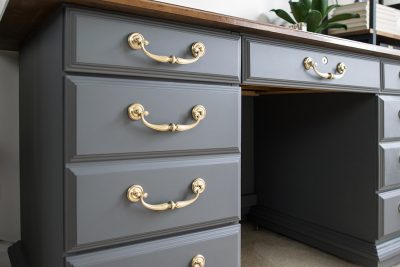
My husband’s desk is a treasured hand-me-down hand from his dad. He has fond childhood memories of playing underneath it. Needless to say, I was under pressure to get this furniture makeover just right! We painted it as part of his masculine office makeover.
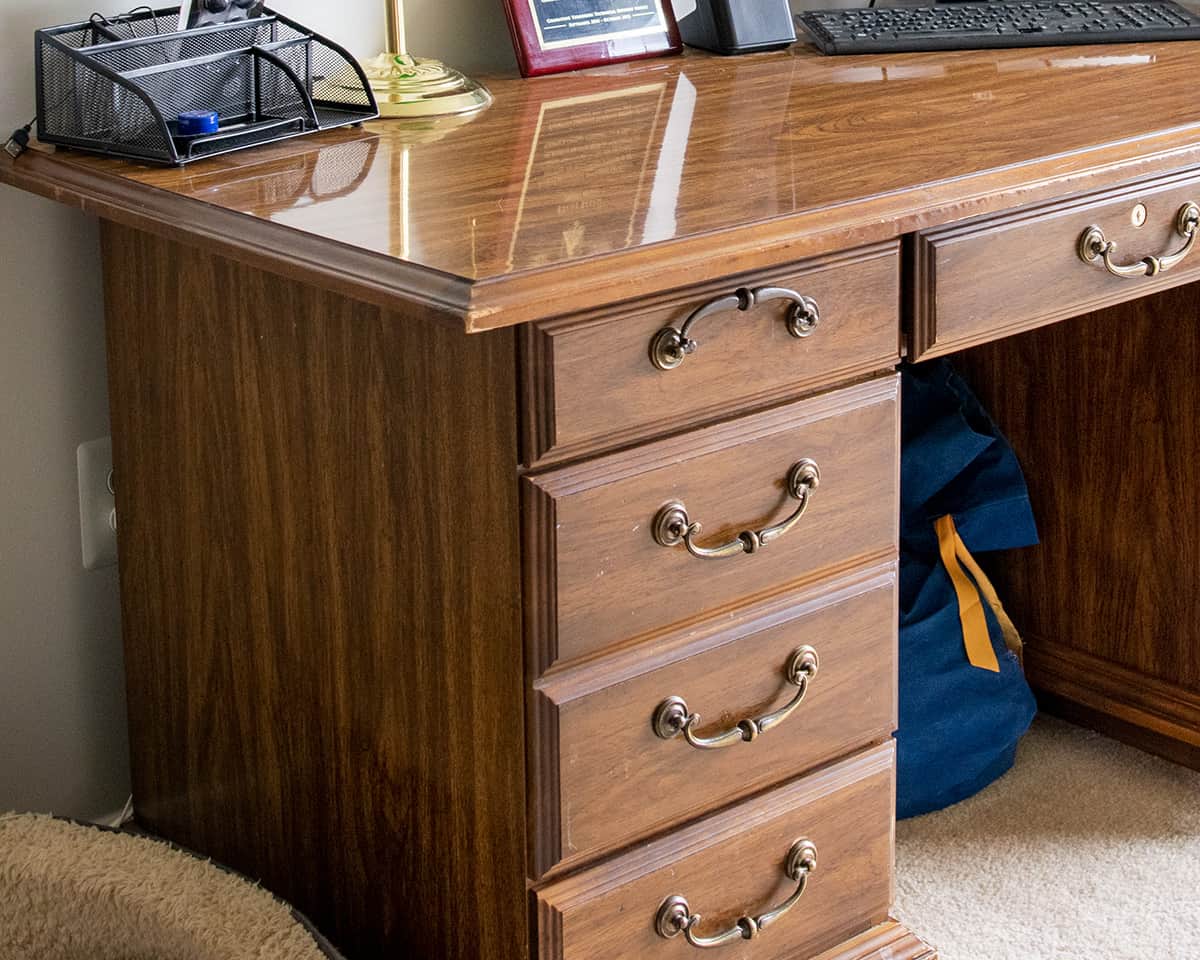
How to Identify Laminate
Here are some tips on how to accurately identify laminate:
- By touch: Laminate often feels different from real wood. It may produce a plasticky sound when tapped with a fingernail or look smooth like printed paper.
- Check the pattern: Examine the surface closely from an angle. Look for inconsistencies in the wood grain pattern or the absence of expected end grain on edges.
- Large surfaces: Solid wood in large pieces is uncommon in furniture. Plywood veneers are often used for cost-effectiveness and stability.
- Edges and inside surfaces: Check unseen areas like drawer interiors or underneath the furniture for exposed construction materials, indicating laminate. Even if stained dark, inconsistencies in wood absorption may reveal its true nature.
Recommended Tools and Supplies
The quality of your paint job is only as good as the products you use!
- Cleaning Agent – TSP, Krud kutter or other soap that won’t leave a residue.
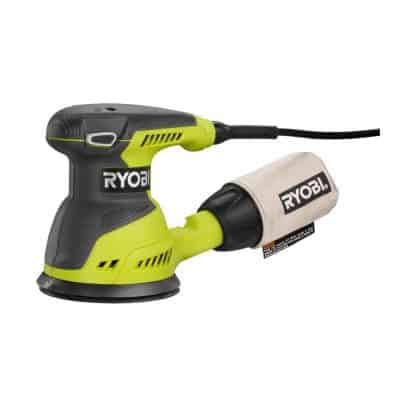
- Orbital Sander
- Sandpaper - 120 grit
- Painter's Tape
- Paint Brush - My favorite for a smooth finish is 1.5-inch taklon brushes available at Michael's and other craft stores. I’ve also used Wooster Angled Brushes and Purdy.
- Microfiber rollers - the kind for smooth surfaces that won't shed.
- Supplies for repairs.
- Paint Stirrer
- Drop Cloths
- Blocks of Wood or a Table to paint the bottom edges.
- Primer – I only recommend Kilz Adhesion and INSL-X Stix Bonding Primer (available at Ace Hardware and Benjamin Moore Stores).
- Paint
What paint should I use?
My post on the best paint for furniture is a great companion for any laminate furniture painting project. Laminate doesn’t require a specific type of paint, but your primer and topcoat are key.
Do I Need to Sand?
There are many types of laminated surfaces, and some can’t be sanded. If it’s possible, I recommend sanding with 120-grit sandpaper and a random orbital sander. Additional grip increases the bond.
Printed paper laminate– I’ve had success both sanding and not sanding these surfaces. For areas like the sides of cabinets, I generally lightly sand enough to remove the print, but not enough to remove the paper covering. You can see an example in this post on painting kitchen cabinets.
Melamine or hard plastic laminate – Most hard plastics don’t sand very well, if at all. Test in a very inconspicuous area. Roughing up or removing glossy surfaces will always create more surface area for a better bond, but splintering is not good.
If you don’t own a great random orbital sander – Skip sanding. Hand sanding with traditional sandpaper will likely lead to swirl marks and cramped hands.
What Primer to Use
The primer that you choose is HUGE to the success of your project. Don’t choose paint + primer.
There are only a few primers I trust with a job this tricky – Stix® Waterborne Bonding Primer or Kilz Adhesion for hard plastic coatings. I was also satisfied with Fusion Mineral Ultra Grip on printed laminate for this painted dresser. I haven’t tested Behr’s Bonding Primer, but that’s another available option.
Prepare to spend a bit more than your standard primers. It’s worth it for the peace of mind and longevity. One coat of primer will not be enough, apply two coats of primer for good coverage.
Can I skip priming? Almost 50% of my cabinet painting clients bring me in to fix someone else’s inadequate paint job! In truth, priming is essential for a professional grade paint finish that lasts, especially for high traffic pieces.
While I’ve seen tutorials about not priming a piece of laminate furniture, I can’t vouch for how well the projects held up to daily use years later. I have seen many that haven’t.
If you do it right the first time, you avoid the headache of having to do it all over again!
Painting: Quick Tips for a Smooth Finish
- Test your paint and primer. Scratch test with your fingernail in an inconspicuous place, several days after priming. Paint may take up to 30 days to reach maximum hardness, although this is a good indicator of how successful the bond is.
- Some paints like a microfiber roller, others like a dense foam roller. Test both or research for your specific product.
- Always brush in one direction, end to end, and try not to go back over paint that is set. It’s actually easier to sand a spot between coats after the paint has set.
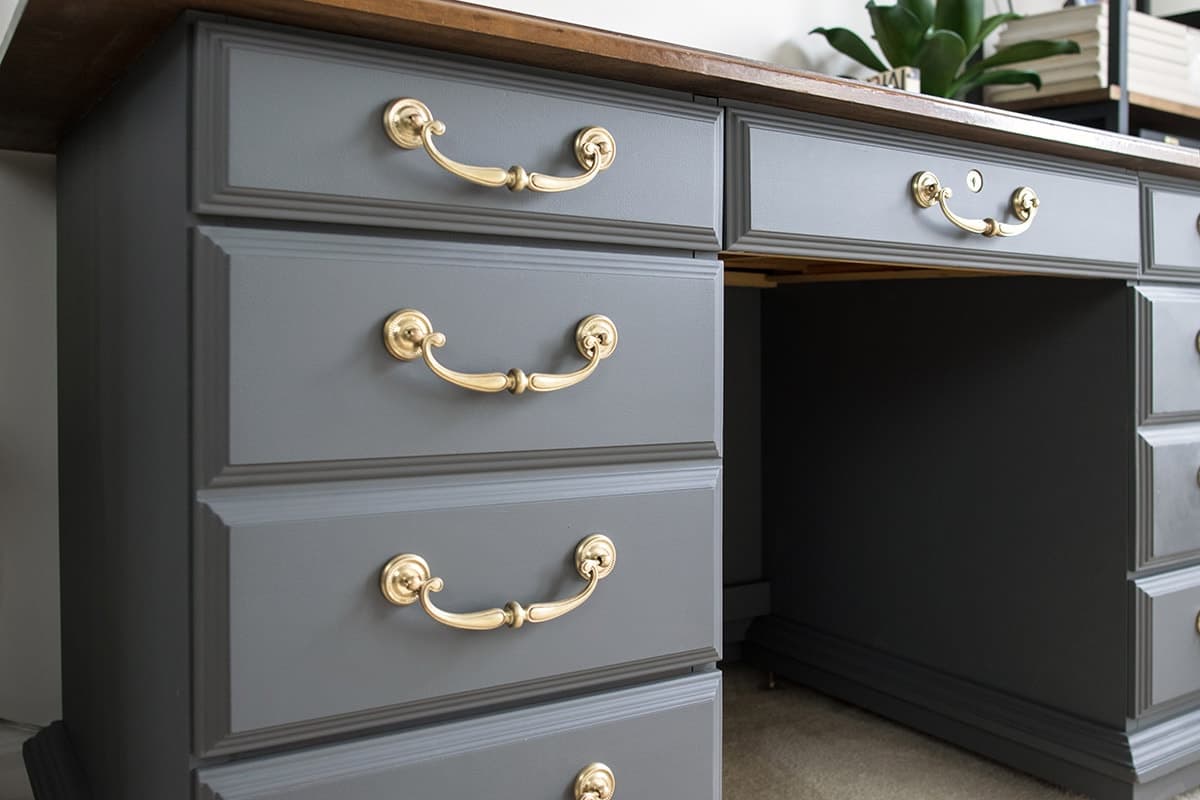
- Always brush the details first and then roll the flat section. If I’m doing a drawer front, I brush the edges and then immediately roll the flat front.
- From a beginner standpoint, look for brushes that are soft, long bristled, and don’t separate when you apply pressure.
- Read our top tips for painting without brush marks here.
Sealing with a Topcoat
This is essential for a long-lasting finish when working with laminate surfaces. There are a few paints that don’t require a polyacrylic topcoat for maximum durability but check with the manufacture. Personally, I still err on the side of caution.
Read my best topcoats for furniture recommendations here!
The desk’s surface was in great shape, only the molding around the top required refinishing. This project turned out so well that my reaction was akin to one of those TV room makeover recipients!
FAQs
Any of the best paints for furniture I have listed here are great if you use the hi-bond primers. While I recommend a high-quality paint with a durable finish, I don’t necessarily recommend a specific paint beyond my general recommendations. I highly recommend using a sealing topcoat for this project. It will make the paint last much better and longer.
The process is no harder than painting solid wood. However, the products you use for maximum durability are critically important, and more so than painting other types of cabinets or furniture.
I would never recommend painting laminate without a high bond primer. Ask yourself if you really want to do this project again in a year or less just because it didn’t hold up. The risk isn’t worth it.
And what did the hubby think? To be honest, the change took some time to acclimate to. He loves the update, but this is a piece of furniture that he’s been attached to for 30 years. It’s a tad bitter-sweet for him.

Grab our free series "Weekend Home Projects that will Transform Your Life" Sign up below to receive updates including free printables, organization tips, home improvement projects, recipes and more! |
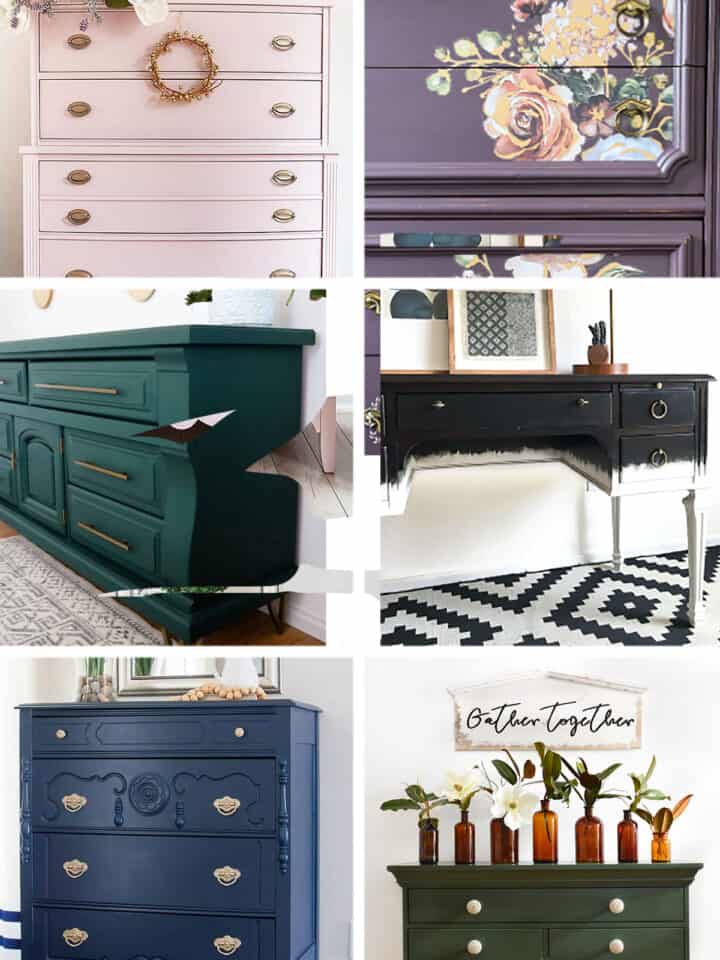
More Furniture Methods and Makeovers

PS I love seeing your creations! Be sure to take a photo and tag #cravingcreative on Instagram! You can also stay in touch with me through following me on Instagram, Pinterest, and subscribing to the newsletter!
How To Paint Laminate Furniture
Tools
- Orbital Sander You may or may not need it.
- Paint Brush I prefer fine taklon brushes.
Supplies
- Cleaner I've used everything from teaspoon to Krud Cutter, and Goo-B-Gone for sticky messes.
- Lint free rags
- Sandpaper 120 grit
- Drop Cloths
- Lint-free Microfiber rollers Some paints work better with foam rollers
- Painter's Tape
- Paint trays
- Hi-Adhesion Primer
- Paint
- Protective Top Coat
Instructions
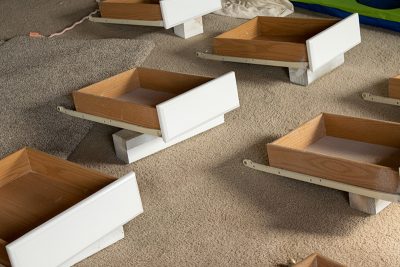
- Repair Surface. Remove doors and drawers. Unscrew hardware. Repair any scratches or dings and fill any holes. Use epoxy to make small repairs in plastic laminate or wood filler for paper printed materials. If the melamine or formica layer is loose from the substrate, reattach it with a construction adhesive and allow it to dry.

- Clean Surface. Clean using a mild cleaner that won't leave a residue. Clean everything, even if it's not directly on the surface that you're painting. Tape off any edges you don't want painted such as inside doors.
- Sanding. There are many different types of laminated surfaces, and many can't be sanded. However, using an orbital sander and 120 grit sandpaper may allow you to add more gripping tooth to the surface. Test in an inconspicuous area. Most of the harder plastics won't sand very well if at all. Don't push it if it isn't working.

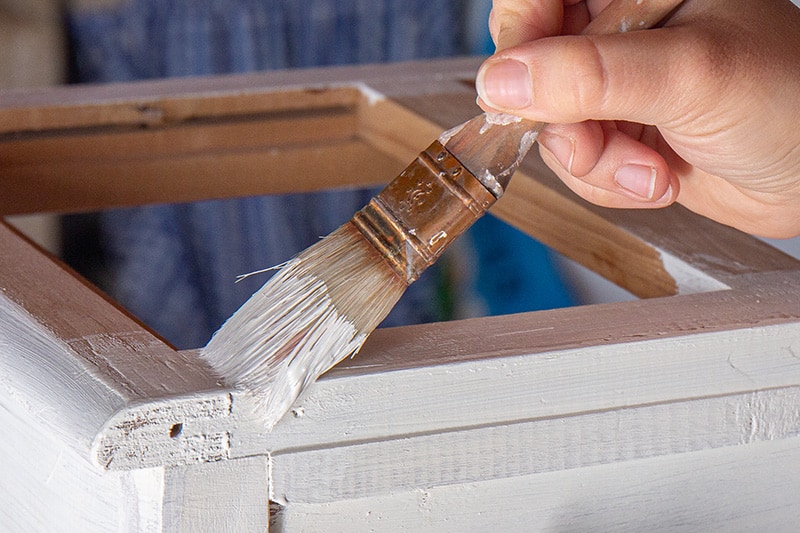
- Prime with a quality high bonding primer with two coats. Allow to dry 24 hours. You will get the best results if you brush details or corners then roll before the primer has time to dry. Sand lightly after both coats of primer are on to test the fastness and to get a smooth finish.
- Paint with 2 coats of paint. You can use either a paint sprayer or brushes and rollers. Use rollers for larger, flat surfaces. If brushing, brush with the grain and always from one end to the other. If paint starts to dry, don't go back over it.


Flo Lenna says
Love the finish on this desk. For the desktop, can you tell me what you used for the nice sheen? I’m painting a laminate “desktop” and want it to be durable and shiny like your desk, it looks like it will be durable from a lot of use!
Rachel says
The top of this desk is original and most likely a very shiny Formica, or possibly epoxy but I am less convinced of that. There is a wood trim that wraps around the shinier top. The top itself was in very good condition so I thought it too much trouble to paint. Because of its age the top was also clearly already very durable. If I were in such a position as to need to replace or repair the top, I would look at either a pour on epoxy, a glazecoat lacquer like Famowood has, or possible buy a roll of Formica. These options certainly require more skill to perfect their use than paint does, and it would depend on the particular project. Hope this was helpful!
Hazel Avery says
Very nice!! I love your cabinet painting.
The Paint Godess says
Rachel, the desk is awesome. I’m so glad you left the handles brass; it reminds me of the military rank insignias; a flash of metallic against a dark uniform- it’s perfect! Thanks so much for featuring the Prairie Colors Chalk Finish paint, I love seeing it used on projects like this! And of course, the military theme really speaks to me; my husband was career Air Force, now retired. 🙂
All the best,
Cori Warner, Owner and Distributor
Prairie Colors
Rachel says
Oh, it delights me that you see the inspiration! The dress uniforms were exactly how I got the idea. I truly love the paint. I just finished painting a different dresser for my son’s room. I had started that dresser long before this office, but all I kept thinking last week was how much easier to work with your Prairie Colors Paint was. I guarantee you will be seeing more projects on this site with your line and I already have plans after I finish his bedroom set. You should be proud to have such a quality product.
The Paint Godess says
Thanks so much for reaching out to me! I’m always happy to support other military. And by the way, that sign “my daddy, my hero” made me tear up, for reals. And the beer safe is hilarious. Your blog is awesome. If you decide you’d like to purchase some, let me know, and I’ll send you a code for a 30% discount
?
katyashadeofteal says
I love a good furniture transformation. Your desk turned out great!
freshcrush says
That desk is stunning! Fantastic job!
Ashley ~ 3 Little Greenwoods says
Whoa. Love the color on the updated desk! The finish looks so smooth and the brass hardware really pops. Wonderful job!
Thanks so much for sharing your creativity at the The DIY Collective! Please join us this week to show off your latest project!
Have an awesome day!
~ Ashley
Carrie at Kenarry: Ideas for the Home says
Wow! This desk looks so different, Rachel. Love how you gave it a makeover. Thanks for sharing how you tackled this project.
Debi says
Love how it turned out! It really changes the whole look of the space.
crystalish1 says
The desk looks great! I love the color you chose! Hope to see you again at #HomeMattersParty
Bre @ Average But Inspired says
This is GORGEOUS! You did a really amazing job! I want to try this paint brand, too!
The Paint Godess says
Bre, I’d be happy to send you a sample of our Prairie Colors Chalk Finish Paint. Just use the contact form at prairiecolors.com and let me know what you’d like!
Flourish and Knot says
I do believe you have hit a homerun with this desk!!! AHH! It’s so fab now!! I really didn’t know how it would turn out but the after is absolutely stunning!! (Sorry for the number of exclamation points by the way!)
Sabrina @ Pink Little Notebooka says
Great job on the desk!!
Jennifer says
The desk is absolutely beautiful! I remember it from before, but you’ve made it manly and gorgeous all at once. Great work!
Erin @ Lemons, Lavender, & Laundry says
That desk is absolutely gorgeous! You did an amazing job. Need to pin this because I am in love with the color you chose!
mpbrittis@gmail.com says
Rachel
Had tears in my eyes when I read that the desk belong to your husband father, this is so sweet, The desk looks just so handsome, hugs Maria
Rachel says
Awww, that is beautifully sweet, Maria. You just can’t buy something to replace a piece of furniture with so much history. I appreciate that I was able to give it new life.
Darrin Milgrim says
Hello Rachel,
I love the refinishing project you did on the desk. I am having difficulty finding any of the Web sites you have linked above. Has the company changed it’s name or perhaps been purchased by another supplier? Please advise in regard to purchasing the paint referenced in this project.
Darrin M-
Rachel says
Hi Darrin. Actually, it’s funny that you wrote me today as I am in the middle of working on updating these old furniture project posts to make sure the information is current. So thank you! You are correct that the paint company I used for this desk closed (bummer!). However, I have done many painting projects over the years and my favorite matte furniture paint today is called Fusion Mineral. You can learn about them HERE or check out our other furniture projects to see why I use them. Also, I buy Fusion from Lost and Found Decor since it’s a bit cheaper than Etsy. If you are looking for a color match, Soap Stone would probably be the closest. Let me know if you have any more questions.