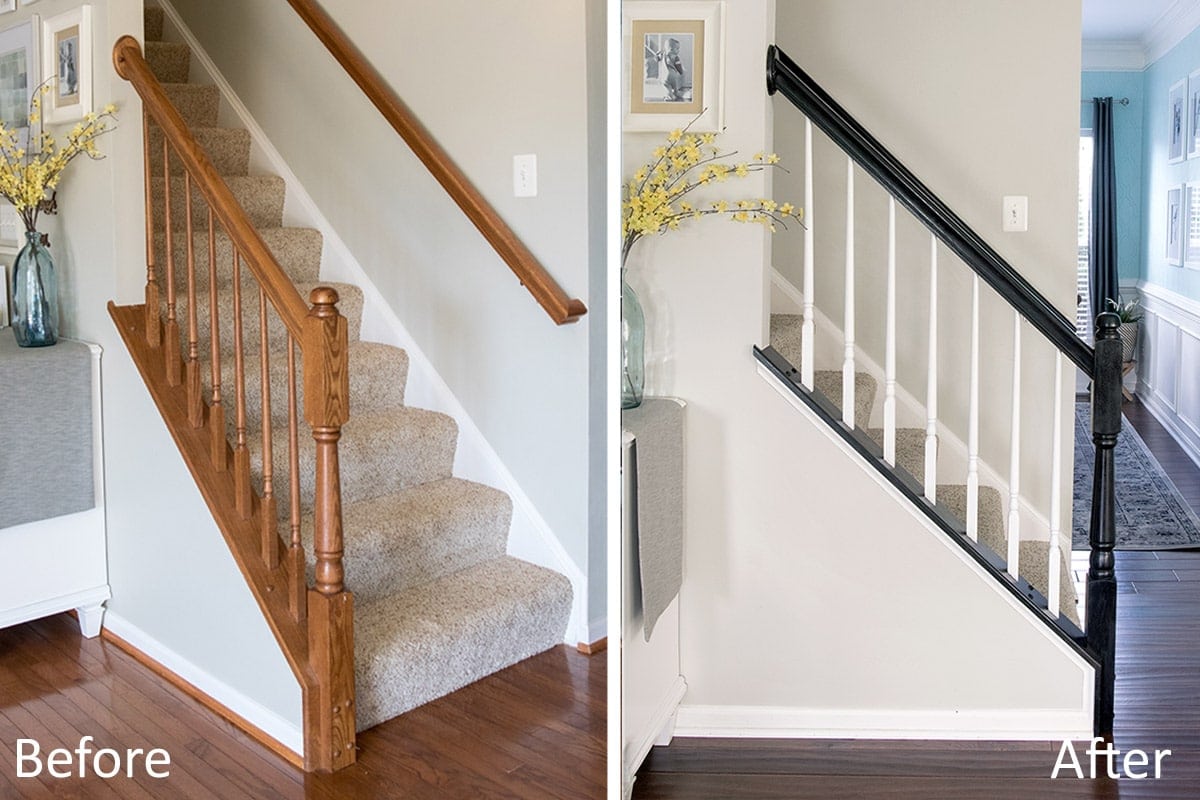
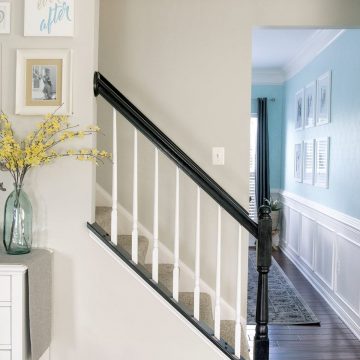
Tired of the look of your stair railings and banister? Learn how to paint stair rails and balusters for an inexpensive upgrade and professional results that can update your home's aesthetic and add significant value.
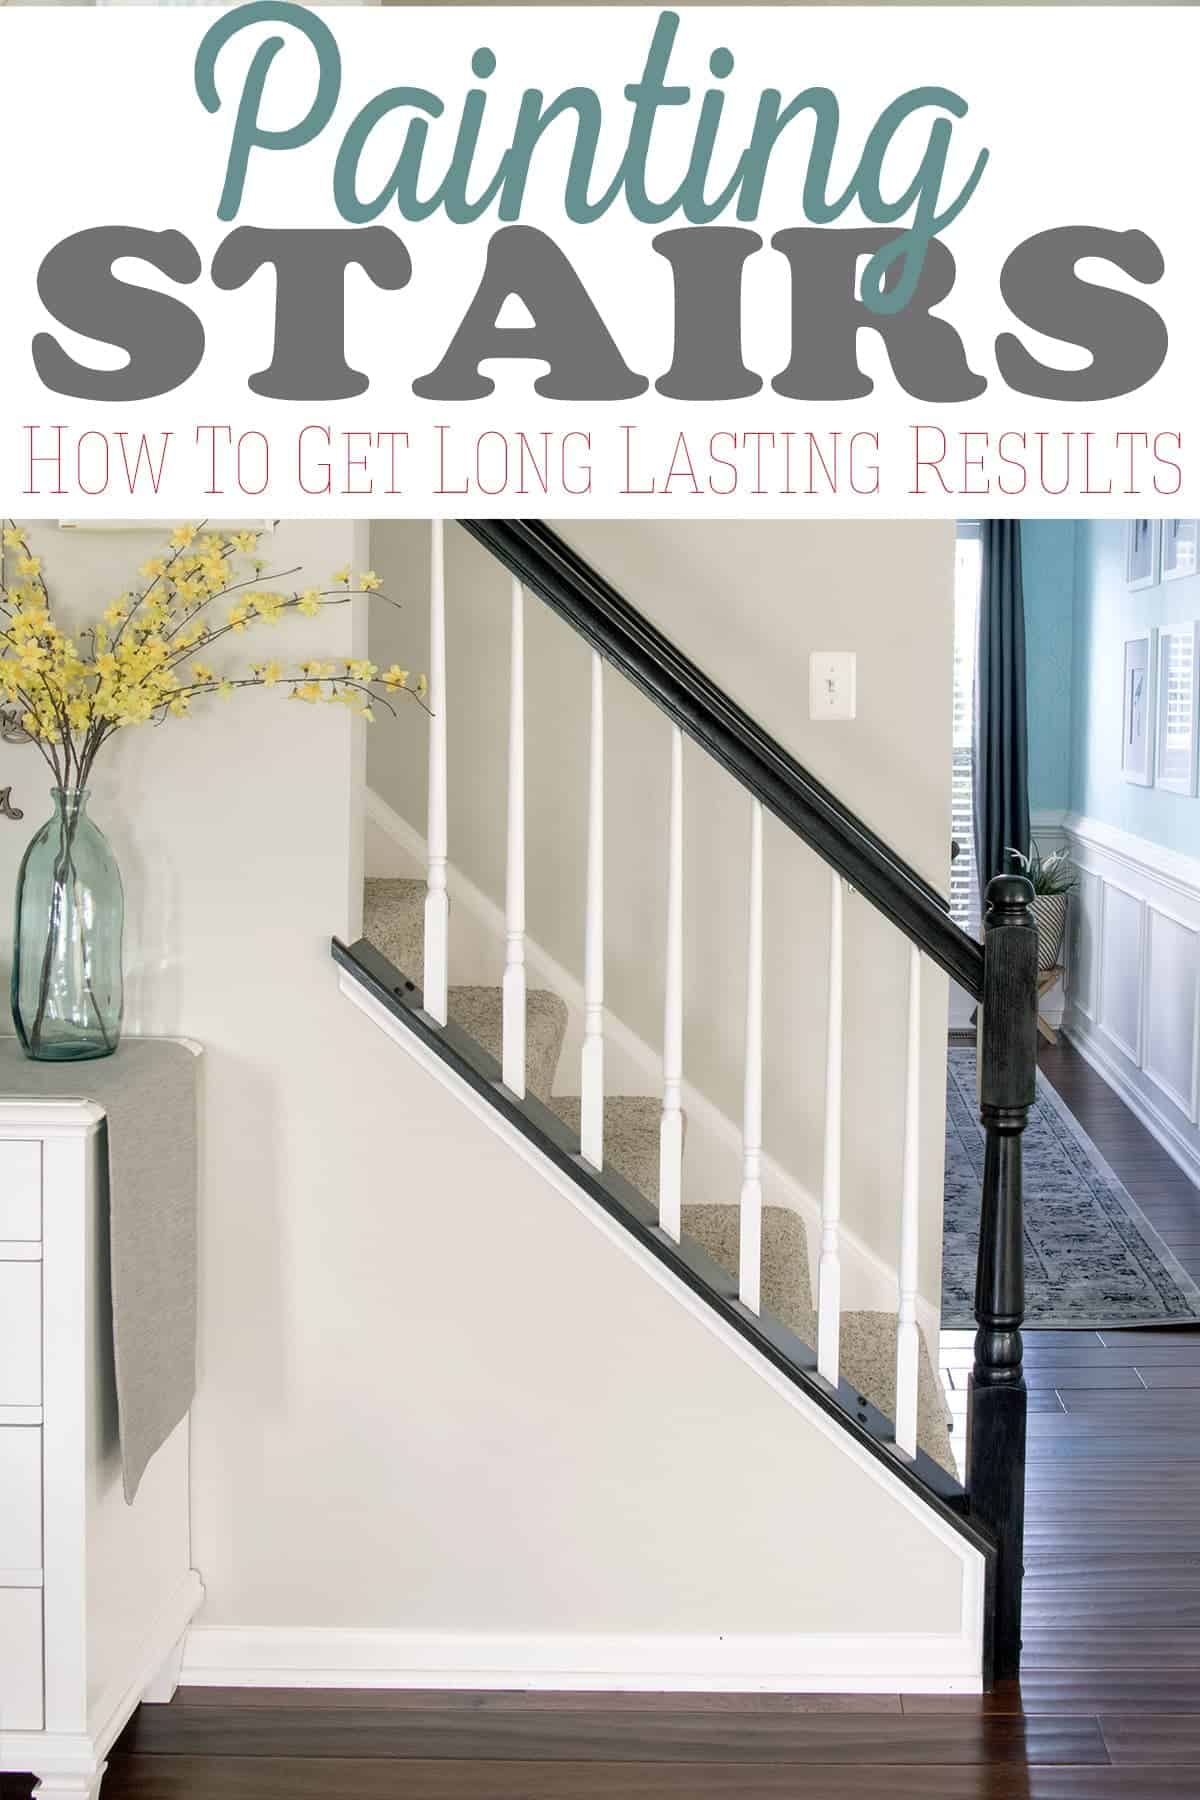
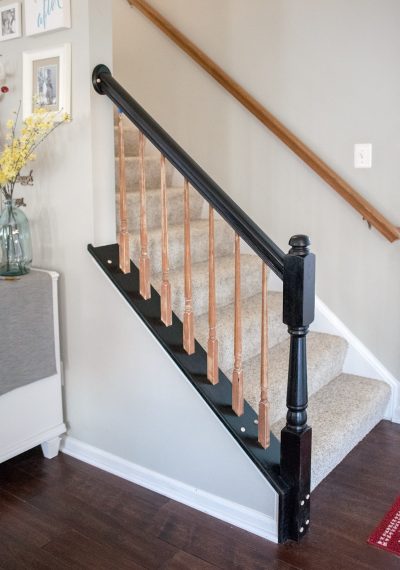
When we installed new hardwood floors, I was shocked at the price of replacing the balusters, railings, and steps. $200 per step and the railings would add several thousand dollars to our project.
That was pretty far outside my budget, so a $50 can of paint looked mighty enticing. Since we have built and stained staircases, painted several high-traffic bathroom cabinets, and are experts at painting makeovers, I knew that painting railings and balusters would be fairly easy.
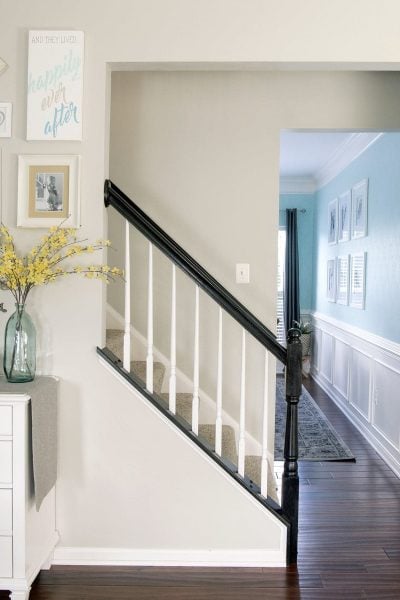
Even several years later, they look almost brand new. This project is a little different from painting furniture, so I have included a printable tutorial (with photos) at the bottom of this post or read on to get all our tips and tricks!
Recommended Materials and Supplies
Over years of remodeling homes, I have developed my no-fail list of products for painting tricky surfaces:
- TSP or Degreaser
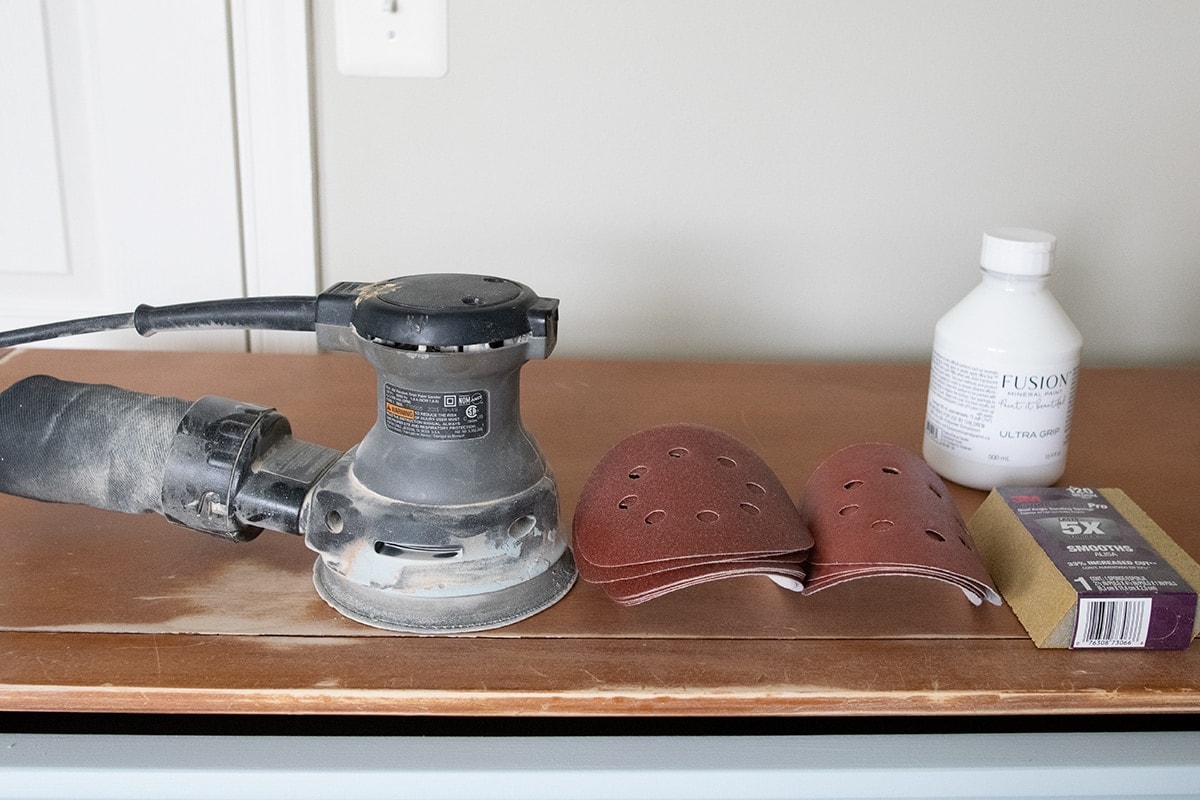
- Orbital Palm Sander with 120 or 220-grit sandpaper
- Sanding blocks – I like the ones with the angled edge.
- Stainblocking Primer – I have used many brands, but Premium or Adhesion is my never-failed-me-ever primer.
- Fine Paintbrushes – A fine furniture paintbrush will give you the best finish.
- Clean, dry lint-free rags
- Wood Filler – Only for imperfections or filling old hardware
- Paint
- Stir Sticks
Paint Recommendations
My go-to paint for handrails is Benjamin Moore Advance. There are some other paints that I would use, however, they are either more expensive (Sherwin Williams Emerald Line and Benjamin Moore Grand Entrance), have mixed reviews even if I haven’t had a problem (Behr Cabinet Paint), or have limited colors (Rustoleum Cabinet Transformations).
Read More>>>> Our thoroughly tested guide to The Best Paint for Furniture.
Pros of these types of paints:
- Durable finish that will last!
- Does not need a topcoat for durability.
- Smooth self-leveling paint.
- Easy to wipe and keep clean (satin or semi-gloss finish)
For this particular project, I used the pre-mixed Advance paint. A quart was more than enough for all of our stair railings. Closeup of Satin Black in Benjamin Moore Advance to show finish:
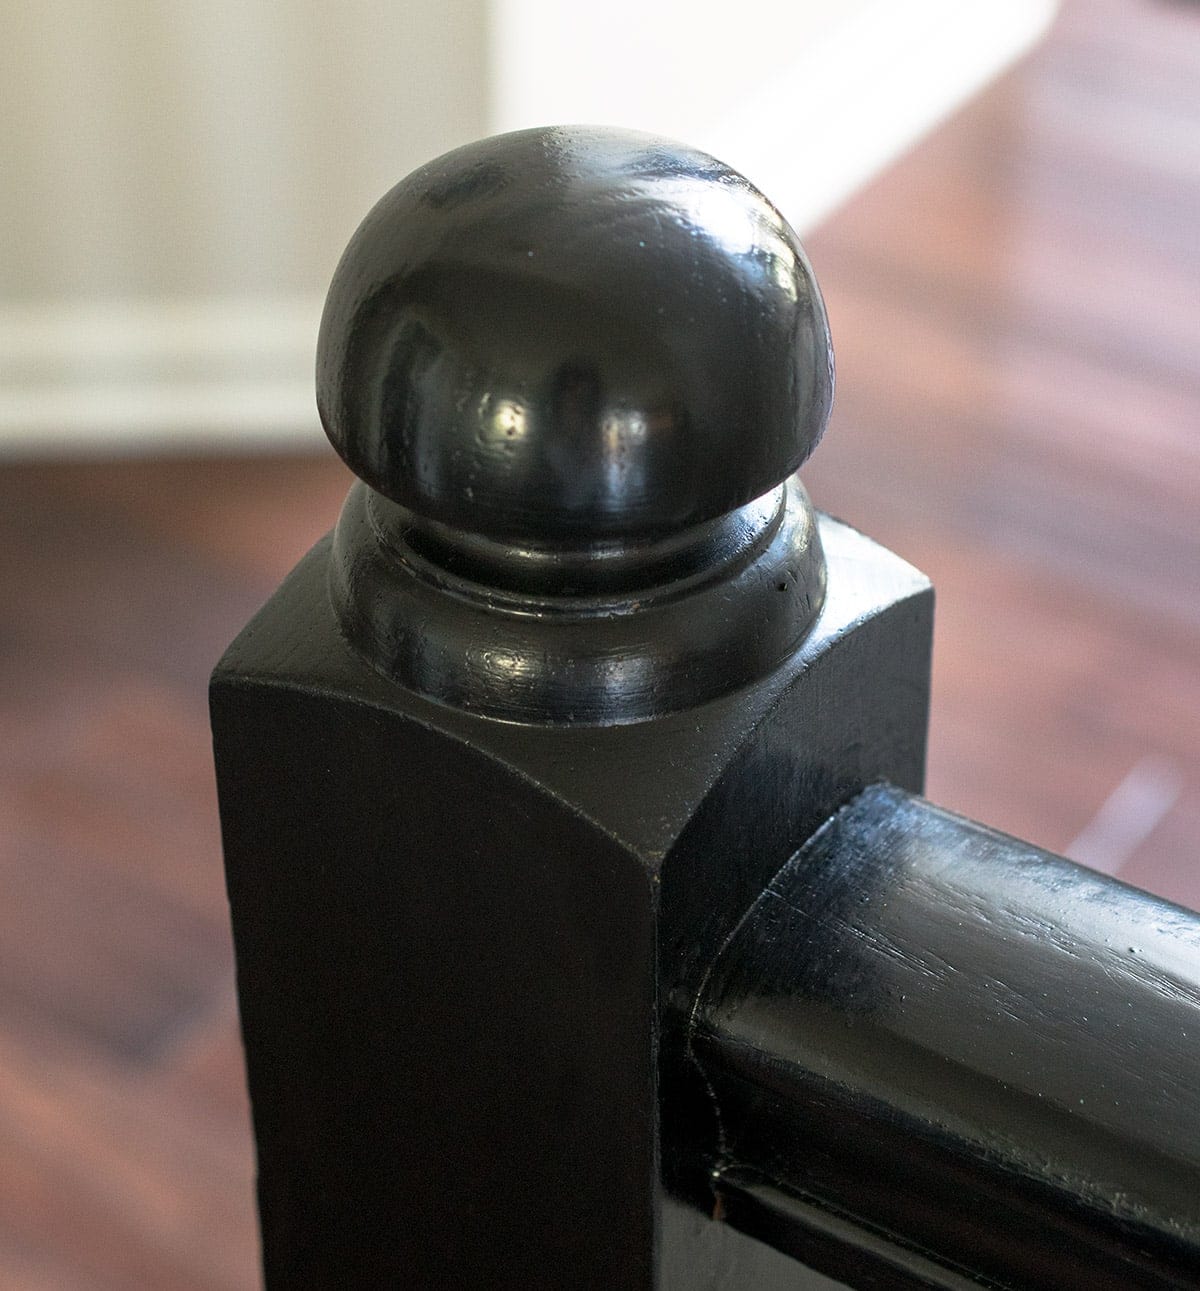
Pro Tip: Stair banisters are high-traffic areas. They will be touched, leaned on, and perhaps a child, like mine, will treat them as a jungle gym. Therefore, I recommend hard enamel-type paint in a satin or semi-gloss finish. Flat or matte paints are generally more likely to blemish and can be harder to clean.
Do I need to sand before painting stair railings?
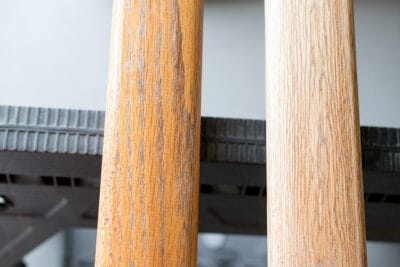
Handrails NEED to be as durable as possible. I recommend that the rails and balusters be sanded to achieve a proper bond. Hand sanding all of this is certainly the worst part of the job, but you really just need to “rough up” the surface.

Tips for sanding stair banisters:
- There is no need to remove all of the previous varnish and stain. Just remove the glossy finish.
- Use 120-grit sandpaper or 80-grit sanding sponges.
- Flat surfaces can be sanded with an orbital sander to make it faster and easier.
- Sand in the direction of the grain, where possible, not across it.
- I usually sand the handrail where people grab the most a little extra.
Does wood need to be primed before painting?
Paint plus primer is useless. I recommend a high-quality stain-blocking primer if you have ANY of the following situations:
- Painting unfinished or raw wood.
- Almost any paint except Chalk paint, Fusion Mineral Paint, or Benjamin Moore Advance (but only if none of the other reasons in this list are present)
- Painting over dark surfaces (i.e. navy or black) with a light or white color.
- Bad stains like deeply embedded oil or markers.
- Rails with knots in the wood such as knotty pine. <- This is uncommon.
However, 1 coat of primer is all you need for good coverage and sealing. After using many, many primers, this series of Kilz is my never-fail go-to primer.
Tips for the Best Paint Finish
- The best paint for painting railings, in my experience, is Benjamin Moore Advance. Unless you have raw wood, it doesn’t require priming! It levels beautifully without brush strokes.
- These are my Favorite Brushes that are soft and don’t leave brush strokes. You can get smaller ones like these paint brushes at Michael’s craft store for under $10.
- Use a one-inch brush to paint details. This makes the paint even, stroke-free, and less likely to drip than a larger brush.
- Sand and paint in the direction of the grain.
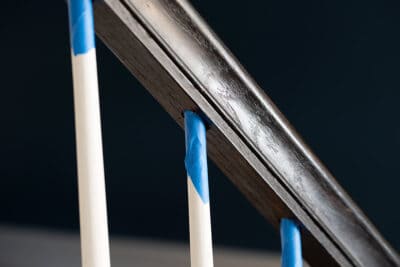
- Always tape off areas you don’t want to paint. It’s faster, easier, and looks much more professional no matter how steady the hand.
More Easy Home Improvement Ideas
- How To Paint Wood Furniture
- How to Paint Concrete
- How to Get Beautiful Baseboards
- Easy Kitchen Upgrade with Peel and Stick Tile
- How To Install Wainscoting

Frequently Asked Questions
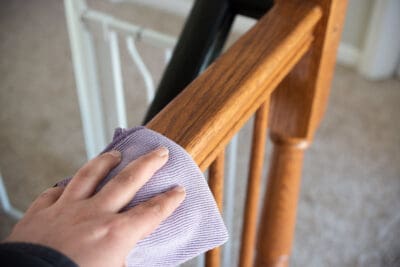
Everything should be cleaned thoroughly with a degreaser that won’t leave a film. teaspoon works very well, but other readily available cleaners work just as well. Use a microfiber or lint-free rag to remove any dirt, debris, and grime. Tack cloths are ok, but they sometimes leave a film behind.
My go-to paint for handrails is Benjamin Moore Advance. There are some other paints listed in the article that I would use. The most durable paints will be a satin or high-gloss sheen. Do not use flat paint like chalk paint (unless you use a protective topcoat like polyurethane) on a high-traffic piece such as a kitchen table or stair railings.
You can paint or stain a stair railing with durable results if you use a durable topcoat like polyurethane.
Because stair railings are one of the most touched surfaces in a home, it is highly recommended to sand first.
In my experience, BM advance does cure pretty fast. In the dead of winter (low humidity), the Benjamin Moore paint cured in only a few days. However, don’t depend on those results. I pleaded with everyone in the house not to touch the railings for a week until I was sure they would be able to withstand it. True cure time can take up to a month or more if you live in a high-humidity region.
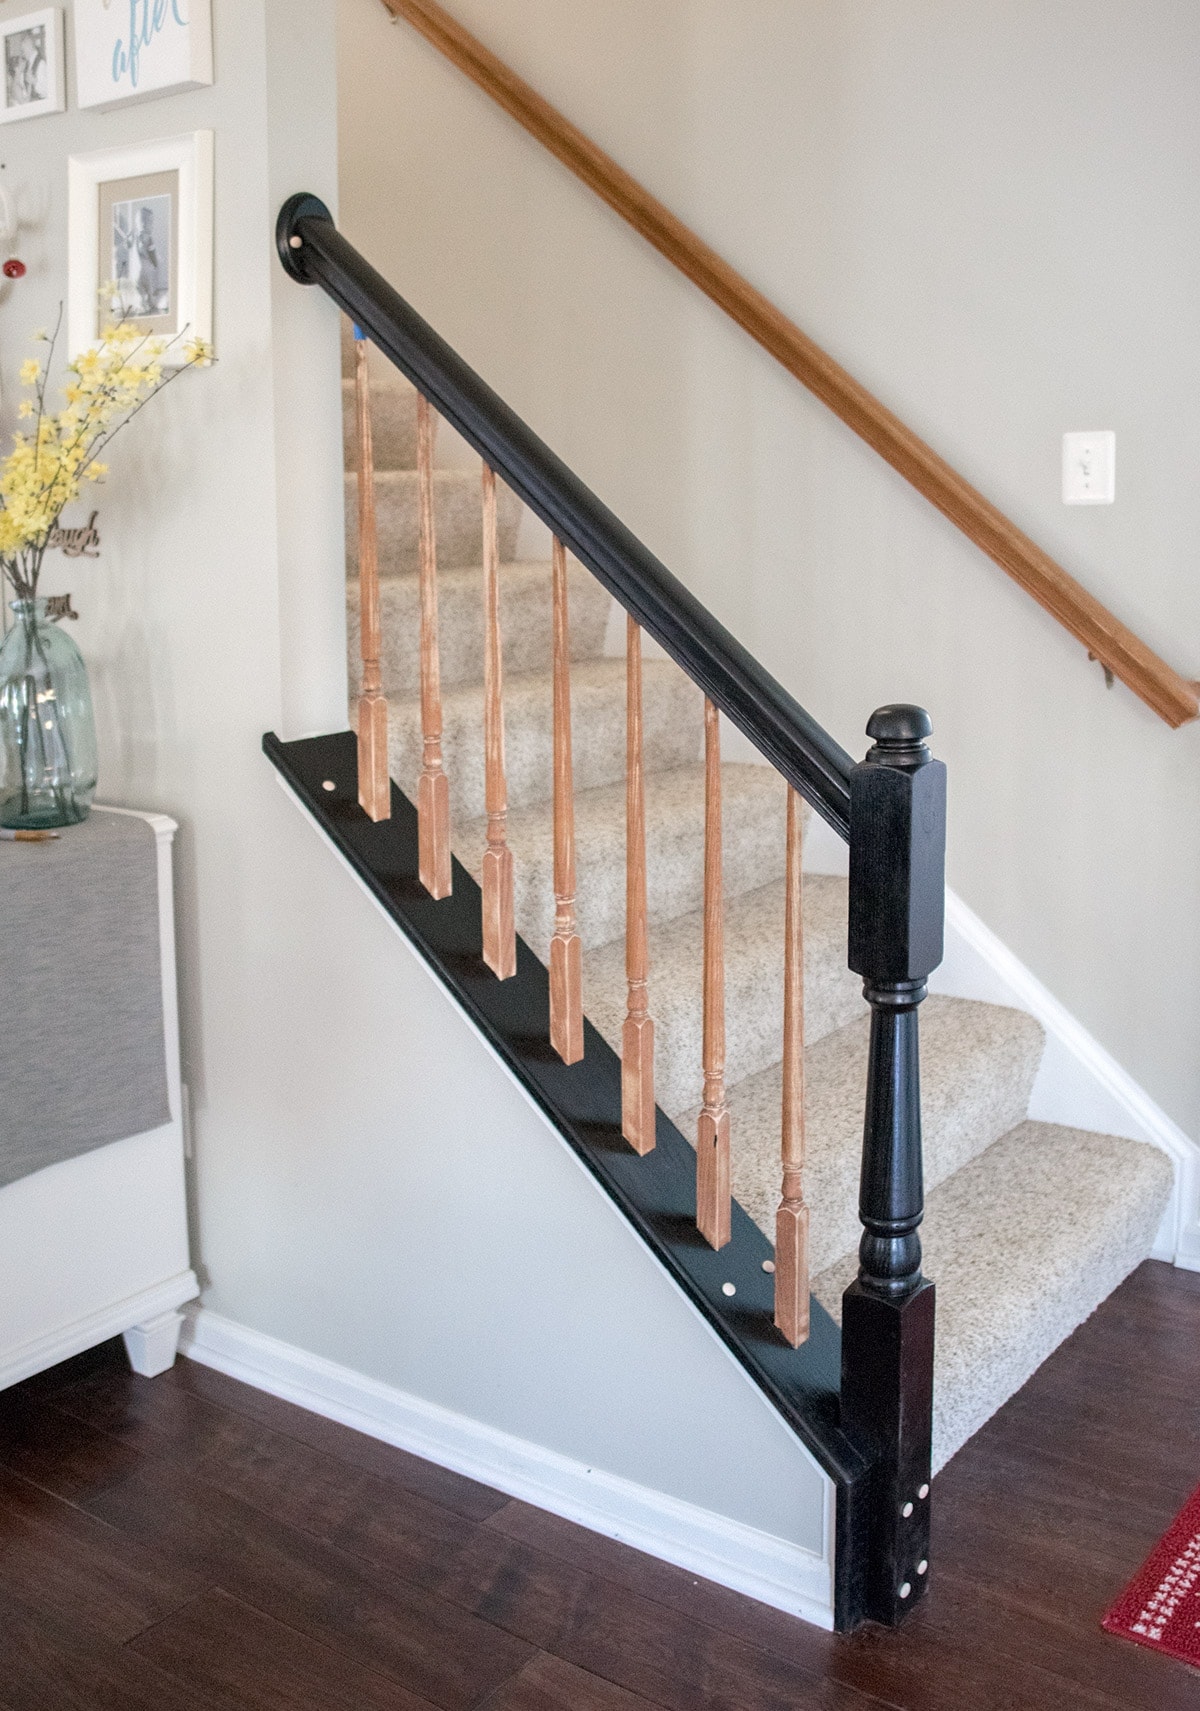
It is too much work to pull out and reinstall stair rails and balusters, so I paint them with a brush. This is why I recommend a good-quality brush to minimize strokes. I detached the single handrail on the right wall because it was rather simple.

Grab our free series "Weekend Home Projects that will Transform Your Life" Sign up below to receive updates including free printables, organization tips, home improvement projects, recipes and more! |
More Furniture and Home Painting Articles

PS I love seeing your creations! Be sure to take a photo and tag #cravingcreative on Instagram! You can also stay in touch with me through following me on Instagram, Pinterest, and subscribing to the newsletter!
How To Paint Stair Railings and Banister
Tools
- Paint Brush
Supplies
- TSP or Degreaser
- Sand paper 120 grit for taking finish off, 220 for smoothing
- Sanding Blocks 80 or 120 grit
- Wood Filler Only for imperfections or filling old hardware
- Painter's tape
- Lint-free Microfiber rollers
- Paint trays
- Stainblocking Primer
- Paint
- Protective Top Coat
Instructions
- Clean surface thoroughly with a degreaser that won't leave a film. Tri-Sodium Phosphate works well, as do most commercially available cleaners. Repair scratches with wood filler.

- Sand any glossy varnish or coating off. Sand a little extra on the hand rail, but otherwise you do not need to sand every bit of previous stain or paint off if it is in good condition. Use an orbital sander with 120 grit on all flat surfaces to make this much easier. Spindles will need to be hand sanded with 80 grit sponge or 120 grit sandpaper. Vacuum and wipe all dust off of the panels before priming.
- Tape around surfaces to prevent paint spilling.
- If painting white or light colors, prime the railings with a quality primer. Kilz Premium (not original) is my no-fail primer. 1 coat of primer is sufficient. Allow to dry 24-48 hours.

- Brush 2 coats of paint for full coverage. Brush with the grain and always from one end to the other. If paint starts to dry, don't go back over it.

Notes
- Knots – use a shellac based primer
- Gooey stuff/adhesive – I like Goo Gone for gooey messes, but make sure to clean off with a degreaser afterwards to remove any residue.
- Grease stains – clean with a good degreaser like Simple Green to break up what you can.
- Permanent Marker/food coloring/other – Clean as best you can and then prime at least two coats.
- Get the right tools. A few extra dollars will save you a lot of heartache and frustration. I have a helpful post on painting without brush strokes here. I prefer fine taklon brushes.
- Tape off any edges you don't want painted such as connectors to the wall.
Lance says
Your instructions and recommendations were spot on. I am so happy with the results of my painted stair rail. Thank you!
joanne liberto says
Hi I have a 40 year old parrot and I was wondering if the paint fumes will be too harsh for him by doing this project. He is in the same room as the banister. Thank you
Rachel says
That would be a question better suited to your veterinarian as I don’t know the particulars of parrots and birds. For most paints, I know that kids and dogs have not had an issue in my home and generally been recommended as fine by paint companies and our veterinarian.
KaraLee Anderson says
Would you use a protective top coat over your #1 choice of paint?
Rachel says
So, I would always recommend a topcoat for any paint as best practice. I think of it as a clear wear layer so if you need to scrub or spill something, you aren’t disturbing the paint underneath. To be honest, that doesn’t mean I always add a topcoat. I weigh the aesthetics (the look I am going for) and amount of work vs the probability of damage or the amount of use. For example, I have an entertainment center with no topcoat, but it just sits there and only needs dusted regularly. However, all my kid’s furniture and kitchen furniture are ALWAYS top coated with the most durable stuff I can find regardless of I feel about the sheen. For stair railings, I would recommend it because it is rubbed, hit, and gets dirty often.
Alexandra says
Did you paint the handrail on the wall to match the black as well? Love the final look!
Rachel says
Yes, we did. I unscrewed that one from the wall to paint.