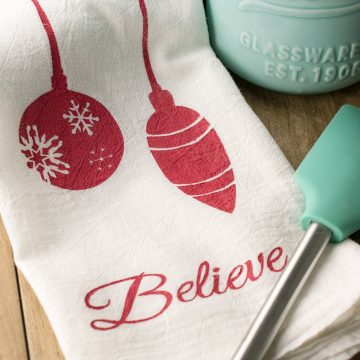
Embrace the festive spirit with our tutorial on hand-painted Christmas tea towels! Dive into the joy of DIY crafting using these free stencils. Let the artistic holiday spirit flow!
I’ve been diligently decking our halls, spreading the Christmas cheer inside & creating a Christmas front porch.
If you've been following along, you may know how much I love the thrill of a good bargain. From foraging the yard for cheap Christmas decor to making my own gingerbread ornaments, I've learned lots of tricks to refresh my decor while staying within budget.
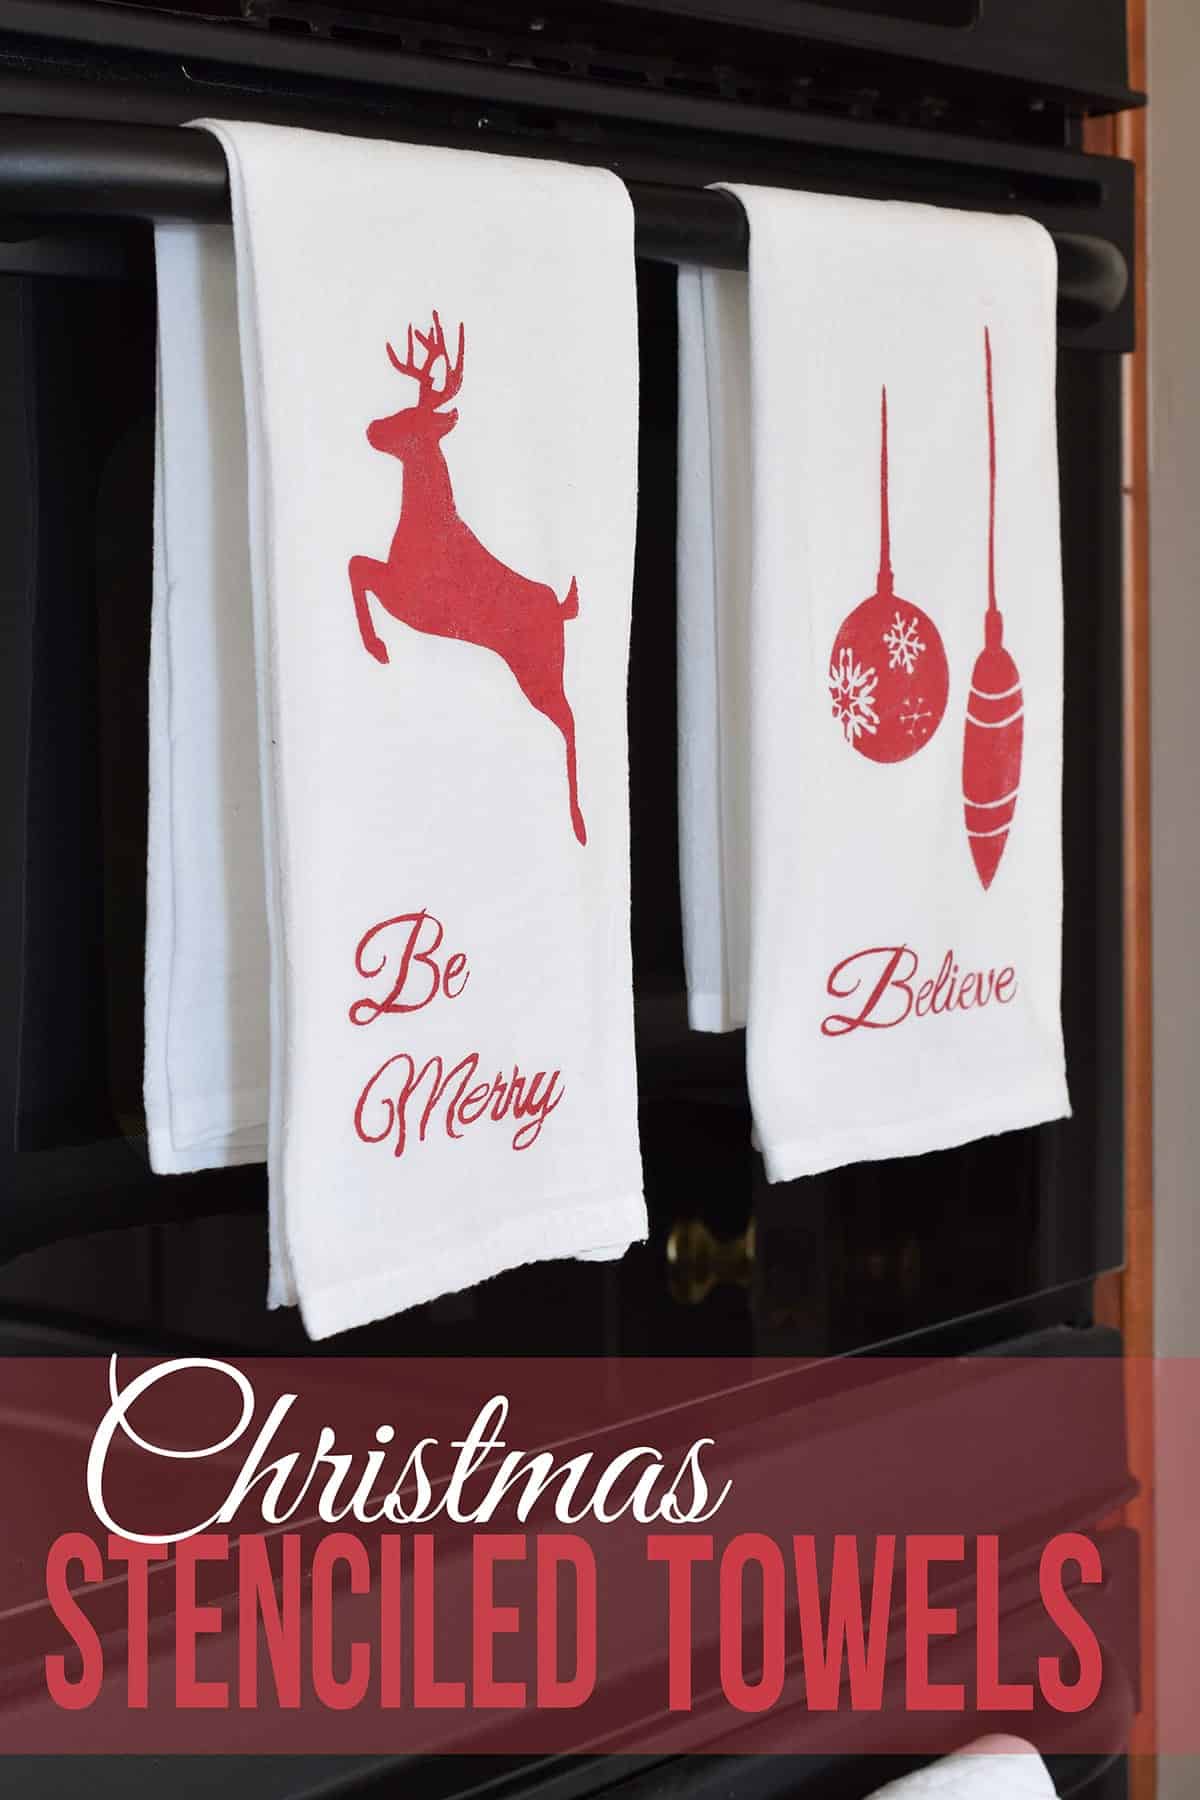
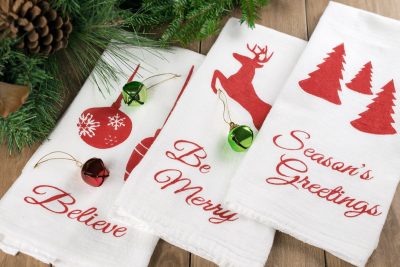
One of my new favorite traditions is creating a festive Christmas Kitchen to incorporate touches of holiday cheer. These DIY Printed Tea Towels is one of those projects that satisfies all the warm and fuzzy feelings. It's simple, chic, and cost-effective. Kids of all ages will enjoy getting creative, making this a perfect family advent calendar activity.
Free Christmas Stencils
DIY Printed Tea Towels make great handmade Christmas gifts, Mother's Day gifts, or housewarming presents. Or use them as reusable wrapping paper for small gifts.
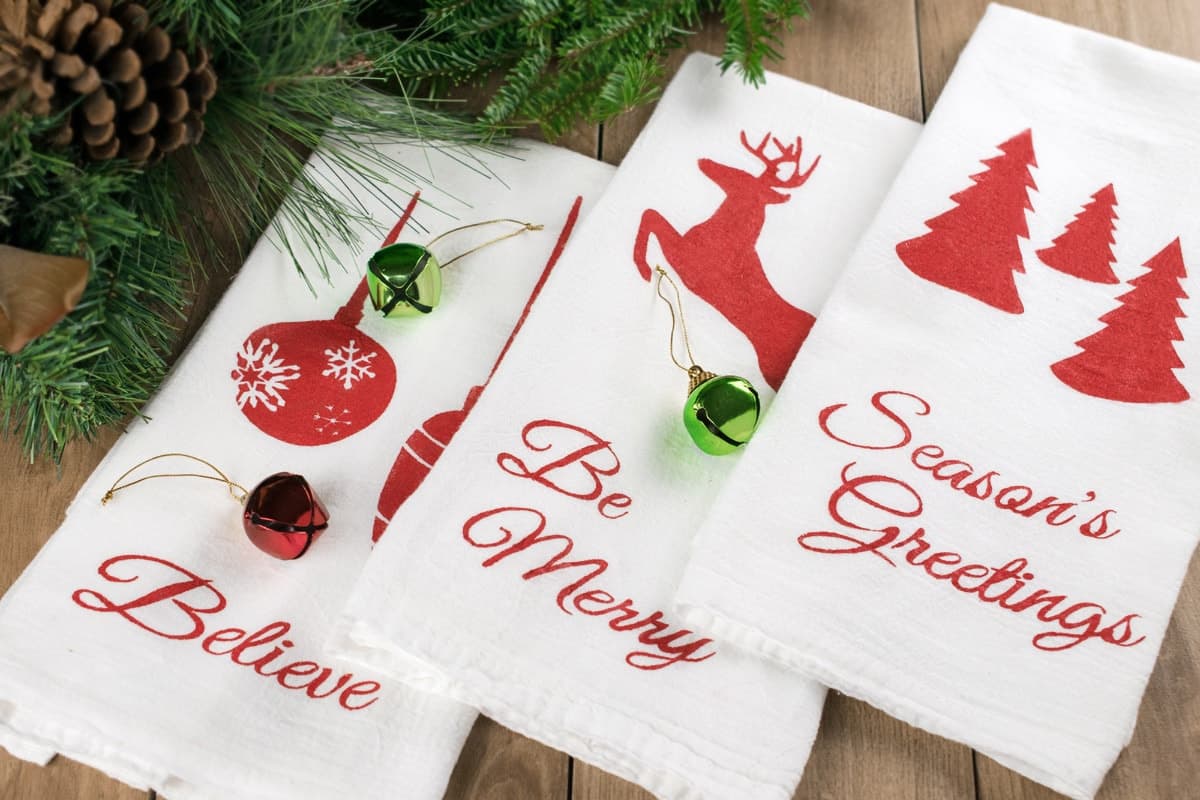
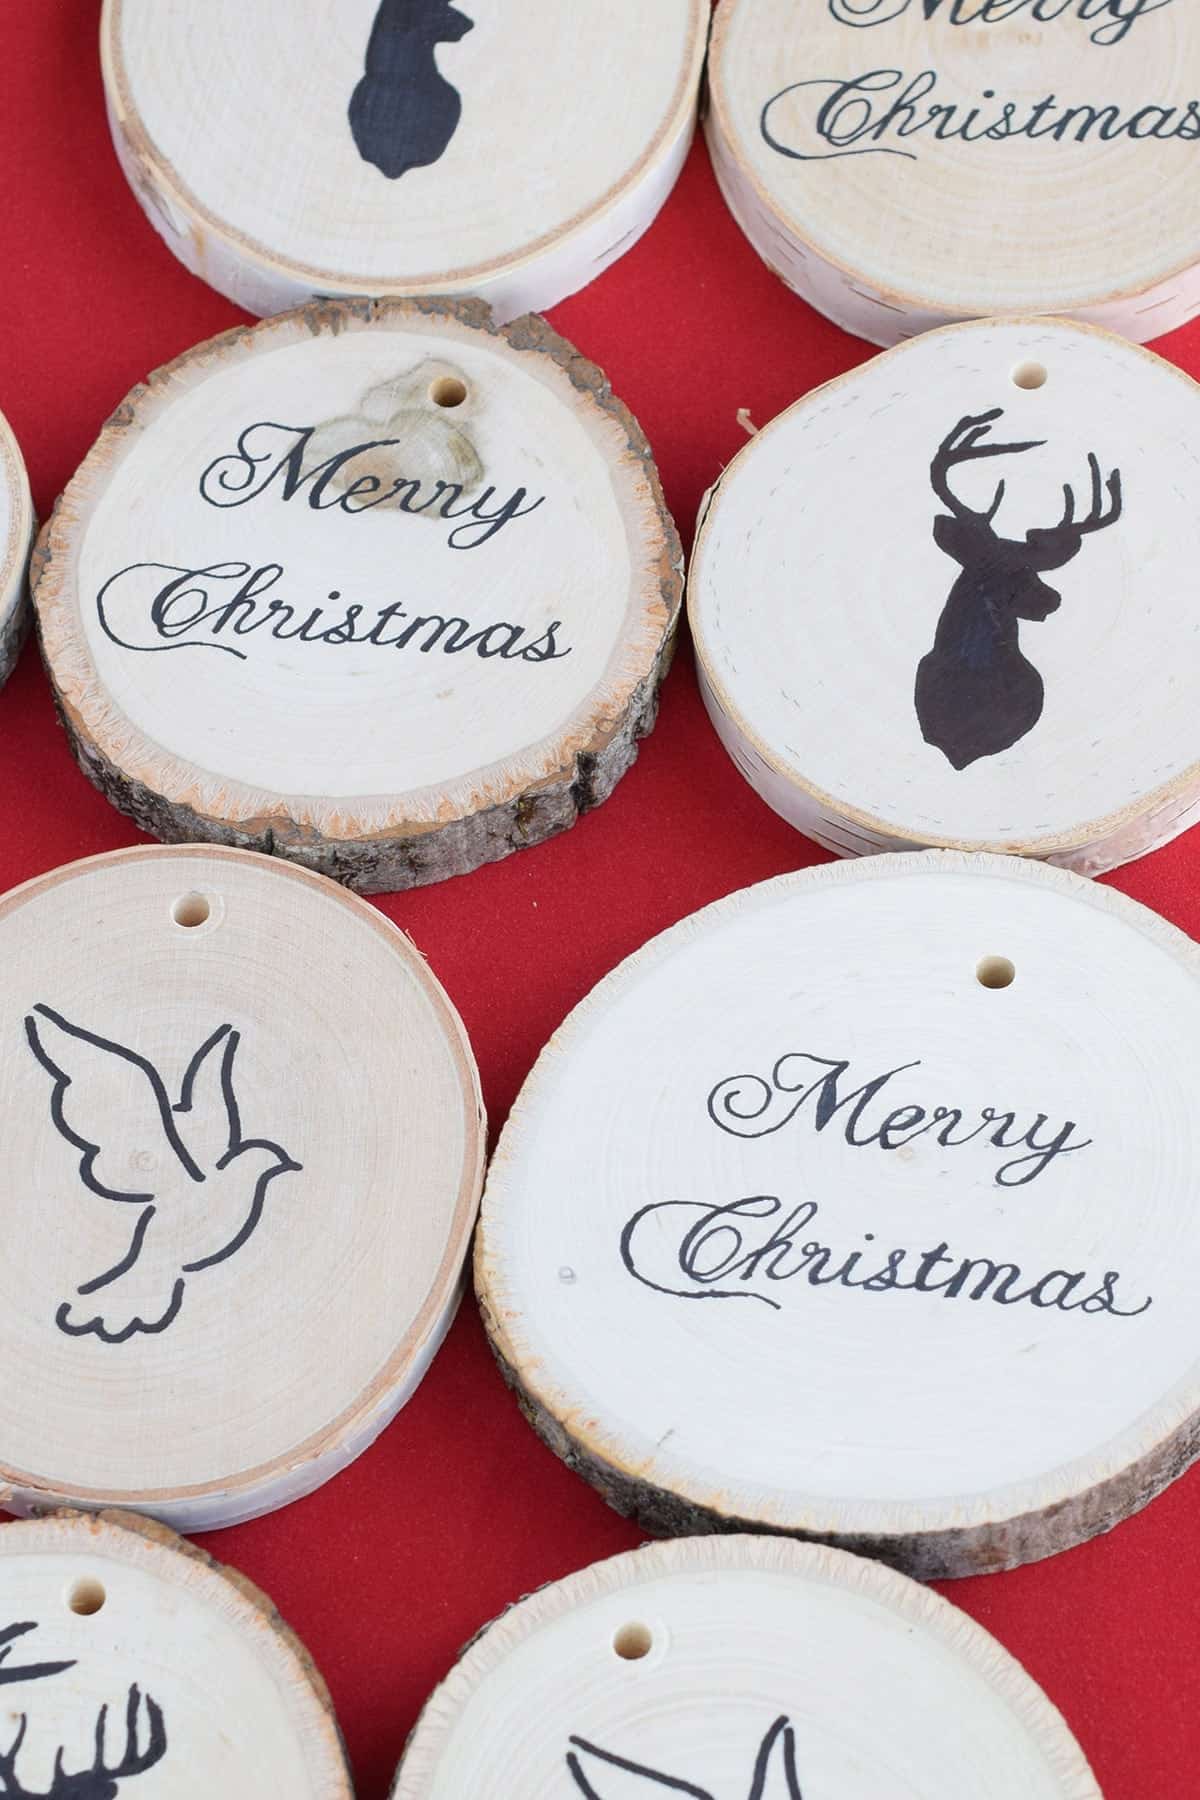
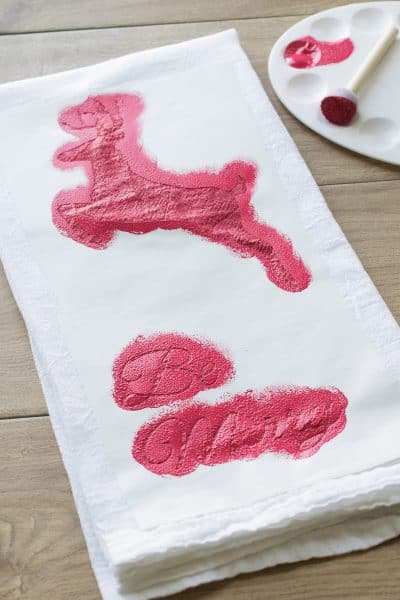
As a bonus, I am sharing the files for your personal use to create these beautiful Christmas stencils. There are 3 designs: a leaping deer, Christmas trees, and ornaments. Each design has text and can be interchanged as you see fit.
For Silhouette and the Silhouette Studio Software, you can download the Cut Files here. The Christmas tea towel stencils are also available as a PDF:
Leaping Deer and Be Merry // Christmas Trees and Season’s Greetings // Ornaments and Believe
Recommended Supplies
- Sack Flour or Tea Towels
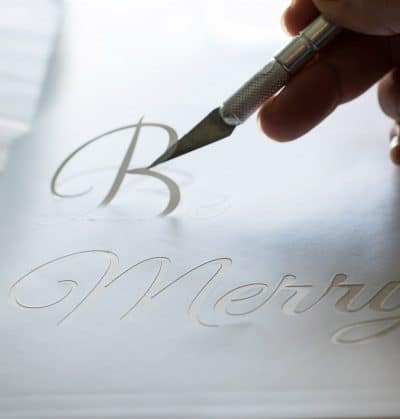
- Craft Knife (only if you do not have a cutting machine like this)
- Adhesive Backed Vinyl or Adhesive Stencil Material
- Fabric Paint
- Foam paint brush (a dauber style or stencil brush is best)
- Cardboard or plastic sheeting
Tips for Stenciling
The full tutorial is at the bottom of this post so you can print it out with step-by-step photos, but here are some more in-depth tips.
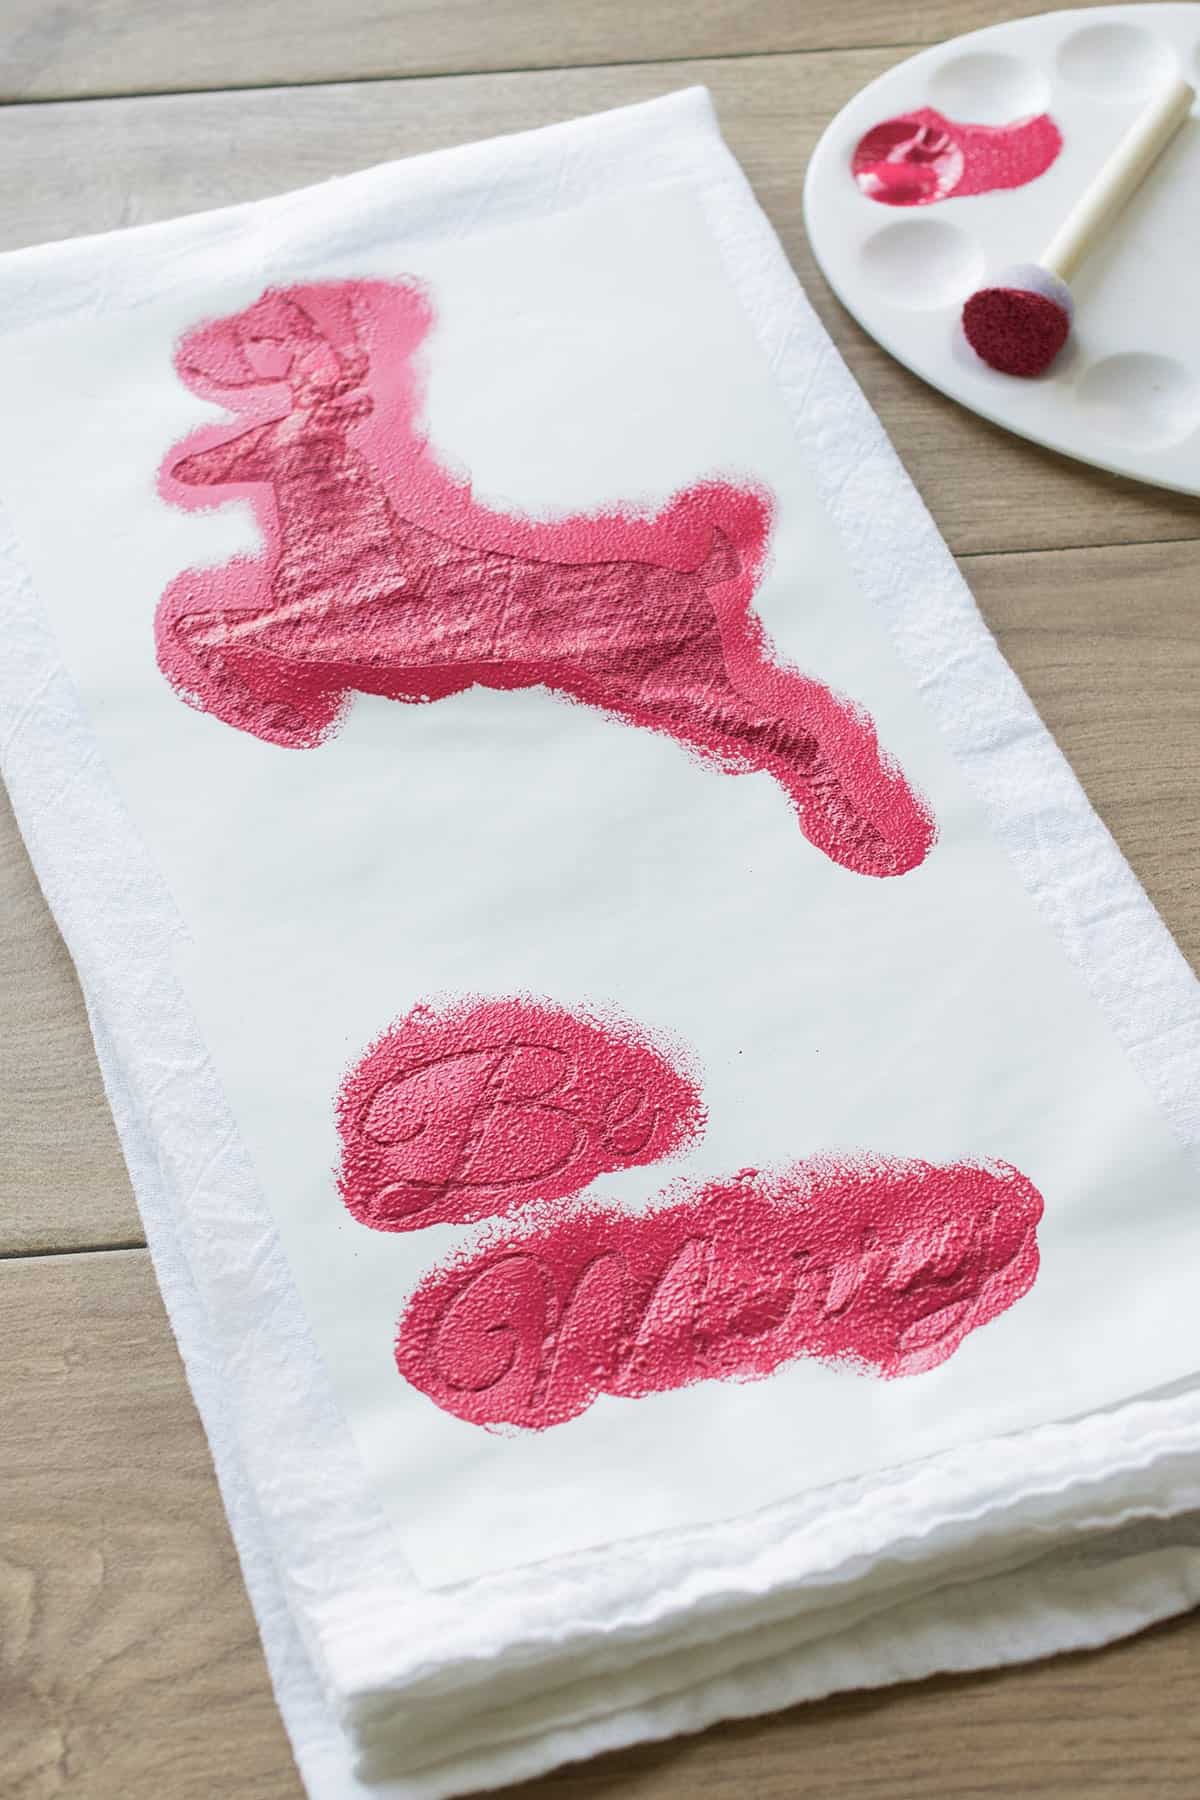
- Make sure you are using an upright stamping motion, or you risk pushing the paint under the stencil.
- Work from the inside of the design to the outer edge.
- After you finish stenciling, leave the stencil in place and allow to dry about 1 hour.
- Touch up areas. You can see better as the towel is drying.
- The fabric paint should be machine washable. Check the instructions on your fabric paint to be sure.
- Heat set your towels so the paint bonds better. This just means ironing them very gently after dry, like with our t-shirt image transfer technique.
More Christmas Craft Ideas
- Free Printable Plaid Gift Tags and More Free Christmas Tags
- DIY Clay Ornament Craft Ideas
- Christmas Tree Advent Calendar
- Star Tree Topper Template
- Unique Gift-Wrapping Ideas
- or Check Out Our Holiday Home Tour
Frequently asked questions
Yes, they’ll need to be heat set after drying for at least 24 hours to make the paint permanent. Use a dry iron at medium-high heat on the back side of your towel. Iron in small sections for 3-5 minutes.
Check the fabric paint label for contraindications . Generally, once the paint has been heat set, they should be machine washable. Make sure to use the gentle cycle, and either line dry or machine dry them on delicate setting.
Acrylic paint can be used on fabric. Wash & dry your fabric beforehand to ensure longevity and to prevent fabric bleed. Basic acrylic paint is colorfast on fabric once it's dry. Dark paint colors make the bes visual impact. You could also try using a light paint color on a darker-colored tea towel.

Grab our free series "Weekend Home Projects that will Transform Your Life" Sign up below to receive updates including free printables, organization tips, home improvement projects, recipes and more! |
More Stencil and Transfer Crafts


PS I love seeing your creations! Be sure to take a photo and tag #cravingcreative on Instagram! You can also stay in touch with me through following me on Instagram, Pinterest, and subscribing to the newsletter!
Christmas Tea Towels
Tools
- Craft knife
- Craft Cutting Machine
Supplies
- 3 Towels Sack Flour or Tea Towels
- 3 ft Adhesive Stencil Material
- Fabric Paint
- 1 Stencil Brush or Paint Dauber brush
- Cardboard as a backing for the design
- Stencils linked below in notes section
Instructions
- Wash and iron your towels. Fold the towel so that the stencil is placed where you want it to be. Slide a piece of cardboard or plastic sheeting under the area you will be stenciling. This prevents bleed through and gives a harder surface to stamp on.

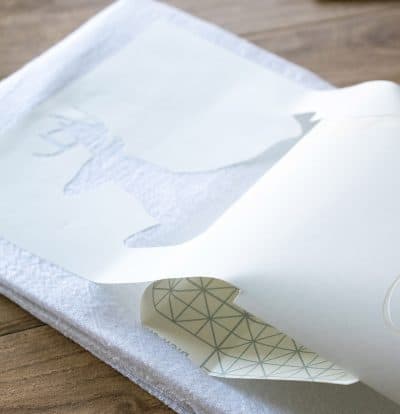
- Using vinyl or other adhesive stencil material, cut the images with either a cutting machine or with a craft knife. Peel off the negative areas where you want the paint to be and lay the stencil into place. I like to roll from the top down to prevent mistakes like the paper sticking to itself. Press well on the edges for a good bond.

- Using a paint dauber or stencil brush, apply the paint over the stencil. Use an upright stamping motion and don't load too much paint on the brush, or you risk pushing the paint under the stencil.

- After it's mostly dry, peel the stencil material off and remove the cardboard backing.

Jean says
Can I use this pattern on a cricut machine?
Rachel says
You definitely can. The cut files are for silhouette studio software since that is what I have, but they may be able to be converted. In addition, I know that I have converted pdfs to work with my cutting machine using the trace feature.
Carrie @ curlycraftymom says
These turned out nicely! I am actually working on a similar project with my Silhouette for a dish towel for my wine cart. I am worried about it bleeding under the vinyl stencil. I’ll use your tips, thanks!
Carrie
curlycraftymom.com
Elise says
These are beautiful!!! I think I will have to make a dozen sets – one for each monthly holiday!!! 🙂
Leslie says
These are too cute! I haven’t used my silhouette machine in forever, like it;s been months. This is a fun project! It makes me want to play around with mine. I can’t figure out how to cut vinyl yet though.