• Skip to primary navigation
  • Skip to main content
  • Skip to primary sidebar
  • Home
  • DIY Home Projects
  • Recipes
  • Spring
  • About

Craving Some Creativity logo

menu icon
go to homepage
search icon
Homepage link
  • DIY Home Projects
  • Home Tour
  • Recipes
  • About
  • Free Email Series
    • Facebook
    • Instagram
    • Pinterest
  • ×

    Home » Home Remodeling » Painting

    Published: Apr 2, 2022 · Modified: Nov 12, 2022 by Rachel

    DIY Welcome Sign for Porch

    This post may contain affiliate links. Read my disclosure.
    343 shares
    • Share
    • Tweet
    Jump to Tutorial Print Tutorial

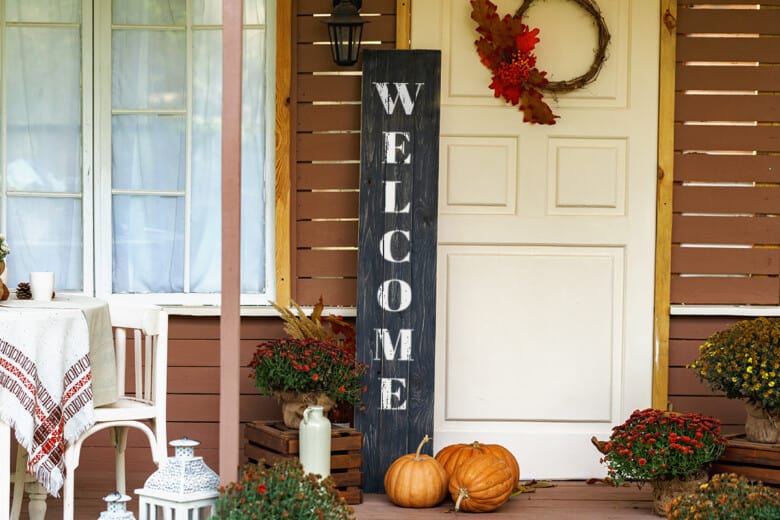
    Step-by-step tutorial for DIY Welcome Sign that is weather resistant and adds instant charm to your outdoor space. This easy and inexpensive wood porch sign that requires NO special tools or machines and can be reversed for the seasons or holidays.

    Blue front door on red brick house with planters on either side.
    Contents show
    1 Materials and Supplies
    2 Where to get Letters for Stencils
    3 More Sign How-Tos you May Like
    4 Frequently Asked Questions
    5 DIY Welcome Sign for Porch Designs
    6 DIY Welcome Sign for Porches
    6.1 Tools
    6.2 Supplies
    6.3 Instructions
    6.4 Notes

    It’s officially Spring! Buds are blooming, birds are chirping, and we had an errant snow/hail shower on Saturday. Yep, sounds about right.

    The milder temperatures and new pops of colorful landscape have inspired my annual spring cleaning to commence. As you can imagine, my husband and son are thrilled. We’ve spent our last few weekends cleaning up our front door and deck area each spring.

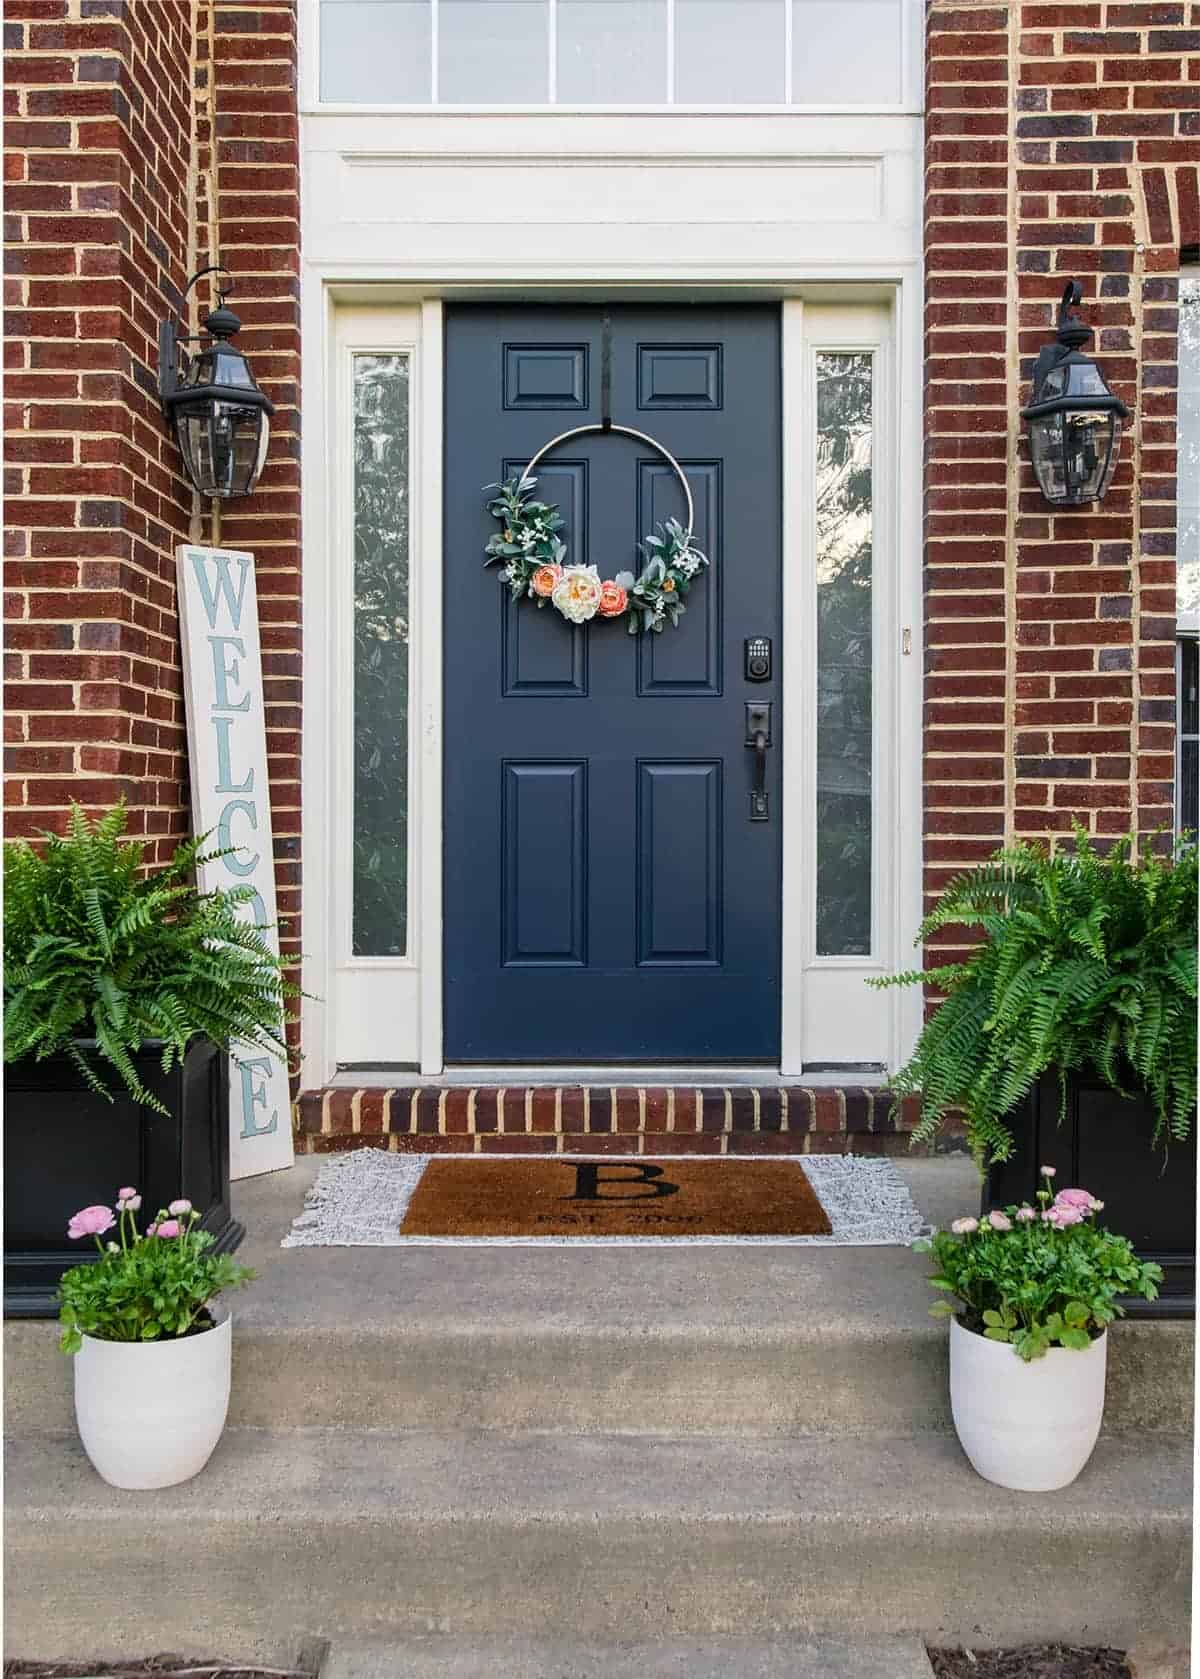
    A simple way to invigorate the front porch is with a warm DIY welcome sign to greet friends and neighbors. This is an easy, inexpensive addition to any outdoor entryway that adds some charm. Pair with spring greenery in these adorable DIY Concrete Planters for an instant spring facelift.

    Materials and Supplies

    • Letter Stencil
    • Pencil or Erasable Marker
    • Paint or Stain for Outdoor Use
    • Paint brush
    • A Pine board rated for outdoor use like a decking board

    Much like a recipe, the tutorial for making your own sign is at the bottom of this post in a tutorial card.

    Where to get Letters for Stencils

    There are several ways you can cut a letter stencil.

    1. Print out large letters from a program like Microsoft Word. Cut them out or use a simple transfer technique.
    2. A cutting machine such as a Silhouette Cameo or Cricut.
    3. Purchase a large lettering stencil. There are tons to choose from.
    4. Use wood letter blocks from the craft store.

    More Sign How-Tos you May Like

    How to Make Outdoor Wood Signs
    How to build a outdoor wood sign including tips for for creating a frame, weather proofing, sealing, and painting so you can have your own unique creation for your home.
    Outdoor Wood Sign Tutorial
    Halloween yard sign with witch's apothecary shop motif hanging on a frame.
    How To Make Pallet Signs
    This detailed tutorial on how to make large DIY pallet signs will walk you through building, painting, and sealing using basic supplies from the home improvement store.
    How To Make Pallet Signs
    Chalkboard Distress Merry and Bright Christmas Sign using recycled pallet wood.

    Frequently Asked Questions

    What type of wood should I use for a porch sign?

    It depends on where you will place it. For uncovered spaces, I like to use wood rated for outdoors such as pressure treated pine decking boards or 2x6s. For covered spaces that aren’t directly exposed to elements, you have a little more flexibility and can use scrap wood. I would recommend sealing the ends of the boards.

    What size is a porch sign?

    They can vary, but most are 4-6ft long, with five feet being the most common height, and six to ten inches wide.

    Do I need to seal my sign?

    If you use a suitable outdoor stain or paint, there is no reason to add an extra sealer.

    How do I prevent bleeding under the stencil?

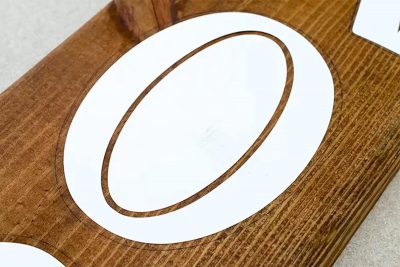
    Here is a great tip! Paint around the edges with the basecoat color and let it dry before painting your actual stencil color. As long as the stencil lays flat, the base color makes a seal under the edges of your stencil. For example, a black sign with white letters. Seat the edges with black paint first and then paint your stencil color, white.

    What are some good fonts to use?

    My favorite fonts to use that are free for personal use include serifs like Abril FatFace, Elephant, and Imprint Shadow.

    Can you have a sign on an uncovered porch?

    I have had a wood sign next to our uncovered front door for years (5+). The paint has cracked in some places, but it sort of adds to the charm now and it has held up very well.

    DIY Welcome Sign for Porch Designs

    In addition to various fonts and styles, you can add some embellishments to your sign such as:

    • Silk Flowers
    • Wooden shapes
    • Ribbon or Bows
    • Small Wreaths
    • Twine
    • Picture Frames

    I’ve made several over the years for both our front stoop area and for friends.

    DIY wood welcome sign for porch in white with light blue lettering.

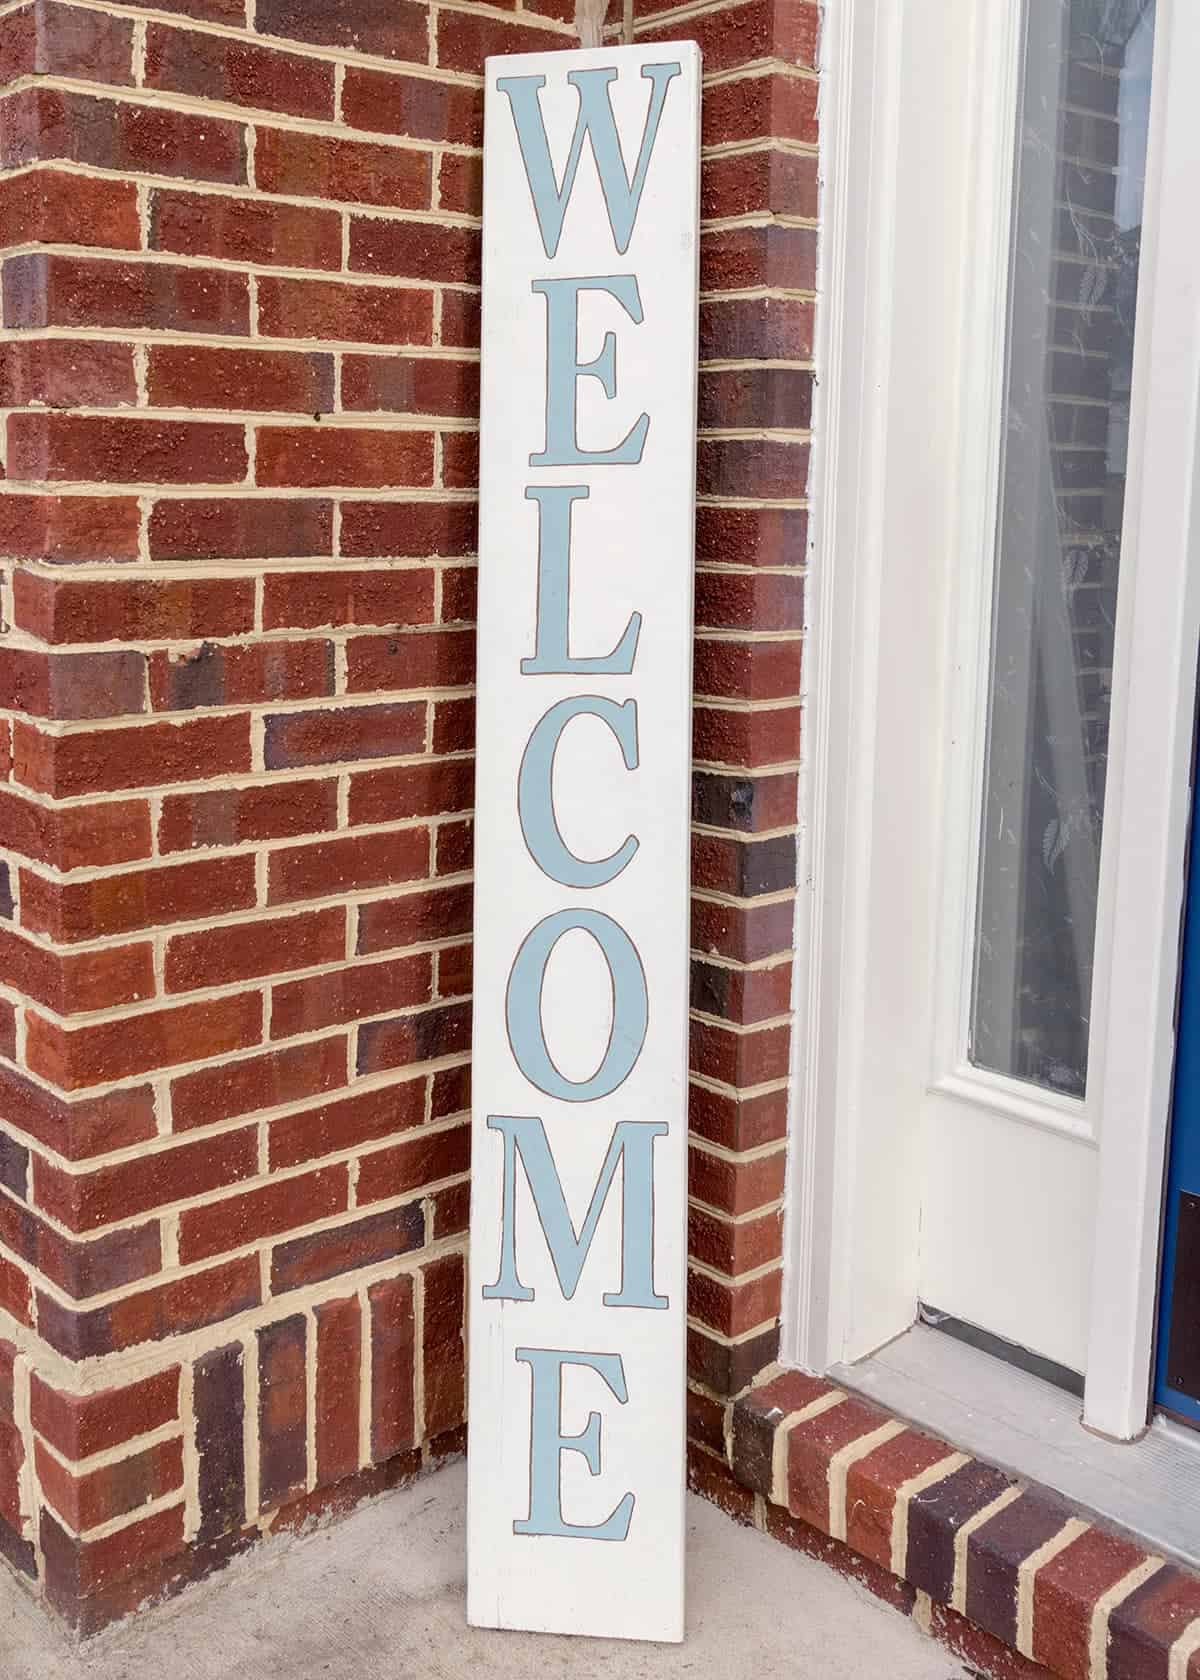
    This one has a basecoat of stain. You can only see the stain around the edges of the letters. I used white exterior paint (a sample can size) over the top and some leftover baby blue.

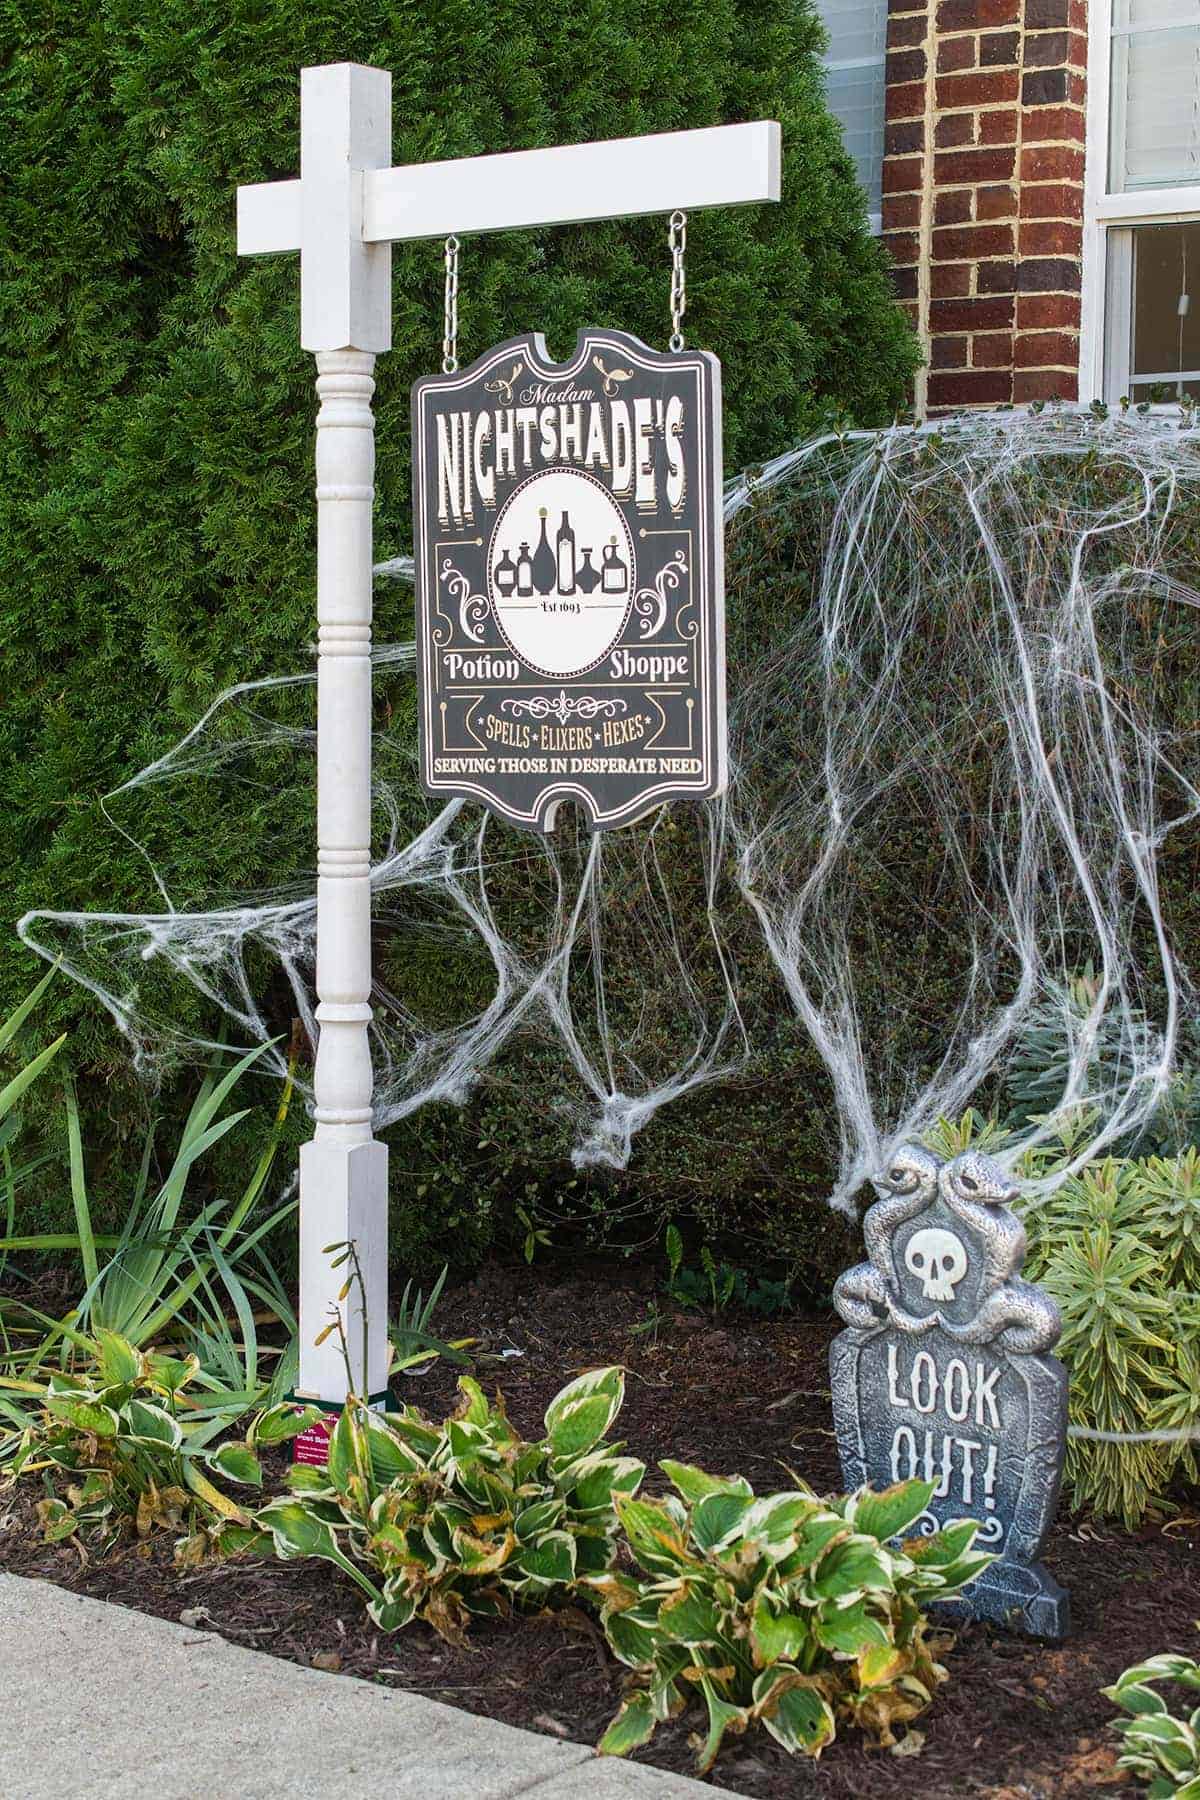
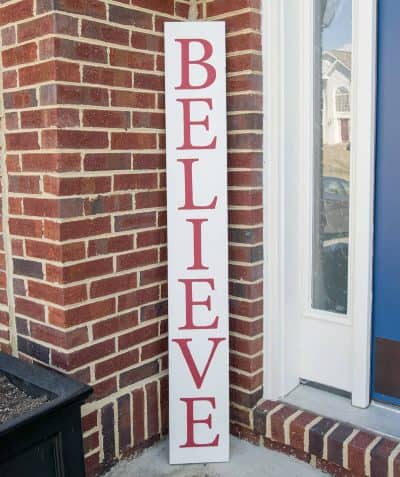
    I especially love to make them reversible for the seasons! My spring Welcome porch sign reverses to a Christmas Believe sign.

    DIY believe Christmas welcome sign in red and white by front door.

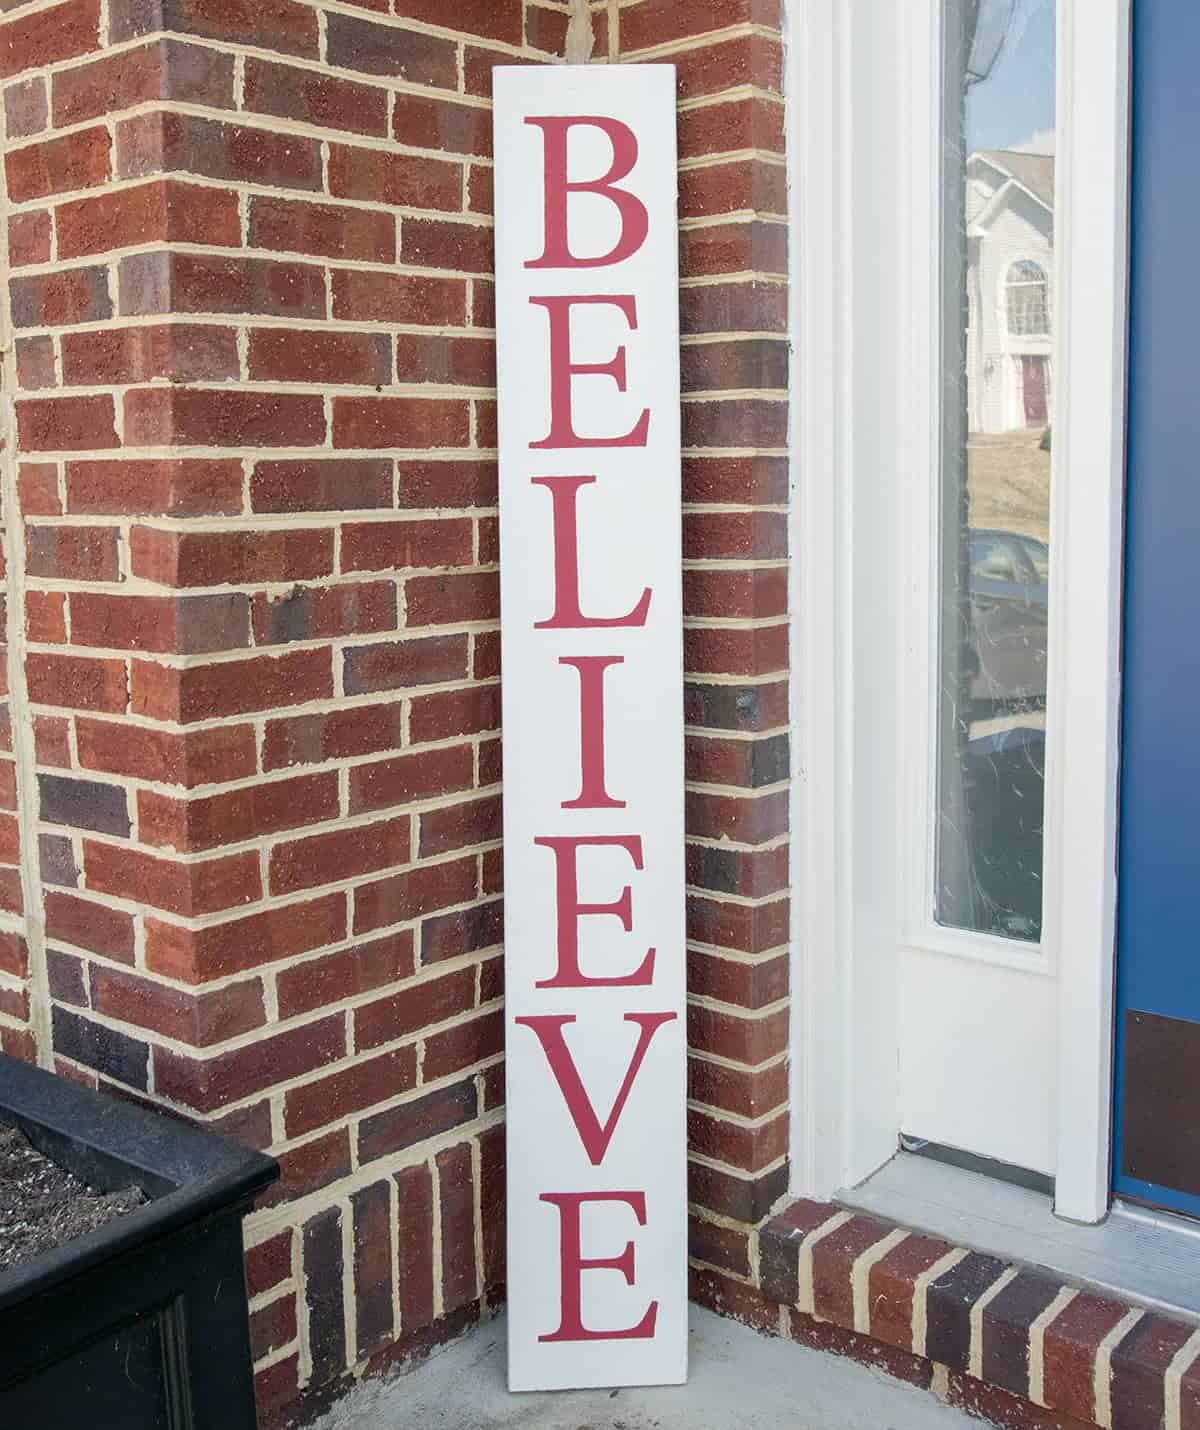
    I love having a different one for each season including fall or even for specific holidays. They are super simple to swap out and don’t require much to store at all.

    Black DIY welcome sign on front porch decorated for fall.

    You can see our Spring Porch Decor HERE.

    Weekend DIY project. A pegboard organizer in the craft room above the desk workspace.

    Grab our free series "Weekend Home Projects that will Transform Your Life"

    Sign up below to receive updates including free printables, organization tips, home improvement projects, recipes and more!

    More Project Ideas You will love

    Traditional wainscoting on the wall with measurements to guide how to space trim.
    How to Install Wainscoting
    Halloween yard sign with witch's apothecary shop motif hanging on a frame.
    How To make Outdoor Signs
    Two chalkboards hung on a wall.
    DIY Wood Wall Decor
    Chalkboard Distress Merry and Bright Christmas Sign using recycled pallet wood.
    DIY Pallet Sign

    PS I love seeing your creations! Be sure to take a photo and tag #cravingcreative on Instagram! You can also stay in touch with me through following me on Instagram, Pinterest, and subscribing to the newsletter!

    Black DIY welcome sign on front porch decorated for fall.

    DIY Welcome Sign for Porches

    How to make a reversible porch sign with no special cutting machine.
    5 from 7 votes
    Print Pin Rate
    Prep Time: 5 minutes
    Project Time: 30 minutes
    Total Time: 35 minutes
    Author: Rachel
    Cost: $15

    Tools

    • Pencil
    • Paint Brush

    Supplies

    • 2 types Paint Your choice of color
    • 1 Stain Your choice of color
    • 1 Lettering Stencil *See notes at the bottom for ideas
    • 1 Pine Deck Board

    Instructions

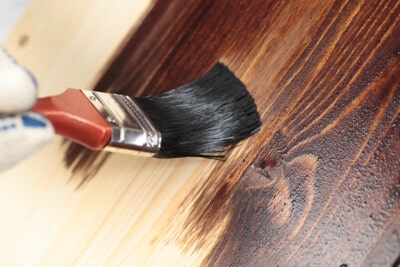
    • Prep the board by sanding smooth and removing any dust. Stain or paint a basecoat. Use a quality primer for paint as well. Allow to dry at least 24-72 hours before adding the stencil or paint color.
      Using a paintbrush to add stain to wood.
    • Lay the stencil in place. You can either trace the stencil or paint over top.
      Stencil laid on top of stained wood.
    • You can also add a reverse side with a different style or season. Allow to dry completely before putting outside.
      An outdoor Christmas porch sign that has Believe written down the front.

    Notes

    There are several ways you can cut a letter stencil.
    1. Print out large letters from a program like Microsoft Word. Cut them out or use a simple transfer technique.
    2. A cutting machine such as a Silhouette Cameo or Cricut.
    3. Purchase a large lettering stencil. There are tons to choose from.
    4. Use wood letter blocks from the craft store.
    Tried this Project? Tag me Today!Mention @CravingCreative or tag #CravingSomeCreativity!
    « Kitchen Island Makeover: Adding Trim
    DIY Embroidery Hoop Wreath »

    Reader Interactions

    Comments

      Leave a Reply Cancel reply

      Your email address will not be published. Required fields are marked *

      Recipe Rating


    1. Jamie Lott says

      March 01, 2017 at 10:38 am

      5 stars
      Reversible! I LOVE that!!

      Reply
    2. Audrey Stewart says

      February 20, 2017 at 2:51 pm

      5 stars
      I would love to win this. I want the brights. I have a lot of things I got at a yard sale that need painting.

      Reply
      • Rachel says

        February 21, 2017 at 10:25 am

        Oh, I bet you found some fun things at yard sales. Good luck!

        Reply
    3. Lydi Out Loud says

      February 20, 2017 at 12:20 pm

      5 stars
      I love that you made it 2-sided, great idea!

      Reply
      • Rachel says

        February 21, 2017 at 10:24 am

        Thank you!

        Reply
      • recruitmentagenciesnepal says

        February 21, 2017 at 10:50 pm

        5 stars
        I love these too

        Reply

    Primary Sidebar

    Headshot of Rachel Beach, the author of Craving Some Creativity.

    Hi, I'm Rachel!

    Creativity makes me energized and fearless. My husband and I have been renovating homes for over a decade and love to share our passion for all things home. Follow along for remodeling tutorials, recipes, and entertaining ideas sure to inspire!

    More about me →


    Popular Projects

    • Midnight blue vanity with brass handles in a grey and white bathroom.
      How to Paint a Bathroom Cabinet the Easy Way
    • Man holding up baseboards for a corner.
      How To Caulk Baseboards like a Pro
    • Behr Midnight blue painted cabinets in a classic old world kitchen with modern white accents and backsplash. Wicker chairs, copper light fixtures, and wood floors add warmth.
      The Best Blue and Navy Kitchen Cabinet Paint Colors
    • Organized linen closet with white towels and grey bins on wire shelves.
      How To Beautifully Organize Your Linen Closet
    • White painted kitchen cabinets with stainless drawer pulls.
      How To Paint Cabinets with a Sprayer
    • Completed oak painted stair railing with black handrail and white balusters.
      How to Paint Stair Railings that Last

    Featured On

    Collection of Expert Features including Better Homes and Gardens Magazine, Apartment Therapy, Angie's List, This Old House Magazine, The Huffington Post, Delish, Wayfair, and Real Simple Magazine.

    Most Popular Recipes

    • Restaurant style Mexican white Cheese Dip with pico de gallo topping in wooden bowl on dish cloth with chips.
      Mexican White Cheese Dip {Queso Blanco}
    • Ricotta Stuffed Shells with Sausage makes an easy italian meal for the whole family!
      The BEST Sausage Stuffed Shells
    • Strawberry Poppyseed salad on a platter with blueberries, mandarin oranges, pecans, red onions, and grilled chicken.
      Strawberry Poppyseed Salad (Panera Copycat)
    • Closeup of blueberry muffins on a table.
      Ultimate Lemon Blueberry Muffins
    • Shrimp etouffee in a bowl on a table.
      Shrimp Etouffee {My Louisiana Family Recipe}
    • Two glasses of blackberry sangria with straws on a wood background.
      Blackberry Sangria – Amazing Summer Cocktail Recipe

    Sweet Spring Recipes

    • Stack of lemon bars on parchment paper with top lemon shortbread having a bite removed.
      Lemon Bars
    • Slice of homemade carrot cake on a plate with walnuts sprinkled on top
      Carrot Cake with Pineapple
    • Top down view of Southern Punch Bowl Cake in a trifle bowl.
      Southern Punch Bowl Cake (Potluck Dessert)
    • Key lime pie on blue plate with a slice cut out to show texture.
      Key Lime Pie
    • Strawberries on top of cheesecake layer and rice krispies crust.
      Cheesecake Rice Krispies Bars
    • Banana Chocolate chip muffins in a muffin tin with one muffin broken open to show texture.
      Banana Chocolate Chip Muffins

    Footer

    ↑ back to top

    About

    • Privacy Policy
    • Disclaimer
    • Terms & Conditions
    • Accessibility Policy

    Favorites

    • Blog
    • Shop
    • Our Home

    Contact

    • Contact

    Copyright © 2022 Craving Some Creativity