An easy but effective sketch transfer technique that does not require any special tools. Great for text designs!
There are so many awesome techniques for transferring designs to surfaces such as wood, tile, or painted surface. From stamping candles to making DIY stencils and photo transfer to fabric, they all have their uses.
Sometimes you need something really simple though. Today’s technique is generally the one I use for either text or designs that I want to hand paint or color in some way.
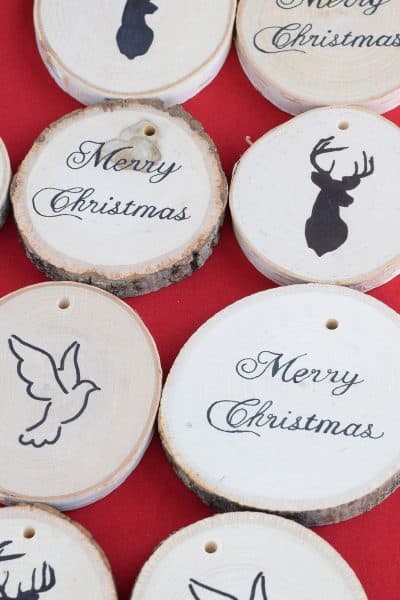
I made several cheap and easy Christmas ornaments, but this works great on things like painting mugs, embroidery patterns, tile, wood, and canvas sketch transfer. I especially love it for when I need a little help hand painting or drawing. There is no residue or worry about the design cracking or fading away.
Transfer Methods
The best method for your project depends largely on what material you are working with and the intricacy of the design transfer.
- Carbon or graphite transfer paper – Today’s technique (below) is best for transferring simple, small designs when you just need an outline. It works great on surfaces you cannot see through with a lightbox.
- Light box – If your material’s transparent, such as glass, place it on the printout, both on top of the light box.
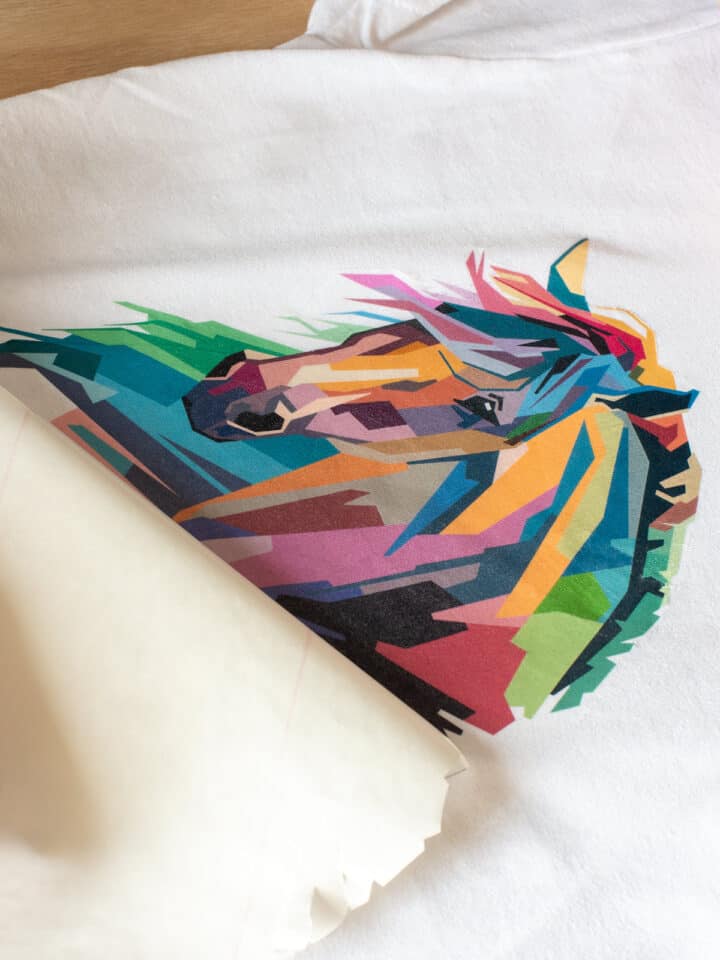
- Iron-on fabric transfer – This is a tutorial for the best methods for transferring images to fabric or other very porous materials.
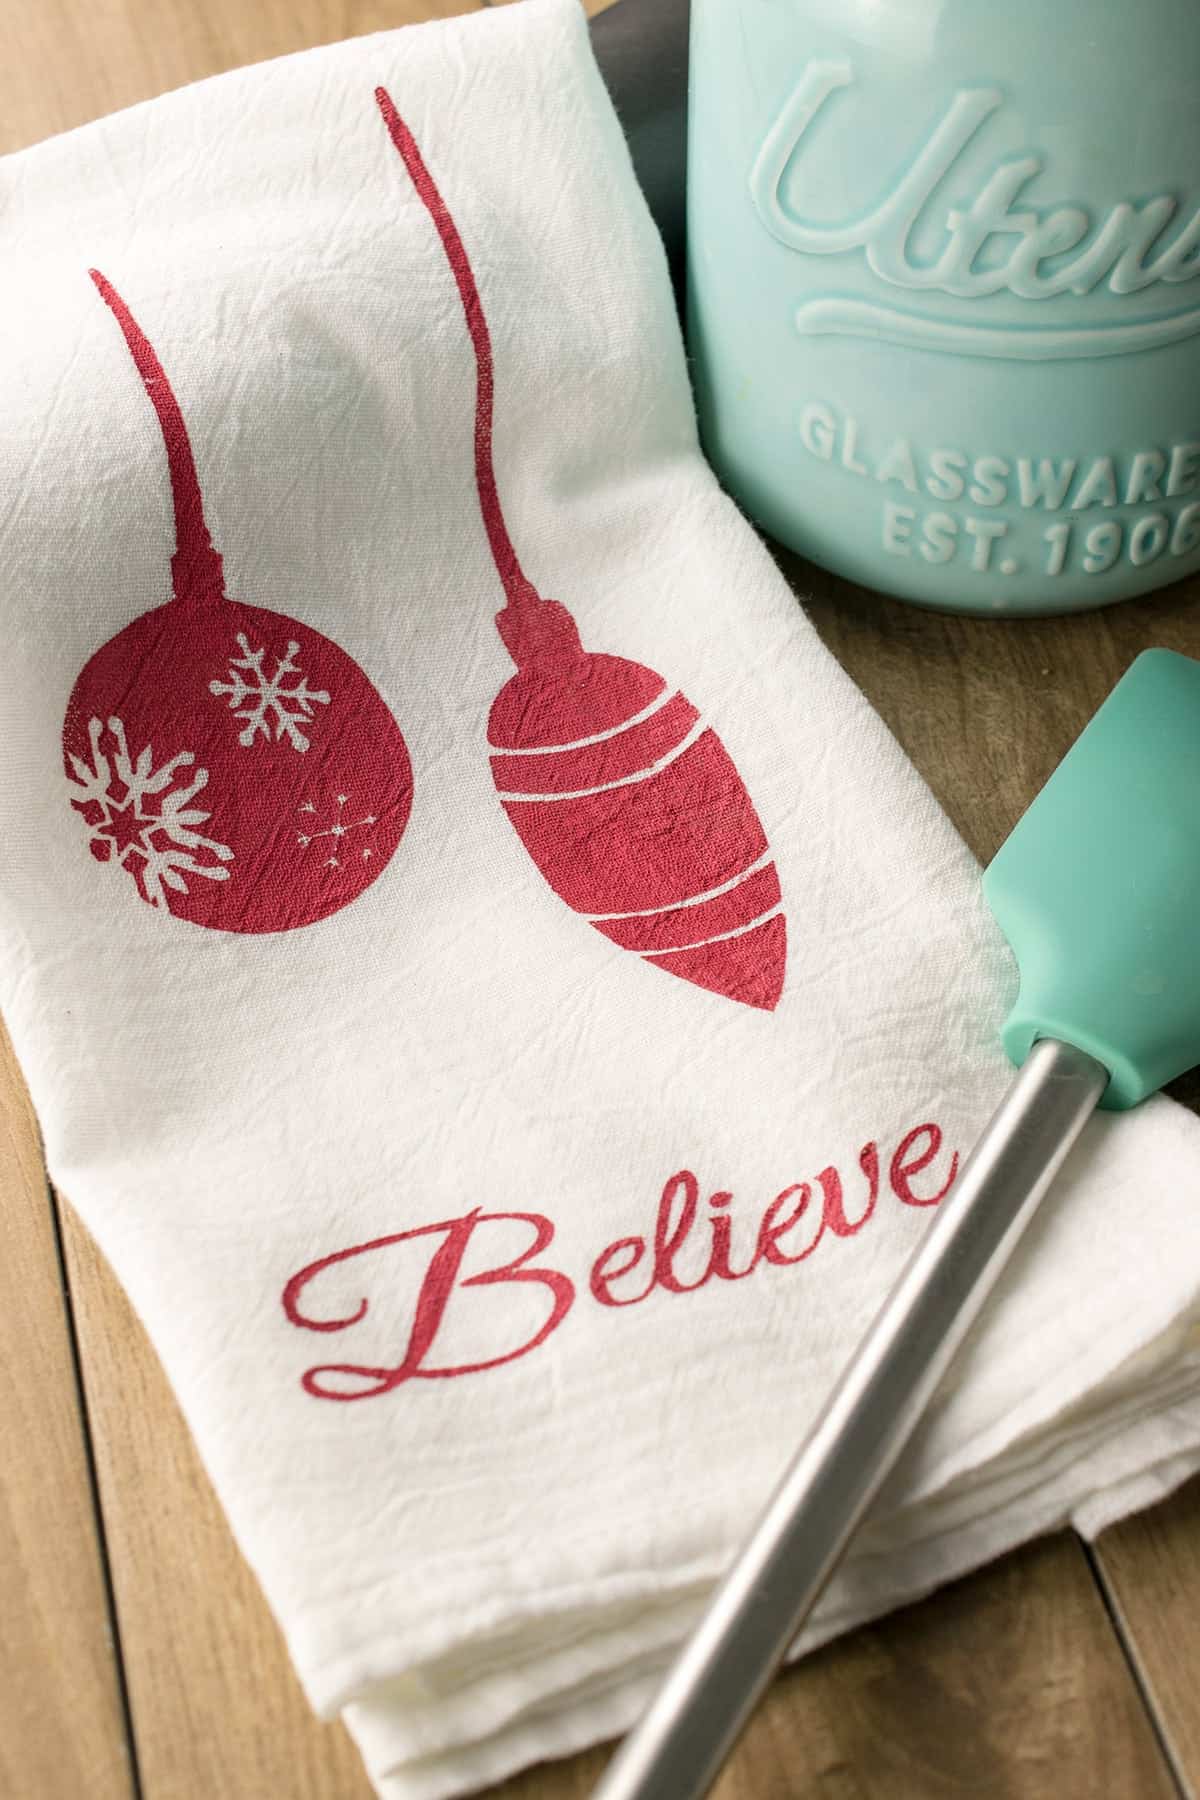
- Stencil Transfer – You can purchase or make your own stencils with a craft cutting machine.
- Easy Etching Tool – This tool works best for materials that can’t be printed like metal or wood.
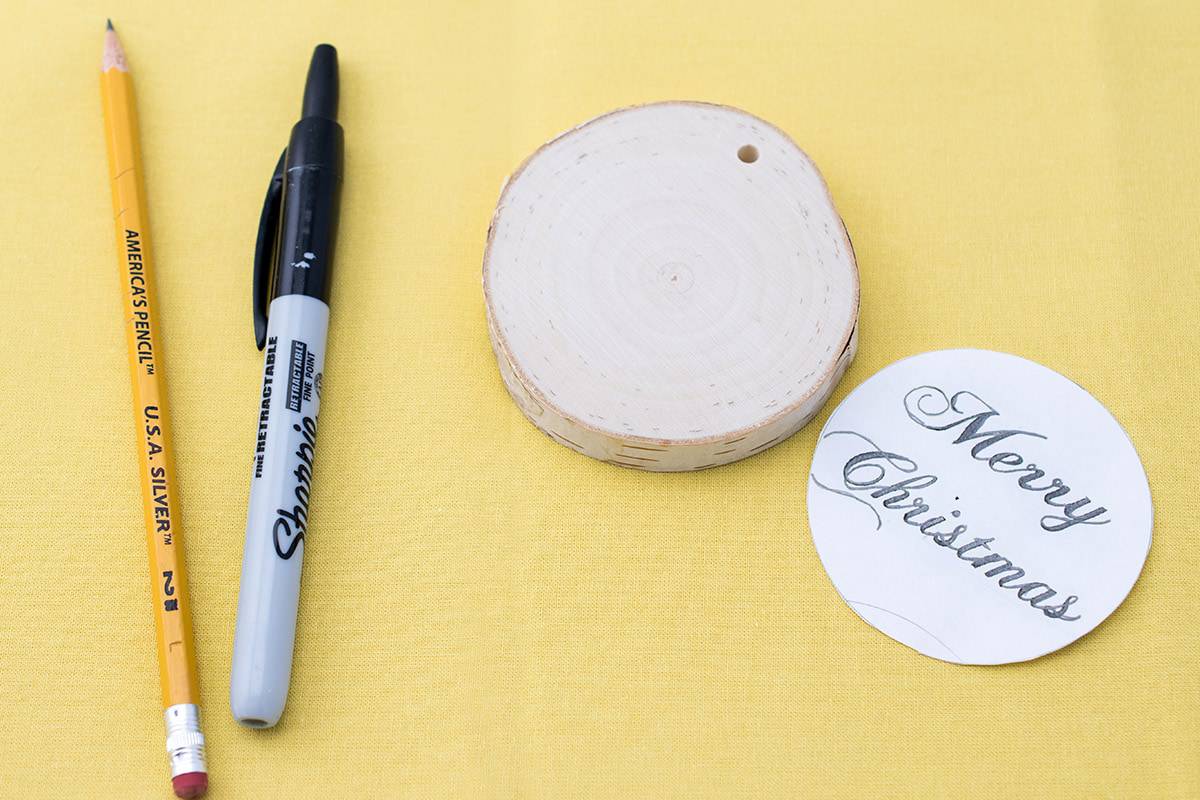
Supplies
- A printer – both laser and inkjet printers are fine.
- Printer Paper or material where you can trace.
- A surface on which you intend to transfer the design.
- Soft Graphite Pencil – a #2 pencil works well. I wouldn’t recommend a mechanical pencil as they are prone to breaking and write very thin.
- Carbon or Graphite Paper – optional, but it will make things much easier and faster.
Using Carbon Paper Transfer
This method is one of the cheapest methods and doesn’t require any special tools once you have your design. It works best for simple silhouette designs or transferring sketches.
Size the image and print. You can use any photo program or even Microsoft Word. I printed it off and I cut a circle in this instance so I could center the image properly.

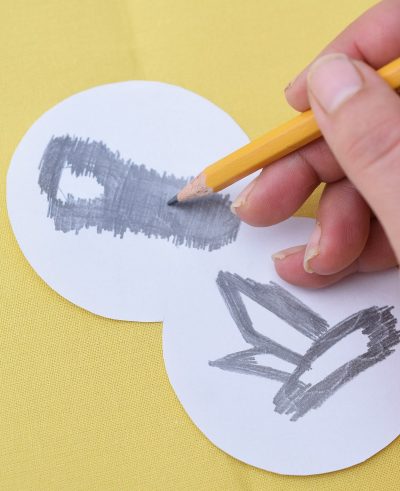
Carboning. If you don’t have carbon or graphite paper, on the backside of the image, color in all of the image with a pencil. Lay the graphite on thick but don’t press too hard or you could stretch the paper and distort the image. (If you have graphite paper, you can just skip this stuff and tell your hands, “You’re welcome”.

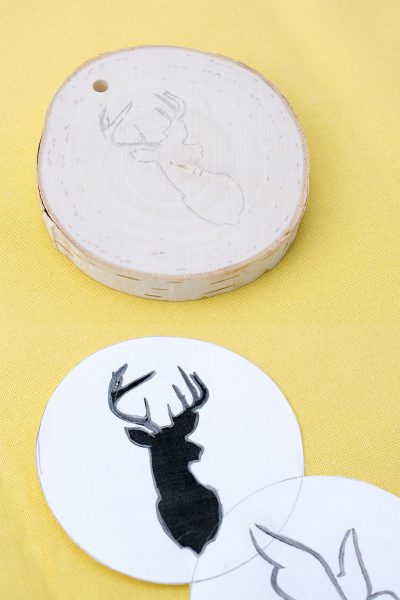
Trace. Now flip the image over and carefully lay it in place onto the surface you want to transfer the design too. Trace an outline or any of the details you want. You should press down with even pressure but be careful to only press with the tracing utensil or pencil.

It transfers beautifully and evenly. The same design can be used to transfer a few more times without needing to reapply the graphite.
The outline is meant to be slightly faint so that you can use colored pencils, markers, or paints to color in the image as you see fit.
Project Tips
Keep your hands clean. If you have a larger image, watch your hands so they don’t touch the graphite. It transfers easily (obviously) so your hands can end up black or smudge all over the paper.
Store any extra designs by sandwiching them between tissue paper or wax paper to keep from rubbing.
Use repositionable painter’s tape to keep your design in place while you draw or color in the backside.
Don’t reverse the image. Some transfer techniques require you to reverse the image before printing. This one DOES NOT.
Interested in learning more ways to transfer an image? Try some of these methods:
- How to Transfer Images onto Fabric
- Stamped Transfer Candle
- Stenciled Tea Towels
- Easy DIY coffee mugs
- DIY Pallet Sign Techniques
FAQs
There are several methods including copying, using graphite paper, and tracing with a lightbox.
This technique is geared towards simple patterns and text that would be painted or otherwise colored over. Photos have a lot of detail, so this method does not transfer the image directly.

Grab our free series "Weekend Home Projects that will Transform Your Life" Sign up below to receive updates including free printables, organization tips, home improvement projects, recipes and more! |
More Image Transfer Crafts you may like:


Design Transfer with Graphite
Tools
- Image for transferring Printing out to size on printer paper is the easiest way.
- Soft Graphite Pencil
- Scissors
Supplies
- Graphite Transfer Paper optional, but recommended
- Printer Paper
- Surface to transfer image
Instructions
- Print your image to size and cut loosely around the design to remove excess. If you don't have carbon or graphite paper, on the backside of the image, color in all of the image with a pencil. (If you have graphite paper, you can just skip laying the graphite.) This works best on a lightbox, but you should be able to see through most printer paper or hold it up to the light.

- Flip the image over and carefully lay it in place onto the surface you want to transfer the design too. Painter's tape can help hold the position. Trace an outline of all the details you want.

- The same design can be used to transfer a few more times without needing to reapply. The outline is meant to be slightly faint so that you can use colored pencils, markers, or paints to color in the image as you see fit.
Tania says
Hey, So many things to learn. I wonder can a transferred design on a Jean jacket be painted with acrylics. If so, how do I protect that paint. Thanks
Rachel says
I cannot speak specifically to protecting acrylic paints since I find them likely to crack on fabric. However, I do have some tips on transferring images onto fabric and washing.
Magdalena Hartley says
You are very smart lady Rachel, we have been renovating houses and flats
In U K. For 10 years, now we are home in Australia, we are retired, so I know how hard work it is , we renovated everything our selfs, and we loved it.
Now I am into art Painting,making earrings, Chanel pillowcases atc. My hobbies are keeping me very busy and I don’t get bored ,I love it.
Regards Magdalena.