Add storage space to your laundry room with this affordable makeover. Learn how to install cabinets and shelves yourself in the laundry room to store detergents, cleaning supplies, and other laundry room items for a bright, clean, and organized space.
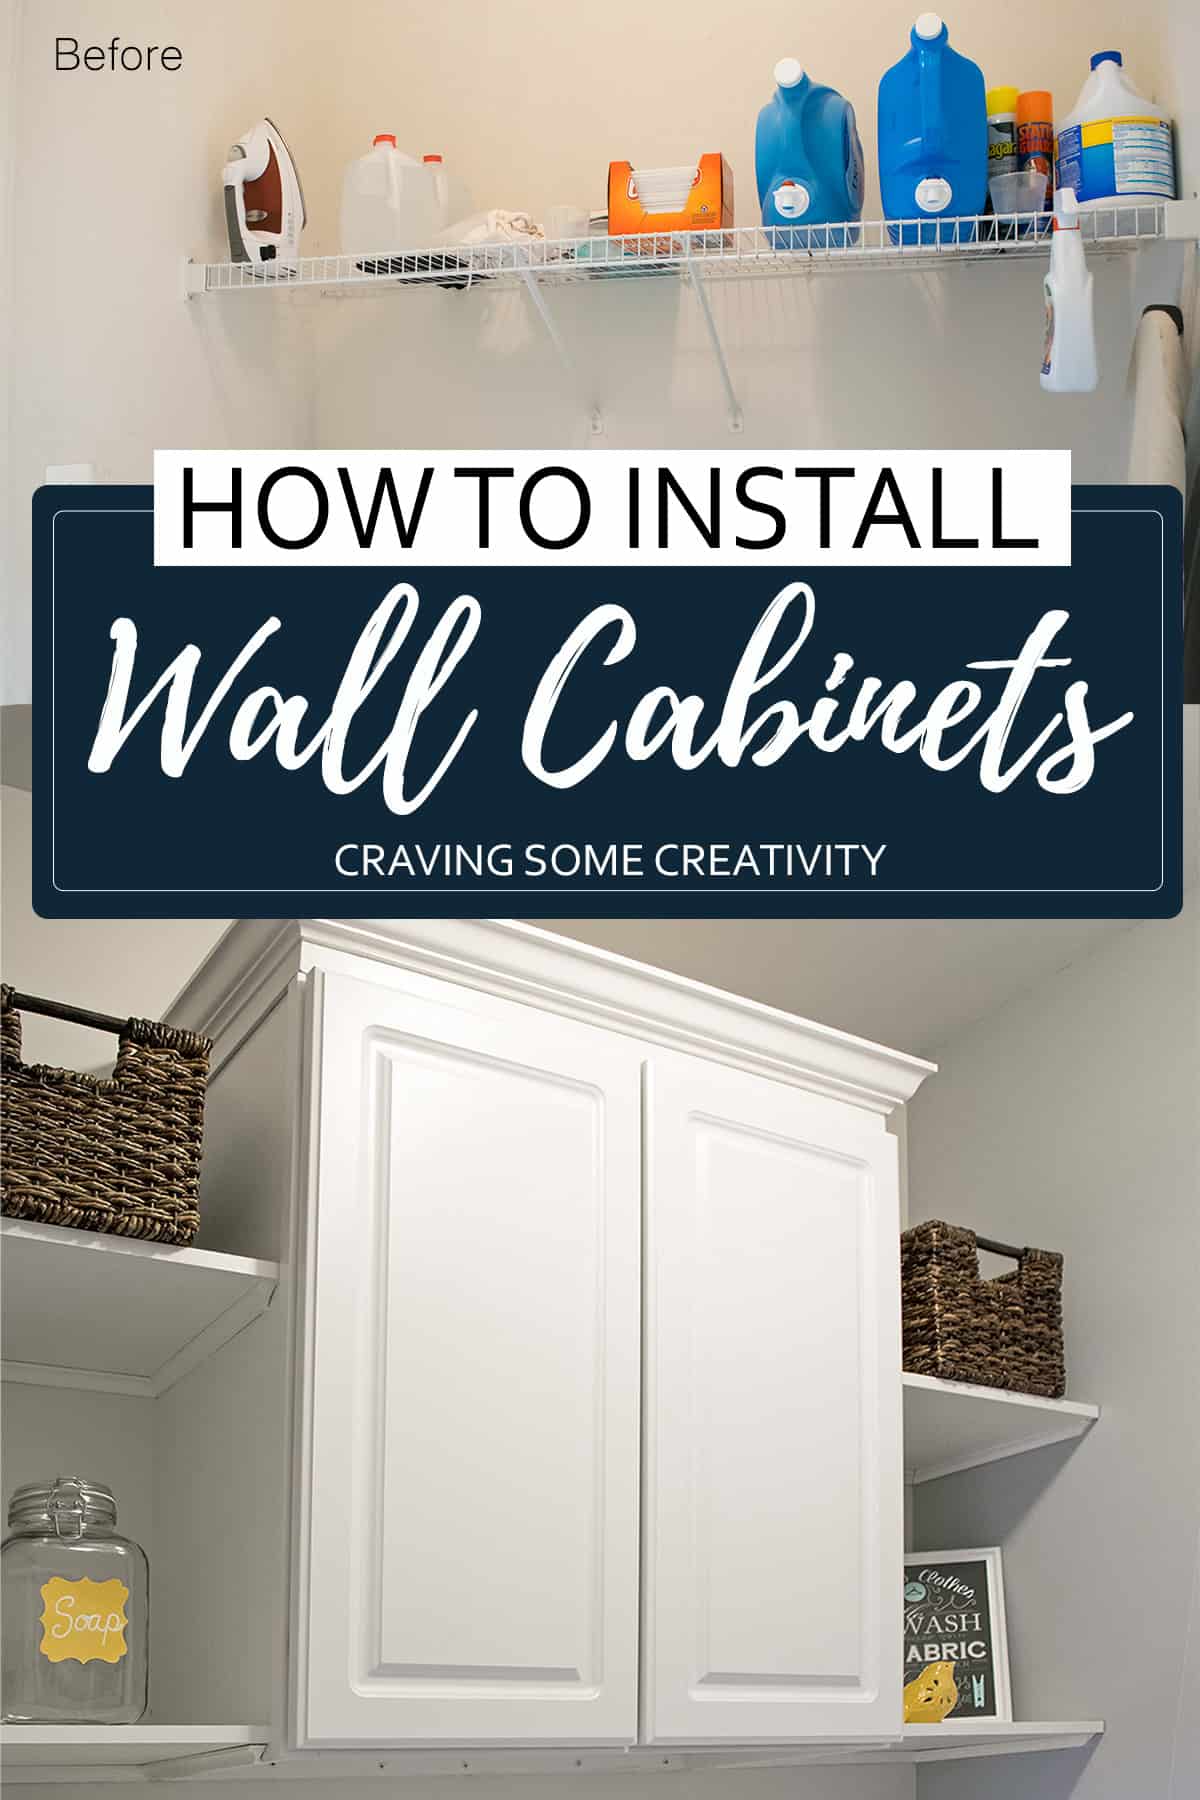
Whether you have a small laundry closet or a dark basement, installing closed cabinetry adds a sleek style while open shelving is a convenient workspace. Even better, including a mix maximizes storage space to it’s fullest potential.
Truthfully, laundry room cabinets boost function in your washer-dryer space while providing streamlined organization and a polished look. I am thankful to anything that makes laundry day feel like less of a chore.
We often get questions about our design builds. So, I thought I would take your though our design process, step-by-step of how to install cabinets in a laundry room, and answer many of the questions we have received about this affordable makeover.
Before the Laundry Room Makeover
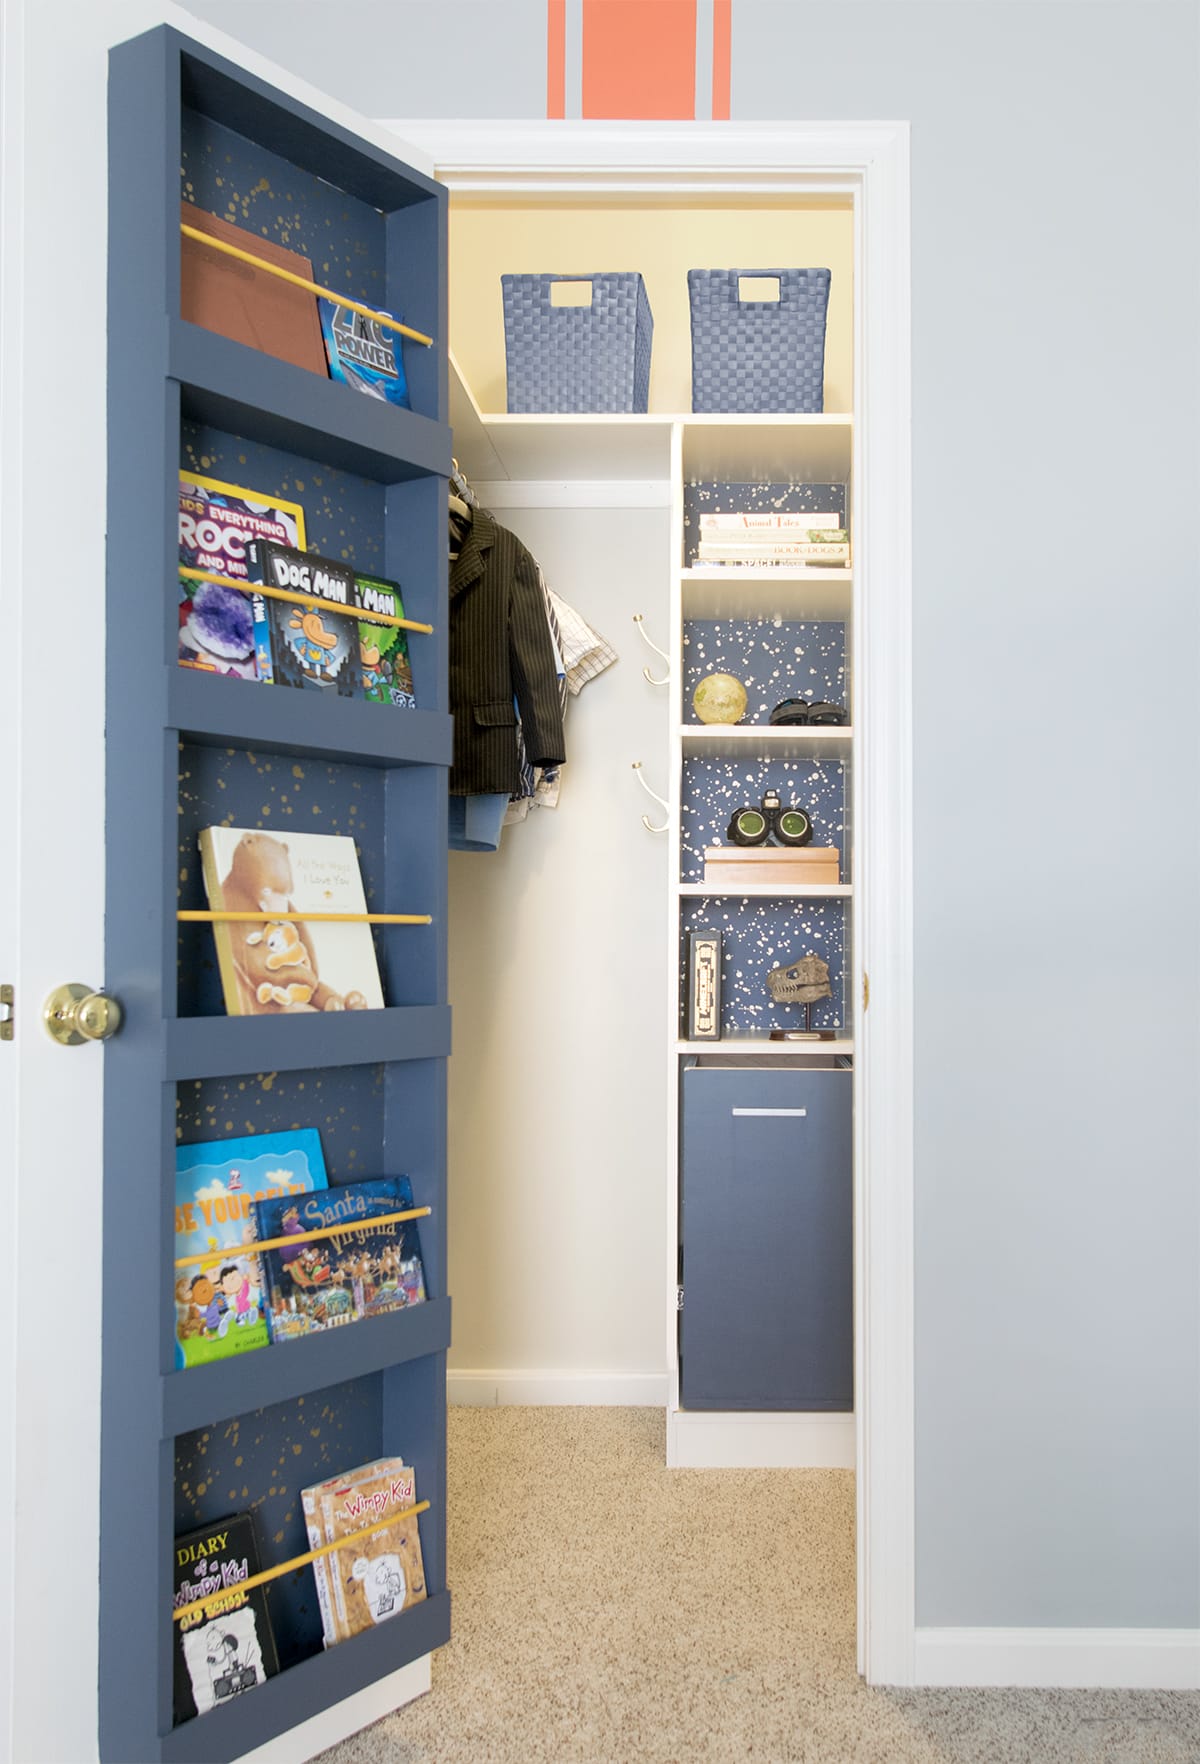
Let’s start with the “Before”. This is the condition in which we purchased the house:
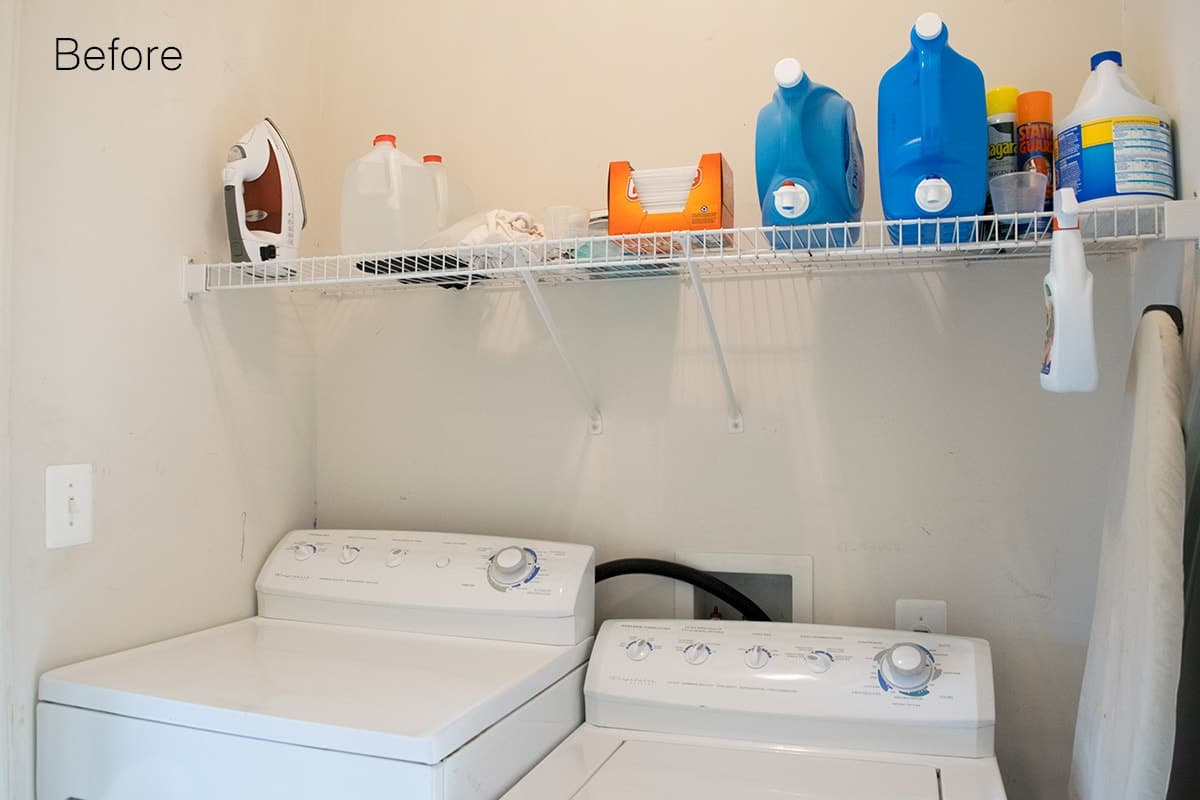
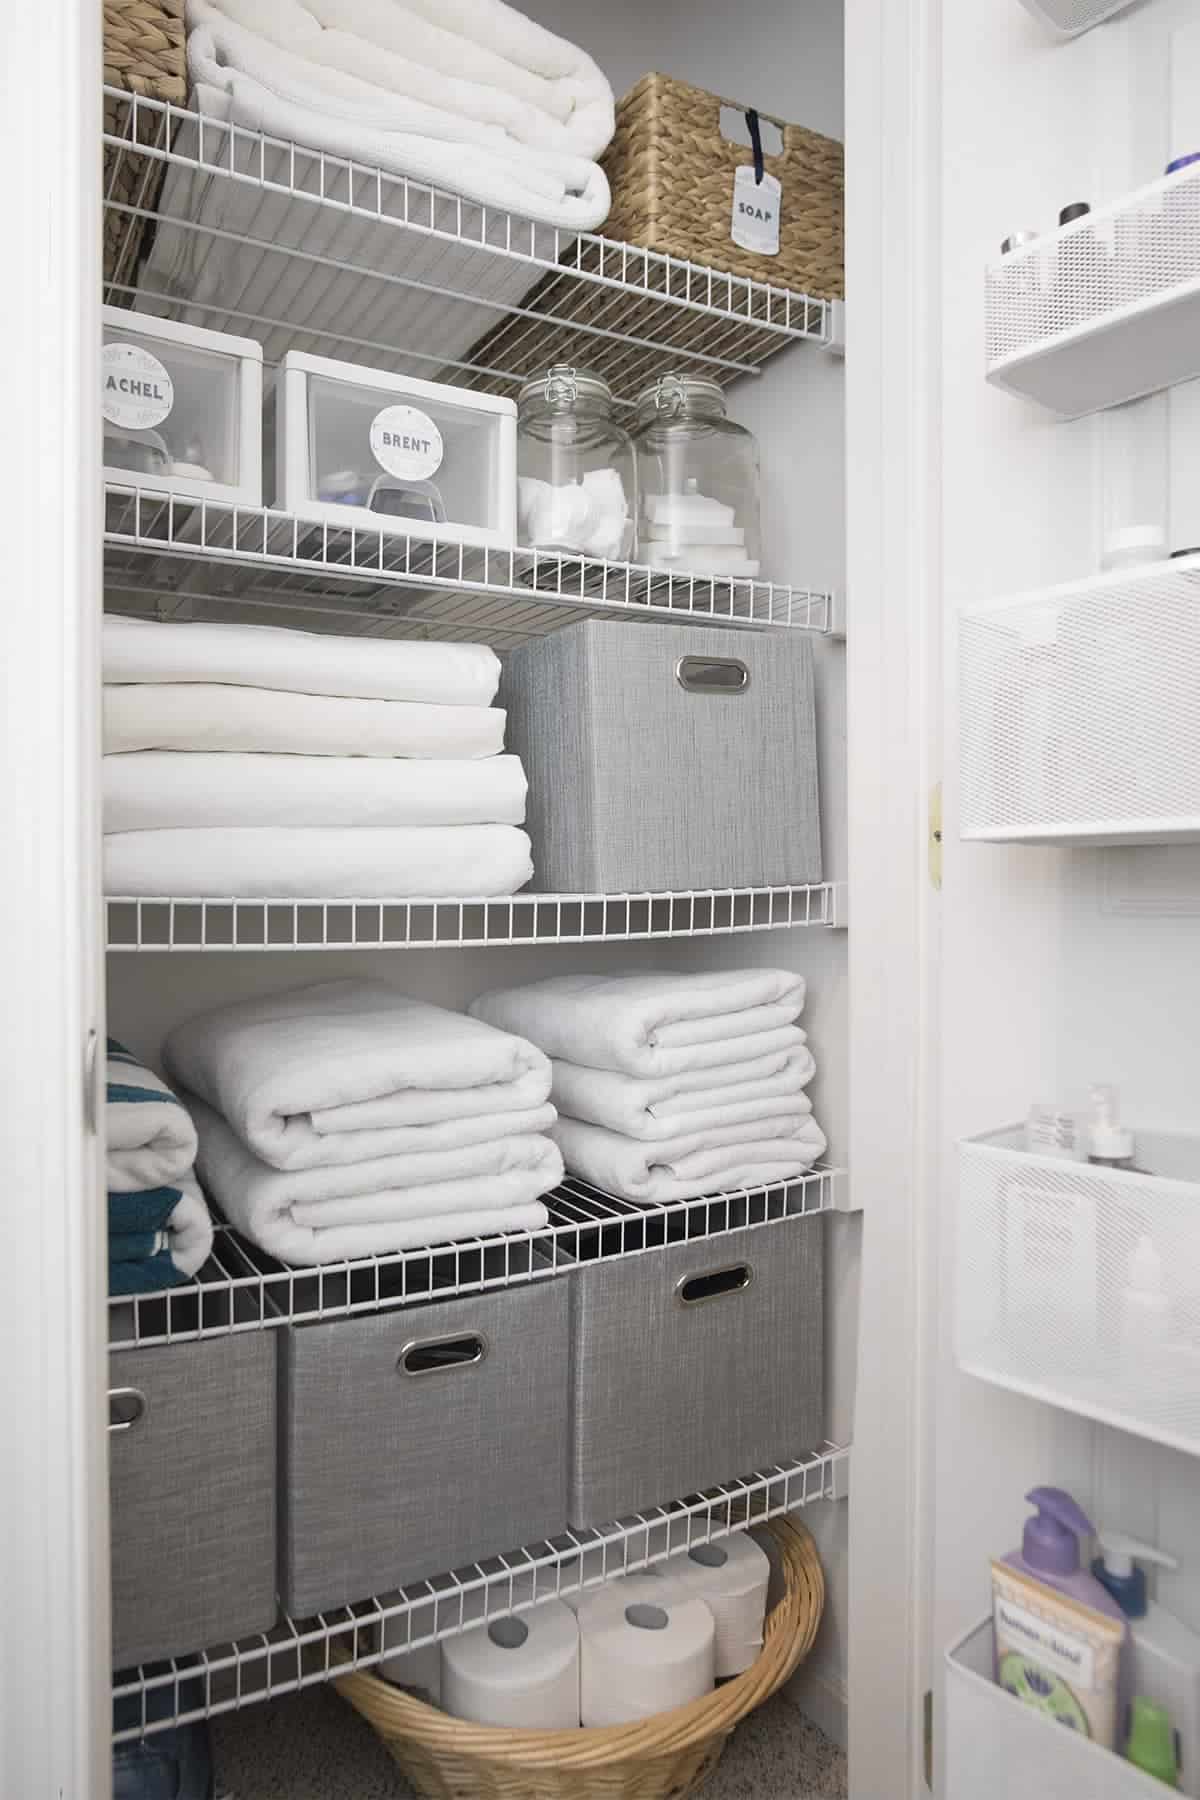
We have a small laundry closet with shelves we built before this. This space is so small that I am literally standing inside that tiny 2×2 closet to get this photo.
I’m not sure if there is anything I hate more than cheap wire shelving. Stuff falls off of it or tips over constantly, it often bows from weight, and it is very unattractive. The absolute worst is that these builder-grade wire shelves never utilize the space well.
Check Out Our Newest Laundry Room Organization Ideas Here.
Cabinet Options for Laundry Rooms
This makeover utilizes stock cabinets you can find at most big box home improvement stores. Kitchen cabinets are the same as those used in laundry rooms. We used a 30-inch cabinet for our DIY laundry room makeover, but standard widths for double hanging cabinets include 24, 30, 33, 36, and 48 inches. Single cabinets are usually 12 or 18 inches wide.
Here are a few new cabinets ideas to get started:
Material Recommendations for this Project
First things first, make sure you have all of the right tools with you to make this process move more efficiently. You will also, most likely, need someone to help you lift up and position the cabinets while hanging them.
Cabinets:
- Cabinets
- Stud Finder
- Laser Level or a regular level
- Tape Measure
- A straight board to use as a ledger – 4-6 feet at least and very straight.
- Wood shims
- Padded Clamps
- Ladder
- Electric Drill and Bits for installing screws
- 2 ½ inch Cabinet Screws
- Filler Bar – if a gap exists between the wall and the end cabinet.
Shelves:
- Shelving material – we used Melamine shelves and cut them to size
- Shelf braces or floating shelf brackets
- Miter Saw or something to cut the boards to size like a circular saw
- Screws and Nails
- Paintable Caulk (Optional)
Reader Note: The following instructions for installing your own wall cabinets are meant for walls with studs. This is not a “how to install wall cabinets without studs” tutorial. Thats a whole
How to Install Wall Cabinets
If you are new here, I set up my tutorial posts much like a recipe blogger where there is a printable how-to card at the bottom of the post. All of the step-by-step instructions are there.
However, readers are on a variety of skill levels and many scenarios. I include many tips and useful notes in these sections to help everyone through the process and to answer questions. If you just want the straight tutorial, hit the “Jump to Tutorial” button at the top of this post.
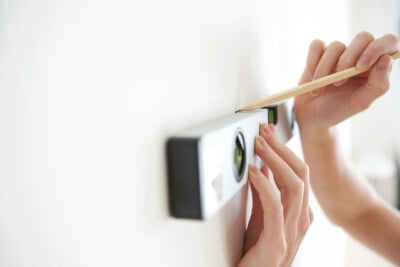
Tips for Planning and Marking the Wall
- There is no specific height that wall cabinets should be. However, I would suggest at least 18 inches of clearance above a worksurface but keep it convenient to reach shelves.
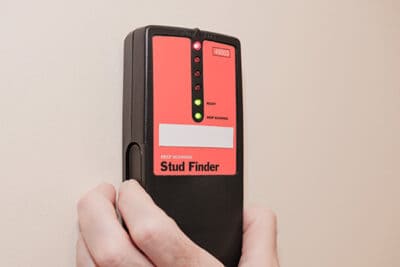
- Use a stud finder to locate the wall studs. The studs are crucial to properly support the weight.
- Try to plan out the cabinets with at least two studs for support on each cabinet. It can be done with less, particularly if you are attaching multiple cabinets together and the entire unit will cross multiple studs.
- Make a reference line across the wall where the bottom of the cabinet will be. Mark your stud locations here so you don’t cover up your marks when hanging the cabinet.
- If you don’t want to mark up your walls, use painter’s tape to make this reference line.
- Pay careful attention to the position of all electrical lines and plumbing.
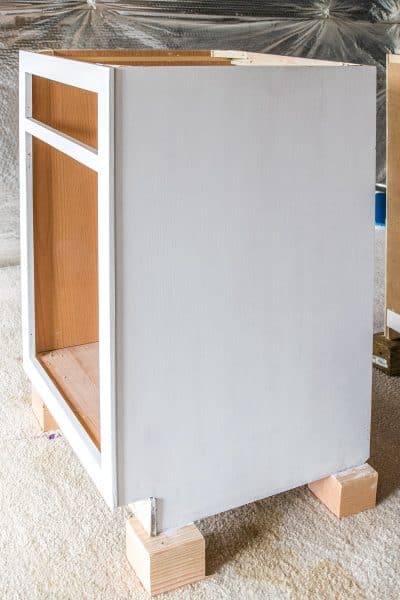
What is a Ledger Board?
Basically, a ledger board is just a straight board that the cabinet sits on while you attach it to the wall. I use this technique all the time for large tiling projects to ensure a perfect starting point.
We hung a ledger board for shelves in a closet. The cabinet or shelf sits on top of this board to help temporarily while you make sure the cabinet is level and plumb.
Why use a ledger board? This is not 100% necessary. However, a ledger board makes it easier to hang a cabinet perfectly level. Cabinets are heavy and you will have to support them on the wall until installed.
A ledger board isn’t meant to hold the weight entirely. Instead, it keeps the cabinet steady side to side. That way, you aren’t supporting the weight while trying to level the cabinets both side-to-side and front-to-back.
The negative of using a ledger board is that you remove it after the cabinet is installed and patch and paint the holes you made.
Hanging Multiple Cabinets

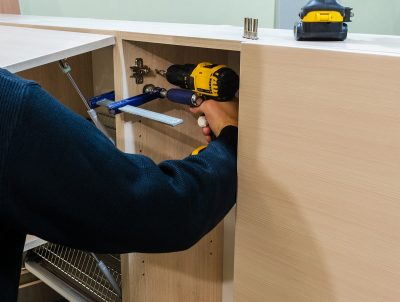
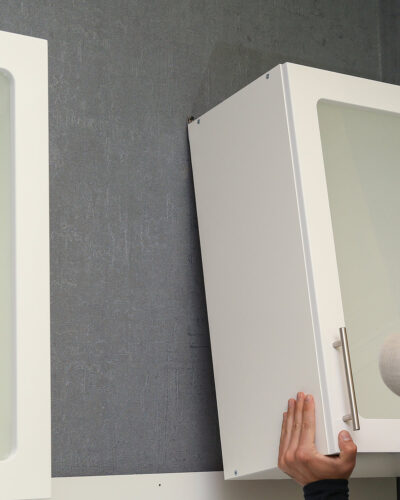
If hanging multiple laundry room cabinets, screw the cabinets together before attaching them to the wall. To do this, clamp the first cabinet to the second cabinet together how you want them to match up and secure them with screws where the cabinets meet.
It is usually best to hang the cabinets without the doors to lessen the weight and pull forward while hanging.
If using C-clamps, I generally recommend sandwiching a thin board or padding between the cabinet and the pressure plate of the clamp. Too much pressure on the c-clamps can put a dent in your flat cabinet surfaces.
***Pro Tip: It is extremely important to pre-drill holes inside cabinets before hanging. It is much more difficult to drill and hold the cabinet in place, plus you risk splitting the wood. You don’t have to predrill the walls, just the cabinets themselves.
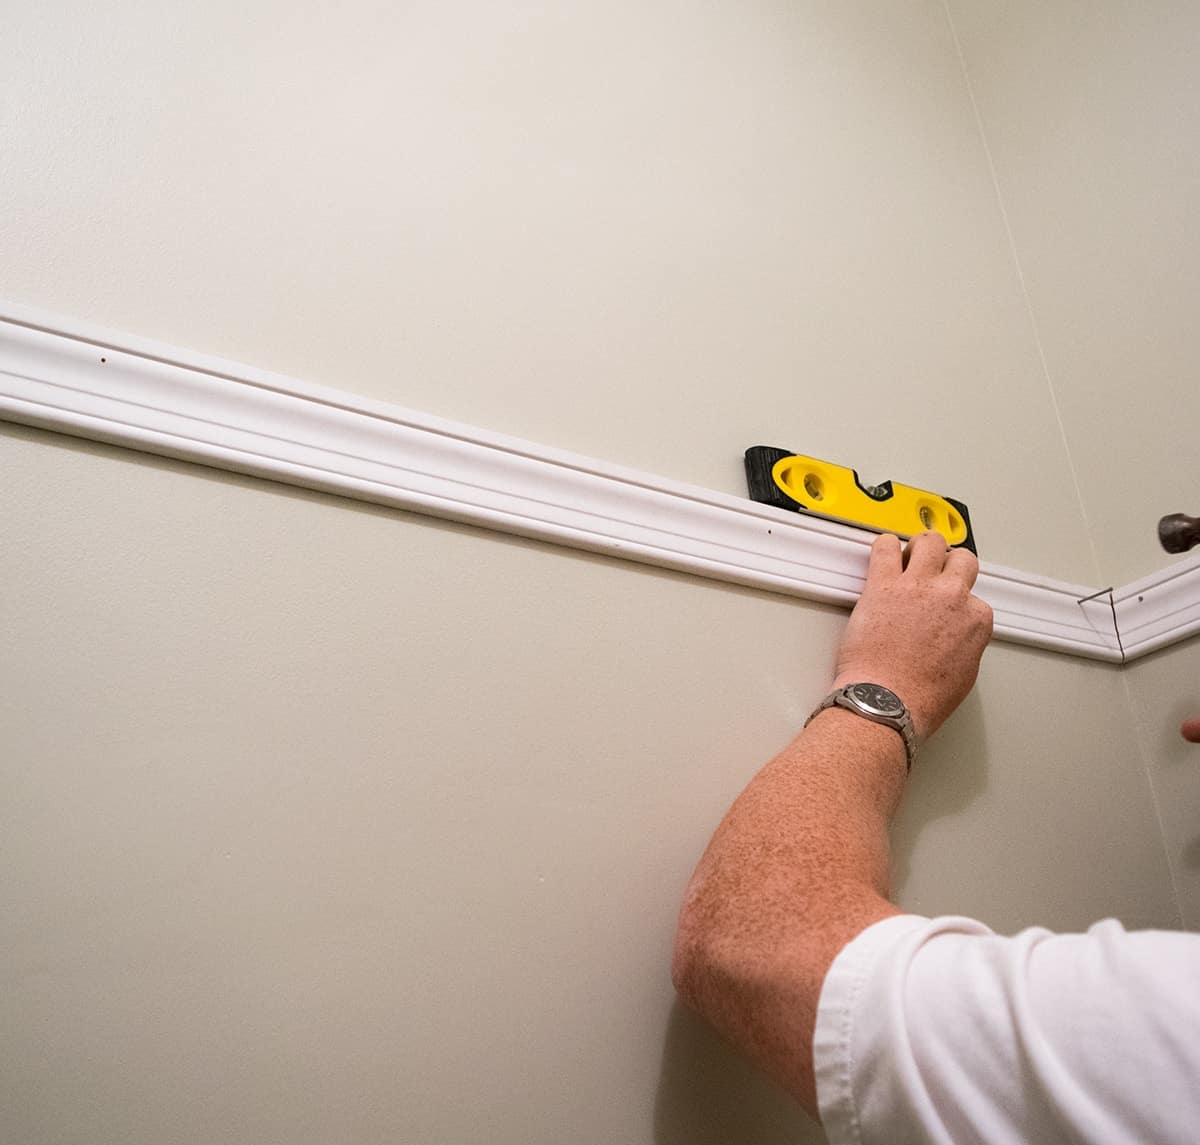
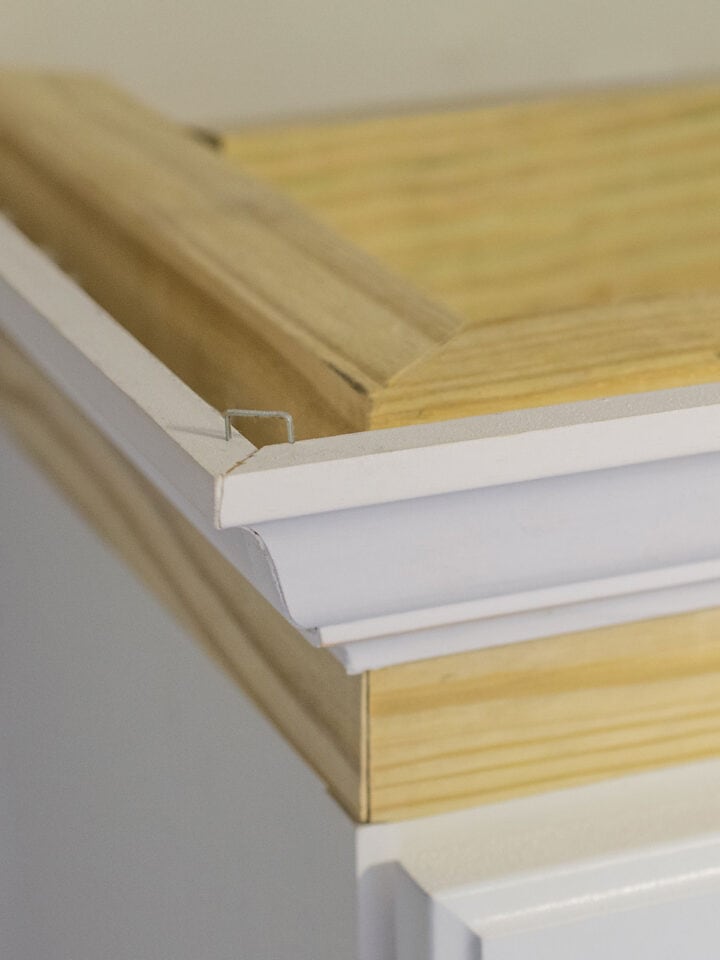
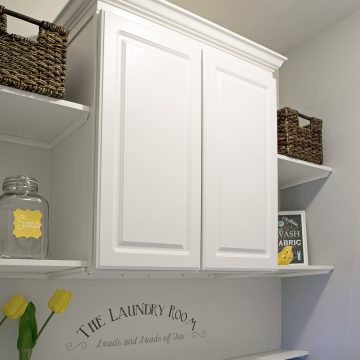
Add Crown Molding
We decided to add molding to the tops of our frameless cabinets to give them some added flare. I have a full tutorial on how to install crown molding on cabinets here.
We recommend doing this after the cabinet installation is done. However, you can also install the molding before you drill the cabinets into the wall, if desired.
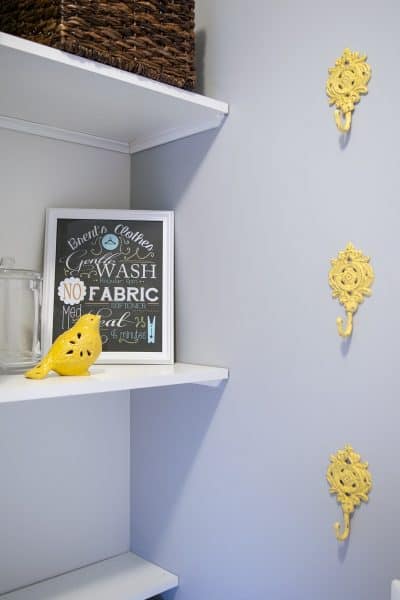
How to add Laundry Room Shelves
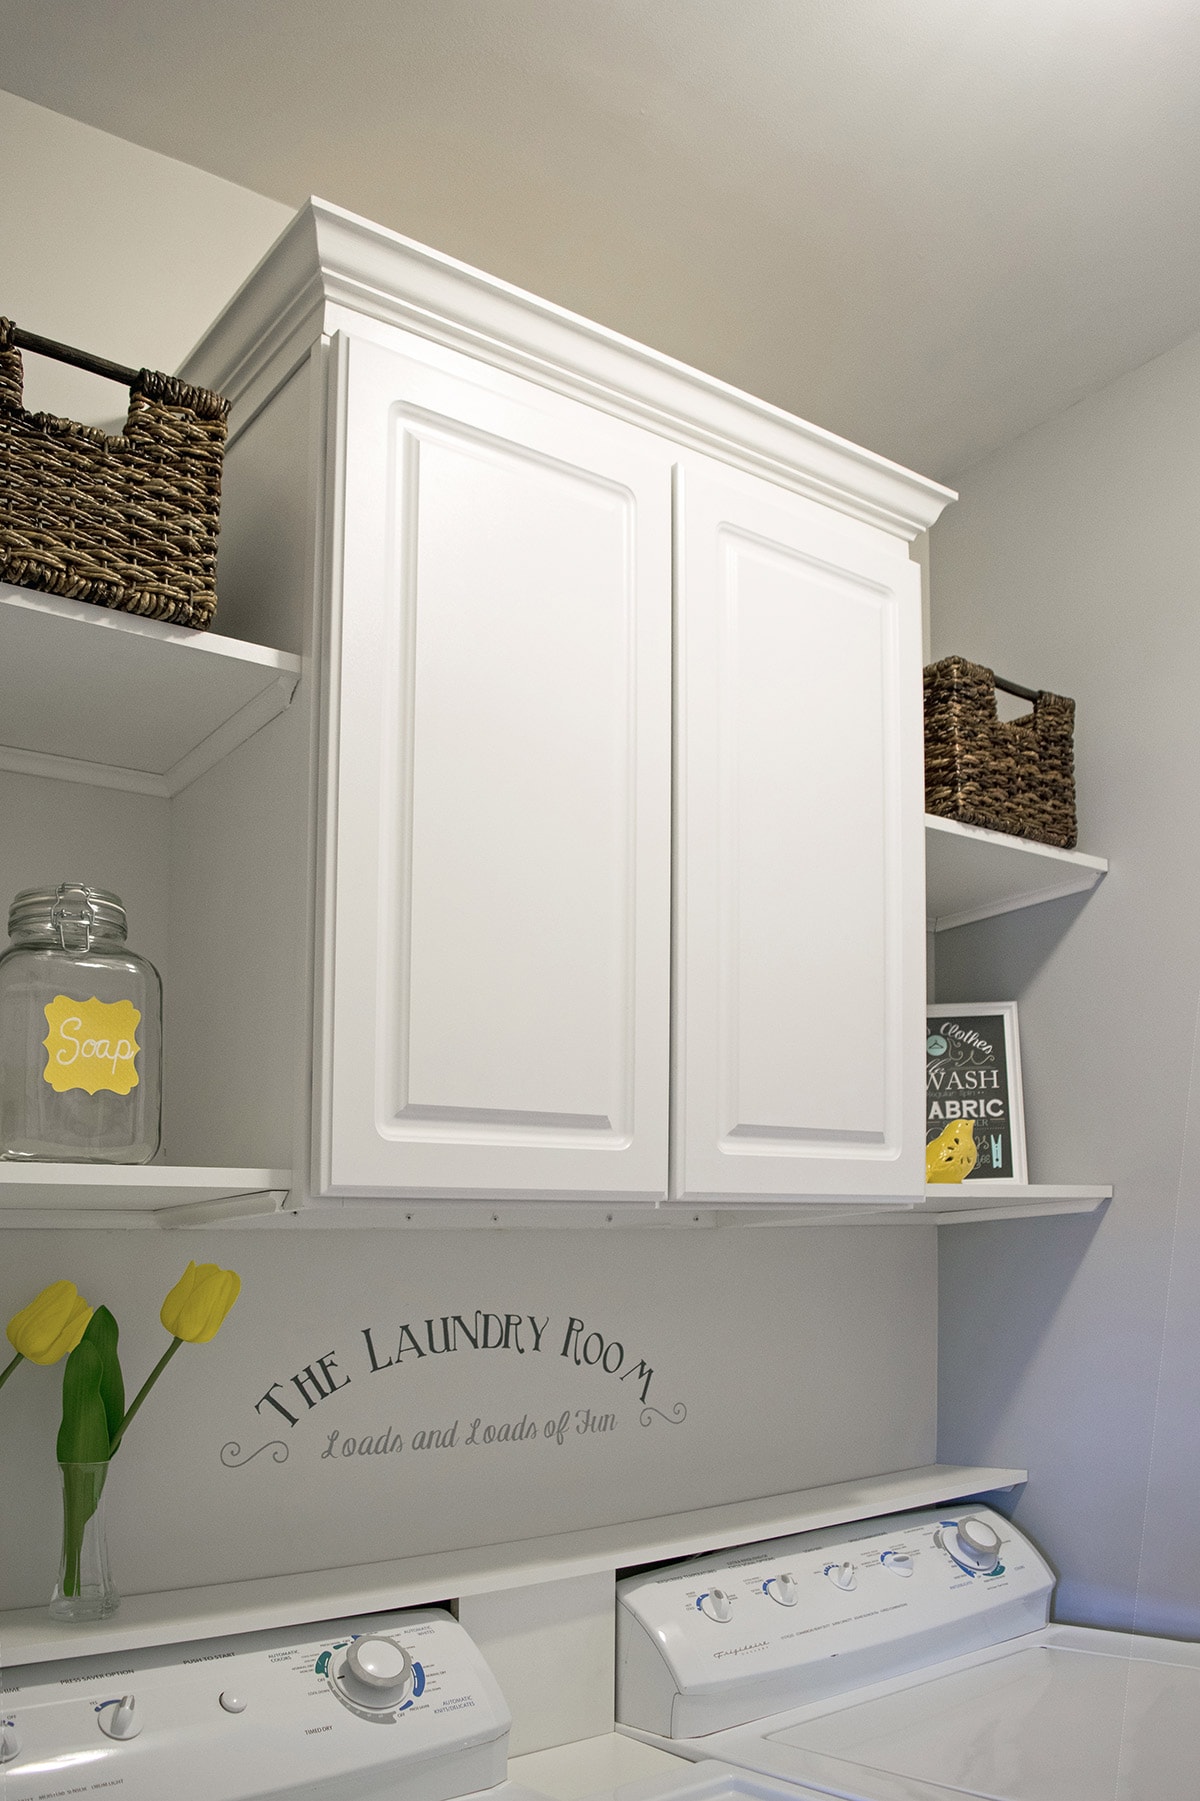
You can also add shelves very easily on the sides of the cabinets or between them. Shelves help in awkward spaces that may not fit another full cabinet or add a different type of function.
In our room, we use the shelves to hold easily accessible items like laundry detergent bags and cannisters for recycling dryer lint, but you could add bars for hanging clothes or create a drying rack.
The shelves themselves lay on top of painted pieces of trim that are nailed to the walls.
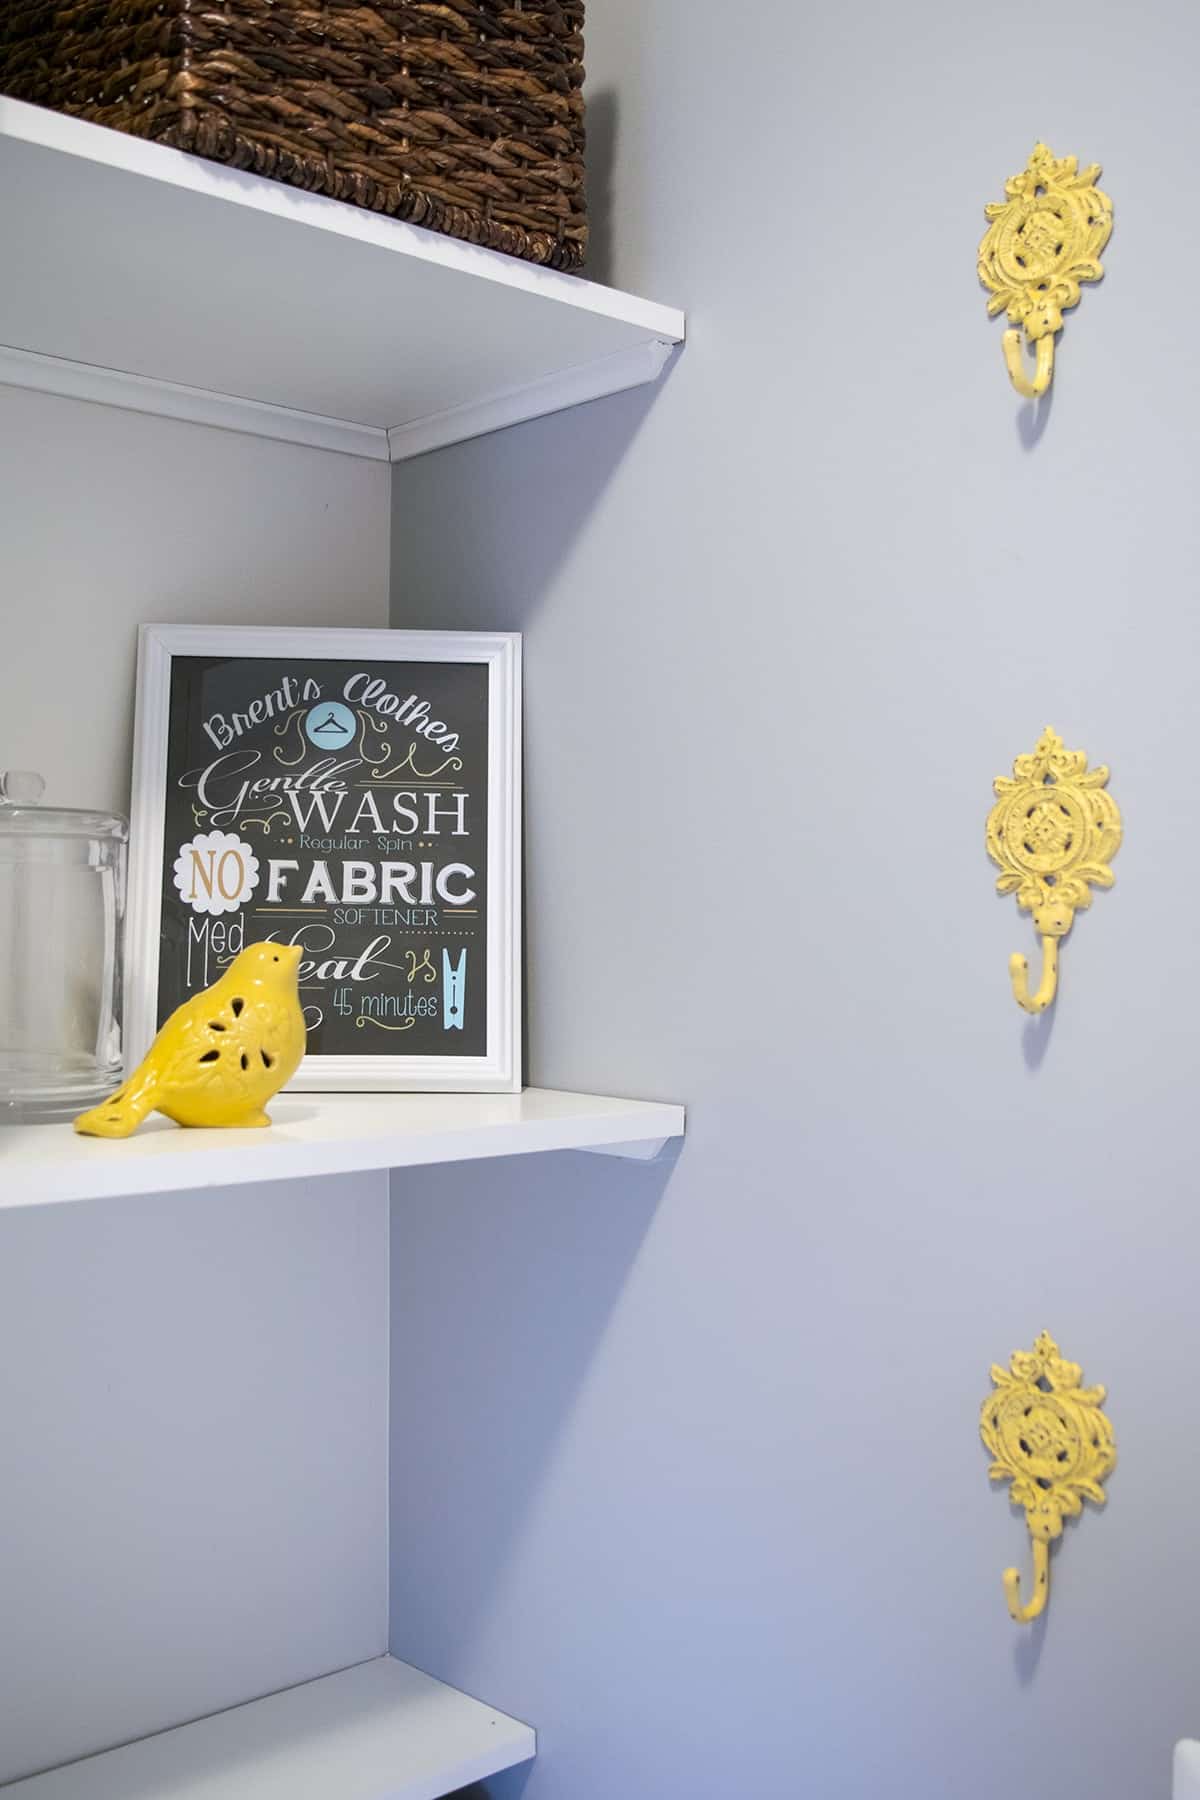
In our laundry room, the open shelves on either side make the room feel a little bigger too! The shelves are supported by a small piece of trim. All of these were cut from white melamine sheets meant for shelving.
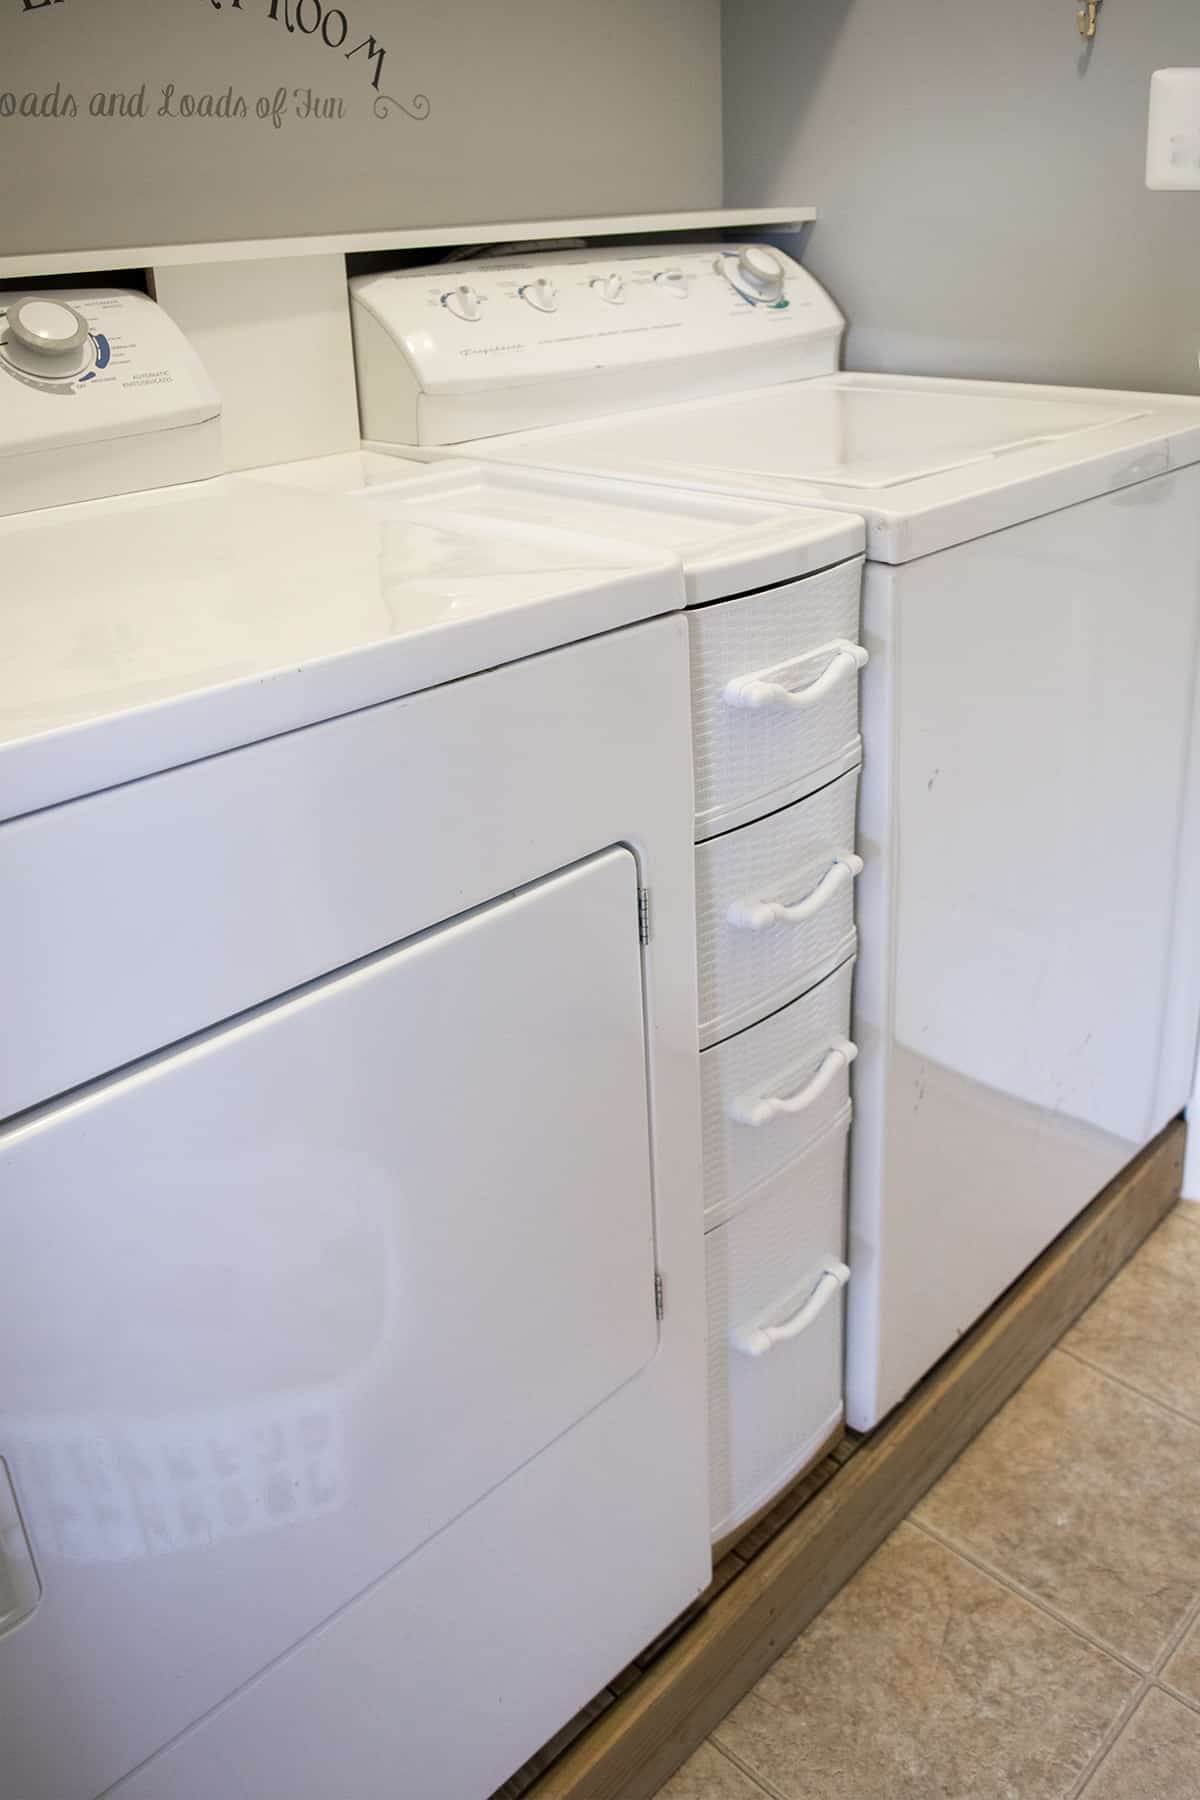
Another is added shelf above the washer and dryer. The center support is just an extra board wedged behind this slim drawer organizer. This smaller shelf is great since it hides cords and gives a cleaner look. It easily comes out in case we need to work behind the washer and dryer.
I put together a huge list of useful ways to organize your small laundry room that gives more way to use these areas!
Caulking for Built-Ins
Caulking around the edges where the wall meets the shelving is completely optional. While it does give a more built-in appearance for painted cabinetry, it won’t add anything to the structure or rigidity.
If this is something you are interested in, we have more tips and a video in our post on caulking baseboards here.

FAQs
We purchase it years ago and I love it so much! This slim unit is very similar, and it goes on sale fairly often so watch for that.
Add items you reach for most on lower shelves. We also have lot more ideas included in our post on Small laundry room organization ideas here.
You can purchase stock cabinets at a big home improvement stores like Home Depot. Another option is a local installer or a kitchen cabinet specialty store. While stock size cabinets are going to be the most affordable option, you can order custom sizes at most stores.
Base cabinets are 24 inches deep, not including any countertop overhang. Hanging wall cabinets are usually 12 or 15 inches deep.
The size of your cabinets depends on how much wall space you have to work with. Stock widths for double hanging cabinets include 24, 30, 33, 36, and 48 inches. Single cabinets are usually 12 or 18 inches wide.
I have shared how I added the trim at the top of the cabinet here in a post. It's a relatively simple project and the detail give the room a much more polished look.
Yes, generally kitchen cabinets are the same as those used in laundry rooms.
If you have a few inches gap, the easiest way is to place a wood filler strip flush with the front of the cabinets. Before securing the last cabinet, measure, mark, cut and secure this piece to the side of the last cabinet. These strips are sometimes included in a cabinet kit. You can also use a solid piece of matching wood.

Grab our free series "Weekend Home Projects that will Transform Your Life" Sign up below to receive updates including free printables, organization tips, home improvement projects, recipes and more! |
More Home Improvement Tutorials
PS. If you make this recipe, leave a COMMENT AND A STAR RATING in the comments section at the bottom and be sure to take a photo and tag it #cravingcreative on Instagram! I appreciate you for taking the time to read about me and my family recipes.
How to Install Laundry Room Cabinets
Tools
- 1 Stud Finder (optional)
- 1 Laser Level (optional)
- 1 Level 2 or 4 foot
- 2 Clamps For attaching multiple cabinets together
- Ladder
- Drill with screw bit
Supplies
- Cabinets
- Filler Bar Only needed if a gap exists between cabinets and the wall.
- 2 ½ Inch Cabinet Screws
- Wood Shims
- 4-6ft piece Straight Board to use as a ledger board
Instructions
- Use a stud finder to locate the wall studs. Measure the height and width of the cabinets and mark their placement on the wall. Try to have at least two studs to bear the weight of larger or multiple cabinets.
- Prepare the Wall. With a level, draw a horizontal line across the wall where the bottom of the cabinet will sit. Mark the studs above and below that line so you don't cover it. Also, mark the top where the cabinets are likely to end. Check to make sure that the wall is plumb and shim if necessary.
- Put up a ledger board. Nail or screw a straight board into the studs under the level line you just drew. The cabinet will sit on the ledger board while you screw it into the wall.

- For installing multiple cabinets, you can attach them together before putting them up on the wall. This makes lining them up easier if you have to shim. However, only attach as many cabinets as you can support.
- Prepare the cabinets. Remove the cabinet doors if desired and pre-drill holes for hanging your cabinets in order to prevent wood splitting. You do not have to pre-drill holes into the wall itself.
- Fill gaps. If there are gaps between the wall and last cabinet, use a filler bar to close the gap. Before securing the last cabinet, measure, mark, cut, and secure this piece to the side of the last cabinet. Alternatively, you can add open shelves after the cabinets are mounted.
- Mount the Cabinets. Lift the cabinet and place level on top of the ledger board. Double check that the cabinets is level both side to side and front to back. Secure the cabinets to the wall at the studs with screws.
- Finishing up. Reattach the doors and hardware after all the cabinets are in place. Remove the ledger board. Patch and paint the wall if necessary.

Marita Chambers says
I love this Makeover and my Laundry space is identical to this . I have gotten at least two Quotes from companies that will install the cabinets and the shelves and just wondering is $1500.00 too much for Materials and Labor for this Makeover ?
Rachel says
That seems high to me and I live in one of the more expensive areas of the country, but there are many factors like whether they have to move the washer and dryer out the way. Another big factor is how much the cabinet cost is. Cabinets can range from $120-400 each or more. I priced them a few months ago and decided to build our own set because they wanted almost $2800 just for 4 base cabinets with nicer doors. It may take two people to lift the cabinet up, but the full job takes less than four hours for professionals.
Marita Chambers says
I agree with you , so I decided to get another quote and the gentleman said for installing the one cabinet with all four shelves including Labor and material would be $900.00.It’s always good to get several quotes because people will try and take advantage of you if you allow them.
Rachel says
I am so glad it worked out for you! Yes, it is always a good idea to get multiple quotes.
Sharon says
The between the washer/dryer drawers are now $120 🙁
Tina says
Please tell me where you purchased that stencil! I love it! Perfect & not too wordy!
Rachel says
I actually made the stencil myself with a craft cutter machine, like a Cricut. I can’t remember where I had seen it unfortunately. There are some super cute ones on Etsy though so I would look there.
Mary L Amber says
I love it! Great job! Just wondering how you pull your washer and drying (especially) to clean behind them. I know most people don’t, but I pull mine out at least every few months to clean the dust and mop.
Mary
Rachel says
Great question! To be honest, it is such a small space that it is very difficult to get behind there and the shelf on top seems to help a lot with keeping the dust out from behind. However, I would say that it has gotten pulled out every 4-5 months for various reasons. To be honest, me and my husband just manhandle them or I get my son to pull out the drawers that sit between them and have him clean out the area. Wish I could be of more help.
Mary says
👍🏻 No worries.
Just curious what “ you” do. Thx
David says
I am late to the party, but great job! My question is how did you nail the molding to the cabinet, when the stock cabinet doors end very close to the top of the cabinet (maybe 3/8 to 1/2 inch space)?
Rachel says
I shared how I added the trim at the top of the cabinet here in a post. It’s a pretty easy project and made the cabinet look so much better.
Christy says
It looks awesome. I am working on my laundry room now. I painted it a soft yellow and just put up similar cabinets. I was thinking about added the shelves on the side. You’ve given me direction on how to do that. I also like the shelf above the washer/dryer. My space just fits them side by side so I have not room in between for the drawers like you have. I’m planning to put up another shelf on the opposite wall. Thanks for the ideas!
Susan says
Hi there!
Can you please tell me what type of laundry detergent containers you use and where you place them in your laundry room?? Are they in the center console or stored in the cabinet?? Just wondering for ease of reaching/pouring, etc.
Rachel says
For me, I use Norwex Laundry Detergent, which comes in small bags. If you aren’t familiar with Norwex, you can learn about it here and why I use this detergent. Since they are just small bags, I just put them in the baskets on either side of the cabinet. When I used larger detergent bottles, I fit them in the cabinet. The kind with a spout on the side (you press a button and it pours) fit perfectly with the door closed and I could slide them out a bit to put into a detergent cup. However, I did have some problems when they leaked so I left a microfiber rag underneath them to catch any drips.
Judi says
Rachel, what an amazing job! I have the same before laundry room and can’t reach anything! We just bought the 36” wide cabinet and the shelving to start our project. We’re problems finding the crown moulding trim on the top of the cabinet. Could you tell me where you found?
Rachel says
Thank you so much. I usually purchase my moldings and such from Lowe’s or Home Depot. Sometimes crown molding is a combination of more than one molding (like in our bathroom here). That’s generally the cheapest option, however there are often local places that can either make specific molding if you are trying to match or online sources, such as newmoldings.com or crown-molding.com I hope that helps!
Michelle says
LOVE, LOVE, LOVE your makeover! Totally stealing your “chalkboard” sign idea for our kids! I’ve not done their laundry for several years and have struggled with getting them to use the “equipment” correctly!
How did you husband get the Washer/Dryer to be the same height? The fronts look to be the same. .
Rachel says
Hi Michelle, thank you for your kind words. In our washer/dryer, there are little feet on the bottom that can raise or lower the appliances, but ours are pretty similar in height. I also have both the washer and dryer on a platform that we built out of scrap boards.
Mary Elizabeth Thompson says
I LOVE what you did to your laundry room. I desperately need to find some organizing drawers to put between my washer and dryer. Where did you find those?
Rachel says
Hi Mary! On a whim, I started redesigning the website a week ago, and you have stumbled on one of things I need to fix unfortunately. The drawer organizer I purchased is linked to in the post under supplies or costs, however, the links are indistinguishable from plain text. (Gah!) Anyways, I purchased the drawer set on sale here on amazon. (here on amazon is linked if that doesn’t look right). I think it does still go on sale occasionally. Thank you for letting me know because I didn’t realize that was happening!
Beverly says
Great job you did with the laundry room organization! Could you tell me what size two-door cabinet you used? Thanks again for the ideas.
Rachel says
Hi Beverly! Thank you so much. The stock cabinet we purchased was 30 inches wide but I believe they vary from 28-36 inches.
Katie says
Hi! I really like the shelves you used. Where did you get them? Thanks!
Rachel says
Thanks! We actually sort of made them. You can buy long boards at home depot/Lowe’s in various widths that have laminate on them. They are usually found in the closet organization section. You can cut them with a circular saw or a table saw, or I believe the staff can cut them to size for you. The shelves are just sitting on trim that is attached to the wall and takes the weight. Good luck on your project!
Kristy says
Do you have a tutorial for what trim you used to sit the shelves on? Am I understanding correctly that the shelves are not attached to the wall at all, only sitting on the trim?
Rachel says
The trim in this particular project is 1 inch cove molding. You are right, the shelves are not attached to the walls at all. They are cut to size and lay on top of the cove molding. The cove molding is nailed and glued to the wall, however.
Emily says
This turned out amazing! I love the pops of yellow and all of the added storage and function!
Rachel says
Thank you so much! It is so much better and a happier place to be.
Gayle @ Pumpkin 'N Spice says
Cutest laundry room EVER! I absolutely love this, Rachel! You are so creative and your decorations are just perfect. I think I would be in my laundry room ALL the time if this was mine! I’m definitely remembering this for when I need a makeover (we’re currently house hunting right now, so this will come in handy)!
Erlene says
That looks amazing. We have a super tiny laundry room too and always wondered how a cabinet would look in there. I also loved your cost breakdown.
Rachel says
Thank you so much, Erlene! You could actually get a cabinet much cheaper off of Craigslist or a thrift shop. I looked at our local Habitat Restore but they didn’t have anything that would work with our 9 foot ceilings.