Organizing Christmas decorations has never been easier with these tips. Follow my effective method to tackle the Christmas take-down in one afternoon! Set yourself up for success next year with handy how-to’s and helpful hints.
Packing away all of the Christmas decorations isn’t nearly as fun as unpacking it. Why does nothing seem to fit back in its box? However, if you’re intentional about organizing Christmas decorations now, you’ll thank yourself next year.
I’ve been using this system for years. It’s effectively eliminated the pain points we struggled with. Keep your tinsel out of a tangle with few tips from today’s post. And make next year’s holiday decorating a holly jolly good time!
How To Organize Christmas Decorations Step by Step
Step 1: Declutter and Purge
The perfect time to declutter seasonal decorations is before you pack them away. Once all of the Christmas decorations are up, it’s easy to take stock of what’s leftover.
Purging can be a sensitive subject. We often have nostalgic ties to our Christmas items. I recommend doing it out without a lot of extra interference, and on a day you’re not in your feels. Donating good items to find better homes makes me more likely to part with them.
Categories of Decorations to Declutter
Having a few primary categories aids with decluttering:
- Items broken beyond repair (or that you realistically won’t repair) such as ornaments, strings of lights, etc. I can’t stand finding one bulb that went out on a set of string lights!
- Items that are worn out or no longer make you smile.
- Items that don’t have a place.
- Stuff you avoid, for whatever reason, from putting up year after year (color schemes, odds and ends, hard to put up, etc.)
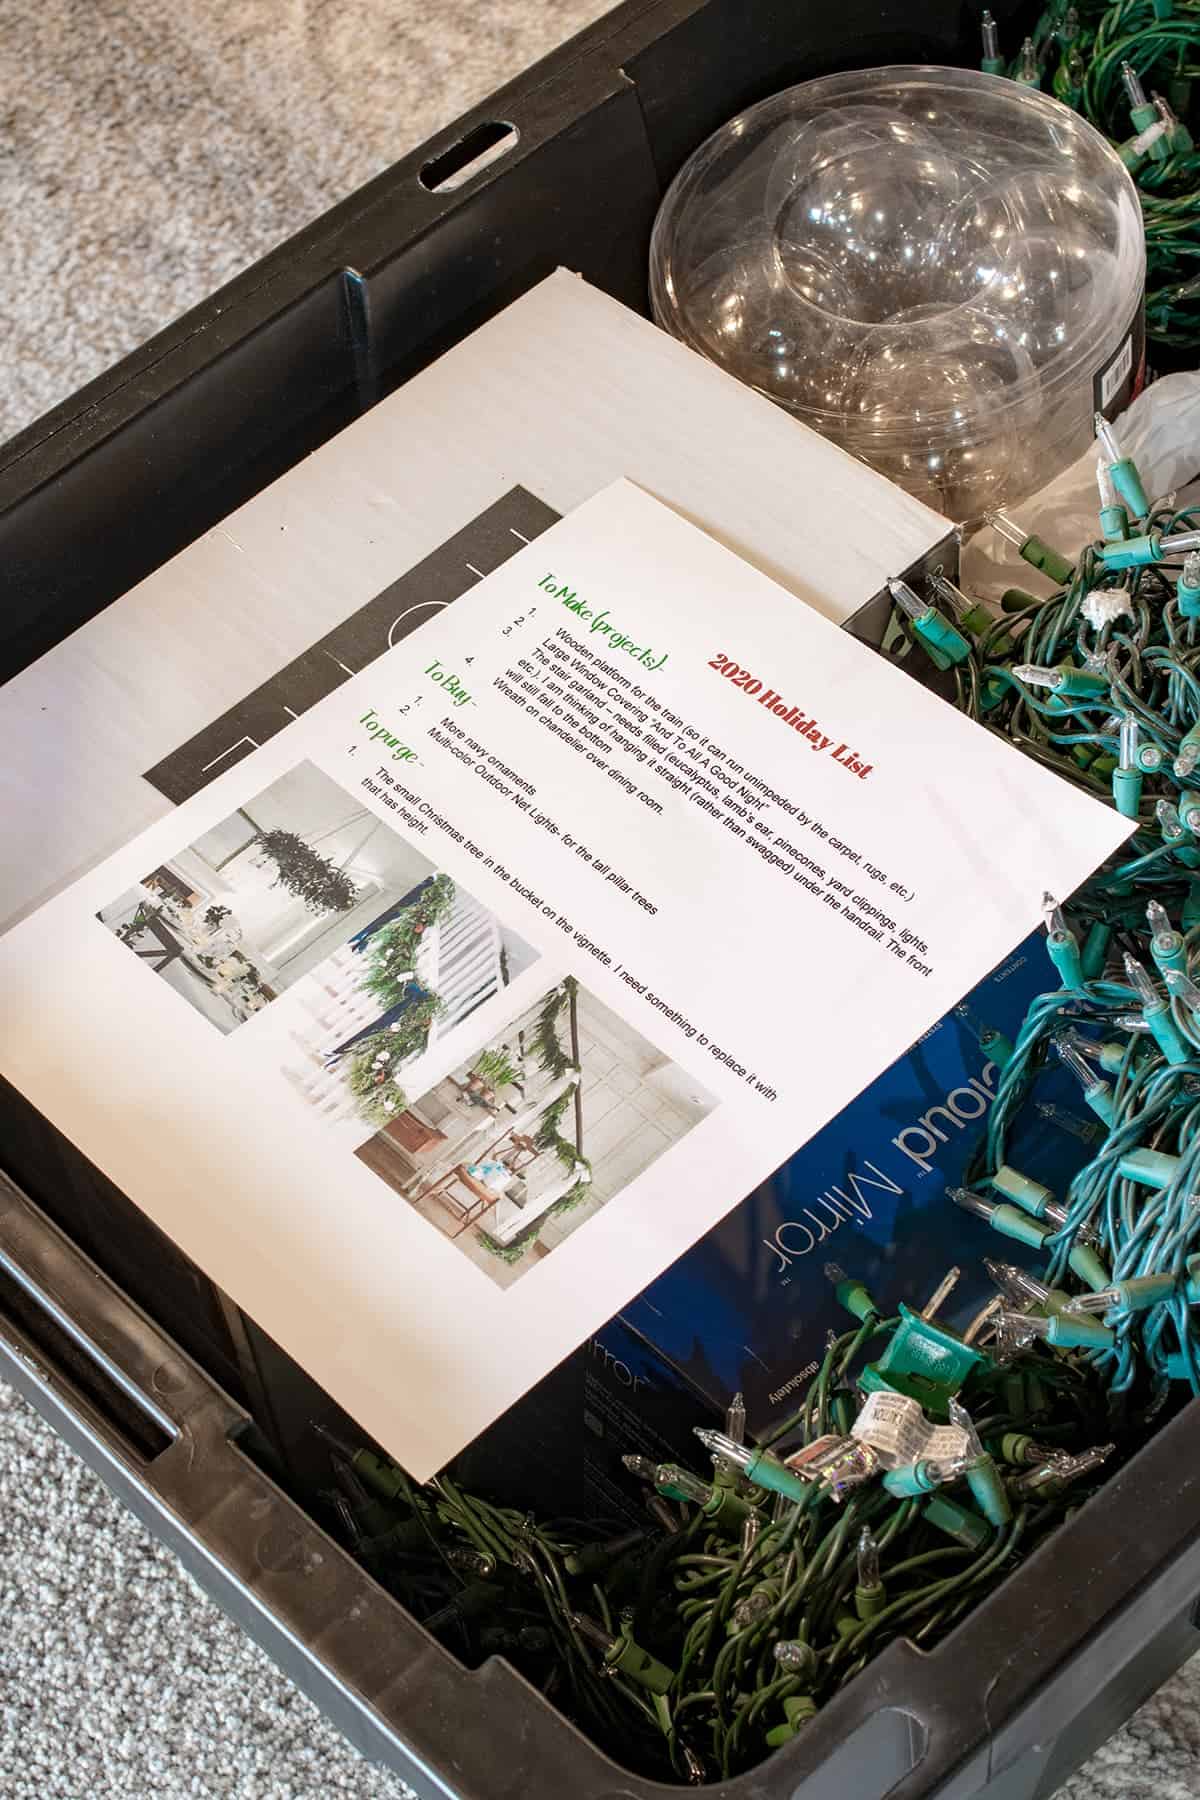
Step 2 – Make a list and Check It Twice!
Like most living spaces, our house has evolved a bit each year. During the holidays, I always have a bunch of new ideas, but not the budget or time to pull them off. This is where the list comes in; you’re going to LOVE this trick! It saves me money and time every year.
Make a list using these categories as guidance:
- Craft or decoration ideas for next year (and supplies needed) – if you have an inspiration picture, clip it on.
- Items that broke and need replaced (ornaments, lights, etc.)
- Items that you’re on the verge of purging (if you don’t use it the next year – you know what you have to do!)
Now that you have made a list – keep it around until step 4.
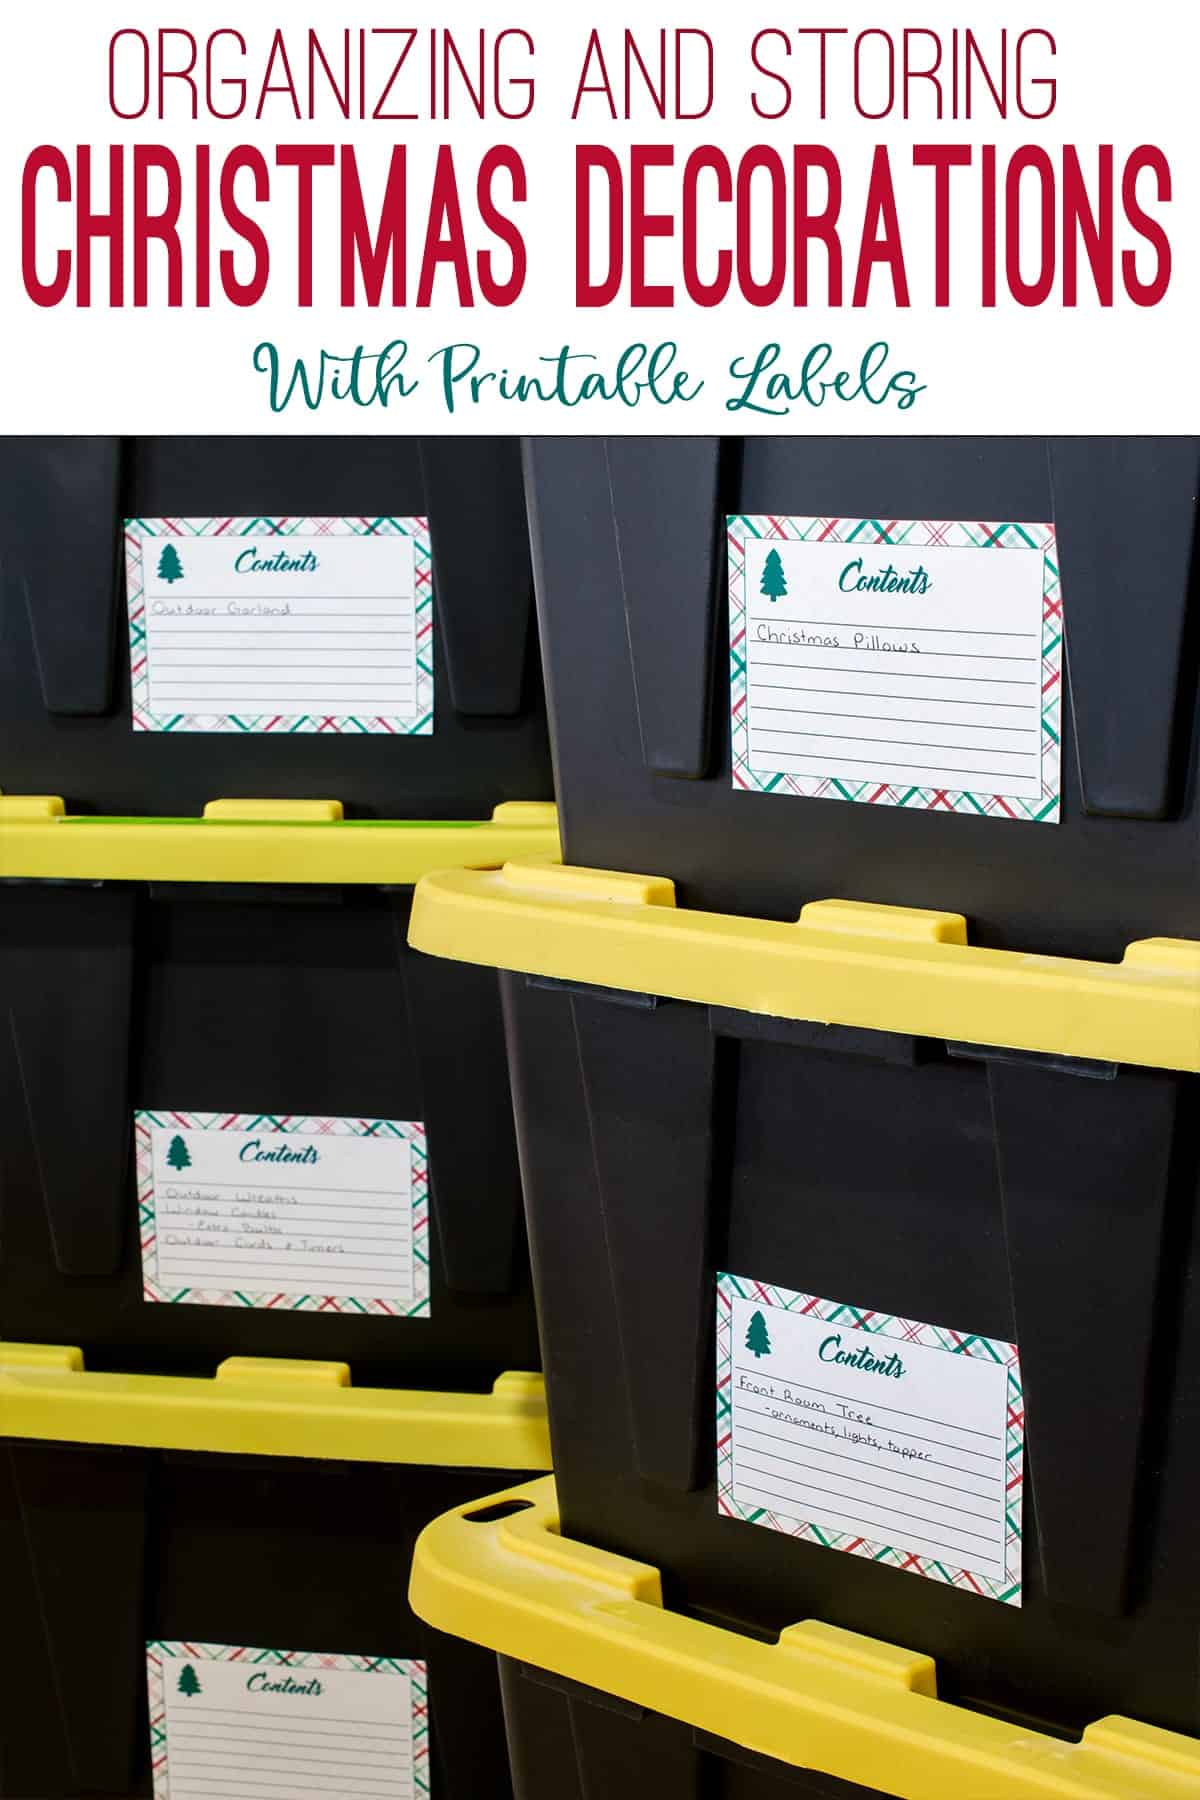
Step 3- Purchase sturdy bins similar in size
One of the smartest purchases I ever made was these stackable storage totes. Stackable identical containers make everything are more efficient in my dedicated storage area.
They’re durable enough to keep everything in good order. Contents are kept temperate and dry. The 27-gallon size is manageable for moving but roomy enough for larger items.
The only drawback is that the bins look bigger than they are after the top is inserted. If I were to do it again, I’d purchase these boxes.
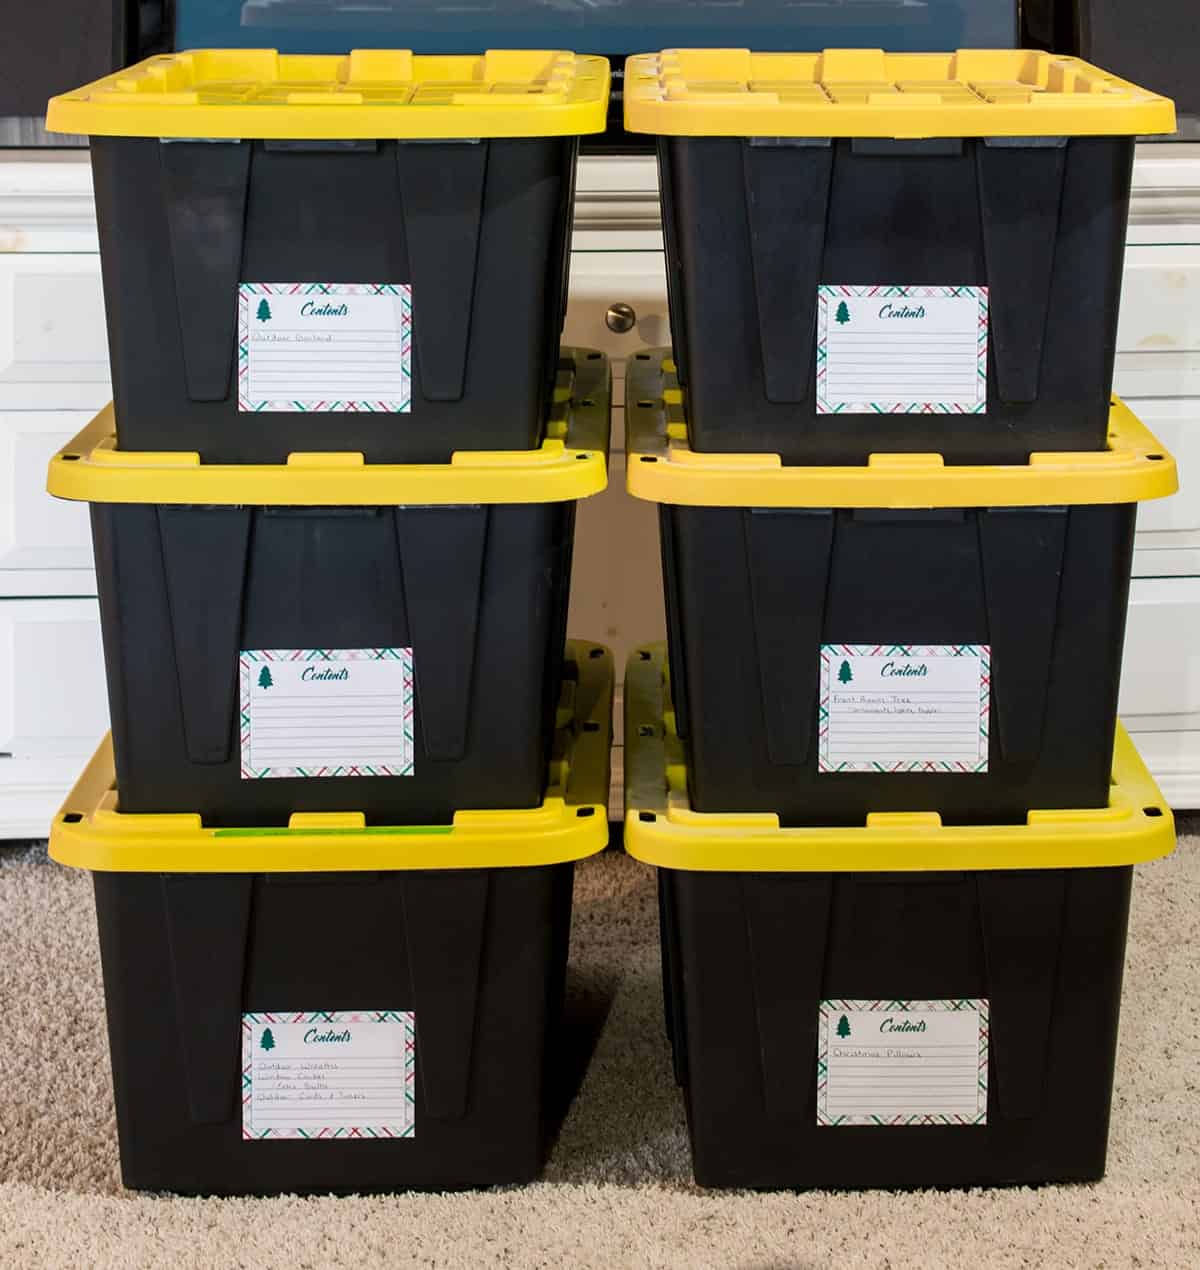
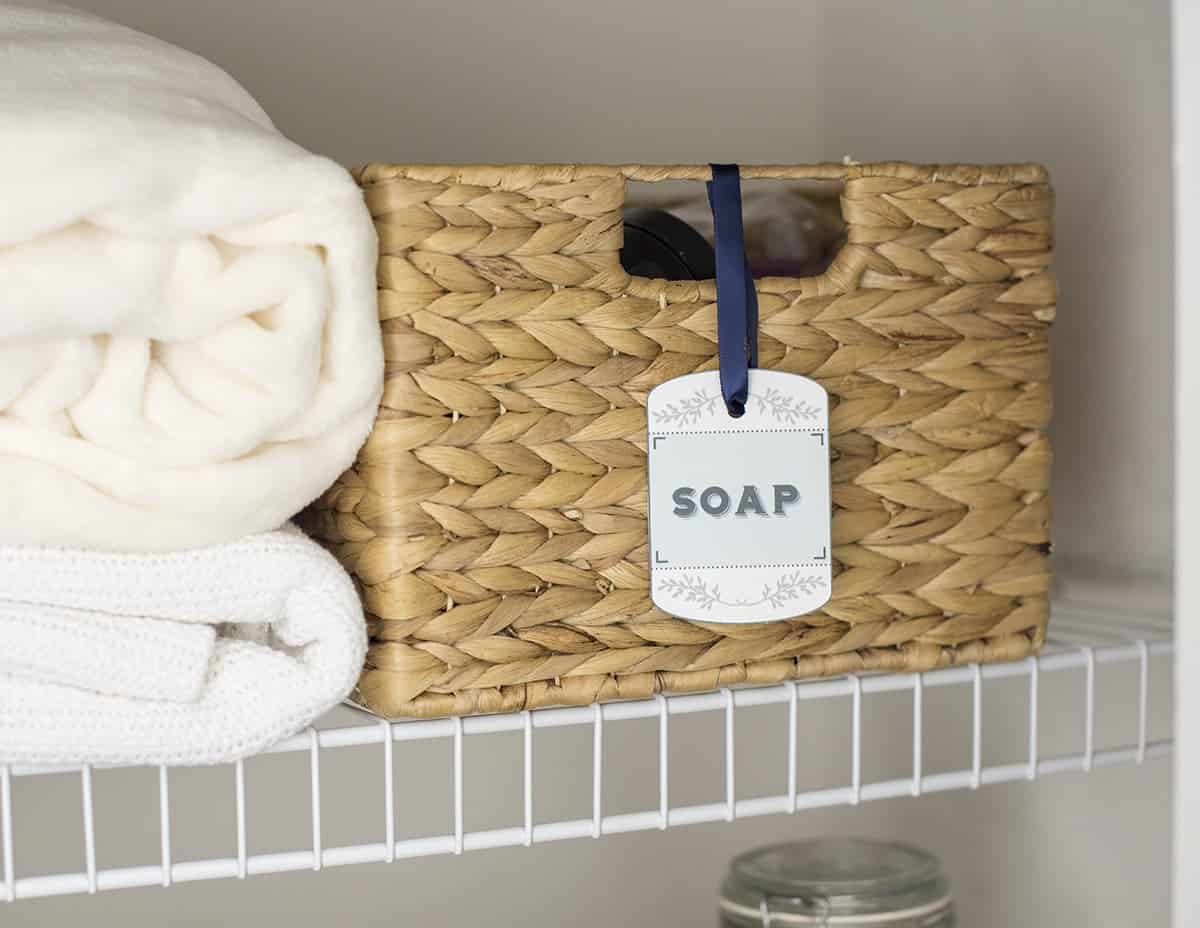
Step 4. Label, Label, Label
I make my labels super specific. If you’d like to swap labels out easily, try the clear sleeves. Or purchase yourself a nice label maker.
Step 5: Bury the List
This step is super short but super important. Choose one main box and lay your list from Step 2 inside it. Add it to the contents list on the box to eliminate the possibility of forgetting which box it’s in.
I pull my list out in October. As I’m out shopping or planning for the holidays, I can refer back to it. Now I always have what I need for decorating and crafts on hand. Way less stress!
How To Organize Storage Bins with Christmas Decorations?
I know this is going to sound strange but bear with me – I don’t believe in categorizing items by type. For the most part, I categorize decorations by room or project.
For instance, I don’t lump all ornaments together. Instead, everything for one Christmas tree goes in the same bin- from the topper to the tree skirt. I apply the same principle to living room or kitchen Christmas decor.
This method makes it super easy to do one room at a time rather than pulling down ALL the decorations from the entire house at once or searching for one particular item.
Quick Tips for Packing Items away
- Pull out the batteries. They can corrode over time and ruin items.
- Save original packaging to put items away.
- Label boxes by room or category and be specific.
- I don’t re- fluff my tree every year, especially the flocked one. I stand the tree upright in the basement and use a thin plastic tarp wrapped around and secured at the top with a zip tie or a canvas cover.
- For ornaments, I use padded shoe boxes or those apple containers you get at Costco/Sam’s Club. They’re perfect!
- To keep stringed items like beads, ribbon, and lights tangle-free, I wrap them around a piece of cardboard and place it in a gallon sized zip-lock bag.
- I reuse pillow inserts, so I only have to store Christmas pillow covers, not entire pillows for seasonal decor – such a space saver!
More Organization Ideas
- How To Organize The Garage and Make it Last
- Garage Tool Storage Ideas for Pro Organizing
- Organization Ideas for Small Bathrooms
- Small Pantry Organization
- Clever Ways to Organize Cabinets
Tips for Storing Christmas Decorations in Bins
I admit that not everything belongs in a one-size-fits-all container. When packing your decorations away, here are some ideas for storing specific Christmas decorations:
The Best Storage for Christmas Ornaments
The best way to store your ornaments in a hassle-free manner is to get a dedicated ornament storage box. Other best practices:
- Keep original boxes for odd shaped or large ornaments.
- Egg cartons work great for small ornaments.
- Keep Hooks with Ornaments- Decorating the tree goes much faster with hooks already in place.
- Wrap ornaments in seasonal linens like hand towels, tablecloths, napkins, etc, instead of tissue paper or bubble wrap. Write fragile on the box.
- To use large pieces of fabric efficiently, roll up multiple ornaments and rubber band the fabric to separate each one.
I have tried a lot of different ornament storage containers, and these are some of my favorites:
- These clear design ornament containers have adjustable dividers, a handle for easy carrying, and stacking.
- I love these storage boxes because they have soft cushiony foam liners to protect precious ornaments or glass. They adjust to accommodate larger ornaments and the label allows you to find what you seek with ease.
- This Underbed Christmas Ornament Storage Box is compact enough to fit under beds or other narrow places. Store your ornaments safe from moisture and dust without sacrificing square footage.
- You get maximum customization with this huge Christmas Ornament Organizer Tote. Adjustable compartments, pockets, and trays give you the flexibility to create your own perfect storage system.
How to Store Bows
No more fluffing smashed bows! Use these handy storage tips so they’ll be ready to add some festive flair to your decor at unboxing.
- Stuff the loops of bows with loosely rolled plastic grocery bags. Carefully layer bows in a plastic tote or regular shoe box. Spread the tails out flat.
- Thread empty wrapping paper tubes through the loops. Cut the tubes to fit to your tote for custom storage. Or slide tubes into large trash bags and hang them up with a hanger.
- Thread a long piece of curling ribbon through one loop of the bow- (about 3 bows per one piece of ribbon). Tie the ribbon. Hang it on a hanger. One hanger can fit about 8 large bows.
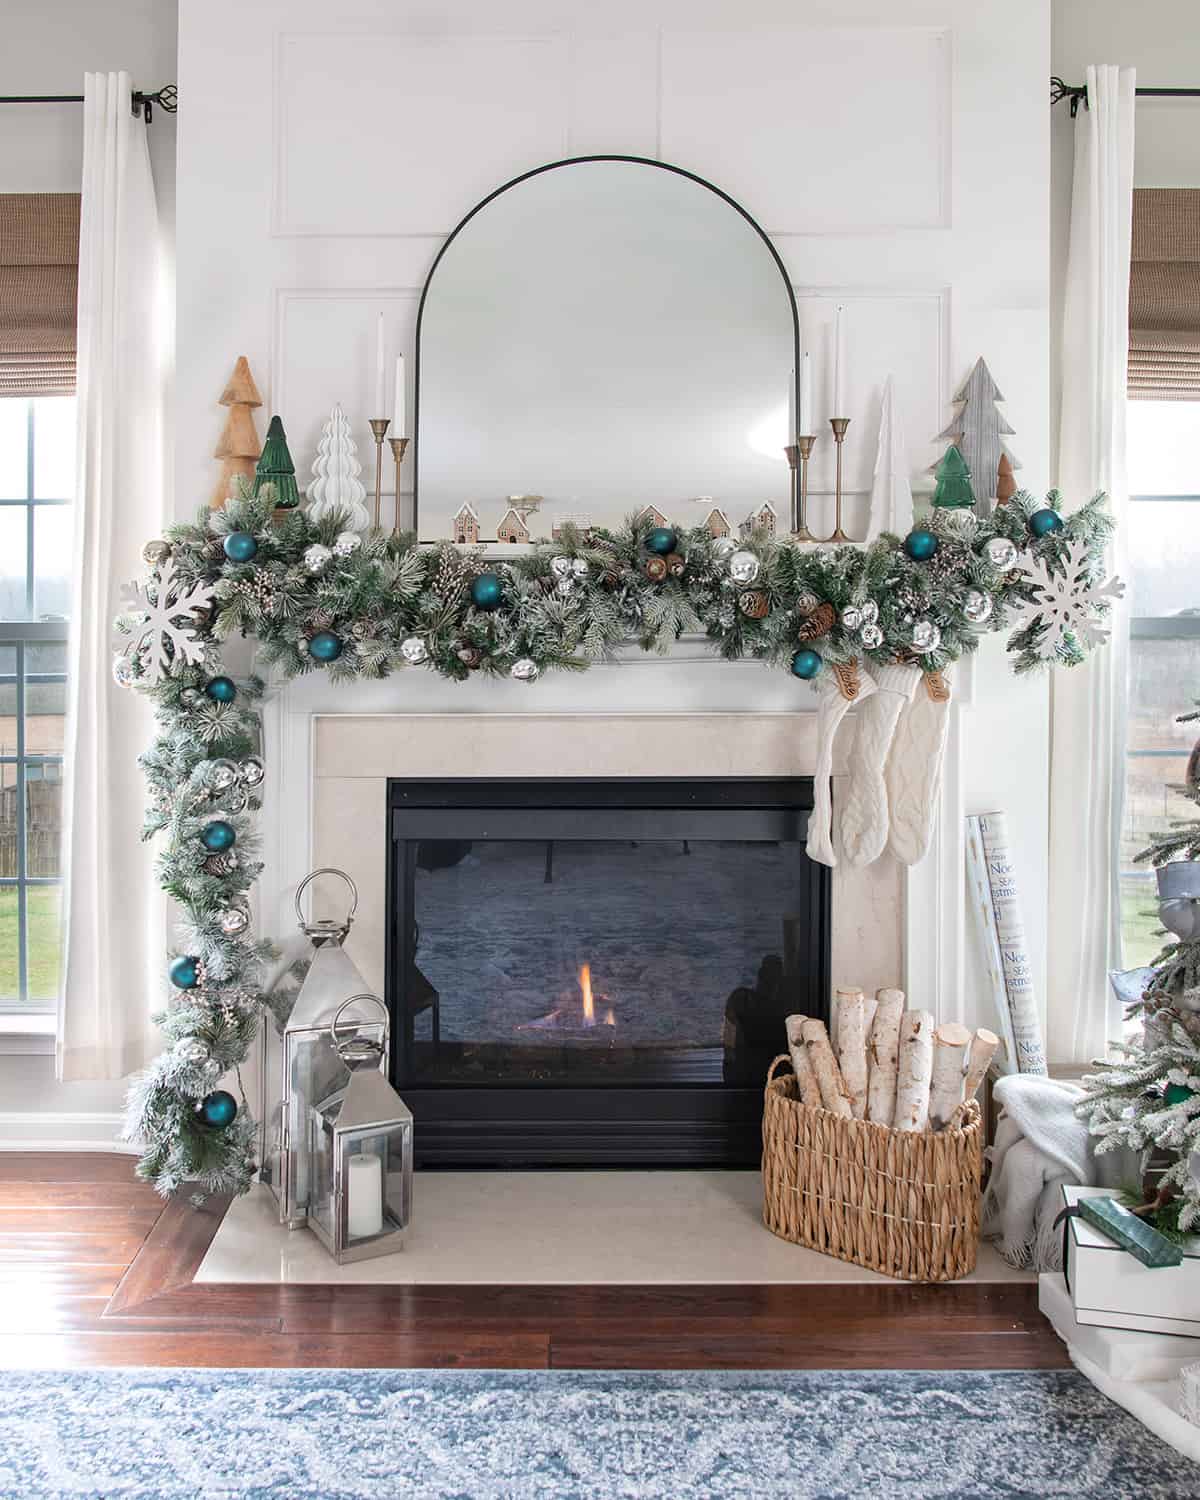
How to Store Christmas Garland
Christmas Garland can be a pricey investment. While storing it may seem daunting, there are more than one tried & true method to ensure success. If you’re concerned about needle preservation, wrap your garland with bubble wrap or tissue paper. Store in a cool, dry area away from direct heat or sunlight.
Simple Garland Storage Solutions:
- Curl up and place inside a wreath storage bag.
- Large plastic containers are spacious and durable enough to protect your garland for years.
- Drape over a hanger in a closet. Cover with a clear plastic garbage bag or a dry-cleaning bag.
- Hang garlands from an attic nail or place them inside of a large clear garbage bag.
- Wrap beaded garland around an empty paper towel holder.
- I lay floral picks in grocery bags and lay on the inside top of my storage bins or use small dry-cleaning bags.
How to Store Christmas Lights
I wind my Christmas lights around my hand, but you can use a piece of cardboard. Secure the ends so they don’t unravel. Cut notches into the cardboard to hold the plugs in place, if you’re feeling extra crafty.
No more wrestling with a knotty mess of lights - this method keeps your holiday sparkle in check and ready to shine when the season rolls around again.
Additional Light Storage Solutions:
- A cord wind up has built in hooks to secure the lights around. Place in bins with a layer of padding to protect bulbs.
- A light reel makes light work of winding your lights.
- For really long light cords, coil your lights by holding one end in your hand, bending your arm, then wrapping the string from elbow to hand until you reach the end. Secure with a twist tie. Place in a recycled gift bag.
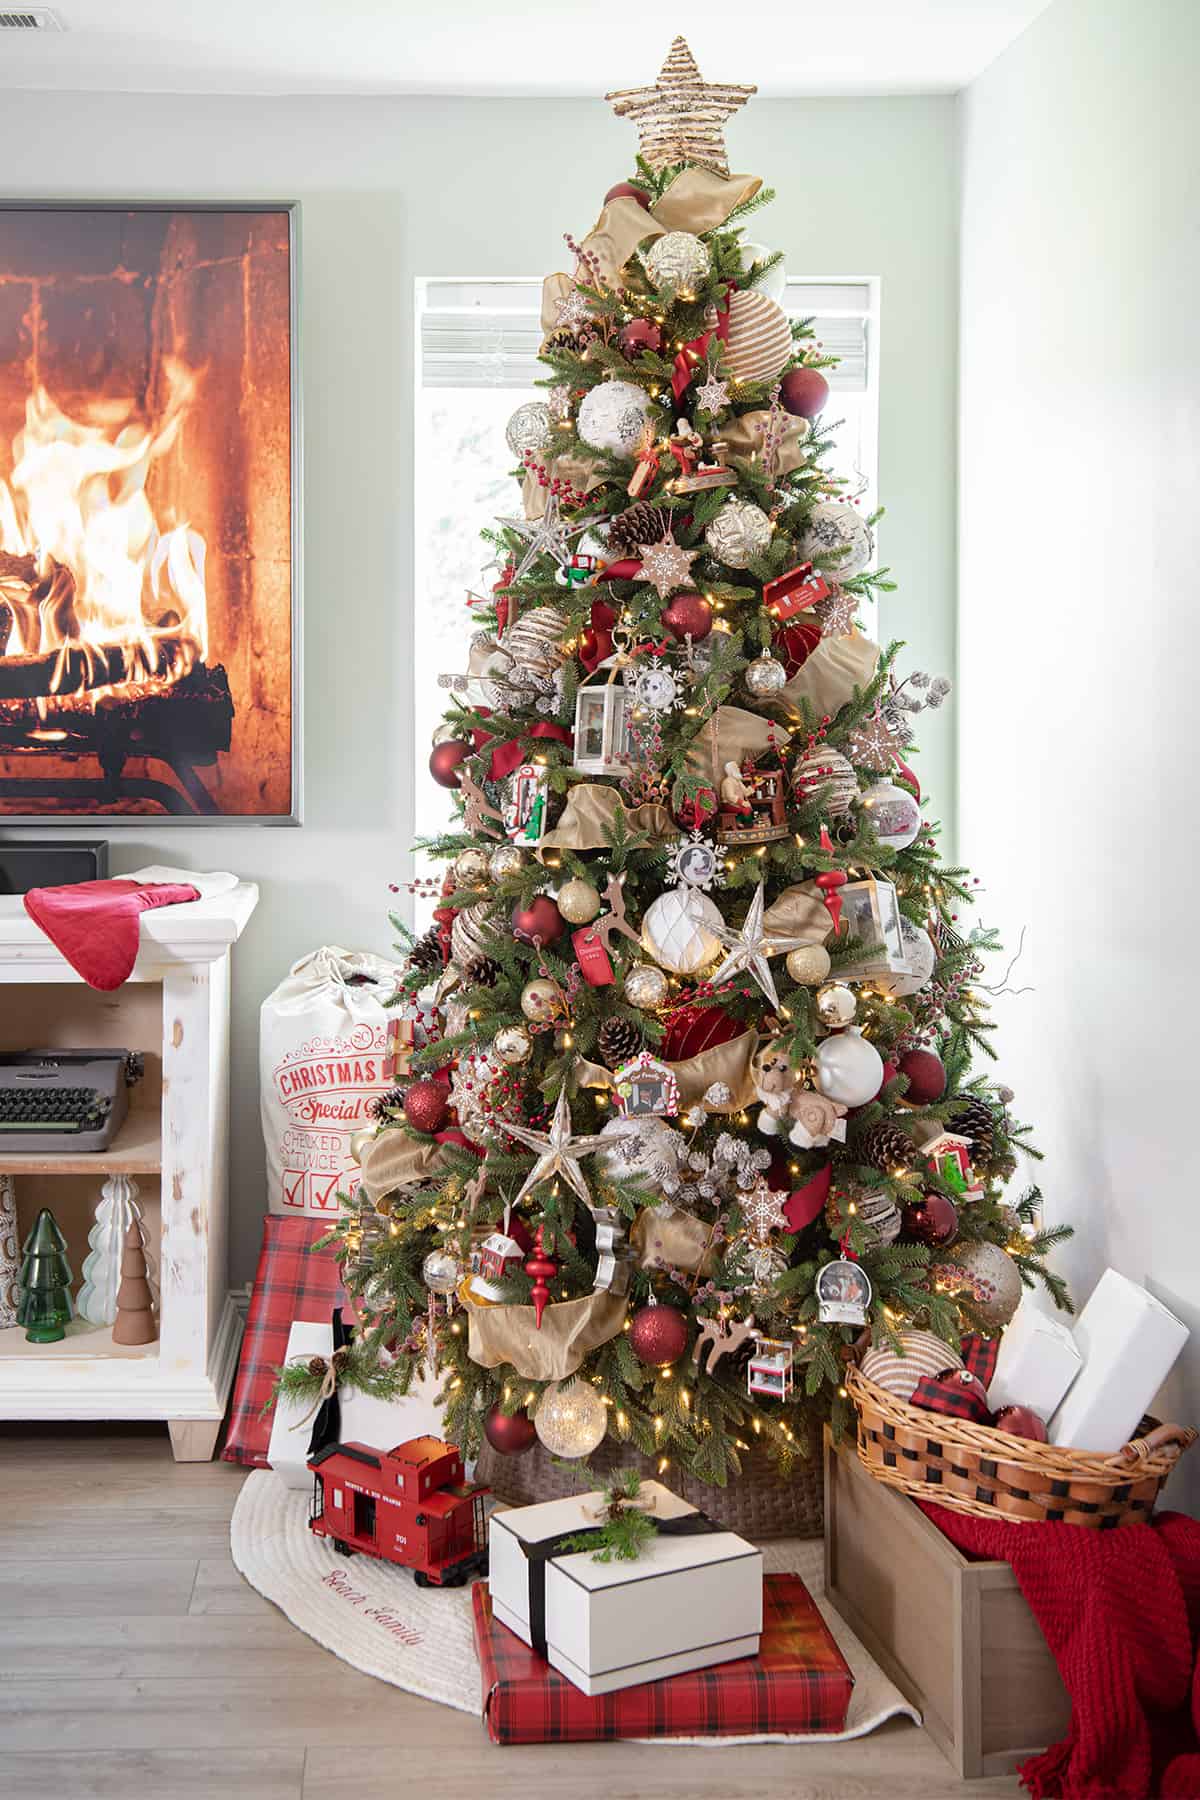
How to Store Artificial Trees
I have more Christmas trees than I care to admit and finding space for all of the bulky things can be tough. If you didn’t save the original box, I highly recommend a tree storage bag for your artificial Christmas tree.
Before you tuck your tree away, check to see that branches and needles aren’t bent or crushed. Another tree solution that I use is to store my flocked Christmas trees upright and covered with a sheet/drop cloth or wrapped in plastic wrap.
How to Store Christmas Wrapping Paper
To store your gift wrap, choose a designated plastic container or a wrapping paper storage box.
If you’ve got scraps or leftover bits, lay them on top or wrap around other rolls. Use a rubber band or a piece of tape to secure the ends of paper rolls.
Pop the lid on and you’ll be all set for next year’s gift-wrapping extravaganza. No more wrinkled or torn paper - this method keeps your holiday wrapping supplies neat & tidy.
More Wrapping Supplies Solutions:
- A Hanging Gift Wrap Organizer provides easy access to gift wrapping supplies like ribbon and bags without taking up floor space.
- A Wrapping Bag provides slim wrapping paper storage for deep shelves, narrow spaces, and under the bed.
- A rolling wrapping cart makes it easy to slide in an out.

How to Store Holiday Wreaths
Because I spend so much effort choosing or making our wreaths, I use a rigid wreath storage bag to guarantee their longevity.
Start with a clean, dry wreath. You don’t want any moldy surprises next year! Optimal storage space includes the garage, attic, basement, under bed, or wherever you’ve got dry space.
More Wreath Storage Ideas:
- Holiday wreath container boxes are practical storage solutions for odd, shaped wreaths or spaces short on storage.
- For smaller wreaths, I take the ribbons off and store them upright inside a tote.
- Slip your wreath in and out of storage with ease with this handy red tarp tote.
- Get vertical! Hang wreaths on an attic or garage nail or individual hangers using ribbon. Better yet, get a dowel rod and hang them from there.
- Cover each wreath with a clear plastic bag or see-through storage bag before hanging them to keep the dust at bay.
- Cardboard boxes can hold each wreath individually and be stacked.
Hopefully, you found these tips helpful. No matter what you're trying to store this year, these labels will come in handy and save you time searching for what you need.
Click here to download free printable bin labels!

Grab our free series "Weekend Home Projects that will Transform Your Life" Sign up below to receive updates including free printables, organization tips, home improvement projects, recipes and more! |
More Organization Ideas
Mar B says
I purchased the husky yellow/ black 27 gal bins,changed my life! Stack well in garages & on shelving unit, so organized,love it, those flimsy Walmart bins are cheap, I dropped one stuff inside broke corner of bin split.. I’ll stick w yellow/ black stackables!
imgrum says
Love the idea! Thank you for sharing!