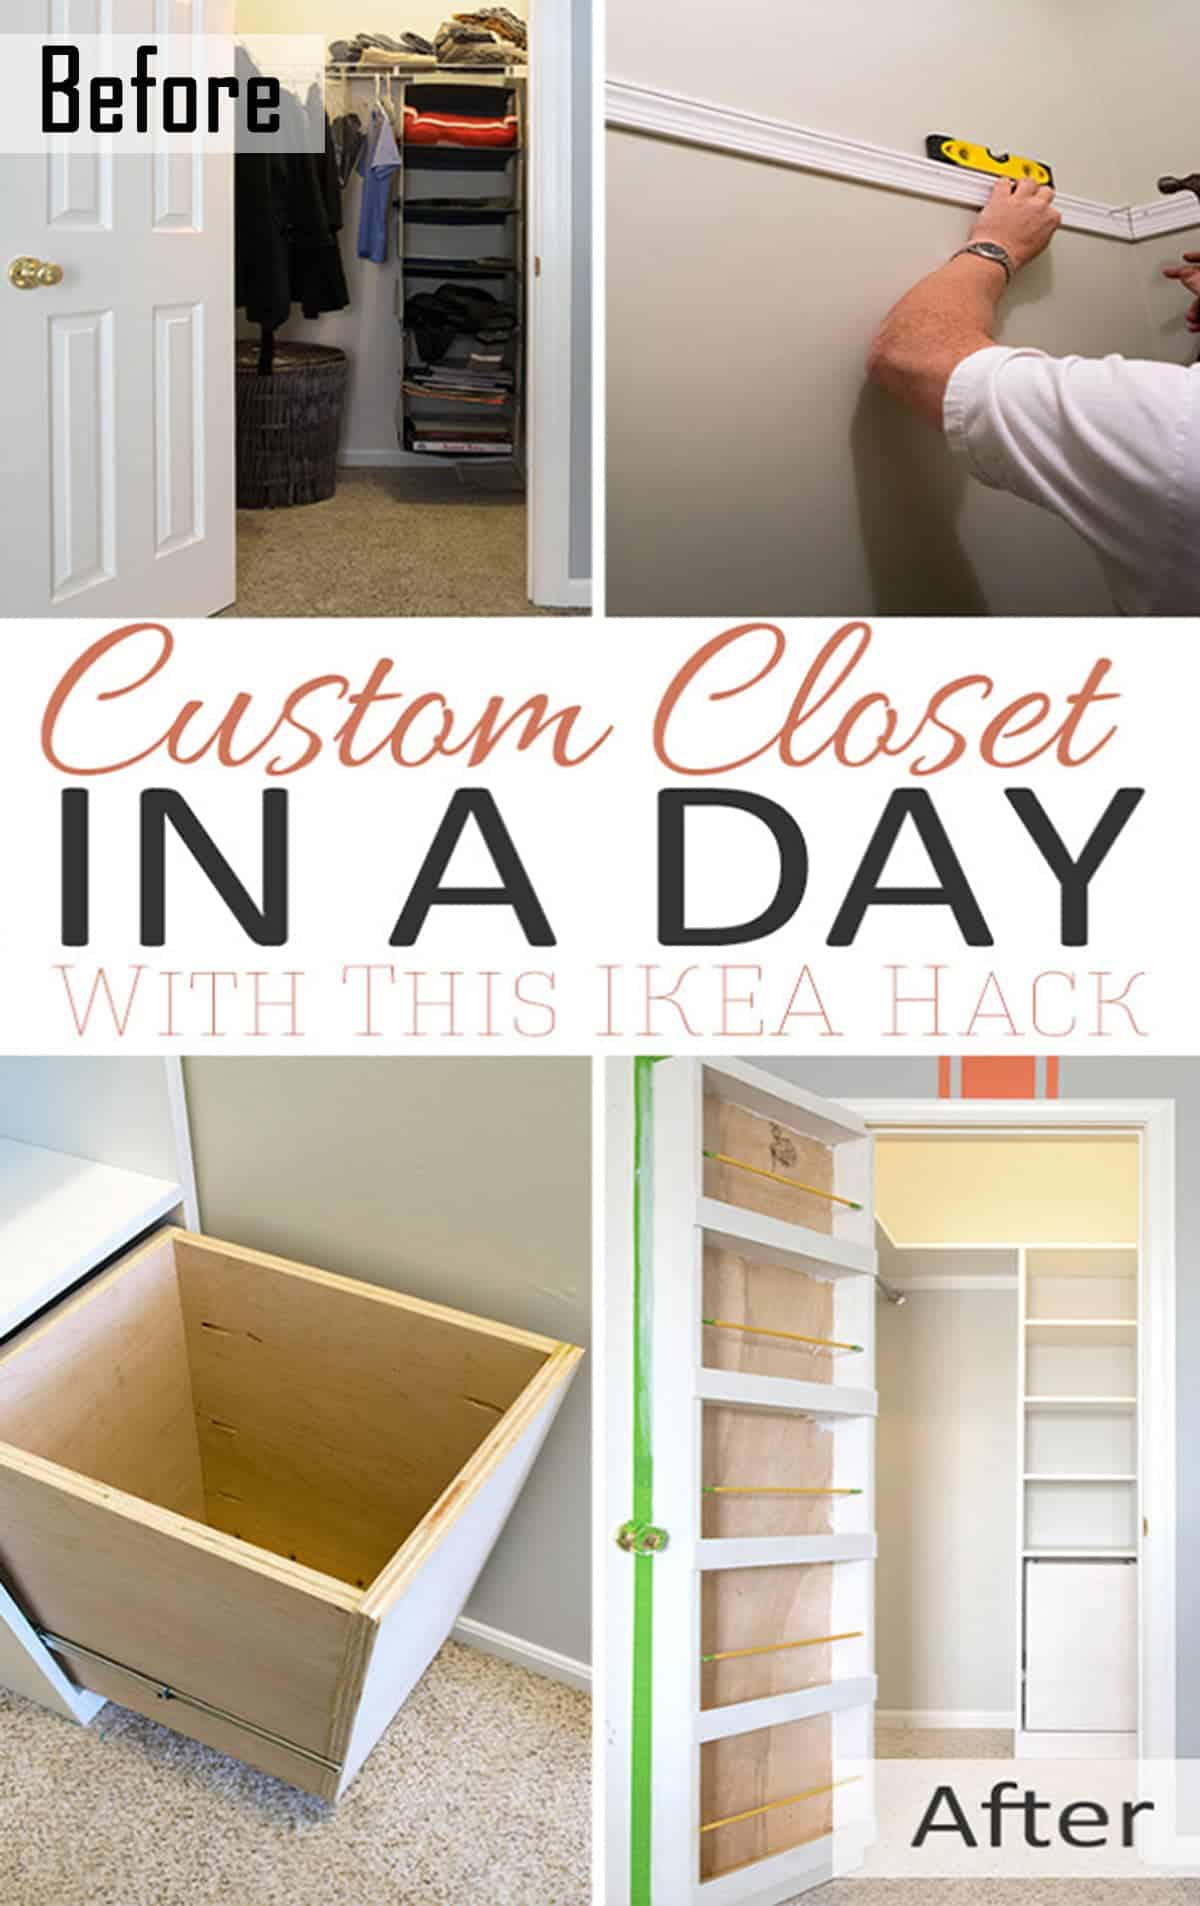
Do you dream of pretty, organized closets but don’t want to spend thousands of dollars? We built this small closet using a closet Ikea hack, built-in laundry hamper, and door organizer for under $250! Keep reading to learn how to make your closet into beautiful organization and function with these tips, full tutorial, and inexpensive supplies. Novice to intermediate level friendly.
If there is anything that I absolutely swoon over, it’s those master closets with organization for days. I don’t even own enough clothes to fit in most of them, but I still get googly-eyed at all the pretty organization.
One day, our master closet will be a major project, but we started with a test run in building our son’s closet organization first. After helping my brother-in-law build a DIY Bed Frame with Storage earlier in the year we are on to this project.
I'm sharing my DIY closet makeover with an Ikea Billy bookcase closet hack to achieve a built-in look, as well as a built-in laundry hamper, and DIY door organizer! I'm also including all the sources, supplies, and tips for how we built it to last from toddler to teen years.
The Small Closet Before & After
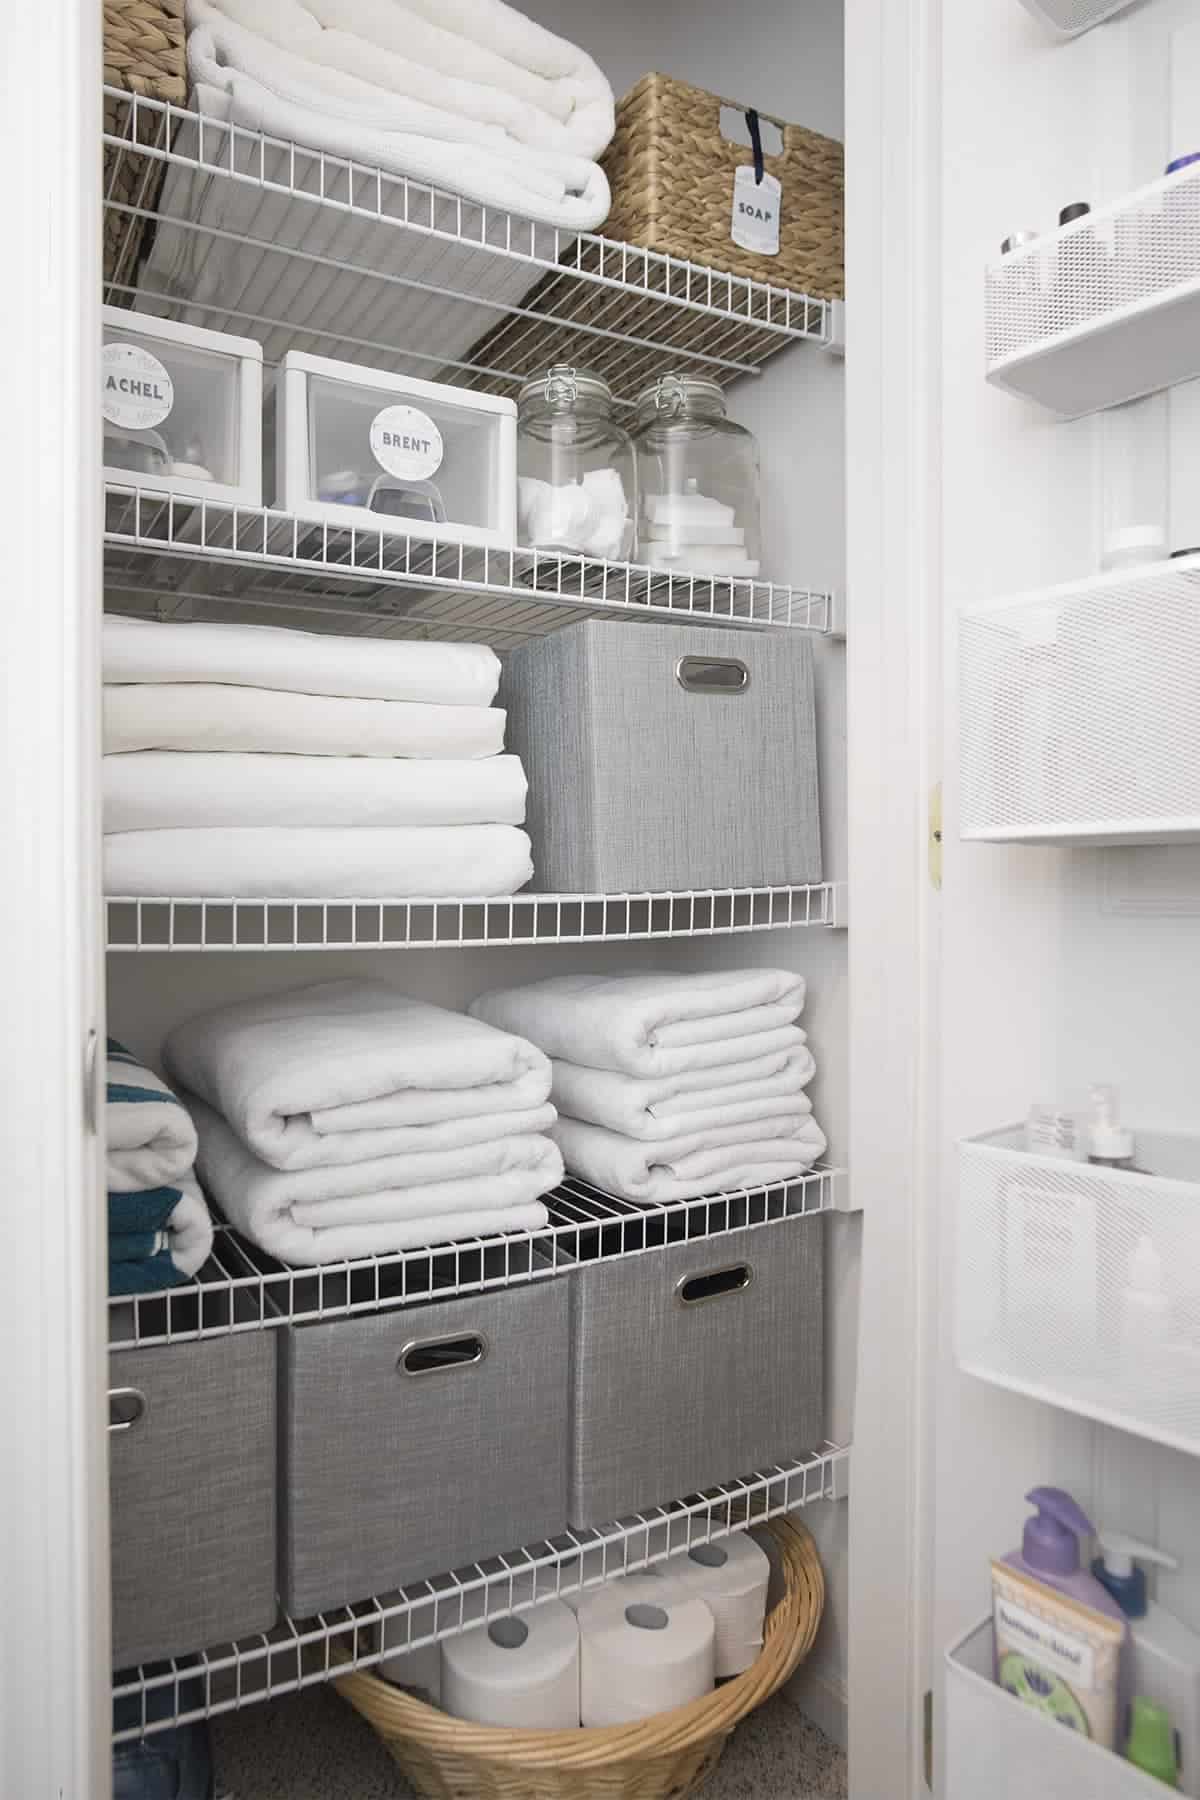
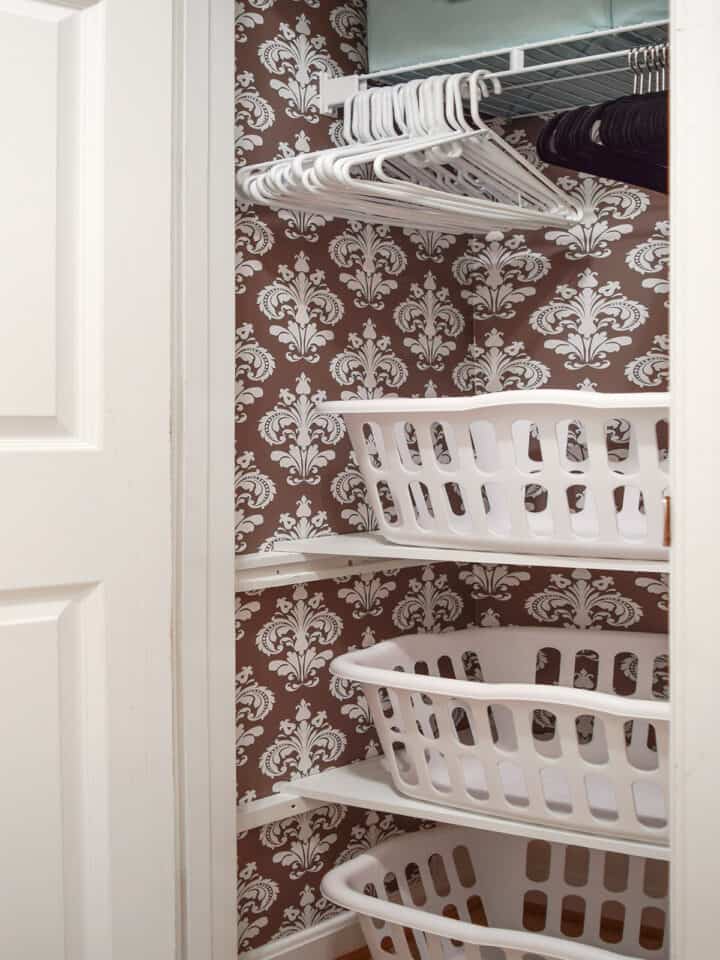
So here it is before. Pretty basic, huh? I don’t know about you, but I am really over wire closet shelves. Yes, it is such a little thing but ever since we installed cabinets and shelves in the laundry room, I want to replace all wiring shelving. Besides that, the closet is just barely functional.
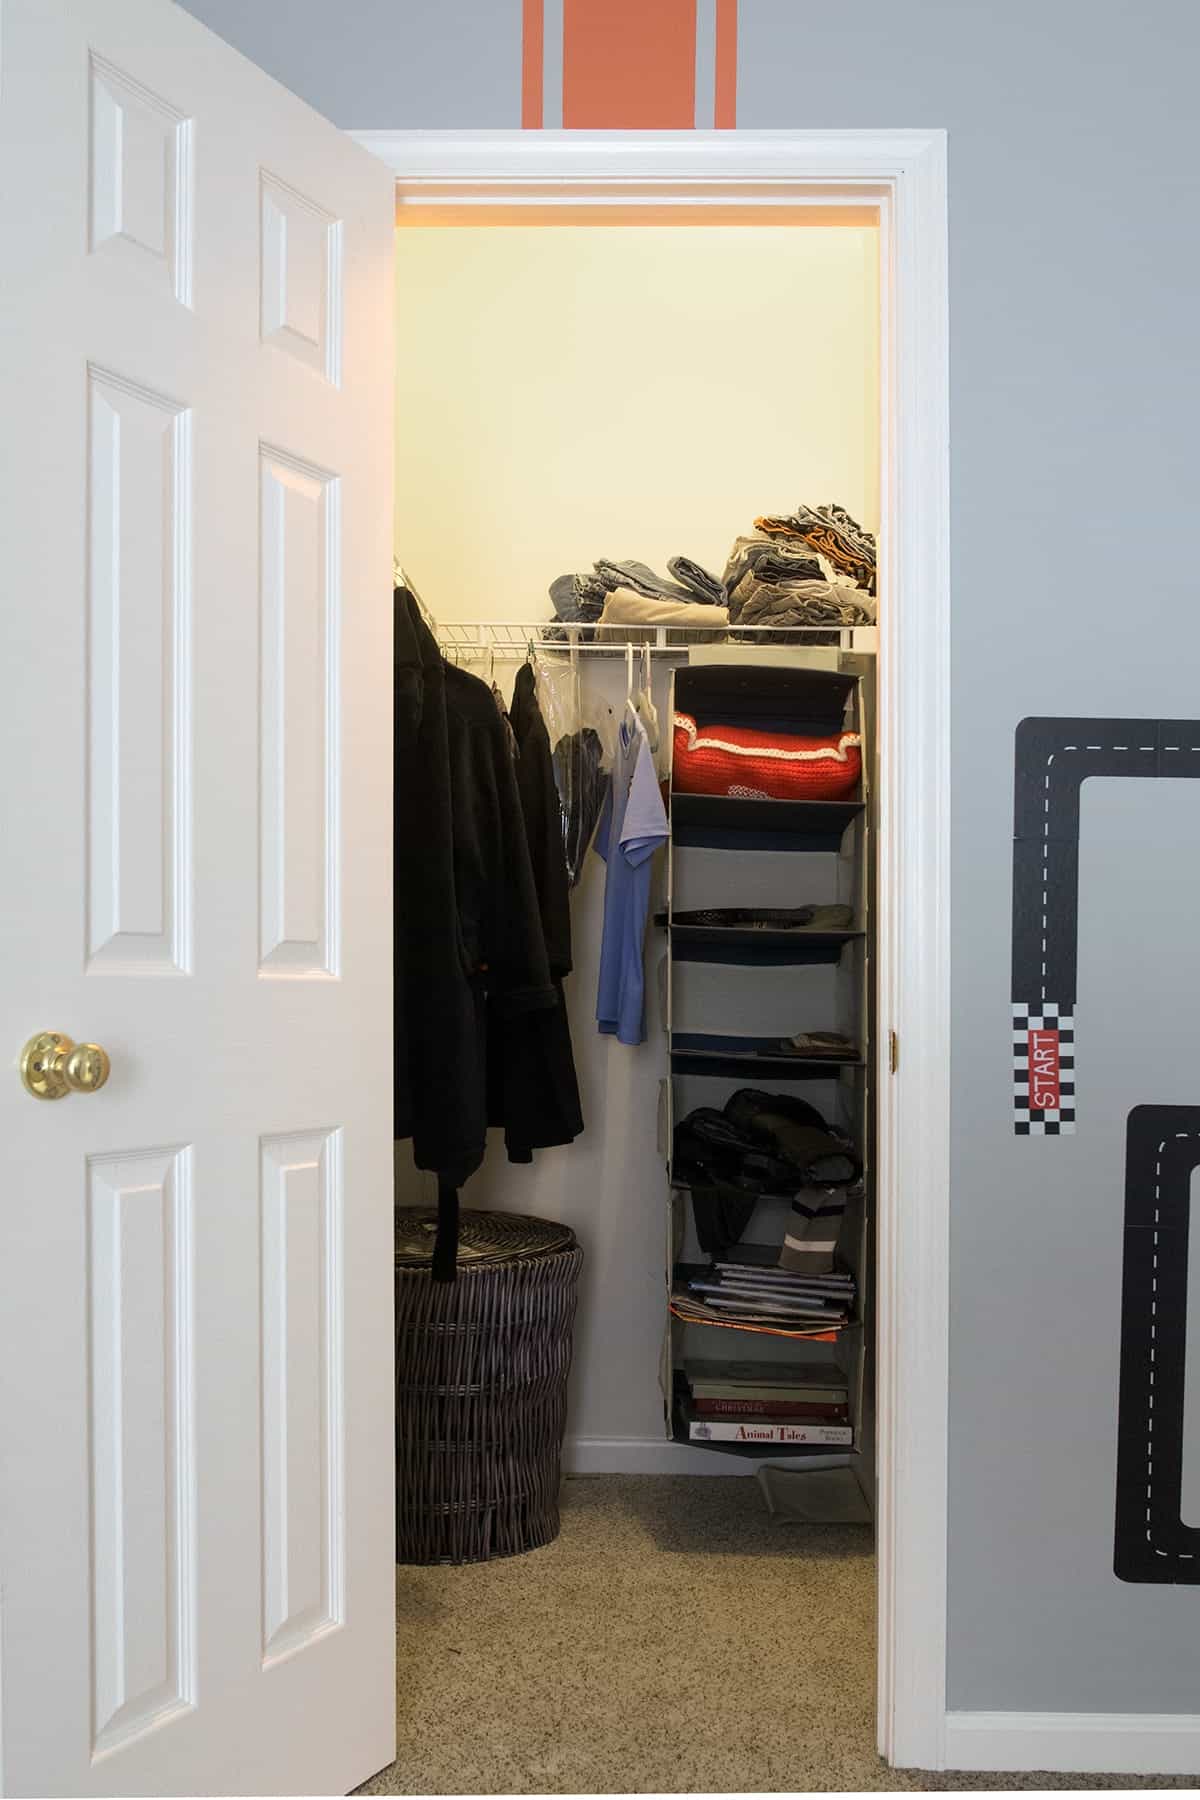
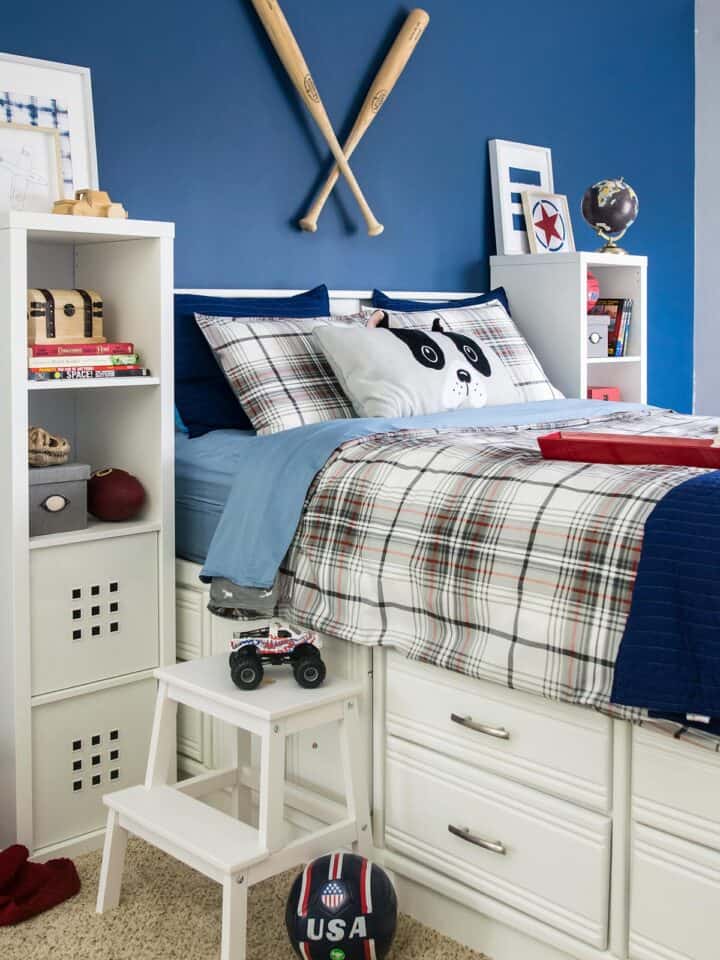
The goal was to better utilize the space, designing a closet that could meet his needs as he grew from toddler to kid to teen. We needed storage for books and shelves for items that couldn’t go on hangers, plus room for a second clothes rod to double the hanging space.
We did not add the lower bar for now because it would be too enticing as a swinging monkey bar. My preconscious son really keeps us on our toes!
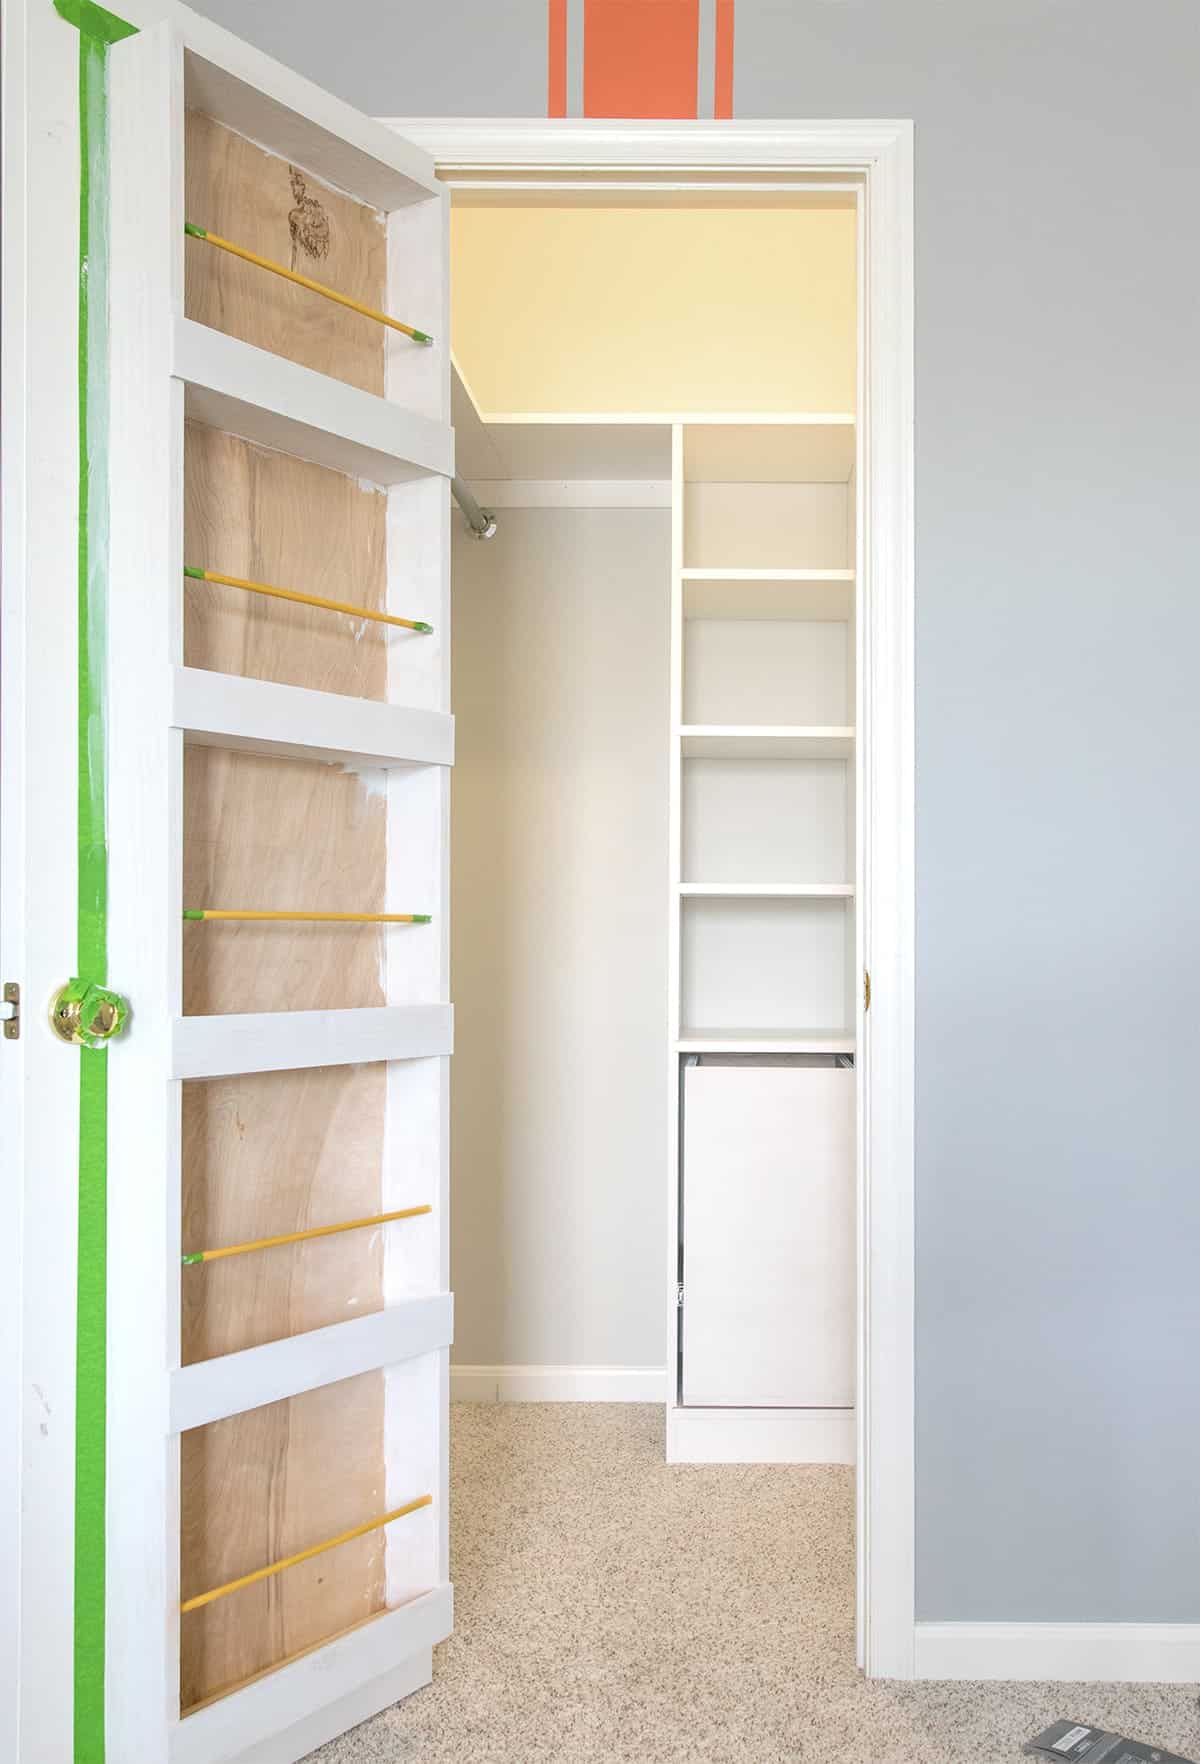
I’d say we did a pretty good job! It is now so organized, functional, and flexible enough to meet the many phases of childhood.
Supplies and Tools
Other than the Ikea Billy Bookcase, all of the following supplies can be found in the Closet Hardware section at Home Depot.
Closet Shelves with Closet Ikea Hack
- Ikea Billy Bookcase: $59.00
- Closet Rods: $14.00 (We cut a 96-inch rod into 2)
- Closet Rod Pocket Holes $8.47
- White Shelf 2 @ $14.00 = $28.00
- Drawer Slides $11.70
- Heavy Duty Drywall Anchors For attaching bookshelf to wall $2
- Plywood Sheet $58 – we used leftovers
DIY Closet Door Shelves
- 3 – 1X4x8 boards $35
- ½-inch Dowel Rods $15
- ¼-inch backer board sheet $15
- Construction Adhesive
Total: $246.57
Tools
- Hammer
- Finishing Nails
- Drill and bits (both screwdriver and drilling bits)
- Miter Saw – this project does not require a large compound miter saw, but I love ours. It’s a beast.
- Level or laser level
- Clamps (for closet door organizer)
- Wood Filler
- Putty Knife
- Paint Brush
- Kreg Pocket Hole Jig (Completely Optional)
- Orbital Sander and Sandpaper
- Wall Paint for Touchup
1. How To Make Closet Shelving
To put up the top shelves, we braced the wall with some molding. The melamine shelves lay on top of the molding.
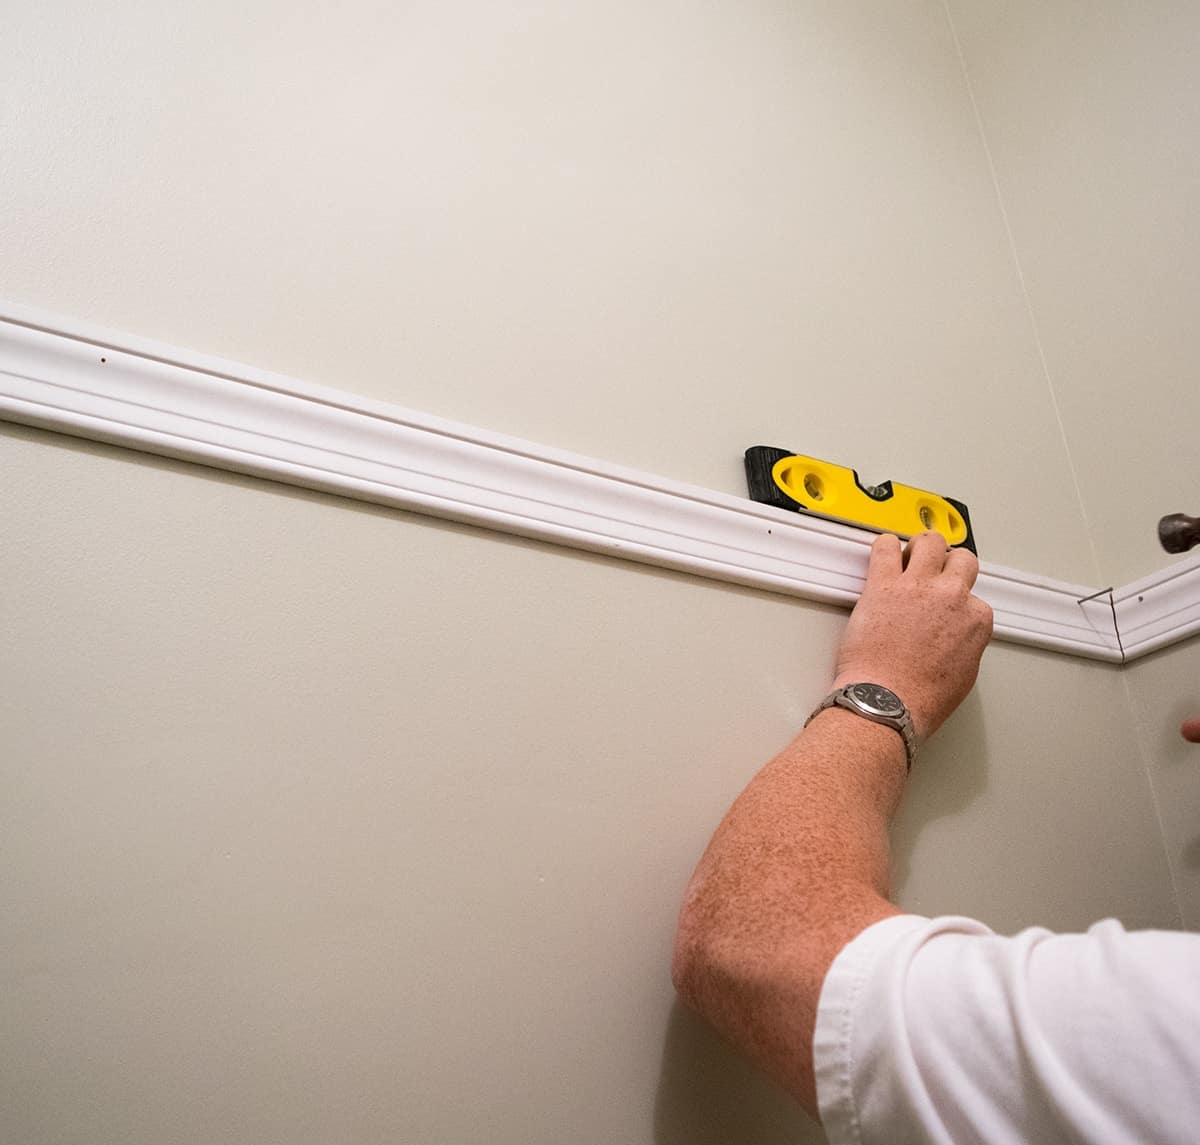
When planning out how to make the closet shelving, we don’t anticipate any large or heavy items up here. This closet is quite small and thus we didn’t need additional shelf support. However, if you have a longer shelf, you might want to add some shelf brackets to prevent any bowing.
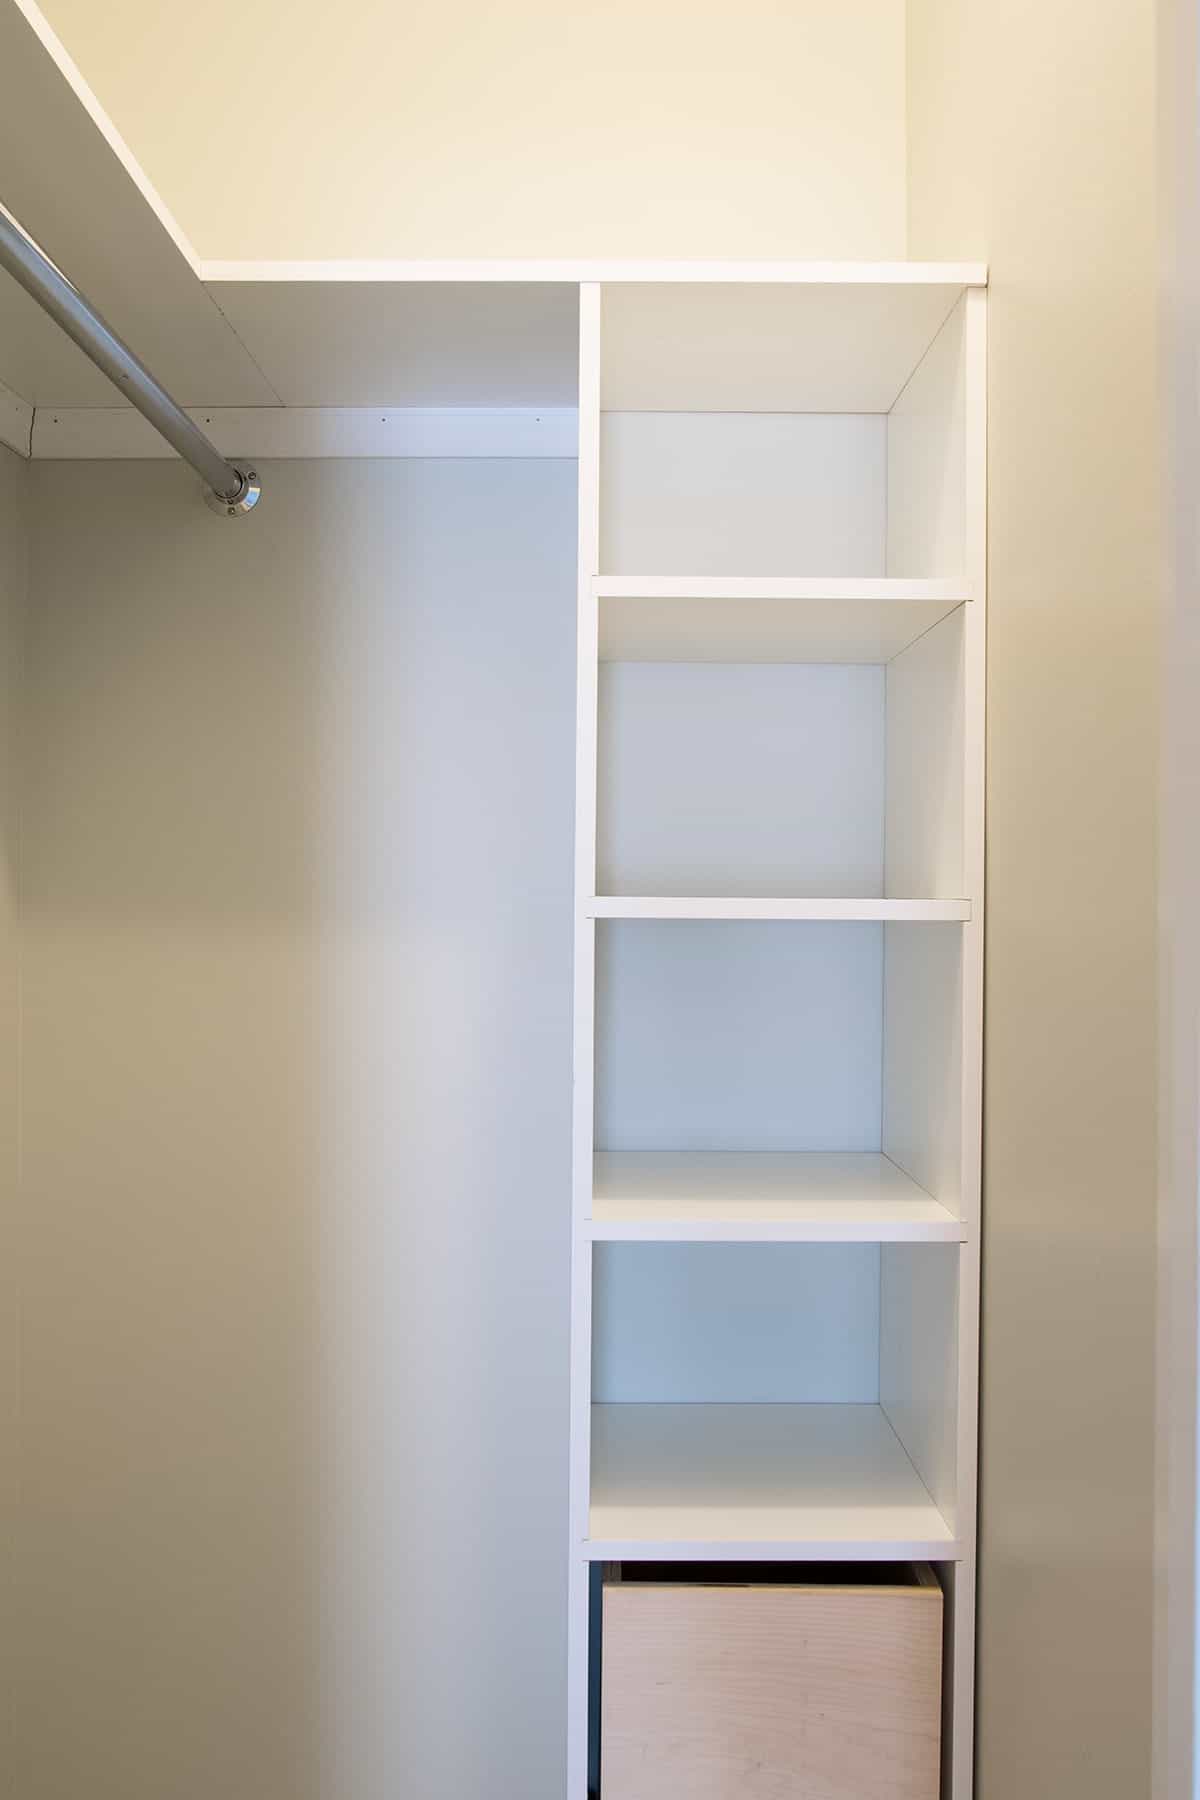
When we put the Billy bookcase together, we didn’t add the top shelf. Instead, we put one full shelf across the closet. The shelf above is nailed down into the billy bookcase and the other shelf is anchored to the shorter shelf with dowel rods (similar to this doweling kit or how IKEA attaches their shelves).
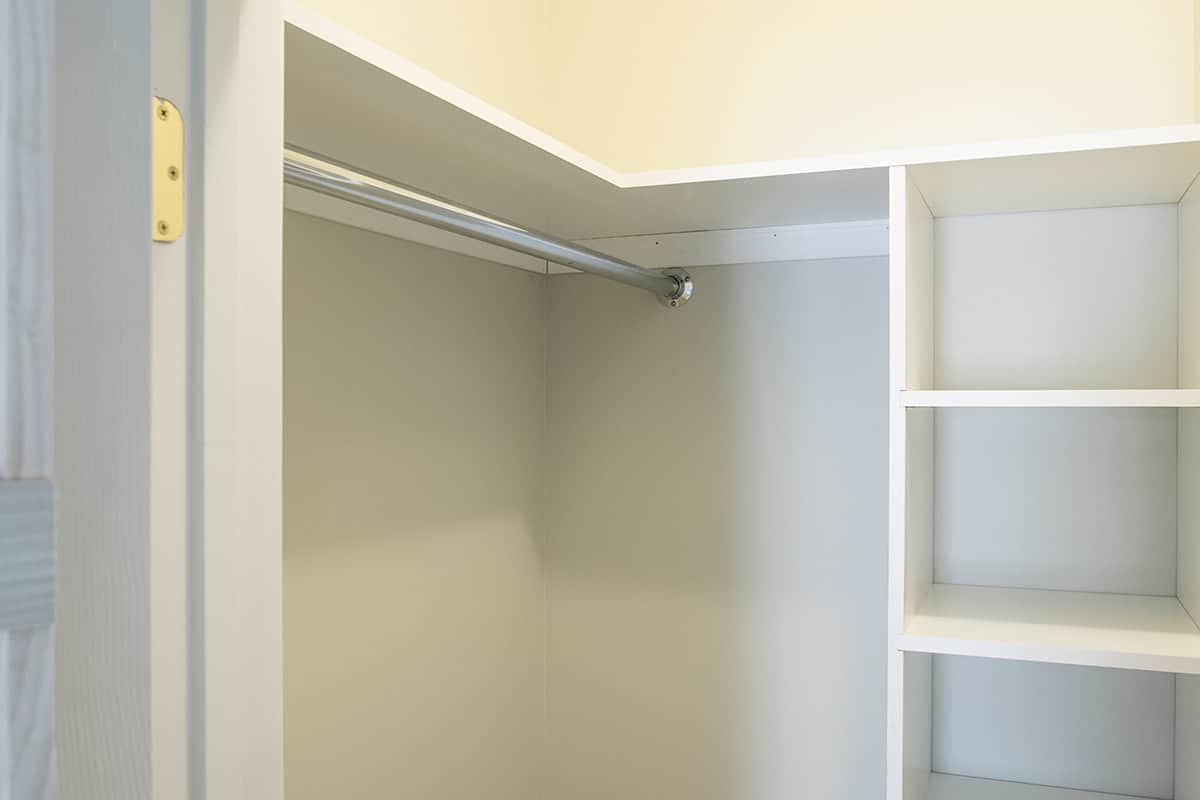
Then we added a metal rod for hanging clothes. This consisted of metal pockets and a pole we purchased separately. To cut to size, we used our multi-tool, although a pipe cutter is more ideal. The multi-tool is what I consider an essential DIY tool, and one that even a weekend handyman will wonder how they lived without. It’s possibly my favorite tool of all time.
2. Built in Laundry Hamper
Since the closet is so small, we didn’t have any room to spare or fit a giant laundry hamper in. Instead, we chose to include a built-in laundry hamper that slides out from the Billy bookcase.
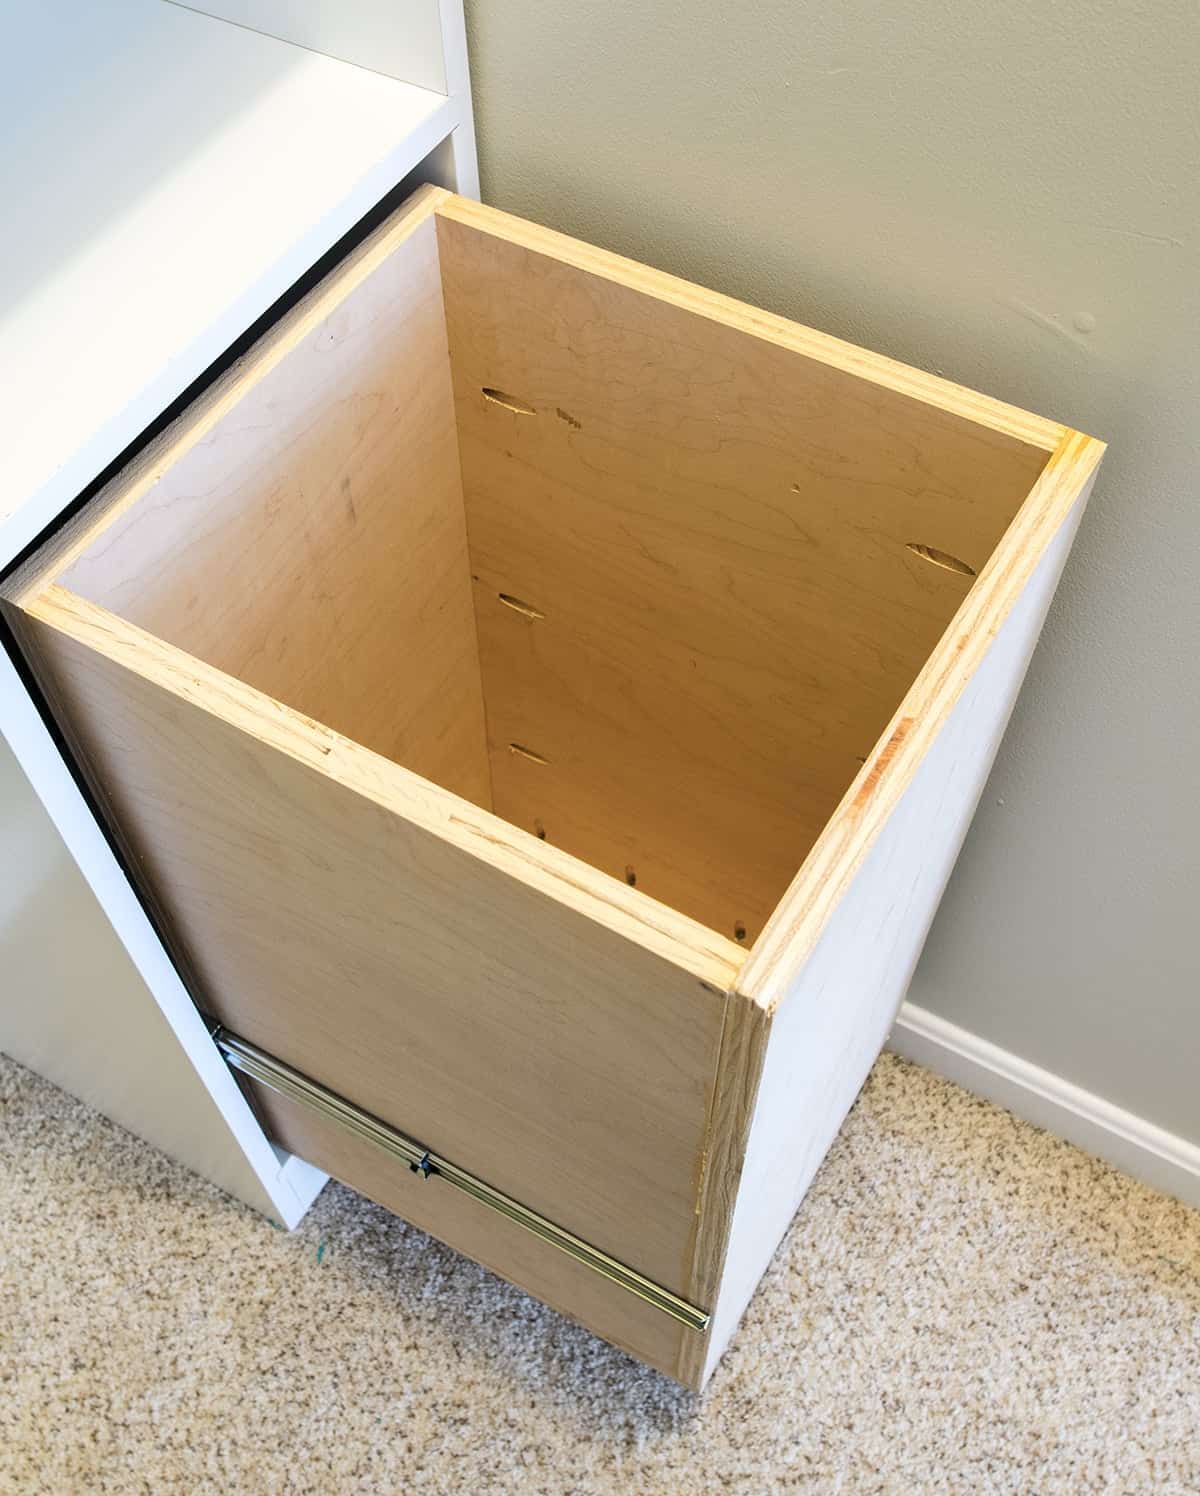
To do this, we cut a sheet of plywood into 4 pieces, plus a bottom and attached them together with glue and pocket holes using a Kreg jig. It wasn’t really necessary, but my husband loves pocket holes for some reason.
Then we added rails on either side to slide out and a handle on the front. The hamper is on the small side since the billy bookcase is only 11 inches deep. It works for him great though and I have never had a problem with the size.
3. Built in Closet Shelves on the Door
Like most parents, children’s books and toy storage will forever be a problem. I think my son could build a treehouse just out of books. Now, don’t get me wrong, I loooooove that he loves to read, but I don’t want to find him buried alive in the stacks of books he has lying around. That problem led to this solution!
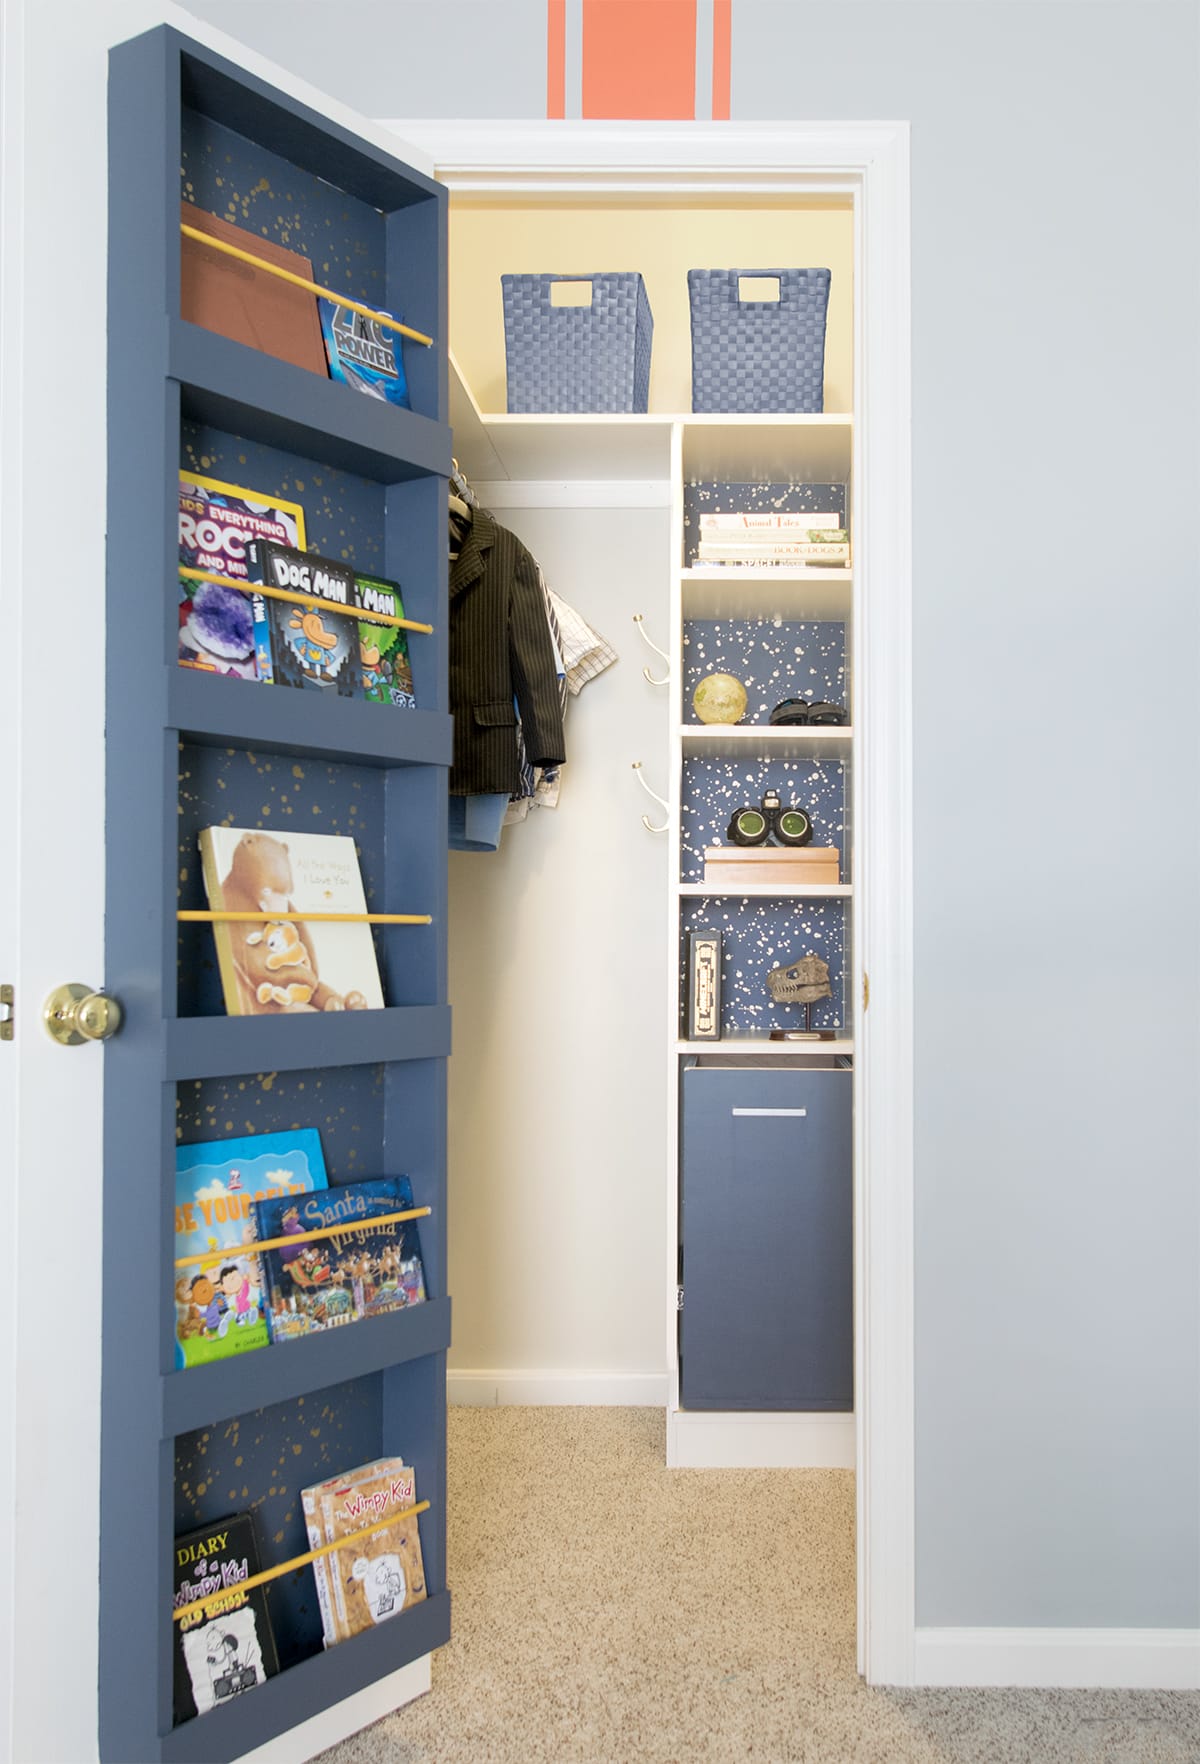
We designed a bookshelf to go onto the back of the door, which maximizes space. And it isn’t just for books. We designed it in a way that he could grow into. For instance, he could also use it as a shoe hanger or accessories when he is a teenager.
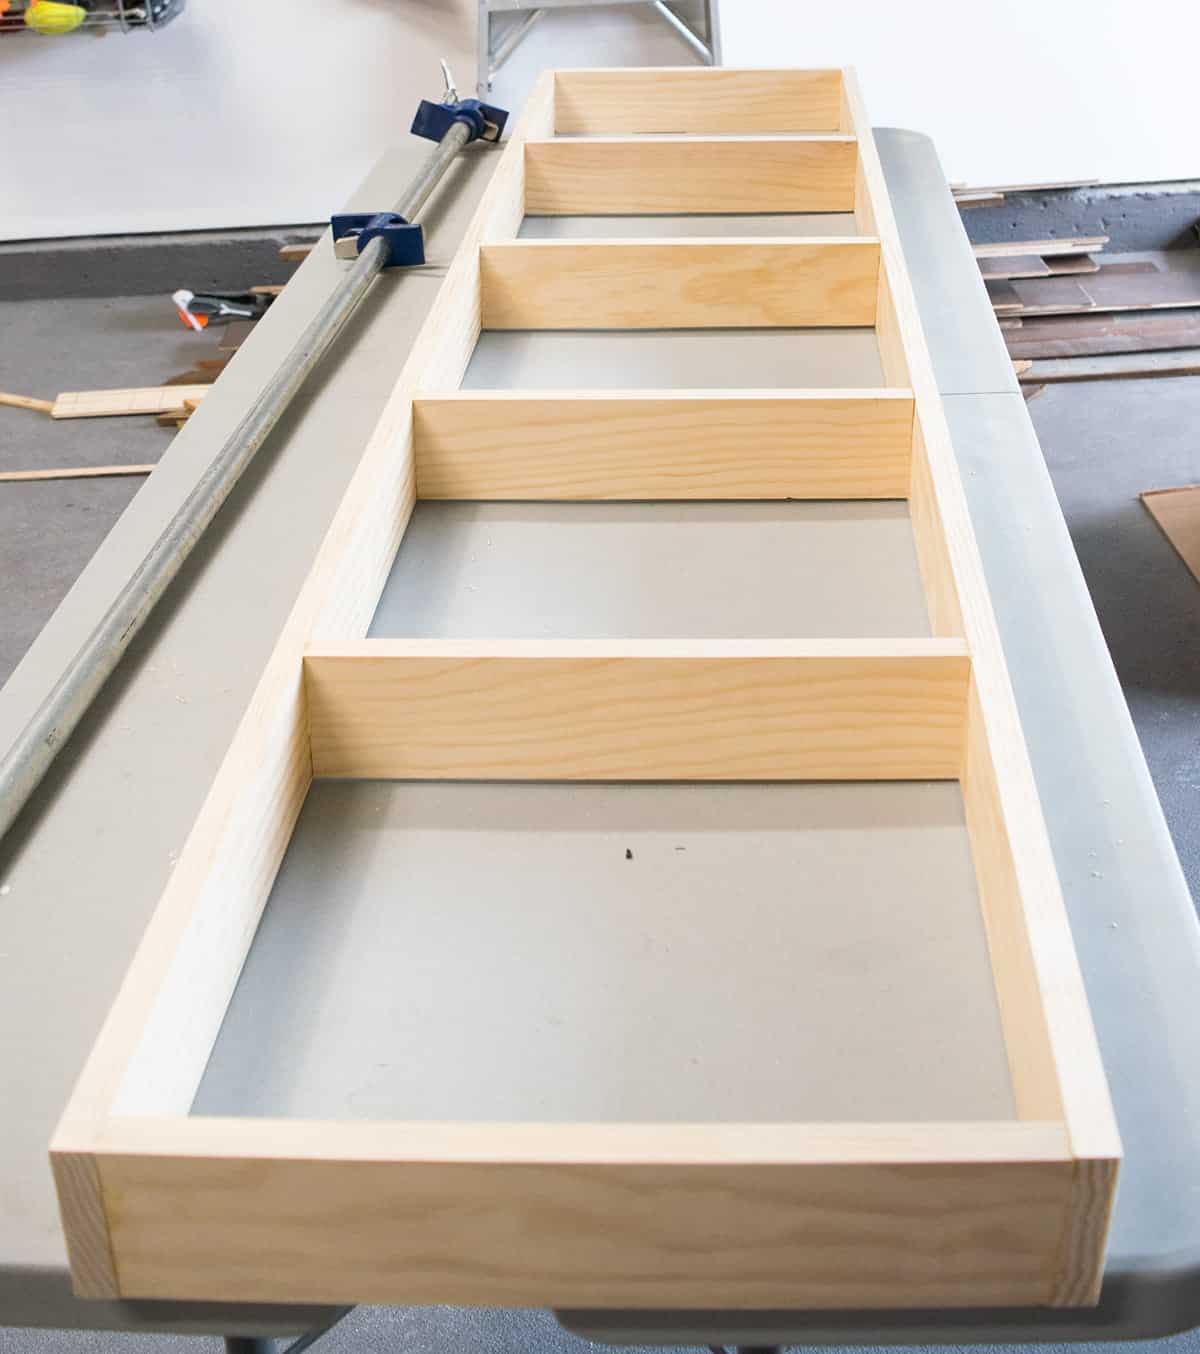
We started by using 1 x 4 boards to build the base of the shelf. His door is standard size, so we created 5 shelves spaced 11 inches apart and 16 inches wide (total with the sides, 17 inches wide).
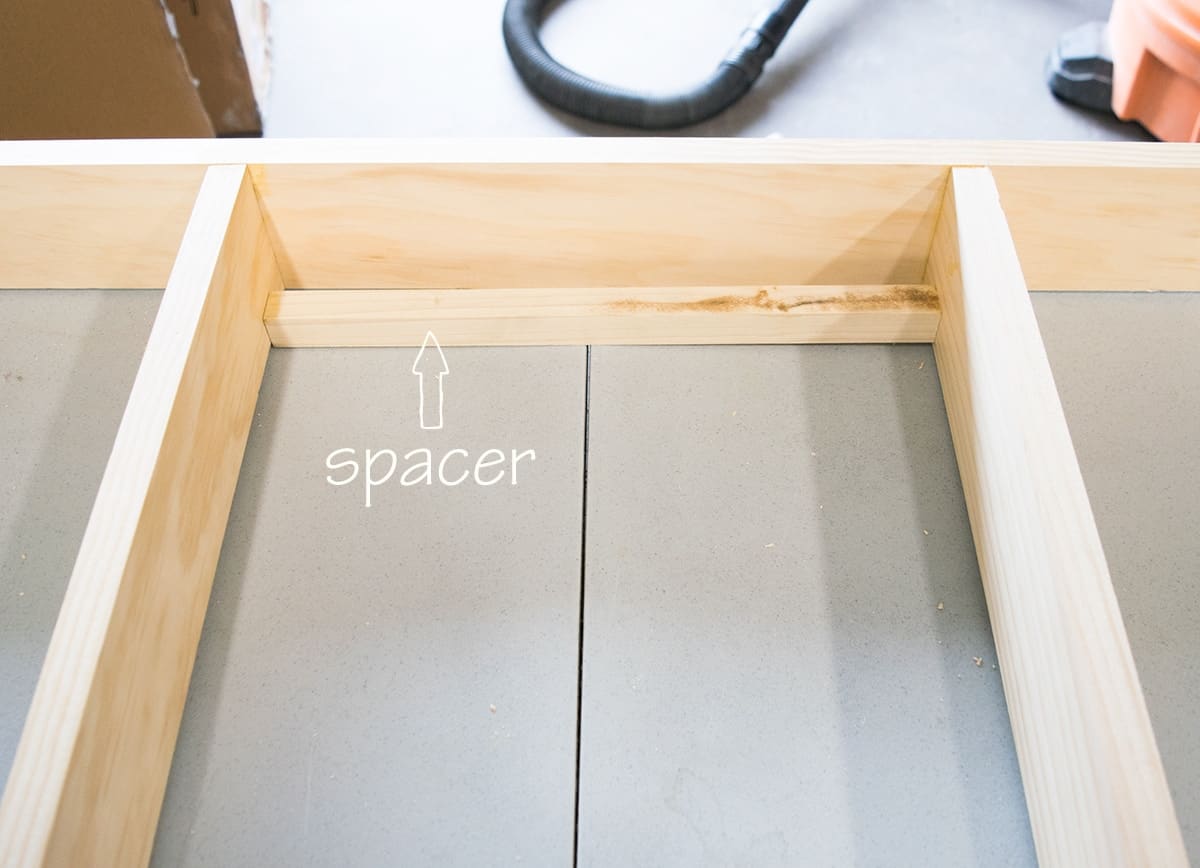
We cut a spacer from a scrap piece to make sure none of the board were wonky or angled. It’s faster and easier than a level. Each board is nailed in and screwed from the outside. I filled the nail holes with wood filler after it was all together. Then we nailed and glued a thin wood backer board on.
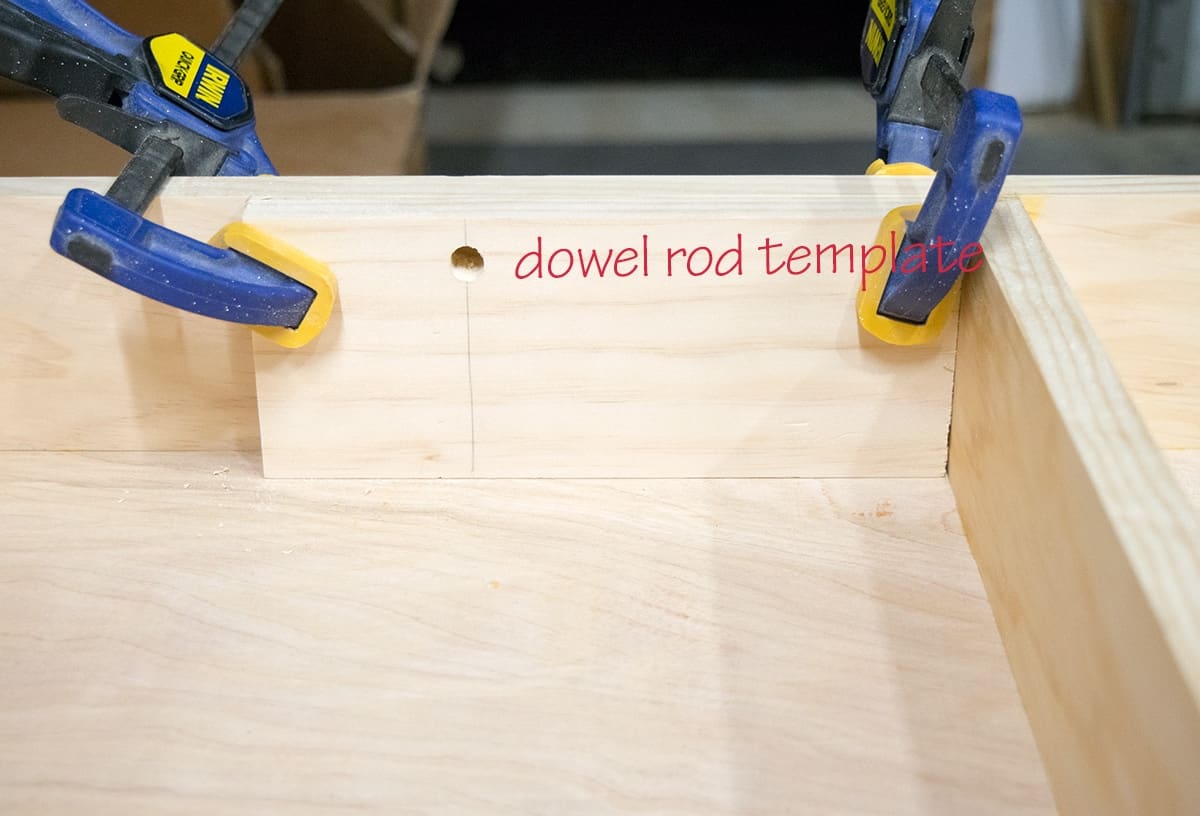
To keep everything in place even if the door is slammed, we added dowel rods 5 inches up from the bottom of each shelf. We made a jig template (above) to make measuring a snap. Using a drill, we drilled a hole through the template to the outside that the dowel rod would fit into.
We glued and nailed trim (0.25 x 2.5 x 16) across the front as a lip as well.

To hang the shelves, we used an entire large tube of construction adhesive after lightly sanding the door area where it would hang. We clamped the shelves to the door for a few days while flat (photo above).
More Organization Projects
Update: Even 4 years later, this closet is great! The bond on the door shelves is strong and secure with no worries at all. We have installed the second metal rod for his hanging clothes and the space has worked amazingly well for his needs, which has changed a lot over the years. The Ikea Bill bookcase now houses all of his hamster toys and supplies for example.
SEE THE FULL CLOSET AFTER PAINTING HERE

Grab our free series "Weekend Home Projects that will Transform Your Life" Sign up below to receive updates including free printables, organization tips, home improvement projects, recipes and more! |
More Great Organization Ideas
PS I love seeing your creations! Be sure to take a photo and tag #cravingcreative on Instagram! You can also stay in touch with me through following me on Instagram, Pinterest, and subscribing to the newsletter!
Brian Kelly says
Man, you hve alwasy done well at these kind of projects but these dasy I really have to show some appreciation for Brent’s efforts. The quality of his work is very pro. I love the pocketed screw holes on the drawers. Everything he’s built latley really rocks! He’s a long way from that shelving system he built years ago