Outdoor embroidery hoop wreath for modern farmhouse elegance. Customize this DIY wreath for a budget-friendly and simple 30-minute project with this 3-step tutorial including weather resistant tips for uncovered porches.
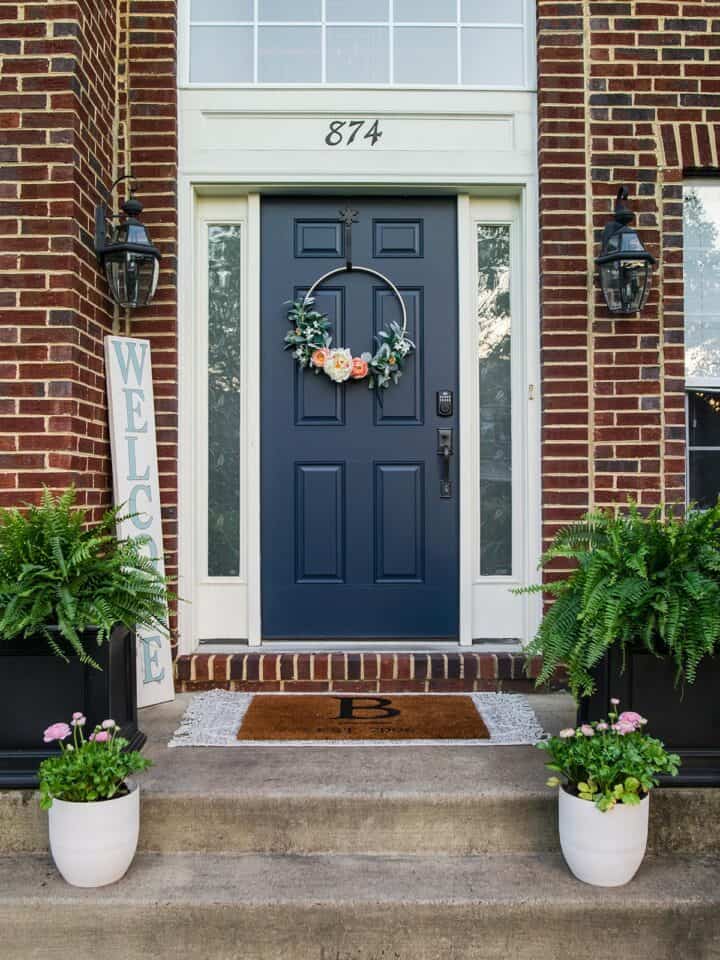
I enjoy bringing in new front porch decor each Spring. A fresh coat of paint, a new welcome sign, and colorful blooms in DIY concrete planters set a friendly tone. My favorite part? Choosing a new seasonal wreath!
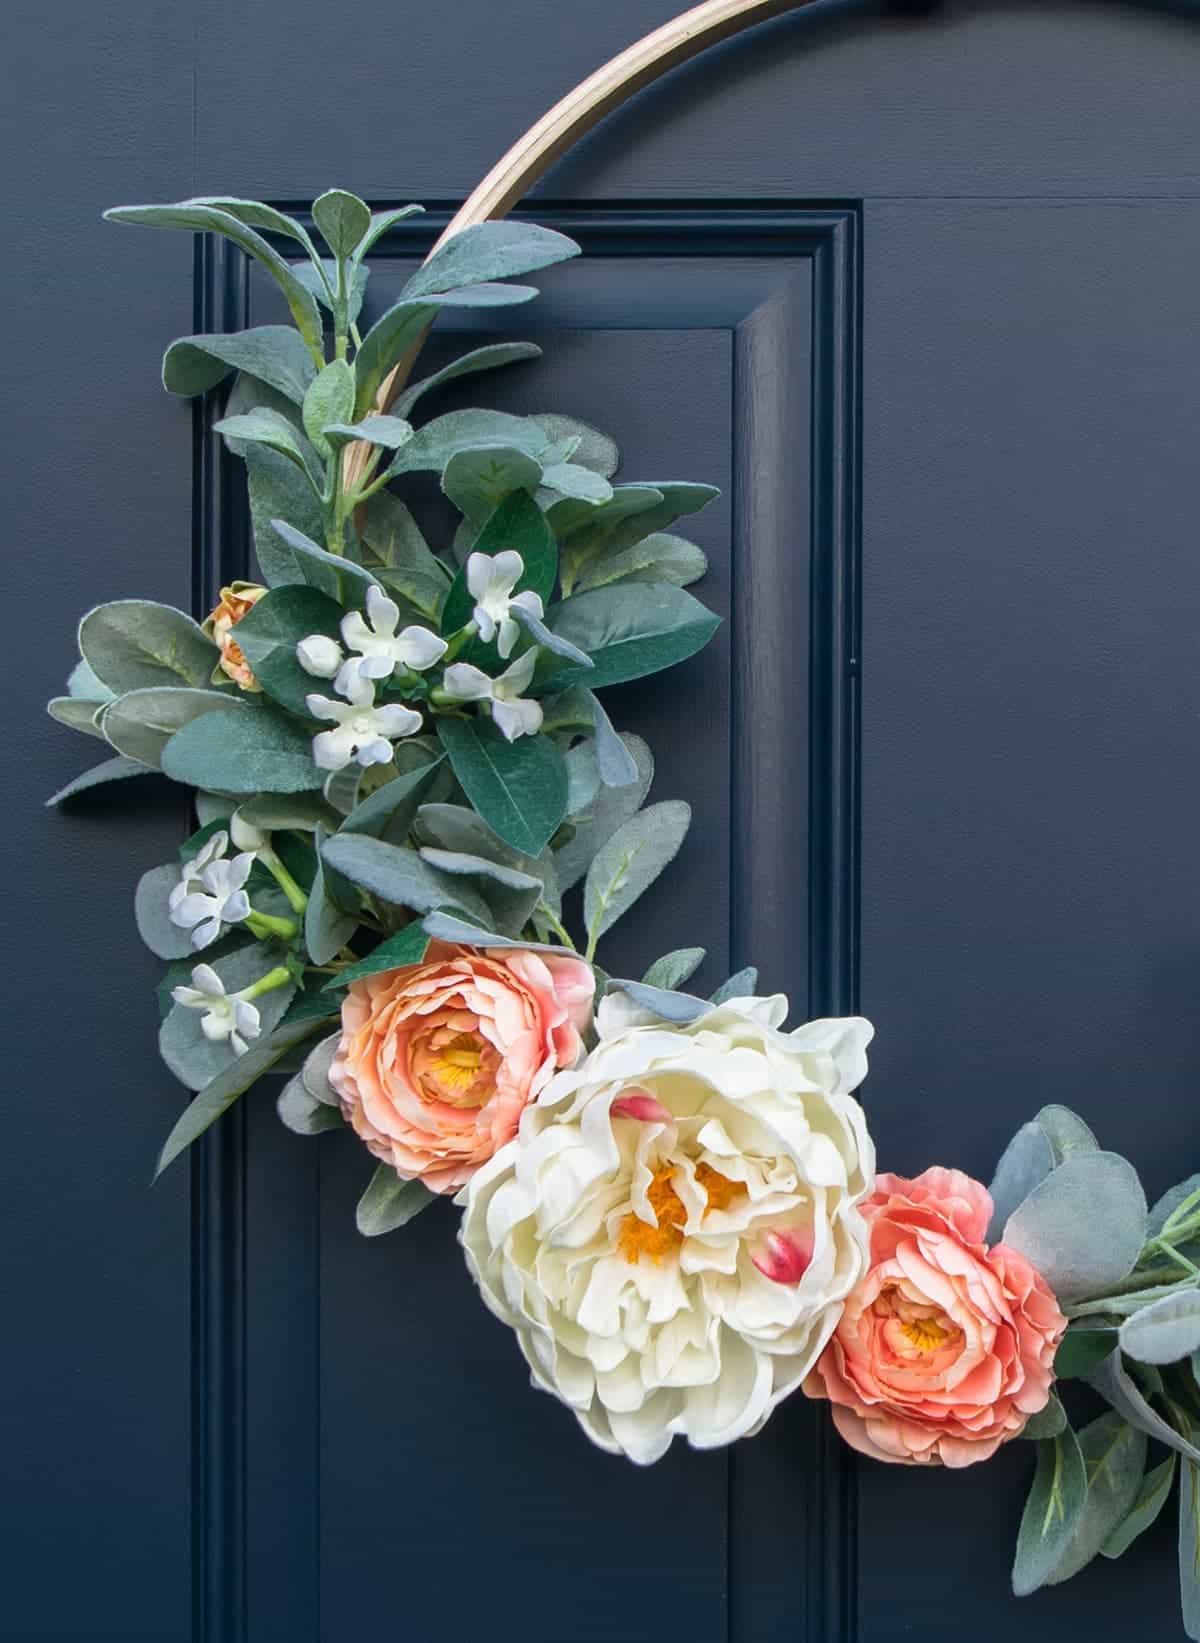
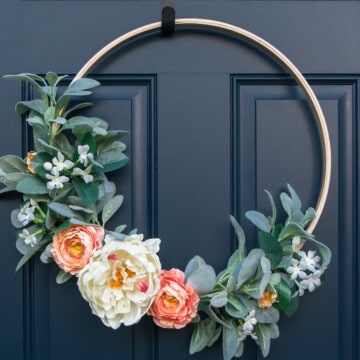
My version of window shopping is browsing through stores thinking to myself, “I can make that- and in the right color!” or “I can make that for so much cheaper!” So, when I spotted the 50% off sale on florals at Hobby Lobby, I was ready! Thirty-five dollars later, I had a gorgeous handmade HUGE Hoop Wreath. The white flower cost about $12 alone, but I HAD to have it.
It’s so versatile and can be friendly to uncovered areas. The simple hoop base and minimal use of florals gives it a timeless quality. The entire wreath took about 30 minutes to complete.
Supplies for Making A Hoop Wreath
- Hoop-steel ring or embroidery hoop or a small hula hoop – my hoop is 22 inches
- Outdoor wood sealer – I used this spar polyurethane.
- Greenery – I used lamb’s ear and some white flowers.
- Flowers – I used blush peonies and a larger white flower.
- Floral wire – Twine or strong zip ties to attach the stems may also work.
- Very strong scissors or Wire snips
- Door hanger – a ribbon with a command adhesive hanger can also be very pretty.
How To Make A Hoop Wreath
If you are using a wood embroidery hoop, I highly recommend several coats of weatherproofing urethane. I generally use this one and it works great. I put about 5 coats on ours since our door is not covered at all.
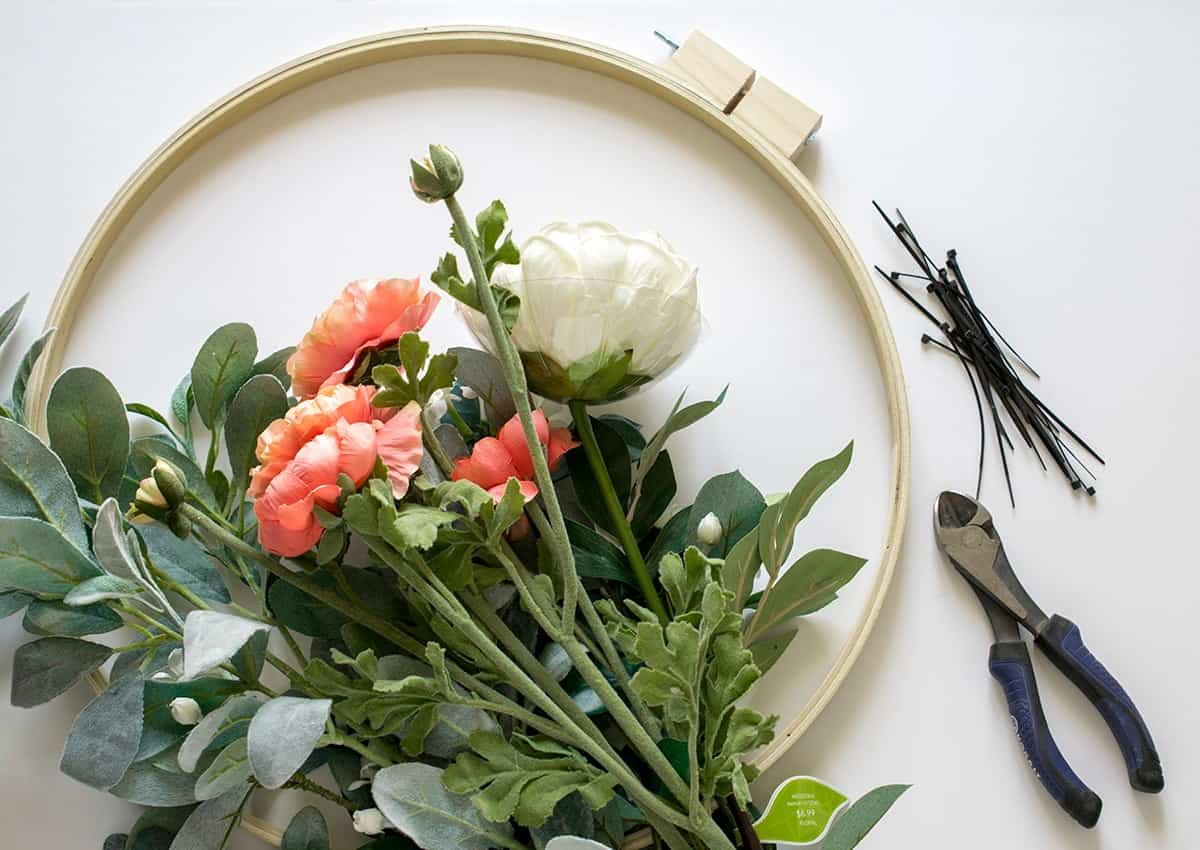
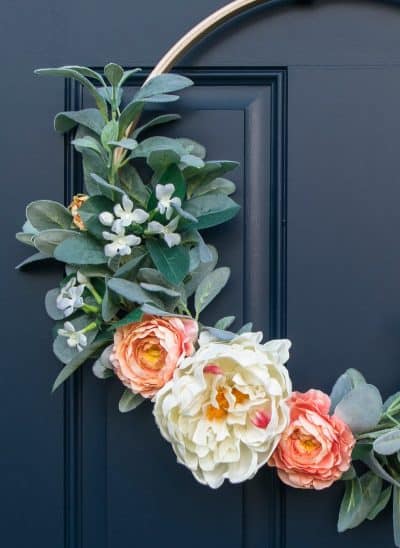
After you have gathered your supplies, attach the greenery evenly around half of the hoop, making sure the large flowers cover the area of the wood hoop screws. Cut any extra-long stems as necessary. On the flowers make sure to leave about 5-7 inches of stem to attach them to the wreath.

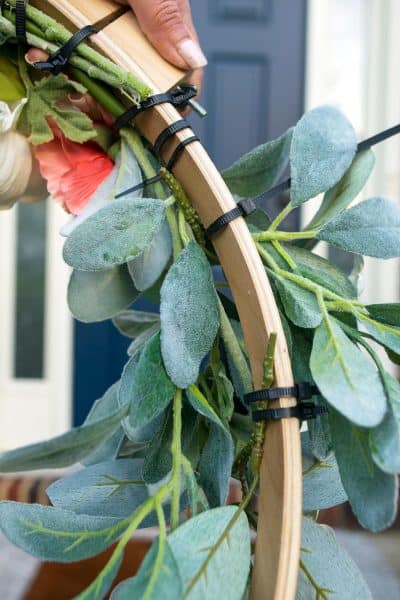
Attach the leaves and flowers to the frame using large zip ties or floral wire. While I would have preferred clear zip ties, I had black on hand, which makes it easy to show you guys! Trim the tails from the zip ties.
Voila! These wreaths are so simple, yet so pretty! They look great on a mantle, a front door, a nursery, and even a grouping on the wall.
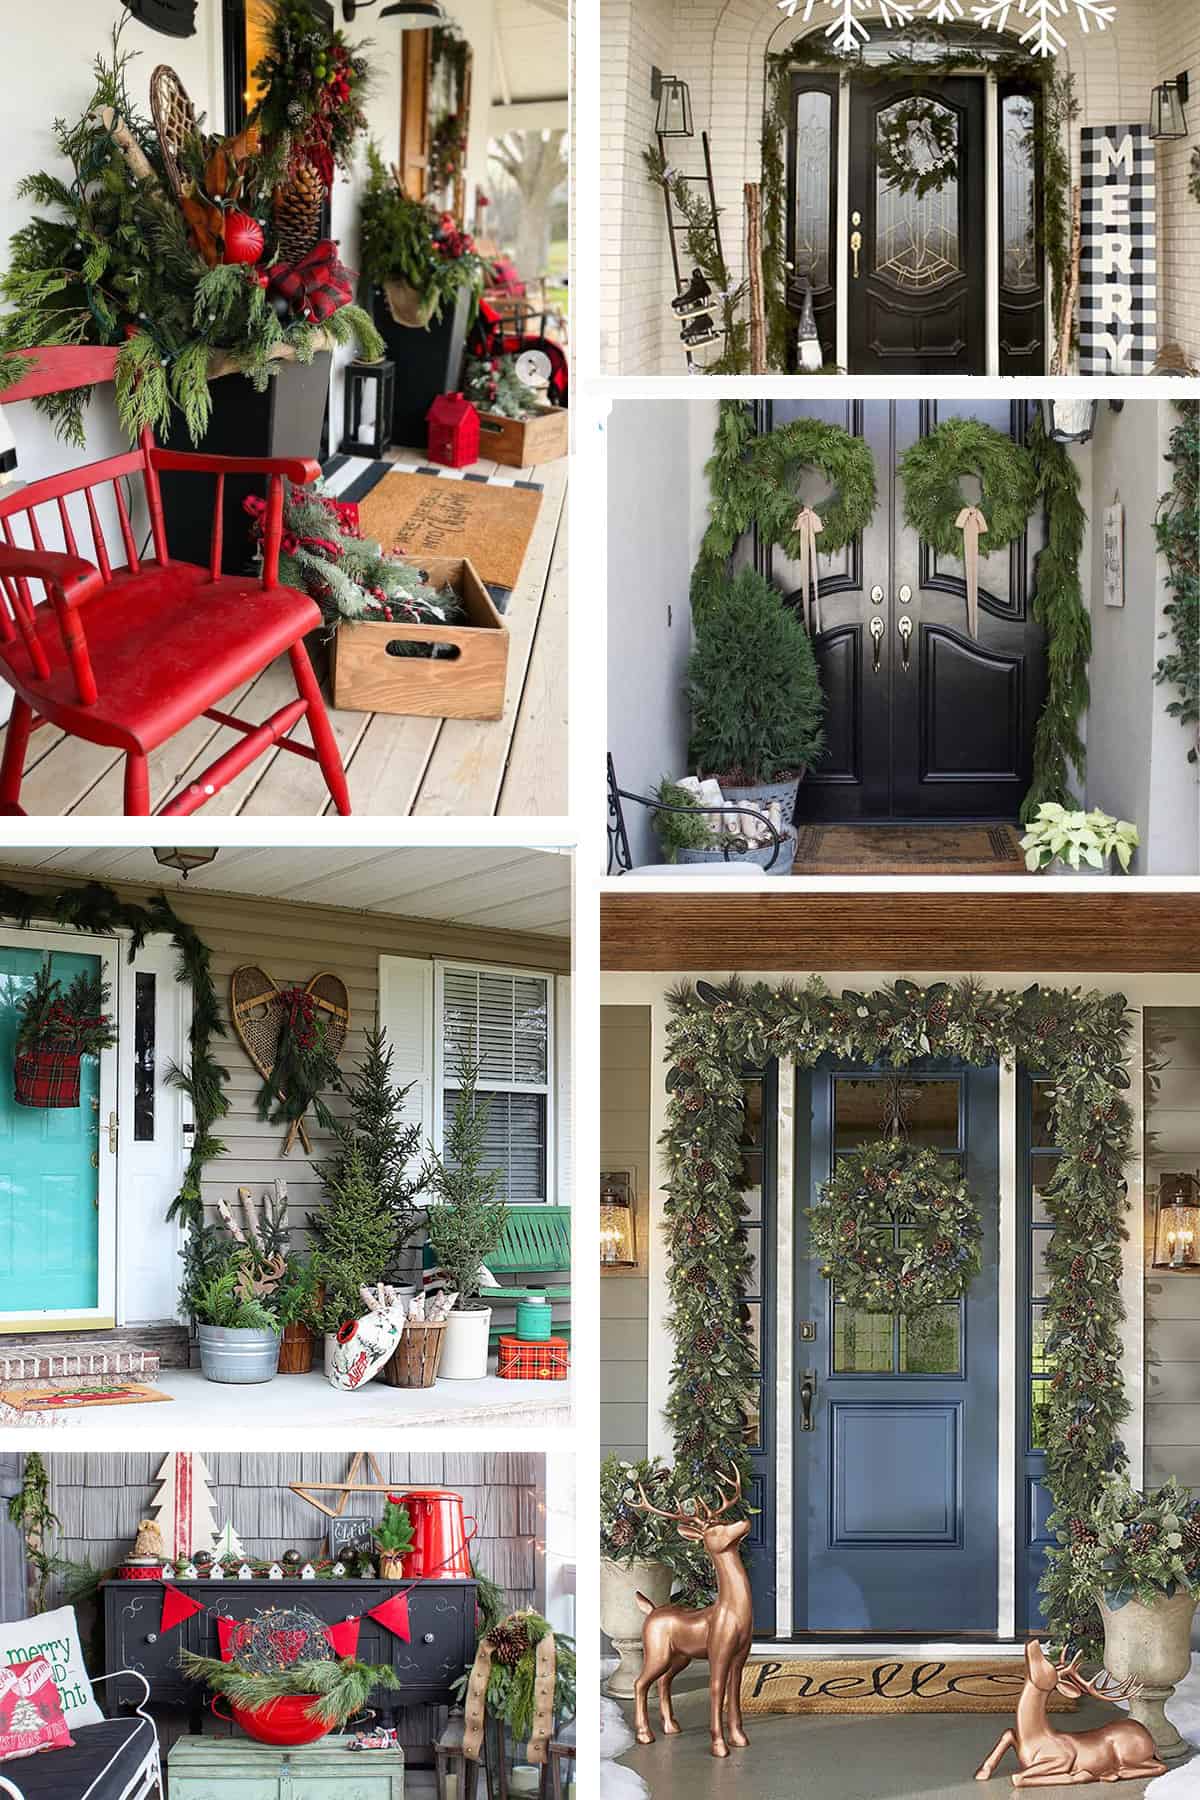
Floral Embroidery Hoop Wreath Examples
You can many different types of flowers and greenery for your own wreath. I have some examples here that are very pretty for a different look or season!

And, if you are not into DIY-ing the wreath – hello, finding time is hard! – you can find purchasing info by clicking on the photos.


Grab our free series "Weekend Home Projects that will Transform Your Life" Sign up below to receive updates including free printables, organization tips, home improvement projects, recipes and more! |
More Spring DIY Ideas

PS I love seeing your creations! Be sure to take a photo and tag #cravingcreative on Instagram! You can also stay in touch with me through following me on Instagram, Pinterest, and subscribing to the newsletter!
Embroidery Hoop Wreath
Tools
- Wire Snips or very strong scissors
Supplies
- 1 Embroidery Hoop A steel ring or even hula hoop are other ideas.
- Greenery
- Flowers
- Floral Wire Zipties and Twine are alternatives.
- Door Hanger
Instructions
- Cut any extra-long stems, keeping at least 6 inches. Lay the greenery evenly around half of the hoop. Add in the flowers in a way that covers the screws.

- Attach the leaves and flowers to the frame using large zip ties or floral wire. Trim the tails from the zip ties.

- Fluff the front as desired and hang with either a ribbon or a door hanger.


Kim says
So cute❤️❤️❤️
Roxanne says
Very pretty, love it!