Eyelet curtains are the most preferred style of curtain today. Whether pre-purchased or made from scratch, you can follow these simple steps for creating your own. Includes tutorial, tips, and exact measurements for a perfect fit with easy to find materials.

Finding just the right curtains can be a real pain. And even if you do find the perfect pattern and weight, they have to be the right length and top style. When we did the dining room makeover, I happened upon beautiful blackout curtains. Everything about them was perfect except the top edge. It bunched up and would not open easily.
But never fear! You can easily change the style to suit your needs or even make your own curtains in an afternoon.
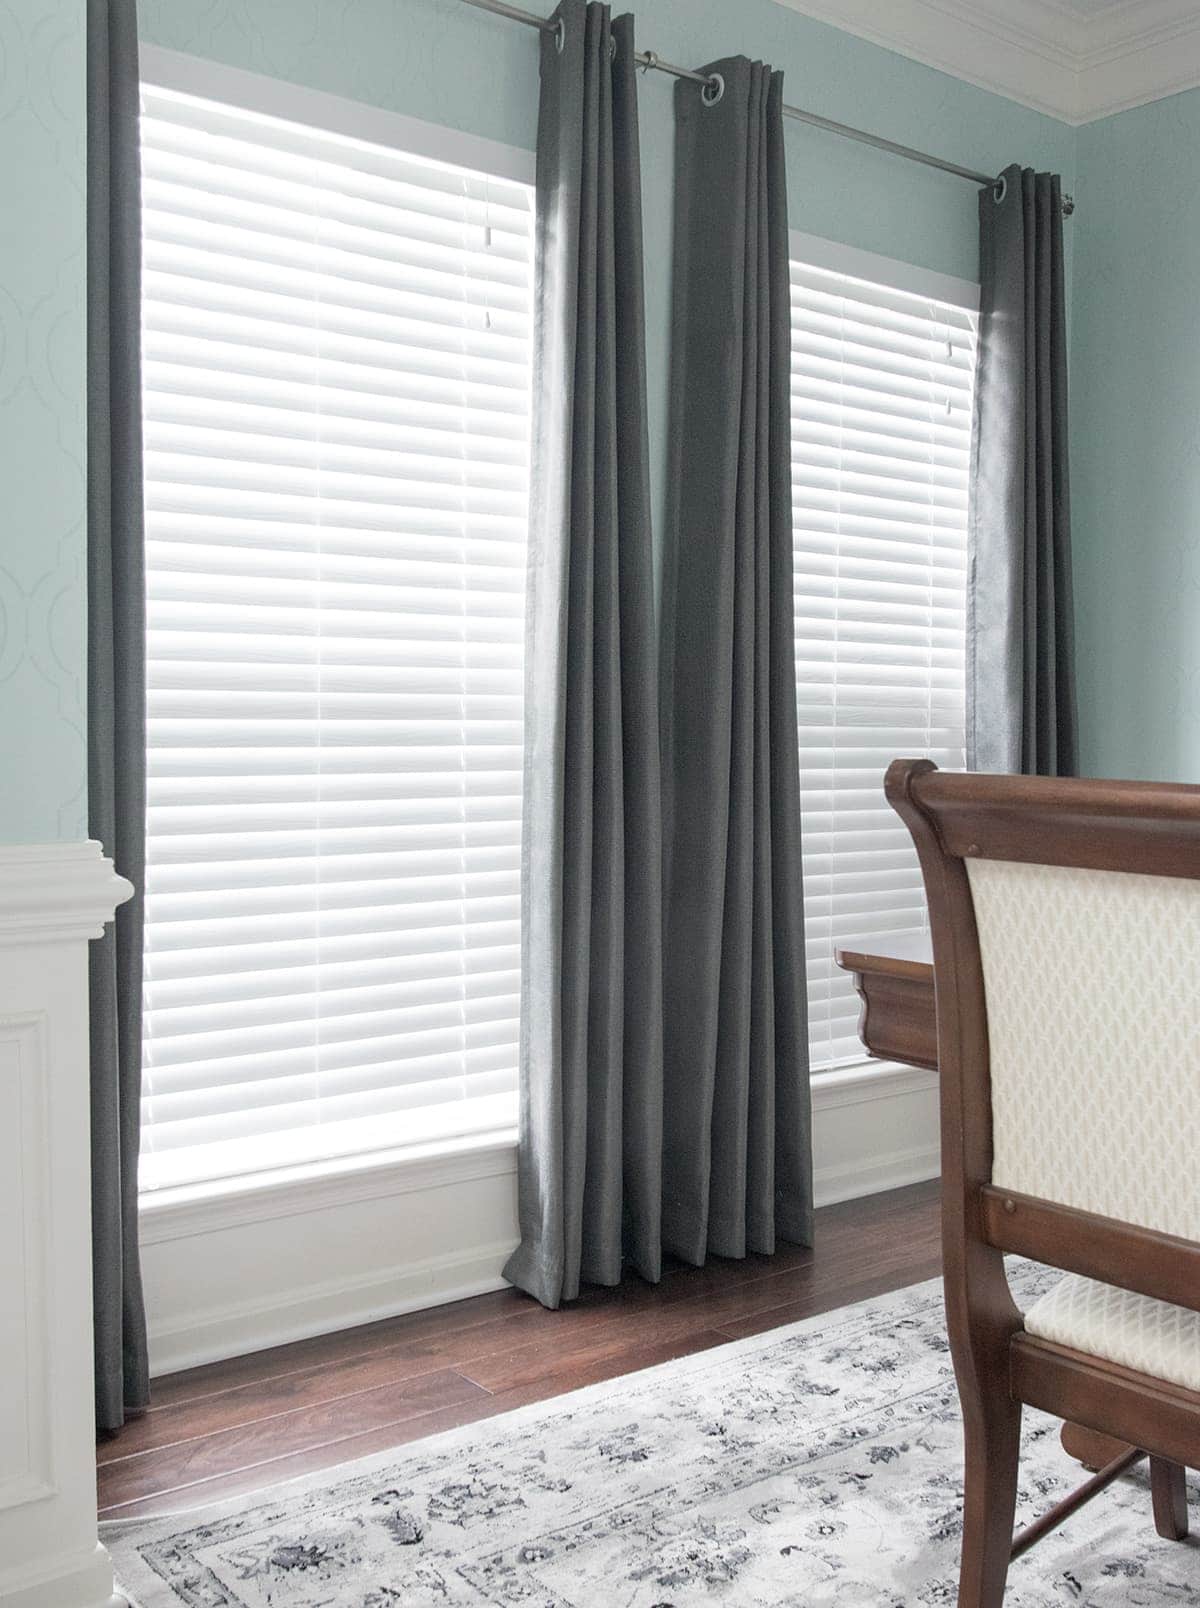
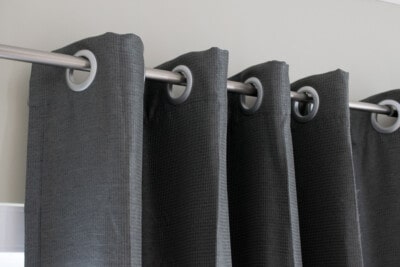
Today, I am sharing a step-by-step guide to how to make eyelet curtains, sometimes called grommet top curtains. This classic design always adds some sophistication to a space. The eyelet heading creates a simple, modern edge that is easy to hang as it just slides on to the pole so easily.
How To Measure Curtains
My curtain panels are each 54″ wide, and one panel can cover my 34″ wide windows, but I like the extra bunching with more grommets, so I have a panel on each side.
Measure Panel Width
- Measure the width of the area or window you'll want the curtain(s) to cover.
- Multiply that number by 1.5. This is the minimum width of your curtain panel.
- If you have curtains on either side and want them to meet in the middle, divide that number by 2. I wouldn’t do this with a standard window size because you want more folds/grommets to look right.
Measure Panel Height
- I like to hang the curtain rod first where I want it. It makes measuring easier and I won’t forget. This also helps check the hems on the bottom.
- Determine the height you'll want the curtains to cover -this will be about 1 inch above the curtain rod down to the baseboards or just above the floor.
- If building from scratch, add 10 inches to the length, to account for the hems in the bottom and top.
How To Make Curtains
If you are making curtains from fabric, I won’t go into sewing them today, but there are a few excellent tutorials here: DIY No Sew Curtains, How to Sew Curtains, Easy DIY Two Story Curtains
Recommended Supplies
TIP: If you get pre-purchased curtains, make sure to get a length longer than you need, since adding grommets will make your curtains sit on the rail higher than before. You can always shorten them after adding the grommets.
For Eyelet Top
- Curtains
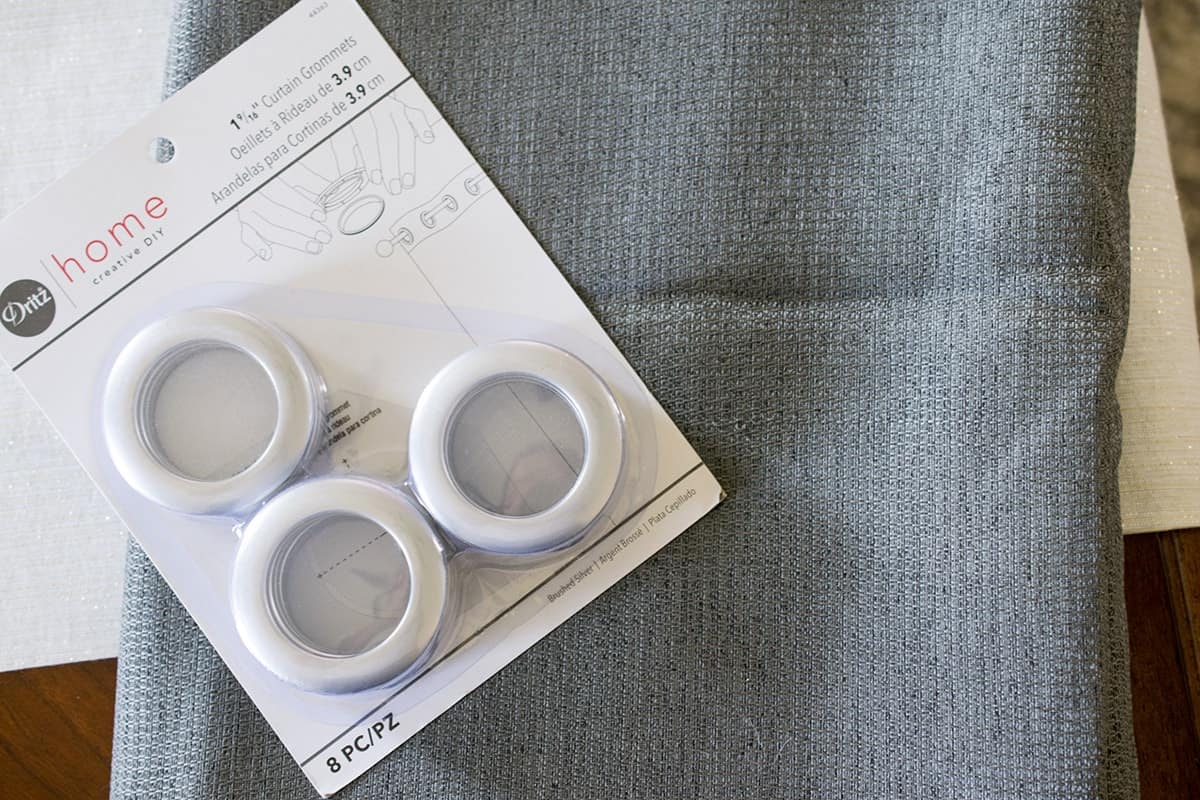
- Grommets – they come in several colors and have an easy template!
- Fabric marker or sharpie
- Sharp Scissors – These scissors are my favorites by far.
- Tape Measure
- Ruler
For hemming
- Sewing Machine
- Matching Thread
- Sewing Pins
Reader’s Note: In this context, the terms “eyelet”, “ring”, and “grommet” are used interchangeably to mean the rings through the curtain top that a curtain rod goes through. While eyelets and grommets are, in fact, similar but different terms, I write article for the DIYer or novice and use the terms they do.
How To Space Curtain Eyelets
The curtains should be sewn at the top and ready to hang. Being the perfectionist that I am, I would not put the bottom hem in until I could hang the curtains and check.
You will need to mark a small dot at the center of each eyelet. To determine where that point is
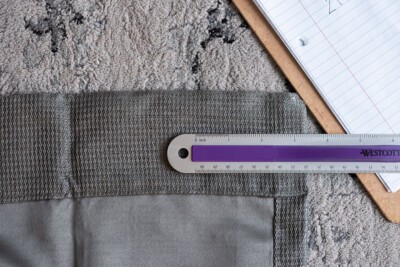
- Measure the width of your curtain panel at the top.
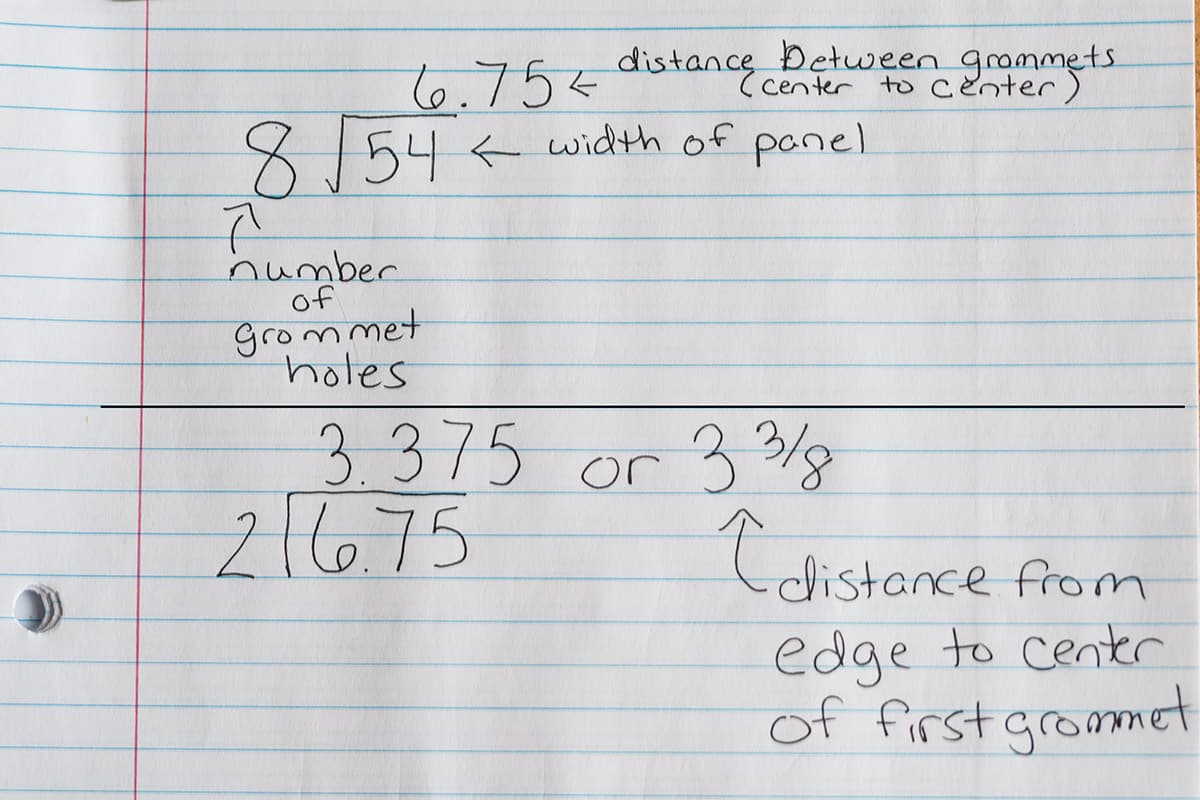
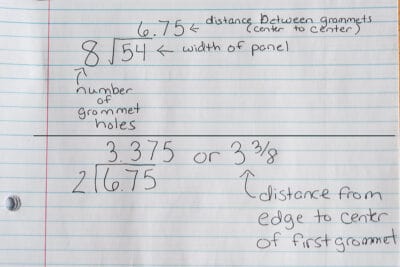
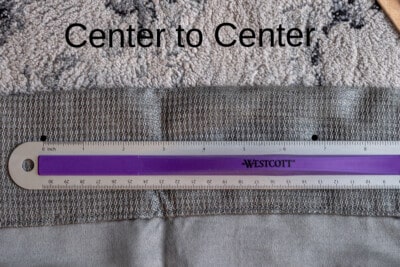
- The width divided by the number of grommets gives is the distance between the center of each grommet. (Width/ Number of eyelets = spacing)
- Divide the spacing number by 2. This is the distance from the side edge to the center of the first ring.
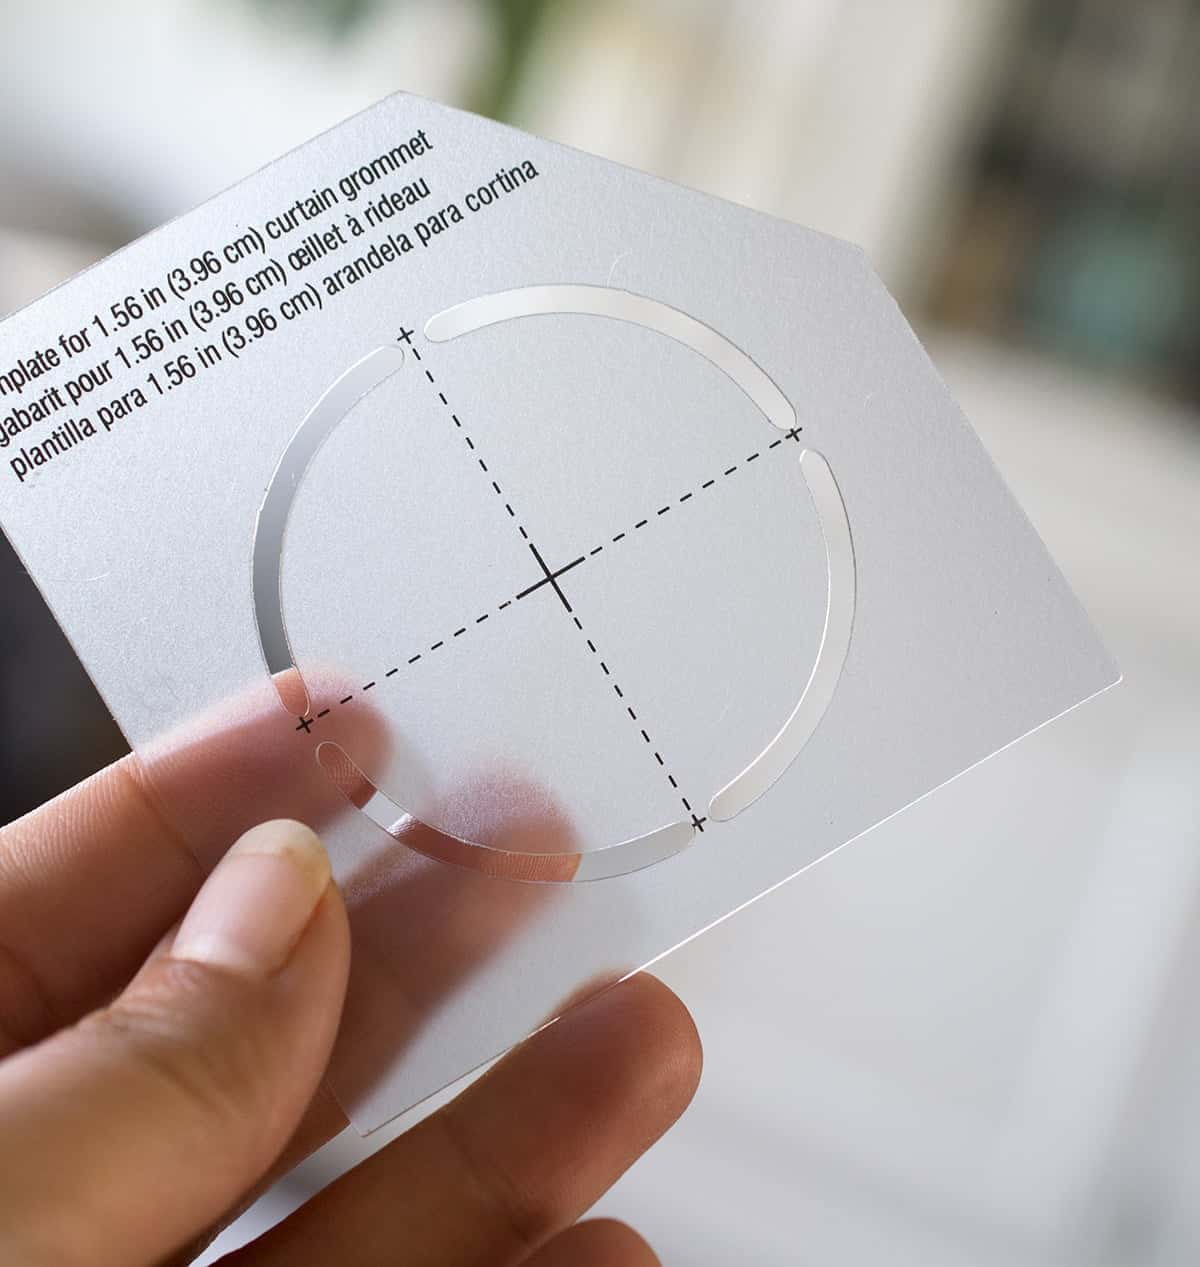
- Use a grommet template and a grommet to determine how far down you want ring (measure for the center of the ring, not the edge). Write down this measurement and mark.
Example from my curtains (yes, I have terrible handwriting.):
An eyelet template to find center:
How to Put Eyelets in Curtains
This is the fun part! Attaching the grommets only takes a few minutes per hole and it is ready to hang right after.
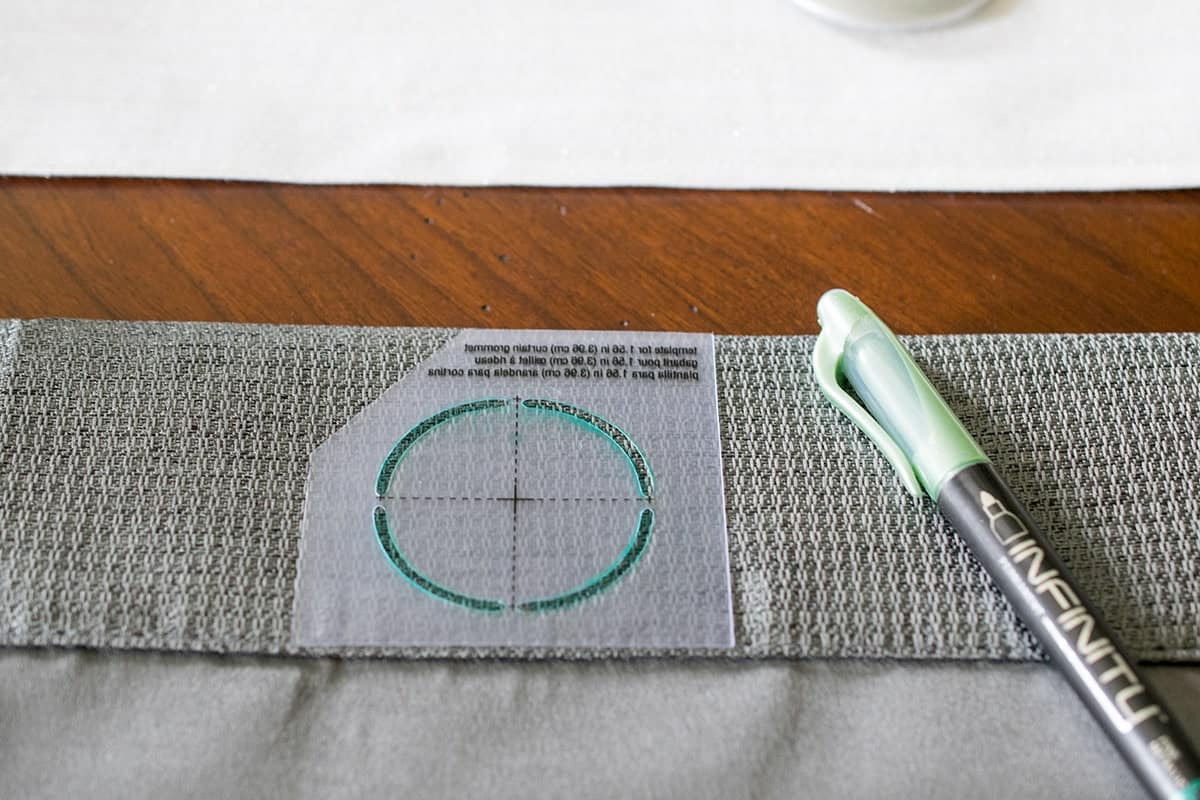
- Using the fabric marker or sharpie on the backside of the curtain, line up the center to your dot, and draw a circle using the template.
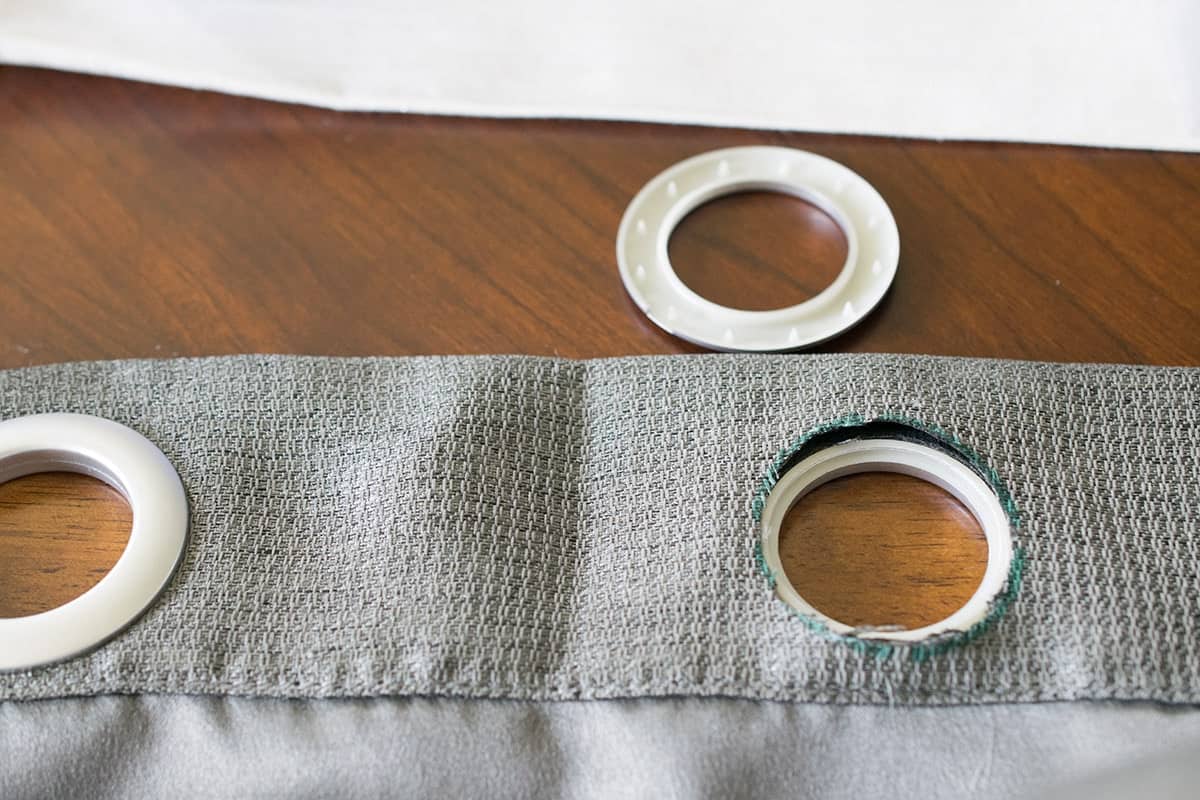
2. Cut the circle out with scissors.
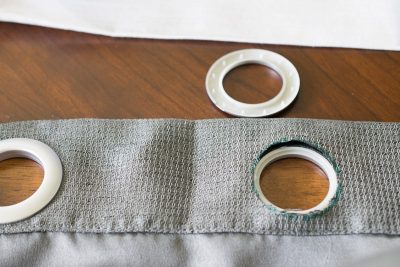
3. Fit the grommet inside the circle. I found it easier to use the side with the ridge rather than the spikes. Tuck in or trim any loose fibers.
4. Press the spiked grommet into the second grommet.
Quick tip: This does take quite a bit of pressure. I found it easiest to place the grommet/curtain on a soft floor like a carpet or area rug and push the two sides together by kneeling and then leaning over top of it with my weight on my hands. You could use a towel, but I wouldn’t recommend doing this on hardwood floors or a coffee table.
Tips
- I hung and marked where I wanted my curtains to fall on the floor line before hemming the bottom.
- To get perfect hanging pleats, fold the curtain evenly between the eyelets longwise and iron lightly.
More DIY Decorating Ideas
- Home Tour – See our Renovation Before and Afters!
- How to Apply Window Film
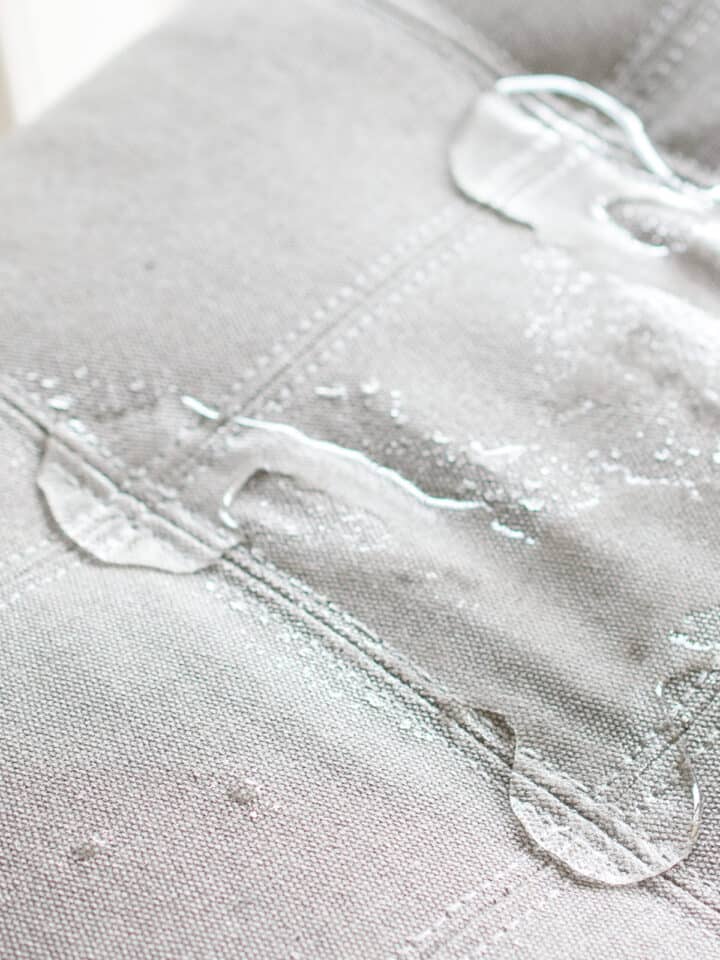
- How To Waterproof Fabric
- How to Transfer Images onto Fabric
- 20 Beautiful Wall Art Ideas with Scrap Wood
FAQs
If using pre-made curtains, it takes less than an hour to add eyelets and it is quite simple. However, due to the change in height, you may want to use longer curtains and hem them after.
Standard lengths for curtains are 84, 96, and 108 inches. I like to hang my curtains so that the rod is either the entire height of the wall or halfway between the window and the ceiling. The bottoms of the curtains should be a couple of inches off the floor at most.
To hang curtains on a rod, fold the curtains lengthwise so that the eyelets line up front to back. Thread the rod through the rings and hang on the rod supports.
For curtains to lay correctly with the rod through the grommets or eyelets, multiply the area you are covering or the outside width of your window by 1.5. You can add more width, but this will cover the area when pulled flatter.

Grab our free series "Weekend Home Projects that will Transform Your Life" Sign up below to receive updates including free printables, organization tips, home improvement projects, recipes and more! |
More How-To You might Enjoy

PS I love seeing your creations! Be sure to take a photo and tag #cravingcreative on Instagram! You can also stay in touch with me through following me on Instagram, Pinterest, and subscribing to the newsletter!

How To Make Eyelet Curtains
Tools
- Scissors *See Notes at the bottom about length.
- Ruler
- Fabric Marker
Supplies
- 6-8 Grommets
- 1 Curtain Panel
Instructions
- Measure the spacing. Measure the width of your curtain panel at the top. The width divided by the number of grommets gives is the distance between the center of each grommet. (Width/ Number of eyelets = spacing)

- Mark the spacing. Divide the spacing number by 2. This is the distance from the side edge to the center of the first ring. Mark the rest of the eyelets adding the full spacing measurement to the previous mark.
- Decide how far down to put the eyelets. Use a template and an eyelet to determine how far down you want ring (measure for the center of the ring, not the edge). Write down this measurement and mark the center of where each ring will go.
- Draw a circle. Using the fabric marker or sharpie on the backside of the curtain, line up the center to your dot, and draw a circle using the template.
- Cut the circle out with scissors. Fit the ridged side of the eyelet inside the circle. Tuck in or trim any loose fibers.
- With a lot of pressure, press the spiked grommet into the second grommet. You may want to do this on a softer surface like a padded carpet or folded towel.

Fancy says
Easy to follow and understand. Really appreciated your cheat sheet calculation sheet for spacing holes!! Thank you.
Monica Soni says
This is the nicest way to make handloom curtains. Thanks for sharing this DIY!
Meredith @ The Palette Muse says
I’ve always wondered how to do this! It seems intimidating but you make it look totally do-able. And your curtains look amazing!