How to make a rustic wooden arrow wall decoration as art, any size you desire. This easy wood project includes easy step by step instructions and a distressed painting technique for a beachy weathered look.
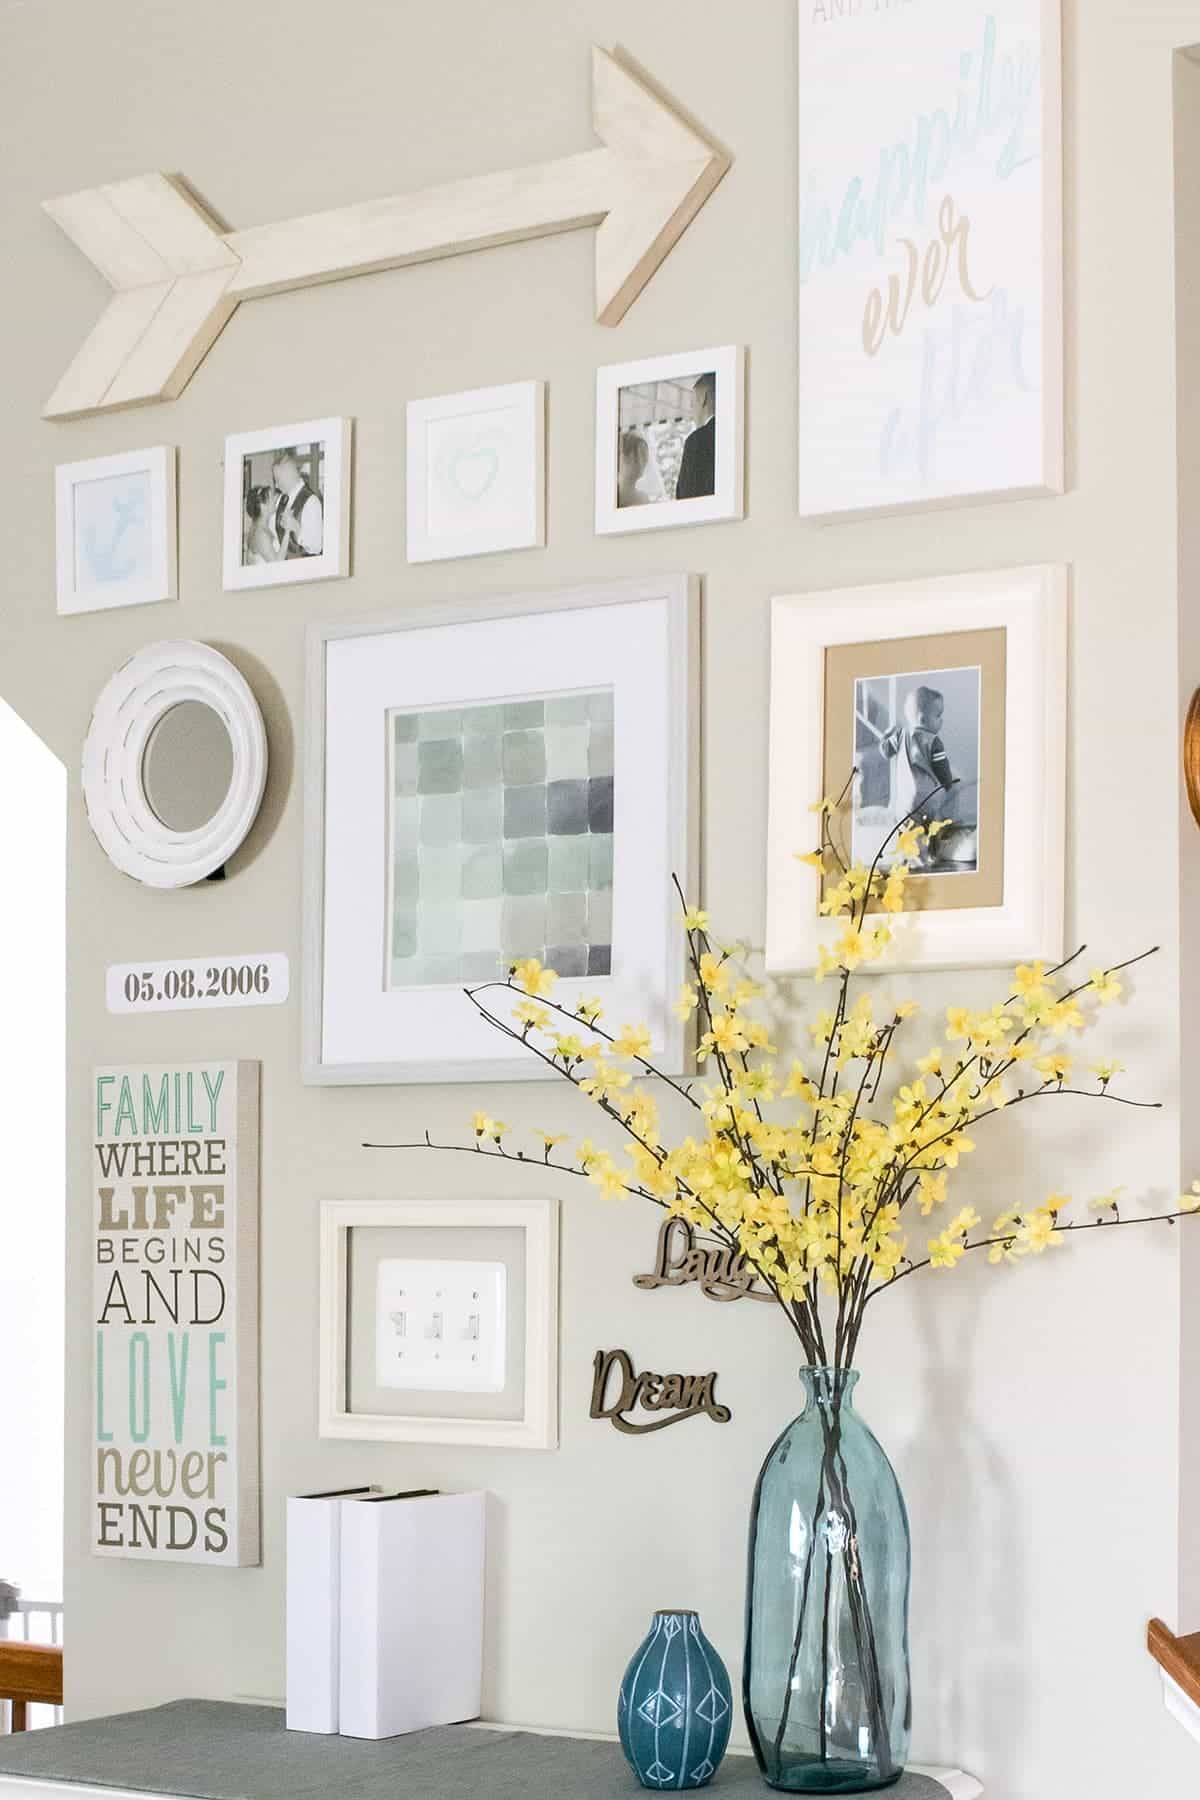
I was trying to figure out a good way to finish out the narrow and tall gallery wall between our two staircases. After eyeballing some leftover wood scraps from our kid’s closet makeover, I decided one of those trendy wood arrow wall decorations would be perfect.
It’s an easy project and only requires a standard miter saw or jigsaw and I give a few options on the build if you don’t have a jigsaw. It also takes less than an hour to build and it’s got a cool beachy vibe from the whitewash wood painting technique.
By the way, if you like simple projects like this, we have over 20 creative wood wall decoration ideas in this post.
Supplies
- 1 straight 6-foot 1×3 wood board without knots
- A pocket hole system (like this one) OR mending metal plates to screw to the back
- Screws (½ inch if using mending plates)
- Wood Glue
- Miter Saw
- Jigsaw or Bandsaw
- Velcro Hangers like these
Our Decorative Wood Arrow Project
The card at the bottom of this post includes a printable version of the basic instructions and plans. I include this section for options, techniques, and changes we made for our particular design.
The center rod can be as long or short as you need. The rear arrow flaps (all 4 of them) measure 6.5 inches on the longest edge. We used a miter saw to cut the 1×4 at 45 degree angles.
Cutting the arrow
Cut the arrow point and tail fins first. Attach them together and use them to draw the correct end cuts on the long center shaft. Here is a basic photo of how the cuts were done on a single board – All cuts are 45-degree angles.
Some pieces are flipped once cut, and then they will fit together correctly.
The angle on the rear of the center shaft can be cut a few ways:
- Make the center rod out of two pieces, cut them at the correct length and angle and then joint them with wood glue and screw them together.
- Use a jigsaw or a band saw with a fine-tooth wood blade.
Assembling the Pieces
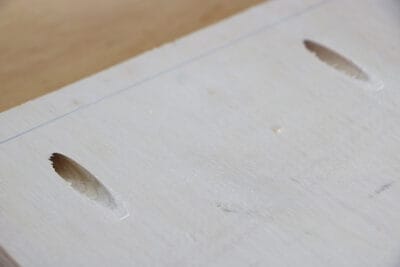
First, use a bit of wood glue in all of the attaching seams. The arrows show the direction that the pocket screws were put in.
The best way to do this is to use a pocket hole kit. Because the screws sit below surface level, the arrow lays completely flat against the wall.
If you do not have a pocket hole jig, mending plates can be used much the same way to reinforce all joints, but it won’t be completely flat.
Whitewash Technique with Stain
For this project, I wanted a weathered, beachy look to the wood but not heavily distressed or heavily textured.
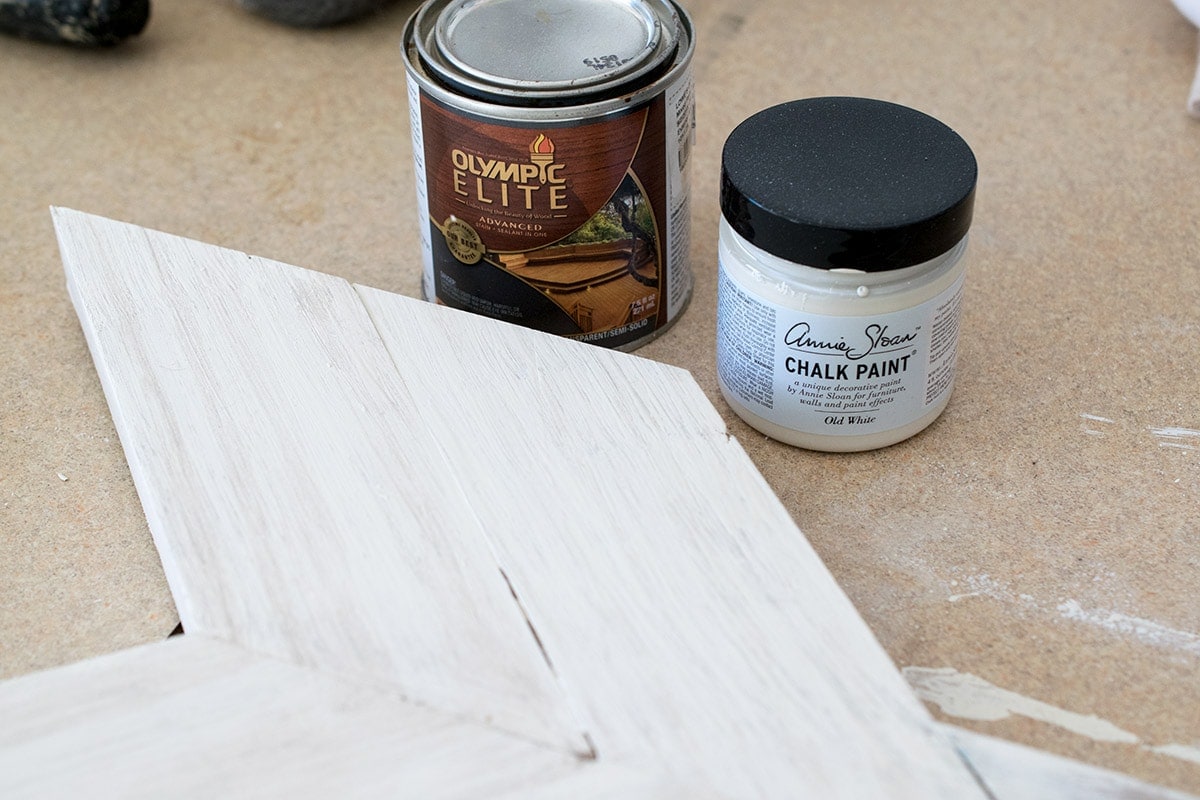
For this treatment, I used two products: A walnut stain (leftover sample can for our deck restoration project), and Annie Sloan’s Chalk Paint in Old White.
You read that right, I used and Oil-Based Stain and water-based Chalk Paint together. It’s like the cardinal sin of painting and I broke it with gusto to make a cool, weathered texture:
The oil-based stain mean’s that the chalk paint doesn’t quite bond right and creates a neat, old-time weathered look.
Steps to creating distressed beachy look above:
- Stain the board. I prefer to stain by rubbing the grain with an old t-shirt rather than a brush because it gives me more control. Let dry completely.
- Paint the entire arrow with the chalk paint. Chalk paint dries quickly, so I waited only about 10 minutes.
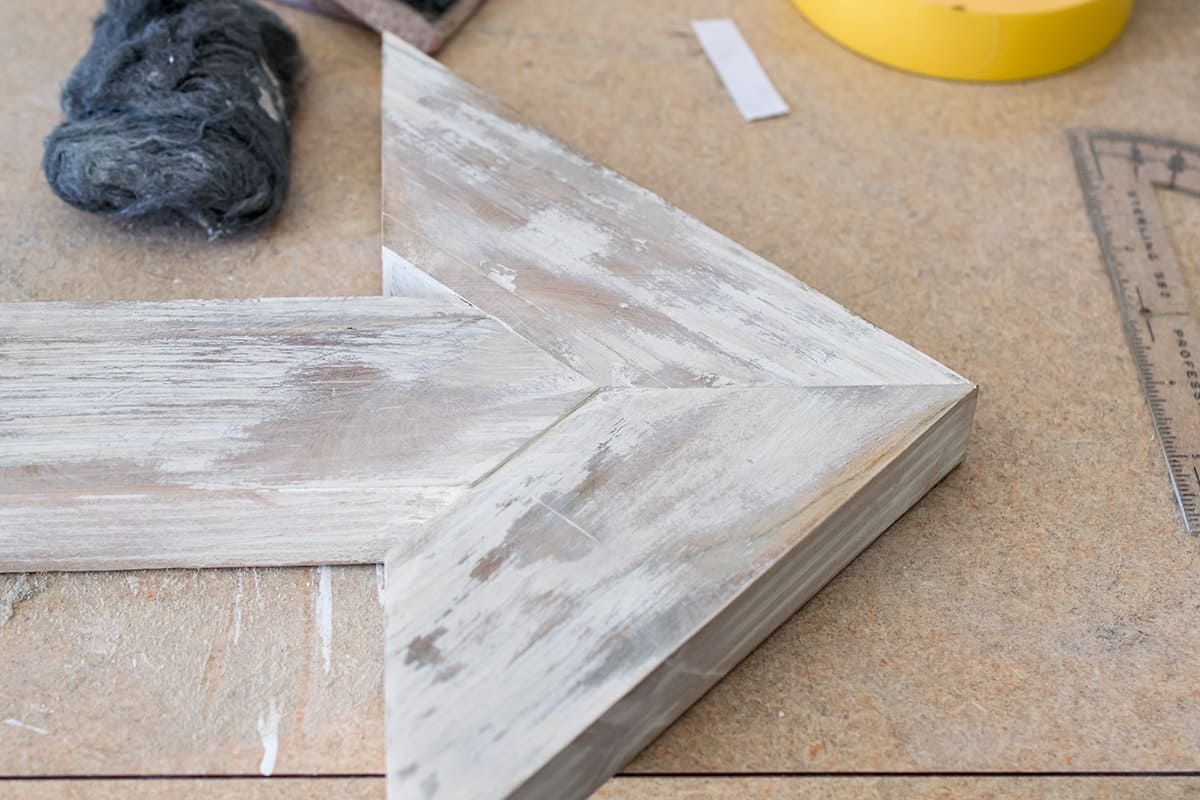
- I used a mixture of 300 grit sandpaper and very fine steel wool to gently remove some of the paint layers.
At this point, I love the beachy weathered look of the wooden arrow, but it was a little too weathered for what I had in mind. So, I repeated steps 1 and 2 again but instead of completely covering the arrow with paint, I lightly dry brushed it in the spots to keep the texture I was looking for.
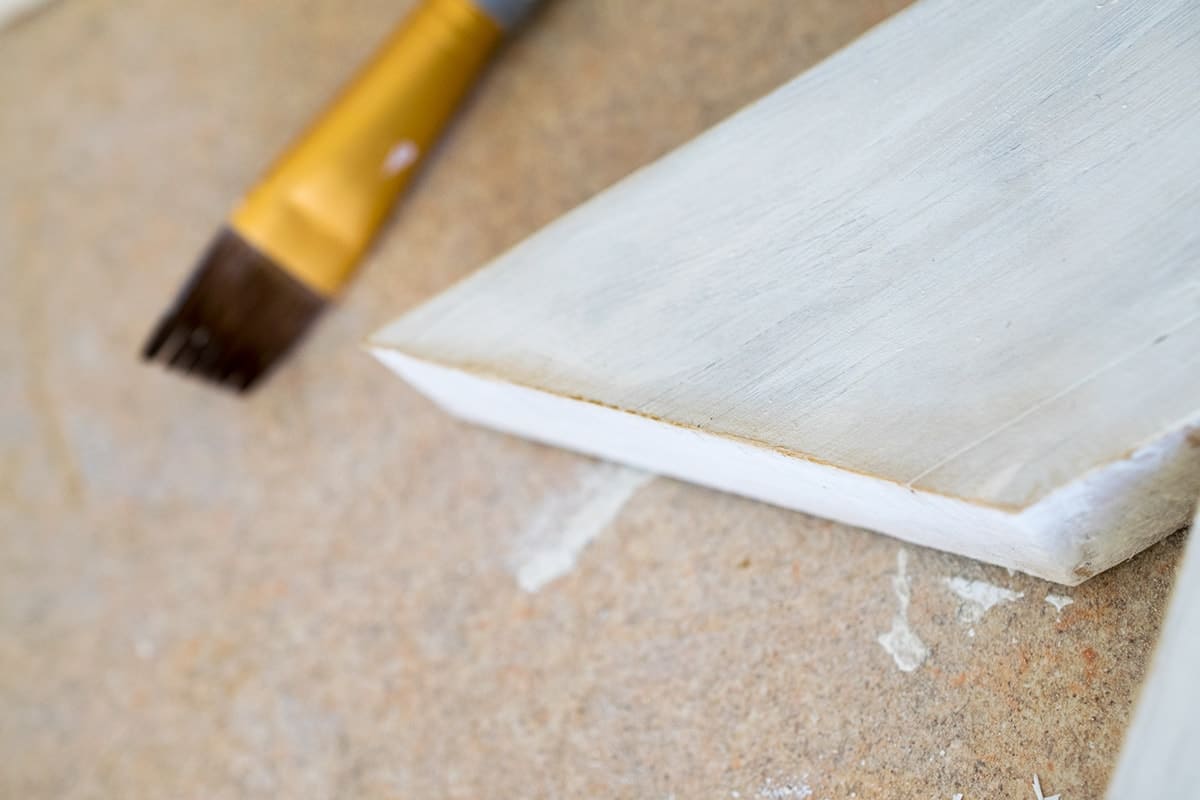
Lastly, with my paint brush, I dry brushed stain on just the edges of the boards.
How to Hang Arrow Decor
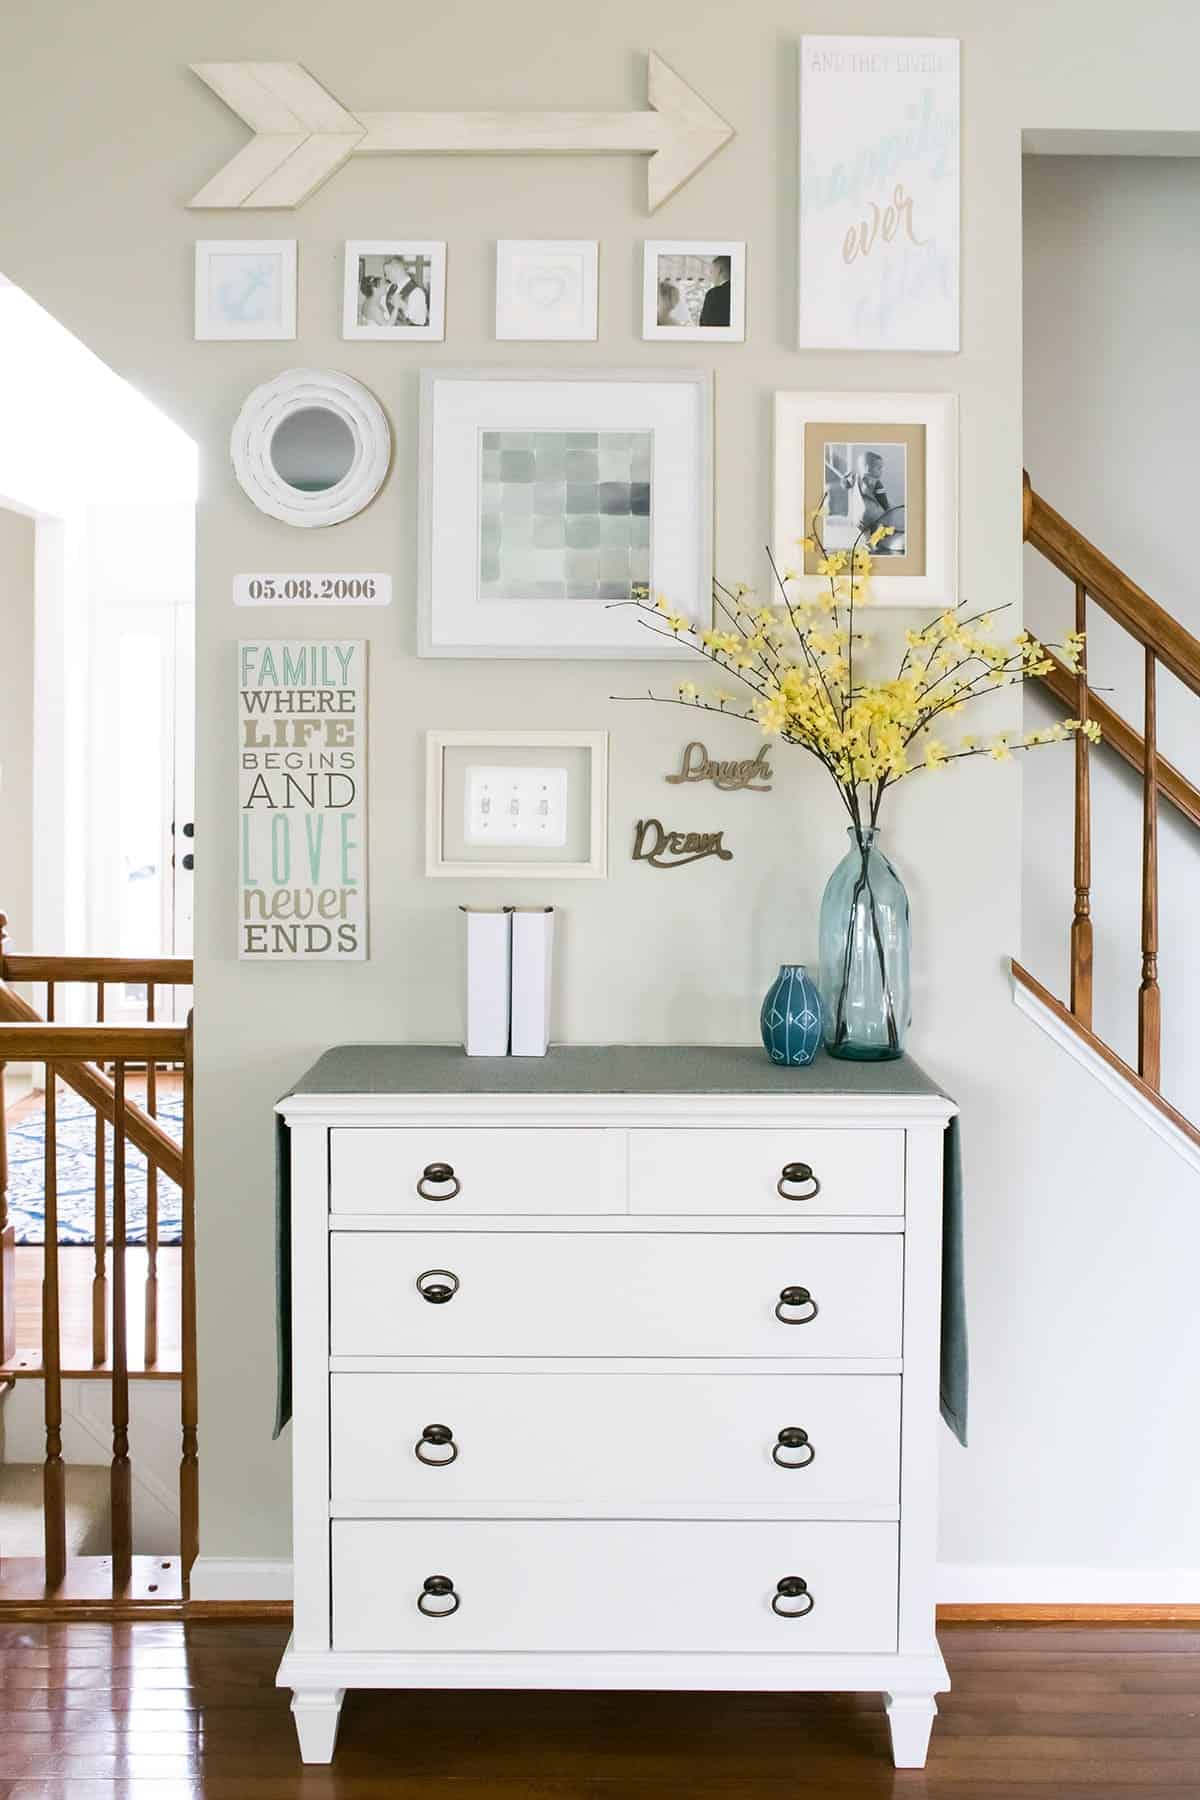
We hung the arrow using velcro tape to keep it smooth to the wall and easy to remove if necessary. If using mending plates, I would attach the velcro on them since they stick out a little bit.
Since we used scrap wood, it was completely free! I do love free. However, I love the way this wall turned out even more. What do you think? How will you use this arrow design to decorate?
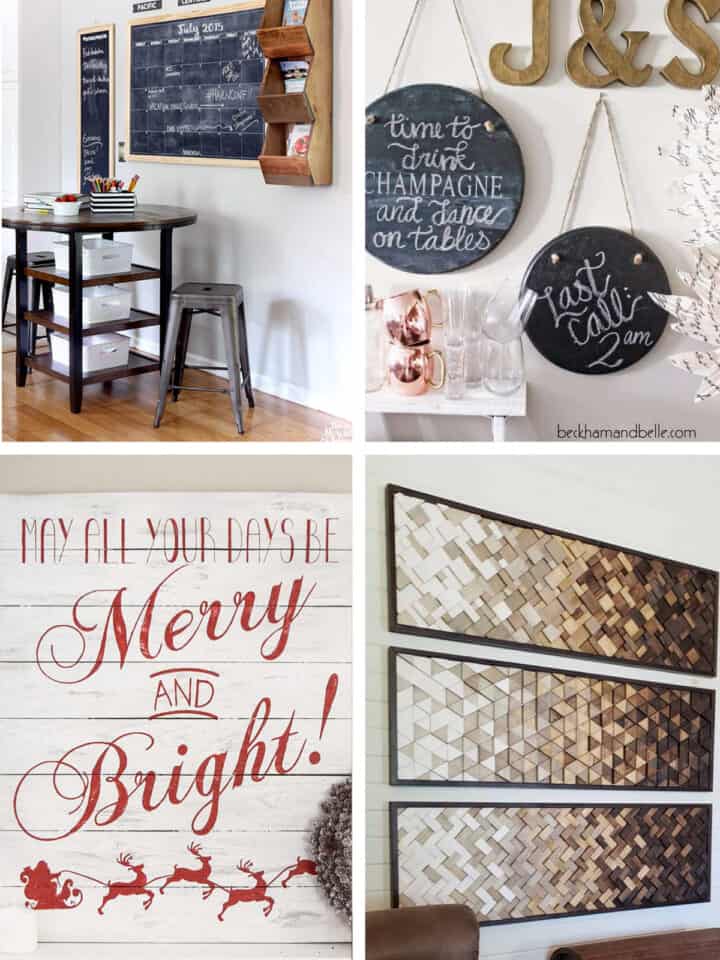
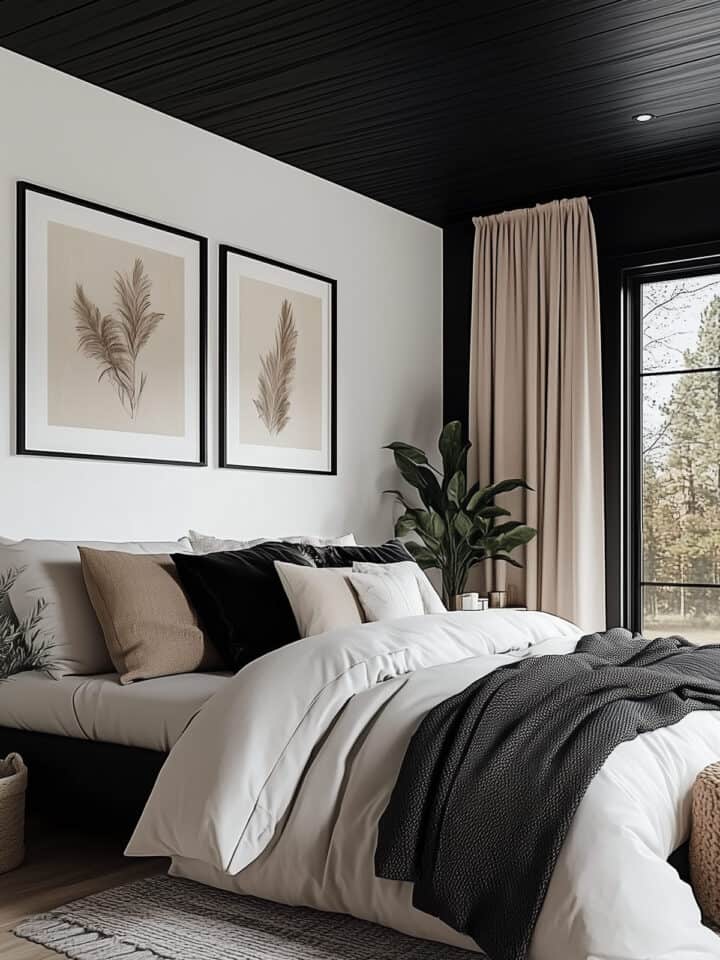
Other Wall Decorating Ideas

Grab our free series "Weekend Home Projects that will Transform Your Life" Sign up below to receive updates including free printables, organization tips, home improvement projects, recipes and more! |
More DIY Wall Art Ideas
PS I love seeing your creations! Be sure to take a photo and tag #cravingcreative on Instagram! You can also stay in touch with me through following me on Instagram, Pinterest, and subscribing to the newsletter!
DIY Arrow Wall Decor
Tools
- Pocket Hole Kit Option 1 to attach pieces together.
- Mending Plates Option 2 to attach all pieces together.
- Miter Saw
- Wood clamps to hold wood in place for safety
Supplies
- 1 6ft 1×4 board
- Velcro Command Hangers
- Wood Glue
Instructions
- The design can be as long or short as you wish. All cuts are performed at a 45 degree angle. Start by cutting the front arrow point pieces and the 4 rear fins. The cuts are shown below.

- Using a pocket screw kit, make holes along the lines shown below. If you do not have a pocket hole kit, then you can use mending plates and ½ inch screws attaching along a similar way as shown.
- Join the 4 flap pieces together by screwing into the pocket holes. Join the two front arrow pieces and the rear fins.

- Decide the length of the center shaft of the arrow. Trace the assembled arrow head and the assembled arrow fins as a template for the front and rear of the shaft. Clamp the wood down for safety and use a jigsaw or a band saw to cut a notch out of the rear of the center arrow shaft.
- Add the pocket holes to the shaft and screw the shaft to the fins and arrow head.
Leave a Reply