Windowsills are quite prone to damage from pets, plants, and weather over time. Repairing or replacing old windowsills is an easy home repair project that only takes a few hours and basic tools.

We love our homes, but they aren’t impervious. Unsightly cracks, dings, and everyday damage can build up over time and windowsills are quite prone to damage from pets, plants, and weather. An interior windowsill is the bottom portion of the window, and usually has a lip that overhangs the trim molding.
In today’s tutorial, I am showing how to replace interior windowsills from some of the most common problems:
- Rot
- Water Damage
- Bubbling MDF or pressboard
- Pet damage and deep claw marks
Repairing trim is actually practical, economical, easy to install, and only takes, at most, a few hours!
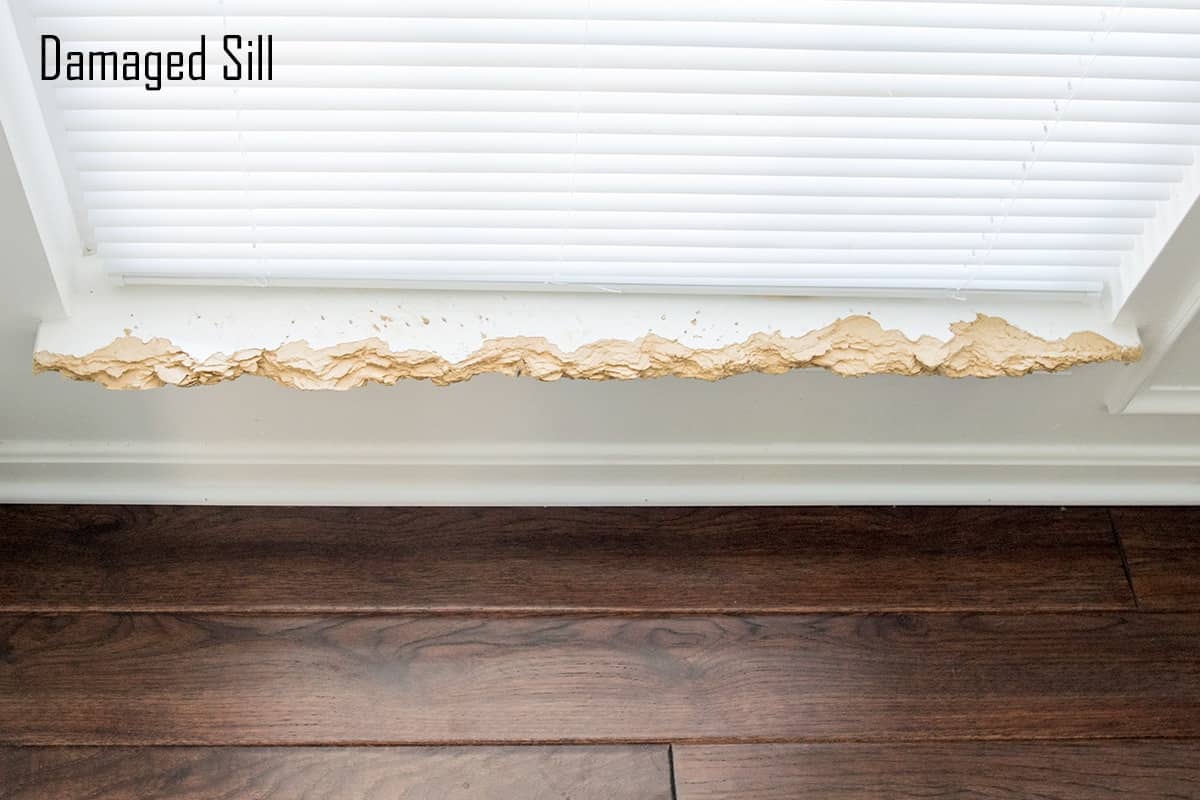
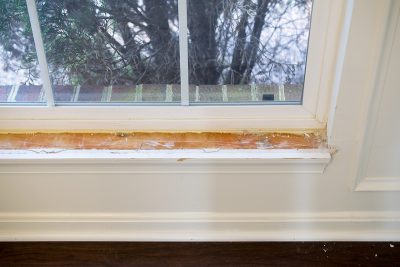
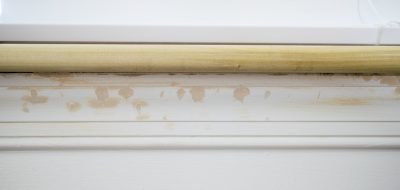
So, first, we have the crime. There’s actually 3 of these that look this bad. This damage is all from a wonderful pup we rescued. Unfortunately, he had severe separation anxiety, but it seems to have calmed down after a year of working with him. So it’s time to say goodbye to this eyesore!
Tools and Materials
- Hammer or prybar
- Utility Knife
- Hand Saw or Jig Saw
- Nails or Brad Nailer (This is the top-rated kit we use)
- A board and router or a millwork board to match the other sills in your home
- A product to stop rot (you may or may not need this, but we have used this one in the past)
- Wood Filler
- Putty knife
- Level
- Trim Caulk
Removing Window Casing and Sill
The first step is always the most worrisome, right? The window itself isn’t actually attached to the interior sill. The sill should be installed into the framing.
Step 1: Remove any side casing
Casing is trim that is around the outsides of doors and windows. Not all windows have casing, as ours was just connected to drywall and caulked to hide seams. You will likely have to remove this because the casing sits on top of the sill, preventing the sill from moving upward.
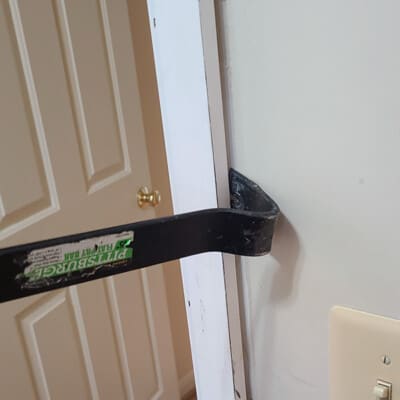
The photos below are of me removing door casing, but all the same steps apply.
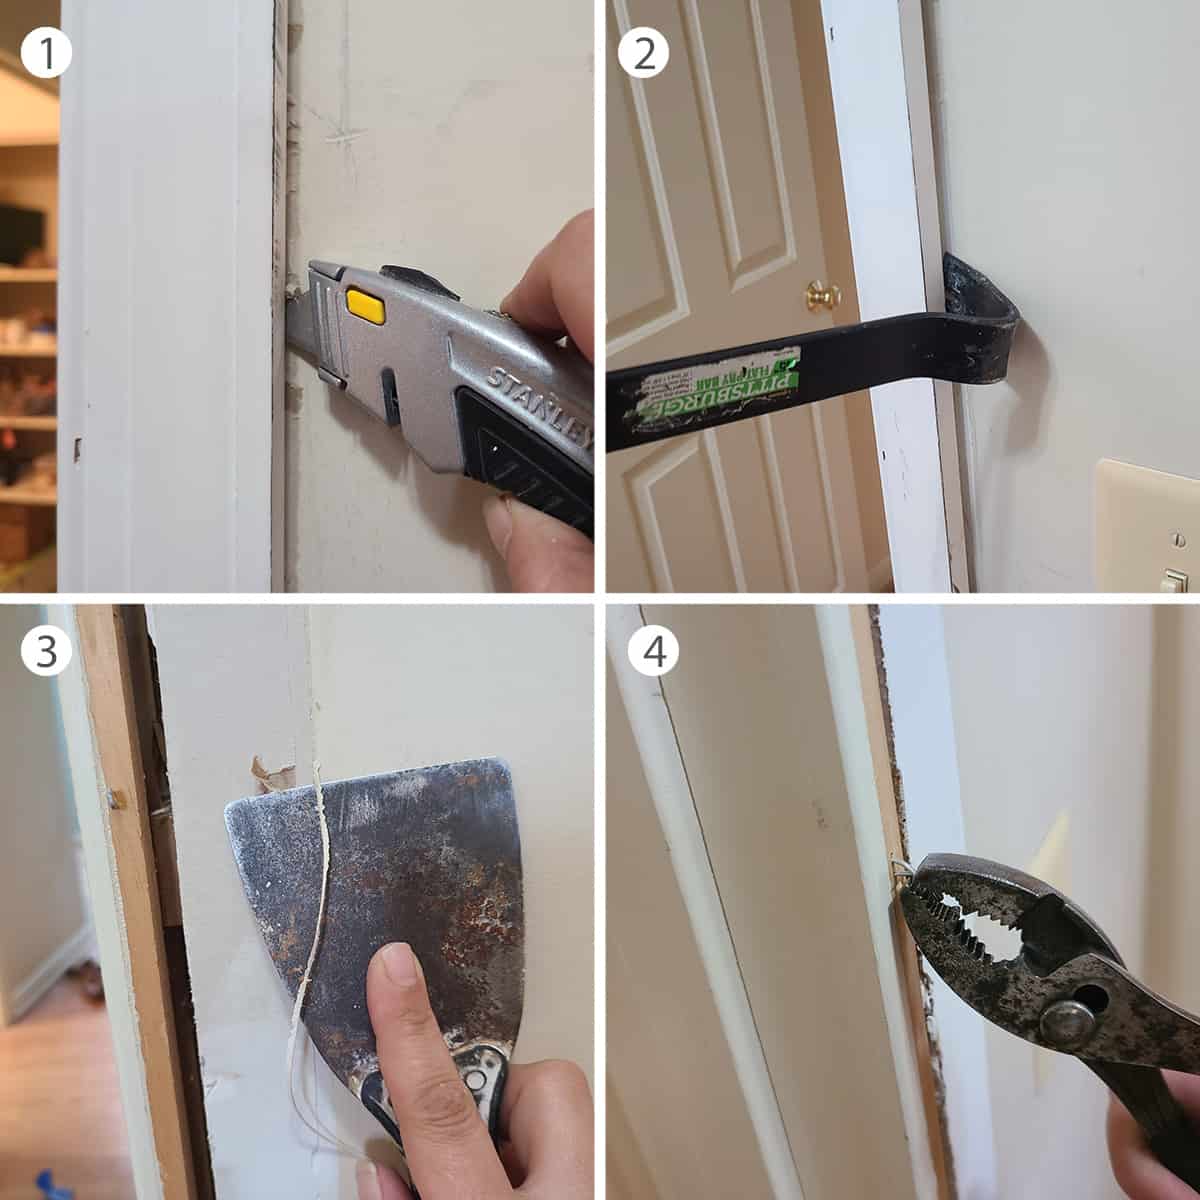
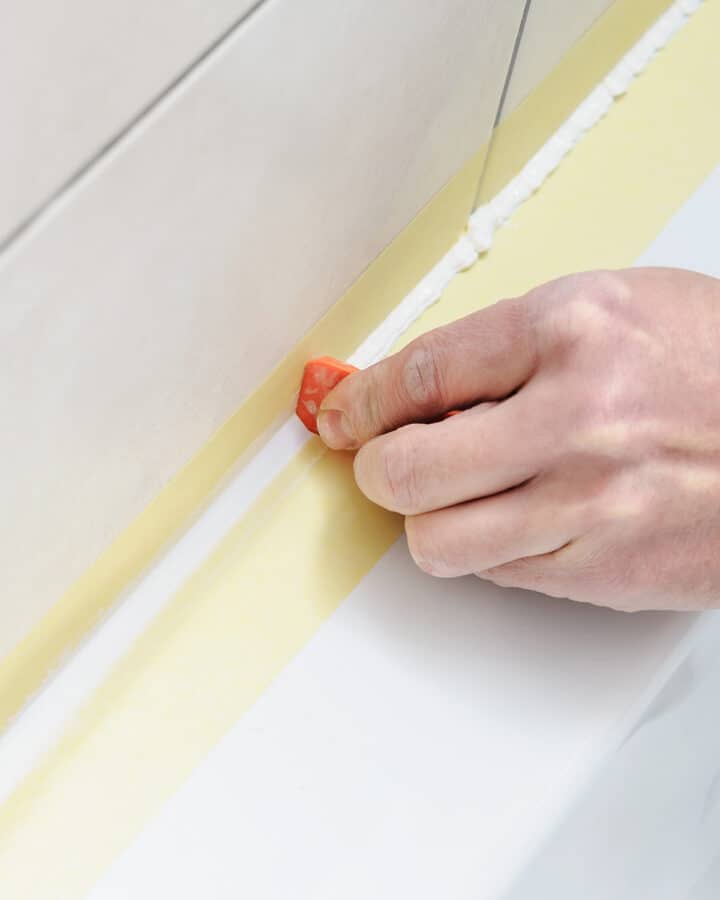
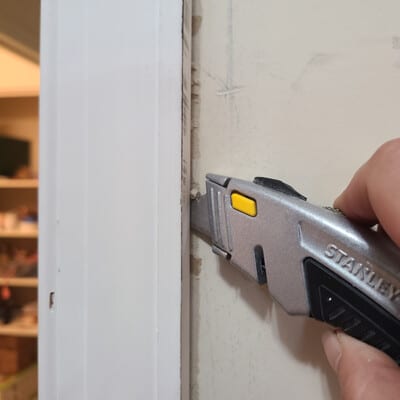
To remove casing, cut the caulk line on both sides that hides the drywall and window framing seal. Drag a razor knife top to bottom to do this, making sure to get the full caulk line if you can. Cut any caulk around the sill as well. (photo 1)
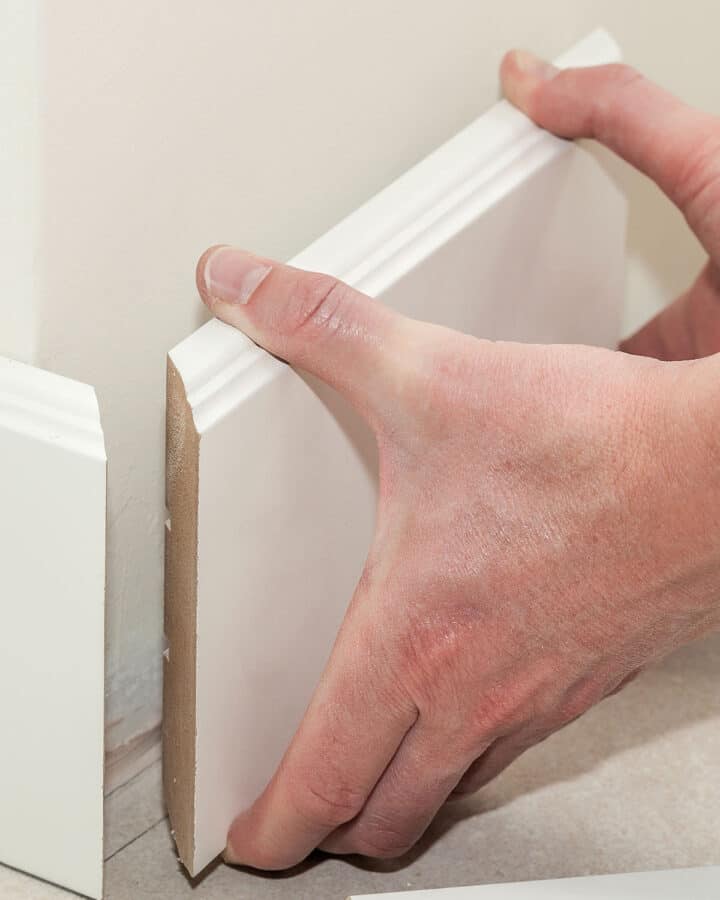
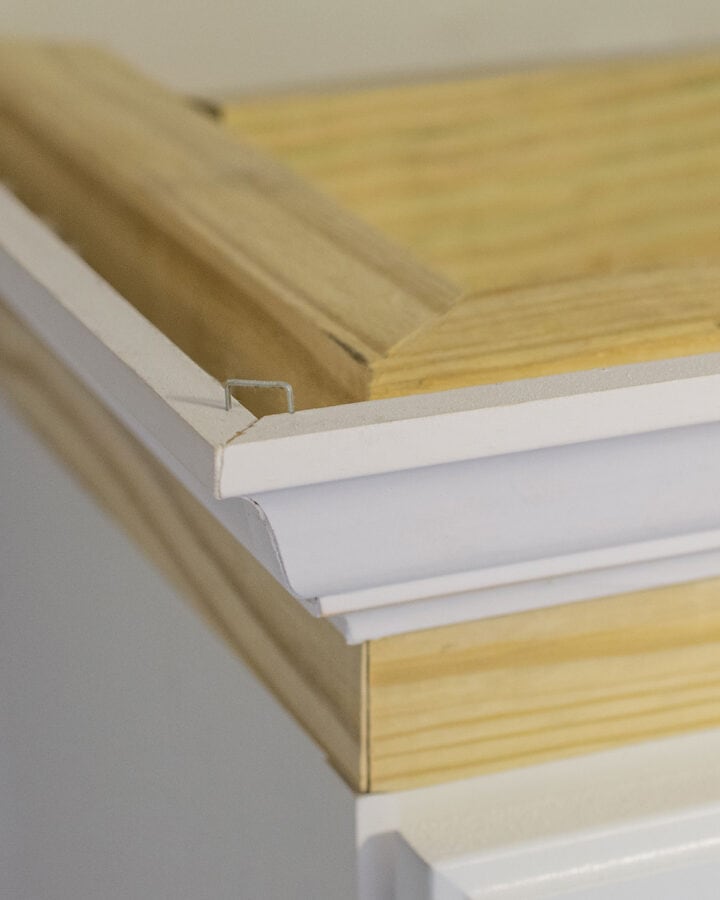
I use a crowbar to pull out the casing from the drywall. If prying, make sure use a brace against the wall so you don’t dent the drywall. (photo 2) Cleanup the excess caulk and remove nails/staples. (photo 3 & 4)
Often times the casing can be salvaged and put back on if you are careful, but sometimes it needs replaced.
Step 2: Pry off the sill.
Use a prybar or chisel to slowly pry the sill up. A hammer also helps. Keep the sill in one piece so you can use it as a model when cutting the new sill. So set it aside for later.
Dealing with Rot
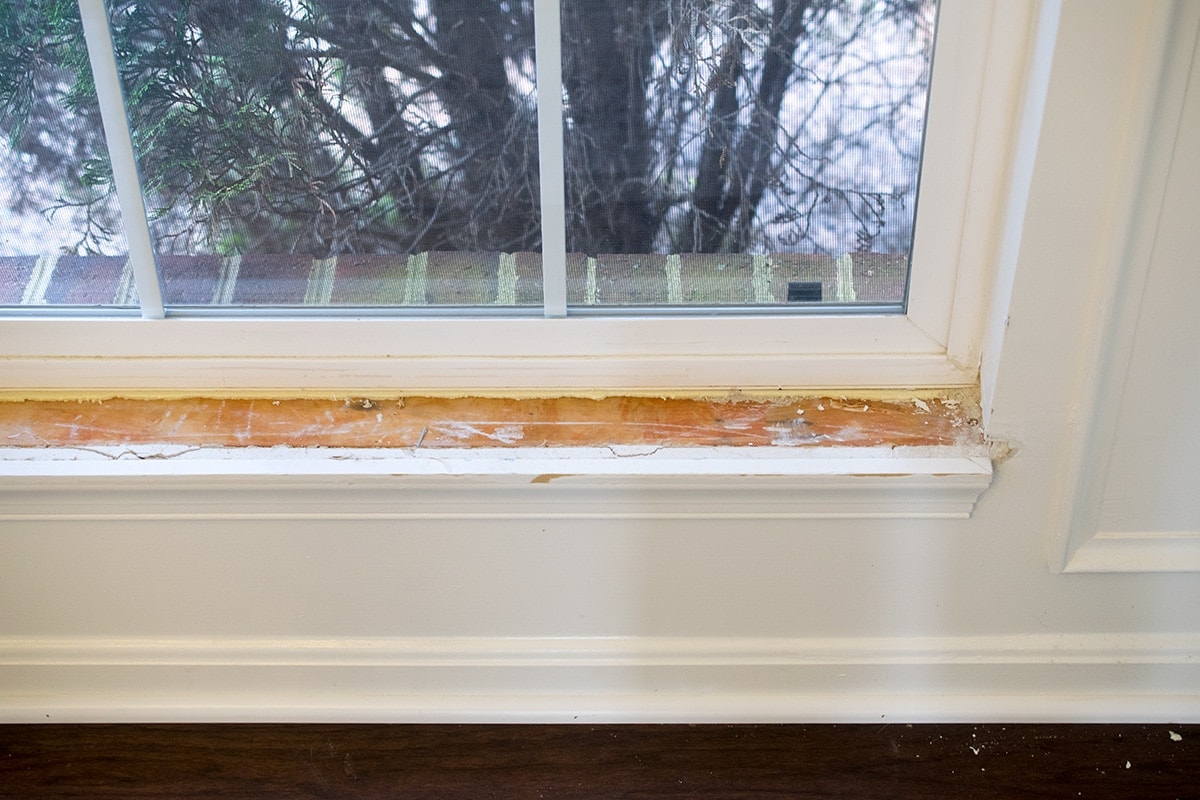
At this stage, the biggest thing to watch for is any rot that may be around the frame. Rot will need to be removed, or it will continue to spread. If you do find minor mold or rotted wood, replace or clean and use a product like this to stop rotting.
Rot needs two things to happen: a disease inducing bacteria or fungus and water. Make sure that you are fixing the source of the water that caused the rot.
If you find major rot (structural or the water source can’t be found), here is where I recommend seeking professional assistance as the window and framing may need to be replaced.
After solving those issues, if any, here is a great opportunity to fill any gaps if they exist to ensure a more airtight seal. Take window spray foam and spray into the gaps and allow to dry. Cut away the excess foam with a razor blade prior to installing the new sill.
Step 3: Cutting The New Sill
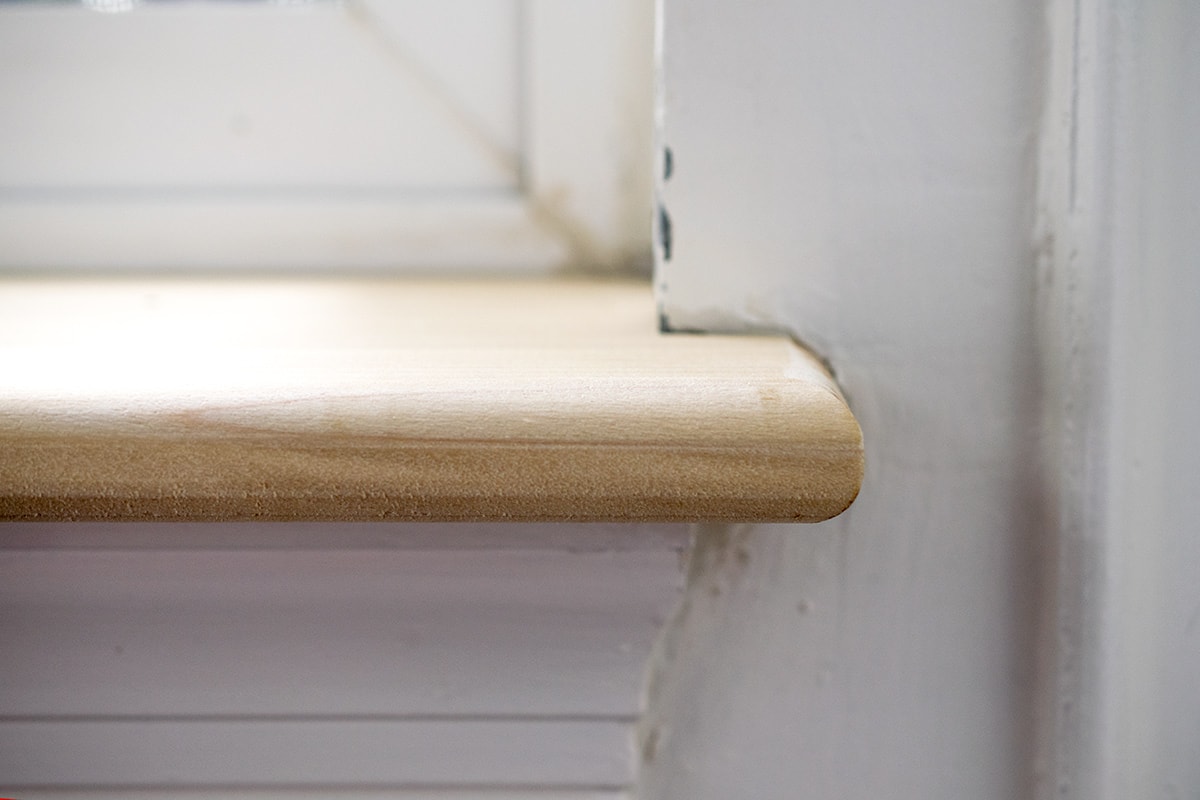
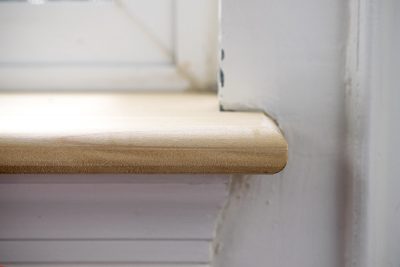
We made our own here. A simple run across the router to create a bullnose edge makes any appropriate board a proper sill. If you do not have a router, most windowsill material can be found in the millwork section at a home improvement store like Home Depot. Here is an example similar to ours. You will need to cut it to size however. Mark the board using your template from previous sill and cut.
Step 4: Attach new sill
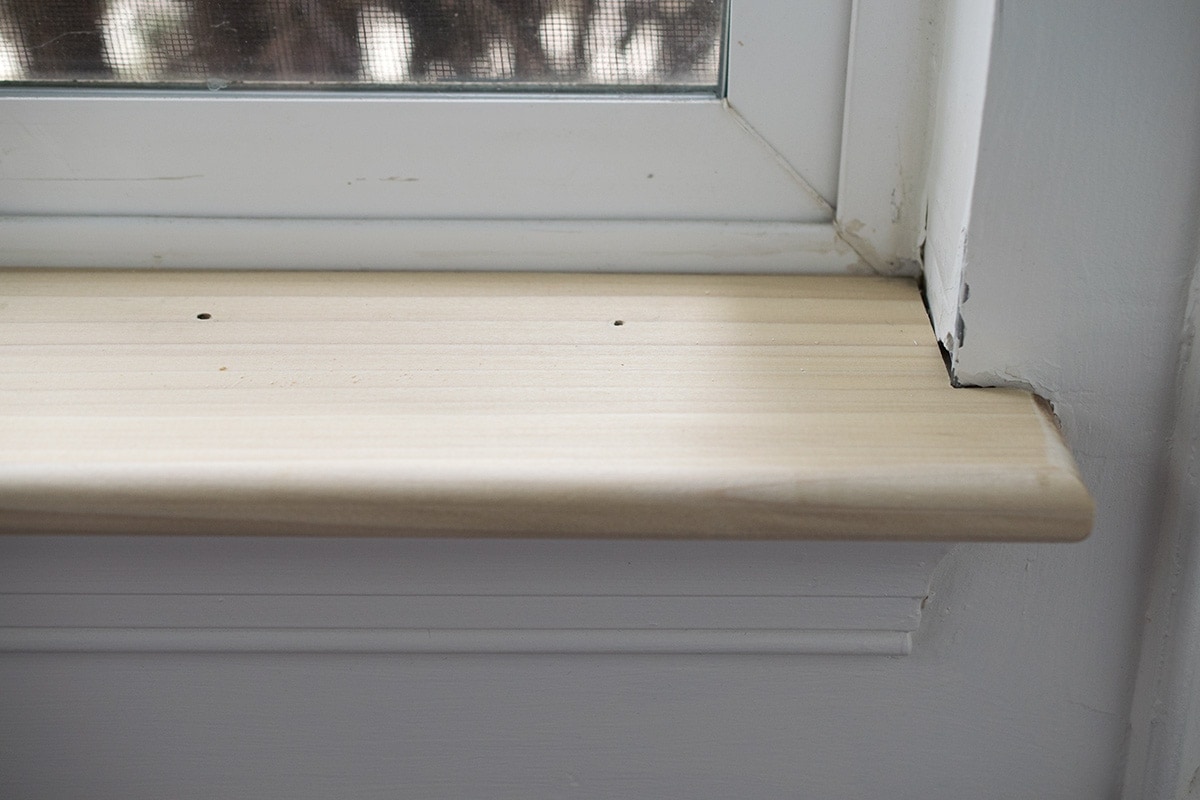
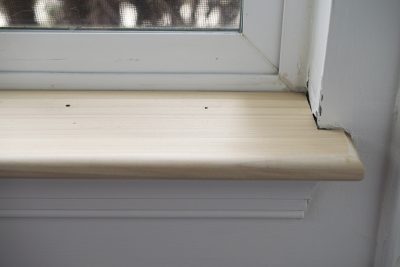
Use nails or brad nails to install the wood board into place ensuring to nail into the framing below. I do not recommend gluing as it isn’t needed and will make any future repairs more difficult.
Step 5: Add Window Trim
If you had casing to remove around the window here is when you can reattached around the window.
Step 6: Final Touches
This is both the easiest and longest step for professional results. Depending on your particular situation, you may need to:
- Fill and smooth all nail holes with wood filler in wood areas.
- Patch any dings in the drywall.
- Caulk around the edges of all the window trim and frame.
- Prime and paint as needed to match the existing trim in the house.
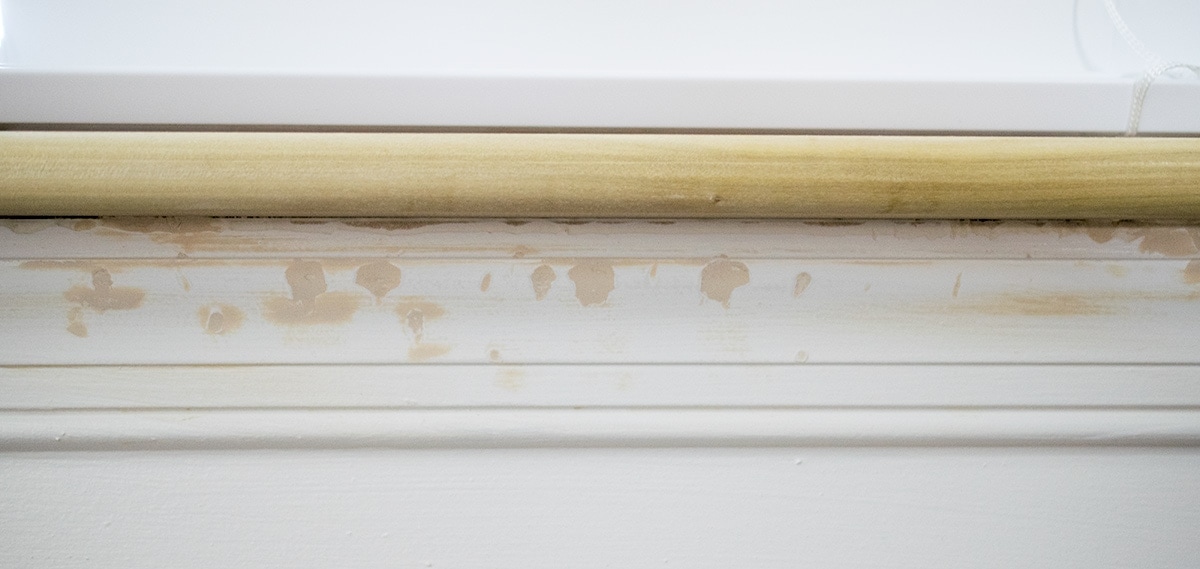
In our case, the window trim under the sill had some gouges and dog chewing damage as well. I elected to fill this particular piece as the edge cuts are not easy.
Expert Tips
- I have used a lot of wood filler and this is my favorite product. I thinned it out with a bit of water to get in the smaller areas.
- For filling this type of wood, I love these sponges because they have edges that I can easily control and get into the ridges.
- Try to find real wood products rather than the cardboard-like pressboard that new houses use. It is a much better product that is easier to work with and is less prone to damage and problems.
- If you would like more information on caulking, check out our step-by-step guide to Caulking baseboards.
- Learn how to add a privacy window film that lets in light here.
More Simple Home Improvement Ideas
- The Easiest Way to Make Baseboards look Beautiful Again
- Make Basic Cabinets Look Expensive with Trim
- How to Make Eyelet Curtains
- Building A Custom Closet
- How to Regrout Tile for an Instant Refresh
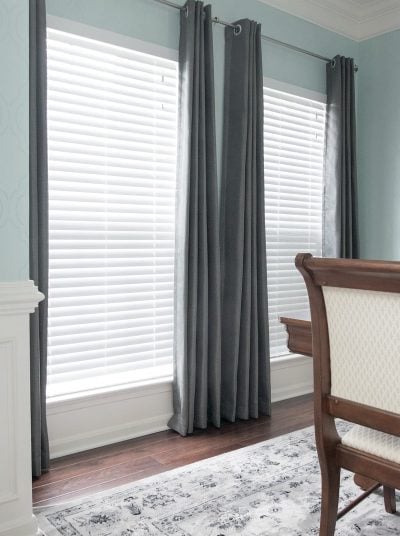
Well, now that’s over, the dining room makeover will look much more finished. It’s hard to make a room inviting, cozy, and beautiful with eye sores such as these. If you want to see our finished dining room makeover, check out our home tour tab with all of our before and after makeovers.
Frequently Asked Questions
Scrape off any peeling paint. Use a paint stripper or sand with 120 grit sandpaper until smooth. Vacuum and wipe all dust off, then paint with 2 coats of durable paint.
Rot needs two things to happen: a disease inducing bacteria or fungus and water. Although sloped, a windowsill is a horizontal shelf where water can accumulate. The first step to repairing rot is to remove any exposure to the source of water.
A highly durable paint or poly topcoat is essential for protecting a windowsill. Cheap paint often becomes gummy and items set on it can stick. Use a satin or semi-gloss paint that is UV resistant.
Whether interior or exterior, materials cost less than $50 for wood windowsills. If you have to hire a contractor, expect to pay additional labor charges of $100-250. Both calculations assume there isn’t more extensive damage to the window or framing, which would increase costs.

Grab our free series "Weekend Home Projects that will Transform Your Life" Sign up below to receive updates including free printables, organization tips, home improvement projects, recipes and more! |
More Trim Tutorials
PS I love seeing your creations! Be sure to take a photo and tag #cravingcreative on Instagram! You can also stay in touch with me through following me on Instagram, Pinterest, and subscribing to the newsletter!
How To Replace Interior Window Sill
Tools
- Hand Saw or Jig Saw
Supplies
- 1 Window Sill Board cut to length
- Wood Filler
- Nails 2 inch finishing nails or brad nails
- Trim Caulk
- Paint
- Drywall spackle
Instructions
- Cut the caulk line around both sides of the casing and the window sill itself. Drag a razor knife top to bottom to do this, making sure to get the full caulk line if you can.
- Use a crowbar to pull out the casing from the drywall. If prying, make sure to use a brace against the wall so you don't dent the drywall.
- Use a prybar or chisel to slowly pry the sill up. A hammer also helps. Try to keep the sill in one piece so you can use it as a model when cutting the new sill.
- Measure the sill area and use the old sill as a template if possible. Cut the new sill to size. Dry fit several times as the walls is likely not be completely straight.
- Use nails or brad nails to install the wood board into place ensuring that it is nailed into the framing below.
- Reattach or replace the side casing and trim that was removed with nails or brad nails.
- Complete the finishing of the window. Fill and smooth all nail holes with wood filler and patch walls if necessary. Caulk around the edges of all the window trim and frame. Prime and paint as needed to match the existing trim in the house.


Sandy says
I have plaster walls and the vinyl windows are almost flush to the walls. The casing and aprons, sill are just ugly boards. If I remove all that can I create an interior mount situation for blinds? I’m not a carpenter but it’s so darn ugly.
Rachel says
We had a similar issue in a new house that a client moved into where the windows were flush to the inside and covered only with 1/2 inch thick casing. Two of the windows were arched, so there was no getting around that. Blinds can be installed so they either are on the outside (like on the drywall or casing area) of the window frame or inside the window frame if it’s at least 2 inches deep. Another option is to create a cornice above to hide the hardware of the blinds. In our situation, we installed the blinds directly on the casing above or, in the case of the arched windows, between the arch and the rectangle window which was separated by a piece of decorative wood. The downside of this method is that it does leave a bit more gap where light can come in on either side.
Olivia Marie Rushbrook says
Hi,
Did you remove the old apron as well as the window sill?
Thanks!
Rachel says
On this particular window, I did not. There were only slight marks in it, so I filled it with wood filler. However, I have removed exterior window aprons before if you have some questions.
Millie Hue says
Thanks for helping me understand that there must be no rot on the window frame since it can spread. I guess the best thing to do is to hire a professional since I do not know that much in handling rotten wood. We might have them on the windows of our house since this house has been passed down to me from my grandparents. They said that it has been constructed way before my mom was born, so you can imagine how old it is.
Rachel says
Although it is always best to remove the rotten wood, in some cases, you can use a product such as stop rot or a hardener to keep the rot from spreading. I have done that in a few older homes where it wasn’t possible to remove the rot or it was a small, slightly soft spot.
Timothy Slaughter says
Thank you so much i just found your blog so helpfully. This is exactly what I need. I need to repair my interior windows. And hope so your article and tips will help me a lot about this. I will must follow this when i am going for repair it. If you had more insight i will greatly appreciate it.
Brad B. says
Thank you very much for sharing! I did not know there was a product to help stop wood rot like that! Checking out the page you linked, it seems a bit more complicated than simply removing and replacing the rotted wood itself, unless it’s part of the overall house structure. like a support beam.
Tim Mark says
This is exactly what I need. But can you add more specifics on how they are attached. You mentioned nailed to the wall and its a bit confusing. It would be a great help if you could add few more detailed pics or a diagram of how they are nailed. Thanks
Rachel says
For some reason, this comment was under spam and I am sorry that I did not see it until now. I assume that you mean the molding underneath the window sill or the window sill itself. Many times, molding such as this is usually nailed to the wall or the wall framing using a brad nailer for speed. Then the tiny holes are filled and the molding and sill is painted. If you use a hammer upward to release the window sill, you will see these nails release along with the boards.