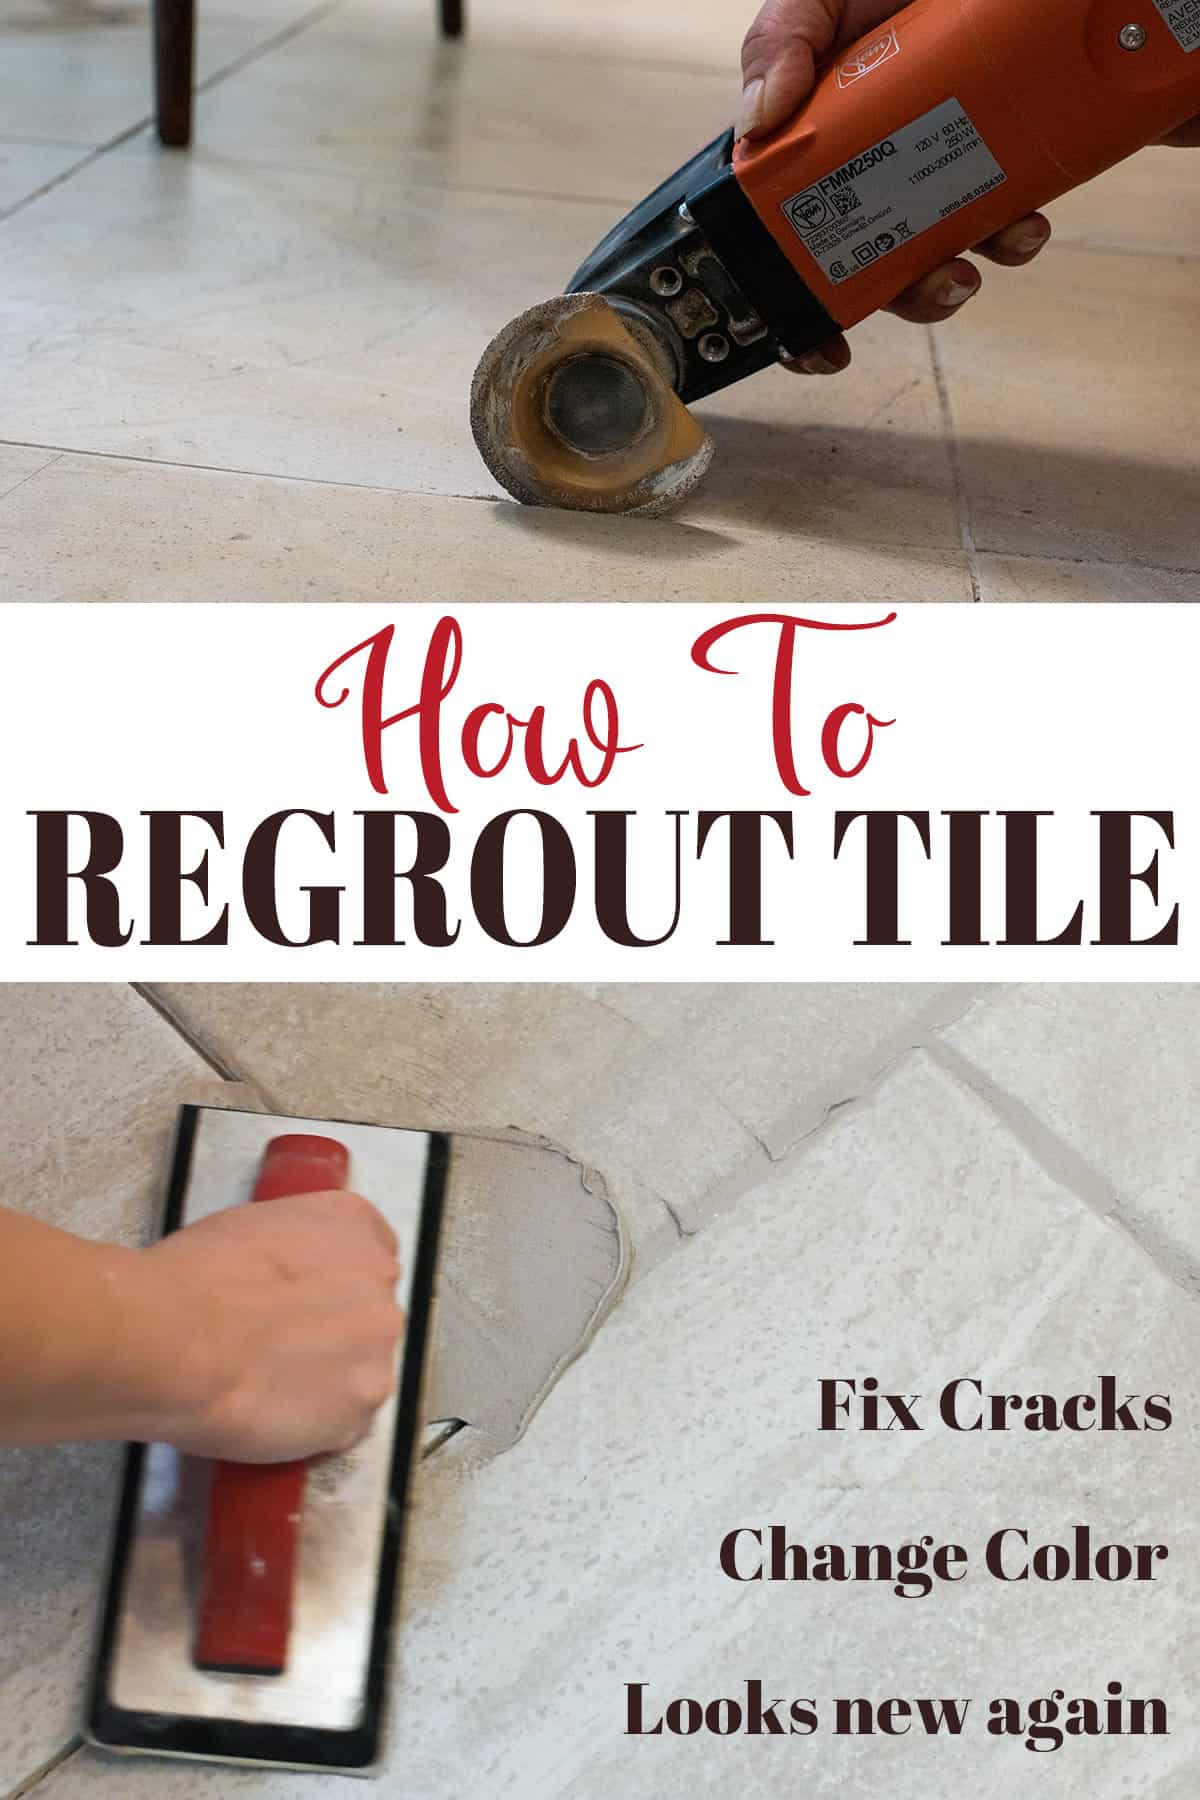
Regrout tile with confidence. Resuscitate tile surfaces with new grout. Learn how to identify grout troubles, choose the right tools for your project, and how a bit of innovation and elbow grease can add years to the lifespan of your tiles. Video tutorial included.
I’m back at my parent’s house this summer knocking out a bevy of tiling projects. From a full bathroom remodel to a herringbone tile pattern installation in the guest bathroom, the transformations are always so satisfying. Who doesn’t love a good before and after?
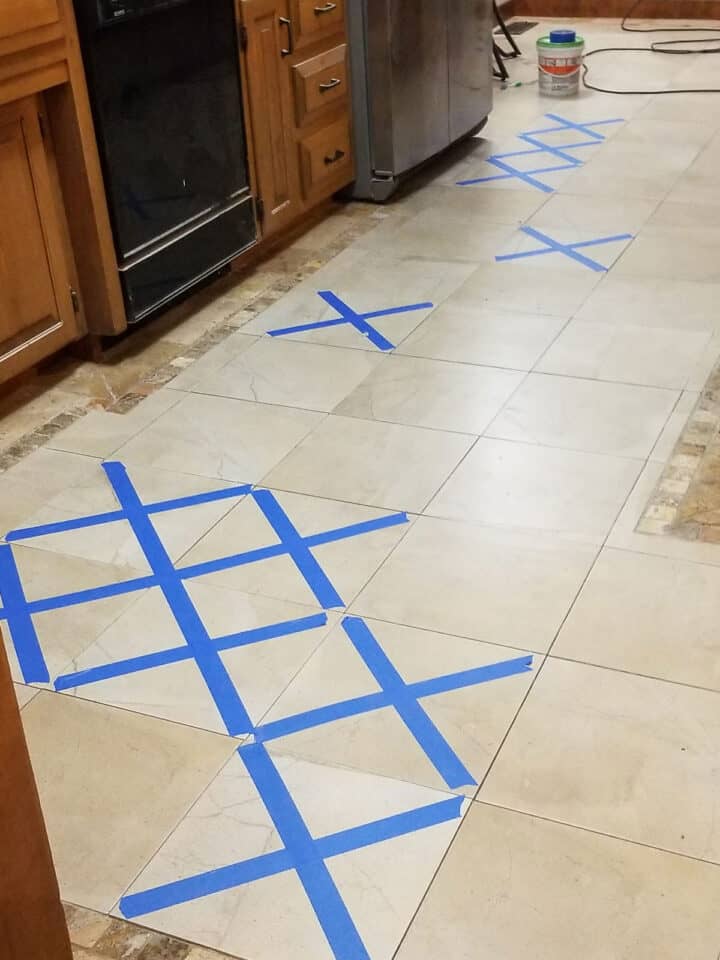
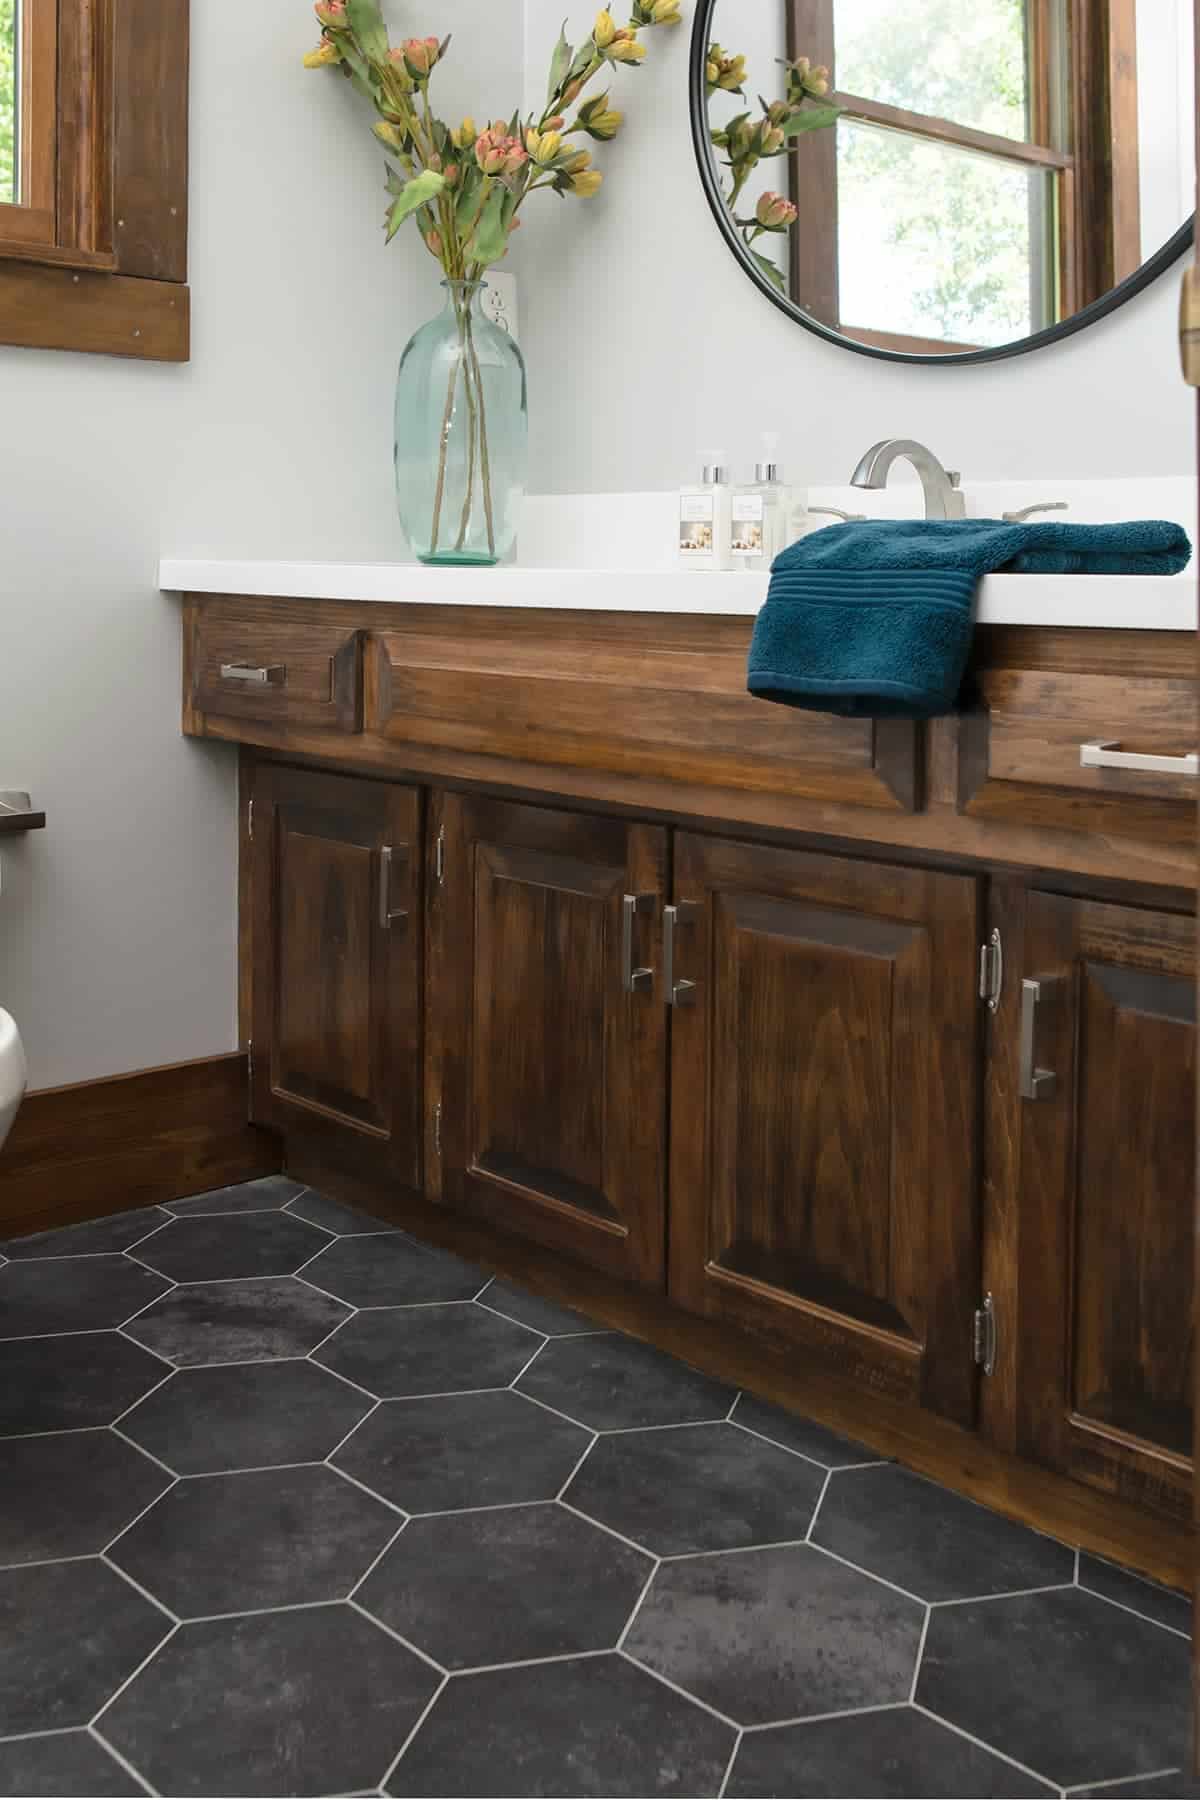
Next on my project list was a bathroom that had been tiled several years prior. The tile wasn’t in bad shape, but it looked dingy and discolored. While I’ve previously demonstrated how to replace cracked tiles in the kitchen floor, this one didn’t require as much work.
As long as the tile is in good shape, regrouting the tile can make the entire floor look brand-new! In fact, with this method, a 10×10 floor can be done in one day.
Signs that Your Grout Needs a Refresh:
- Cracked or Crumbling Grout: If you notice cracks or pieces of grout coming loose, it’s a clear sign that the grout is deteriorating and needs to be replaced.
- Discoloration or Stains: Over time, grout can become discolored or stained, especially in areas prone to moisture or dirt buildup. If your grout looks dull, dirty, or has noticeable stains that are difficult to clean, it’s time to regrout.
- Missing or Damaged Grout: If there are gaps or missing sections of grout between tiles, it not only affects the appearance but leaves the underlying areas vulnerable to moisture penetration. Regrouting is necessary to restore the integrity of the tiled surface.
- Mold or Mildew Growth: Grout lines that are constantly damp or exposed to moisture can develop mold or mildew. If you spot black or dark spots in the grout, it’s an indication of a moisture problem and requires regrouting to eliminate the mold and prevent further growth.
Regular inspection and maintenance of your tile surfaces will help you to identify these signs early on. Address them promptly to extend the lifespan of your tiled areas.
Frequently Asked Questions
The full tutorial and video are near the bottom of this post for your convenience. This comprehensive article should help guide you through each step and address any questions you may have along the way.
Rachel’s Note: Tile may seem intimidating but this is not a hard project. Here’s the secret about tiling- it’s a few steps – over, and over, and over. Once you’ve nailed those steps, and you’re armed with the right tools & the right products, your project will turn out great!
What grout do I use?
Generally speaking, choose grout to match the existing grout. To find out what that is:
- Cement-based Grout: This is the most common type of grout used in all installations.
- Sanded Grout: It contains fine sand particles which are visible in the grout (sort of like concrete or mortar). If your grout lines are ⅛ inch or larger, it’s usually a sanded grout. Sanded grout provides better strength and durability, making it ideal for floor tiles.
- Unsanded Grout: This type is made without sand and is used for narrow grout lines (no more than ⅛ inch). Unsanded grout is commonly used for wall tiles, and delicate materials like glass or polished marble, where scratching the tile surface is a concern. It looks much smoother than sanded grout.
- Epoxy Grout: Epoxy grout is a durable and highly stain-resistant option, suitable for areas that require superior water and chemical resistance.
- Epoxy is the the most challenging to work with. It’s usually only found in commercial applications.
- Acrylic Grout: Sometimes called a polymer modified grout, this is a modified unsanded cement-based grout that incorporates acrylic additives to improve stain resistance and flexibility.
- Sometimes used with sensitive or delicate types of tiling such as marble.
- Acrylic grout is often used in areas prone to movement and water, or areas with temperature variations.
Cleaning Grout
The first step is to clean the old grout thoroughly. I use the method outlined below every time I reseal grout. It works wonders!
Walls are typically not as dirty as floors, so simply make a paste and apply. For floors:
- Gather supplies. You’ll need a scrub brush (toothbrush or grout brush), baking soda, hydrogen peroxide, and an eye dropper or something similar. Fill the eye dropper bottle with hydrogen peroxide.
- Sprinkle the baking soda. Try to concentrate it in the grout lines, use a funnel if helpful. Ensure the grout is completely covered.
- A small section at a time. Using the eye dropper, add the hydrogen peroxide directly to the baking soda. The baking soda should be have a wet paste consistency.
- Let it sit a few minutes. I usually scrub a bit to mix the baking soda and hydrogen peroxide and loosen any top layer of dirt. Then wait approximately 3-5 minutes.
- Scrub the grout. Use a scrub brush to vigorously scrub the grout lines. Focus on small sections at a time and apply pressure to remove dirt, stains, and mildew.
- Rinse and wipe. After scrubbing, thoroughly rinse the area with water to remove the cleaning solution and residue. Use a clean cloth or sponge to wipe away excess moisture.
- Dry and inspect. Allow the grout lines to air dry completely. Once dry, inspect the grout for any remaining stains. If needed, repeat the process or consider using a grout sealer to protect the newly cleaned grout.
Remember to test any cleaning solutions on a small, inconspicuous area first to ensure it doesn’t damage or discolor the tile or grout. Regular deep cleaning of grout can help maintain its appearance and prolong its lifespan.
Matching Color
I don’t attempt to match the color until the grout is clean and dry. Wet, unsealed grout is often darker.
If you have some grout broken out, you can take it in the store to match or many companies have a paper color guide in the store. Don’t use online color guides; your monitor may alter the color.
If you cannot match the color, or if stains make the grout uneven, it’s best to regrout the entire surface. In this case, you only have to remove ⅛-3/16″ or a few millimeters off the top.
Tips for Removing Grout
Removing grout means A LOT of dust. I recommend wearing a dust mask and eye protection if you’re planning to use power tools.
- I HIGHLY recommend an oscillating tool with a grout removal blade. Not only does it work quickly without causing damage, but it gets right up next to the tile for a straight grout line. This is essential if you’re planning on a color swap.
- These instructions work well for ceramic, porcelain, or stones like travertine and granite. I've even changed the grout color on a polished marble floor.
- When doing large home improvement projects save a few tiles, floorboards, or bricks for the possibility of future repairs.
- Clean all dust and debris before regrouting. Use a brush as well as a wet/dry shop vacuum and wipe the tile surface with a damp cloth for a thorough clean.
- For small jobs, using a premixed grout makes the job a bit easier.

I prefer a grout removal blade or an oscillating tool over the manual method with a grout rake or utility knife. There is simply no comparison.
Common Problems
Grouting tile comes with a unique set of challenges. Here are a few you may run into:
- Excess Grout. For most tile surfaces, grout won’t stick and cracks off over time. For porcelain surfaces, use a window scraper or a chisel VERY carefully. It’s more difficult to remove once dry, so wipe well into the grout joints.
- Grout Haze. There will be a haze. However, if you’ve generously wiped the tiles after grouting, it should be minimal. I haven’t found haze cleaner to be necessary for cement-based grout, (as long as I didn’t have a lot of excess grout). I generally only recommend it for epoxy grout. Wait 24-48 hours after grouting to remove the haze with water. It will take several passes to remove it all.
- Not pushing the grout in to the crevice. Always swoop the rubber grout float in multiple directions and press the grout into the lines evenly.
- Grout Shrinkage and Cracking. Products have mostly conquered this problem, but it’s not uncommon for unsanded grout to slightly shrink into the lines. This is typically a result of too much water in the mix or inadequate curing time. It’s important to follow manufacturer guidelines and ensure proper curing to minimize the chance of this occurring.
- Working yourself into a corner. The tile itself is dry and should not move. While I don’t recommend walking on the tile as normal, it’s fine to lightly tip-toe over the tile if necessary.
- Mold and mildew growth. If you start demo on any project and find mold, don’t go any further. It’s time to call in the professionals!
If in doubt or facing significant difficulties, seeking advice from professionals or experienced tile installers can be beneficial.
Video Demonstration
This video is from a longer tutorial on replacing cracked tile, but the steps are the same without having to pull out and replace the tile.
More Home Improvement Projects You May Like
Frequently Asked Questions
For new tile installation or thicker tiles (½″+), I recommend waiting as close to 72 hours as possible. Thinner tiles may only need 48 hours. For regrouting, 24 hours is generally ok, but I wait 48 hours before removing haze.
Having used a few types of “pre-sealed” grout, I do love using it on installations. However I always recommend sealing new grout, particularly in floors. Sealants don’t last forever and can be removed over time through abrasion and chemical cleaners, leaving your grout prone to stains and discoloration.
The mortar bed is what keeps tile in place, but the tile edges are most vulnerable when they aren’t grouted properly. Technically you can put new grout over old grout in perfect condition. I personally recommend removing the top ⅛″ to remove old dirt and sealants and for a uniform appearance. If you fill cracked grout without knowing why it cracked, chances are you’re going to end up right back where you started.
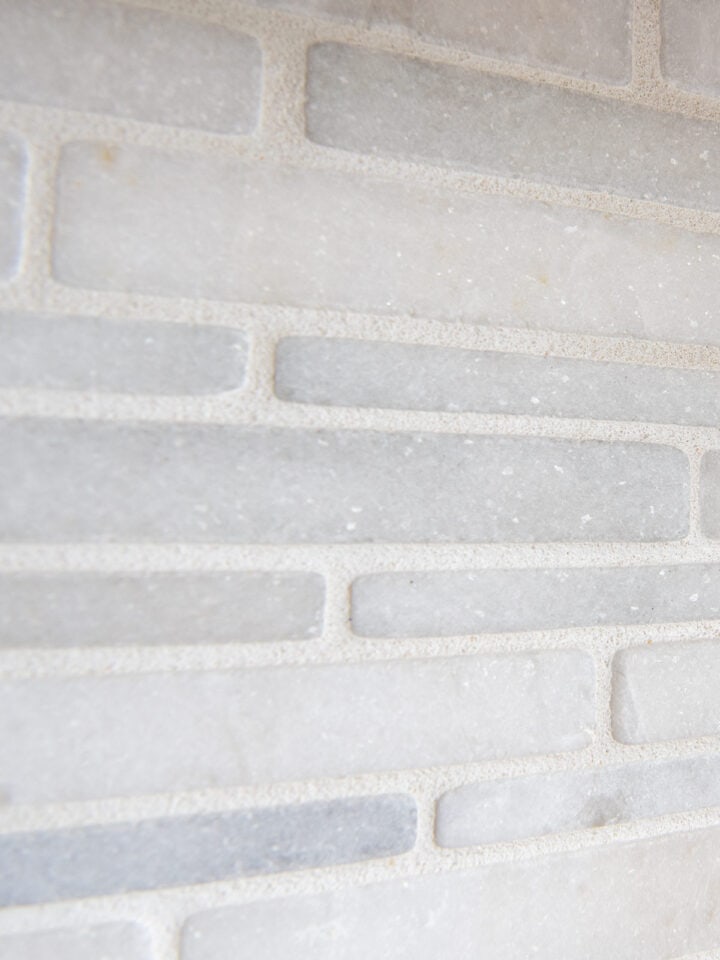
New grout will make an old tile installation look nearly brand new, as long as the tiles themselves are in good condition. It’s much easier to regrout than to install new tile or another type of flooring.
Yes and no. If the previous grout is in good condition (strong bond, no movement or cracks), you don’t need to remove all of the grout. If the grout is stained or you’d like to refresh the color, remove the top 3/16 inch of the grout. Use an oscillating tool for even consistency.

Grab our free series "Weekend Home Projects that will Transform Your Life" Sign up below to receive updates including free printables, organization tips, home improvement projects, recipes and more! |
More Projects You May Enjoy
PS I love seeing your creations! Be sure to take a photo and tag #cravingcreative on Instagram! You can also stay in touch with me through following me on Instagram, Pinterest, and subscribing to the newsletter!
How to Regrout Tile
Tools
- Oscillating Multi-tool You can use a sturdy box cutter as well.
- Grout Blade for the Oscillating multi-tool
- Shop Vacuum
Supplies
- Grout pre-made is fine
- Bucket of Water for cleaning the excess grout
- Safety Equipment Eye protection, dust mask, etc.
Instructions
- Remove the grout from around the cracked tile. By far, my preferred method of removing the grout is to use an oscillating multi-tool and grout blade. You can use a sturdy box cutter, but it will take much longer.

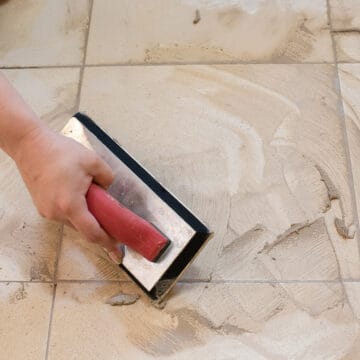
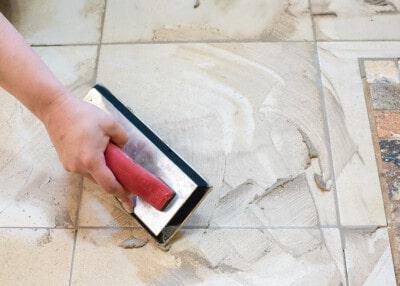
- Grout the tile. Use a grout float to push the grout mixture into the lines and then wipe away excess grout. Make sure to push and wipe in multiple directions to completely fill the gap.

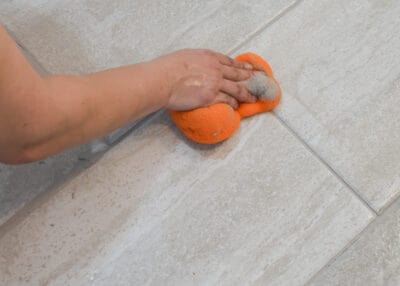
- After about 10-15 minutes, use a damp grout sponge to clean excess grout and make the lines smooth. Cleaning as much grout as possible will make haze removal easier later.
- Haze removal. Wait at least 24-48 hours and wipe several times with a clean, damp sponge to remove any haze. Use a water bucket to rinse the sponge several times. It may take a few cleanings to remove all of the haze and more will show up as it dries.
- Sealing grout. I do recommend sealing all new grout for longevity and maintenance. Even those with pre-treatments in them will last better with an outer sealant.
- Caulk showers and tub surrounds as needed. I always caulk after the sealant is dried.

Leave a Reply