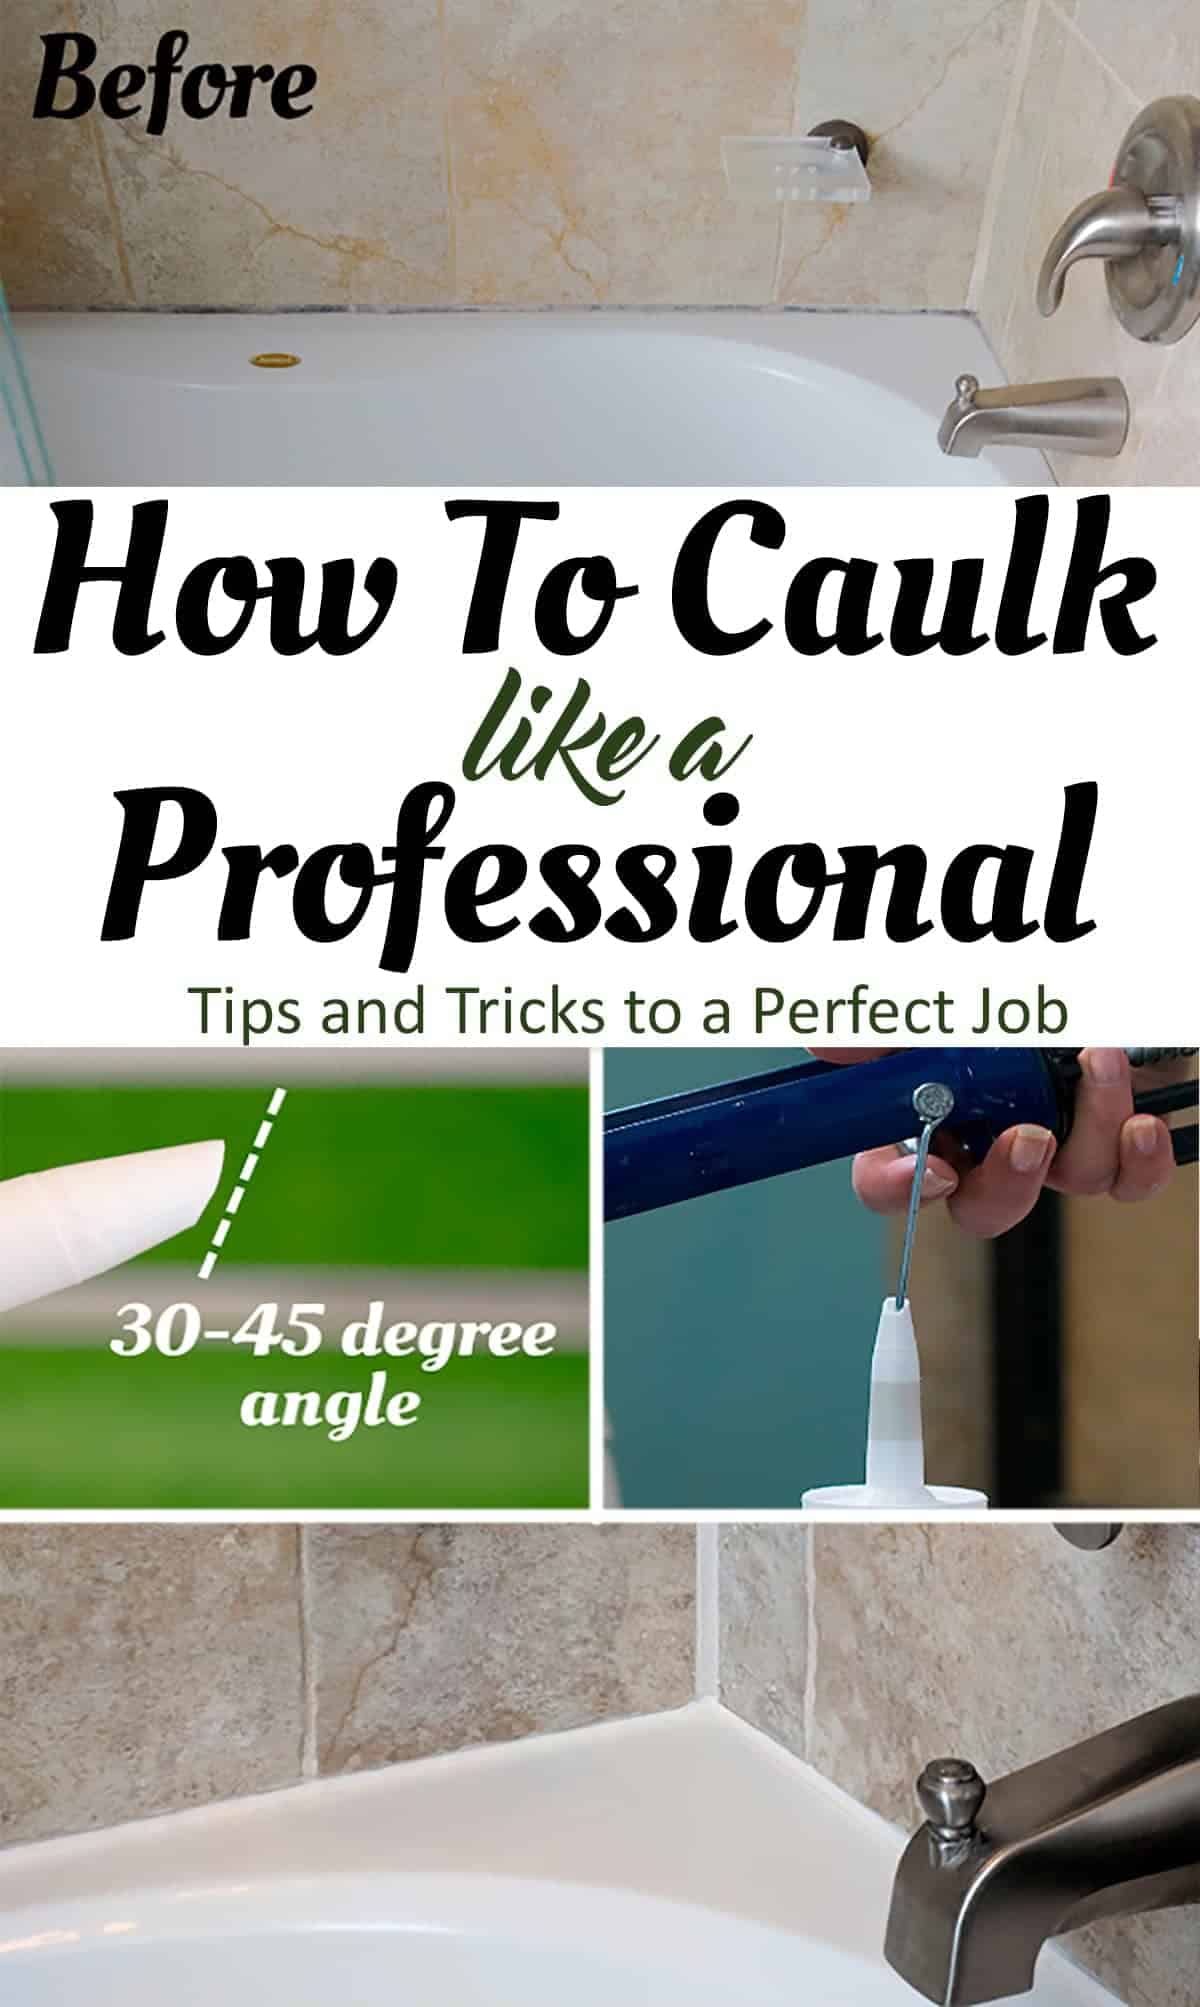
Learn how to caulk a bathtub like a professional. Make your spa look like new again with the best tips and tricks for caulking, removing caulk, and using quality tools.
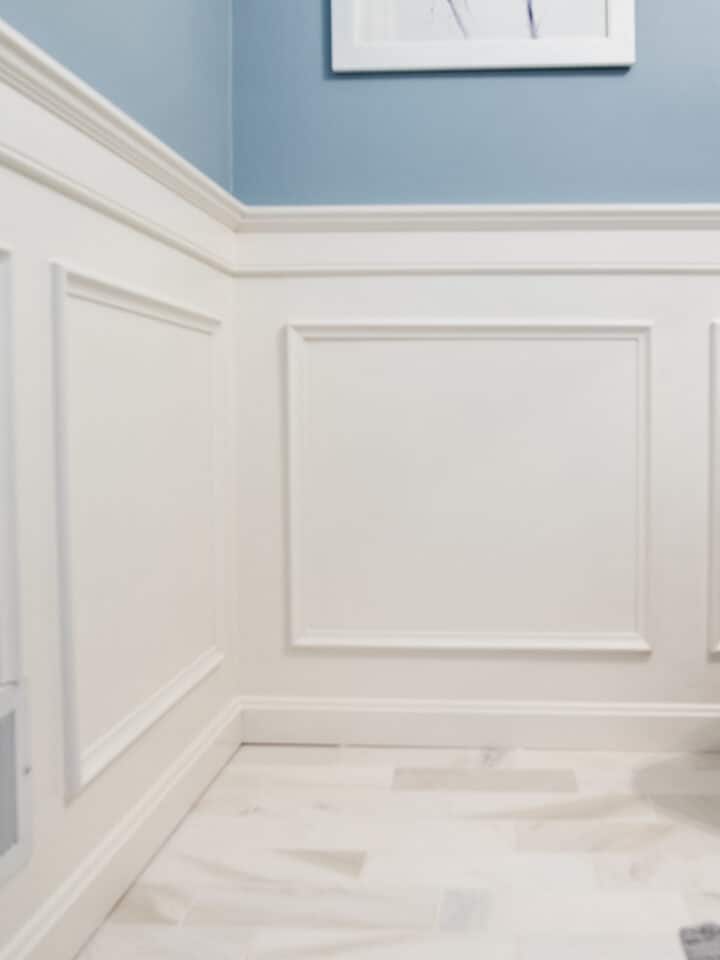
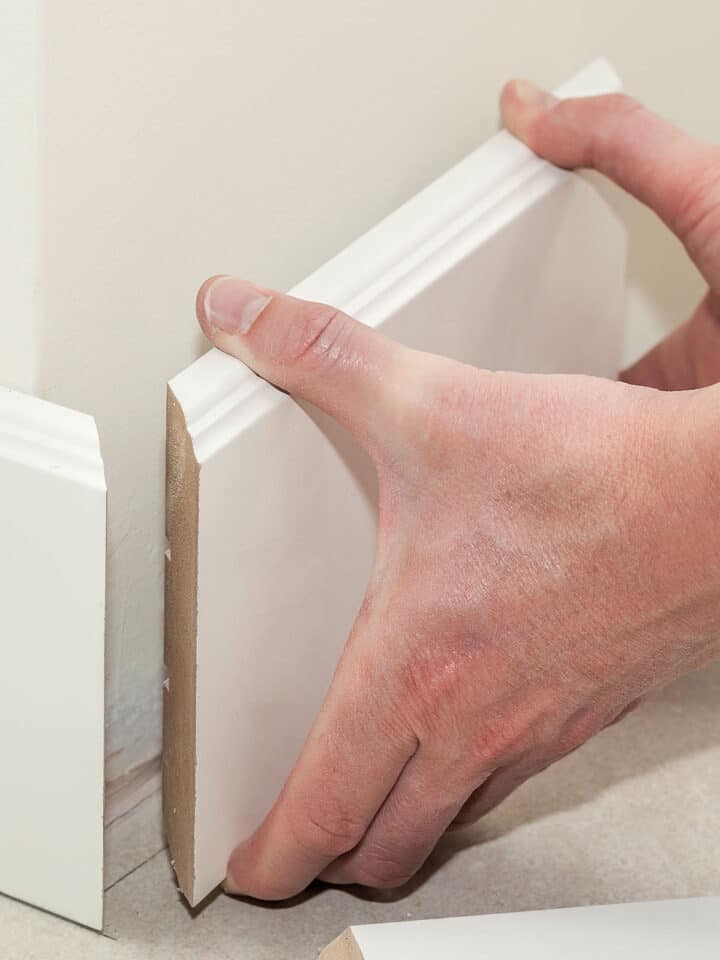
Sooner or later we all have to recaulk items in the house. From caulking baseboards to installing wainscoting to our beautiful kitchen island and much more, I’ve refreshed caulk on so many items. This simple guide will show you the how to remove old caulk and the best tips for caulking a tub. Don’t let peeling or discolored caulk ruin a much-needed spa day any longer. No need to be intimidated, as anyone can get professional results!
Stop Using a Cheap Caulk Gun!
One of my best tips is to avoid using the cheapest caulk gun. It’s only a few dollars for a slightly nicer caulk gun and the benefits are so, so worth it. This is one of the caulk guns that I use and love because:
- With cheap caulk guns, the caulk often drips long after you have released the trigger (and you end up wasting caulk and a bunch of paper towels every time you set the caulk gun down). This one is a dripless caulk gun! No wasted caulk.
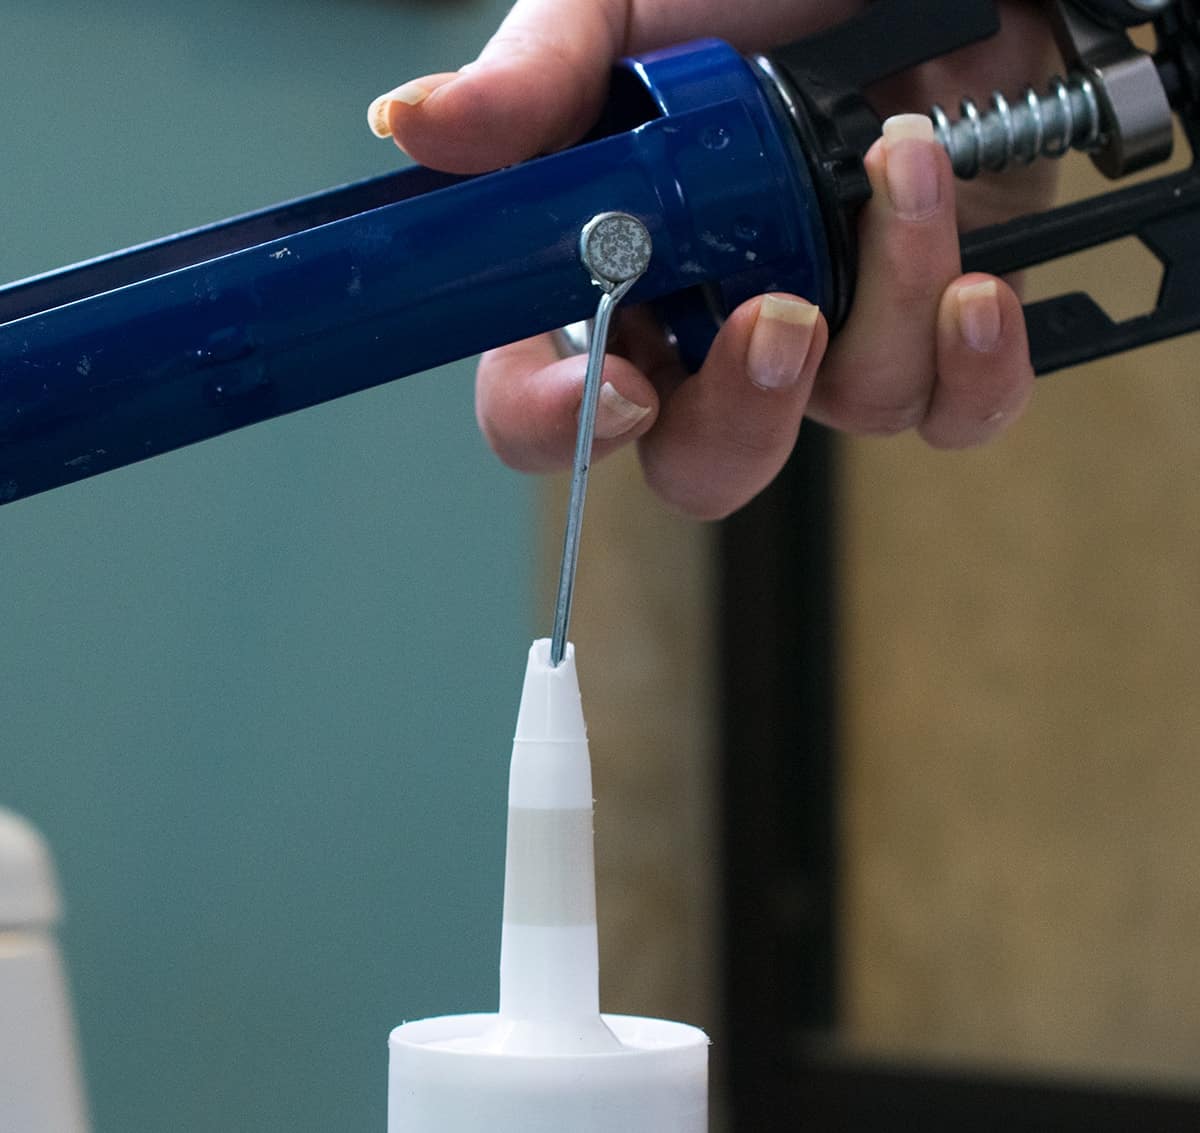
- It comes with a handy pin attached that easily pierces the foil barrier inside the tube.
- The trigger spring allows for more even caulk distribution.
- Squeeze tubes are really only good for small areas. Your hands will hurt if you try to do a whole window or tub surround.
*If you use viscous materials (such as sanded caulk or adhesives), have a BIG job, have poor hand strength, arthritis, or would just like something that doesn’t require you to squeeze as much, get a high thrust caulk gun. This is the one that I use as well for bigger jobs.
How To Remove Old Caulking
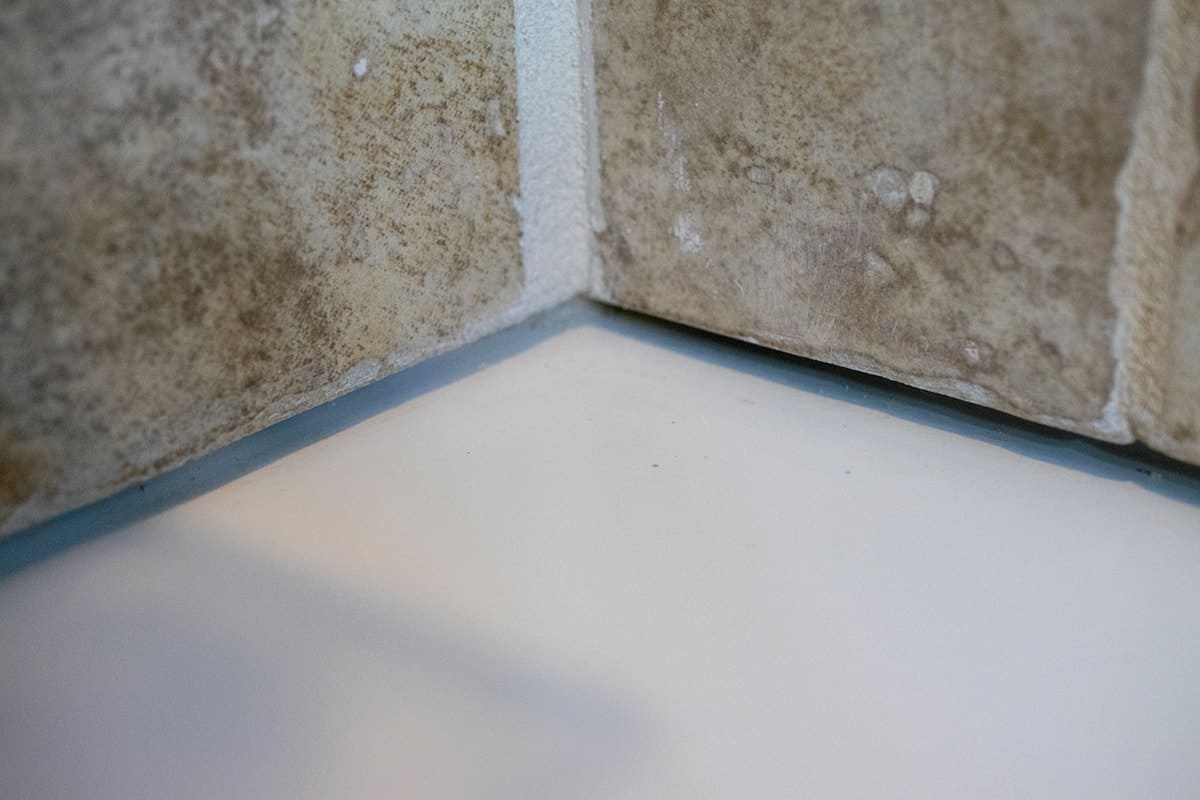
The first thing you need to do is get ALL of the old caulk off the bathtub. This can be a bit tedious but there are some special tools that make this job a bit simpler.
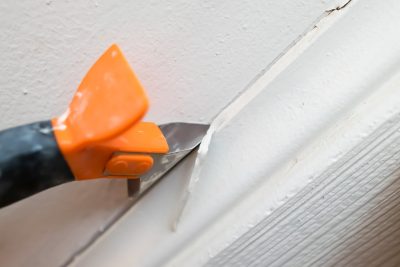
- If caulking a flat surface (not underneath tile like in this surround, I dig and peel the caulk out with this caulk remover tool. I use a putty knife to scrape the sides away from the tub.
- How to remove caulk in a bathtub with a wide gap – if you need to get in deeper, needle nose pliers like these, work great to pull out any bits that have gotten stuck in the crevice.
- To remove excess caulk from the bathtub after the majority of caulk is removed, take a window scraper and carefully scrape the old caulk residue from the tub surround and tile. Be careful not to gouge the tub though!
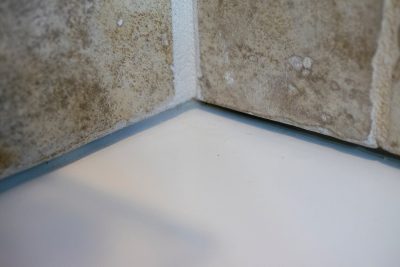
Make sure the structure and grout doesn't have any cracks or pits.
If the tile and surround look good, vacuum and remove any dirt or dust. Clean the surface of any mildew or soap scum too. Spray a 10% bleach solution into the area of the caulk and allow to sit for at least a few minutes. Wipe up with a clean, dry cloth and allow to air dry overnight. You can also use denatured alcohol.
Video Demonstration
Watch the Video to See it in Action
Caulking Tips
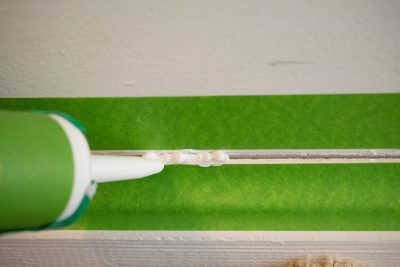
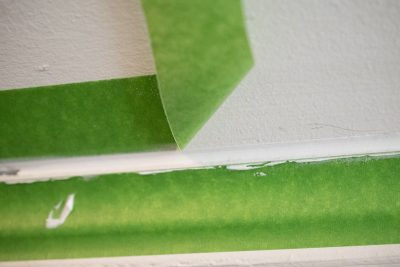
Tip #1 – Create a straight-line using painters’ tape on both sides of the seam. Make sure to burnish (press into the wall so there are no bubbles) both sides well.
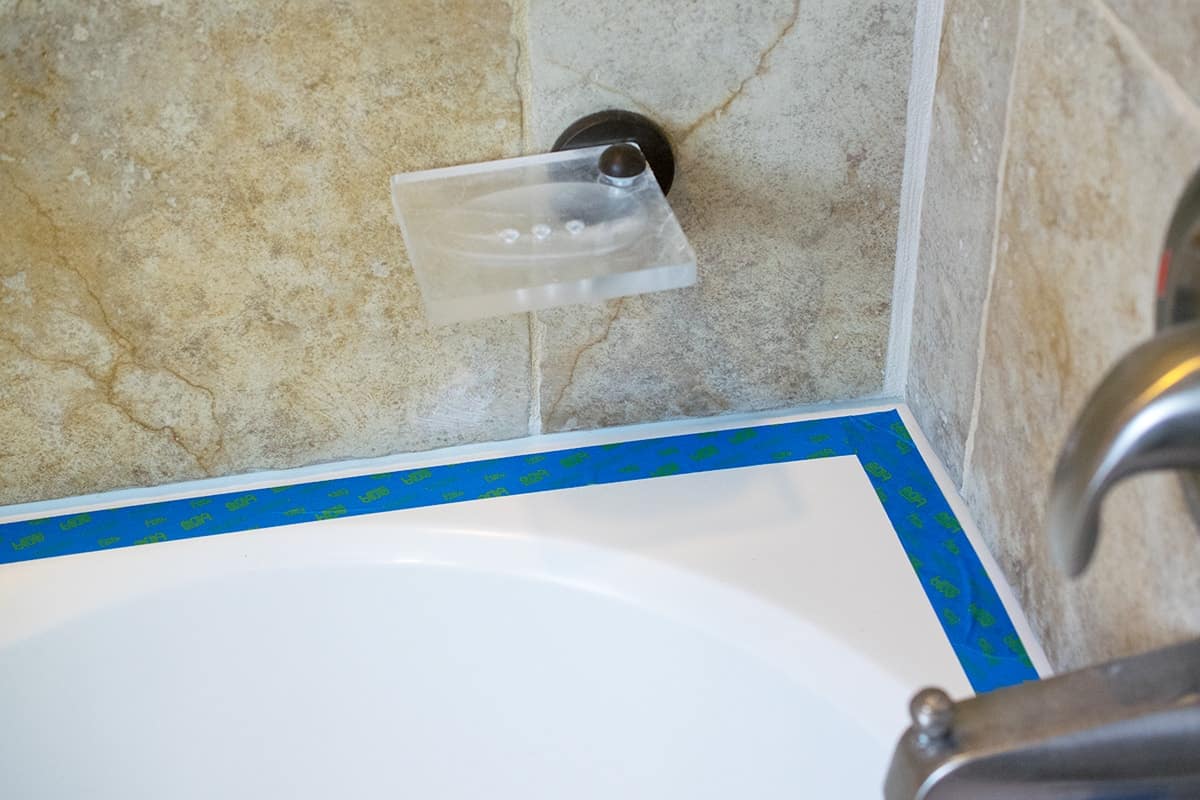
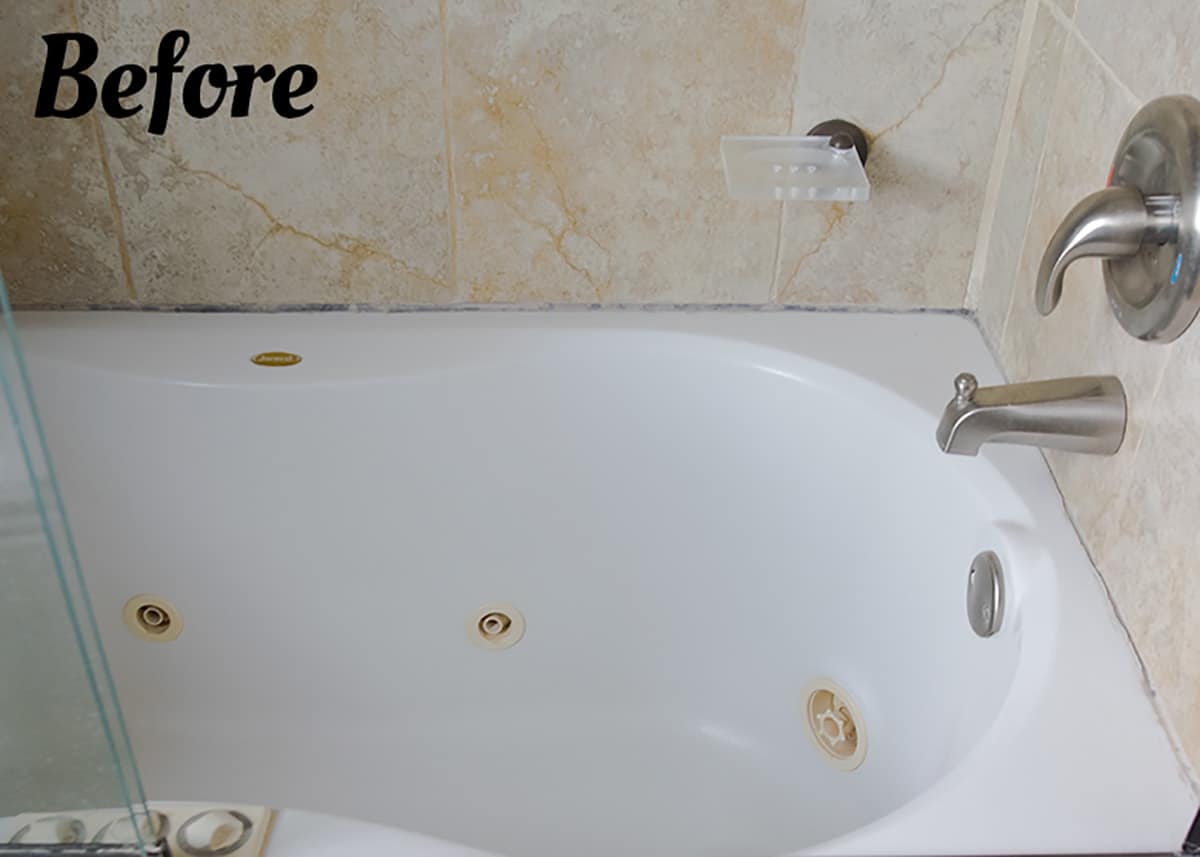
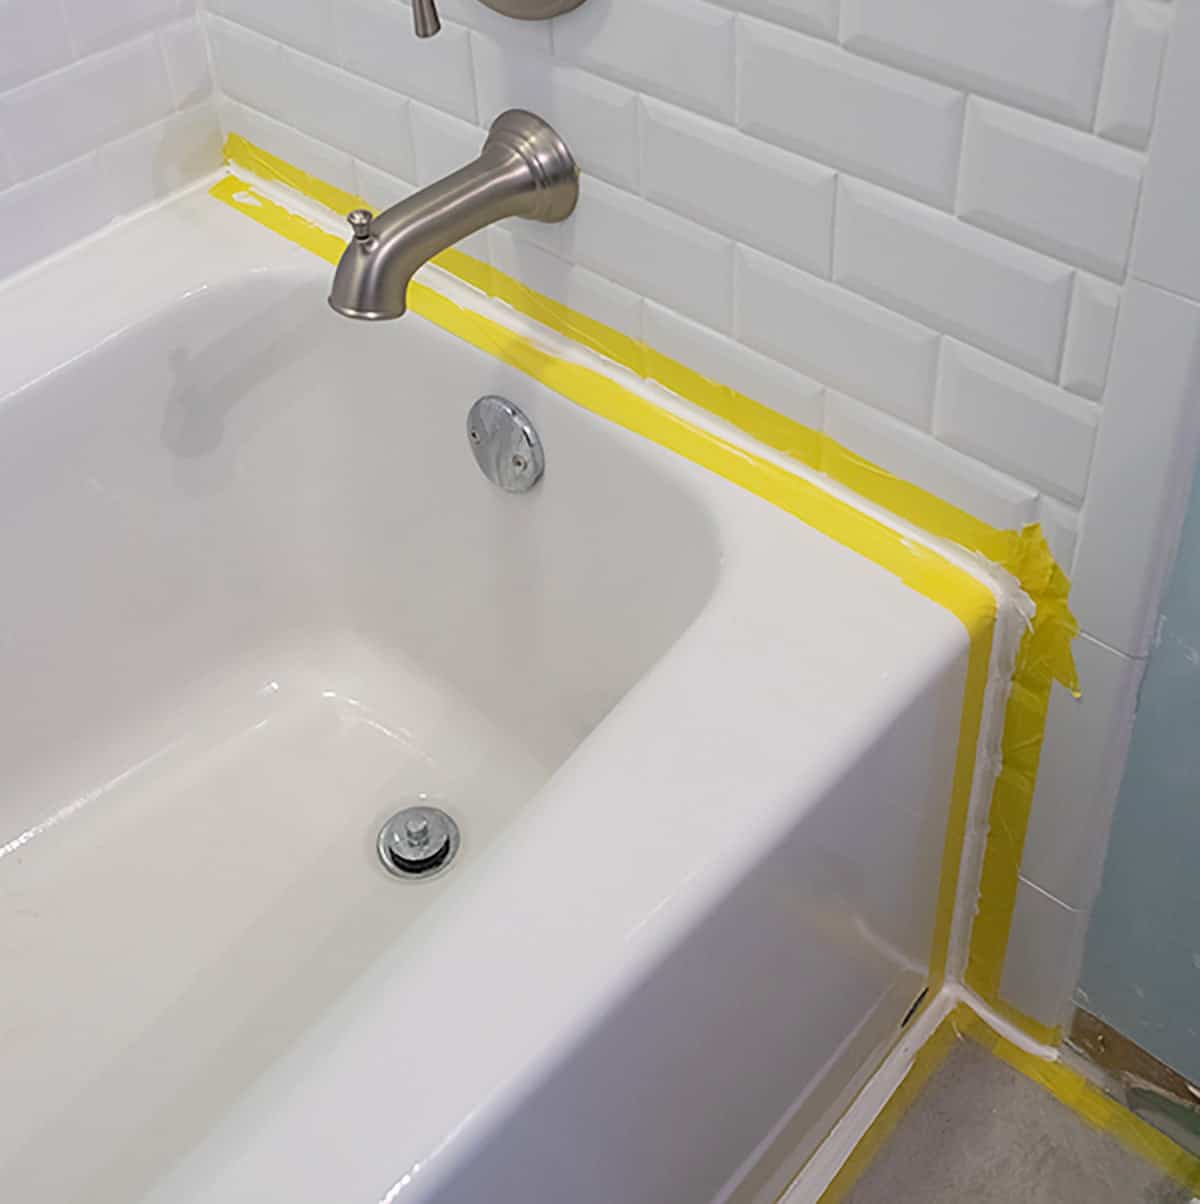
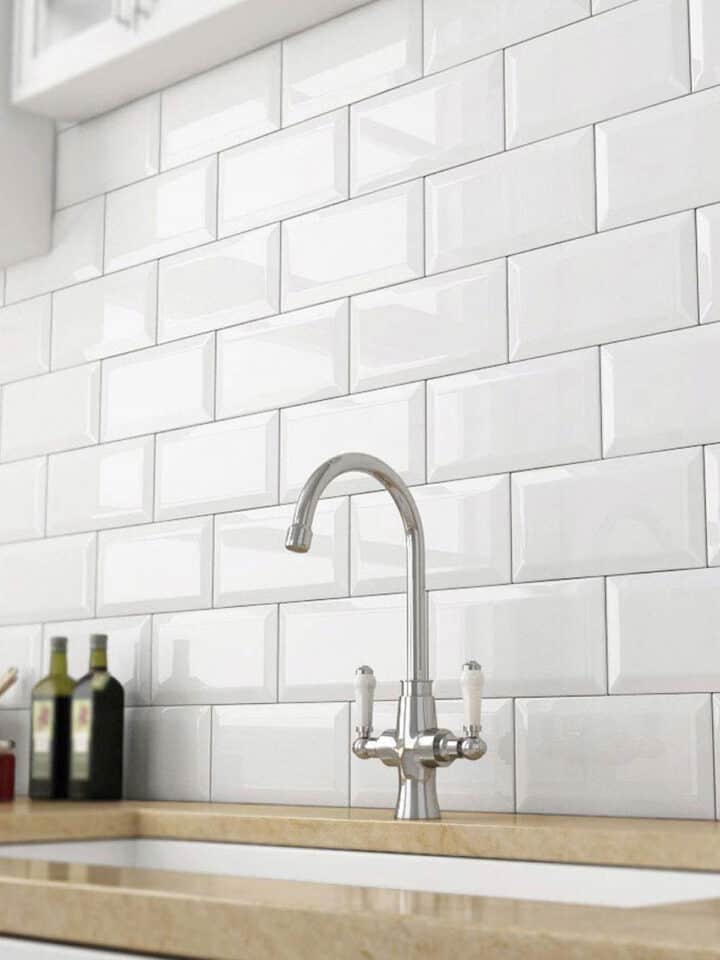
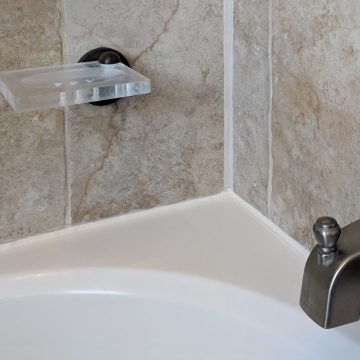
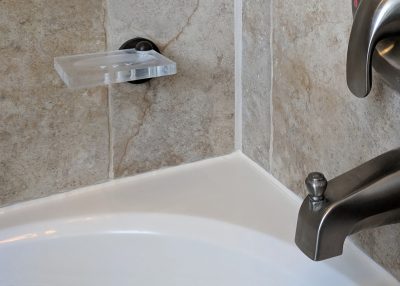
As you can see, I only put tape on one side in this tub installation. The reason being was that the tile on tip has a very uneven stone edge, so I worried more about caulk getting up under the tape and creating an ugly look. The tub below shows our installation in a beveled edge subway tile bathroom.
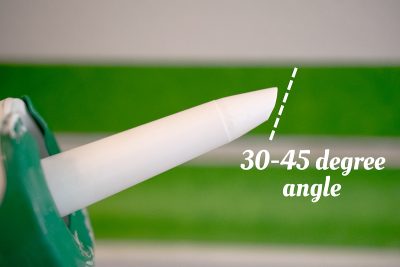
Tip #2 – Cut the Caulk Tube at an angle similar to what your hand position will be. If you just cut the tip flat at a 90-degree angle, you will have more wasted caulk and a round bead rather than an angle bead. Higher quality caulk guns often come with a piercing tool, or you will need something to insert in the tube to pierce the foil.
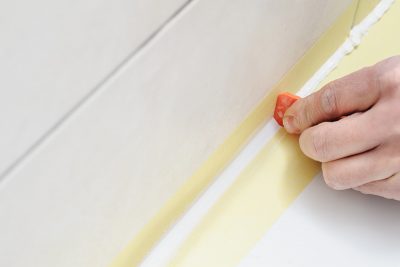
Tip #3 – Perfect caulk lines do not necessarily require a tool. I have used a ton of different tools, and my personal favorite in my index finger. Fingers have just enough flexibility to go over any ridges while keeping the caulk nice and smooth. Put on some latex gloves and make sure they are tight fitting around your finger (no ridges or ripples).
However, I understand that I do have small hands I generally recommend this wedge tool if you do not feel confident with just your hands.
*Pro Tip – A dab of dish soap rubbed over the gloves keeps caulk from sticking to your finger.
Tip #4 – Make sure that you can see the edges of the tape, or you will have odd ridges when you pull the tape up.
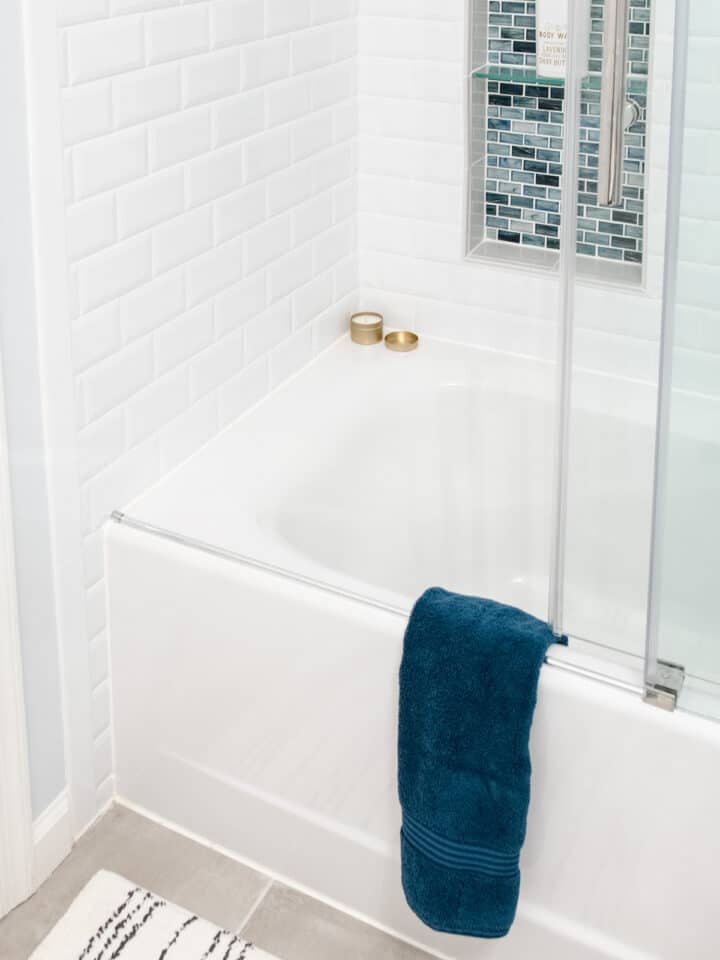
So there you go! Now you can truly get professional looking caulk and no more nasty, moldy ring around the tub!
More Home Repair Tutorials
- How to Caulk Baseboards the Easy Way
- How To Install Wainscoting
- Save Money Replacing a Vanity
- How to Install Cabinets
Caulking Frequently Asked Questions
In my experience, this latex caulk is easier to work with than 100% silicone caulk. However, I will say that the 100% has generally held up better in areas prone to problems such as mold or deep gaps. 100% silicone caulk is messier to work with and seems to stick to everything.
I recommend spraying the caulking area with a 10% bleach solution and letting sit for a few minutes before wiping away. Then let the area dry 24 hours or overnight before caulking.
Most caulk is water resistant within 2 hours, but it is best to wait for a full cure, or about 24 hours before exposing to water.
Absolutely not. If the tub flexes enough to pull away from caulk, it’s time for a new bathtub or it’s installed incorrectly. Or worse, there is a subfloor problem. See my post on best bathtubs for information and ideas.

Grab our free series "Weekend Home Projects that will Transform Your Life" Sign up below to receive updates including free printables, organization tips, home improvement projects, recipes and more! |
More Home Repair Ideas
How To Caulk a Bathtub Surround
Supplies
- 10% Bleach Solution
- Painter's Tape
- Bathroom Caulk in Matching Color waterproof, non-paintable
- Paper Towels
- Latex or Nitrile Gloves
Instructions
Remove the Old Caulk
- Remove the old caulk using the caulk remover tool and a flat scraper blade to remove all traces around the surround. If the tile and surround look in good repair, vacuum and remove any dirt or dust. Clean the surface of any mildew or soap scum too.

- Spray a 10% bleach solution into the area of the caulk and allow to sit for at least a few minutes. Wipe up with a clean, dry cloth and allow to air dry overnight.
Caulking the Surround
- To create a straight line of caulk, use painters tape on both sides of the seam.
- Cut the caulk tube at a 35-45 degree angle. If you just cut the tip flat at a 90 degree angle, you will have more wasted caulk and a round bead rather than an angle bead.
- Position the tip in the seam area and move in a straight line with the bead of caulk. Make sure there are no gaps or huge globs as you move along. Also make sure to fill the space pretty well so it doesn't cave in.
- Smooth out the caulk with your index finger or a caulk smoothing tool. As you move along, keep even pressure. Generally, I go over once to get any excess caulk and then a second time to smooth out completely, moving from end to end in one sweep.
- Pull up the painter's tape. Make sure that you can see the edges of the tape, or you will have odd ridges when you pull the tape up.
- Allow to cure according to directions before exposing to water.


Sue McGowan says
When I was buying caulk, a carpenter in line behind me recommended smoothing the caulk lime with a plastic spoon that has been dipped in water. It really did work. The painters’ tape is genius for keeping mistakes at bay. Thank you for the tutorial.
Pam says
I would have never thought of using painting tape to help me get a nice smooth line , I wish I would’ve seen this three weeks ago when I was re-caulking my farmer sink
Rachel says
Oh no, I bet it looks perfectly good though. Unfortunately, there will always be next time that something needs re-caulked. Of course, you might live closer then and I can do it, lol.
Taylor Bishop says
Thank you for this advice for caulking a bathtub. It’s nice to know that you should try to make sure the area is clean and dry beforehand. Maybe it could be good to clean the area the day before so you can be sure it’s ready for caulking the next day.