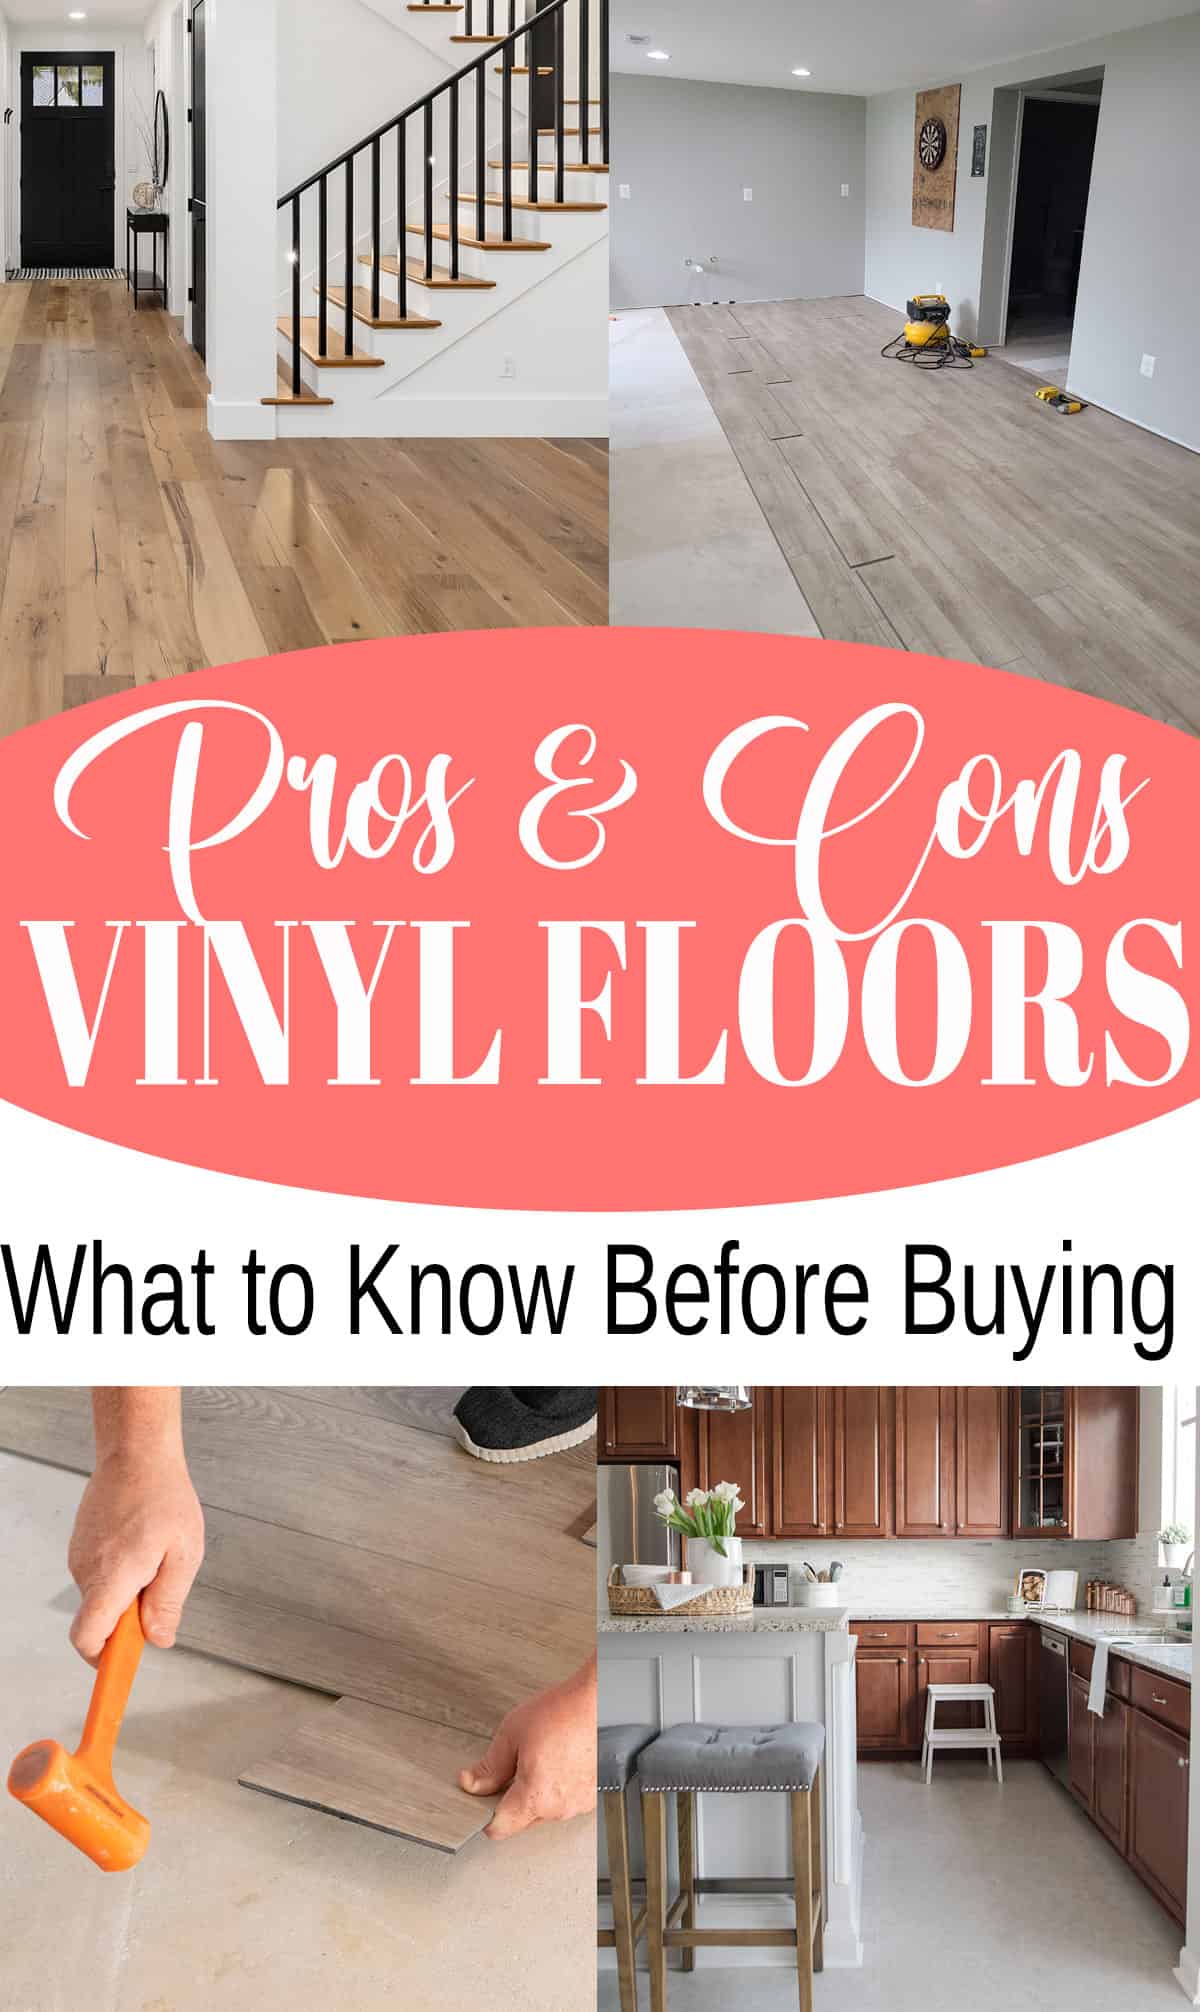
Considering vinyl flooring for your next home project? After installing and living with several different kinds of vinyl flooring, I know how this versatile and stylish option offers a range of benefits, but it’s not without its drawbacks. Discover the pros and cons of vinyl flooring, helping you make an informed decision for your space!
[exz-toc]
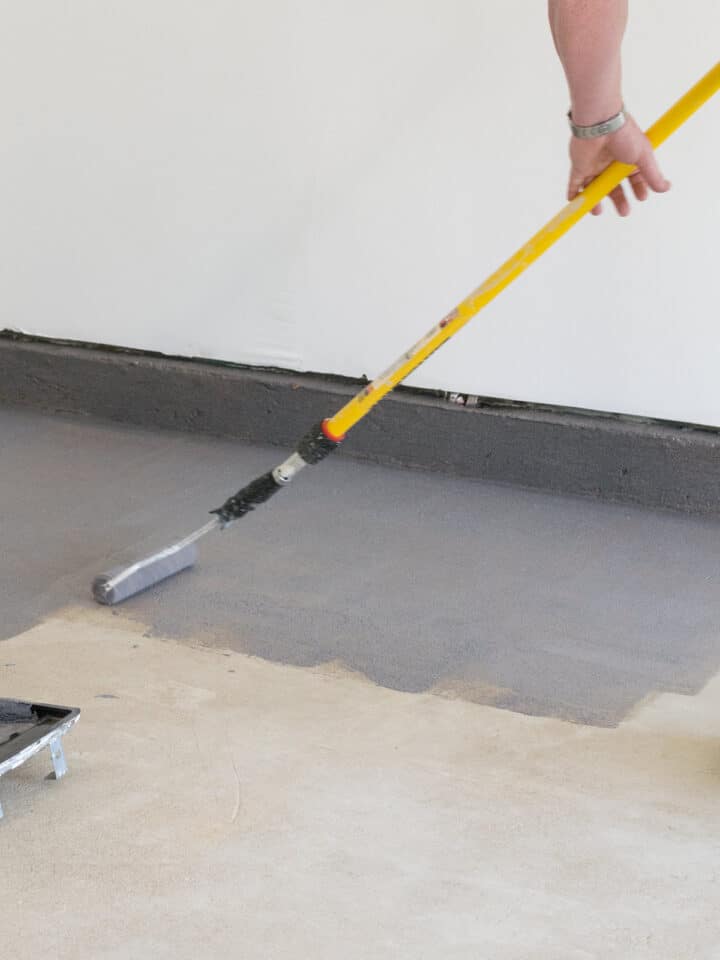
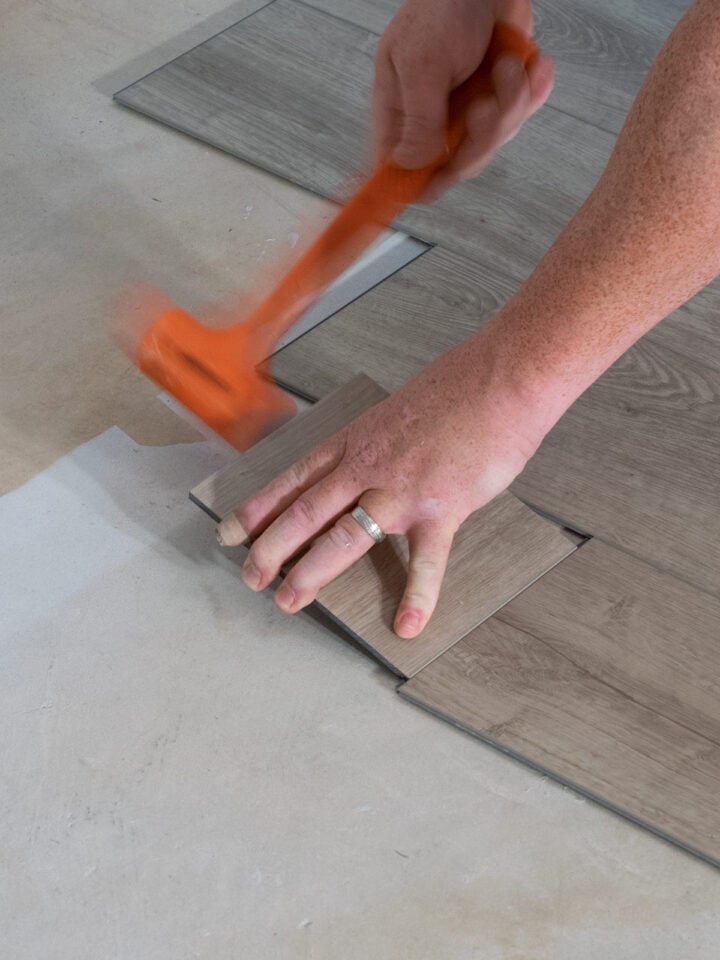
The basement marks our eighth install of vinyl flooring. A few months ago we shared the beginner’s guide to installing click lock vinyl planks and prepping concrete for flooring.
However, after living with vinyl flooring for years, including in kitchens and bathrooms, I thought I would share some of the pros and cons of vinyl flooring for those looking at all the options for new flooring.
What is the Difference Between LVT and LVP?
An extremely common question that I get. The basic gist is that T=tile and P=wood plank.
- Appearance: The most basic difference is that LVP mimics the look of natural wood, while LVT replicates stone or ceramic tile. LVP will always be rectangular (like wood planks), while LVT can be square, hexagon, or rectangular.
- Installation Types: Both LVP and LVT can be installed using glue-down or click-lock methods. However, click-lock methods are only suitable for rectangular or plank shapes pieces.
- Durability: The style doesn’t really have anything to do with how durable the flooring is. Both offer a durable wear layer that protects against scratches, scuffs, and stains.
- Water Resistance: LVT is particularly suitable for high-moisture areas, but both LVP and LVT provide excellent water resistance.
- Applications: There are LVT and LVP products suitable for any application from bathrooms to below grade basements.
Aesthetics of Luxury Vinyl Flooring
Aesthetics are all about personal choice, really. One of the pros of vinyl planks is that you can get a broad range of designs that look beautiful while being affordable. Many of these designs would be almost impossible to duplicate in natural materials.
However, the vast majority of vinyl flooring does look and feel like plastic.There are those who just prefer the beauty of natural products like hardwoods and stone. Vinyl flooring cannot, for better or worse, completely fake the look and feel of those natural products.
Because of the rise in popularity of vinyl flooring, many manufacturers have added bevels or a grout border for a less commercial look. I wish we had that option available for our kitchen remodel. Instead, we purchased luxury vinyl tile grout strips from Karndean. You can learn about their design strips here.
Pro: Turn Around Time
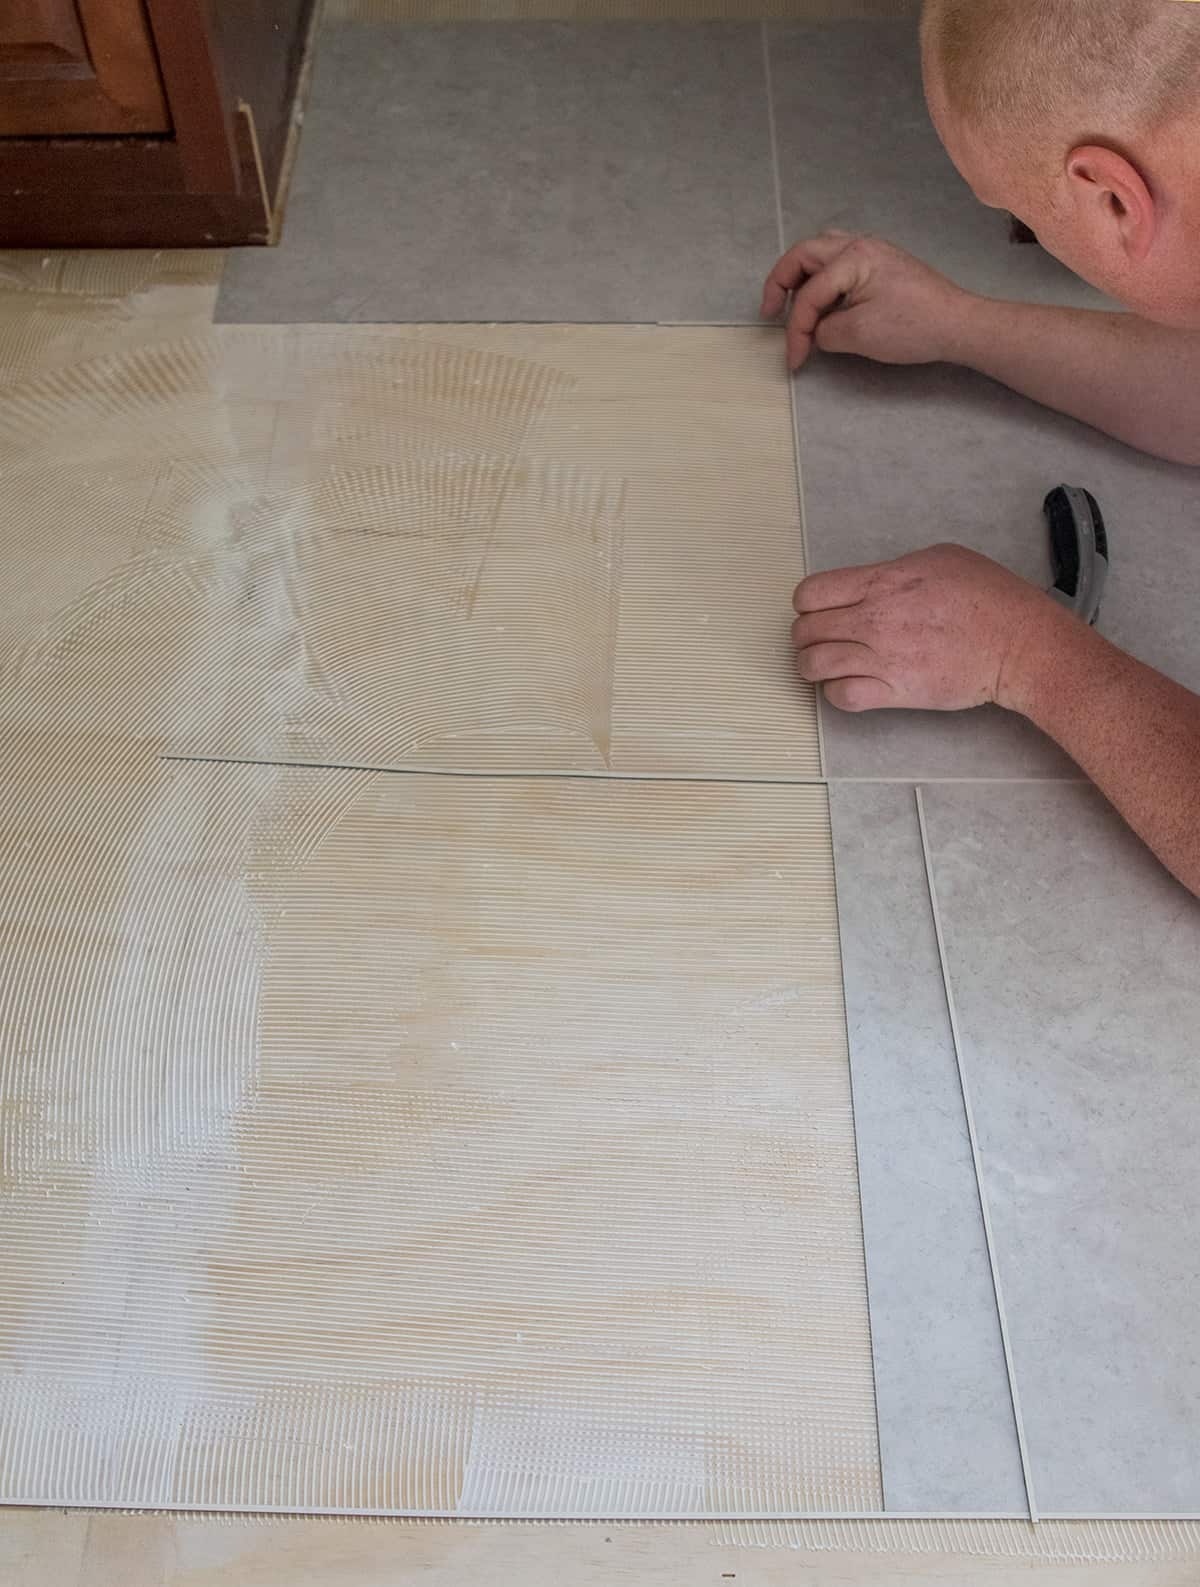
Unlike tile, installation methods of either type of vinyl flooring are fairly quick. There’s no grouting, waiting for mortar to dry, or sealing or staining required! Most adhesive vinyl can be used regularly within 24-48 hours. Click-lock vinyl can be walked on right after you finish installing it.
Pro: Affordability
The biggest cost saver in this project is the ability to do it youself. It’s much easier than tile and a little easier than most hardwoods! However, the materials for luxury vinyl flooring installation are also much more affordable.
For our LVT flooring, the cost broke down to $3 per square foot. For our 300-square-foot project, the total, including all materials and supplies, was $1400. That includes the underlayment that was required as a substrate over the plywood subfloor. The options for luxury vinyl tile prices ranged from $2-5.50 per square foot.
Let's compare that to our Navy and white bathroom renovation the prior year. The floor tile was $3 a square foot over 24 feet- which is an affordable tile. Our total cost for the bathroom floor was $230 including mortar, cement backer board, grout, and other installation supplies. If you multiply that by 300 square feet, that's $2800!
So, in cost comparison, traditional tile installation supplies are much more than LVT flooring.
Con: Fading
You spent hours picking out the perfect color of floors for your living room with all the windows. And two years later, they are significantly lighter or, possibly yellower or bleached looking. Yes, fading happens, although it varies considerably between products and quality.
While almost every finish in your home is prone to some sort of gradual fading, direct sunlight will make it happen faster and make it more apparent. Therefore, use of blinds and curtains will help to reduce fading.
First, some products do have a UV filter applied in the wear layer, so check for that.

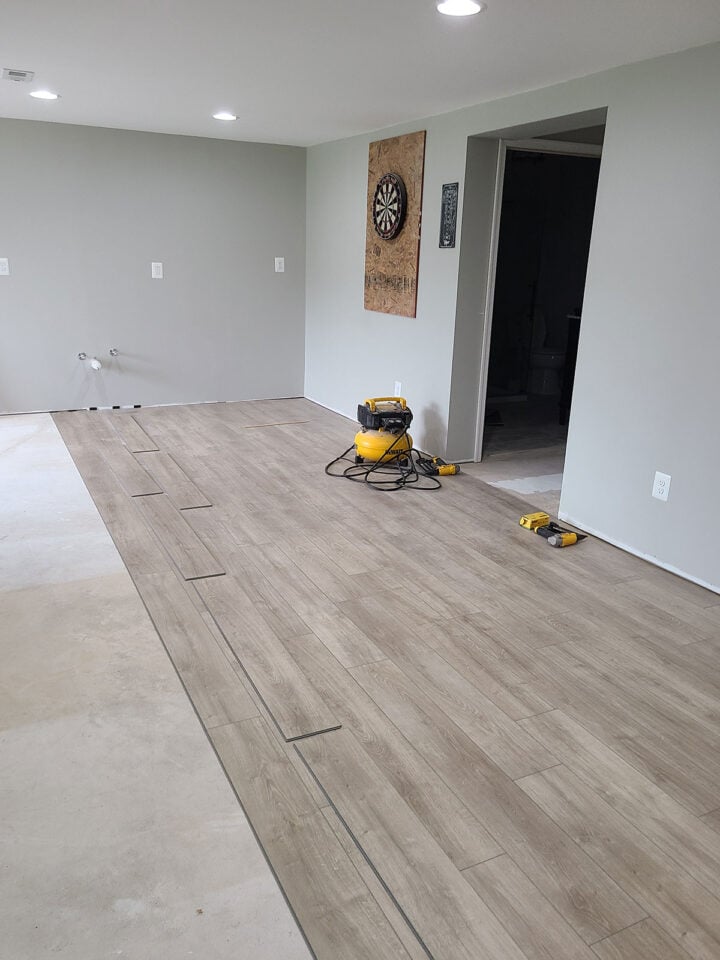
Second, lighter colors will fade less. Our grey kitchen floor has very little fading after at least 6 years despite being in full sun. In the basement, we have a glass door with direct sun and you can see a good amount of fading. We had a doormat in the photo above and we added the last row when we replaced the door 2 years later. The areas that get hit with that direct sunlight are lighter and grayer.
Pro: Waterproof
The waterproofing of vinyl flooring is a bit of a misnomer. Yes, the top and wear layer are waterproof.
However, the inner core and the subfloor may not be waterproof. Just like hardwoods, puddles can leak through cracks to the subfloor and become trapped or damage the subfloor.
Some installations are made with a water-resistant glue over top of a water-resistant or waterproof subfloor, so they can be used in kitchens and bathrooms.
The point is to clean up spills immediately and pay attention to your installation and the subfloor, or you could end up with mold or water damage and blame your “waterproof” floor for failing.
Con: Environmental Concerns and Toxicity
Unfortunately, one of the biggest drawbacks to luxury vinyl flooring is that it is not a sustainable material. Vinyl planks are nearly impossible to recycle. At the end of their life they usually go to a landfill where they breakdown into microplastics.
I won’t fear monger anyone. While you can find reports of vinyl flooring containing “toxic” chemicals, most of those chemicals are only released in ways such as burning or heating. I would hope no one is regularly licking their floors.
Vinyl flooring also has volatile organic compounds (formaldehyde and phthalates, for example) that slowly release over time. There are brands and products, however, that are certified not to contain these chemicals. Unfortunately, many of these products are manufactured in other countries and, as simple consumers, we can never be 100% sure what they contain.

How To Clean Vinyl Floors
Vinyl flooring is easy to maintain. No polishing needed! The clear wear layer will also protect against household stains. Higher-end vinyl planks often have thicker wear layers, but I encourage you to inquire about it before purchase.
- Regularly sweep or vacuum your floor to prevent scratches. Although vinyl flooring is more scratch-resistant than other types of flooring, like hardwood, keeping it properly maintained increases the longevity.
- Use a pH-neutral floor cleaner and avoid ones that contain wax, oil, or polish.
- With the exception of the kitchen, I clean my floors a spritz of water and Norwex Mop System. I don’t recommend wet mopping a vinyl floor.
- Keep your pet’s nails trimmed. Dogs can have trouble gripping these floors and may use their nails to dig in.
- Promptly clean up any standing water, pet urine or other liquid spills. Make sure to get in the edges.
- DO NOT use a steam cleaner.
- DO NOT use a vacuum with a beater bar. (I love my Shark True Pet).
- Use floor protectors (nylon or felt) on all furniture legs.
- Click to read more about the Do’s and Don’ts of Cleaning Vinyl Floors.
FAQs
Depending on the installation process and product quality, vinyl flooring can last 10-20 years.
Most vinyl flooring is waterproof on the top layer. Minor spills and water exposure don’t cause surface damage if the brand says waterproof. However, large spills, flooding, or continuous exposure can sneak through gaps, and the subfloor may not be waterproof.
The amount of leveling needed will vary from product to product. The standard tolerance required is for the floor to be level to 3/16" over 10 feet. Some brands have improved materials that allow for covering minor imperfections.
Most luxury vinyl planks and tile are the best options for below-grade spaces like basements because they are made from inorganic materials.
In residential applications, glue-down vinyl flooring is generally quieter and easier to replace if one gets damaged. In large rooms, it has greater joint stability because it won’t move. However, high-quality click vinyl is highly stable, and the seams look more uniform because the floor moves together if it expands or contracts.
Yes. While it isn't as much as hardwoods, vinyl flooring does expand and contract with temperature and humidity differences.

Grab our free series "Weekend Home Projects that will Transform Your Life" Sign up below to receive updates including free printables, organization tips, home improvement projects, recipes and more! |
More Flooring Projects
PS I love seeing your creations! Be sure to take a photo and tag #cravingcreative on Instagram! You can also stay in touch with me through following me on Instagram, Pinterest, and subscribing to the newsletter!
Leave a Reply