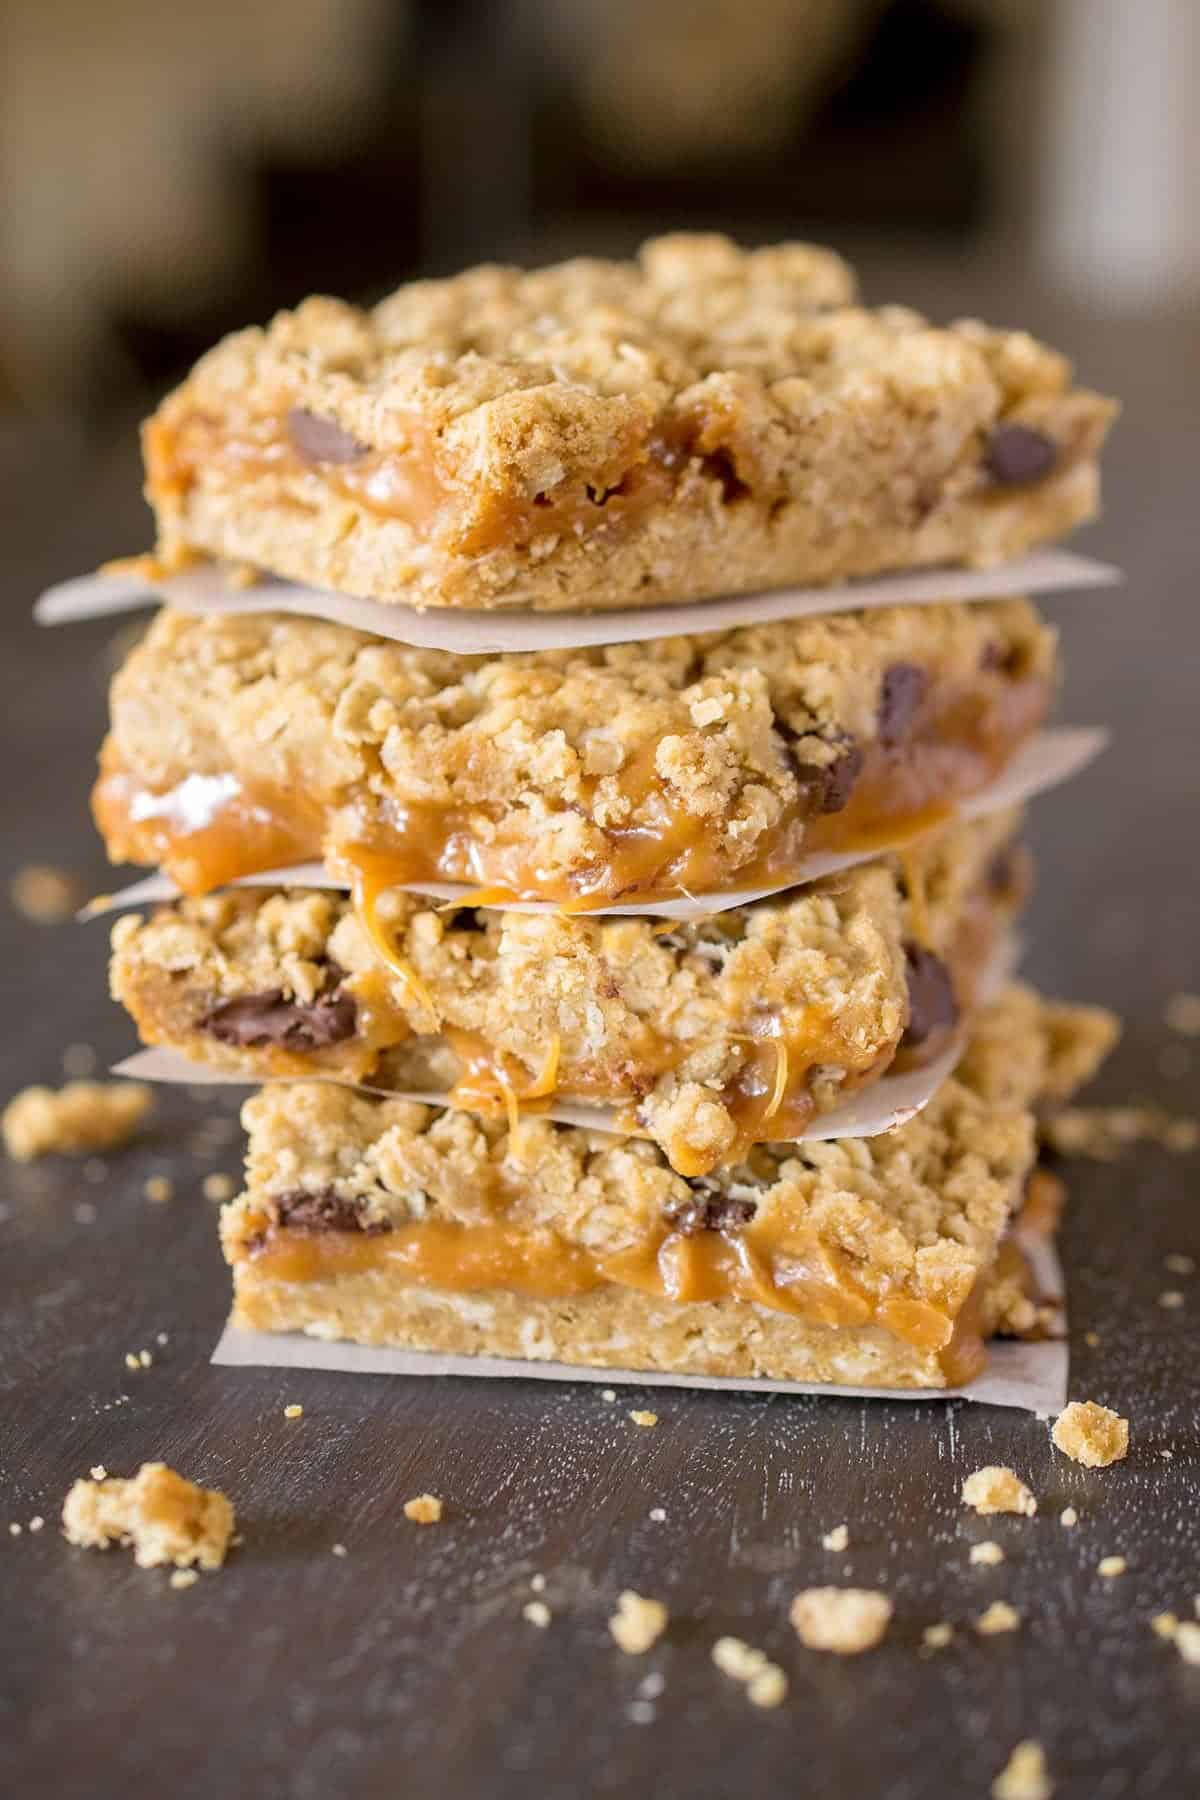
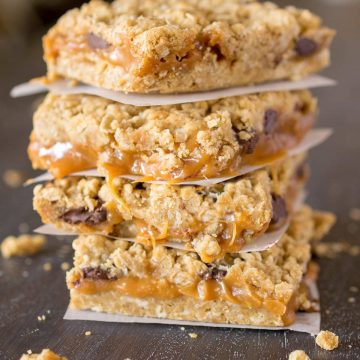
Perfectly gooey and full of flavor, these Carmelitas satisfy any sweet tooth! Soft caramel sauce from scratch and a generous sprinkling of chocolate chips between two layers of oatmeal cookie base makes for a classic, rustic treat. Simple 15-minute one bowl prep!
It’s no secret we’ve got a houseful of sweet tooths. I’m never short on taste testers on baking day. Out of all of the desserts I’ve made throughout the years, cookies remain the perennial favorite!
Cue this Oatmeal Carmelita Bars recipe. Imagine sweet caramel encased in a soft oatmeal cookie, finished off with a delicious sprinkling of chocolate chips. Drooling yet?
Carmelitas are chocolatey bites of Heaven and you don’t need a fancy mixer or a ton of dirty dishes. It’s no surprise that they’re a huge hit everywhere I bring them. They’re quick to prepare and simple enough for a novice baker to master. Last minute bake sale dropped in your lap? No problem! Carmelitas are the perfect dessert when you’re in a pinch.
So grab a cold glass of milk or Iced Coffee and prepare to lick the crumbs off your dessert plate. This one is an instant classic.
Ingredients and Notes
Here is an overview of what you will need to make these dessert bars with notes on substitutions below.
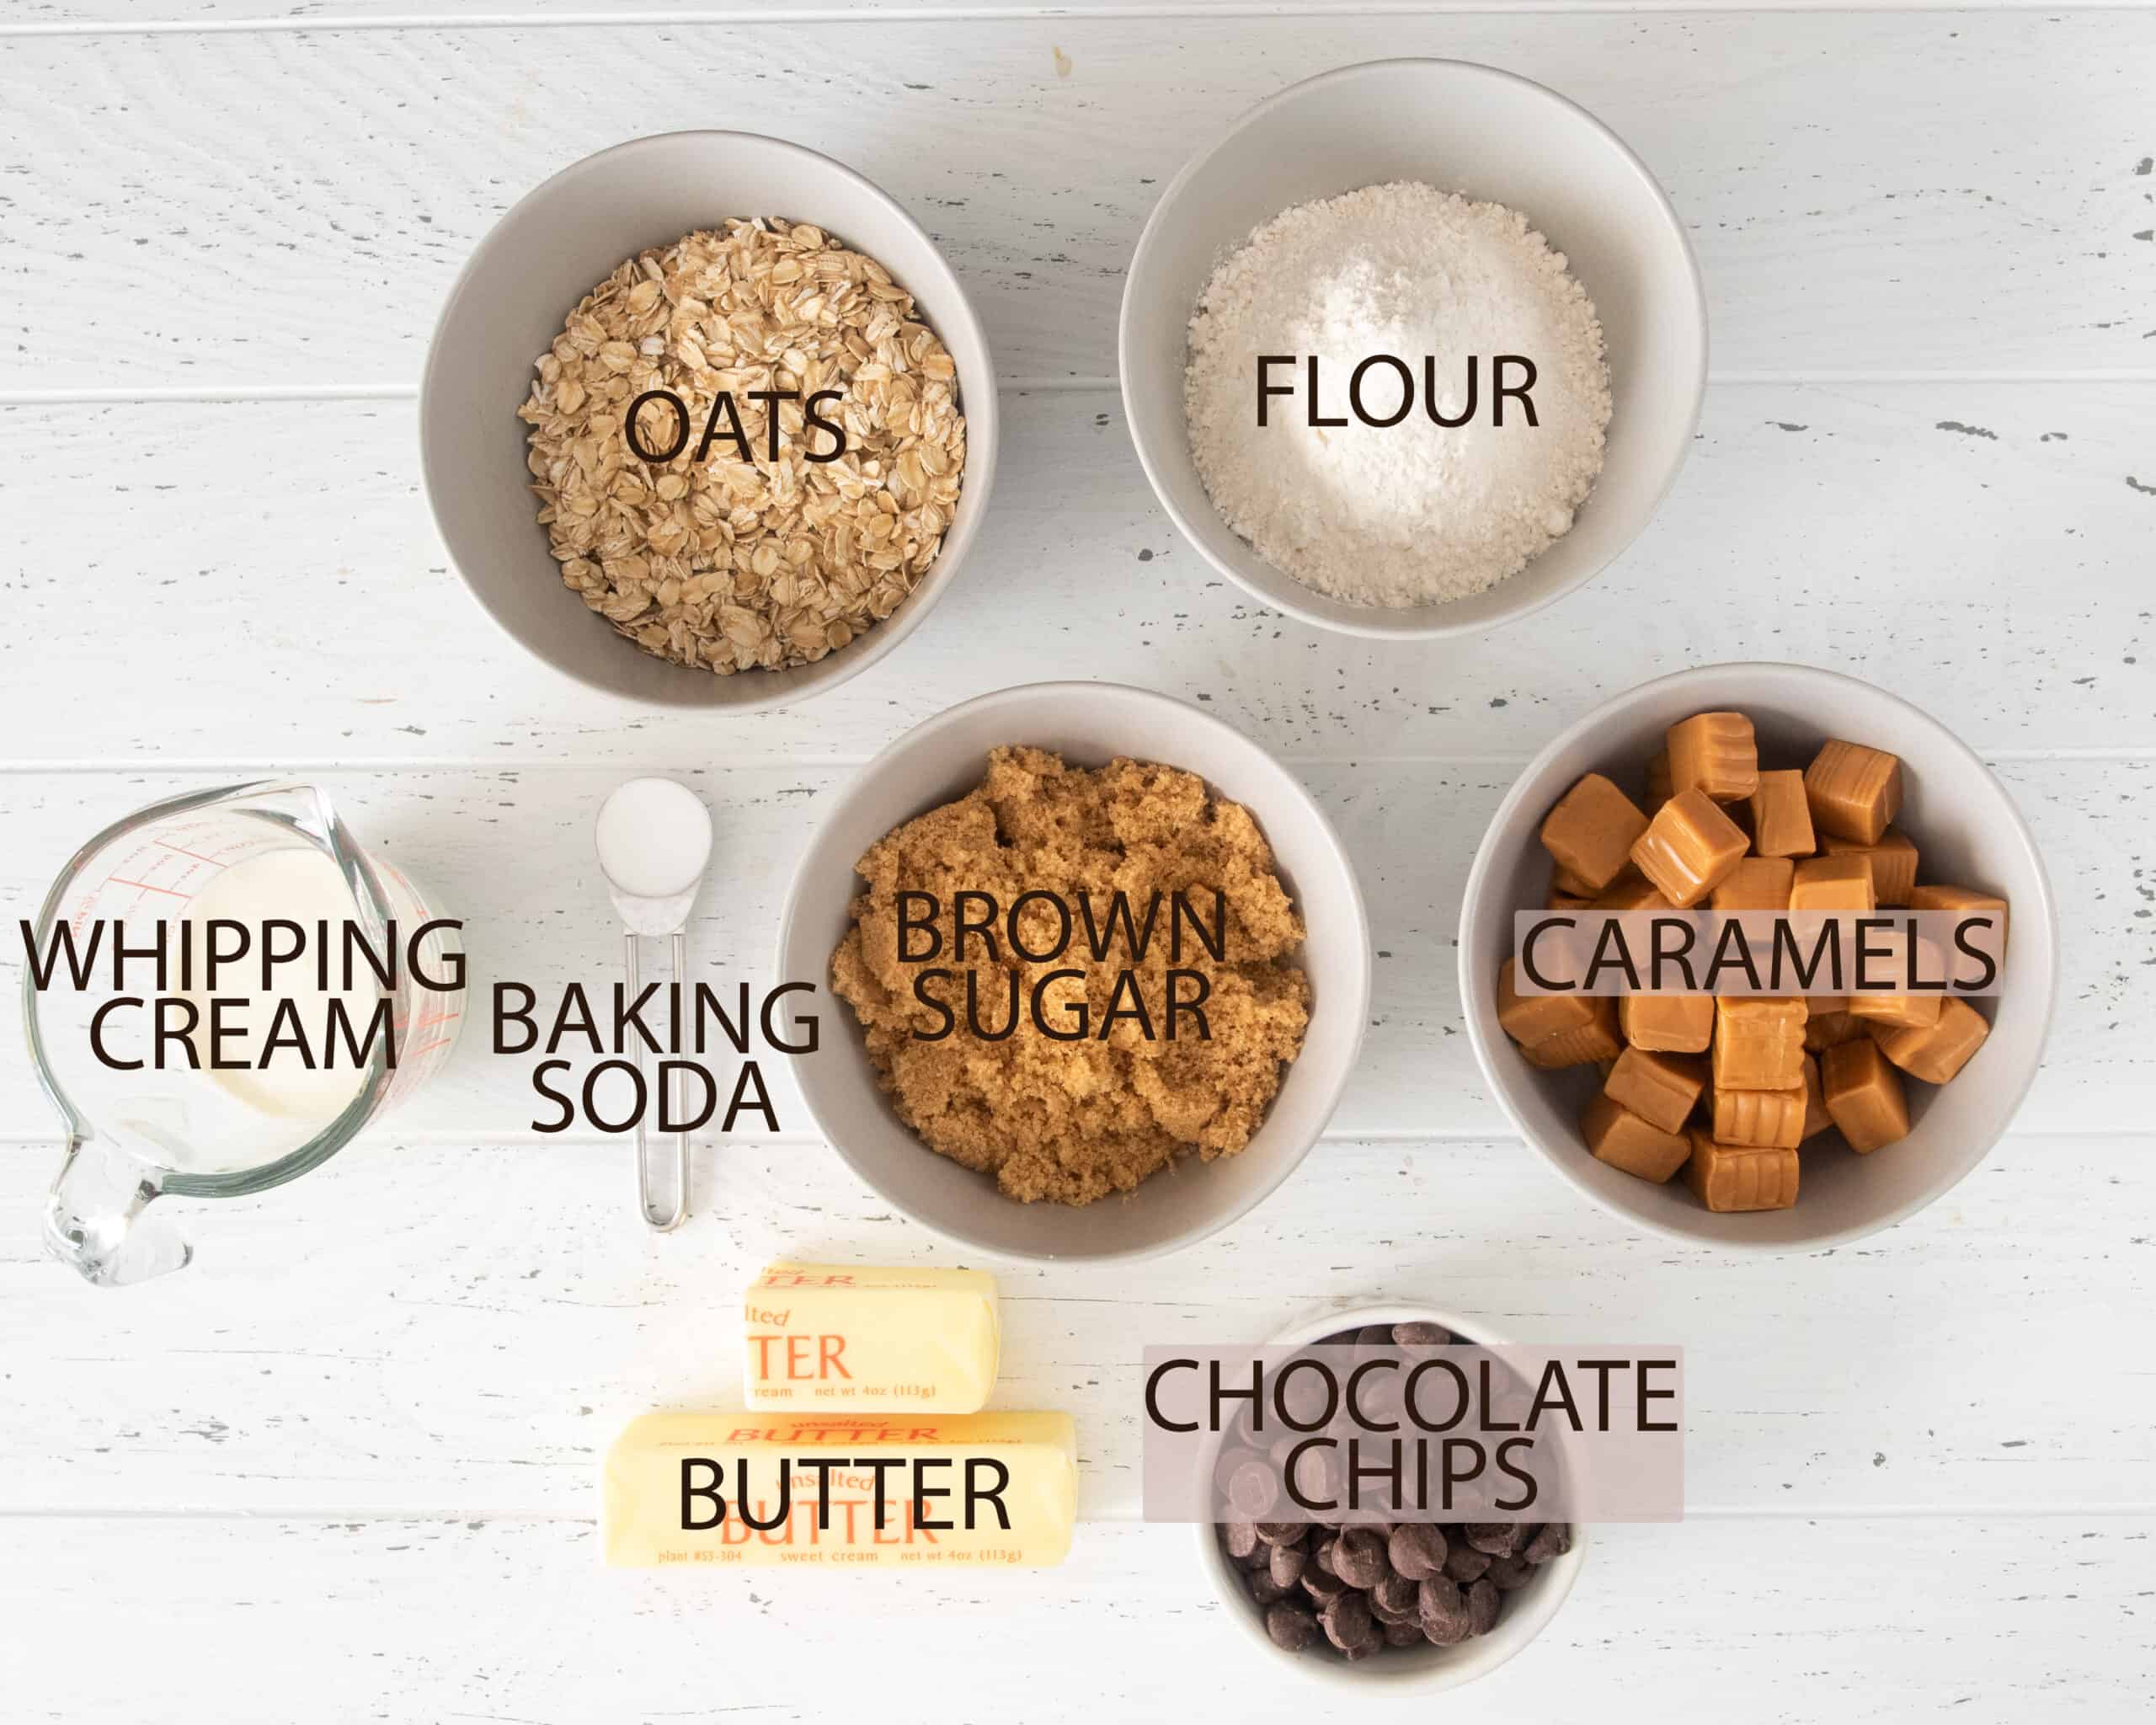
Flour: I use all-purpose flour, but wheat will also work as a 1:1 substitution in the oat bars.
Old Fashioned Oats: I much prefer Old Fashioned Oats for this recipe. Quick oats bake faster and produce a doughier consistency. However, it can be done with either depending on what texture you like.
Caramels: I use either caramel bits or Kraft caramel squares generally. There is a section below explaining how you can use store-bought caramel sauce from a squeeze bottle below.
Chocolate Chips: Use whatever brand you like most. I am a fan of dark chocolate, so that’s what I use.
Butter: I use unsalted butter but salted should be fine. The butter must be softened but not melted. Cut it into tablespoon sized pieces and pop in the microwave for a few seconds.
Brown Sugar: Light or Dark Brown Sugar both work well, although dark brown sugar has a little more moisture in it.
Baking Soda: For proper rising, always make sure your baking soda is fresh and hasn’t expired.
Whipping Cream: We use this to make the caramel sauce to keep the sauce thick but thin it out just enough to pour over the crust.
How To Make Caramel Sauce
There are a few ways to make the caramel sauce in a pinch. My personal preference is to use these caramel nibs, because the flavor is rich and buttery just like caramel should be. but you can substitute 32 caramel squares like these. Making caramel sauce from scratch has a more rich, buttery style caramel flavor.
In a pinch, you can use a store-bought thick caramel topping. However, I generally find that the caramel flavor isn’t quite as pronounced. They are still amazing though so choose which ever method. Here are the three methods and how much I have tried:
- Caramel Bits – 1 ½ cups plus ⅓ cup whipping cream. Directions in recipe card.
- Caramel Squares– 32 squares plus ⅓ cup whipping cream. Same directions as in Recipe below.
- Caramel Sauce (the kind you squeeze over ice cream like this ) – 1 ½ cups caramel topping plus ½ cup flour. In a small saucepan, combine them with a whisk. Bring to a slight boil, stirring constantly and boil 1-3 minutes. If you use a thicker jarred variety, if it is thick enough, you may just need to zap it in the microwave a few seconds to pour over the Carmelites.
- Sweetened Condensed Milk -Bring a pot of water to a boil. Carefully place the can in the saucepan, ensuring there's enough water to completely cover the can at all times, topping up water frequently throughout the cooking process. Simmer uncovered for 3 hours. (Yes, 3 hours!)
Step By Step Recipe Guide
The recipe quantities and notes are further down the page, but these quick instructions give you an idea of how it all comes together.
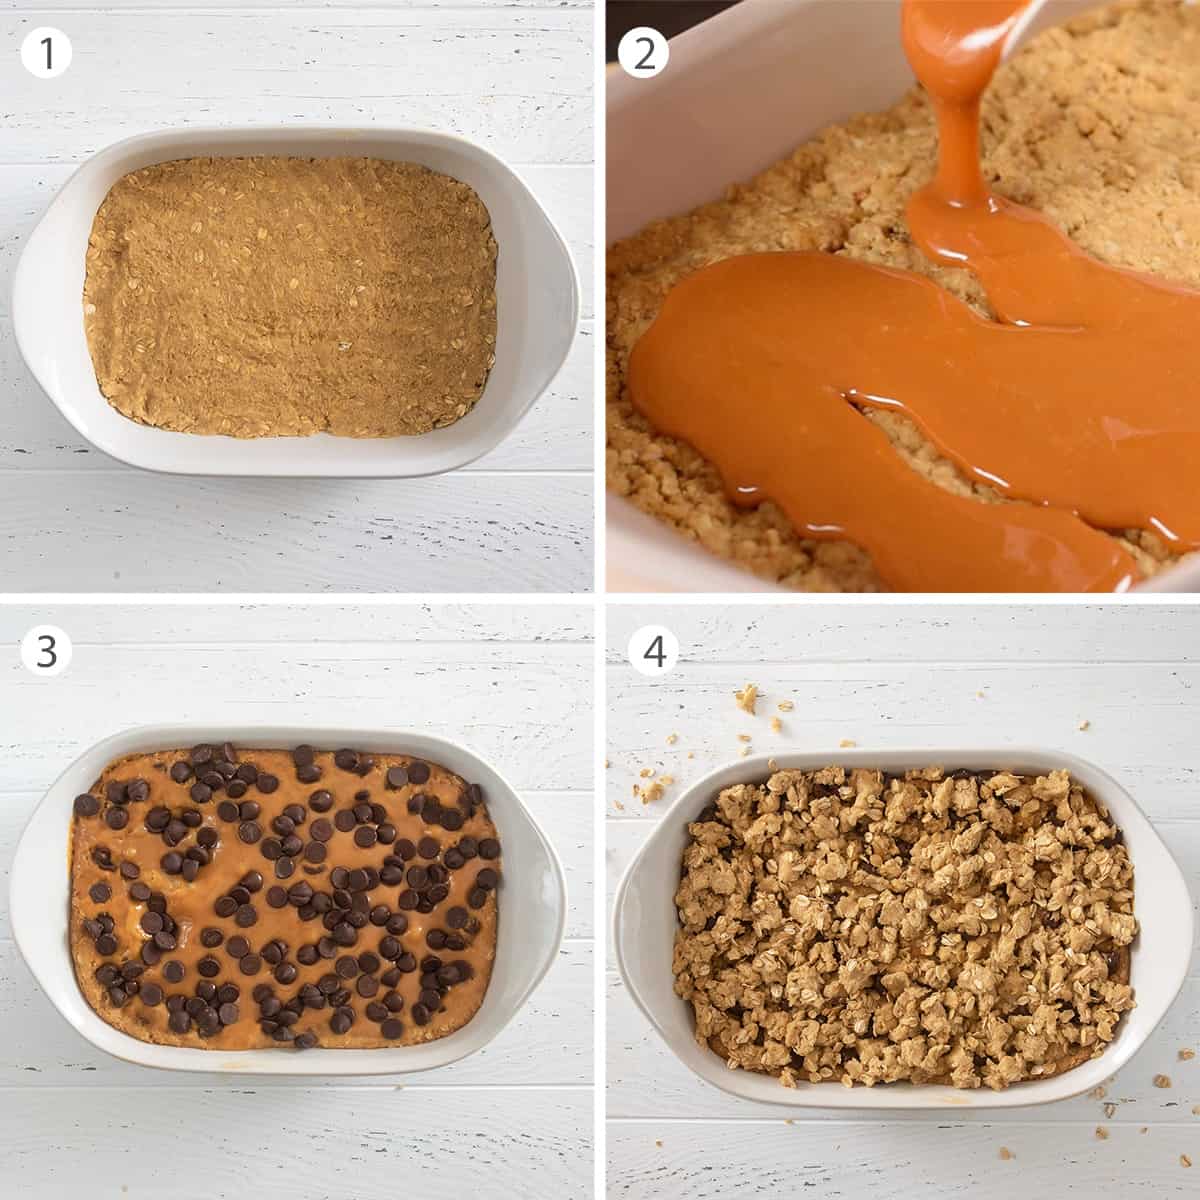
- Make the Oat Crumble mixture. In a large mixing bowl, mix flour, oats, sugar, baking soda, and salt. Stir in melted butter and mix until evenly crumbly and wet. Press half of the mixture into the bottom of an ungreased 8×8 pan. (Photo 1- before baking) Bake for 10 minutes.
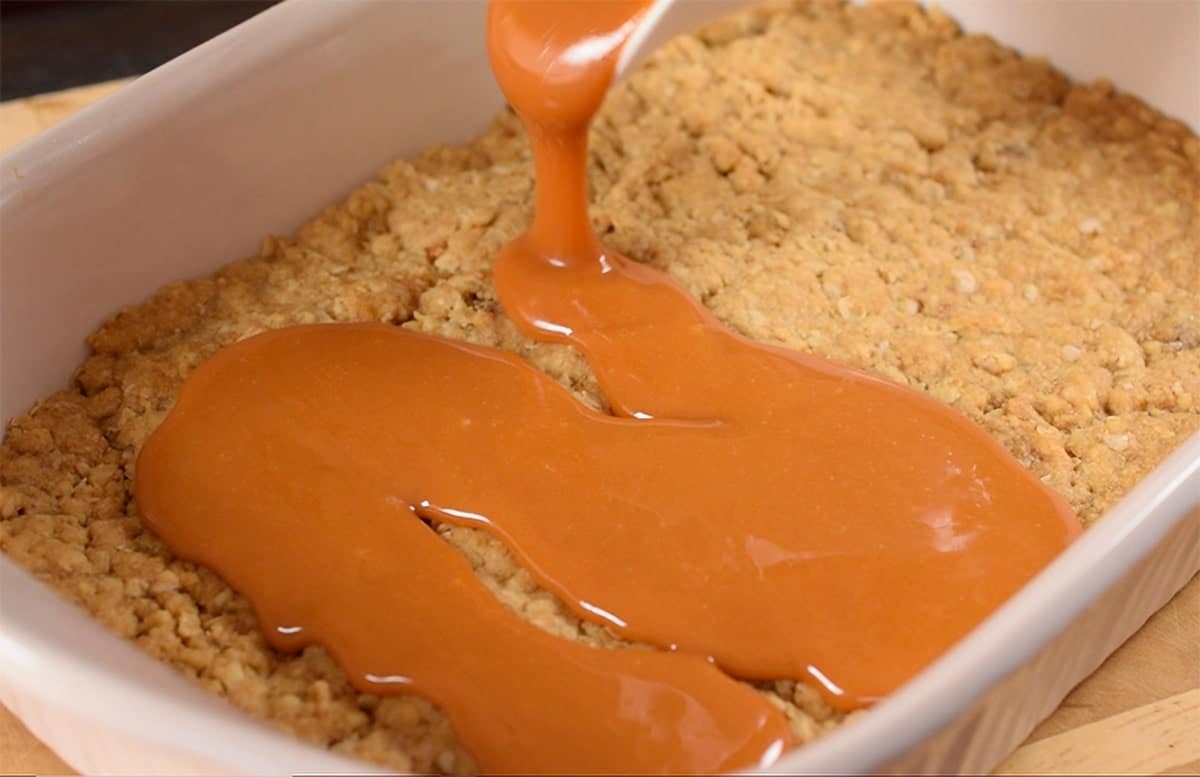
- Make the caramel sauce. In a small saucepan over low-medium heat, add the caramel bits. Stir frequently. The caramel will thicken as it cools. Pour over the dish while still warm. I pour it in zig zags because it may not completely cover the oat mixture and that’s fine.
- Sprinkle chocolate chips. (Photo 3)
- Crumble the remaining oatmeal mixture evenly of the top. Press just slightly into the caramel sauce. Bake about 25 minutes. It is best to allow it to cool before cutting into bars, as the bars are more likely to fall apart if they haven't been cooled.
Carmelitas Recipe Notes
- Be sure to really press in the crust, particularly the bottom. You don't want the bars to actually crumble.
- If you let them completely cool, the caramel shouldn’t ooze from everywhere when you pick them up. Oh, they will be sticky and deliciously gooey, but they shouldn’t be overly messy.
- Warm up in the microwave for a few seconds if desired. Divine!
Video
I have also taped myself preparing these Carmelitas in the video below. The written instructions are in the recipe card further down the page.
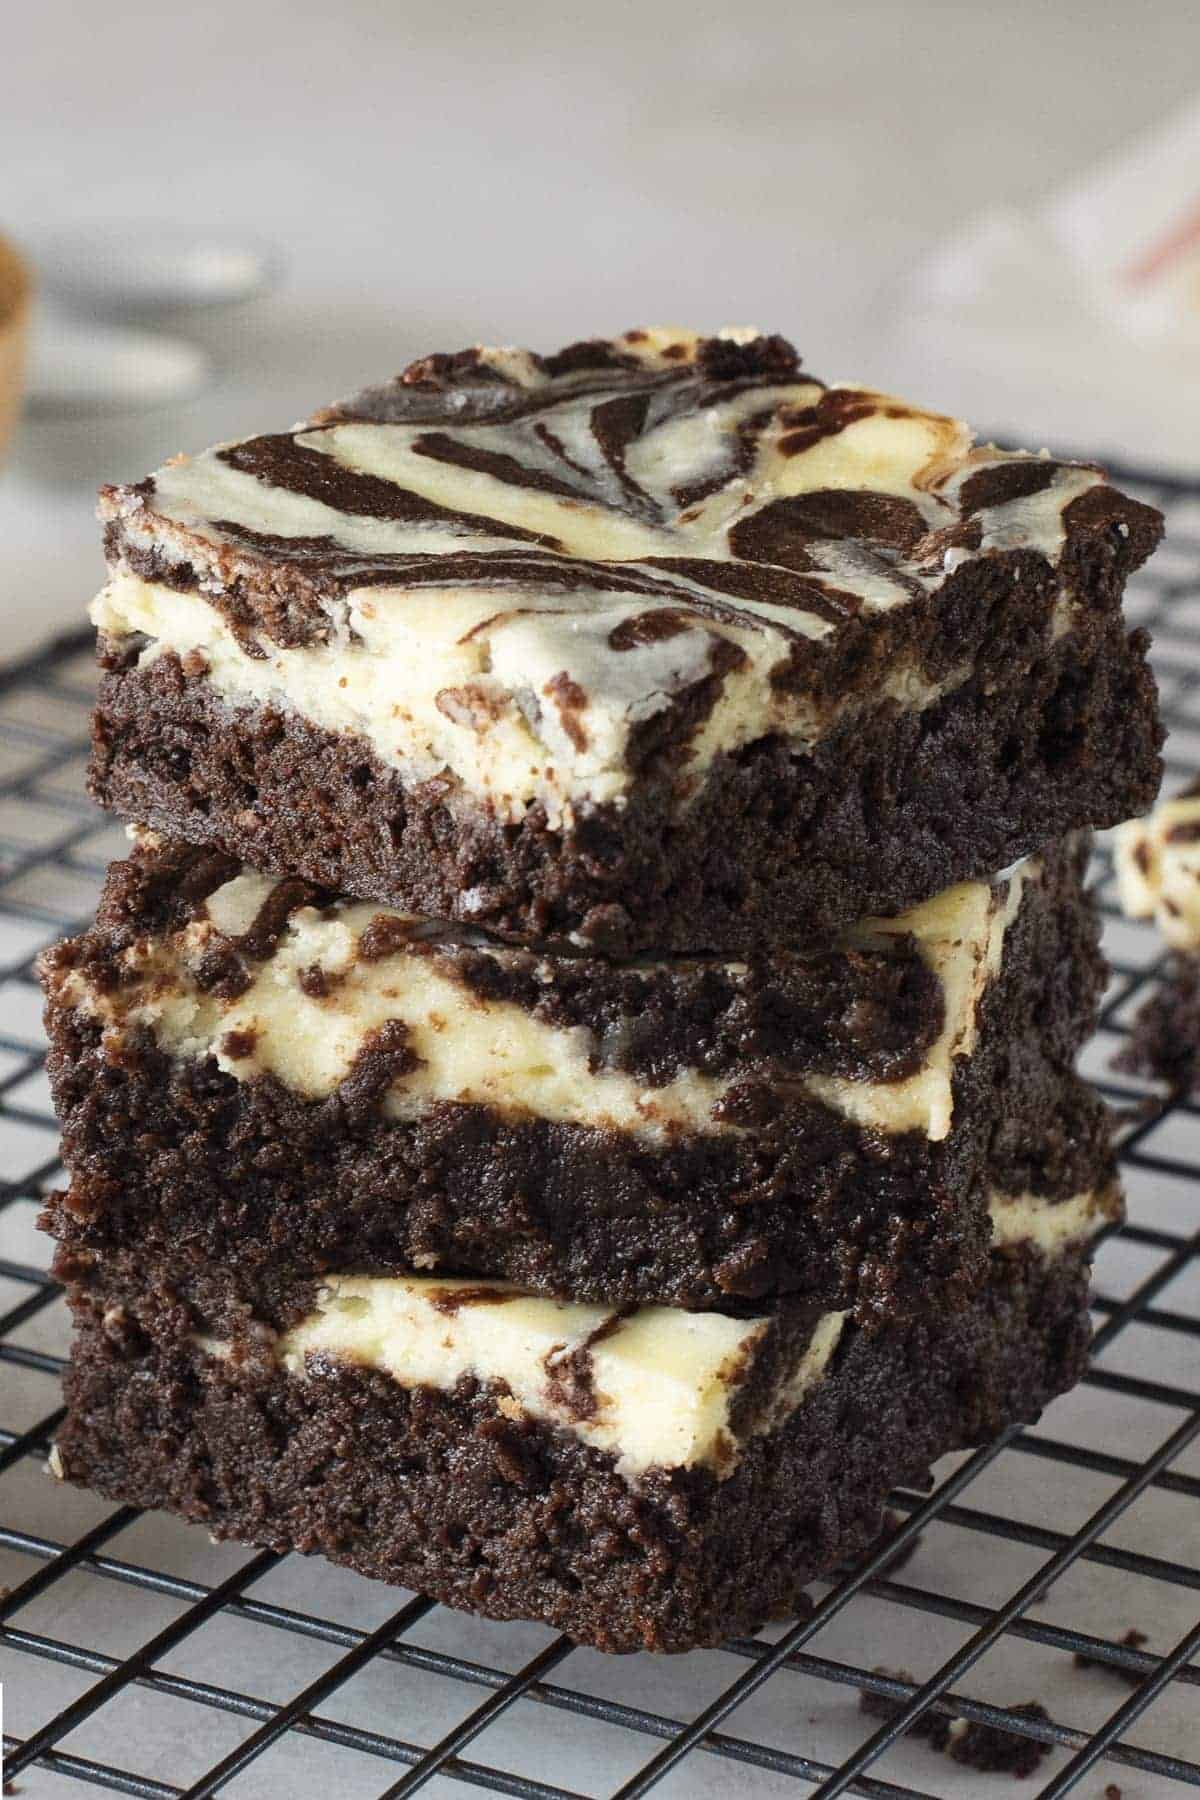
For more great chocolate dessert recipes, check these out
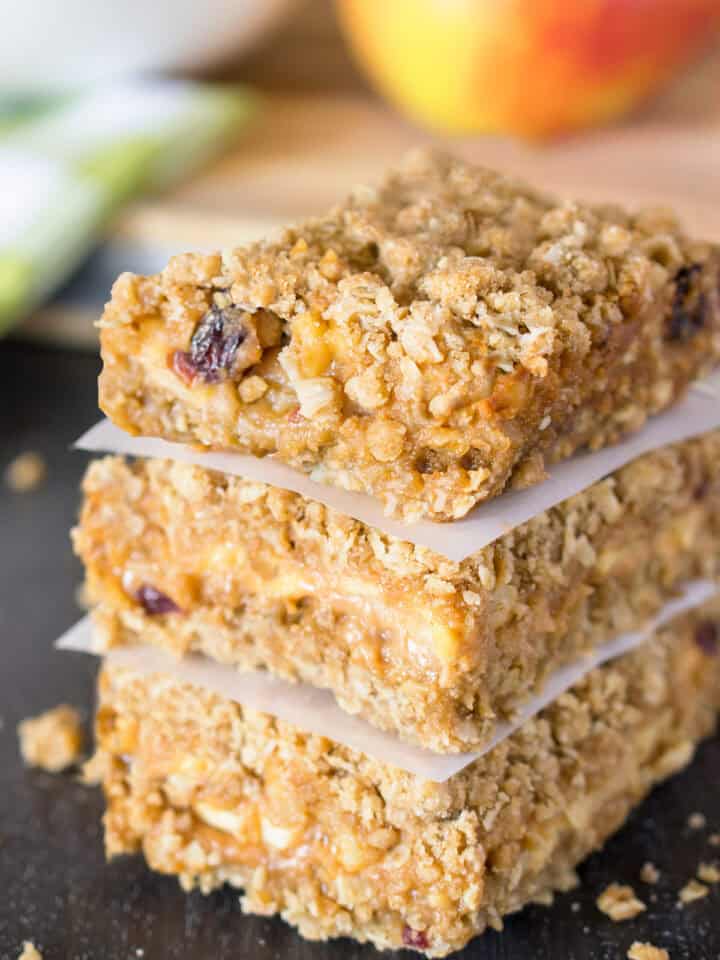
- Caramel Apple Crisp Bars
- Gourmet Chocolate Candied Apples
- Colorful Marshmallow Pops
- Crispy Peanut Butter Balls
- Old Fashioned Coconut Cream Pie Bars
FAQs
It depends on what texture you want. The quick oats have a finer texter that stick together and form a more dough-like texture. Traditional rolled oats have more of a course, rustic bite to them. Whichever texture you prefer is perfectly fine.
These bars can be baked and frozen once cooled. I recommend cutting them and individually wrapping each bar to prevent them from sticking together. Just pull them from the freezer and set out and room temperature to thaw.
These are terrific as is, but a few suggestions I have found are adding nuts like pecans or walnuts. The saltiness compliments the sweet so well if you do not like overly sweet desserts. Another option is adding coconut to the topping. I have not tried it myself, but it reminds me of a delicious variation of one of my favorite Girl scout cookies. Yum!
Not Sure
What's For Dinner?
Signup for recipe updates and get a free cookbook of Easy Weeknight Supper Solutions!
More Delicious Dessert Recipes
PS. If you make this recipe, leave a COMMENT AND A STAR RATING in the comments section at the bottom and be sure to take a photo and tag it #cravingcreative on Instagram! I appreciate you for taking the time to read about me and my family recipes.
Carmelitas
Ingredients
Oatmeal Cookie Bars
- ¾ cup Butter softened
- ¾ cup Light Brown Sugar
- 1 cup All-Purpose Flour
- 1 cup Old-fashioned oats
- 1 teaspoon Baking Soda
- 6 oz Chocolate Chips any variety you prefer
Caramel Sauce
- 1 ½ cup Caramel Nibs See note at the bottom for substitutions
- ⅓ cup Whipping Cream
Instructions
- In a large mixing bowl, combine ¾ cup Butter, ¾ cup Light Brown Sugar, 1 cup All-Purpose Flour, 1 cup Old-fashioned oats, and 1 teaspoon Baking Soda. Press half of the oatmeal mixture into the bottom of an 8×8 pan. Bake at 350 degrees for 10 minutes.
- In a small saucepan over med-low heat, add the 1 ½ cup Caramel Nibs and ⅓ cup Whipping Cream. Stir until smooth. Pour over baked oatmeal crust. Sauce will thicken as it cools so I recommend not waiting more than 1-2 minutes before pouring.
- Sprinkle 6 oz Chocolate Chips over the caramel and oatmeal crust. Crumble remaining oatmeal mixture over the pan.
- Return to oven at 350 and bake for 15-18 minutes or until the edges crisp. I usually see the caramel bubble up on the outside.
Video
Recipe Notes
- Caramel Squares– 32 squares plus ⅓ cup whipping cream. Same directions as in Recipe below.
- Caramel Sauce (the kind you squeeze over ice cream like this ) – 1 ½ cups caramel topping plus ½ cup flour. In a small saucepan, combine them with a whisk. Bring to a slight boil, stirring constantly and boil 1-3 minutes. If you use a thicker jarred variety, if it is thick enough, you may just need to zap it in the microwave a few seconds to pour over the Carmelites.
- Sweetened Condensed Milk -Bring a pot of water to a boil. Carefully place the can in the saucepan, ensuring there's enough water to completely cover the can at all times, topping up water frequently throughout the cooking process. Simmer uncovered for 3 hours. (Yes, 3 hours!)
Marlene says
I used store bought caramel sauce and tasted decadent.
Barb says
Interesting and so delicious
Cathy says
Chewy and delightful
Joseph C Smith says
Great for snacking
Pam says
These were so, so good! Very easy to make over the holidays for our cookie exchange and everyone loved them.