Say goodbye to tedious, time-consuming methods of stripping wood furniture by streamlining the process to bring out the natural beauty. Whether you’re a seasoned DIY enthusiast or a beginner, these fail-proof how-to and product recommendations make refinishing furniture easy and rewarding.
I feel like I’m forever painting furniture white. But lately, warm natural wood tones have been catching my eye. If I’m lucky enough to happen upon a piece with great bones, I’d rather showcase the beautiful wood than hide it under layers of paint.
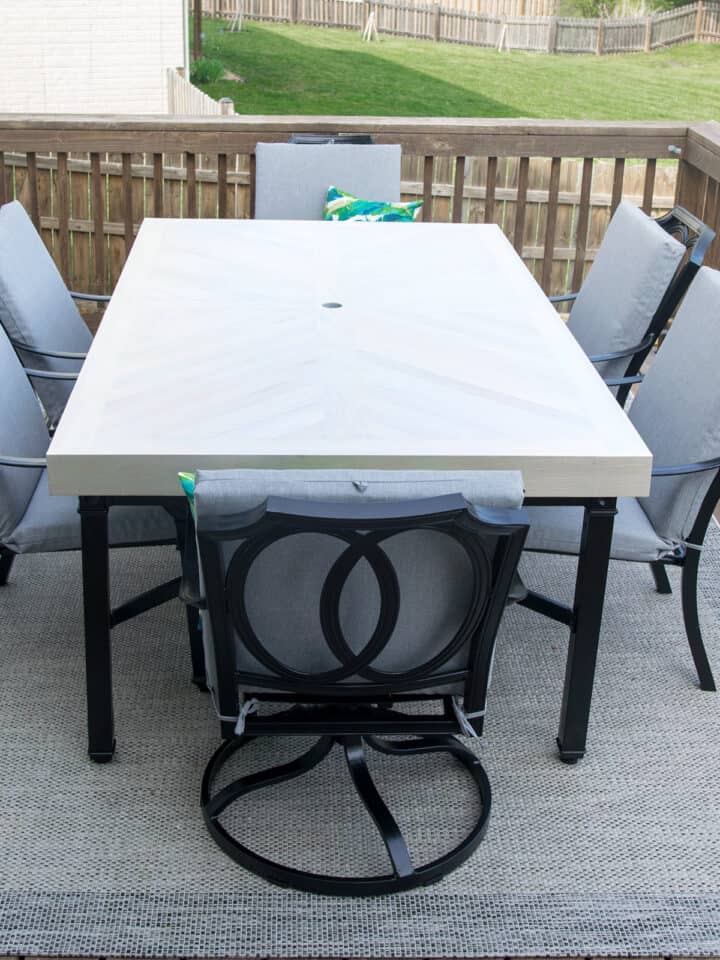
Enter: the dining room table I scored off Craigslist.
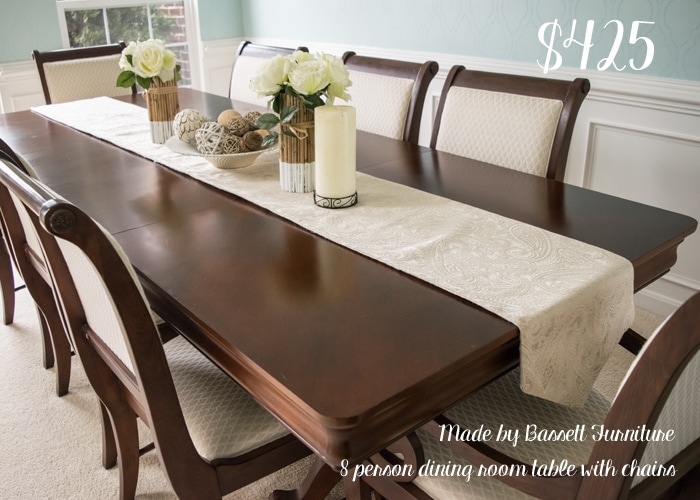
I’d been wanting to with refinish the table from our Dining Room Makeover for quite some time. The table’s deep, red tones didn’t balance with our deep blue interior walls. The piece’s dark stain also overshadowed the stunning diagonal inlay.
Although I've been stripping painted furniture for years, but I can’t say that it’s my favorite thing to do. It's smelly and cutting through layers of old finish sometimes feels like a never-ending endeavor. So, I have developed some techniques over the years and happy to share the best ways to strip furniture with less work.
Stripping vs Sanding
While it is easiest to do a light sanding for painting furniture, both stripping and sanding will remove a previous finish. There are some situations I would choose stripping over sanding:
- Sanding, although less intimidating, is very labor intensive. Sanding is still the appropriate choice if a piece has scratches, deep surface imperfections like this makeover for a Cerused Wood Finish.
- Sanding destroys the top layer of wood, so stripping can be better for intricate details.
- A stripper gets down into the pores of the wood, opening them up and removing old stain and varnish.
- A chemical stripper dissolves old finish for efficient removal without overt physical labor.
- While it can still create a mess, stripping is easier to clean up than sawdust particles.
- Stripper is the only effective method for cutting through old varnish that has turned gummy or deteriorated, leaving the wood underneath intact.
- Stripper is much easier if you need to get through multiple layers of paint, hard polyurethanes, and shellacs.
I've tried many different processes during my adventures in rehabbing furniture.
And I’ve got secrets to make the process so much easier!
Materials Needed
I’ve included a printable tutorial at the bottom of the post to reference as a handy project guide. Read these essential tips and material recommendations before you get started.

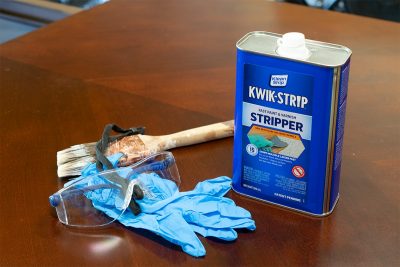
- Paint stripper – I generally prefer a thick stripper with a little grab power for vertical surfaces. This one is from Klean Strip strips paint and most polyurethanes. If you’re concerned about fumes, I recommend one like this. It can be used indoors, but I find it works better on paint than hard varnishes.
- Safety gear – gloves, face mask for fumes, eye protection
- Plastic drop cloths
- Saran/plastic wrap garbage bags work well too if you cut them.
- Empty metal cans – Purchase quart paint cans at any local hardware store.
- Paint scraper – Plastic is gentler, but metal is fine if you are careful.
- Steel wool – I used a few bags of 000 or 00 to do our entire table.
- Sandpaper – I use 120 and then 220 just for finishing.
- Electric sander
- Paper towels
- Mineral spirits - to clean up residue.
Tips for Best Results
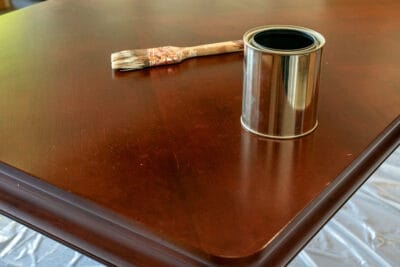
- Pour the stripper into a separate metal can. I find it much easier to work by pouring the stripper into a small, clean paint can where I can dip a brush.
- Wait 24 hours before staining or painting. I recommend waiting at least 24 hours after the piece is stripped before adding any stain, sealer, or finish.
- Test the stripper on a small, inconspicuous area of the furniture first to ensure compatibility and to determine the optimal stripping time.
- Work in small sections to prevent the stripper from drying out before you can remove it, especially in very hot or cold temperatures.
- The chemical process works best above 50 degrees Fahrenheit (10 C). It still works in colder temperatures, just not great and you will notice a difference.
- Use a plastic scraper for flat surfaces to avoid scratching or gouging the wood.
Pro Tip! Stripper stops working when it dries. If you’re working on an area where the stripper needs to sit for a spell, I recommend wrapping the furniture with saran wrap. The stripper will stay active while under wraps, making for a smoother removal and may remove more in one coat.
Our Project Before and After
To tackle stubborn crevices such as the table legs featured here, I used ordinary plastic wrap to cover the stripper and let it sit for about 4-6 hours. This technique allowed additional time for the chemical process to do its magic.
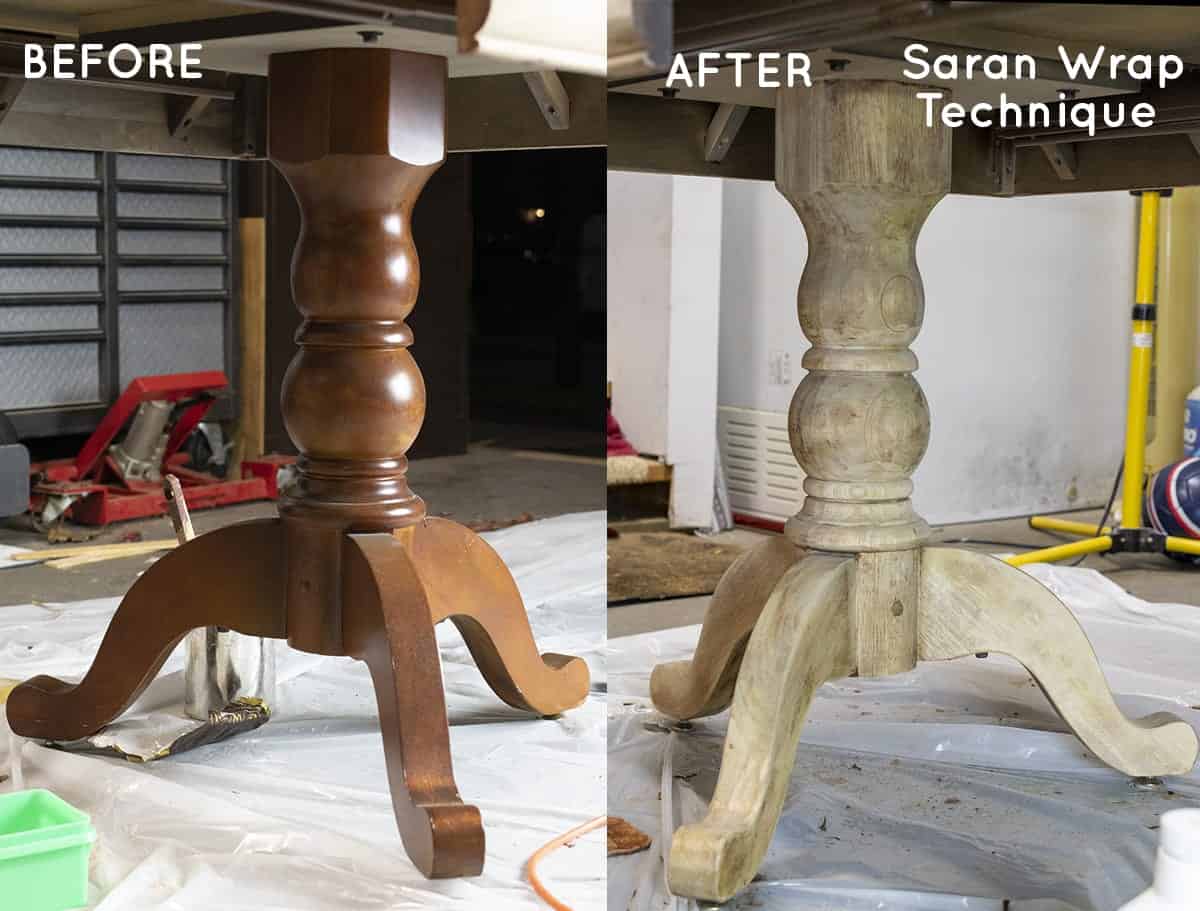
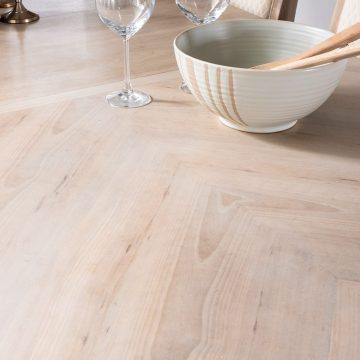
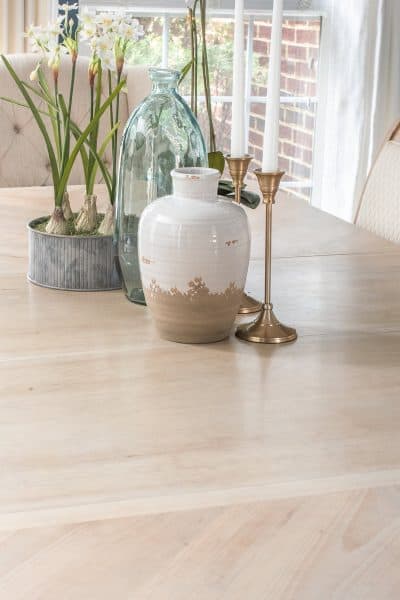
Can you believe this beautiful grain and pattern was hidden under all of that dark stain?!

I chose a raw wood style stain, which I go into further detail about in How to Bleach Wood Furniture. The trending finish is actually quite timeless. Wood appears naturally aged and reflects light, for a total room refresh.
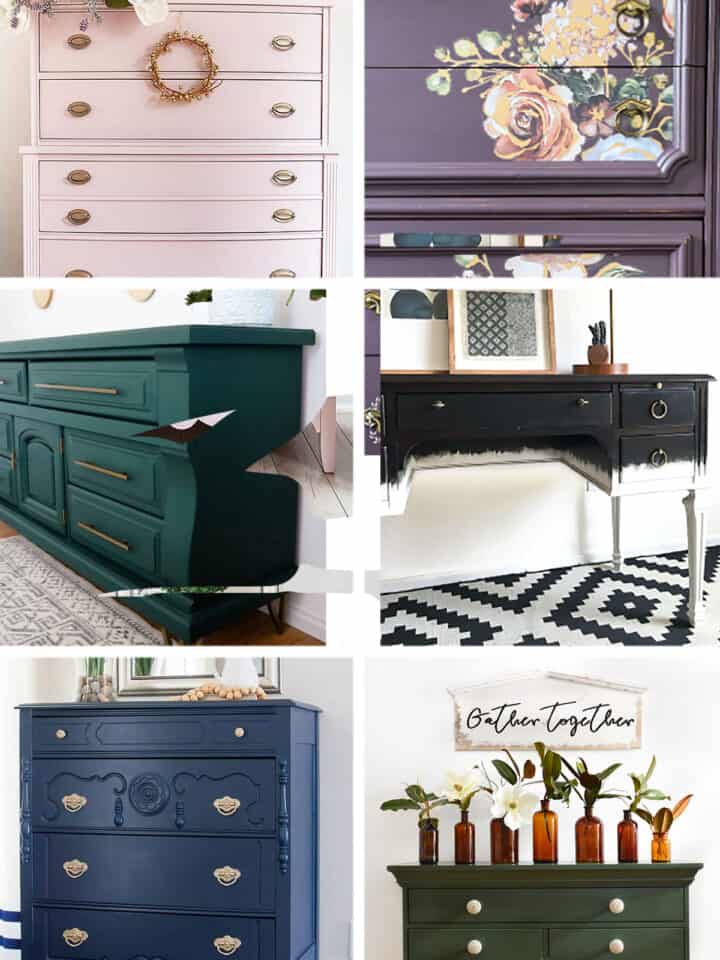
Ready to tackle refinishing a piece of furniture in your home? Check out some of our other makeovers and techniques!

FAQs
I remove upholstery such as chair cushions, but disassembling furniture isn’t necessary in order to strip it.
Absolutely, you can strip stained furniture to change its color or remove imperfections in the existing stain by using a stripper.
For detailed areas, use a toothbrush or very fine steel wool to remove the stripper. I use all kinds of tools from toothpicks to bamboo skewers and even nails to get into tight crevices. Keep a light hand so that you don’t gouge the wood.
The best option for stripping wood furniture is Klean Strip or a similar paint stripper. These are highly effective and within safety guidelines.
When working with any chemical stripper, work outdoors or in a highly vented area. Citristrip is an indoor safe stripper if outdoors is not an option.
Wait 24 hours after the piece is cleaned and stripped before adding any stain, sealer, or finish. This will allow any and all fumes to dissipate and make sure the surface is free of any residue.
I used a wood bleaching kit and topcoat to complete the process. You’ll find all the steps to recreate this look in my post How to Bleach Wood Furniture.

Grab our free series "Weekend Home Projects that will Transform Your Life" Sign up below to receive updates including free printables, organization tips, home improvement projects, recipes and more! |
More Painting Tutorials
PS I love seeing your creations! Be sure to take a photo and tag #cravingcreative on Instagram! You can also stay in touch with me through following me on Instagram, Pinterest, and subscribing to the newsletter!
How To Strip Wood
Tools
- Paint Brush
Supplies
- Paint Stripper
- Safety Gear Gloves, face mask, protective eyewear
- Plastic Drop Cloths
- Paper Towels
- #000 Steel Wool
- Mineral Spirits
- Saran or Plastic Wrap cut garbage bags also work well
- Paint Scraper plastic or metal (use gently to not gouge)
- Sand Paper 120 and 220 grit
- Empty Metal Cans for dipping your brush
Instructions
- Put on proper safety gear. Refinish furniture outdoors or covered outdoor area like a garage. For best results, strip furniture when temperature is above 50℉ (10℃).

- Brush furniture generously with paint stripper. Spread the stripper on rather thickly. Wait the time stated on manufacture's directions.
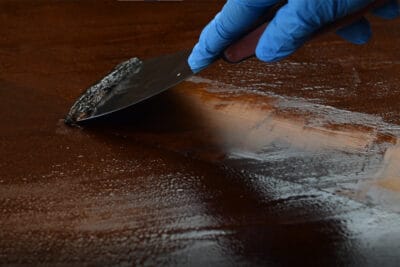
- Test a small area first to scrape off the gooey varnish. I use a paint scraper on flat surfaces and steel wool in crevices and hard to reach areas. Expect a lot of residue and toss into a garbage bag lined trashcan.
- A second coat may be required for difficult varnishes. Once most of the varnish and stain has been removed, apply mineral spirits to a paper towel or lint free cloth and wipe away any excess stripper residue.

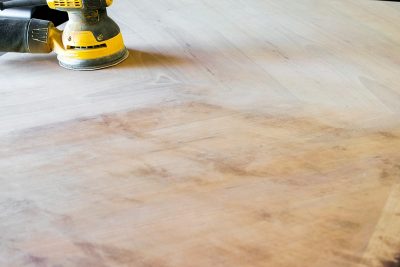
- If you need to even out the surface, it's easiest to do a light sanding. An orbital sander makes quick work of flat surfaces, but delicate surfaces may need to be hand sanded.
- Wipe with a lightly damp cloth and vacuum to remove dust. Wait 24 hours before adding stains, paint, sealers, or other finishes.


Lisa says
It’s so satisfying to watch the top of the table peel off. Your table looks great. How is it holding up to daily use?
Jenny says
Your table looks beautiful! Thank you for the step by step and the tips about what to cover it with.
Jisela says
You did a fantastic job on that table! Love the after product!!
Quick question, did you disassemble the chairs in order to strip them?
I own the same dining set and would love to update it!
Rachel says
I took the upholstery off, but that was all. If they are the same chairs, you will need a special furniture screwdriver to remove the covers. It has a square head on it and most hardware stores carry them.
Claire says
Your table came out so beautifully! What kind of finish or sealer did you use at the end? Looking for recommendations for a project I’m starting soon!
Rachel says
Thank you for your kind words. I actually have a detailed post on how I finished the table in a raw wood style.