You should know that I am doing a dance embarrassingly close to the Elaine spaz dance from Seinfeld right now. Thumbs up and all!
What is the cause for this excessive celebration? We came, we saw, we renovated a bathroom in 2 weeks!
The schedule was so tight, I literally took these photos the morning I left (for a 12-hour drive). To say I was in a hurry is an understatement.
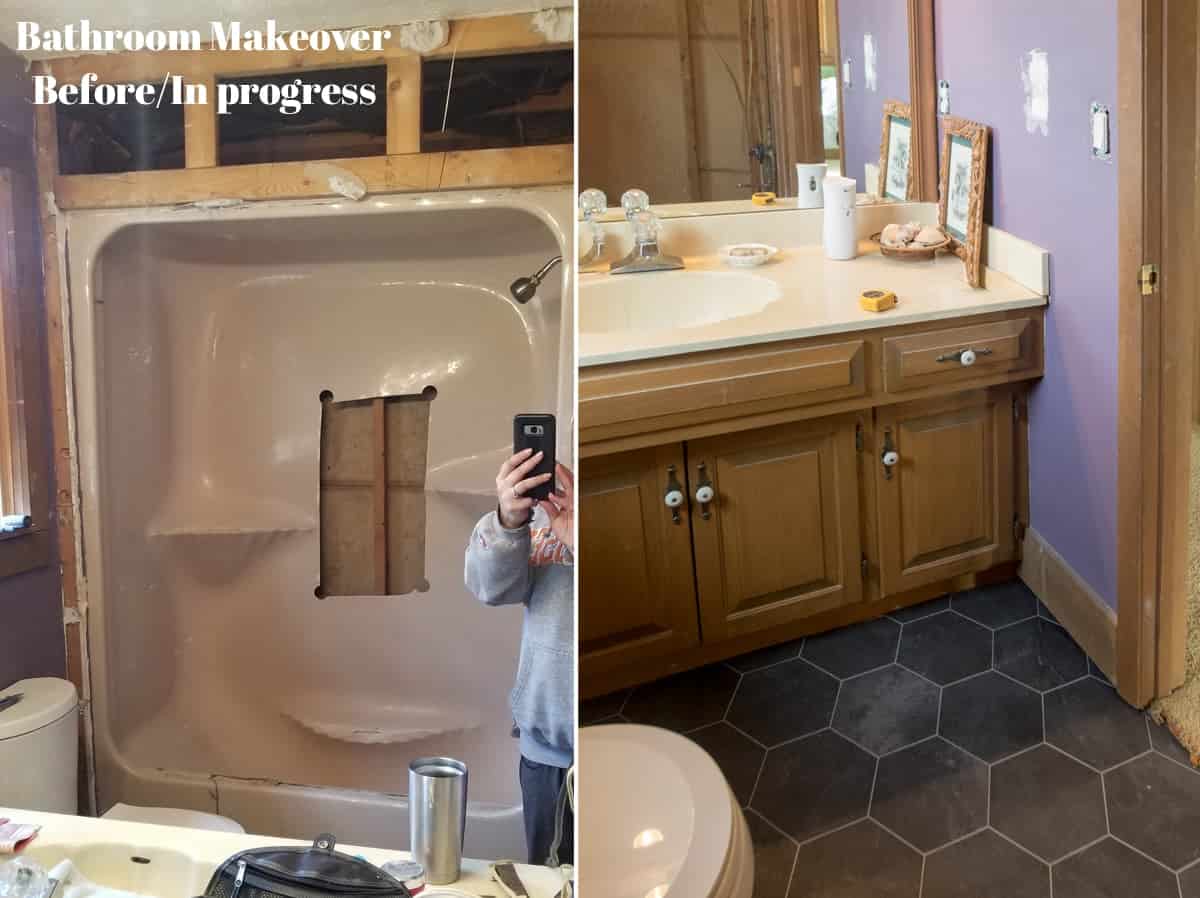
Ok, so the real-time process of this rustic modern bathroom makeover was a bit longer in the making. *wink* This is THE bathroom I grew up with, so it’s in Nashville, TN (12 hours from my adult house). In 3 separate trips, we did the demo, then the hard surface installations, and finally I went back to complete most of the finishing.
But now it’s ready for the 21st century!
One of the most fun things for me, besides saying goodbye to the 80’s seashell shower, was designing a bathroom that wasn’t “my style”. As you might know, I am an advocate of utilizing a home’s style to decide the decor. The traditional style of my Virginia Colonial wasn’t going to work in this rustic craftsman log home. You can see our own guest bathroom renovation here to see the difference in styles.
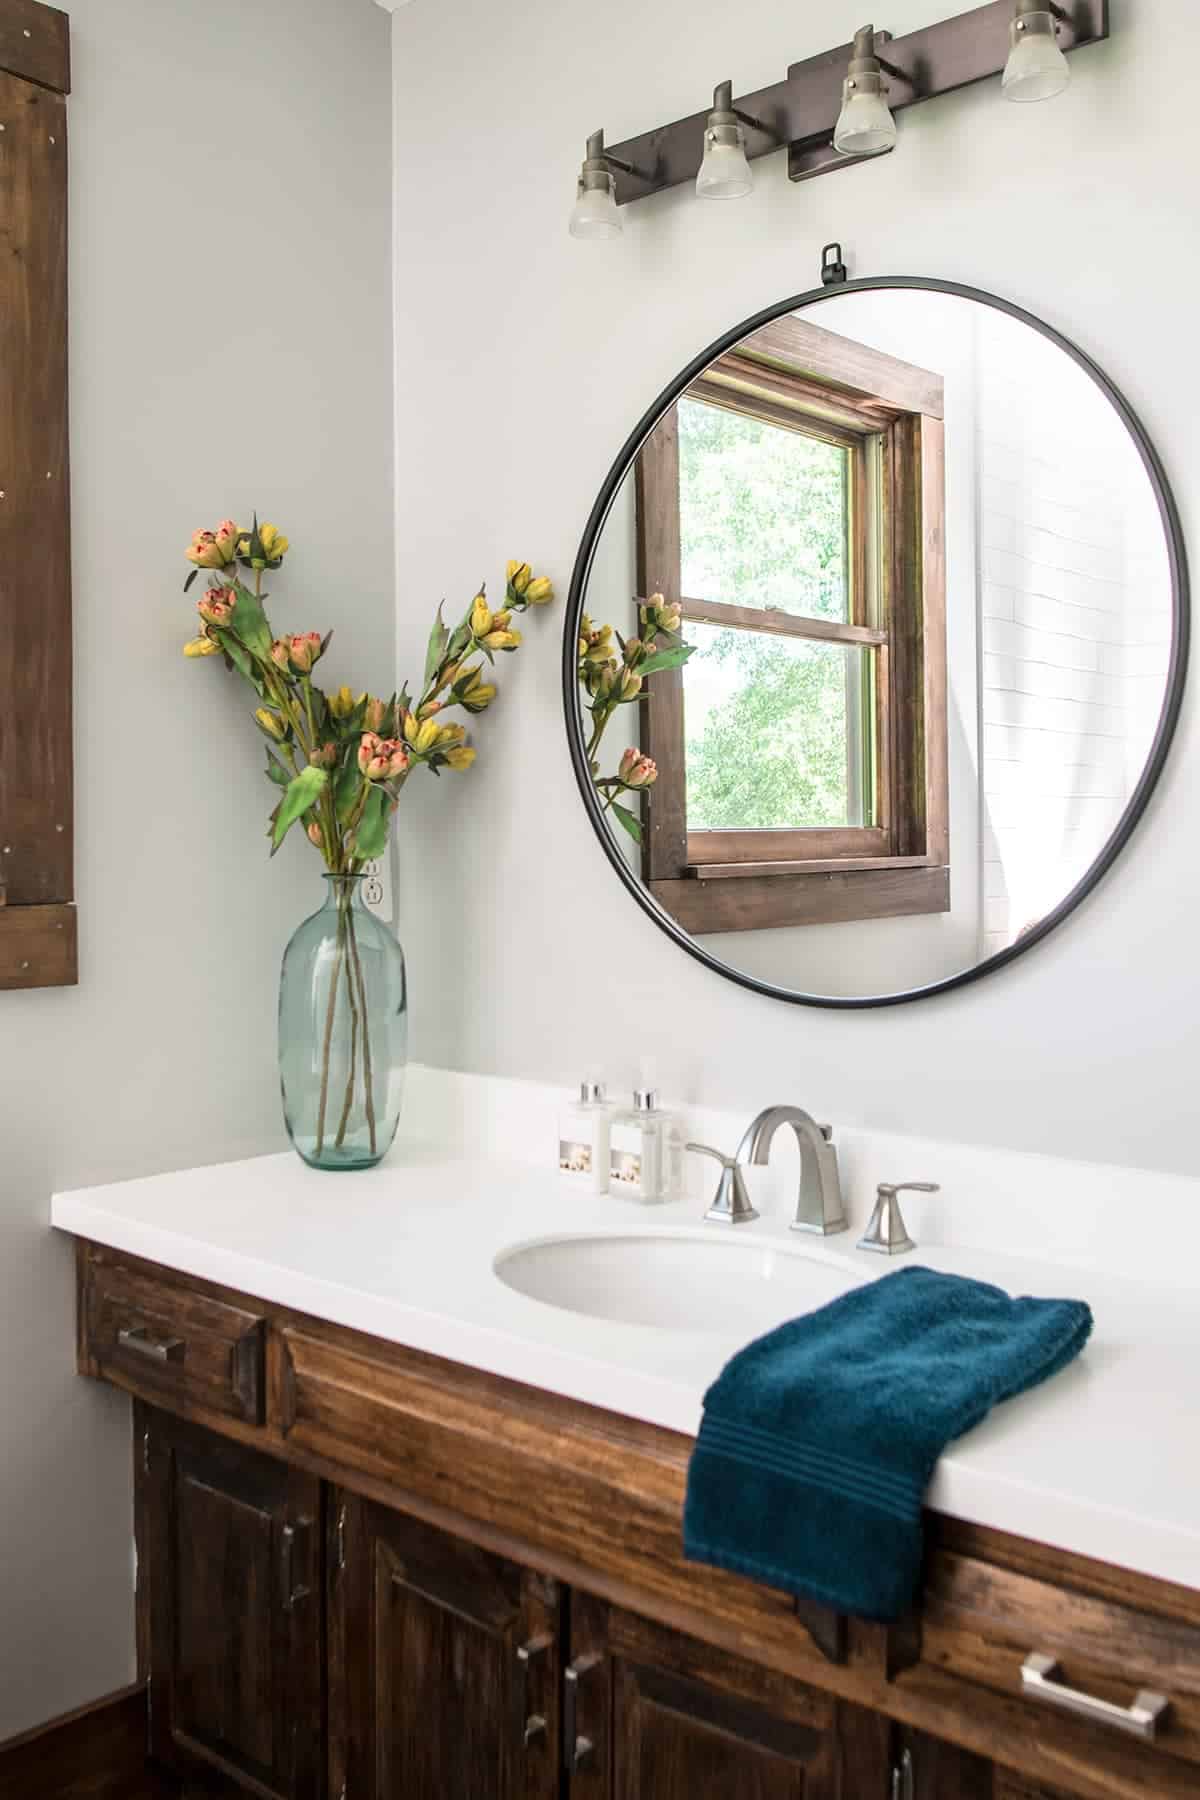
Vanity and Mirror
We kept it rustic, just refined it with simple and modern touches.
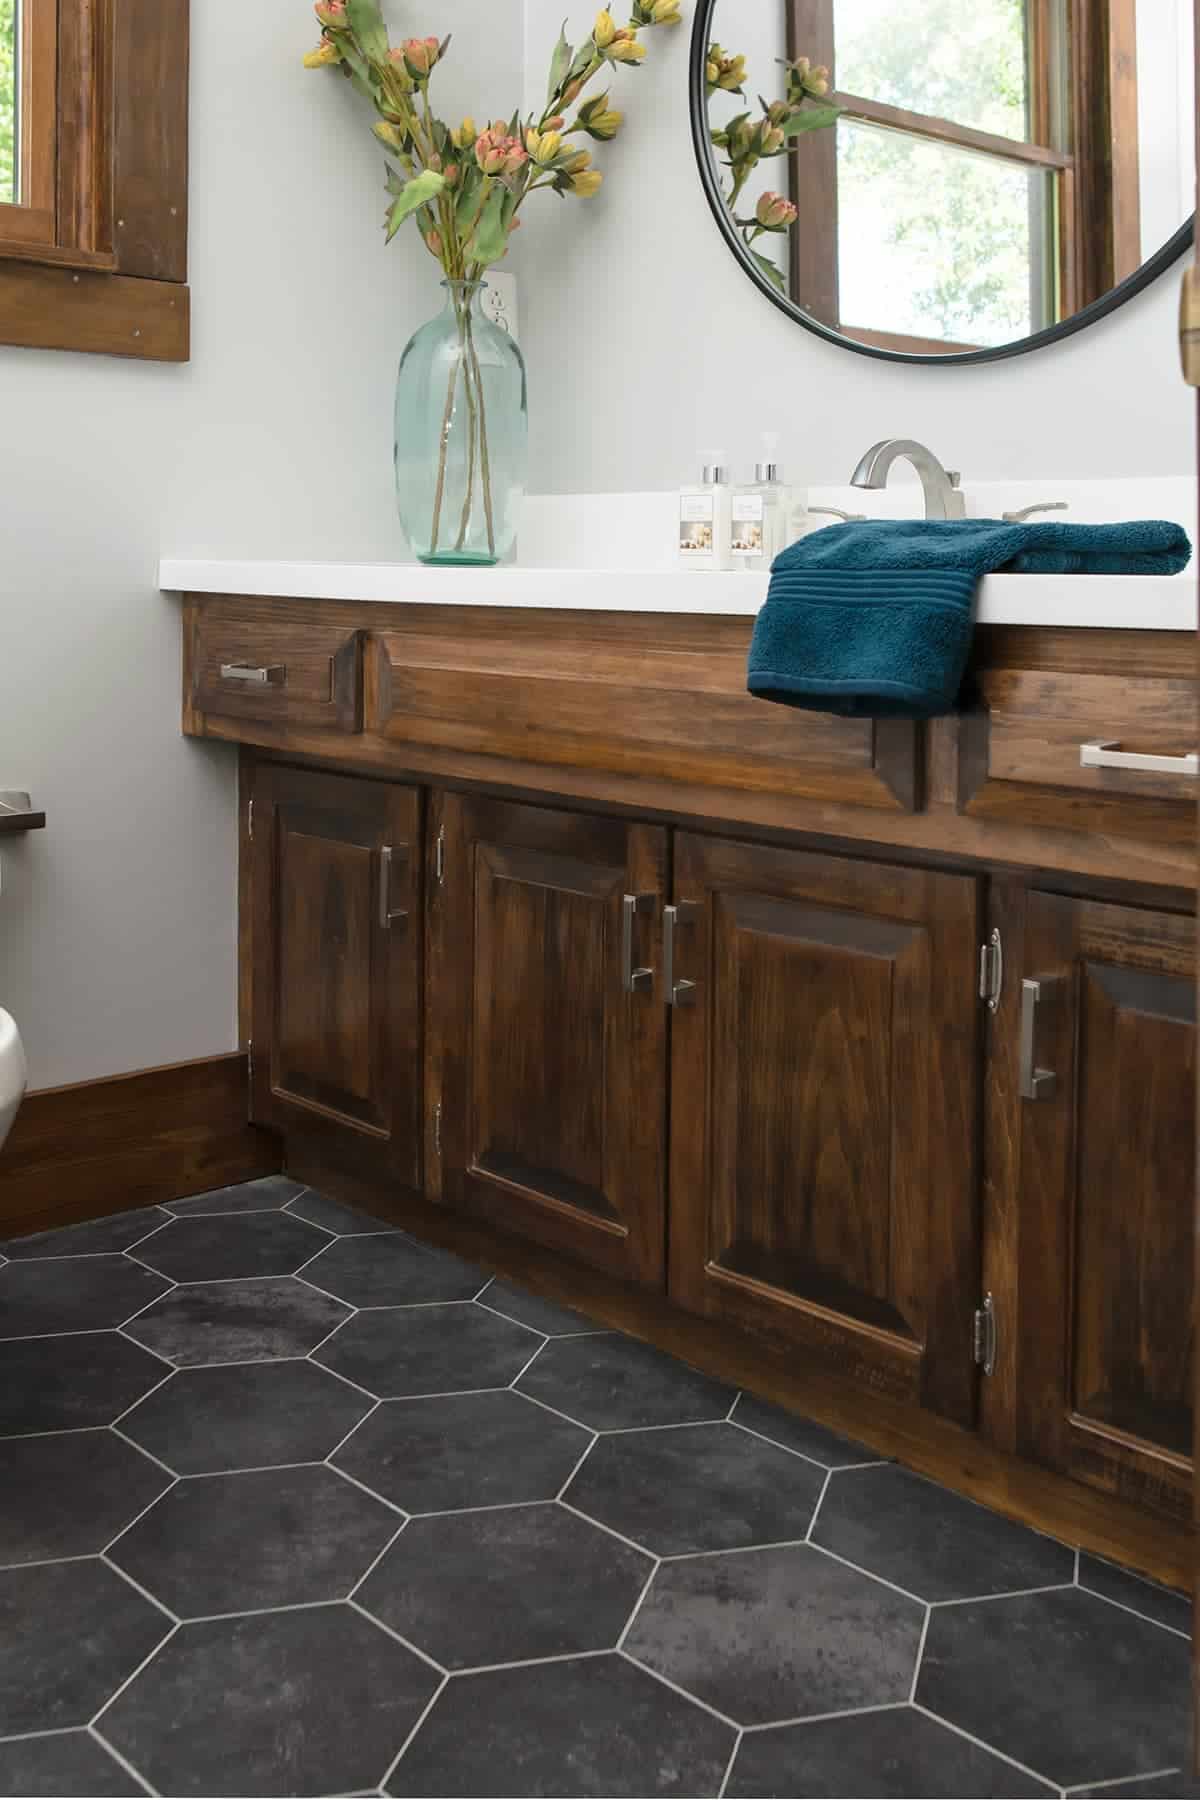
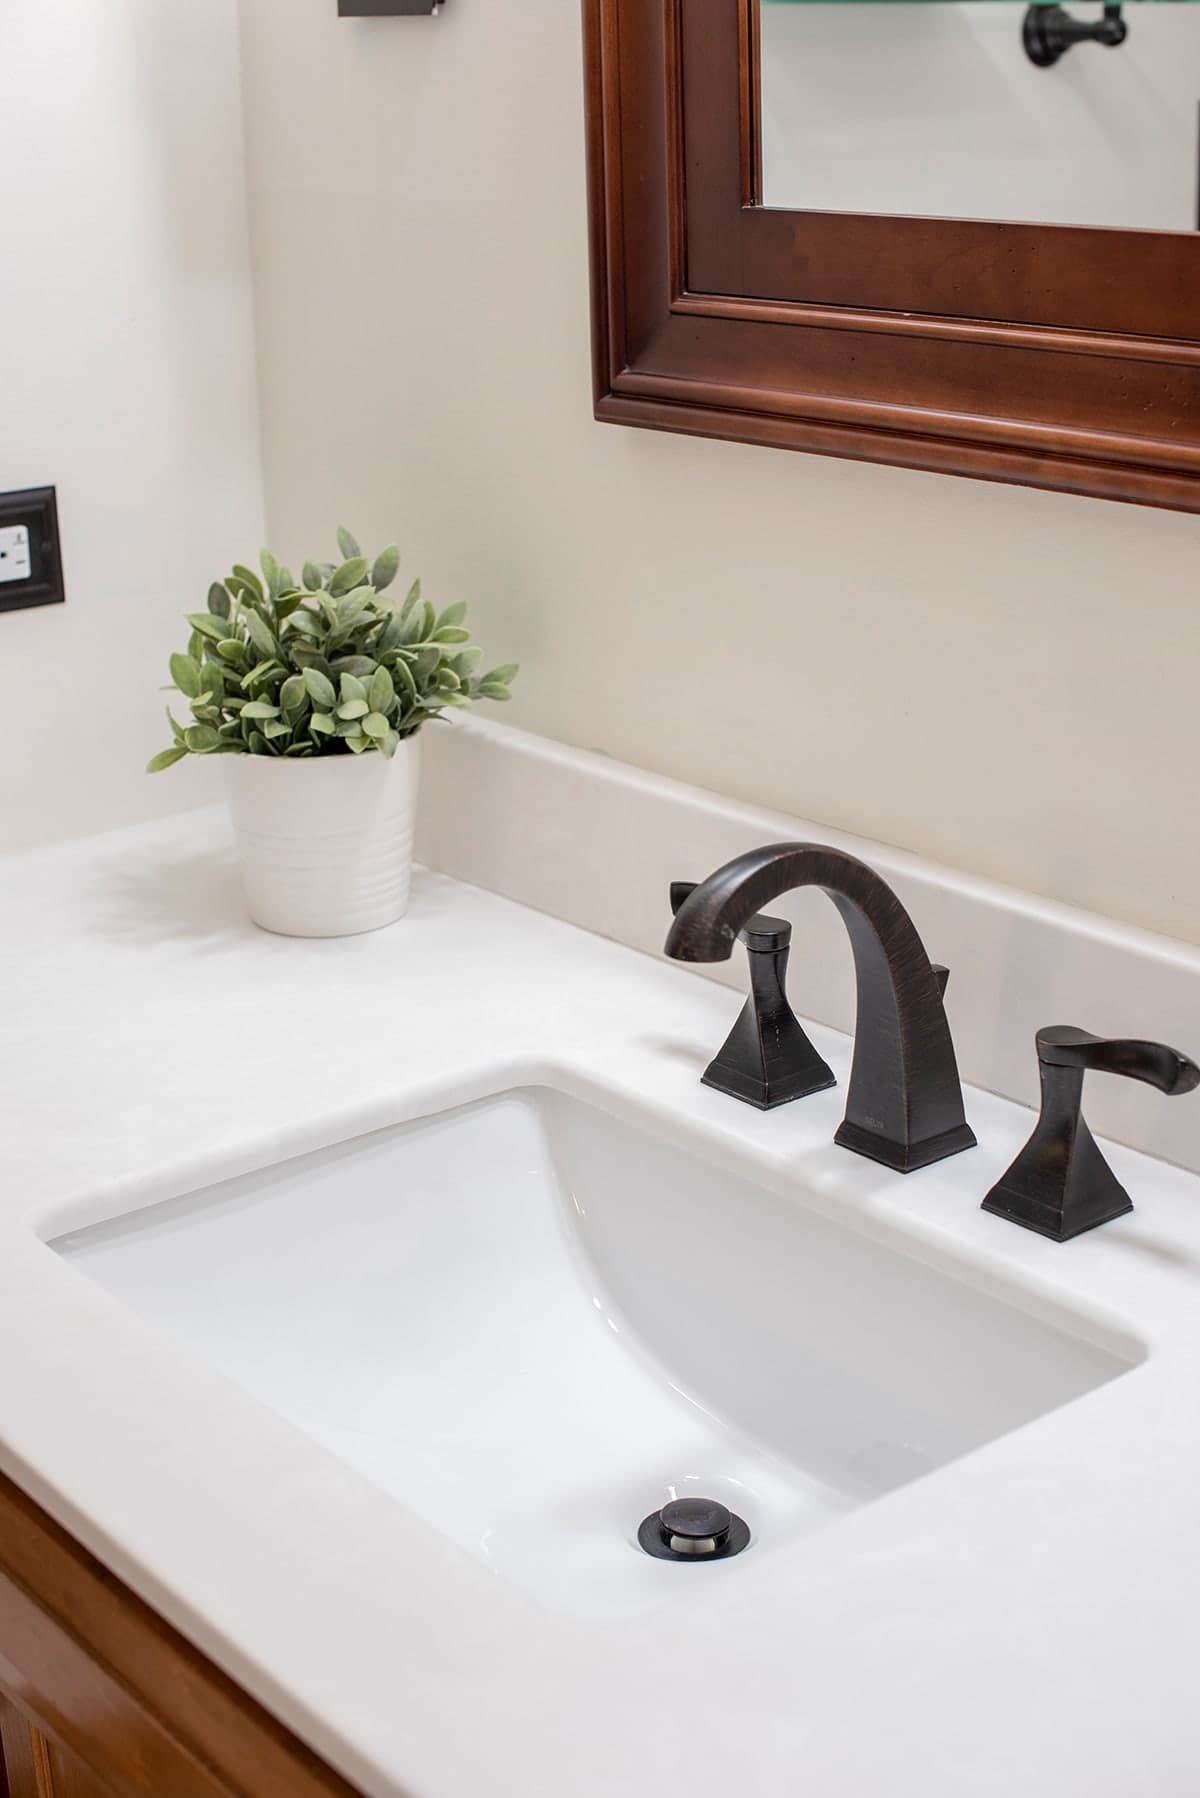
My mom re-stained the old vanity (DIY runs in the family!). While it’s a bit darker than we talked about, I think it works great in the space to add character with the textural wood grain. They also updated the hardware with these simple pulls. I will never be able to “unsee” how much the old knobs looked like boobs. If you have beautiful but tarnished brass handles you can give them a refresh with some simple steps.
Thankfully, the clam shell sink is gone! We added a new simple white vanity top and accented it with a widespread faucet. We added some genius storage tricks to the vanity. To round out the space we installed a new mirror purchased specifically for this room.
The flooring is groutable vinyl tile in a hexagon pattern. I love that it is easy to clean, and we added a new water-resistant subfloor that won’t move to keep the tile in good shape.
And of course, my favorite part…
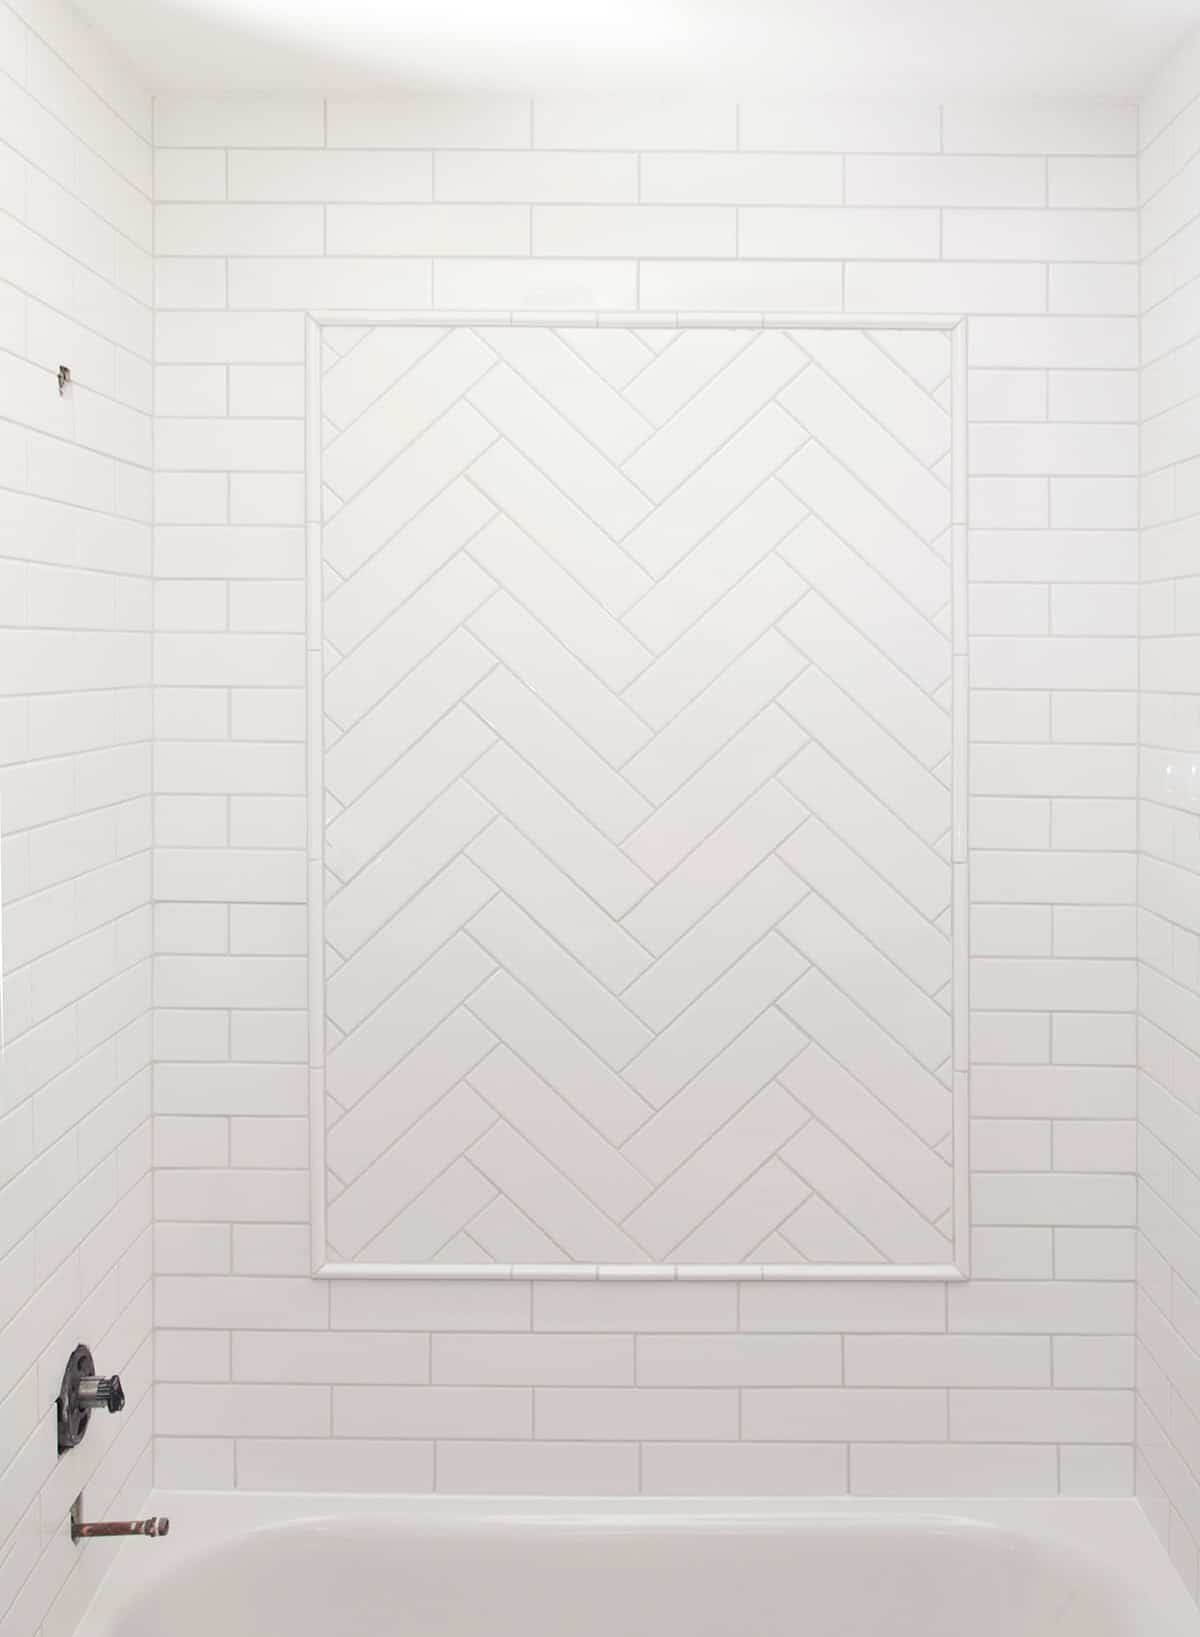
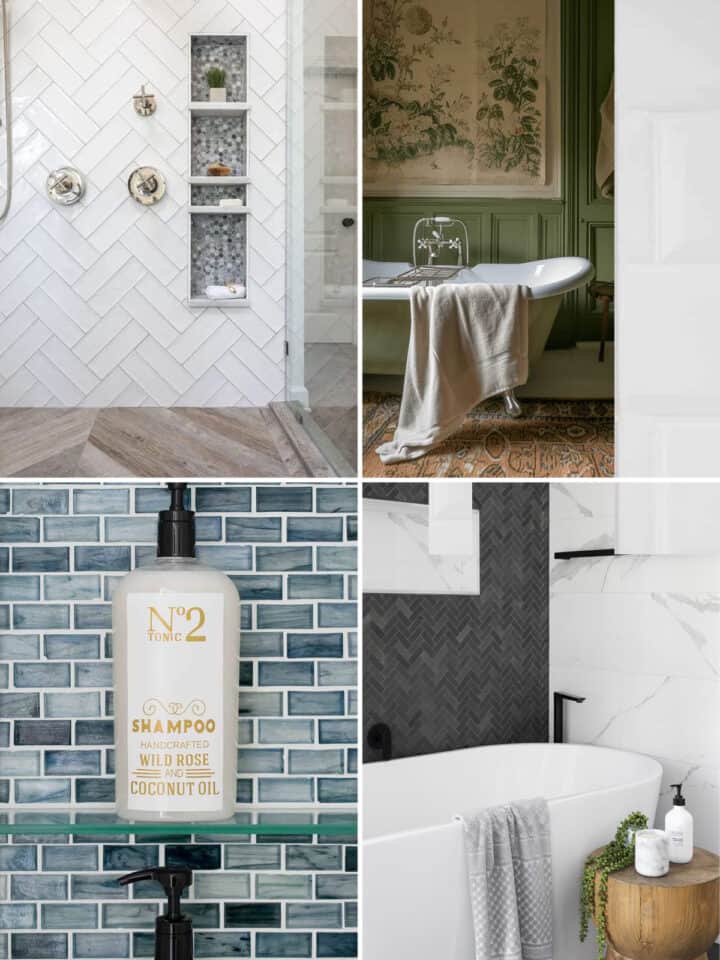
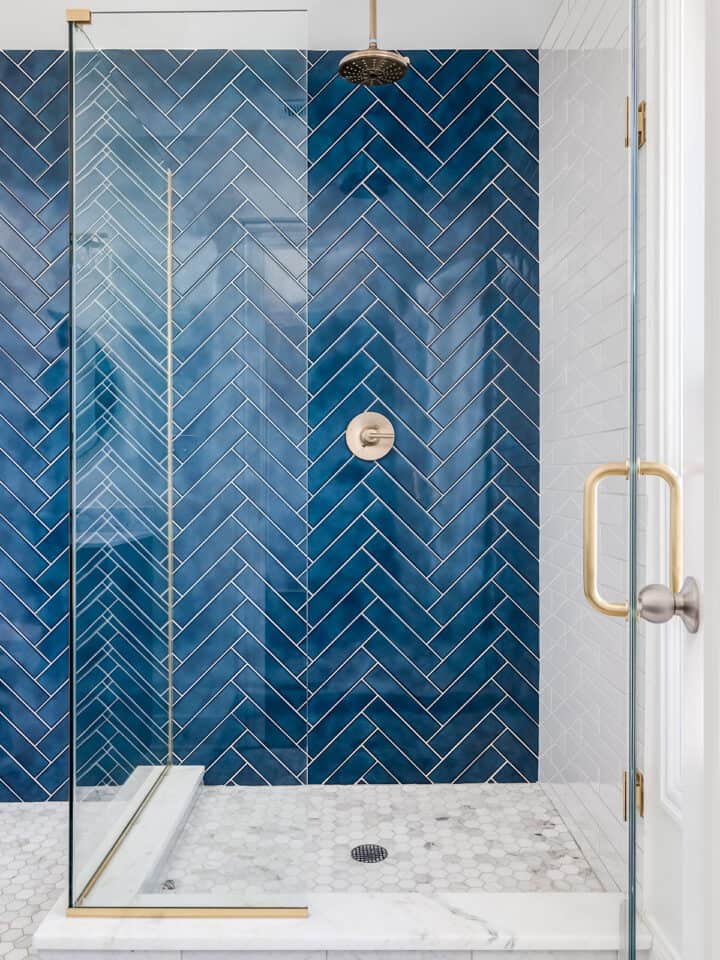
While you might not at first envision this tile surround in a rustic home, we kept the lines clean and simple to give a modern look (with a bit of flair). The entire surround is 3×12 subway tile, with some pencil tile surrounding it. Our Post on how to lay herringbone pattern tile is here.
We used the same process of determining which tub to use through a tried-and-true selection process. The tub and shower faucet we will be incorporating are super sophisticated. Because of hard water, the shower head with built in filter will keep it from clogging with lime and other minerals.
We still have quite a bit of work on getting this home updated and ready for sale, but I’m thrilled with having this one done. It will be so nice to have a relaxing place to unwind after our future hard days of work. I’m thinking there will be a lot of good soaks there!

Grab our free series "Weekend Home Projects that will Transform Your Life" Sign up below to receive updates including free printables, organization tips, home improvement projects, recipes and more! |
More DIY Home Makeovers
192.168.l.l says
Love the makeover! Thank you so much for sharing!
Meredith @ The Palette Muse says
This looks amazing! I didn’t know you could get vinyl tile in a hex pattern. Allll the heart eyes! You guys did a great job updating this bathroom, and I love that you are keeping to the style of the house while making it look updated.