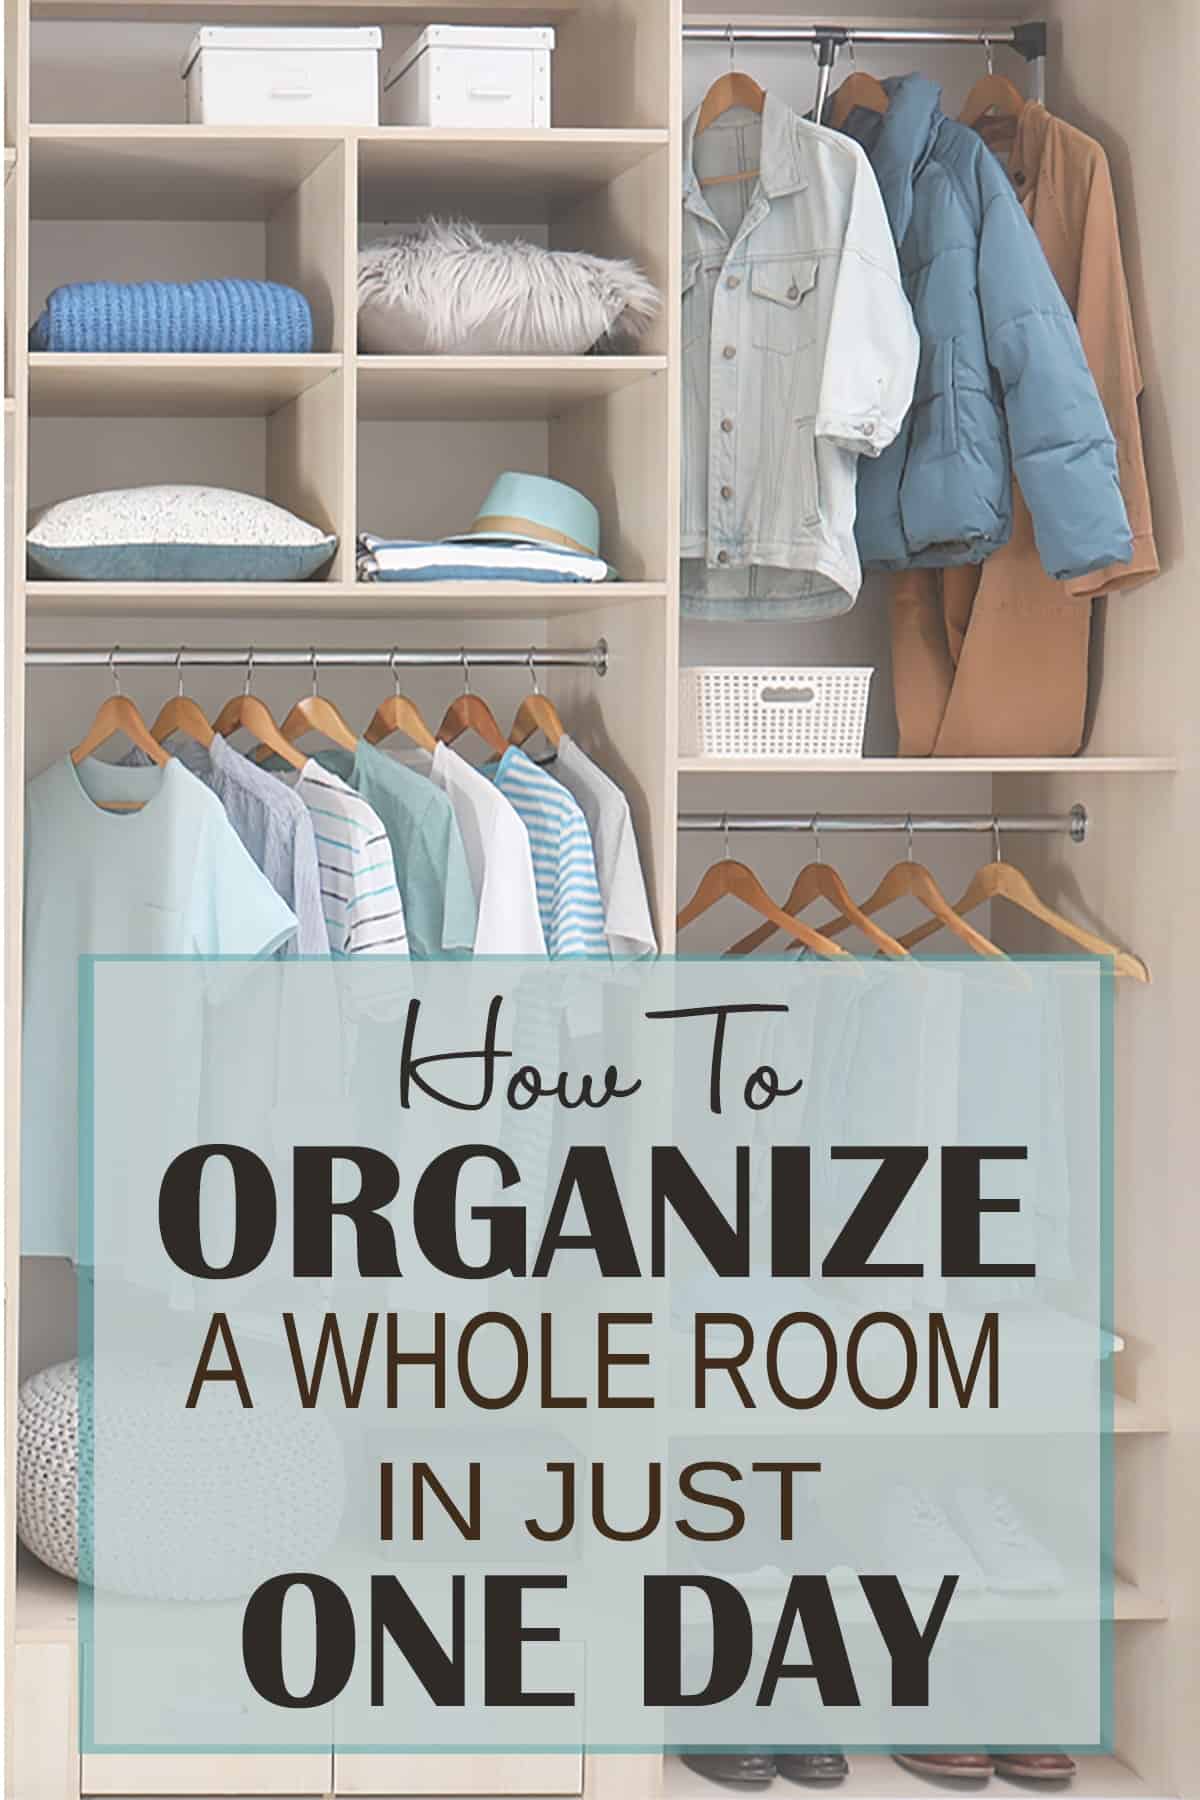
Six steps to a beautiful home organization makeover that will give you a home you love!
“That’s beautiful but it’s not real.”
“No one’s laundry room actually looks like that”
“I hate these bloggers. They are such liars that their homes are so perfect. Real people haven’t got time for that!”
I chuckled to myself as I read comments after a photo of my tiny laundry room makeover was featured on a company’s Facebook post. And, yes, I could take a photo today and the laundry room looks exactly the same, albeit a bit dustier.
The truth? Organization isn’t about laundry rooms, how many bins you own, or the size of your home.
Organization is 90% mental.
The truth is that we can only change our home if we change our habits. If we are ready and willing to create change, amazing things can happen!
I’ve done hundreds of home improvement projects, and nothing drives me crazier than working in chaos. I create enough of my own mess while working.
Seriously, you should see the state of my kitchen when trying out a new recipe. Yikes!
Clutter makes it impossible to visualize the goal. Having trouble visualizing your project? Strip things to the bare bones. Seeing the end goal will become a LOT easier.
Let’s get started…
Step 1 – Decide How You Want to Use the Space
Room organization means nothing without function. Start by listing goals for the project. Write them down – don’t just list them in your head.
Let’s take the garage for example:
- Is the goal to create space to park the car?
- Do you need a workstation for projects?
- Perhaps you’d like to actually find the Christmas lights without opening 10 other boxes first?
Don't set lofty goals or ones impossible to maintain (like rotating boxes of seasonal items every holiday). Keep it simple for success.
Step 2 – Free Your Mind and the Rest Will Follow
Designate an area to move EVERYTHING to. I’m not asking you to move the bed out of the room, but Grandma’s little chair? Yeah, that goes.
If it is moveable – It. Goes. Out.
Sort as you go – donate, sell, trash, keep. Take this opportunity to rehome items that have simply migrated to the wrong place.
Step 3 – Visualize the goal
Stop thinking “How am I going to fit this in here?” and start thinking, “How do I see myself using this space?” Imagine your future self-coming into that space. For example, if you are organizing a closet, imagine yourself getting dressed in the morning.
Take 10-15 minutes (at least) and sit in the center of the space. Visualize what you want. I start each room makeover this way.
Pro tip: Spatial Mapping Room Organization Method -Store items accessed most often at eye level. Always leave 10-15% empty space. No bin or shelf should be stuffed full. Plan ahead for future storage needs by purchasing extra baskets or bins.
Step 4 – A Place for Everything….well, mostly
Now that you’ve got a good visual of your space, it’s time to organize items back into the space. Remember, if an item doesn’t fit your goals, it doesn’t come back. Here are a few creative suggestions:
- Put things back in order of importance to you. (your favorite clothing items first or items that fit your NEEDS)
- Play photographer – I photograph our home all the time. This tip transformed me into a decluttering diva. Mess sticks out much more on camera. Take before & after photos of your decluttered spaces.
- Ask yourself if you would buy something today from the store. If not, toss it.
- Purchase any additional supplies necessary to complete your space.
Step 5- Tell EVERYONE!
You can’t assume – no matter how logical – that anyone else will understand your method of organization.
Make your life simpler!
Once your space is finished, take your housemates on a field trip tour. The rest of the family will understand where things go, and hopefully, they will follow suit. (Bonus: No more, “Mom! I can’t find…”)
Pro Tip : Do a routine evening round up. Spending 15 minutes before bed to tidy up will save you a morning of frantic searching.
Step 6 – Follow Through
Sorry to be the bearer of bad news, but we aren’t quite done. Remember those piles of donate, sell, and trash items? Set a time limit – one week from your start date.
If items don’t sell, donate. If the donation center is closed, trash. It’s hard, I know. The harder truth? The longer those items sit in your house, the more permanent they become. Get it out!
Need some Motivation to Get Started? Check Out some of our Organization Projects:
- Linen Closet Makeover
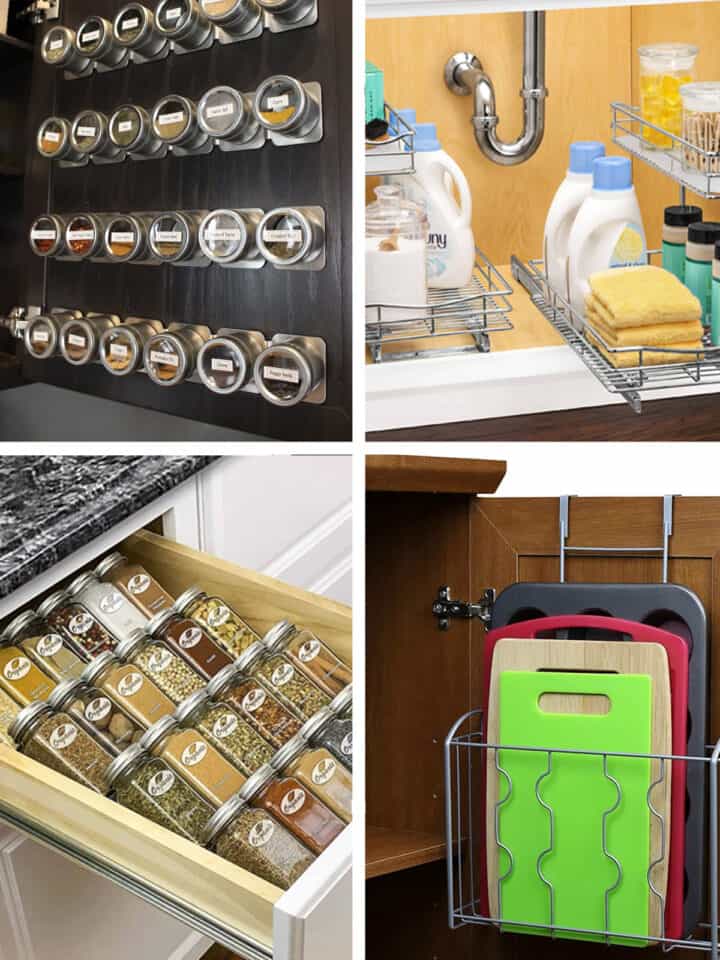
- 10 Clever Ways to Add Storage Inside Cabinets
- Small Bathroom Organization Ideas
- Pantry Organization Tips and Tricks
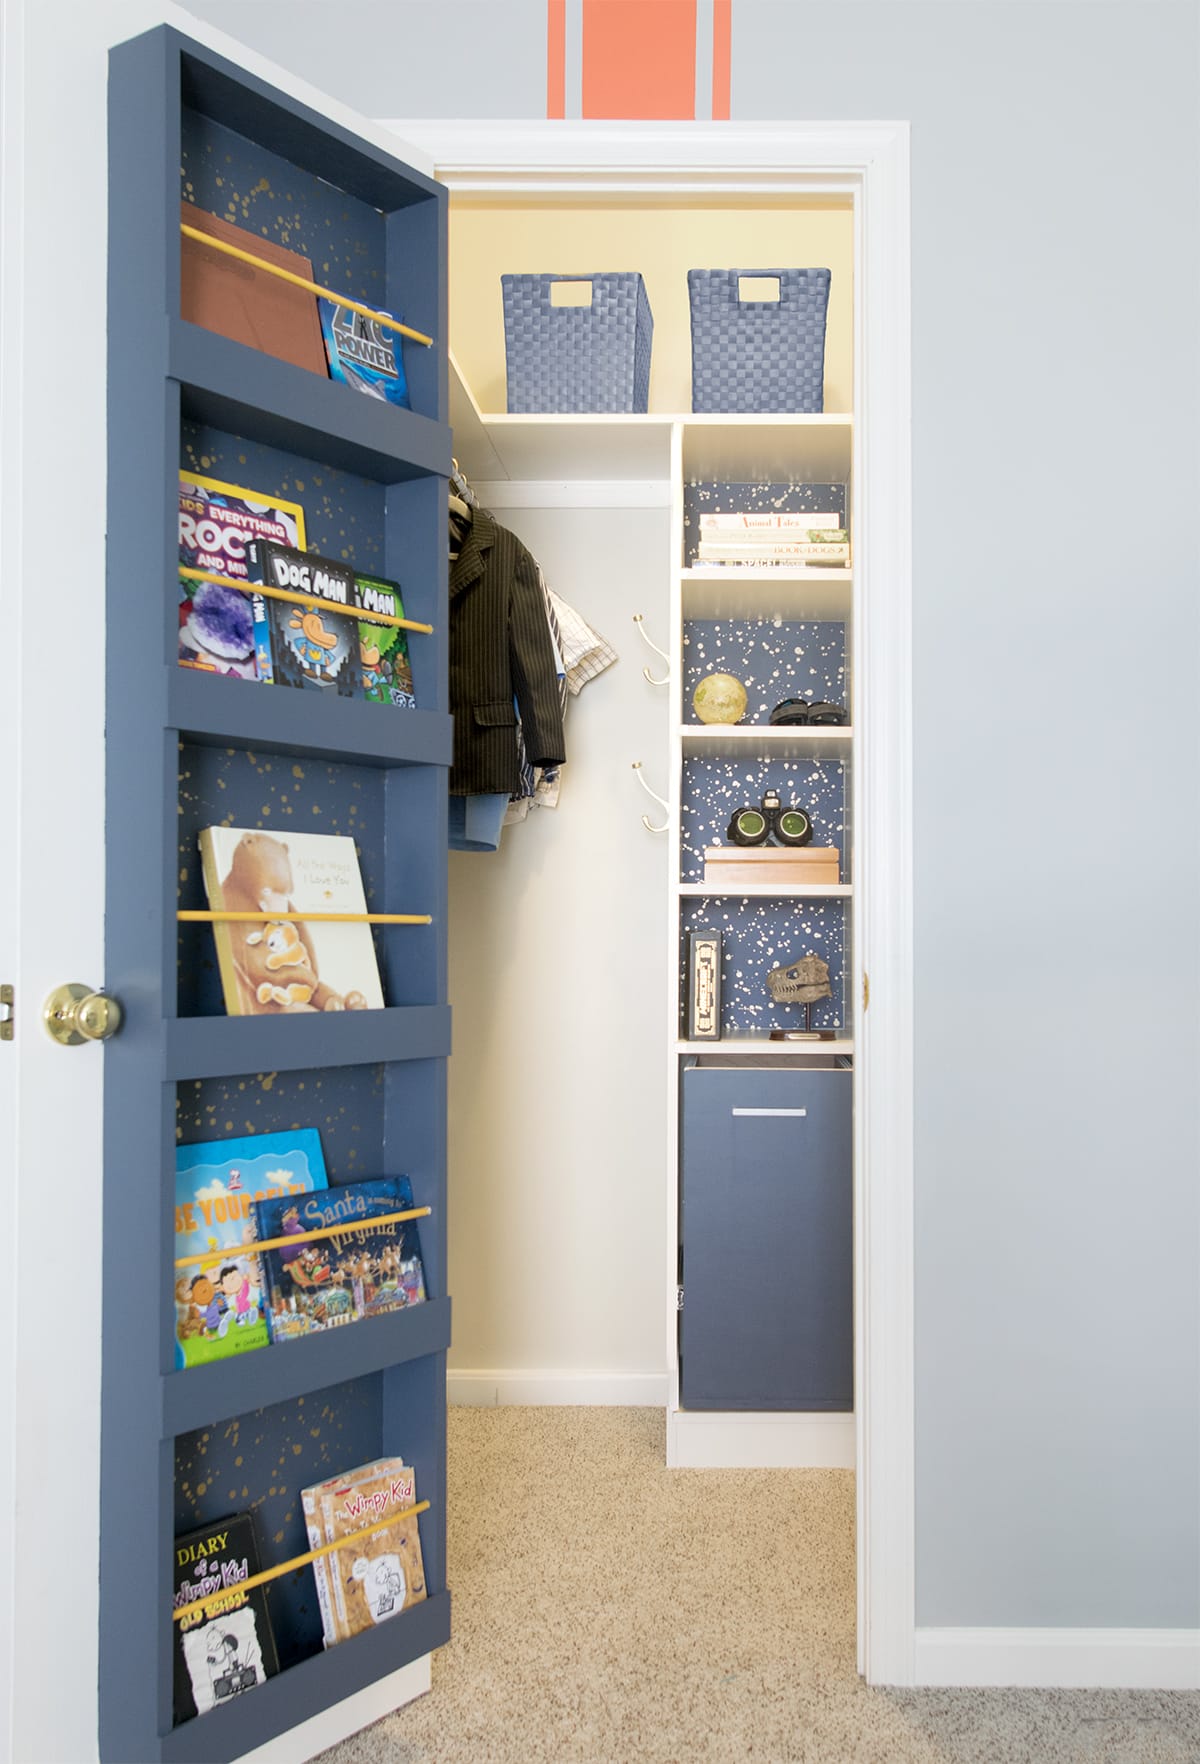
- Small Kid’s Closet Makeover
FAQs
Let it Go: If you have trouble letting go of things, recruit an honest friend for moral support. Sometimes a second opinion makes all the difference. Helpful resources to check out:
25 Items that Make Your Home Look Cluttered
7 Reasons We Have Clutter – and how to prevent it!
Time Management: Set aside a reasonable amount of time and then DOUBLE it. Things always take longer than we budget for.
The Rule of 3’s: Don’t take on more than three projects at once! Set aside a designated project area and don’t tackle another project until the list is 100% complete. Start checking off unfinished tasks around the house first.
Convenience Storage: One of the most common pain points I’ve discovered is the idea that items need to be stored for “grab and go” convenience. This idea is great in theory. However, if you’re regularly rifling through 5 “conveniently” stored items to find something- how convenient is that? Keep in mind the things that you use most often and weigh out whether or not

Grab our free series "Weekend Home Projects that will Transform Your Life" Sign up below to receive updates including free printables, organization tips, home improvement projects, recipes and more! |
More Organization Ideas

celebrity birthdays says
This is exactly what I need. The hardest part is always “let something go”. Thank you for sharing the post!