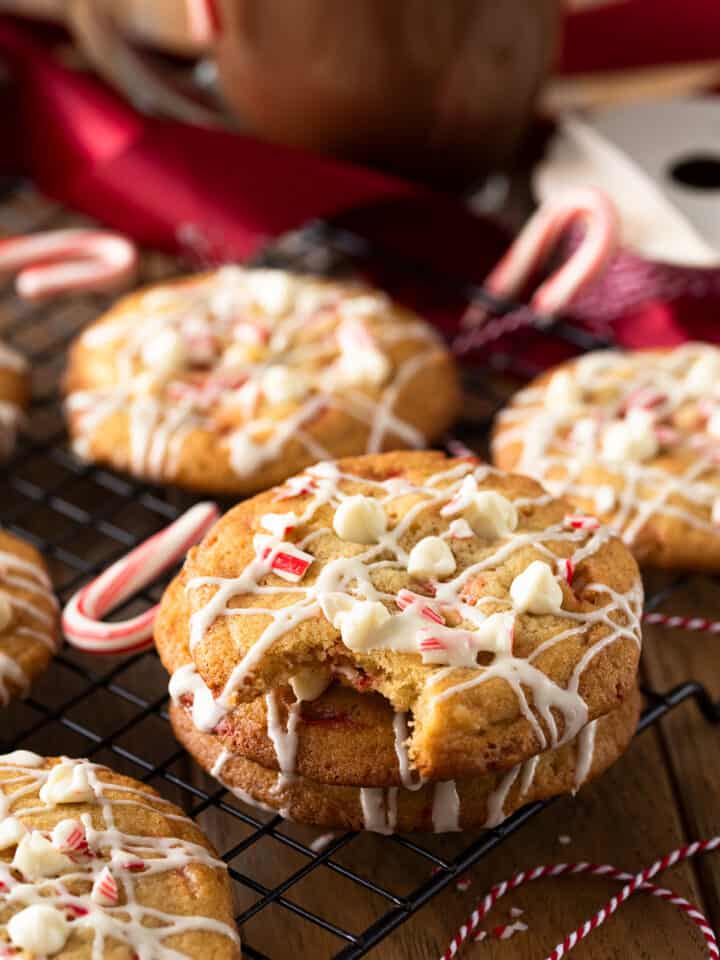
Hot chocolate cookies capture the essence of a warm cup of cocoa on a cold winter’s day. Rich cocoa and semisweet chocolate are tempered by gooey marshmallow pillows on the top of each cookie for an indulgent treat worthy of any cookie monster. Be the buzz of the next holiday cookie exchange!
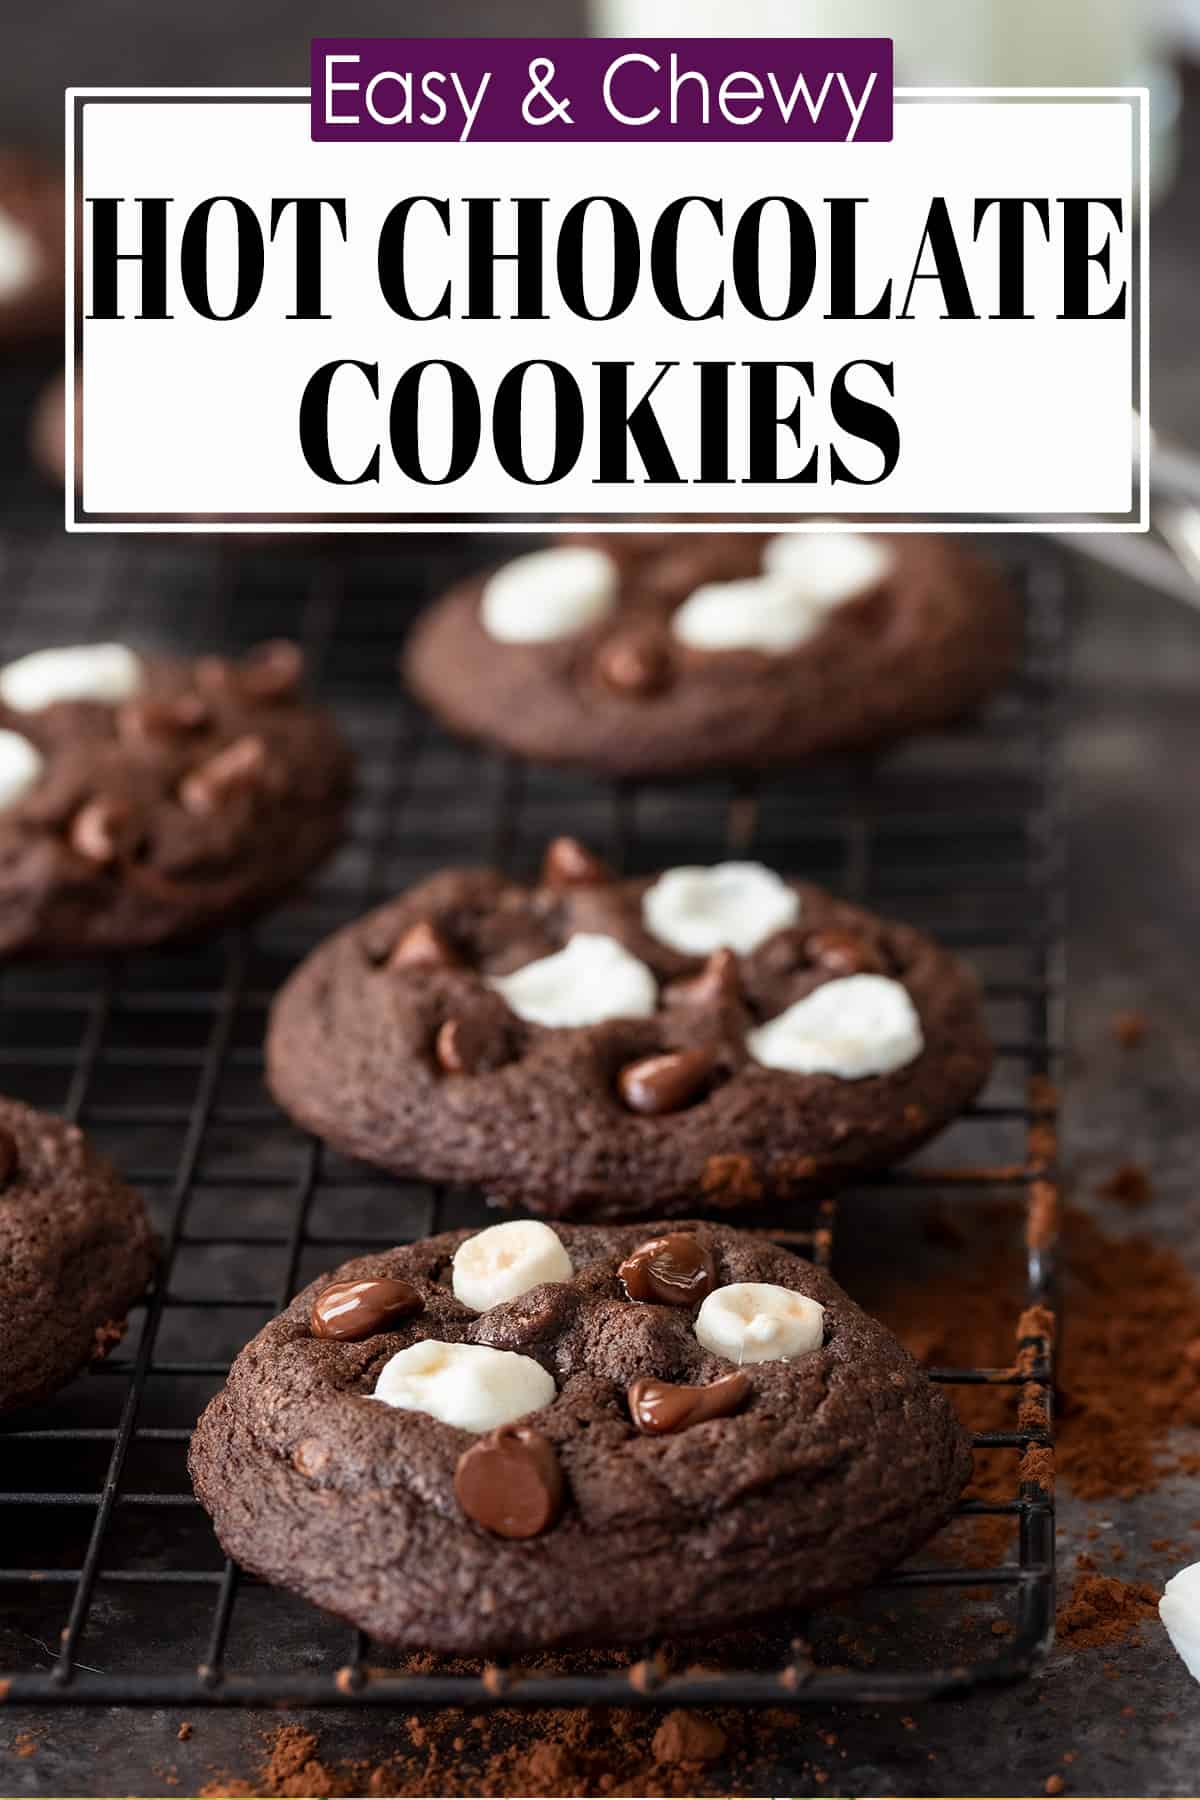
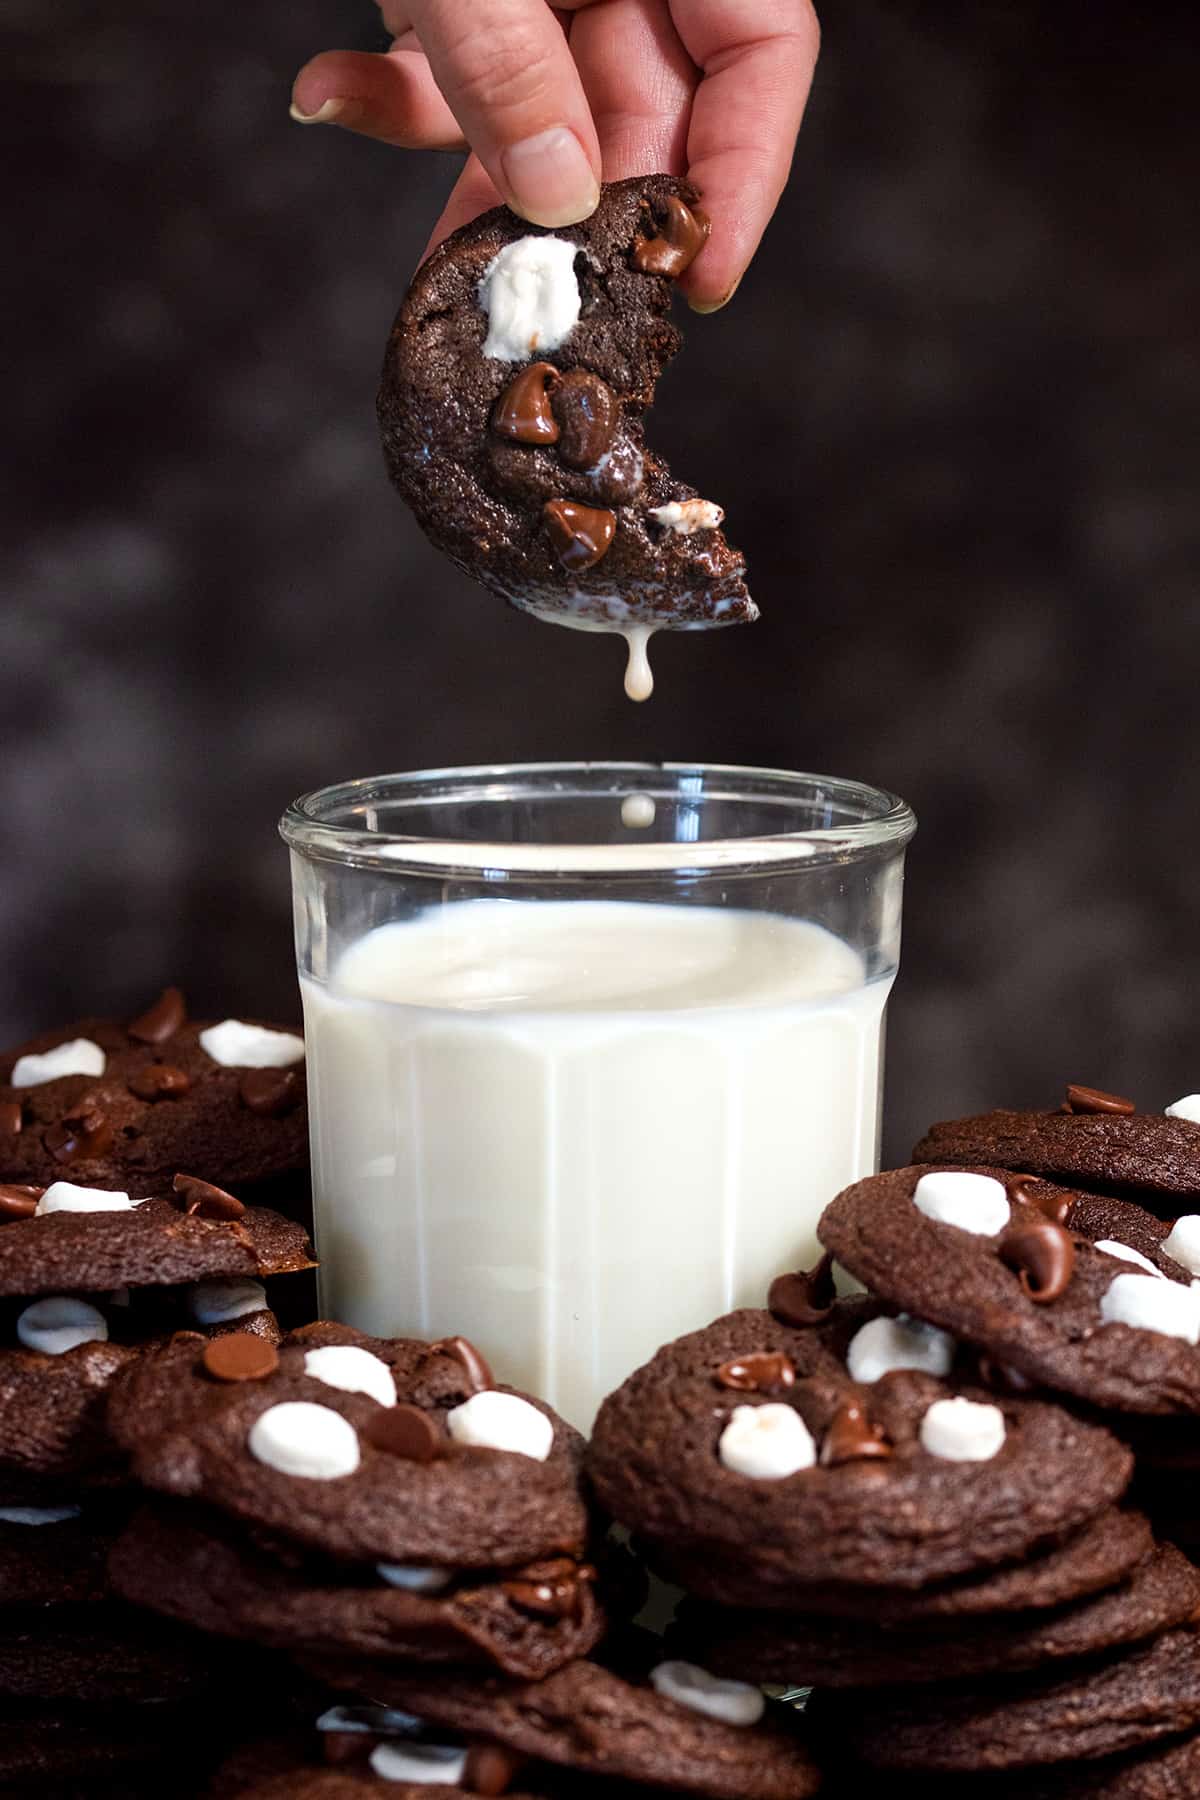
Remember how magical a warm cup of cocoa seemed on a chilly day as a kid? This hot chocolate cookie captures the very essence in an indulgent cookie. These Hot Chocolate Cookies do just that: a fudgy, chocolatey dough studded with chocolate chips and crowned with pillowy marshmallows.
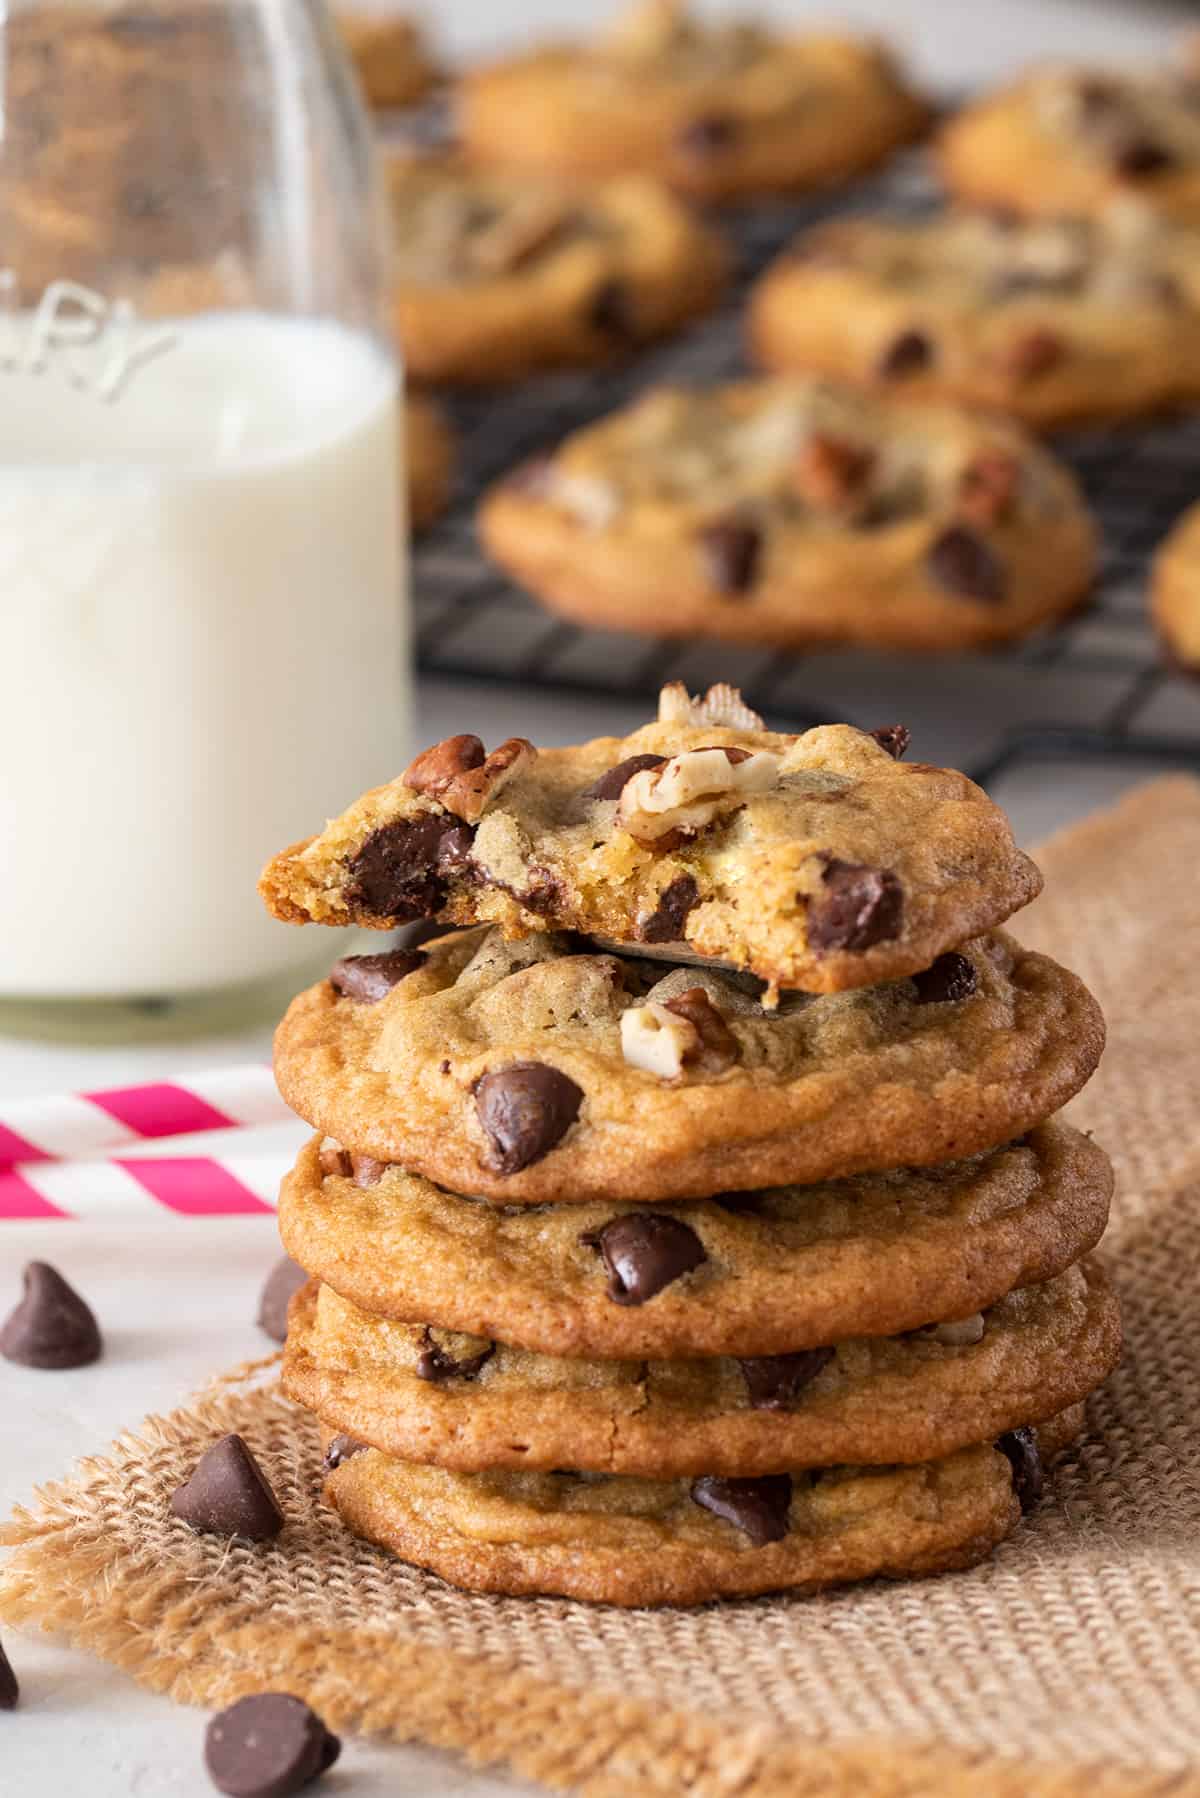
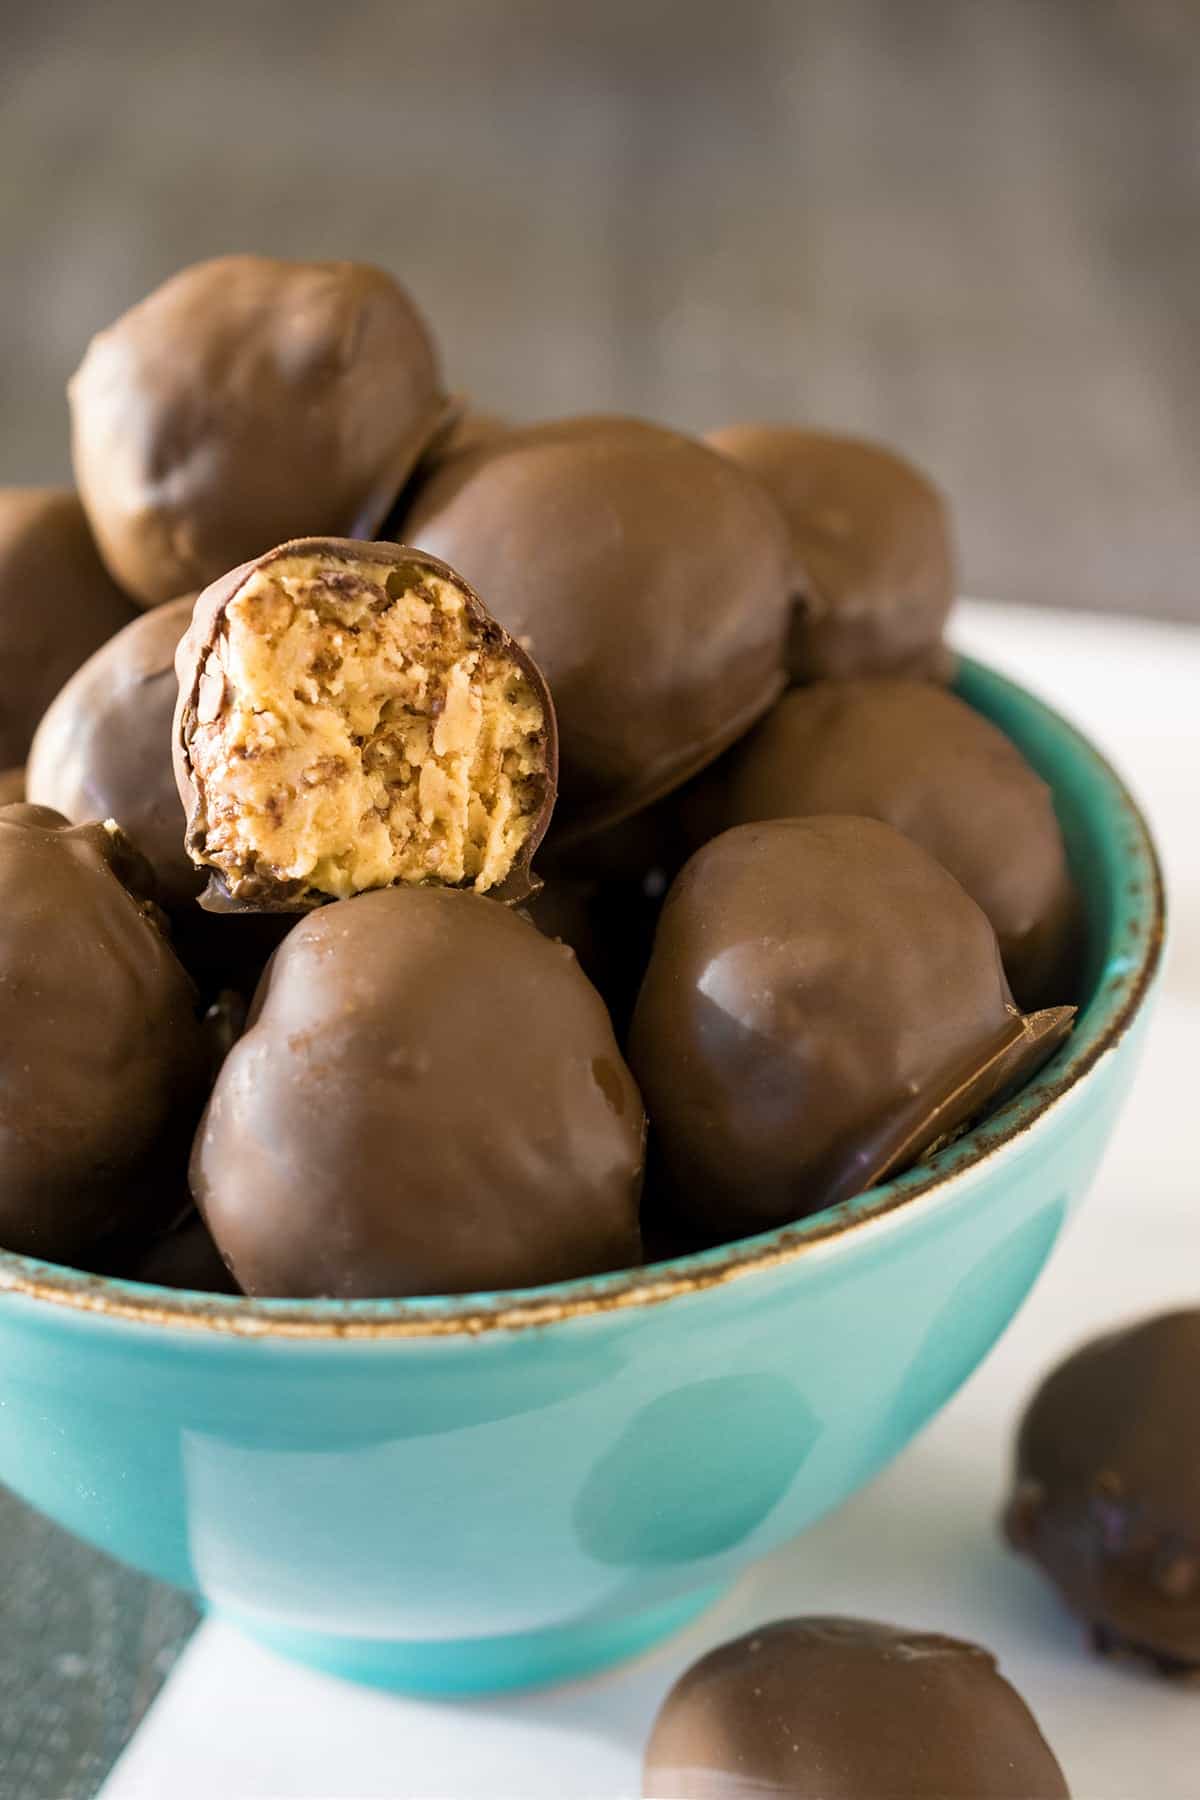
While most of us love the standards like Chocolate Chip Pecan Cookies, Monster Cookie Bars, Toffee Chocolate Chunk, and Oreo Balls, this hot chocolate cookie recipe is a pretty fun twist on a classic! Hot chocolate cookies are perfect for your holiday cookie exchanges or winter office parties.
Why This Recipe Works
- Real Cocoa + Chocolate Chips: Unlike many recipes that rely solely on hot cocoa mix, this uses cocoa powder plus chocolate chips for a deeper, more authentic chocolate flavor.
- Marshmallow Strategy: Tested with multiple kinds - regular mini marshmallows, freeze-dried bits - and share how to keep marshmallows from disappearing.
- No Chilling Required: Because of how I developed the recipe, you can bake right away. (Many holiday cookie recipes make you wait!)
- Balanced Texture: Crispy edges, chewy & soft centers - not cakey, not flat - thanks to tested mixing and baking tricks.
Ingredients and Substitutions
I built this recipe around using the simplest ingredients from your pantry! Below is an overview of what you will need to make these with notes.
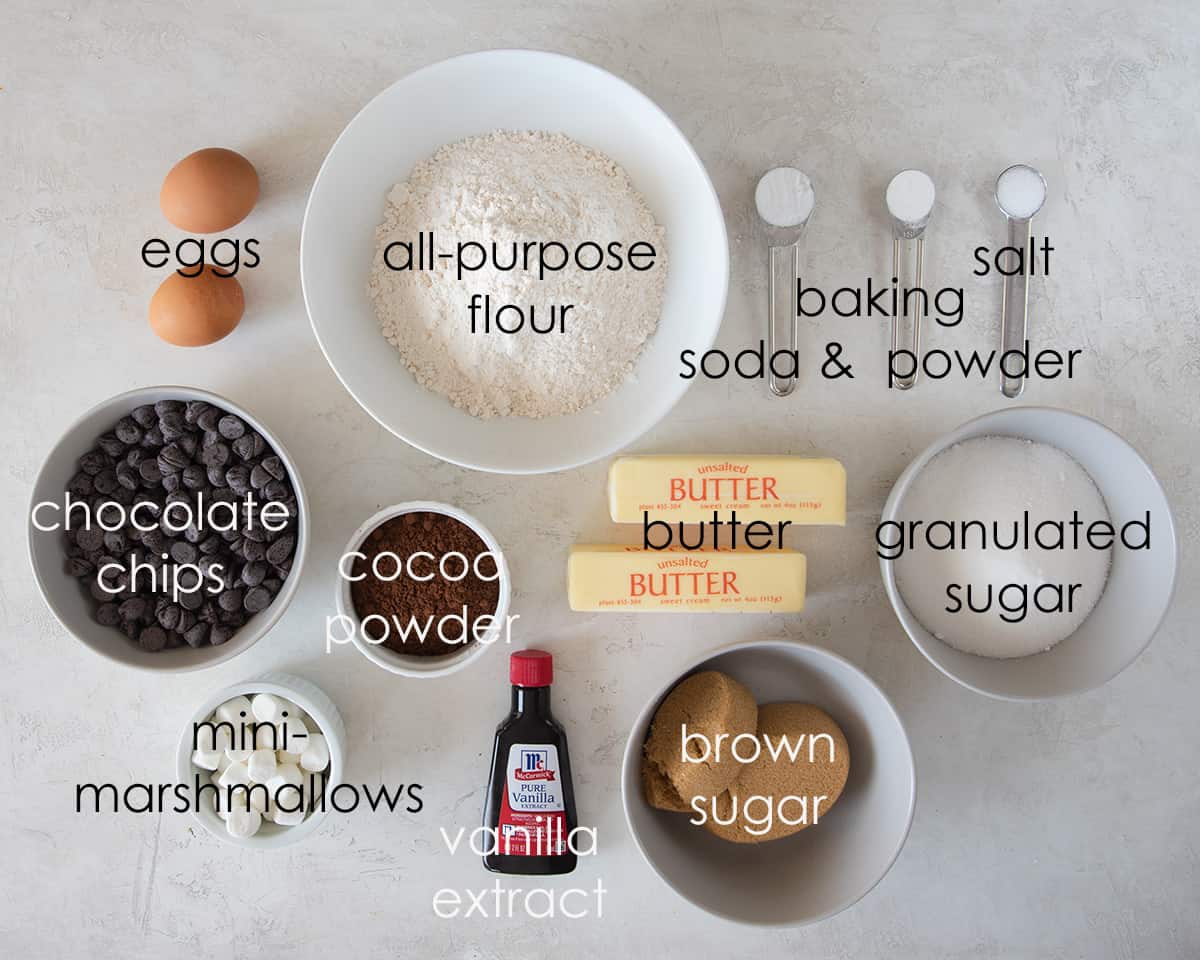
All-Purpose Flour. You can substitute wheat flour for a 1:1 substitute. I haven’t used gluten free flour in this recipe specifically, but it should be fine.
Chocolate Chips. Choose a dark chocolate or semi-sweet chocolate chip brand that you’d eat straight out of the bag!
Unsweetened Cocoa Powder. Either natural or Dutch process is fine. Dutch process will produce darker cookies with more mellow flavor.
Sugar. A mix of white and light brown sugar is used. Dark brown sugar has more moisture in it from the molasses and may give cookies a richer flavor, but they'll also be slightly flatter.
Butter. Only UNSALTED butter when baking for perfect cookies. If you only have salted butter, then remove the salt in the recipe.
Baking Soda and Baking Powder. Fresh leavening ingredients are critical to properly risen cookies. If your baking soda is over two years old (unopened) and six months old (opened), get some new stuff.
Eggs. Fresh, large whole eggs.
Marshmallows in Cookies
What marshmallows to use in cookies?
Mini-Marshmallows. When I was experimenting with this recipe, we could only find these mini marshmallows. Plain or colorful ones are perfect. You will need to cut them in half however to put into the freshly baked cookies.
Freeze-dried bits. The BEST option is these marshmallow bits. You don’t need to cut them, and they tend to hold their shape better. These are the same types of marshmallows as you would find in Marshmallow Lovers® Cocoa.
How to prevent marshmallows from spilling out from cookies while baking?
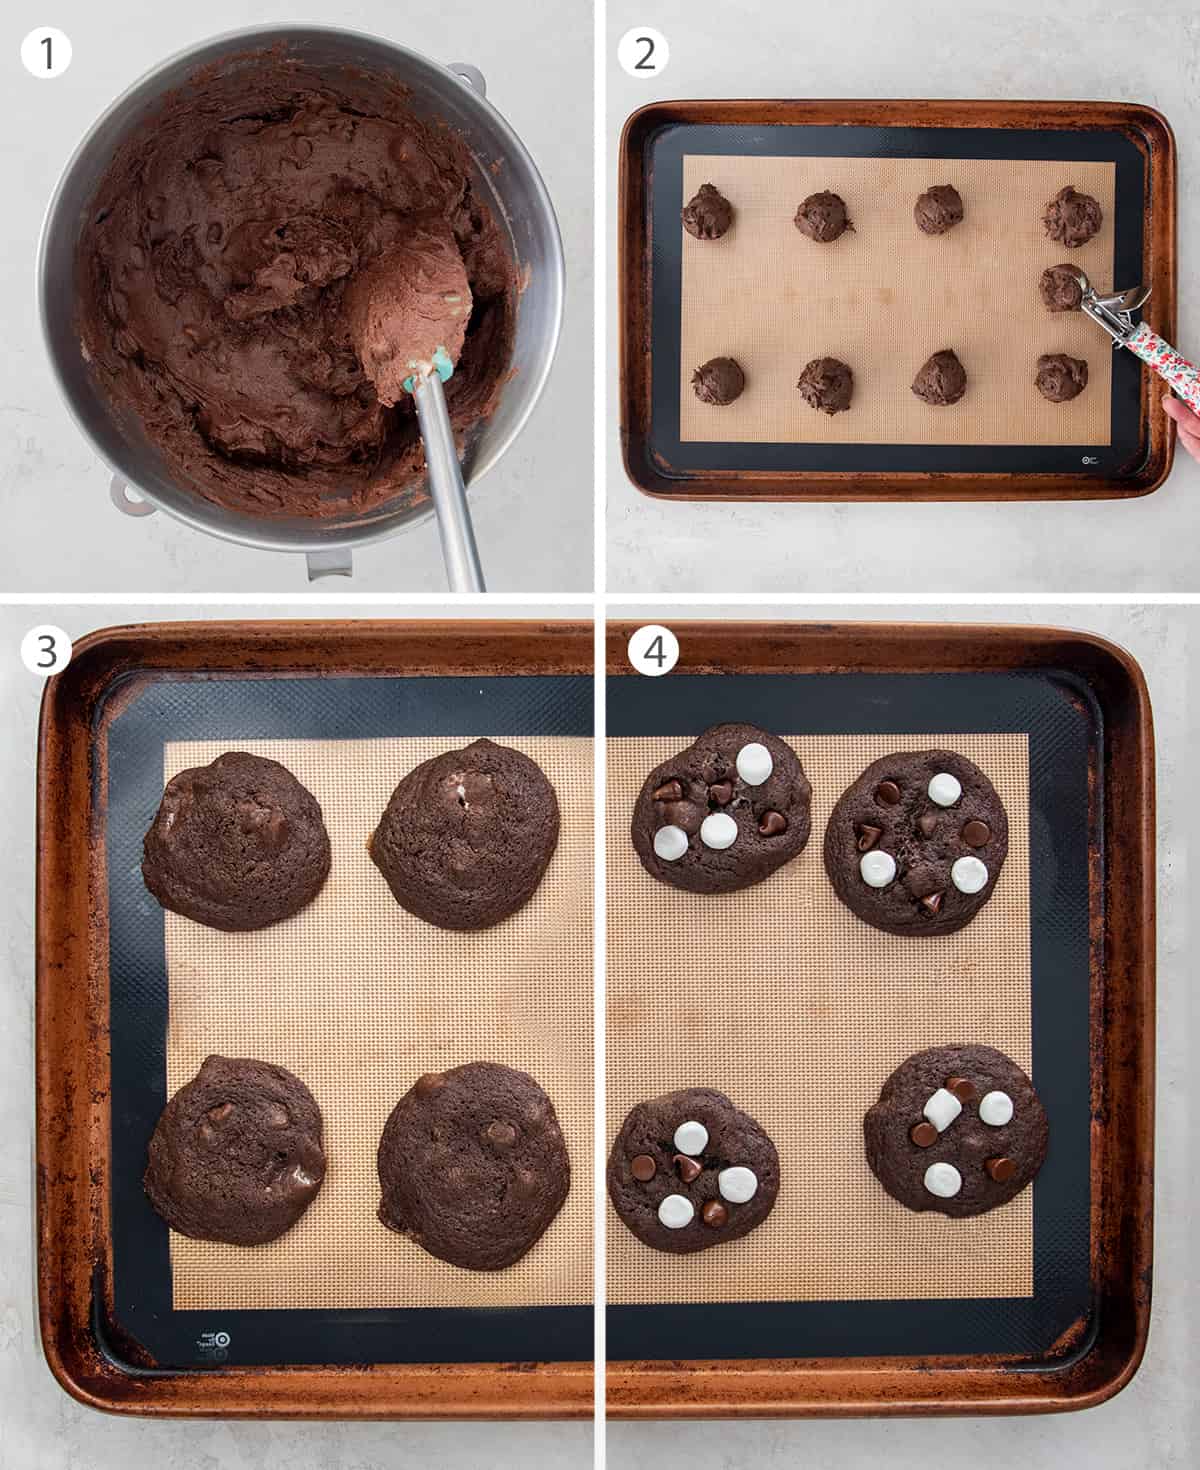
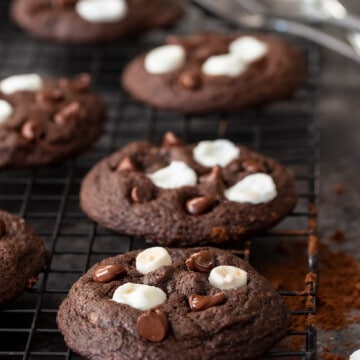
Marshmallows tend to melt away in the oven, so the trick is adding extra marshmallows and chocolate chips right after the cookies come out. The cookies are still warm and soft, so the toppings gently melt in and look like they baked right in (see photo 3 in the collage below). This method works better than freezing marshmallows before baking.
My Secrets to Perfectly Baked Cookies
Once you have the perfect ingredients, there are a few dependable tricks I like to use for the perfectly baked results.
Secret #1-Soft, Unsalted Butter. Unsalted butter gives you better flavor control and a more consistent cookie texture. Make sure it's fully softened-letting it come to room temperature on the counter for an hour works best. When creaming the butter and sugars, the mixture should look smooth and uniform. If you still see small butter pieces, let it sit for about 10 minutes and mix again before moving on.
Secret #2-Room Temperature Batter. Although some recipes call for chilling the dough, I’ve found I get the best results by getting straight to scooping. I also don’t mind one less step! The cookies come out more uniform in shape and I always get the perfect texture.
Secret #3. Use a Cookie Scoop. I use a slightly rounded scoop (4 cm or 2 tablespoon size) or a flat 5 cm, 3 tablespoon size with a spring-loaded wire scraper on the handle if you want jumbo cookies. The dough comes out of the scoop easily, and results in round, perfectly sized cookies. Game Changer!
Storing and Freezing
Store: in an airtight container at room temperature. To keep cookies soft, add a slice of bread (separated with parchment so it doesn't touch the cookies). Marshmallows may get stale after a few days, but they're easy to remove if needed.
Freezing Baked Cookies: Cool completely, then freeze in a freezer-safe zip-top bag for up to 8 months. Thaw at room temperature.
Freezing the Dough:
Chill the dough balls for 1 hour, then transfer to a labeled freezer bag. Freeze for up to 3 months. Set oven to 325°F and bake for 12-15 minutes.
Other Delicious Cookie Recipes
Here are some other cookies that would be perfect for Christmas cookie exchanges this holiday season:
FAQs
Hot cocoa is really just a mixture of sugar and natural cocoa. If you use hot chocolate powder, use ¾ cup (or about 3 packets) and reduce the white sugar by ¼ cup.
Chocolate that you like to eat straight out of the bag always produces the best cookies. It could be milk chocolate or dark, although most prefer semi-sweet because it highlights the sweet, buttery flavor of the cookie dough.
According to the USDA, bakery or homemade cookies can be stored at room temperature for 2-3 weeks or two months in the refrigerator. Baked cookies can be stored in the freezer for 8-12 months.
You can keep things simple and use standard mini marshmallows but beware that they might melt into disappearing when baking. You can counteract this by either using freeze-dried marshmallow bits or adding small bits on after baking!
Nope! I prefer not to chill my cookie dough. I have found out that they turn out more uniform and rises better when I do not chill the dough prior to baking for this recipe.
Not Sure
What's For Dinner?
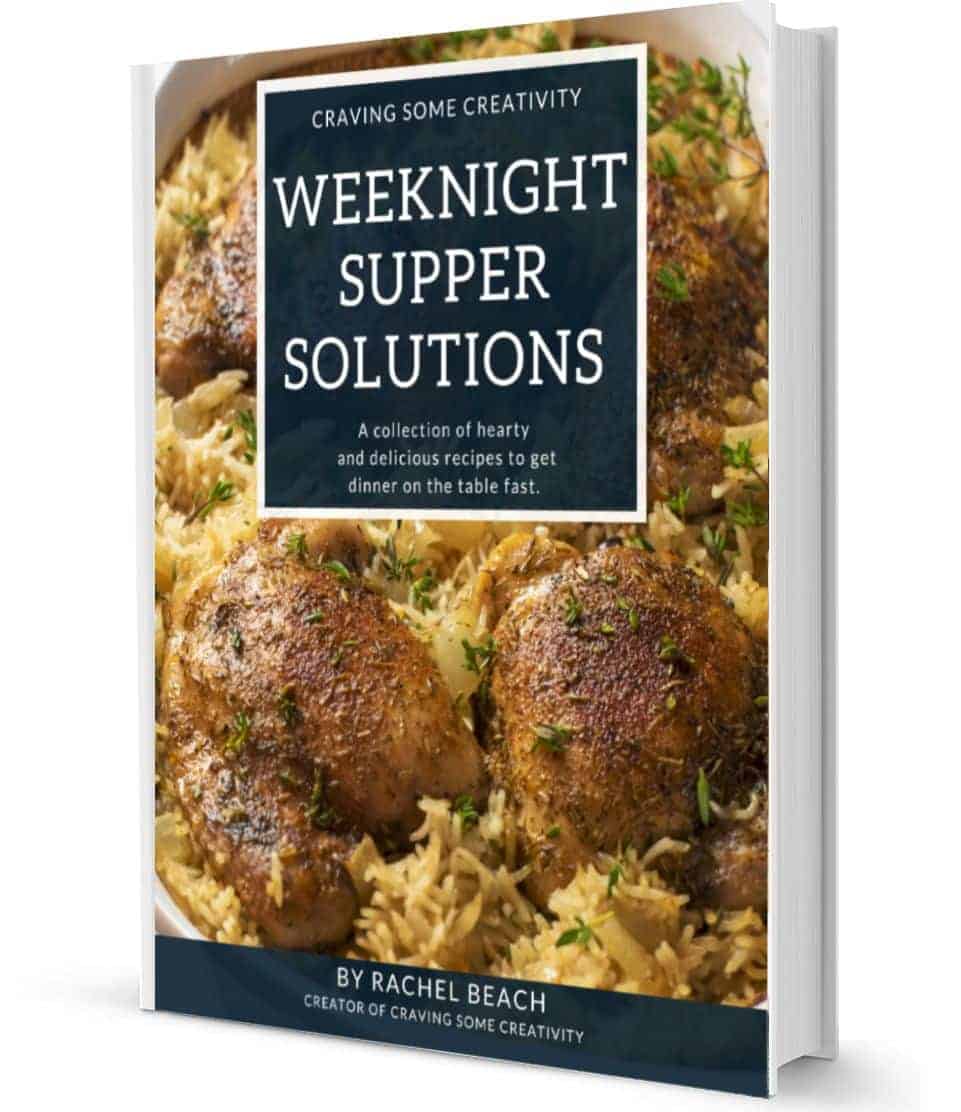
Signup for recipe updates and get a free cookbook of Easy Weeknight Supper Solutions!
More Yummy Cookie Recipes

PS. If you make this recipe, leave a COMMENT AND A STAR RATING in the comments section at the bottom and be sure to take a photo and tag it #cravingcreative on Instagram! I appreciate you for taking the time to read about me and my family recipes.
Hot Chocolate Cookies
Ingredients
- 2 Cups All-purpose Flour
- 1 teaspoon Baking Soda
- ½ teaspoon Baking Powder
- 1 Cup Unsalted Butter room temp, 2 sticks
- 1 Cup Light Brown Sugar
- ½ Cup White Granulated Sugar
- 2 Large Eggs
- 1 teaspoon Vanilla Extract
- ½ Cup Unsweetened Natural Cocoa Powder
- 2 Cups Chocolate Chips divided
- 1 Cup Mini-Marshmallows divided, ***See Note
- ½ teaspoon Salt
Instructions
- Pre-heat oven to 350 degrees F.
- Combine the dry ingredients. In a medium bowl, add 2 Cups All-purpose Flour, ½ teaspoon Baking Powder , 1 teaspoon Baking Soda, ½ Cup Unsweetened Natural Cocoa Powder , and ½ teaspoon Salt. Stir until combined.
- In a large bowl or mixer, add 1 Cup Unsalted Butter, 1 Cup Light Brown Sugar, and ½ Cup White Granulated Sugar. Beat at medium-high speed until creamy and fluffy. Add 2 Large Eggs, one at a time, and 1 teaspoon Vanilla Extract. Mix until well incorporated.
- Add dry ingredient mixture to egg mixture, ½ cup at a time, mixing slightly between additions. Scrape the side of the bowl and mix until consistent. Don't overmix. (The point of mixing in smaller portions is to keep the flour from puffing into the air.)
- Set aside ½ cup each of marshmallows and chocolate chips for after baking. Stir in the rest of chocolate chips and marshmallows.
- Using a cookie scoop, drop dough onto an ungreased cookie sheet about 2 inches apart.
- Bake cookies in preheated oven for 10-13 minutes. While cookies are in the oven, cut the mini marshmallows in half.
- When cookies are finished baking, gently nestle remaining, cut marshmallows into the tops of each cookie and sprinkle with reserved chocolate chips. Perform this step immediately after pulling cookies from oven while they are very hot.
Recipe Notes
This recipe is built around mini marshmallows, but if you can find the super miniature marshmallows (the tiny kind you use in hot chocolate) you can substitute these instead. Use 1-1 ½ cup and stir them all into the dough rather than adding some after baking. Chocolate
Instead of chocolate chips, you could use 12 oz of coarsely chopped chocolate candy bars. Storing
Store them in a well-sealed, airtight container at room temperature. To keep them soft, try adding a slice of bread to the container, but don’t lay it directly on the cookies. I use a layer of parchment paper in between to prevent the marshmallows from sticking. Marshmallows exposed to air may start to get a bit stale after a day or two, but they are easy to remove.
Kathleen says
Can’t wait to try this recipe.
Ella says
I’ve made these twice already because they’re so good!
Minnie says
We used freeze dried cereal marshmallows instead of fresh mini marshmallows. Super easy swap!
Kimberly says
Such a yummy cookie!
Sadie says
Came out great, thanks for the tips about the marshmallows!
Jane says
Ok so I def flubbed the marshmallows the first batch- easy fix. The second batch tasted exactly like a cup of hot cocoa. Soooo good.
Sadie says
You had me at hot chocolate 💕
Jaime says
Our new favorite snow day treat.
Shari says
Must try!
Krista says
These are a comforting little bite of deliciousness. We thoroughly enjoyed them!
Jody says
Worked so great for my daughter’s Winter One-derland Theme Party. Thank you!
April says
These were a huge hit at the office party!
Kelli says
So yum! Have you ever tried adding crushed candy cane pieces to this?
Claire says
You have the best cookie recipes! Keep ’em coming, we have a house of cookie fanatics and your recipes always hit the spot.