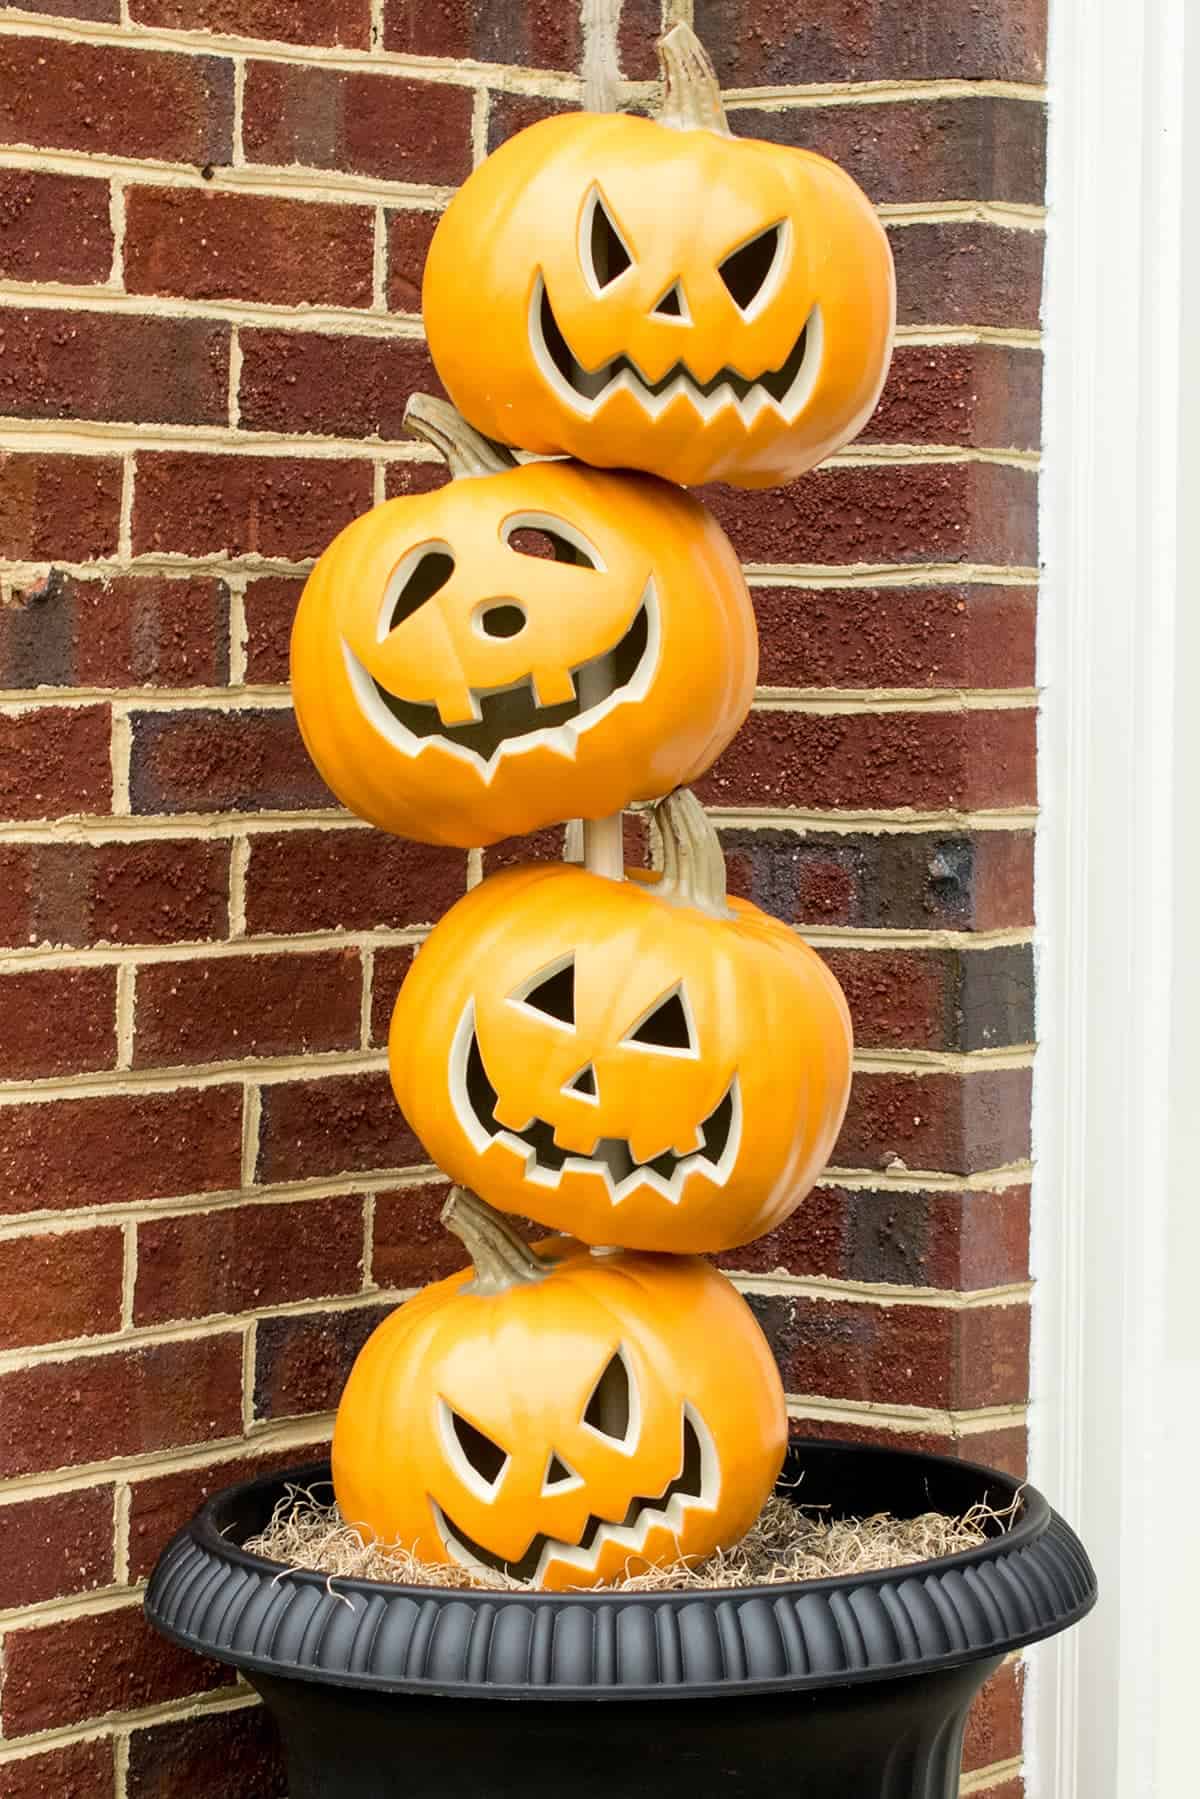
This stacked pumpkin topiary is the cutest Halloween decoration for the front porch! Easy to make and fun for all ages, they light up and can be broken down for storage when not in use.
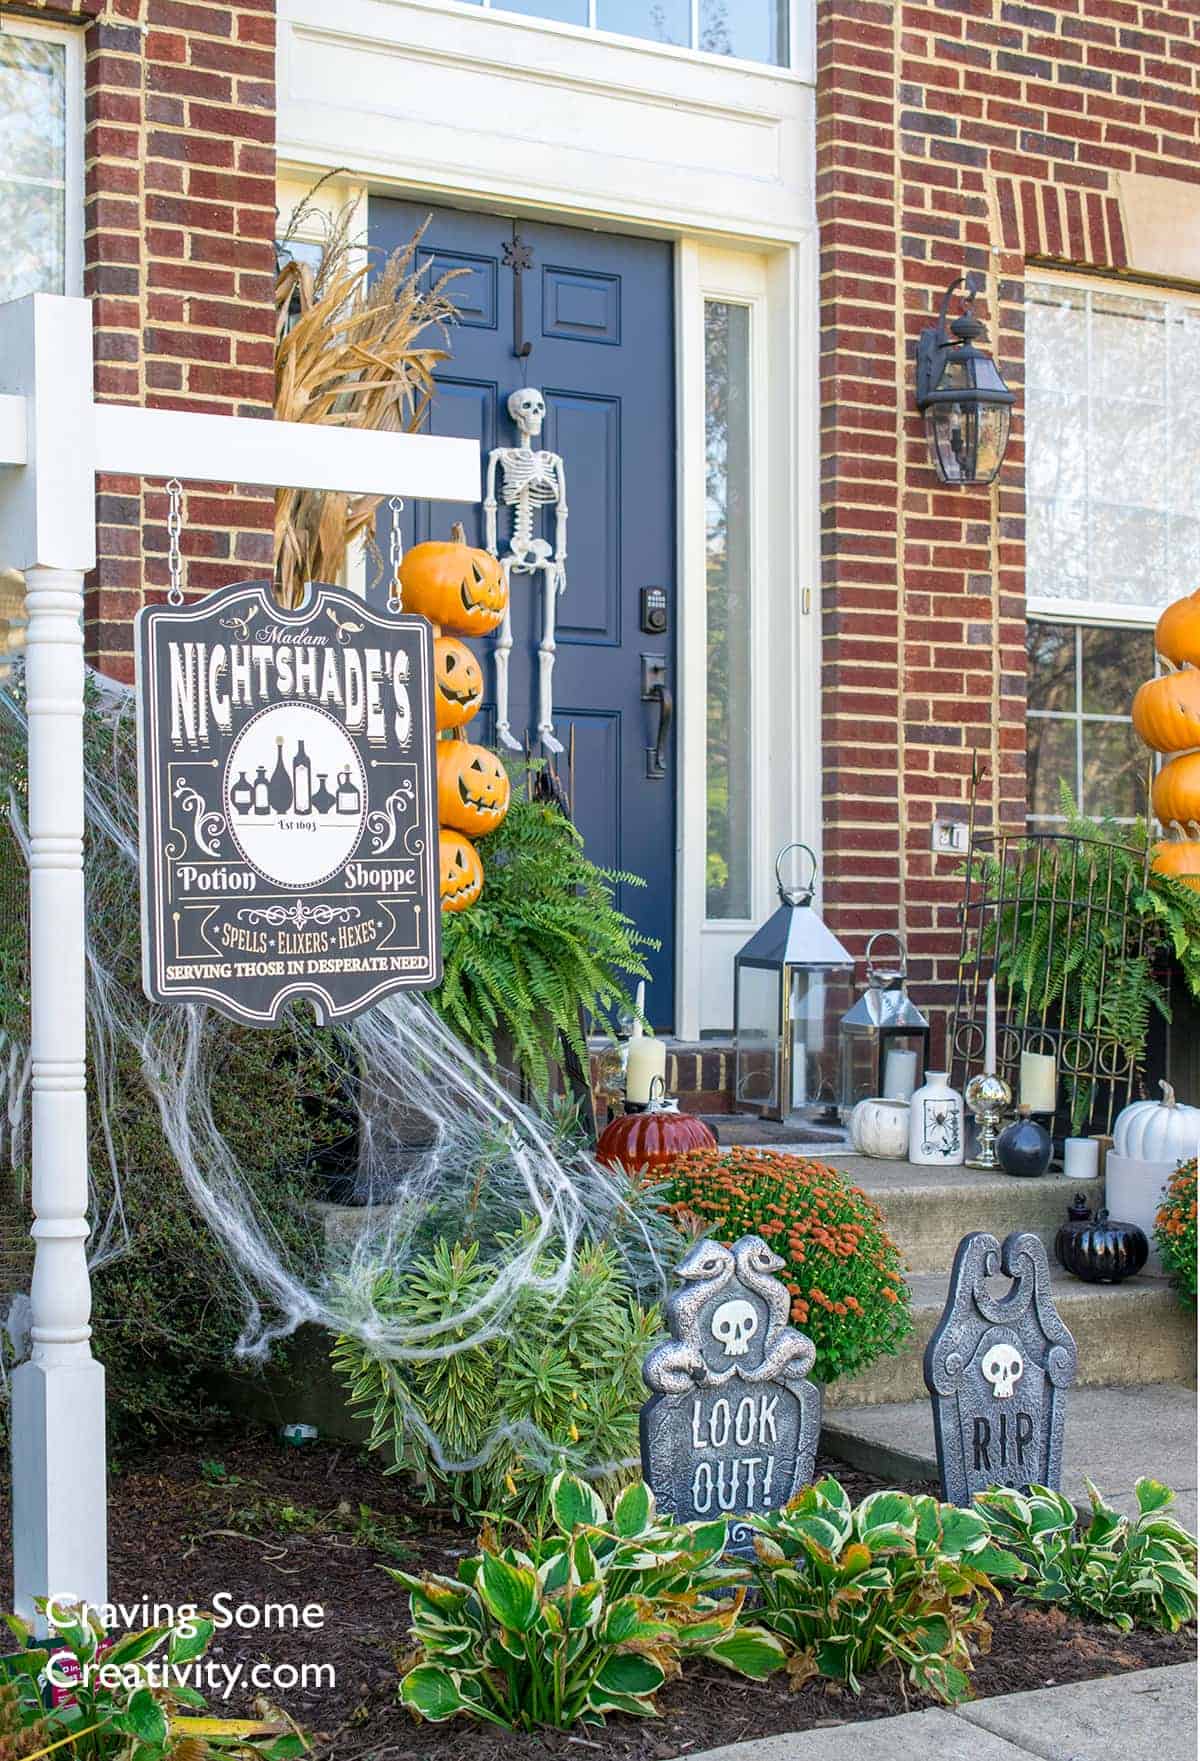
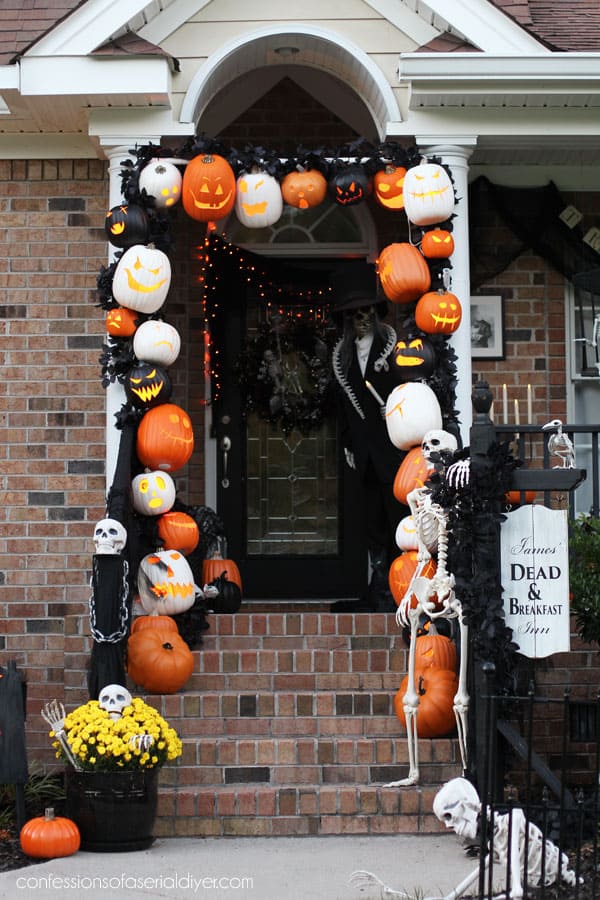
I am a huge fan of Halloween and love to do all kinds of decorations to welcome trick-or-treaters. Every year, I add to our huge display of Outdoor Witch Decorations seen here. One of the first decorations I did were these lighted pumpkin topiaries!
Did I mention I still often dress up as a witch too?! We have such fun decorating the Halloween porch that getting dressed up in costume makes me feel like part of the action! Of course, these DIY pumpkin topiaries are the perfect sinister greeters for all the kids who dare come up to our door.
Supplies Needed
- ¾ inch dowel rod
- Drill
- ¾ inch drill bit
- Plastic pumpkin heads (3-7 depending on height)
- Large Planter or Urn
- Planter Filler – (Styrofoam + sand/dirt/gravel)
- Spanish moss
- Hand Saw – or other tool to cut the dowel rod to size.
- Battery LED lights or flameless tea lights with remote (optional)
FAQs
I got mine at Lowes years ago. However, there are several other options that are just as cute!
1. Carvable foam pumpkins from Amazon.
2. The Dollar Store and Michaels Craft Store sometimes has them.
3. Home Depot has had very similar ones in the past few years.
4. Plastic candy buckets.
* If your pumpkins aren’t able to be carved, decorate them in other ways like paint, flowers, stickers, or even glow in the dark paint.
For this tutorial, I generally do not recommend using real pumpkins. Carving them makes them rot faster and they generally won’t support the weight of the upper pumpkins well.
Battery LED tea lights or small LED string lights are safest and easiest to manage. Regular candles can cause fire. If the lights can’t be inserted through the face, cut a small hole in the back. Keep the “cork” and replace it after insertion.
How To Make an Outdoor Pumpkin Topiary
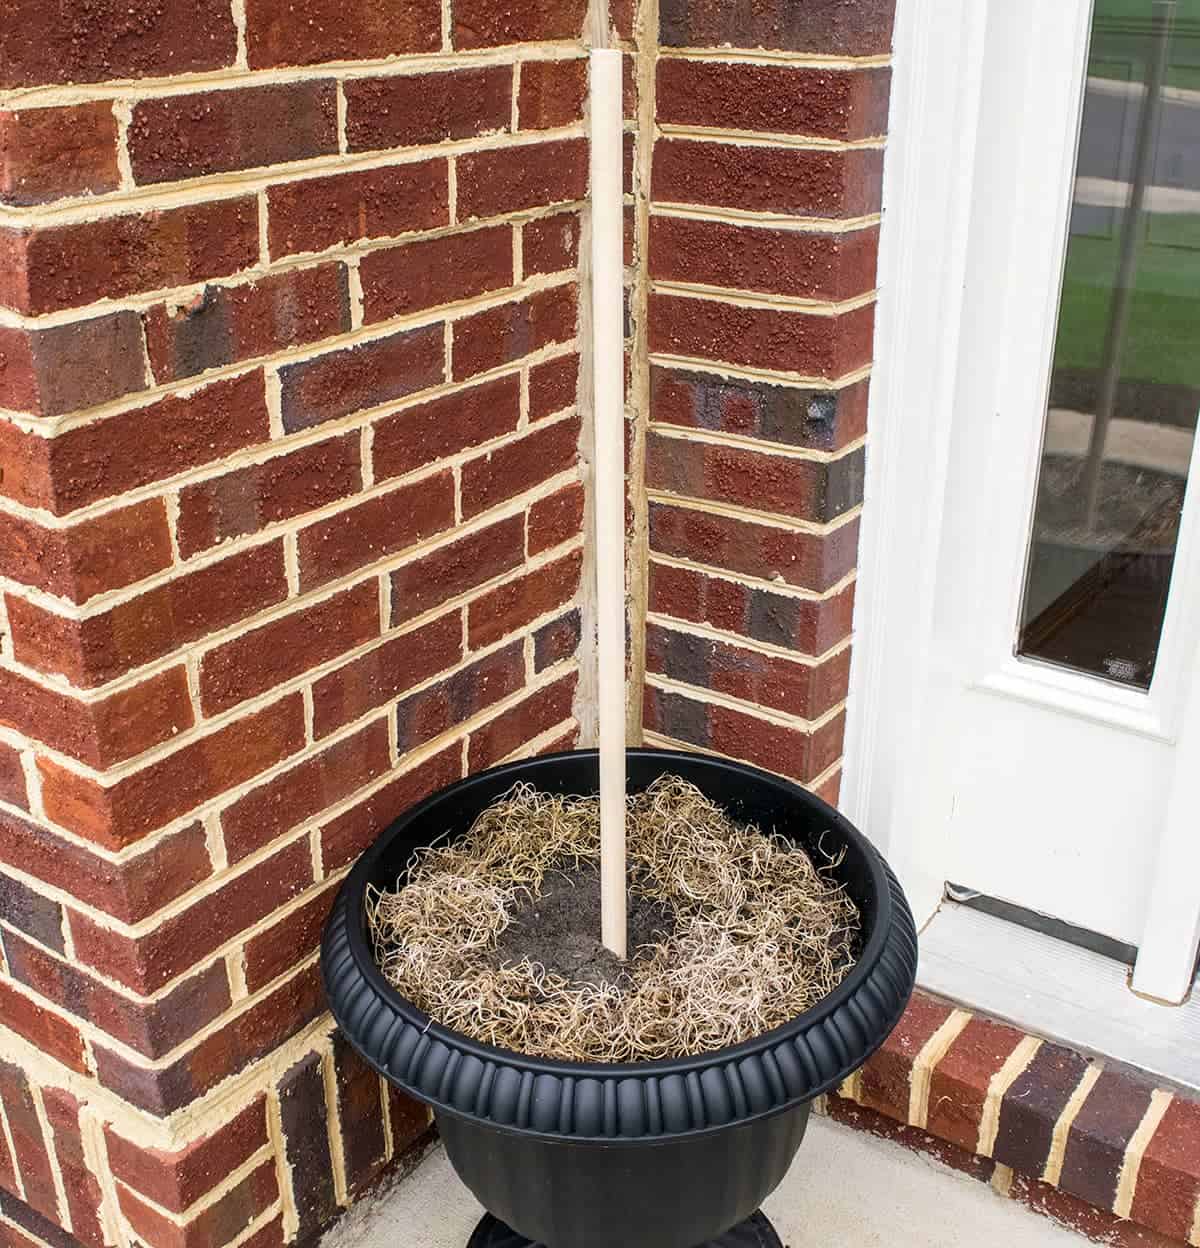
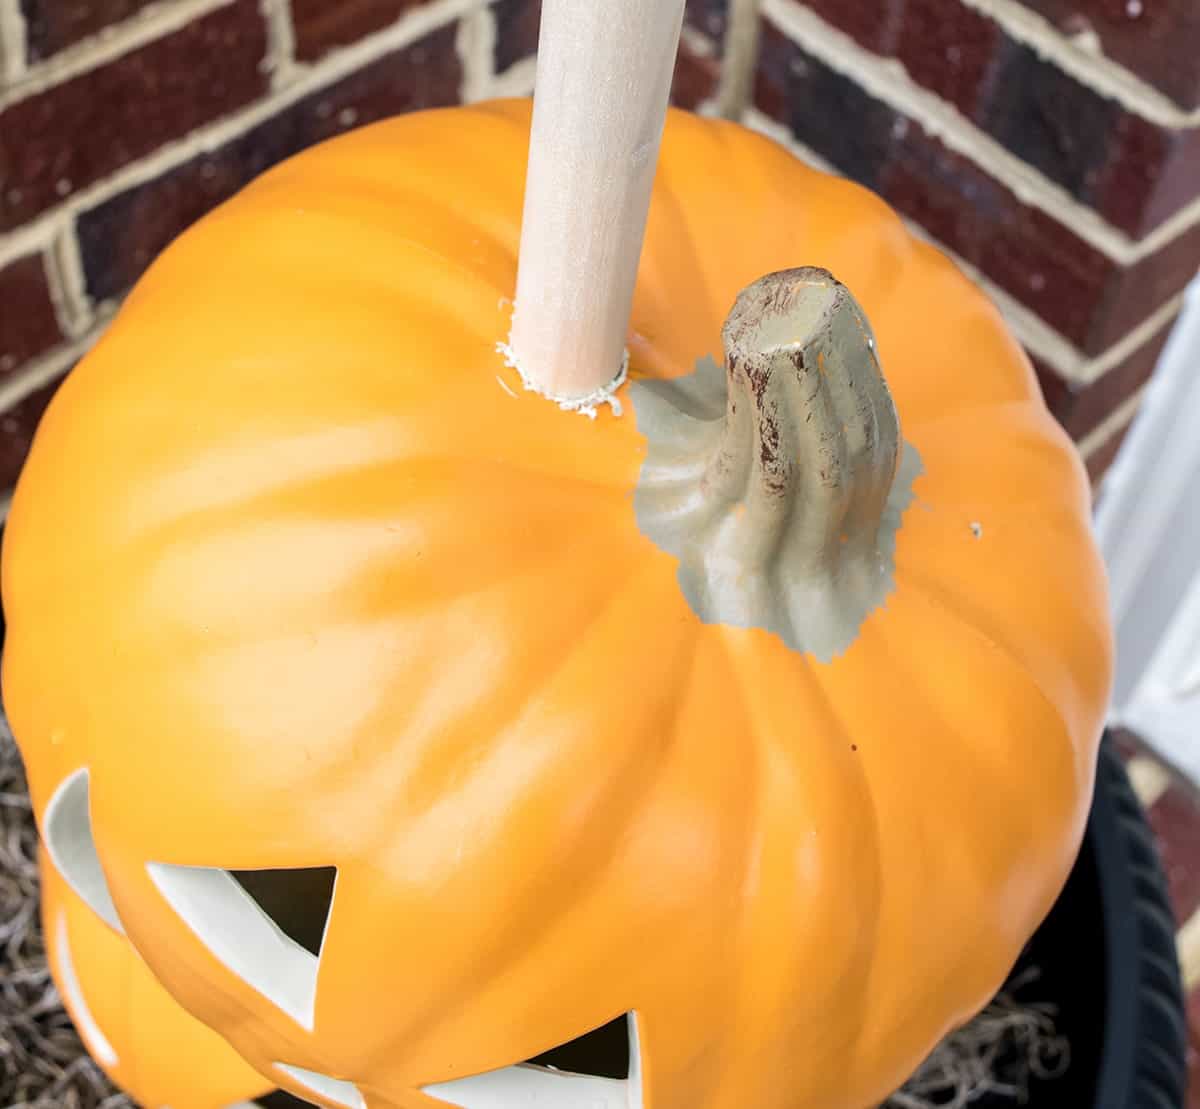
1. Setup an Anchor Pole
Insert the dowel rod into the planter, all the way to the bottom. To secure the dowel rod, fill the planter with Styrofoam (to lighten the weight) and sand or dirt or gravel to give stability. I added Spanish moss around the base for effect and the urn already has a drainage hole below.
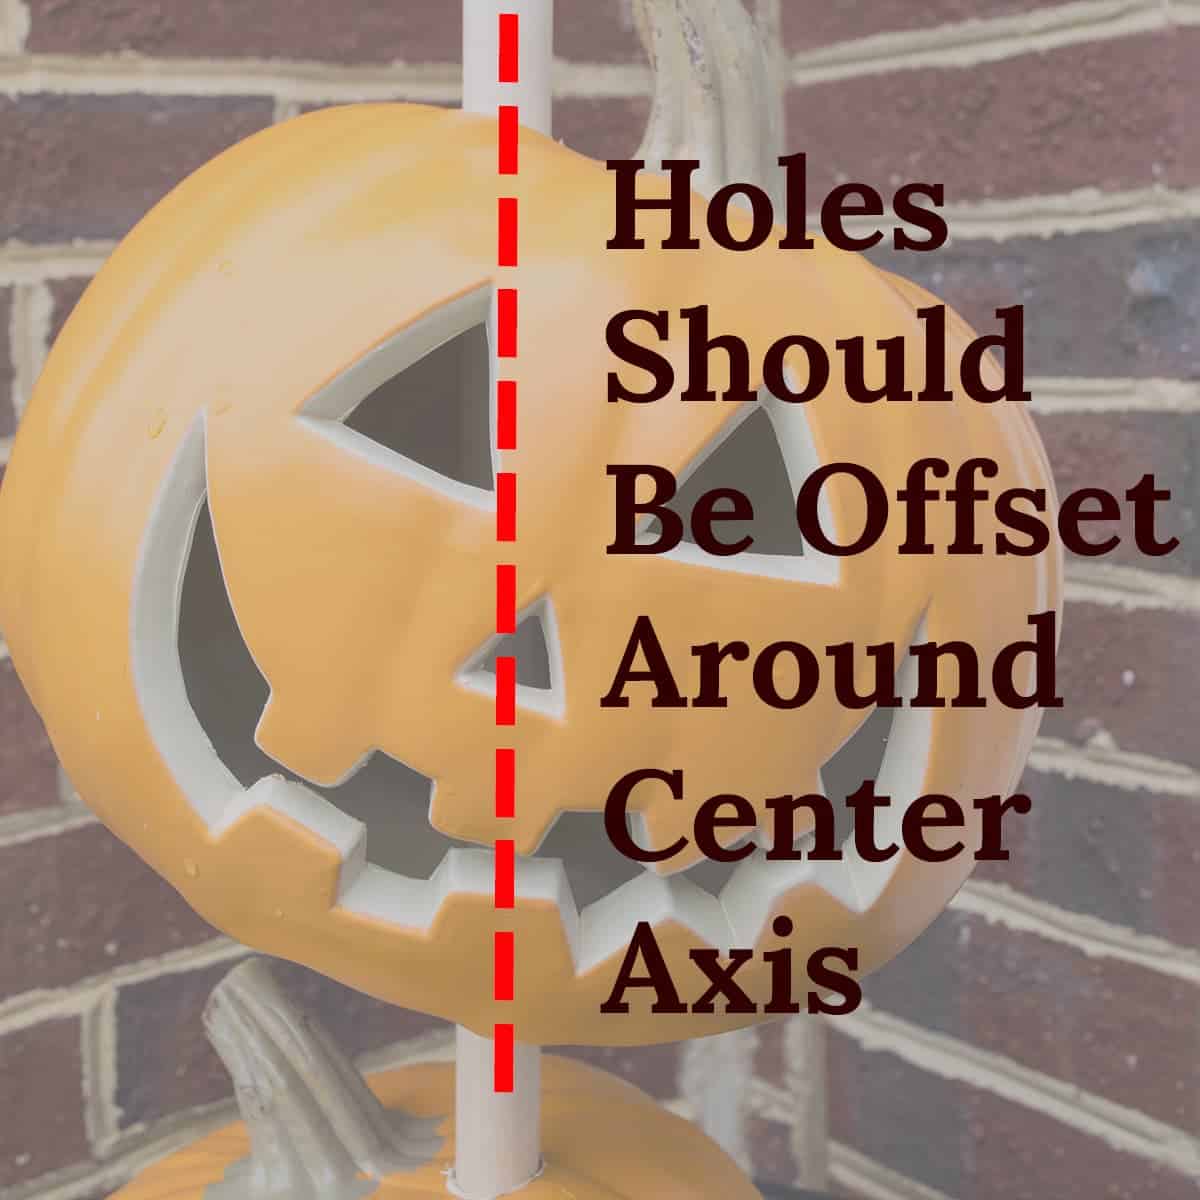
2. Plan and Mark Pumpkins
Plan out how you want the pumpkins to stack and in which order. Mark areas for holes in the pumpkin head so that they stack nicely on top of each other at alternating angles. You can see what I mean by alternating angles above. However, if you have open tops instead of stems, you could do a straight stacked topiary.
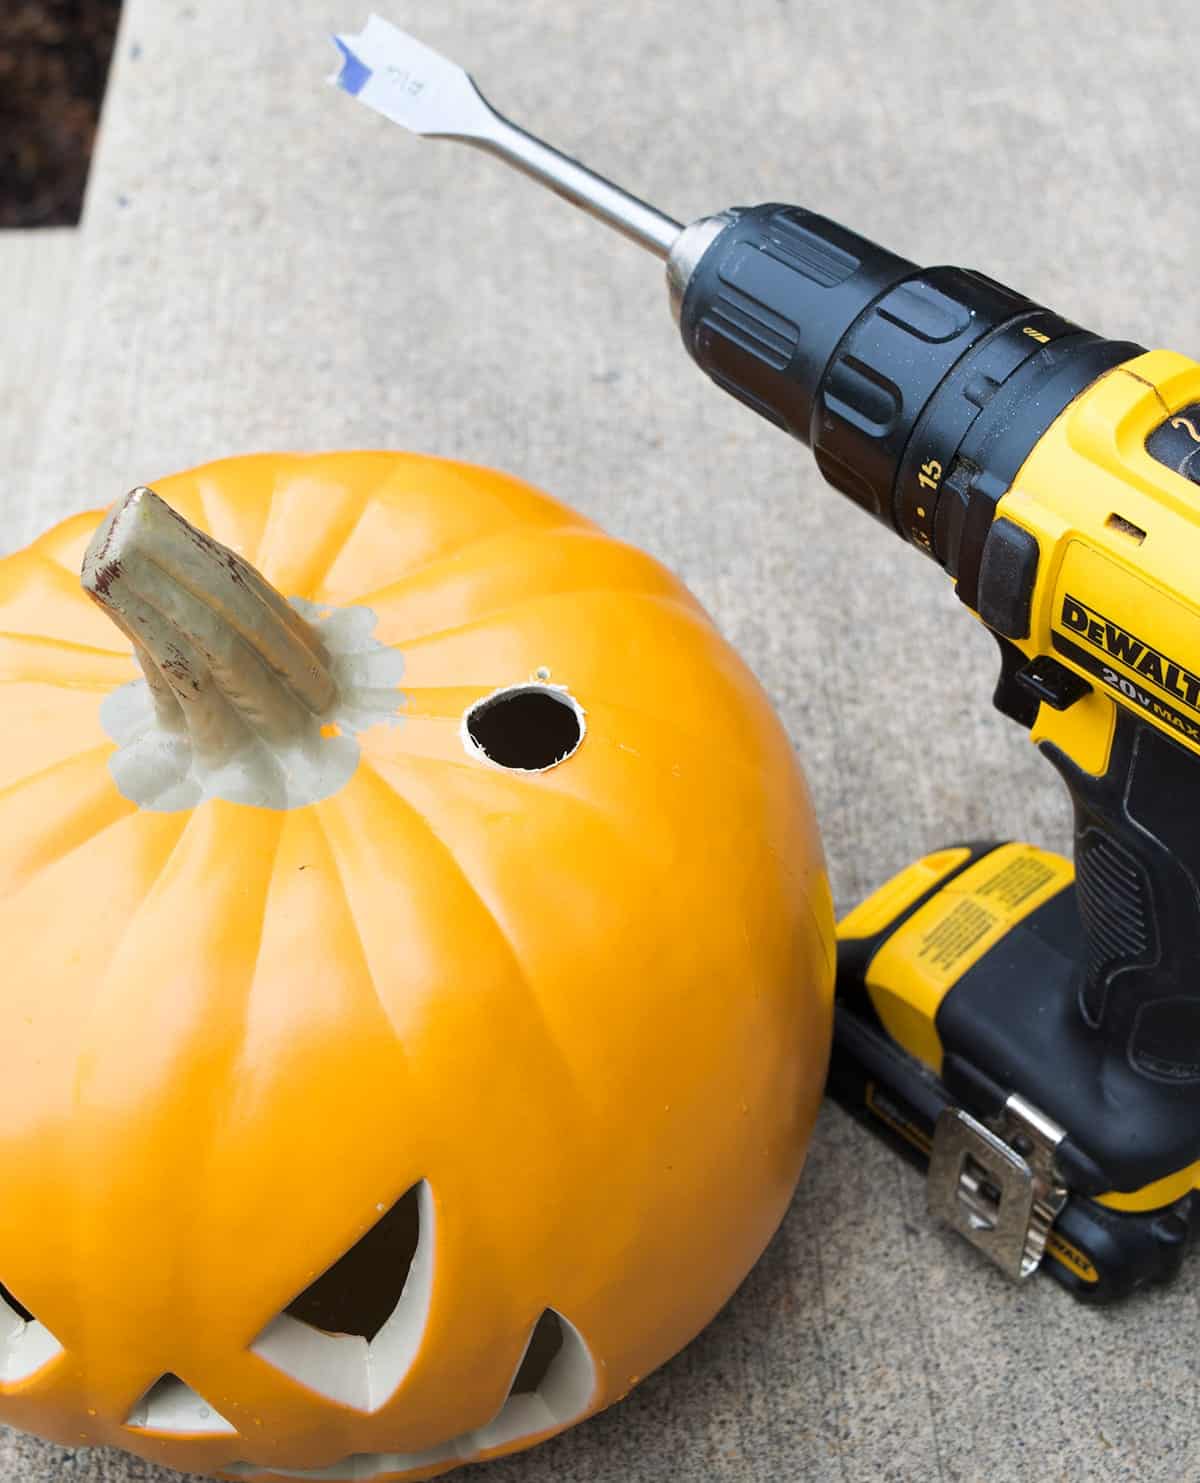
3. Drill Holes in Pumpkin Heads
Each pumpkin head, except for the top pumpkin, has a hole drilled through the top and bottom. You need to drill only the bottom hole for the top-most pumpkin head.
4. Stack Pumpkins
I firmly pushed the pumpkins onto the stake and judged how much excess length to trim off the dowel rod. The dowel rods are pretty easy to cut with a handsaw or other cutting tool.
If your pumpkins have an open top (such as candy buckets) consider drilling a small hole at the bottom to drain any rainwater or keeping them in a covered area. You can tell the lowest point after putting the heads on the stakes.
5. Add Optional Lights
My pumpkins came with lights, but you can easily add simple flameless candle like these. If the lights can’t be inserted through the face, cut a small hole in the back. Keep the “cork” and replace it after insertion.
Quick alternatives (no power tools)
- If you cannot drill, cut slits and slide a sturdy stake through, then hot glue layers in place. These methods work well with lightweight foam pumpkins.
- Use pre-drilled Dollar Store buckets stacked and glued for a tool-free option.
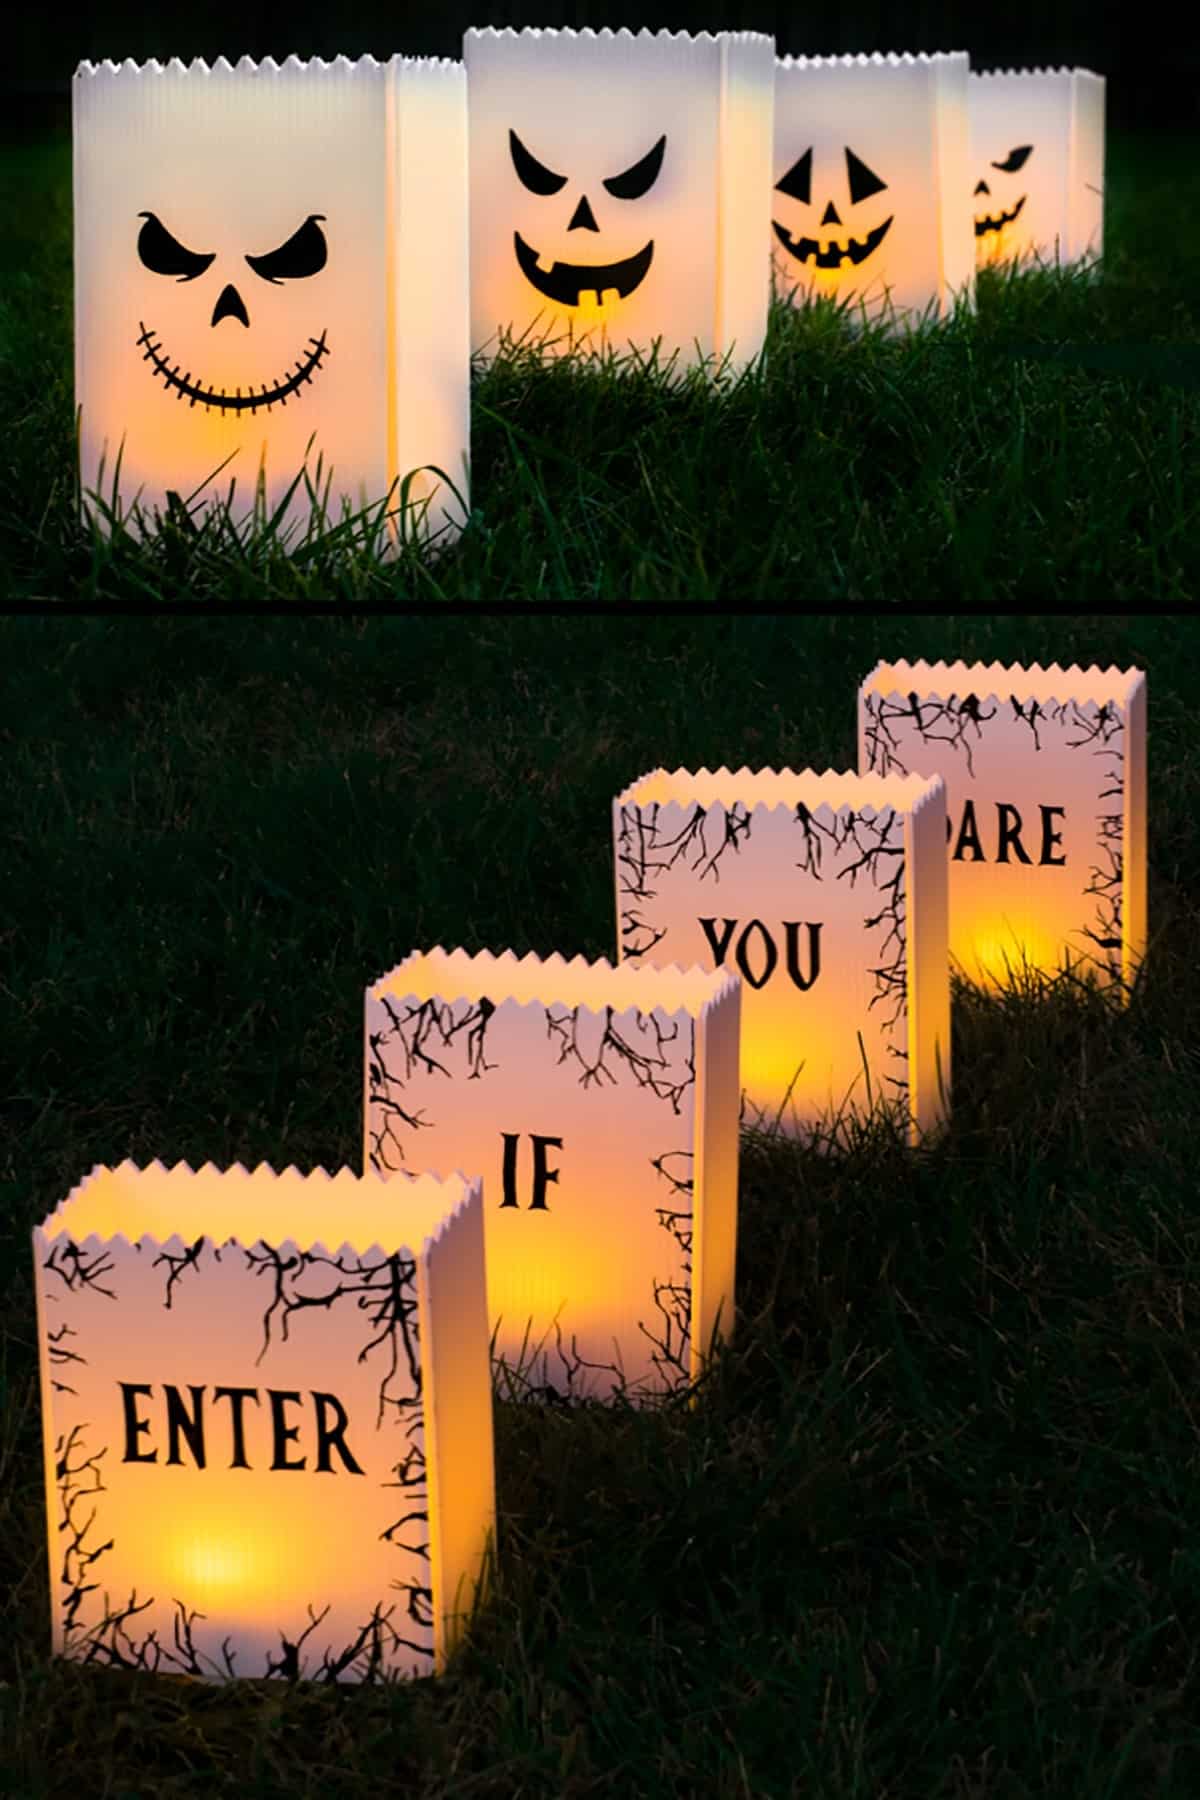
Looking for more fun Halloween decorations? These are spooky fun!
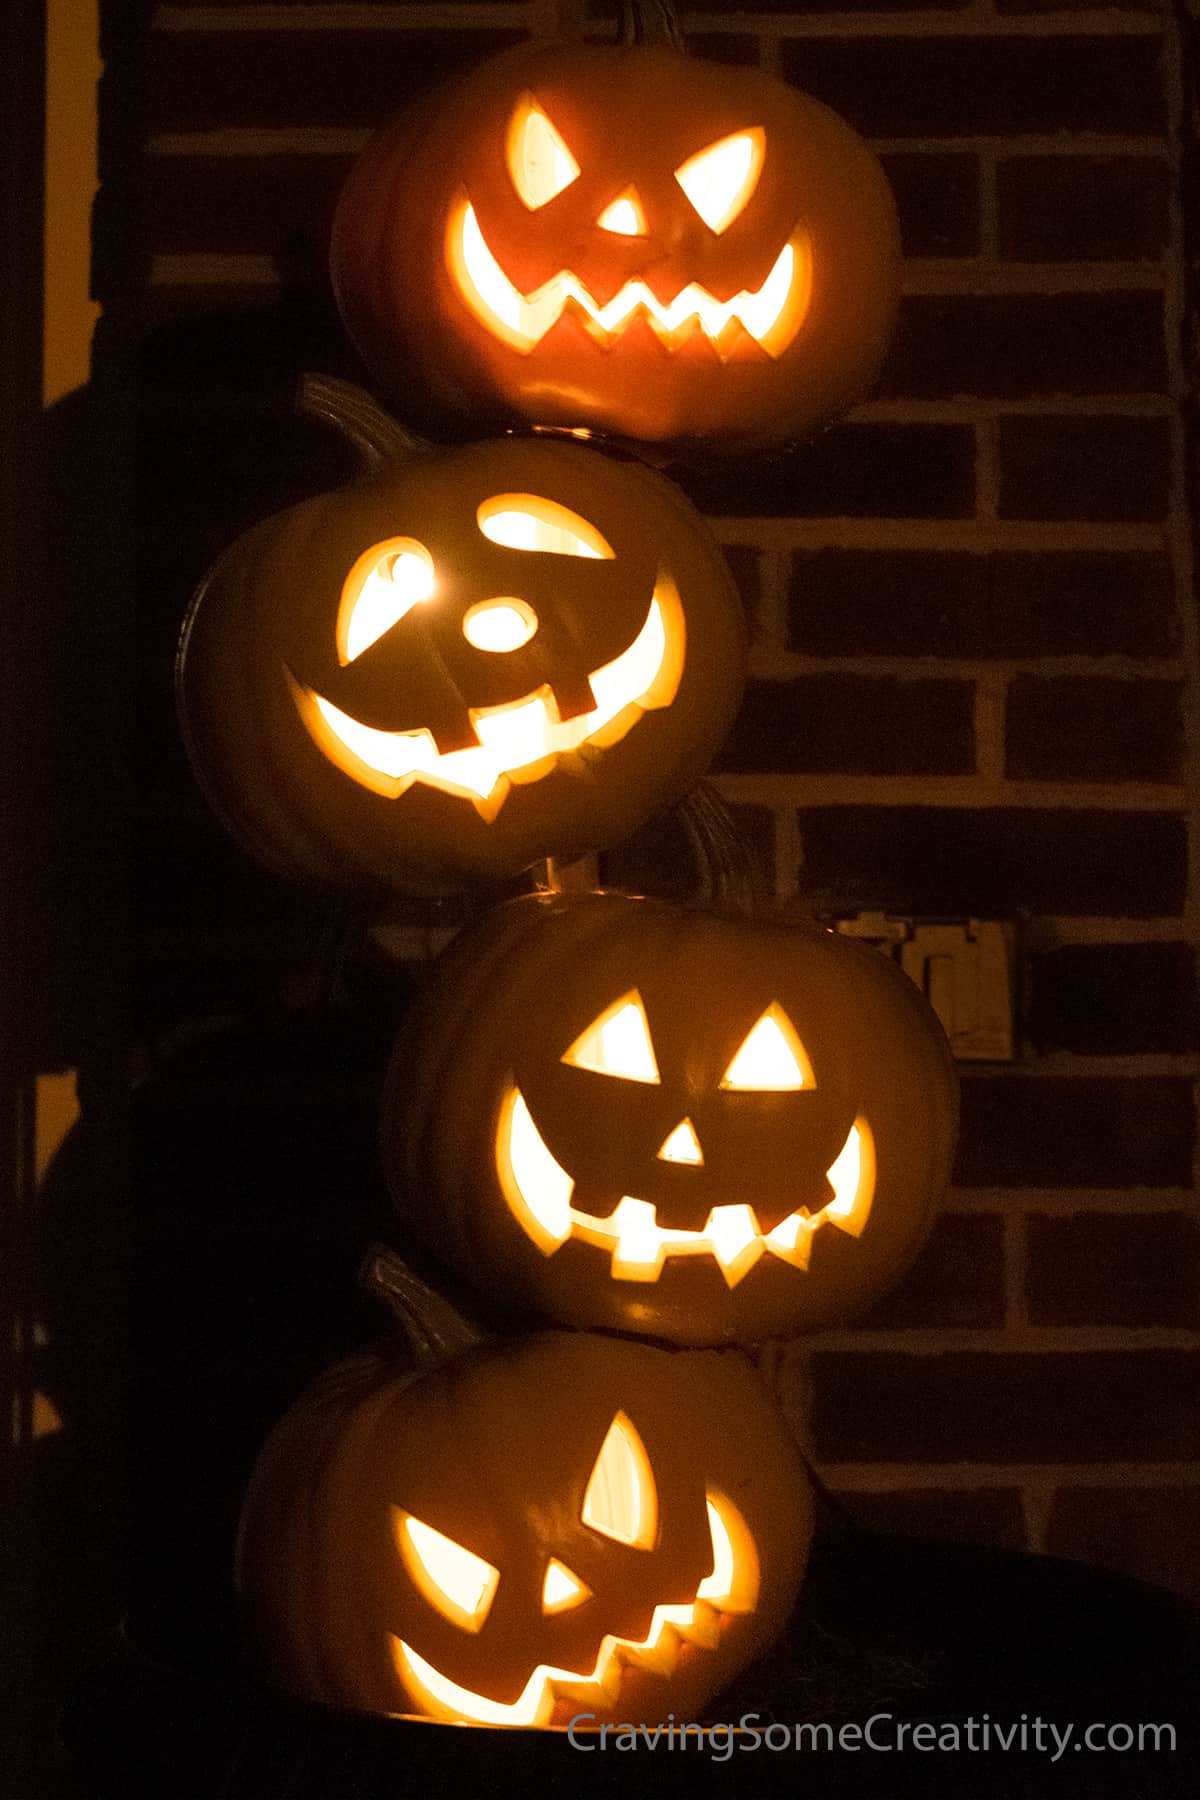
These little outdoor stacked pumpkins are a great way to greet the trick or treaters in your neighborhood. I was very happy with this project, and I love that it will last for years to come! Happy Haunting!

Grab our free series "Weekend Home Projects that will Transform Your Life" Sign up below to receive updates including free printables, organization tips, home improvement projects, recipes and more! |
More Halloween Ideas
PS I love seeing your creations! Be sure to take a photo and tag #cravingcreative on Instagram! You can also stay in touch with me through following me on Instagram, Pinterest, and subscribing to the newsletter!
Nicole Gardiner says
Approximately what size are these pumpkins?
Rachel says
Mine are a little wider than plastic pumpkin candy buckets or about 10 wide by 8 high, not including the stem.
Christina says
Love this idea. I plan to try this!
Candy says
Can you explain how you plugged them all in and managed all the cords coming out the back please
Rachel says
Hi Candy! No problem. At first, I put the cords together in a column with zip ties down the back so they weren’t falling all over the place. Of course, we ended up using a pretty hefty multi-plug to plug all of the lanterns in. I wasn’t a big fan of that, but it was the quickest solution. Actually, one of my planned projects, after a similar question from a reader about replacing burned cords on power tools, will be shortening a string of christmas lights for these pumpkins. That will get rid of the multi-plug problem. I hope that helps!