Learn how to use Halloween Projector Decorations to transform your home from happy haven to a haunted hideaway. Tips include how to choose the perfect location, how to set up a projector, choosing the best equipment and selecting spellbinding Halloween digital animations.
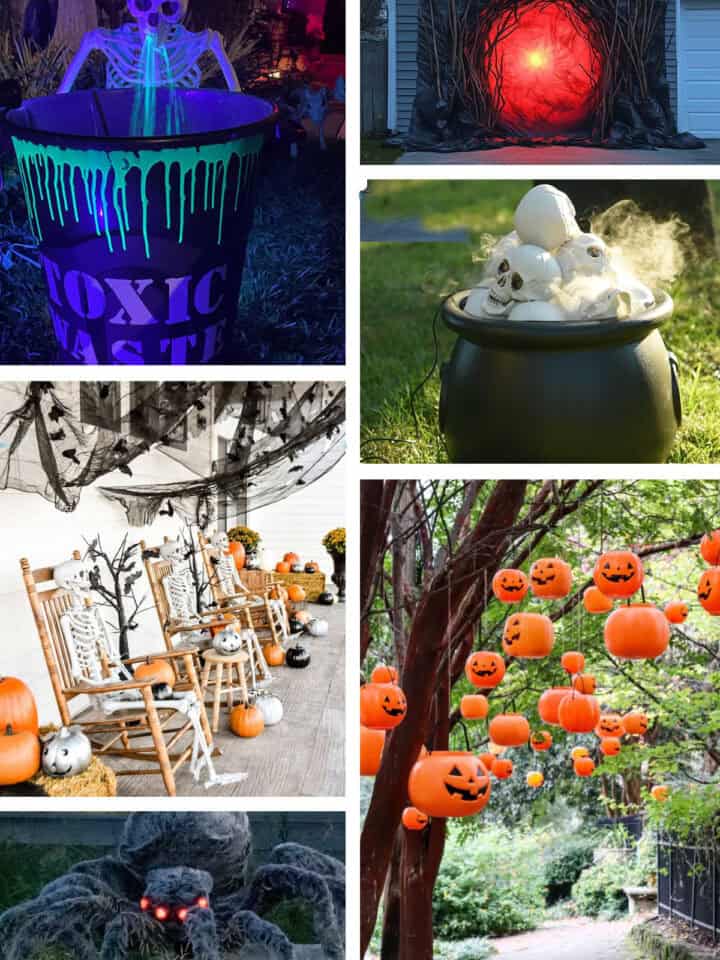
While pumpkin spice is all quite nice, October is synonymous to one thing in our household- Halloween! Our motto? Go big or go home. Our humble Halloween porch decor has metamorphosed into a full front lawn display. From a macabre DIY Apothecary display drenched with a DIY fog machine to a sinister set of witches casting spells under the Autumn night sky, our DIY Halloween decorations get spookier each year.
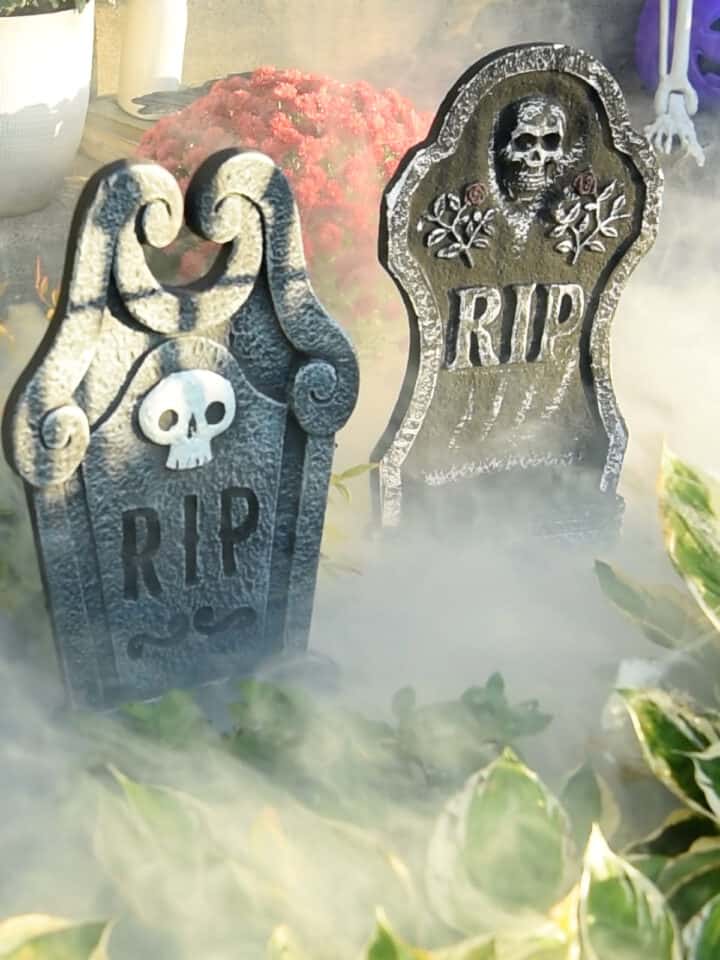
While spider webs and haunted headstones are timeless Halloween decor, how could I boost it more without storing an impractical 15-foot skeleton?
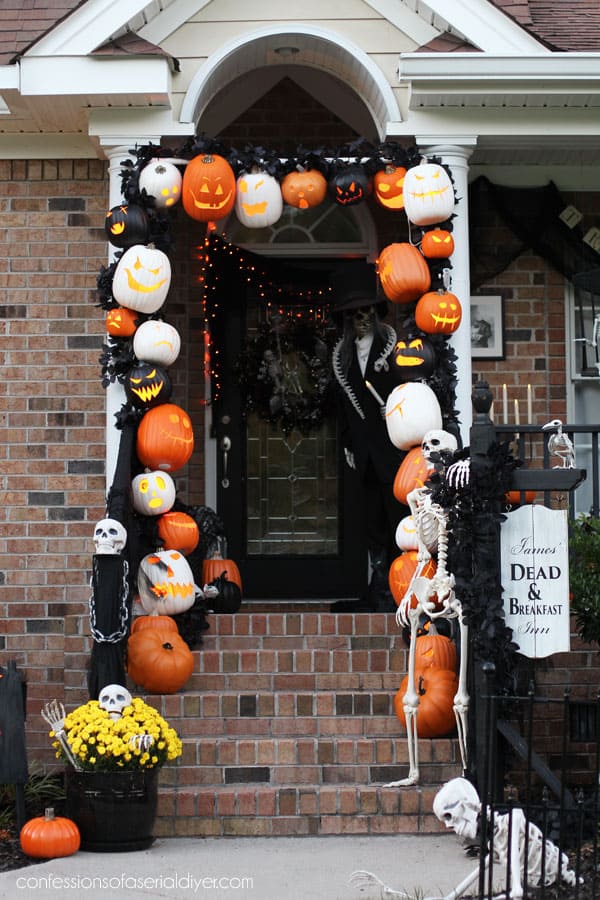
Answer: Halloween holographic decorations create a spooky illusion on walls, windows, and objects like interactive singing pumpkins!
Why Digital Decorations are the new Halloween Magic:
I purchased most of my decorations from AtmosFX which provides instant downloads. I’m not affiliated with the site in any way, but they have the most animation options.
- Variety: Digital Halloween projections come in a wide range of themes and animations. Keep decor fresh and exciting year after year by switching up scenes and effects.
- Space Saving: Digital projections are super space-efficient. Use a single projector to cover a large area, eliminating the need to store away bulky decorations.
- Interactivity: Digital Halloween projection systems allow for interactive elements. For example, motion sensors can trigger animations or sound effects when someone approaches.
- Reusability: While physical decorations may get degraded or damaged over time, digital Halloween projection decorations can be used year after year with minimal wear and tear.
- Adaptability: Use the setup for other holidays and occasions. We have a Christmas display that the neighborhood kids love!
What You Will Need
Here’s a general overview of what I use for our setups for Halloween window projects, singing pumpkins, and Christmas window projector decorations.
Not every item is required for every type of setup:
- Digital Decorations – I give options, both purchased and free below.
- Extension Cord and Multiplug
- HDMI, Memory USB stick, or media playback device (laptop, smartphone, streaming stick)
- A media player with loop and shuffle features (for the computer)
- A projector (see below for options).
- A screening material. See options below.
- Small set of speakers if you want sound effects.
- Pumpkins
- Zip ties, fishing line, clamps for securing things
- Scissors
- Screw Eye Hooks or Heavy-Duty Command hooks
- 1 ½″ diameter pvc – to build a frame to lean against the window and hang the screen.
- 90-degree pvc elbows – 1-½″ to match pvc
- Portable power station. Only if you want to make a portable option.
ProTip: If you use a computer, a video player capable of playing MP4 media files, as well as looping and shuffling a playlist, is required. I use VLC media player because it has all the necessary features and a full screen without text. It’s safe and completely free. Only download from the official site for safety.
Material FAQs
The key feature is brightness and deciphering the throw length. I would recommend a short throw but it’s not necessary. Aim for at least 1,000-2,000 lumens for indoor window scenes; more for outdoor or daylight use.
I’ve used this projector for 3 years. It’s light, bright, and easy to hide! If a power source is hard to come by, you can use a video projector with a rechargeable battery. This portable option is bright, crisp, and boasts a long battery life. It’s the quintessential accompaniment to your next trunk or treat. Or simply purchase a large portable power station with 110-V hookups.
I use this screening material for our giant picture window (120×50). I’ve seen smaller Halloween displays set up with cheap shower curtains and/or bed sheets. Although these options work well enough, the image is not as crisp.
For the best holographic effects, use a translucent material or a rear projection screen. The more translucent, the better.
If you want to up the scare ante, drape cheesecloth around the edges of the screen material.
This setup isn’t limited to purchased hologram animations. Use free Halloween videos or photos from places like Upsplash and Vecteezy. If you’ve subscribed to services such as Envato elements, Shutterstock, or Adobe stock, you have access to even more options.
Yes. You can use plastic sheeting, shower curtains, or translucent table clothes although the image won't be as nearly as crisp as specialty screens.
Halloween Projection Effect Ideas
One of the best features about these types of decorations is the sheer versatility. Use them for Halloween, Christmas, and other holiday displays.
- Ghosts and Wraiths flying across a window.
- A Peek into Santa’s Workshop
- Ring in the new year filling your walls with fireworks or confetti poppers – no mess!
- Interactive 3D humanoid forms that talk and sing
- Play holiday sequences on your TV for parties.
- Floating apparitions or singing witches in your doorway.
- Leaping Velociraptors running across walls for a dino-mite birthday party.
- Options abound from football themes to creepy eyes.
- Use a one-way mirror with a short-throw projector placed behind the mirror.
How to Setup a Halloween Projection Window
1. Prepare and mount the screen
The window should be easily visible from the outside and near a power source for the projector. Clean the inside and outside of the selected window thoroughly to ensure a clear projection. You have a few ways to hang the screen material, including:
- Use a thin material meant for rear projections that does not have a backing. For our oversized windows, I use this material and hang it so that the edges are not seen outside.
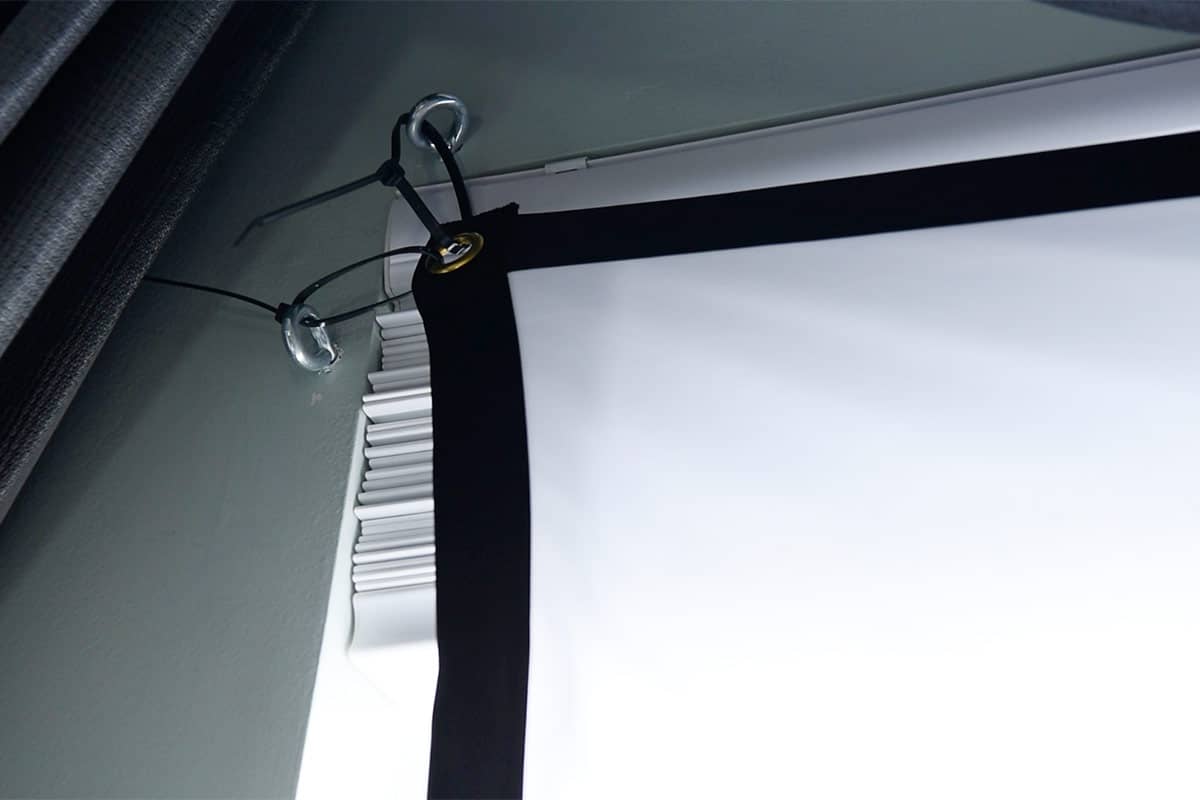
- Stretch it taut and mount it with hooks or clips. I used zip ties and screw-eye hooks for the screen above. If your material is not too heavy or stretched, you can use command strips.
- If you do not have anywhere to naturally hang a screen, use PVC frame to attach a screen. I show this in the video below.
2. Choose & position your projector
- First you need to know the throw distance of your projector. Some are meant to be placed a certain distance, and the image can be distorted if it is not within that distance.
- Place the projector far enough back and angled so the image fills your desired window or surface.
- Use a tripod or mount so it’s stable and adjustable.
3. Load your video / animations
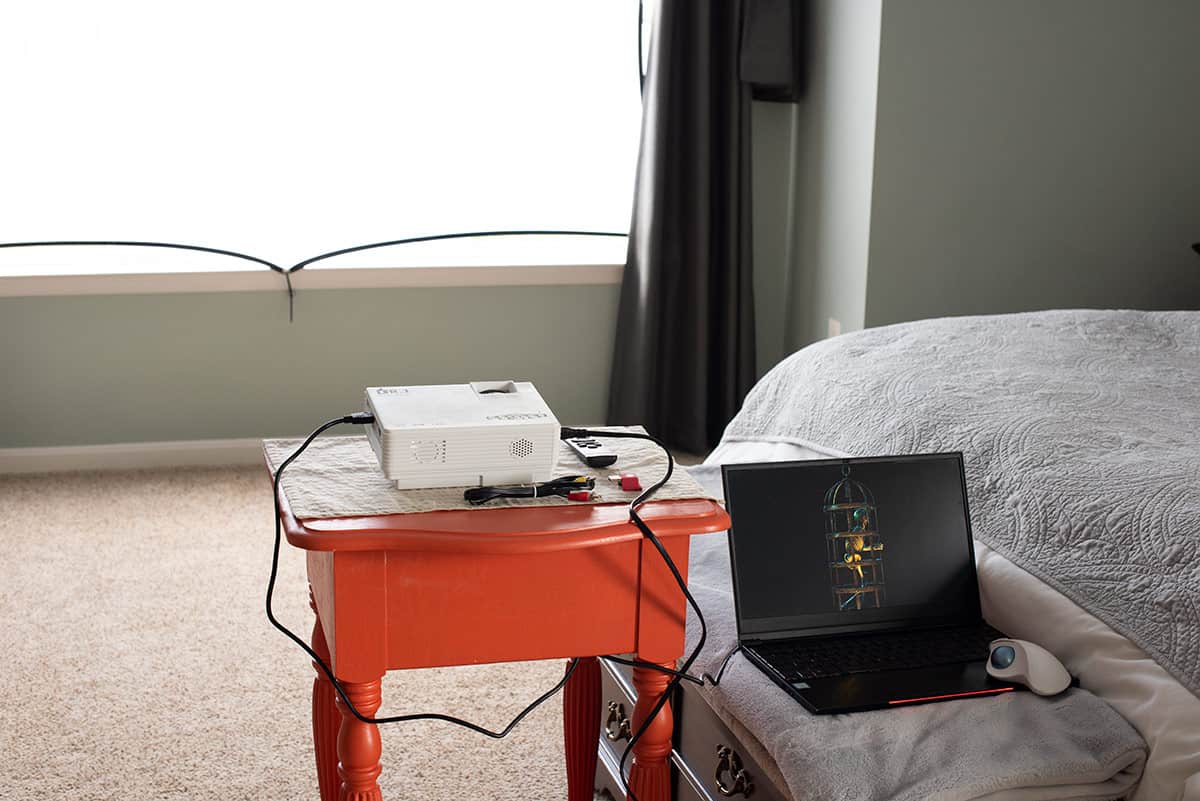
- For displaying your animations, you can use a USB stick plugged directly into the projector (you may have less control like shuffle) or a laptop and HDMI cable. You can also use your phone via Chromecast or AirPlay to a Roku or other streaming stick plugged directly into the projector. I have not done this one myself though.
- Make sure the input source on the projector matches your media storage device.
- If using a laptop, make sure it’s set to duplicate the screen or display to the projector and adjust display settings as needed. If using a memory card, use the projector menu to adjust settings.
- For a laptop, use a video player that allows loops and shuffle (if you do not have one, VLC media player is a free and safe option).
- If your projector kit includes speakers, connect them to the projector for synchronized sound effects. Alternatively, you can use external speakers and connect them to your laptop.
Pro Tip!: A laptop or high-quality memory stick is going to have the best resolution for larger windows. You also can display and shuffle multiple digital decoration packs, although projector capabilities will vary between models.
4. Fine-tune alignment & ambiance
- Dim or turn off ambient indoor lights.
- Adjust projector distance / focus to match the screen.
- If needed, hide the projector-behind props, under benches, or draped with dark fabric.
Video Demonstration of all Setups
Confession time: I’m quite shy in person. Nevertheless, I’ve attached a video explanation of how I setup my Halloween projection effects with detailed step-by-step visuals. I’ve included two different window setups as well as my singing pumpkin projection- a portable display option.
Other Creative uses for Digital Decorations
For a "hollusion" or a floating effect, use sheer fabric like cheesecloth so light passes through it. This works best for doorways or possibly in the middle of your yard but you want people to see through the fabric. The image won’t be as clear and bright but this is part of the ghostly illusion.
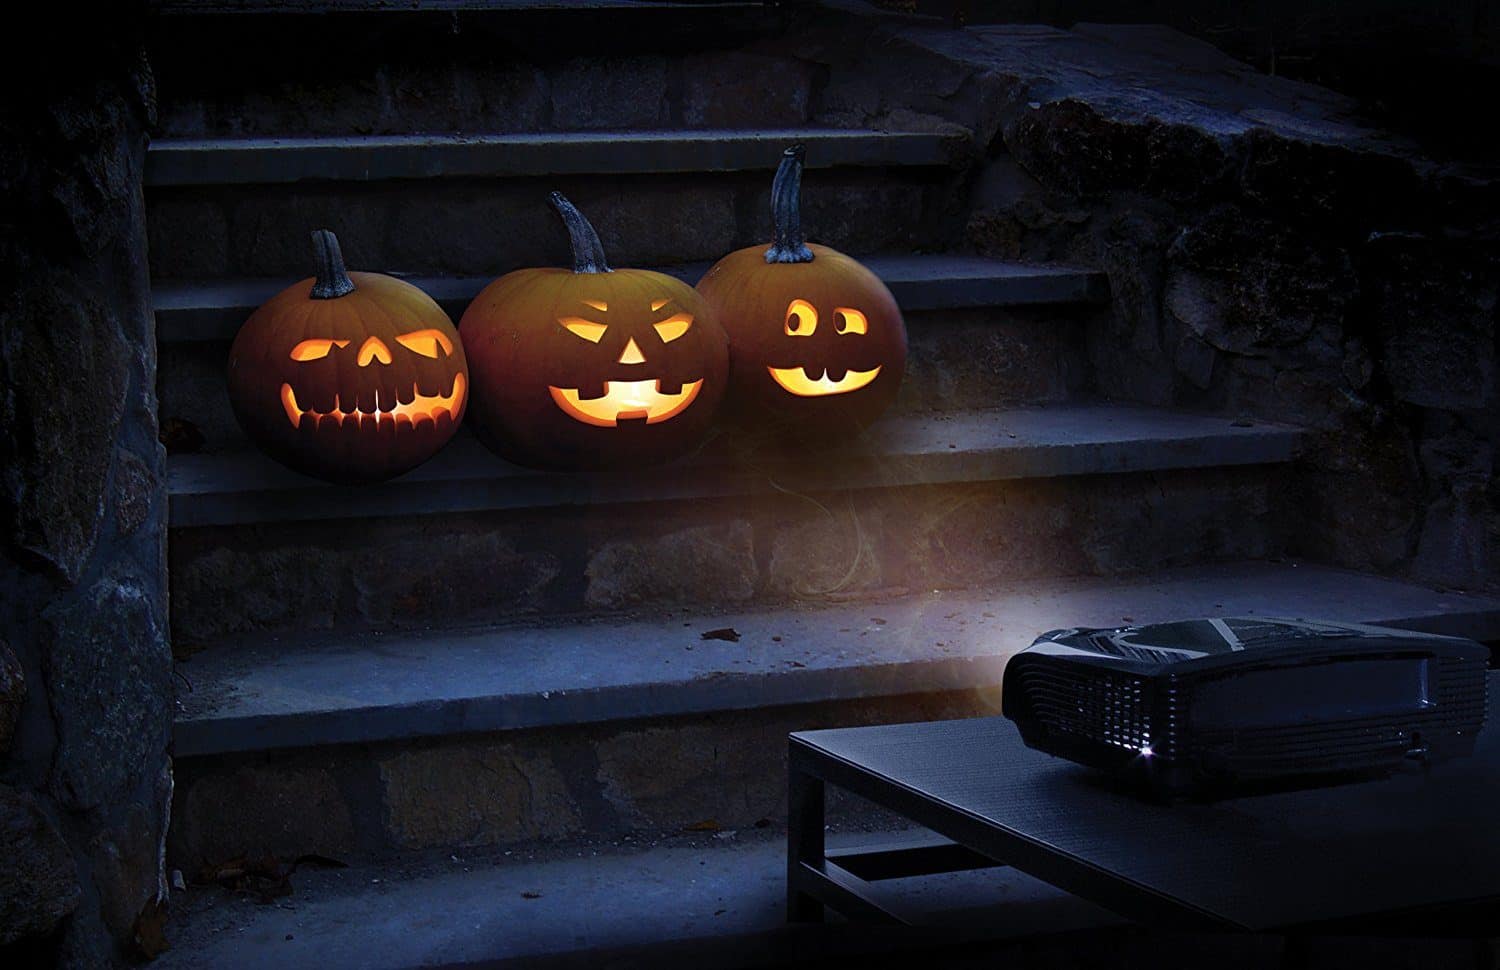
Project onto objects like pumpkins or 3D humanoid forms to watch them come alive!

Have you created a spooky digital display like this one? Share your inspirations and triumphs (or tragedies) in creativity below. Happy haunting!

Grab our free series "Weekend Home Projects that will Transform Your Life" Sign up below to receive updates including free printables, organization tips, home improvement projects, recipes and more! |
More Halloween Posts
PS. If you make this recipe, leave a COMMENT AND A STAR RATING in the comments section at the bottom and be sure to take a photo and tag it #cravingcreative on Instagram! I appreciate you for taking the time to read about me and my family recipes.
Ed says
Thanks for the help setting things up! I ordered a projector, and am now looking for videos. Having a little trouble finding good ones. Anyway you could post the website you used, free or not? I did see the suggestions you posted already, but seem to be having trouble finding good options with black back grounds. Thanks!
Rachel says
Most of the videos I use are from AtmosFX. I’ve built up my collection over a few years, but 1-2 is fine to start with. I have gotten a few from YouTube and I used to have a subscription to Envato and Shutterstock, but the contrast has to be pretty good for it to show up brightly. I use a free one that is snowflakes falling, for example.