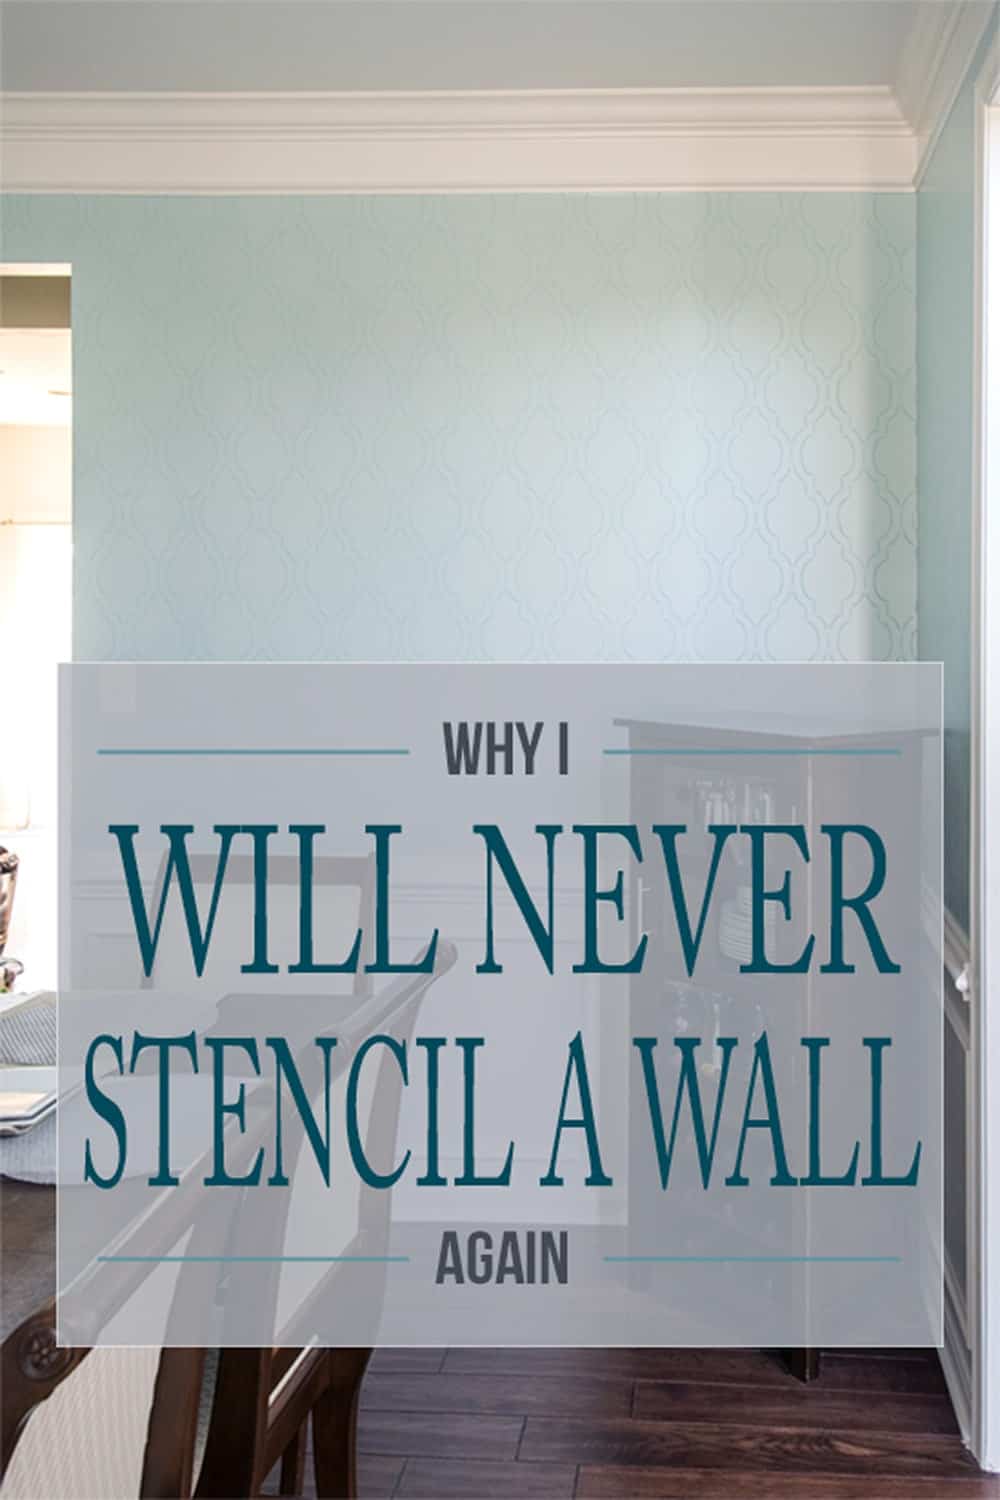
This post has actually been one I have wanted to write for two years. The truth is that I love the look, but I will never stencil a whole wall or room again. Ever. Mistakes were made and I hope that anyone attempting this can learn from my experience.
Let’s take a step back to my mindset before I ever began this project:
I blame Pinterest. The inspiration! The creativity! And every project is labeled as “easy”!
Have you seen all of the pictures of those beautifully stenciled walls on Pinterest? I mean there were the pros:
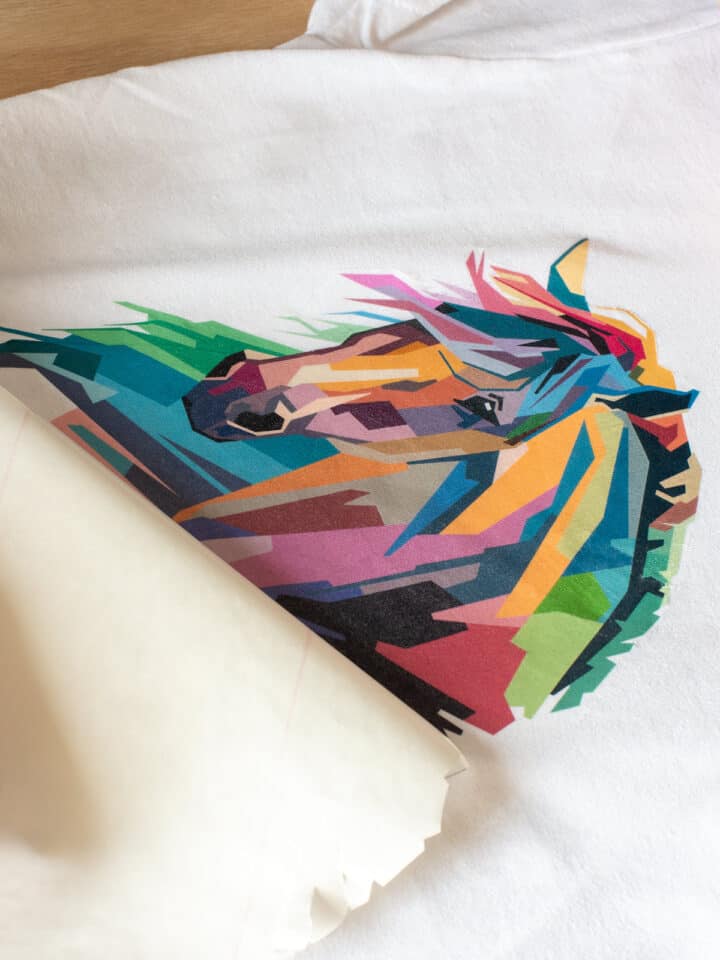
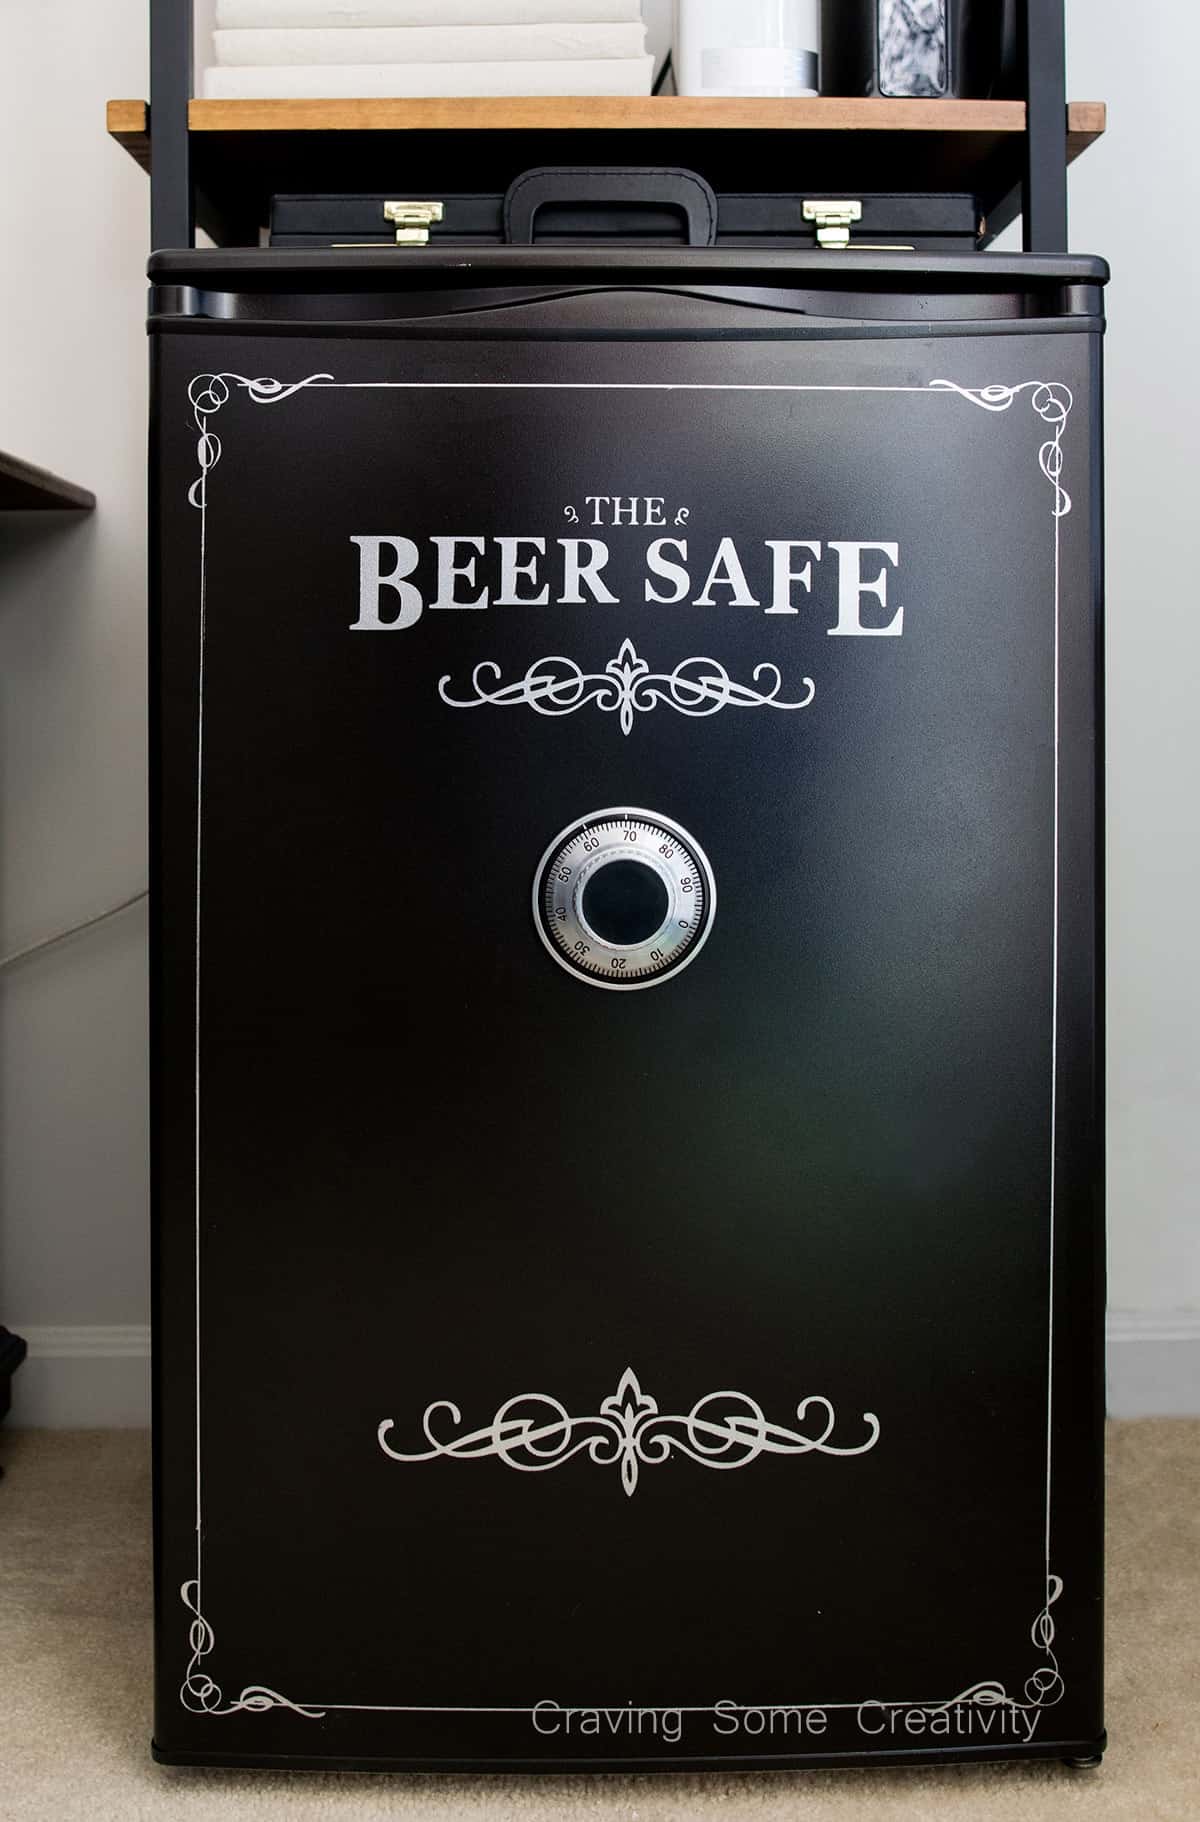
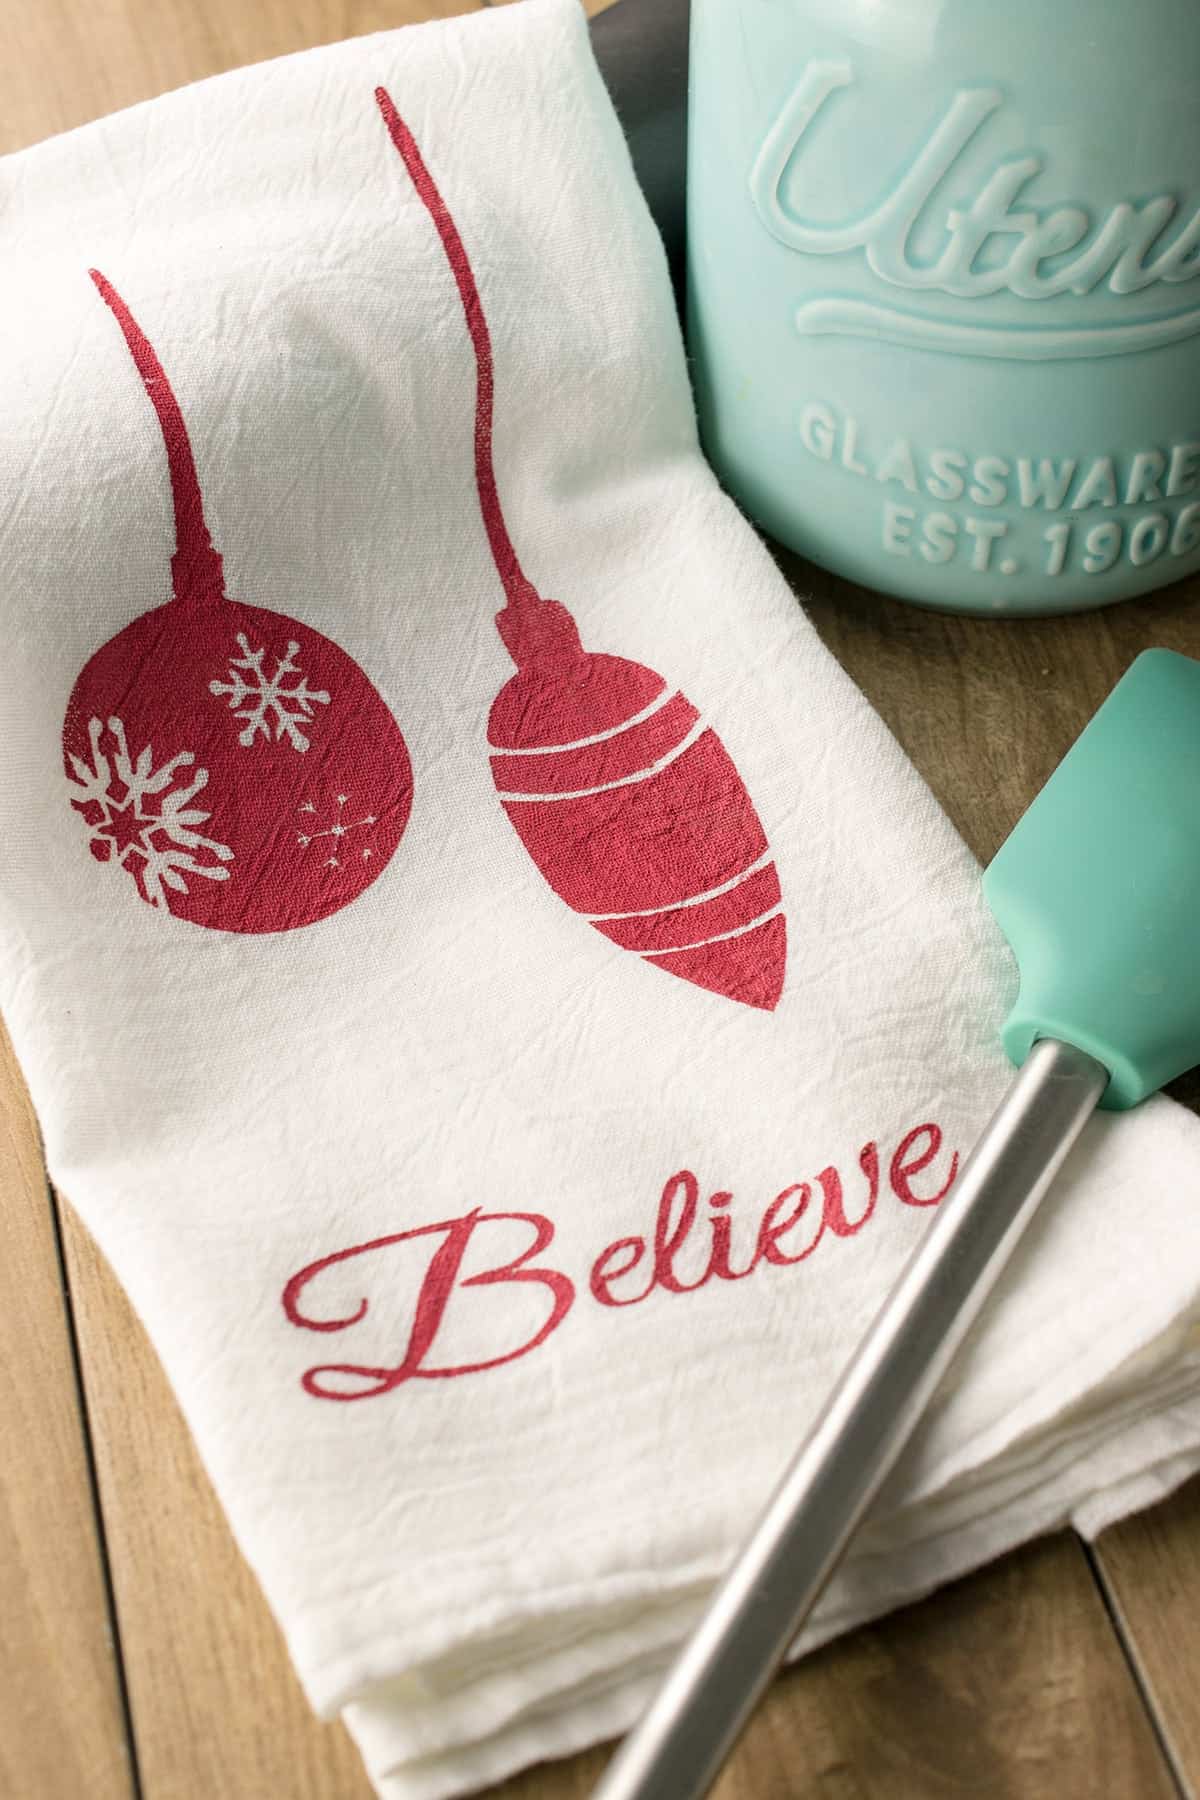
- I have stenciled before in small scale with many, many projects like this wall map, several signs including this Christmas Farmhouse Sign, and an intricate Beer Safe Refrigerator. Clearly, I don’t mind the concept of stencils.
- Wallpaper cost: about $400. Paint: less than $50. I like saving money!
- You can use any color combination you like.
Doesn’t it seem like a no-brainer?!
More like brain dead zombie as I trudged along during the stenciling process. So what happened?
This Dining Room Took 150 hours
Yes, you read that right. This includes the original wall painting, but not the wainscoting. Stenciling was single-handedly one of the most exhausting and tedious projects I have ever done and, truthfully, we have had our fair share of exhausting, tedious, and took-way-longer-than-we-thought projects. This one was especially grueling, however, because of its repetitiveness.
What went wrong?
1. The design area is smaller than it seems.
The stencil that I had was 20×24 inch but required a bit of overlap to lay straight. You can tell that it was designed that way on purpose. Therefore, you actually only do about 17×20 at a time and sometimes less depending on how it lined up.
Worse, you can’t lay a stencil down over fresh paint, so we developed a system where we alternated from one side of the room to the other to stencil. When doing this on a ladder, or in corners, it is much more difficult to move around.
2. Paint Choice
This one is fully my fault, I will concede. Mistakes were harder to notice while wet since I had chosen two colors that were very similar. In fact, when wet, the darker paint was almost identical to the wall paint color.
3. 1 Mistake = 100 Fixes
Truthfully, I am a perfectionist – and it’s not cute or endearing. I’m more in the category of “I can’t sleep without my 10-step bedtime routine” perfectionist. And I wanted crisp, clean lines.
Here’s the thing.
Let’s say that you make 1 mistake per area and some paint gets underneath the stencil or you don’t fully paint into all of the edges. Ok, now multiply that little mistake by the 100+ times I re-positioned the stencil.
While some may not be bothered by a few paint blobs or light areas, I wanted professional looking results. The vast majority of time was spent with me going around with a tiny paintbrush and fixing all of the mistakes and edges.
I might have honestly hand painted or fixed 20% of all of those shapes.
4. The Instructions Lied
Corners: the single largest reason I would never do this project again. I have seen several YouTube videos with users lining up their stencils so neatly in the corners. (One of the videos was directly from the company I purchased my stencil).
My stencil might as well have been like folding origami using a friend’s left hand. It was awkward, frustrating, and pretty much impossible. I ended up stenciling as far as I could on each side separately and then hand painting to connect it all.
Because of this, I was so convinced that my stencil was defective that I actually called the company to complain. I wasn’t necessarily looking for a refund or anything. I just wanted confirmation that I didn’t suck this bad as a DIY girl. They offered me a second stencil while assuring me that my stencil was absolutely up to their standards and it was normal not to fold into corners well.
Yeah, no thanks, buddy.
5. Not Using the Right Tools
Again, I can own this one as it being my fault, but high quality stencil brushes are quite expensive for a single use. A roller is of course much faster though and I was assured by the company that as long as I used a dense foam roller and only had a tiny bit of paint on it, everything would look designer perfect. NO way, Jose!
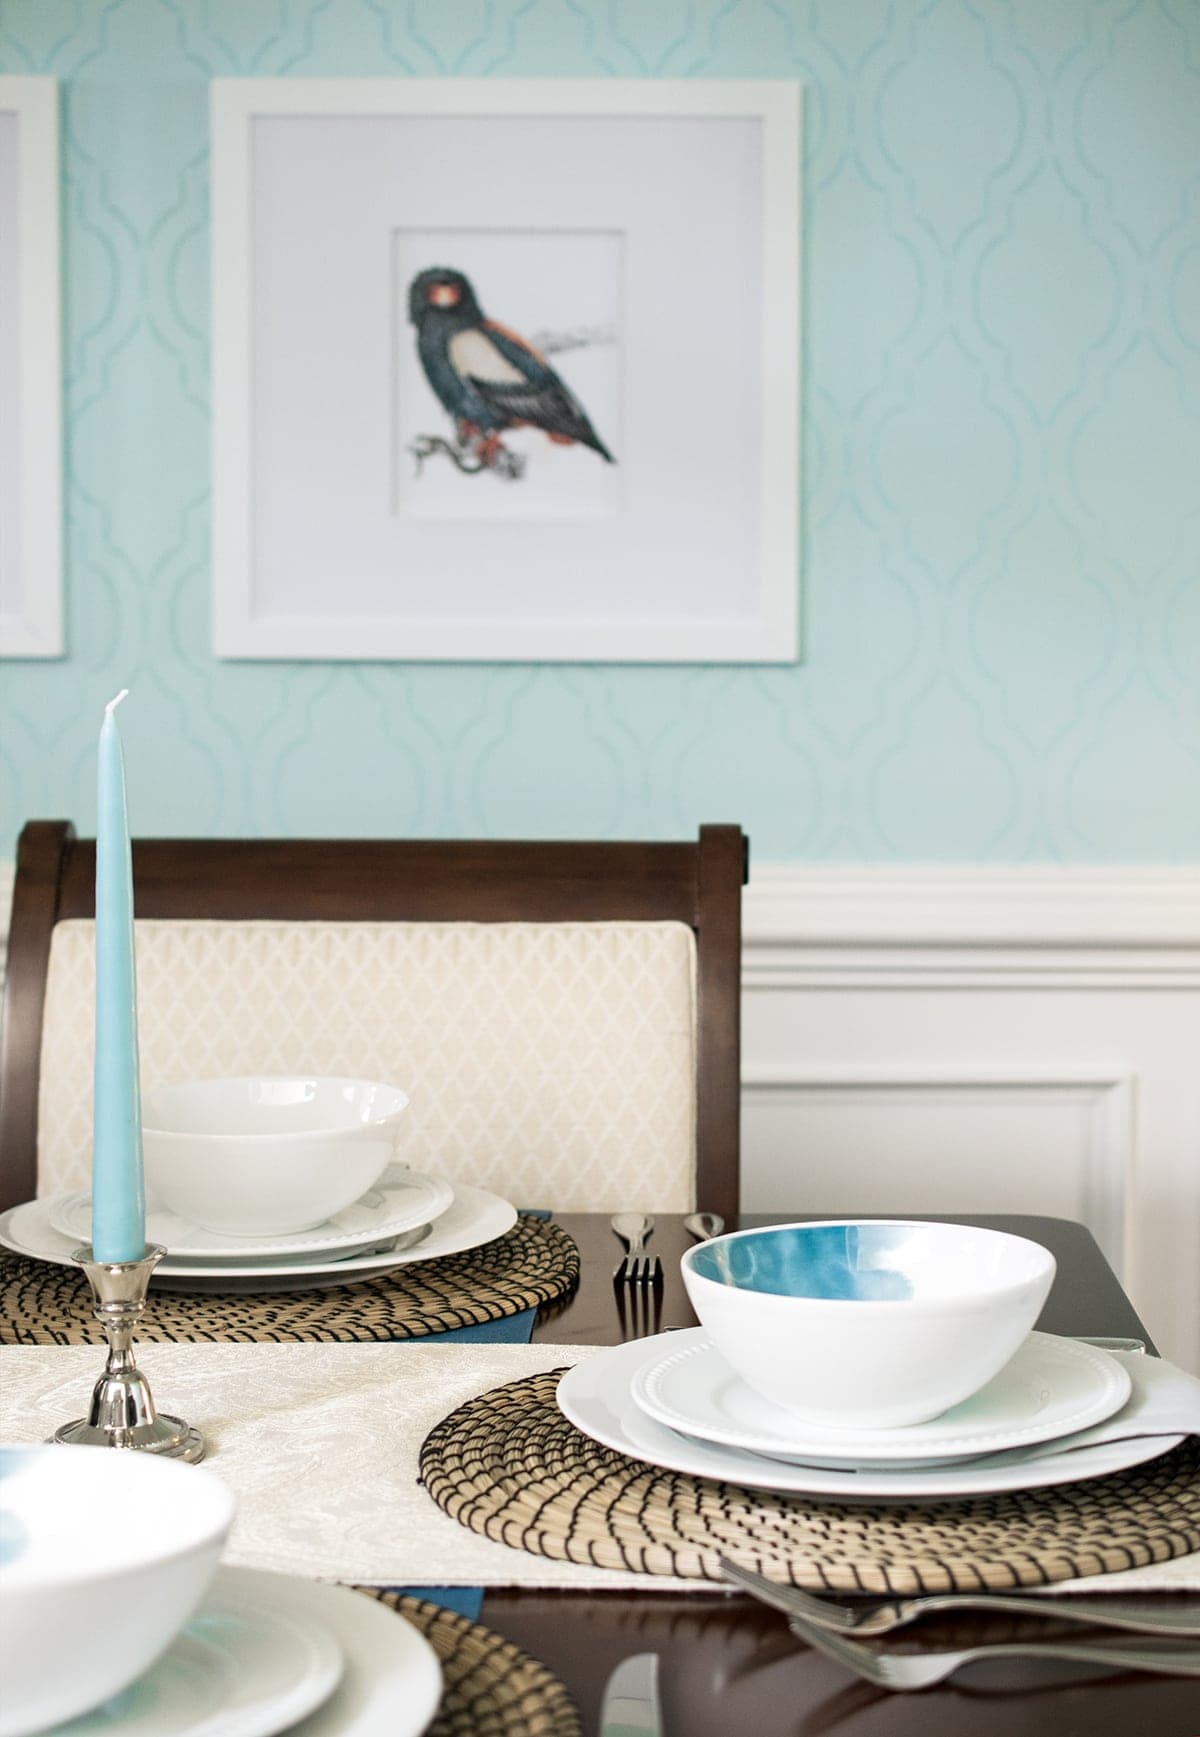
The end result is that the wall is beautiful, but I would never do it again. I mean never.
That isn’t to say that everyone should be scared of stenciling. I still love stencils for smaller projects. I just learned my lesson the hard way with this DIY stenciling project. I actually struggled with giving this post such a negative title. I do understand that some of my experience is user error. I made a lot of mistakes and I learned from them so I hope you can too. For me though, the nightmare is just still too real.

Grab our free series "Weekend Home Projects that will Transform Your Life" Sign up below to receive updates including free printables, organization tips, home improvement projects, recipes and more! |
Stenciling Projects I would do again:
Lisa says
This article, and comments, have been so helpful! I’ve gone back and forth between wallpaper and stenciling for about three years. Has anyone used those large, random, stencils? I’ve been looking at large leaf stencils. Ones where the pattern doesn’t have to match up. Wondering if these are easier to use?
Rachel says
They would definitely get rid of a few of the problems like moving around to let the paint on the wall dry and the corners might be easier because you can position them how you want rather than to match a pattern.
Sonia says
I actually just used one such stencil (a gingko leaf). In a powder room (so it was a relatively small project). In a haphazard manner (so no expectations of symmetry or overall perfection). Granted, the process was tedious (I used a sponge to dab the paint). But the result is super-nice. I would totally do it again in a small room. But I would never, ever tackle a large project with a very repetitive, regular pattern.
Terri says
Thank you for sharing your experience I painted a wall in my office gray and now I was thinking about adding a stencil but I am not planning on doing the entire wall. I wanted to stencil in random places. Has anyone done this if so can you share the photos?
Lissa says
I have done a random stencil in a powder room on 3 walls. One of those walls had the cabinet/sink/mirror. On it, I took the mirror down & randomly did the gingko stencil in separate places. Floating the gingko leaf stencil was magic. I did do ONE corner, it was a pain but I was able to get it to look well enough. Luck won and I was able to to smile when I was done If you can explain how to copy and paste a photo here, I’d be happy to share.
Brenlynwin says
I just finished my mudroom & there was a lot of touch up & the corners were the worst. Definitely more time consuming than wallpaper!! I have been wondering if there is a way to make your own wallpaper with a stencil & then hang that…
Rachel says
Some wallpapers are paintable, so I am sure that would be a great work around!
Kelly Rauch says
Hi! I am a professional wall muralist and stenciller…….I’ve read all the comments and and yes these projects are always promoted that they are easy as pie. I have been doing this for 30 years now and it is not something for the novice. Walls and corners are usually not even, there is bleed that one must use to avoid this problem and finally colors are not as easy to figure out as one might think. It is worth every penny if it is done properly and then you are getting something unique to your space.
Michelle Marzo says
Yrs.Soooo time consuming and if, like me, you create something that just doesn’t go with the rest of the room it means painting over it as nd starting again – like I have just done because, as you say getting the colour combos right is a question of sleepless nights tossing over which colours to put together and have you got the times right or would a contrast actually look better??? I’m about to repaint over a wall of inbuilt cupboard doors, painstakingly stencilled in multi colours and finished by hand. Yes, I’m going insane…
Kim says
I looks beautiful!
Maile says
YES!! My husband convinced me to use a stencil instead of wallpaper. I tested it on my master bath wall first and had ALL the same problems you describe! I stopped halfway through and finished it by hand (it was a simple all over design) My hand painted finish wasn’t exactly like the stencil but it wasn’t far off. This convinced me to do my bedroom wall free hand instead of wasting by time with an ill-fitting, spotty, awkward stencil. I’m only sad I wasted my money to figure this out !
Rachel says
Your comment made me belly laugh because I totally relate! I am impressed you were able to do it free hand too. I couldn’t have done that.
Geeta Bugtani says
Don’t use a geometric stencil. An allover design that does not call for preision would work better and be a more fun diy. Else, get a 60 dollar circuit machine and tape together a wall full of stencils and go for it. It justifies the investment of time. You don’t have to use vinyl, you can use paper and spray it with Krylon $5.00 so that you get sharp edges. to your stencil. Always plan by thinking backwards. Imagine the project was a mess in as many ways as you can conceive and you will be able to plan it better.
Rachel says
Great tips! I use a silhouette cameo for smaller stencils all the time, but I love the idea of using spray non-adhesive to get around using vinyl. Vinyl is so expensive!
Lou says
Finally someone who is honest! I could have wallpapered the whole neighborhood in the time it’s taken me to do all 4 walls. Yes, it was ambitious no doubt. Thank god I chose tone on tone paint colors. For the corners I totally agree! I ended up photo copying a small segment of my stencil. Then I covered it in packing tape to add heft & took an exacto knife to cut out the design. That was more manageable and saved my sanity. Now I’m nearly finished and my design doesn’t match up. You know nothing was square in 1946 builds🤦🏼♀️ Luckily I’m going to perform a smoke a mirrors trick where it meets above a window. And yes, never again.
Rachel says
Yass! I love your trick about using a photo copy. I definitely wish I had thought of that now.
Carmen Boyce says
I was just googgling how to fix a stenciled wall. I swear your words sounded like they were coming straight out of my mouth! I have been working on one wall for a week now and still not done and the pattern now looks like its leaning! I really thought I had the stencil level 🙂 My stencil is almost IDENTICAL to yours and it has been a nightmare! I get it, I too am very good at my Pinterest quests but not this one…total fail!!! I will be painting over the entire wall this weekend.
Rachel says
I am so sorry of your situation! But honestly, it is probably for the best. I read that when I do go back to repaint, I am going to have to sand the whole wall because the stencil creates a raised pattern. I really dread that. I hope that your wall is still beautiful though.
Nancy says
I have been thinking stencil my dining room and searched online for advise for yes or no to do a such thing. I found your post. It is very useful. Thank you for sharing your experience. Your dining room is beautiful. Hope you enjoy it after the hard work : ))
Anna says
Oh, it gets even worse. When the pattern or color becomes dated, or you are just ready for a change or to sell your home; because your wall is no longer smooth you will have to either skim and sand multiple times or replace the sheet rock. I had to pay painters to skim and sand five coats to be able to paint over stencils and other faux finishes that the previous owner had paid a small fortune for but that had become dated. It was both expensive and a horrible mess.
Rachel says
You are so right about that! We had to sand off some orange metallic paint in our living room that was rough and you couldn’t paint over it. I am not looking forward to that day in our dining room!
Ann says
Ya’ll just answered that question.. about resurfacing. Stencil dream just left the building. Good luck dear friends.
Meredith @ The Palette Muse says
Oh my gosh, I just laughed and cried the whole way through this post! I feel your pain! But your wall looks truly beautiful, and like the pain of childbirth, hopefully you’ll eventually forget how awful the experience was and just enjoy the results. ?
time2diy says
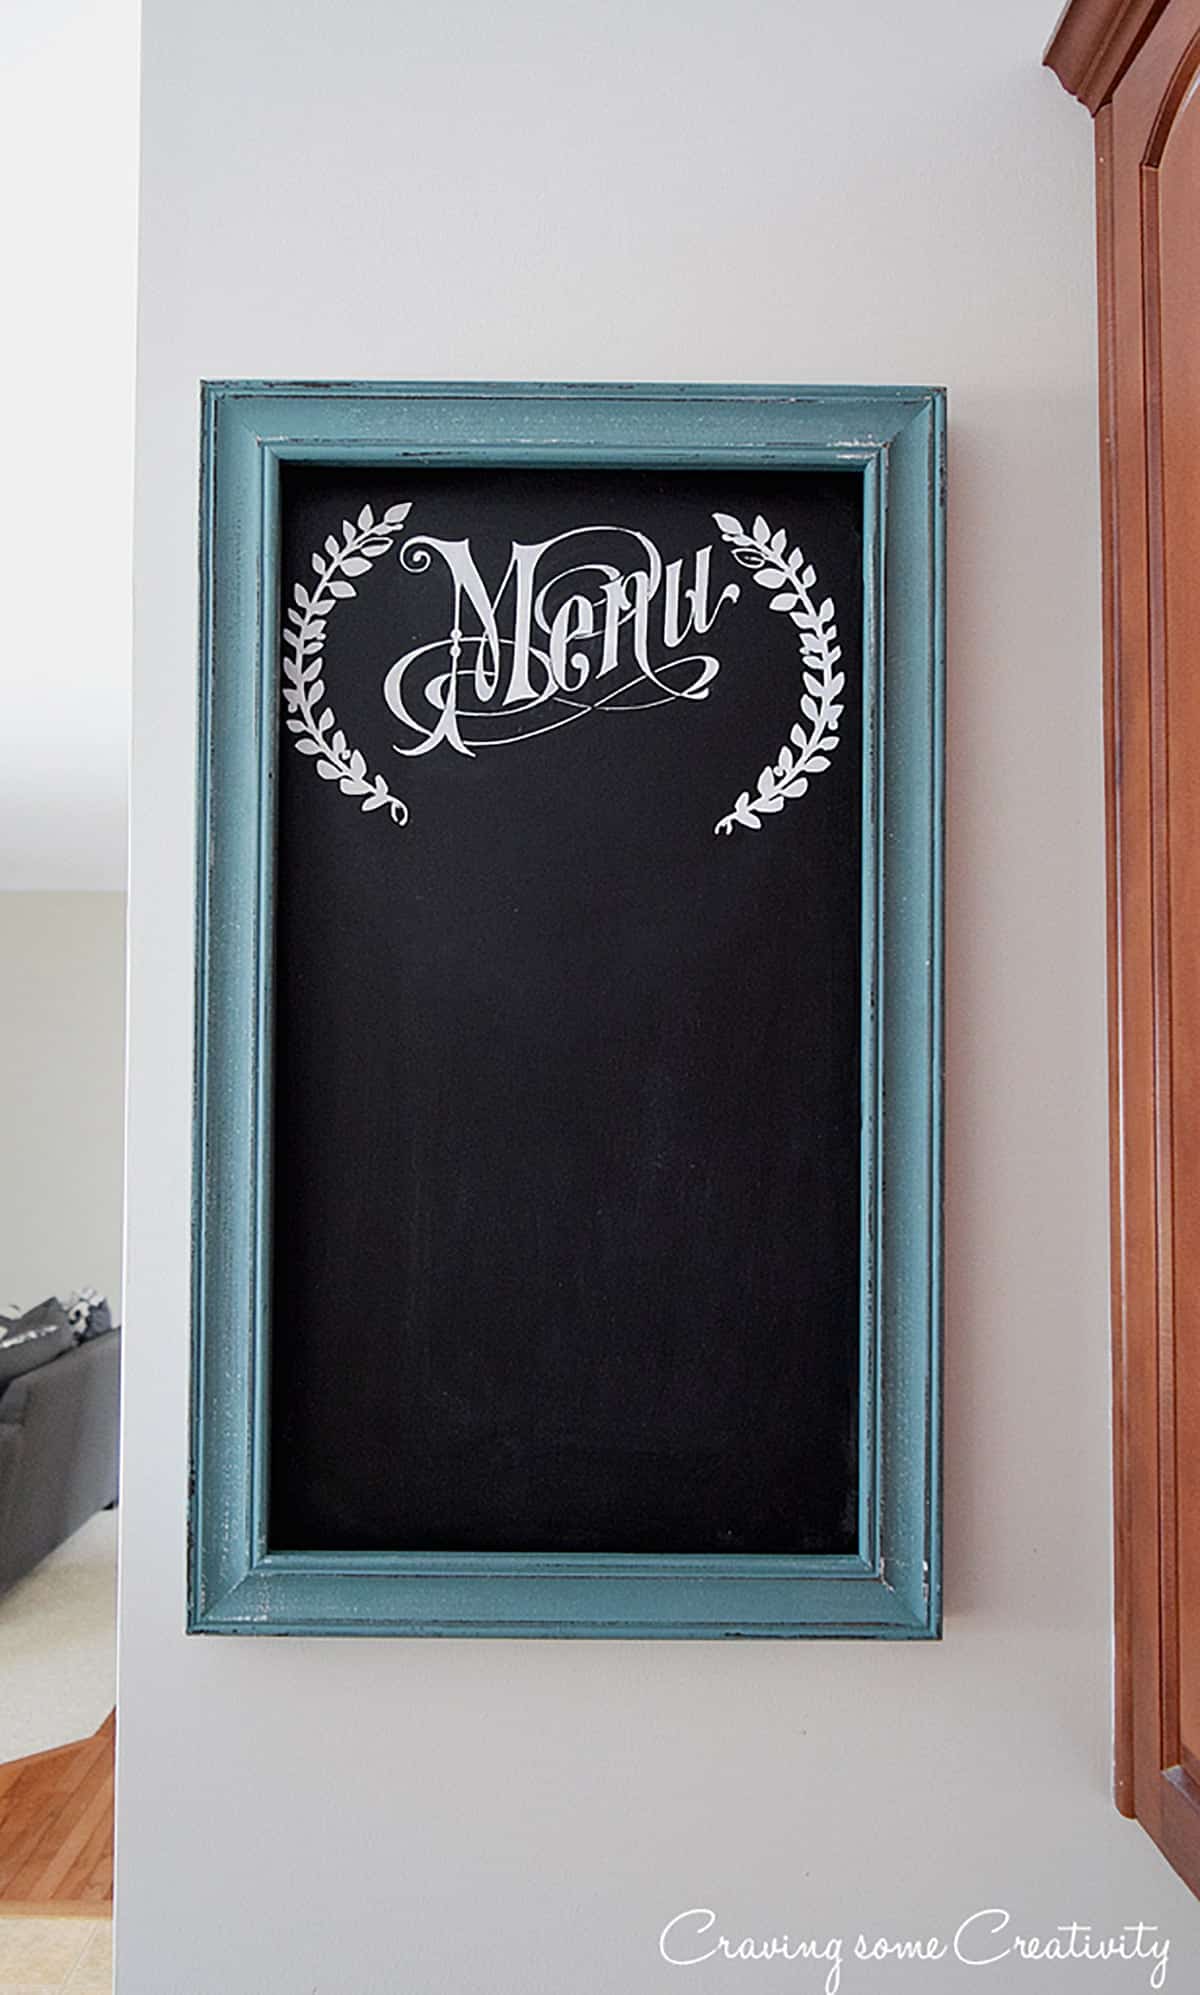
I have always wondered if stenciling is as easy as they say! I did this design in my master and ended up trying the design with a pencil and then free handing it and I think it may have been less stressful than the stencil, lol. I LOVE this space though, and your chalkboard. Everything is just gorgeous!
Rachel says
Thank you! I can’t wait until all of the dining room is finished. It will be a truly special place.
nancy says
You just saved me a whole lotta frustration! Thanks for sharing.
Pamela Allen says
I’m sitting here laughing because the sign you put on the wall says JOY. Often the things we think we can do easily, turn out to be the hardest to achieve. On the bright side ,it turned out very classy and beautiful.
Rachel says
Oh, I hadn’t thought of that! What an amusing irony. I could not agree more with your comment about the project we go into thinking that they will be easy. Thank you!
Cheryl says
This is great to know! I wanted to do our bathroom floor downstairs but never realized I would have to wait for it to dry before laying it down again. Good to know and sorry you learned the hard way!
Rachel says
It depends on the stencil I think. The stencil I used was designed to overlap but many I have seen don’t have that overlap. As I said, I don’t necessarily want to discourage anyone for a smaller project, especially if they learn from some of my mistakes. I do like it and I get a lot of comments from people who visit. However, before writing this post I actually looked up a few articles to refresh my memory and so many of them talk about how they did a huge wall in a few hours. Frankly, I don’t believe them, and I doubt the wall looked very good when they were done.
Susan says
I hear you sister, Been there done that, I’m sticking to calling a contractor and wallpaper!