
Painting vent covers to match was one those small but needed tweaks in our moody basement makeover. With just a sprayer, a little prep, leftover paint (and a sealer), I transformed distracting grates into near-invisible covers. Here’s exactly how I did it-quick, clean, and results that last.
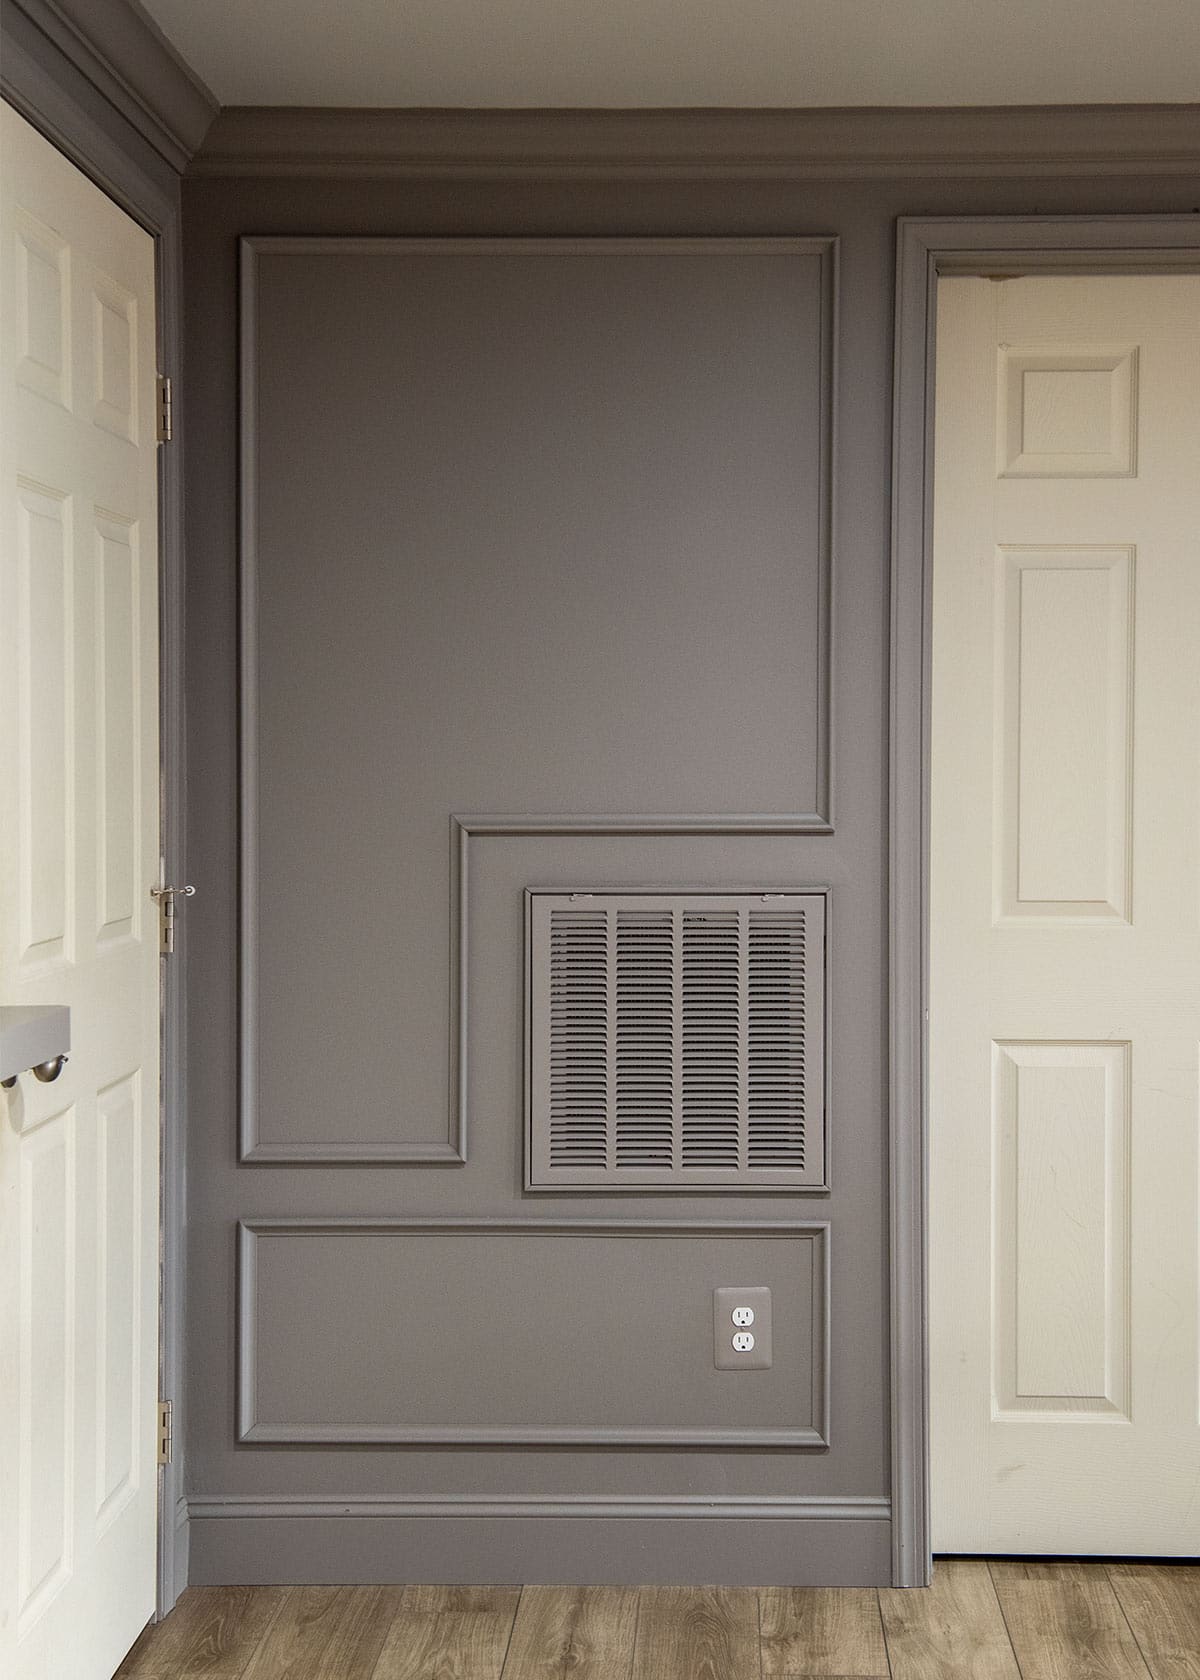
When you're going for a bold, cohesive look-like our moody, color-drenched basement-white metal vent covers can really stick out. The easiest solution? Paint them so they disappear into the design. For this project, we used a paint sprayer for quick, even coverage and a flawless finish, and the results make the entire space feel more intentional and elevated.
We've used this same sprayer technique before to paint cabinets for a smooth, factory-like finish and to spray paint walls in our basement makeover. It's also how we achieved a perfect match when painting our outlet and light switch covers to blend into the wall color. Whether you're matching a deep, dramatic shade or just want your vents to stop standing out, this method works beautifully-plus, it's an easy weekend DIY anyone can tackle.
Supplies & Materials
- Vent covers
- Metal Bonding Spray primer – Only if the grates are not previously painted or primed.
- Spray paint or Paint that Matches your Wall Color see more info in the FAQs about choosing paint
- Paint sprayer optional
- Fine grit sandpaper (around 220) or 00 steel wool
- Cleaning supplies soap and water, degreaser as needed
- Solo cups or painter's pyramids
- Painter's tape always useful
- Drop Cloths
- Nitrile gloves, mask, goggles for safety and sensetivity
💡 Pro Tip: If you're new to paint sprayers, check out my Beginner's Guide to Using Paint Sprayers for setup, thinning, and troubleshooting tips.
Step-by-Step Tutorial
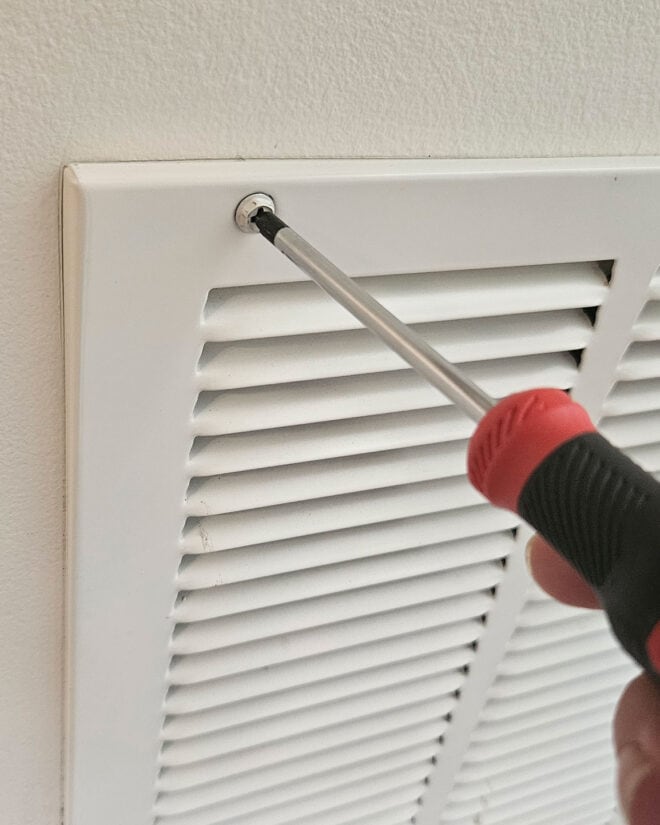
Step 1 – Remove the Vent Covers
I do not recommend painting in place. Use a screwdriver or drill to remove each vent cover from the wall or ceiling. Keep screws in a small container so you don't lose them.
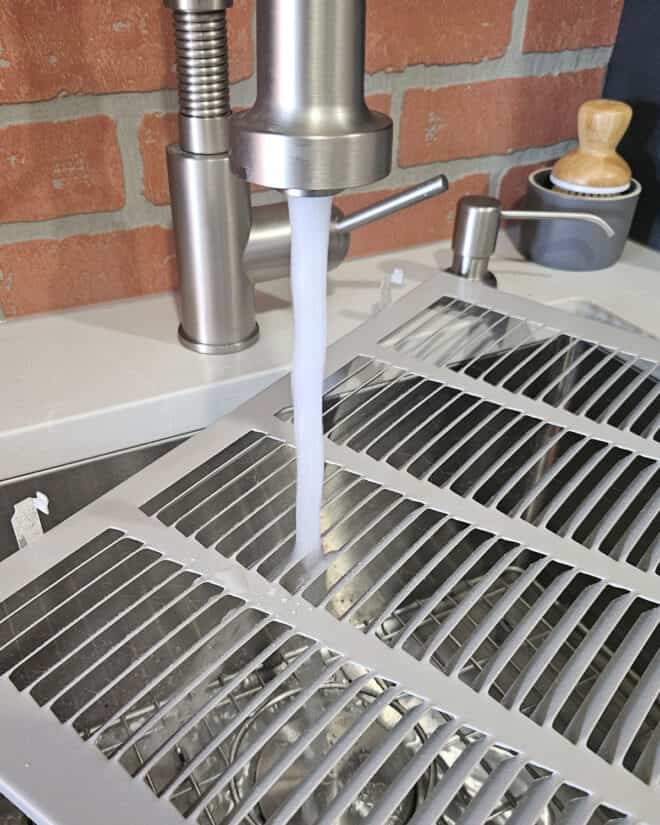
Step 2 – Cleaning
Wash vent covers with mild soap and water to remove dust, grease, and debris. I like to do this in the shower generally and use a brush to get into the crevices. Make sure to flip over and clean both sides. Let them dry completely.
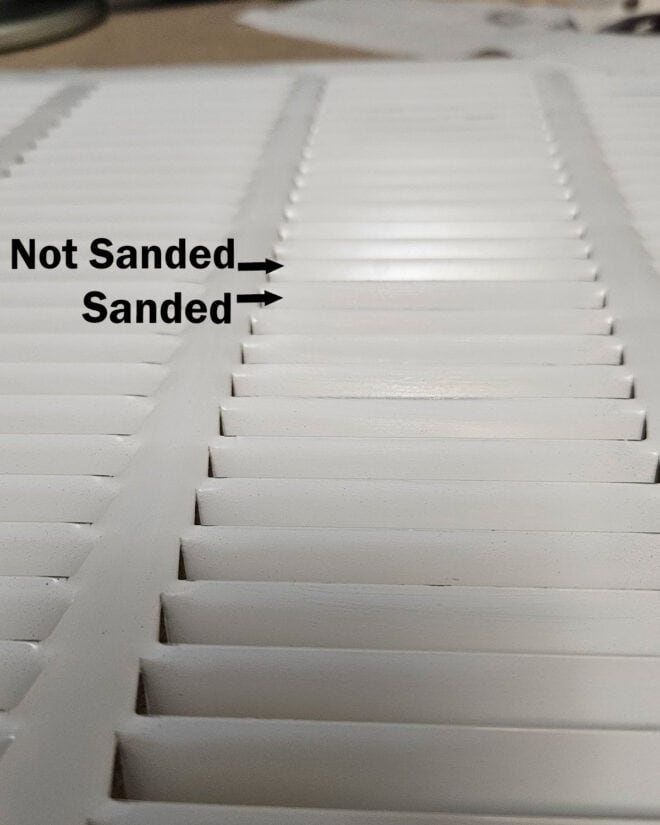
Step 3 - Lightly Sand for Better Paint Adhesion
Using 220-grit sandpaper, lightly scuff the surface of the vent cover to help the paint adhere. You don't need to strip them-just dull the finish. This is the most tedious part and I recommend folding a piece of sandpaper and threading it through each grill piece to sand.
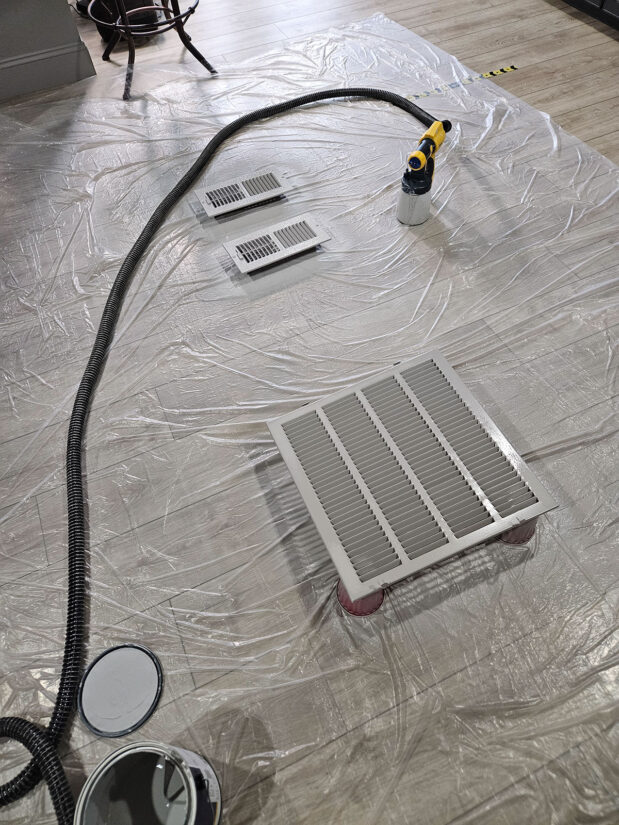
Step 4 - Set Up for Spraying Vent Covers
Lay a drop cloth or large piece of cardboard in a well-ventilated area. Place Solo cups or small blocks on top to elevate the vents so edges don't stick as they dry. If your vent cover has a latch or opens like a small door, make sure it's fully open before painting. This way, you'll get paint on all the edges and moving parts, and it won't stick shut later.
💡 What if I don’t have a sprayer? It’s ok. You can brush the grates, but it will be tedious and have brush marks that aren’t ideal. In this case, I would try for an aerosol spray paint in a compatible color.

Step 5 – Spray at Least Two Coats for a Durable Finish
Fill your sprayer with paint (thin if needed per your sprayer's manual). Hold the sprayer 6-8 inches from the surface and apply a light, even coat. Move in smooth, overlapping passes to cover the grill without drips and move in multiple directions to get into crevices. Paint screwheads by hand with a brush and prop up in a piece of wood or cardboard.
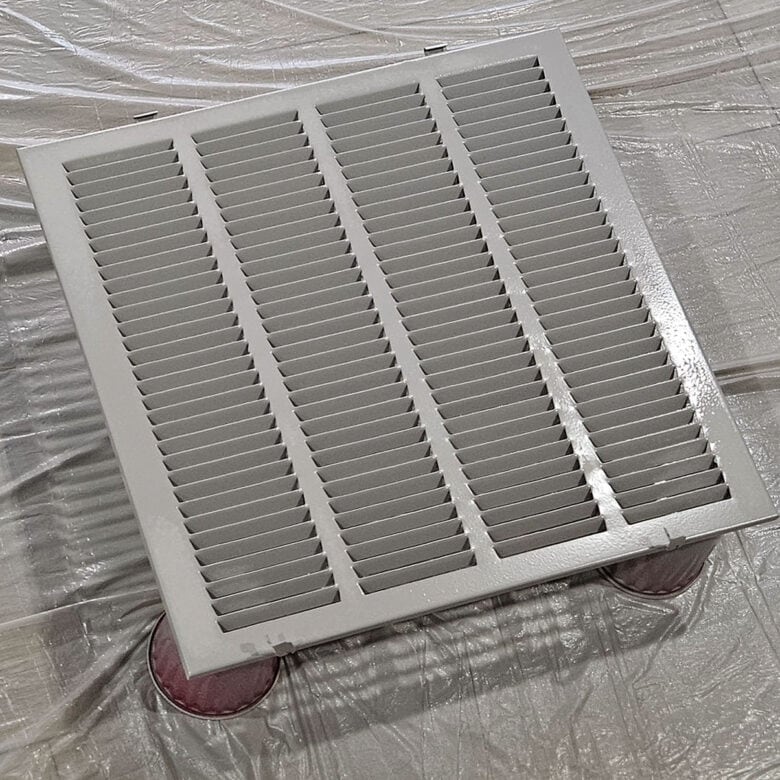
Step 6 - Cure and Reinstall
I generally let things like this dry for at least a week before installing to make sure I have a maximally durable paint before subjecting it to dirt, oils, and abrasives. While you could reinstall it in a few days, it's best to be careful until the paint has fully cured.
Troubleshooting & Pro Tips
- Problem: Paint peeling. This is likely due to poor cleaning or skipping primer. You will have to re-sand damaged spots and repaint after removing any residue.
- Problem: Drips. Heavy coats or staying too long in one spot is to blame. To fix it, you can wipe off the entire coat or sand smooth after drying and recoat.
- Problem: Not Drying. The humidity in your environment is likely too high. I generally won’t spray paint in humidity over 75-80%. Also, paint also doesn’t like to adhere in very high humidity.
More Projects You'll Love
How to Paint Light Switch & Outlet Covers - another tiny detail that made a big difference in giving our space that seamless, finished look
How to Paint Interior Doors - the trick I used to get those smooth, luxe, color-drenched results – coming soon.
Paint Walls with a Spray Gun - my go-to method for fast, flawless coverage in our makeover
What to Know Before Finishing a Basement – how it all began and my top tips before you ever start a large renovation project.
Our Basement Project and Results
For our basement makeover, I used two different paints to get a seamless look. The wall and floor vents got Benjamin Moore Advance in Willow Creek Gray to perfectly match the walls, while the ceiling vents were painted in Smoke Embers. Since ceiling paint isn't as durable, I topcoated the ceiling vents with a clear polyacrylic. I didn’t want to buy new paint just for two vents and I always have clear poly around.
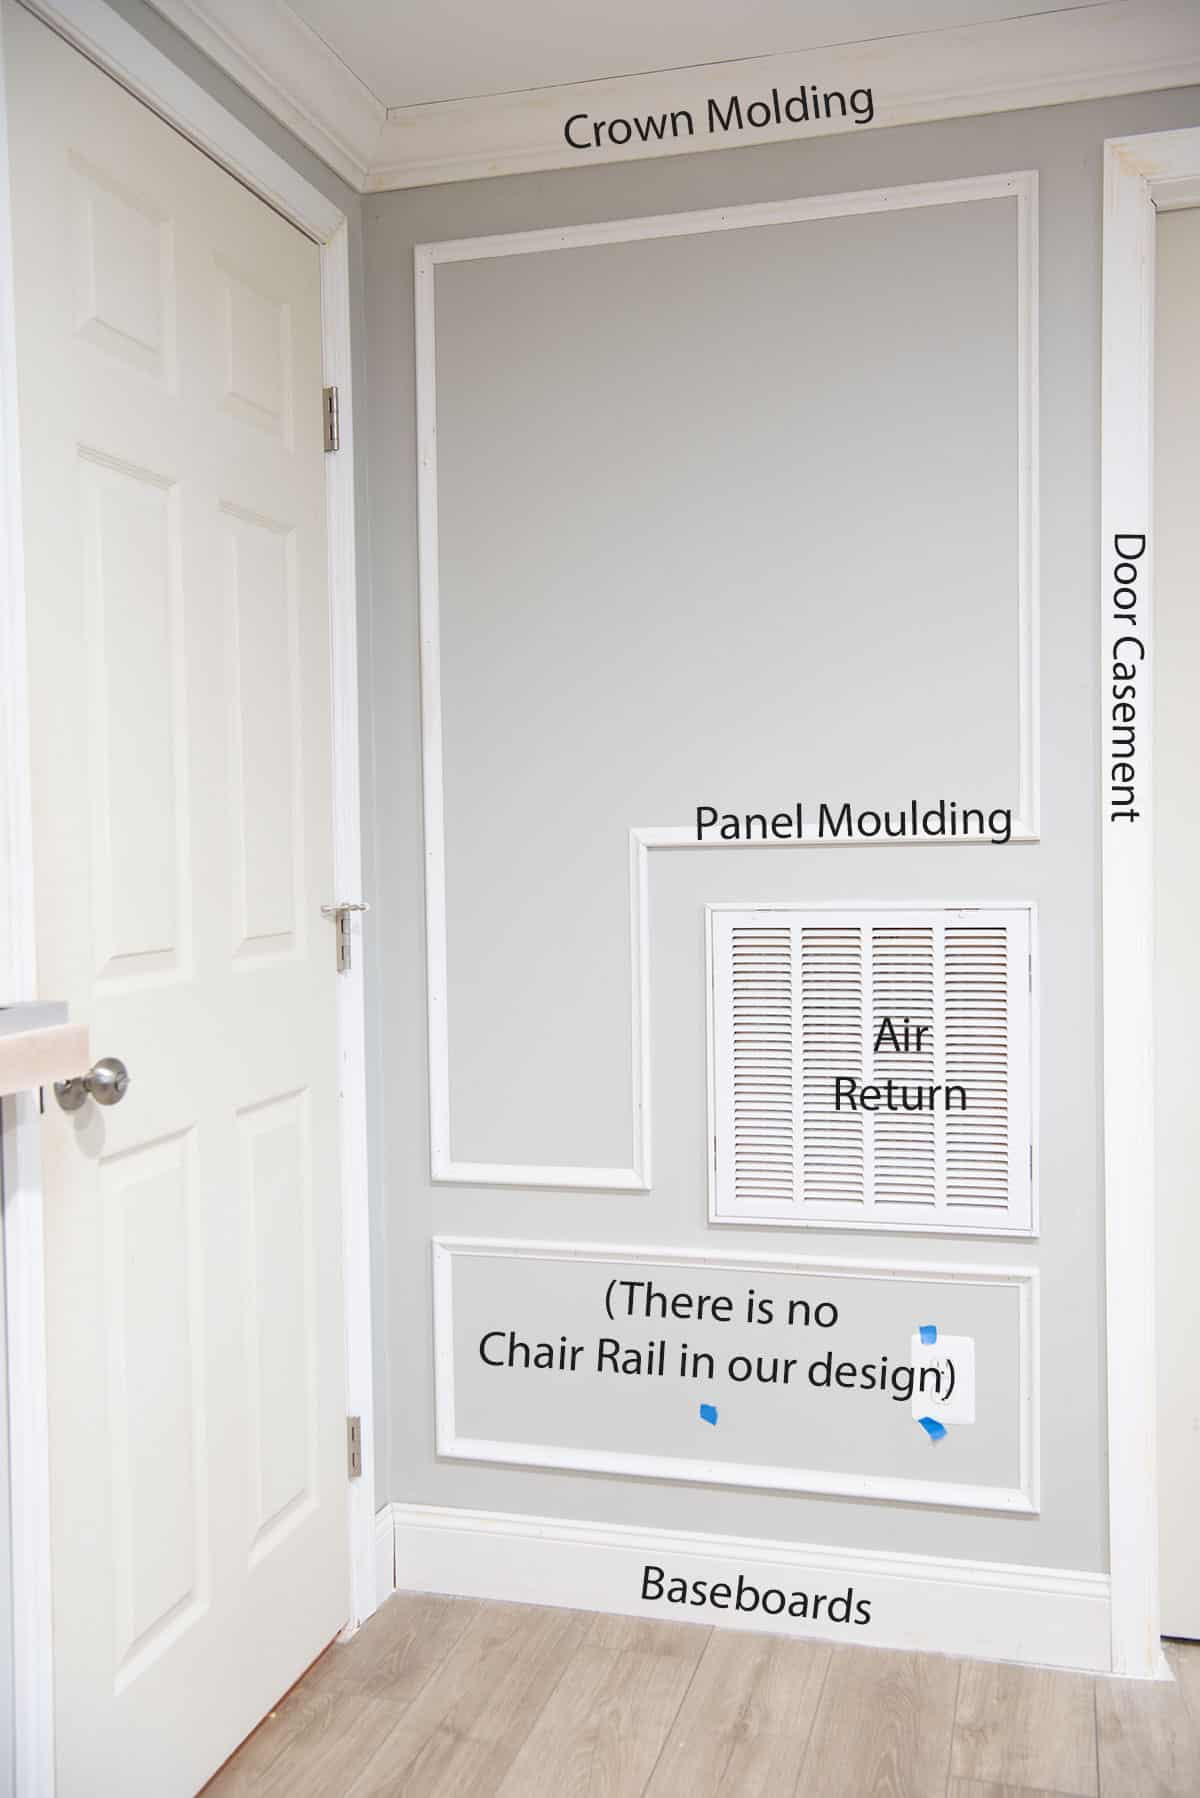
Even months later, both finishes still look fantastic. The vents have completely "disappeared" into the walls and ceilings, letting the room's design take center stage.
It's such a simple, inexpensive update, but the impact is huge, especially in a color-drenched space like this will be. I think the effect is absolutely worth the little bit of effort, but what do you think? Is this something you would do?
FAQs
Yes, but only if you protect the surrounding area thoroughly and have excellent ventilation. Do not use aerosol cans indoors! Overspray travels farther than you think, so lay down drop cloths and mask surfaces. If not using a low VOC formula, you may desire to wear a fume respirator mask.
No. The ducting is almost always darkened enough that no one would notice so I wouldn’t bother.
A satin or semi-gloss finish works best. Both resist scuffs for durability and are easier to wipe clean than flat finishes, which tend to hold onto dust and dirt. It’s generally not advised to walk consistently on floor vents as they will dent but, I understand that it happens.
You can, but it's not ideal. Wall paint isn't formulated for metal and may scuff more easily. If you do use it, try to use the most durable version in your brand of paint and a satin or semi-gloss. It’s optional but a clear topcoat may also be helpful for durability.
For floor vents or heavily handled registers, yes - a clear enamel top coat can add an extra layer of protection. For ceiling or wall vents that don't get much wear, it's optional.
A high-quality spray paint designed for metal is best, especially if it is a durable and easy to clean one with a satin or semi-gloss finish. If you are using wall paint to match exactly, I would suggest the most durable version of your paint in either a satin or semi-gloss or with a durable topcoat to protect the paint from scuffs, cleaning, and scratches. This is especially true for floor vents.
Grab our free series "Weekend Home Projects that will Transform Your Life" Sign up below to receive updates including free printables, organization tips, home improvement projects, recipes and more! |
More Easy Paint Projects


PS I love seeing your creations! Be sure to take a photo and tag #cravingcreative on Instagram! You can also stay in touch with me through following me on Instagram, Pinterest, and subscribing to the newsletter!
Leave a Reply