
Painting light switch and outlet covers is an easy, budget-friendly way to give your walls a seamless, custom look. I'll show you how to prep and paint with the right tools so they blend beautifully. No more distracting white plates breaking up your design!
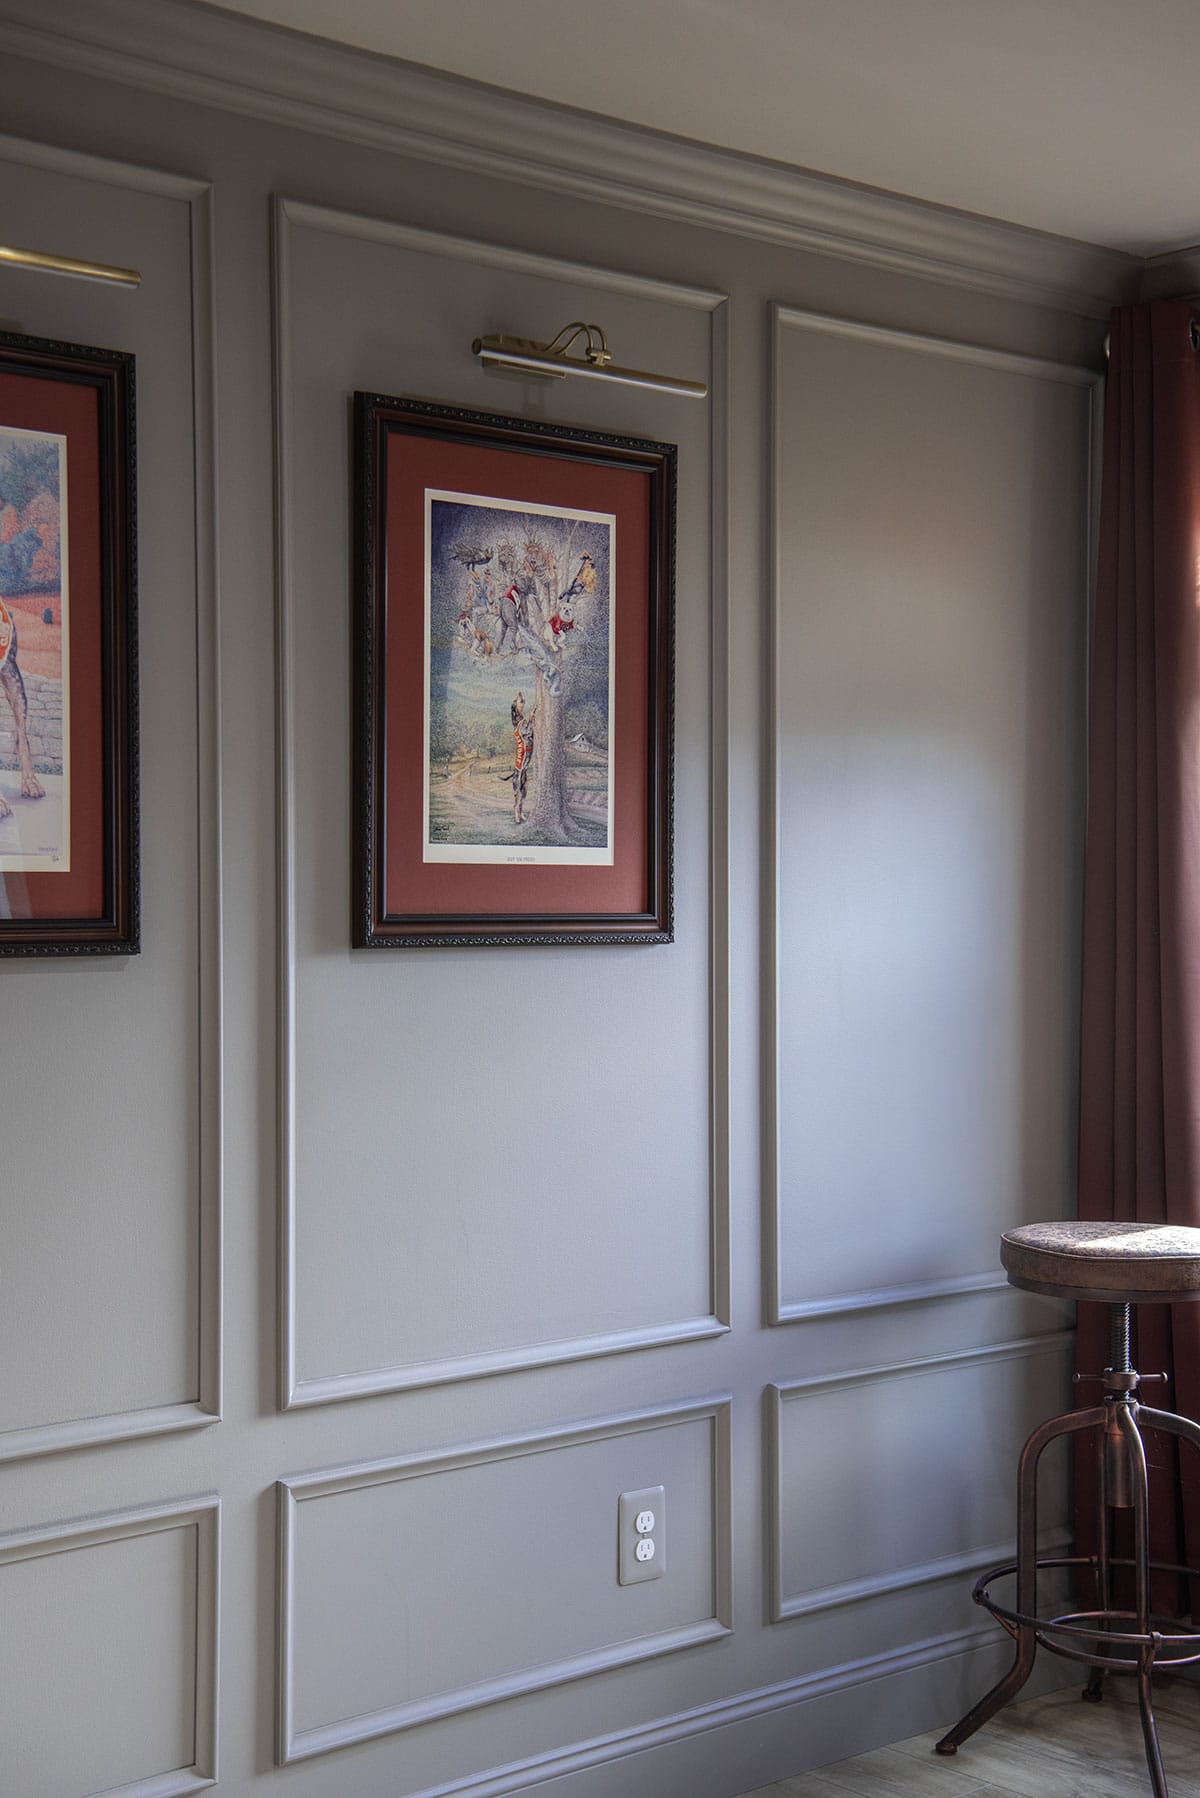
There is so, so much that goes into getting a space juuuuuust right. When we went all-in with the elegant, moody wall color and black interior doors, those bright white covers hit like flashing little eyesores.
Since we wanted a seamless look to our color-drenched walls, painting the outlet covers and light switch plates was the obvious answer. However, how do you make something durable enough to handle getting touched literally every time someone enters a room?
This is a quick fix you can do in an afternoon with leftover wall paint and a bit of prep. I'll share exactly how we painted our covers for a smooth, durable finish, plus the little tricks I've learned from painting everything from vent covers to cabinets.
What kind of paint to use?
This is the question that will make or break your project over time. First, you will be limited to a paint that can be tinted correctly, but that doesn’t mean that any wall paint will do. I would recommend buying a pint of the most durable version or line of paint you can find in the correct shade.
For example, we painted our walls in Benjamin Moore Regal, which is a perfectly fine wall paint. However, we painted the outlet covers, light switch covers, and even the media center in Benjamin Moore Advance. The Advance line of paint can be tinted to the same Willow Creek color as the walls but has vastly more durability and cleanability. It’s not bullet-proof, but it will give us much more longevity against scratches and chemical wear.
Supplies & Materials
Links included to products I have used in the past with good results.
- Outlet and switch covers (the ones you'll be painting)
- Appropriately Durable Paint
- Topcoat – It will allow for more longevity
- Bonding Primer – plastic bonding primer or bare metal – you don’t need a primer for previously painted materials.
- Fine-grit sandpaper (220-320 grit)
- High quality paintbrushes -I use cheaper artist’s brushes from the craft store like these, including a small detail brush and a larger flat brush.
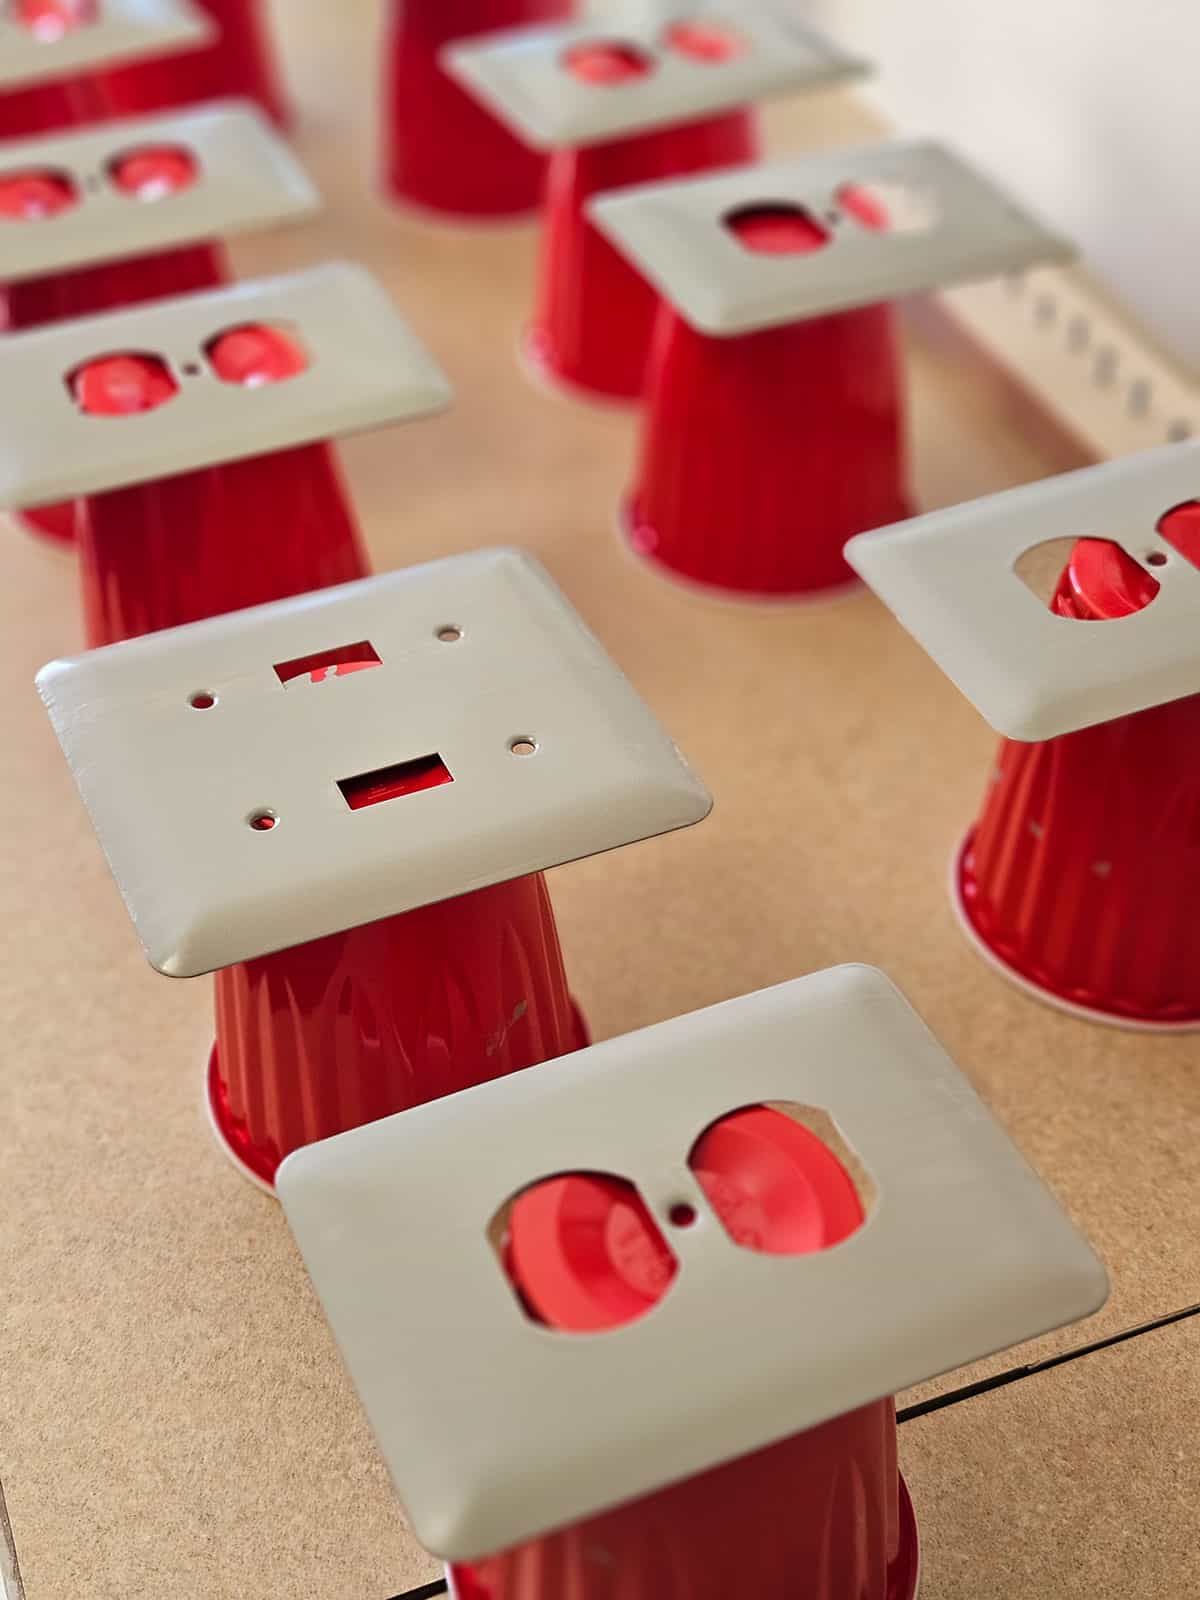
- Disposable solo cups or painter's pyramids - for drying covers without touching the edges
- Cardboard or scrap wood - to hold and paint screws
- Screwdriver - to remove and reinstall covers and screws
- Rubbing alcohol or mild cleaner - to clean dust and oils before painting
- Lint-free cloth - for wiping surfaces after sanding
- Drop cloth or craft paper - to protect your work surface
How to Paint Light & Outlet Plates
For this project, we are using plain, cheap metal light switch plates and outlet covers. The instructions will be mostly the same for plastic covers as well, but you will need a paint designed specifically for plastic.
Step 1 - Remove the Covers and Screws
Start by unscrewing the outlet or light switch covers. As long as you don’t put the screwdriver into the outlet or wall hole, the power/breaker can stay on.
Step 2 - Clean and Lightly Sand
Use a mild cleaner or rubbing alcohol to remove fingerprints, dust, and grime from the cover.
Then lightly sand the plate surface with fine-grit sandpaper (220-320 grit) to create a slightly rough surface for the primer and paint to grip. Try to minimize swirl marks. Sanding sponges work well for this.
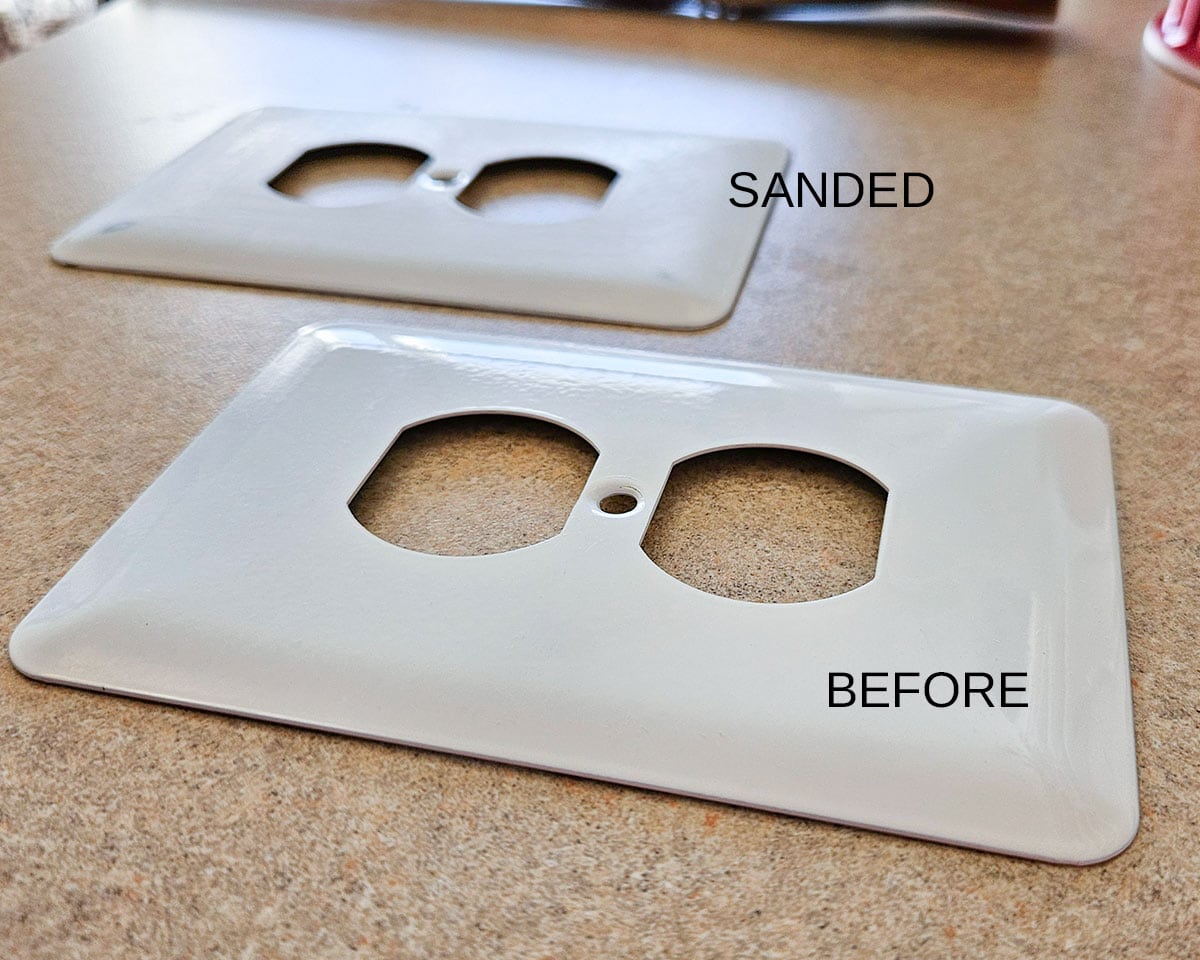
This is not the best photo, but you can see that you do not want to scuff all of the previous paint off. Otherwise, you will need a bonding primer specifically meant for bare metal. For unpainted plastic, read your paint instructions to see if you need a primer.
Step 3 - Paint the Screws Separately
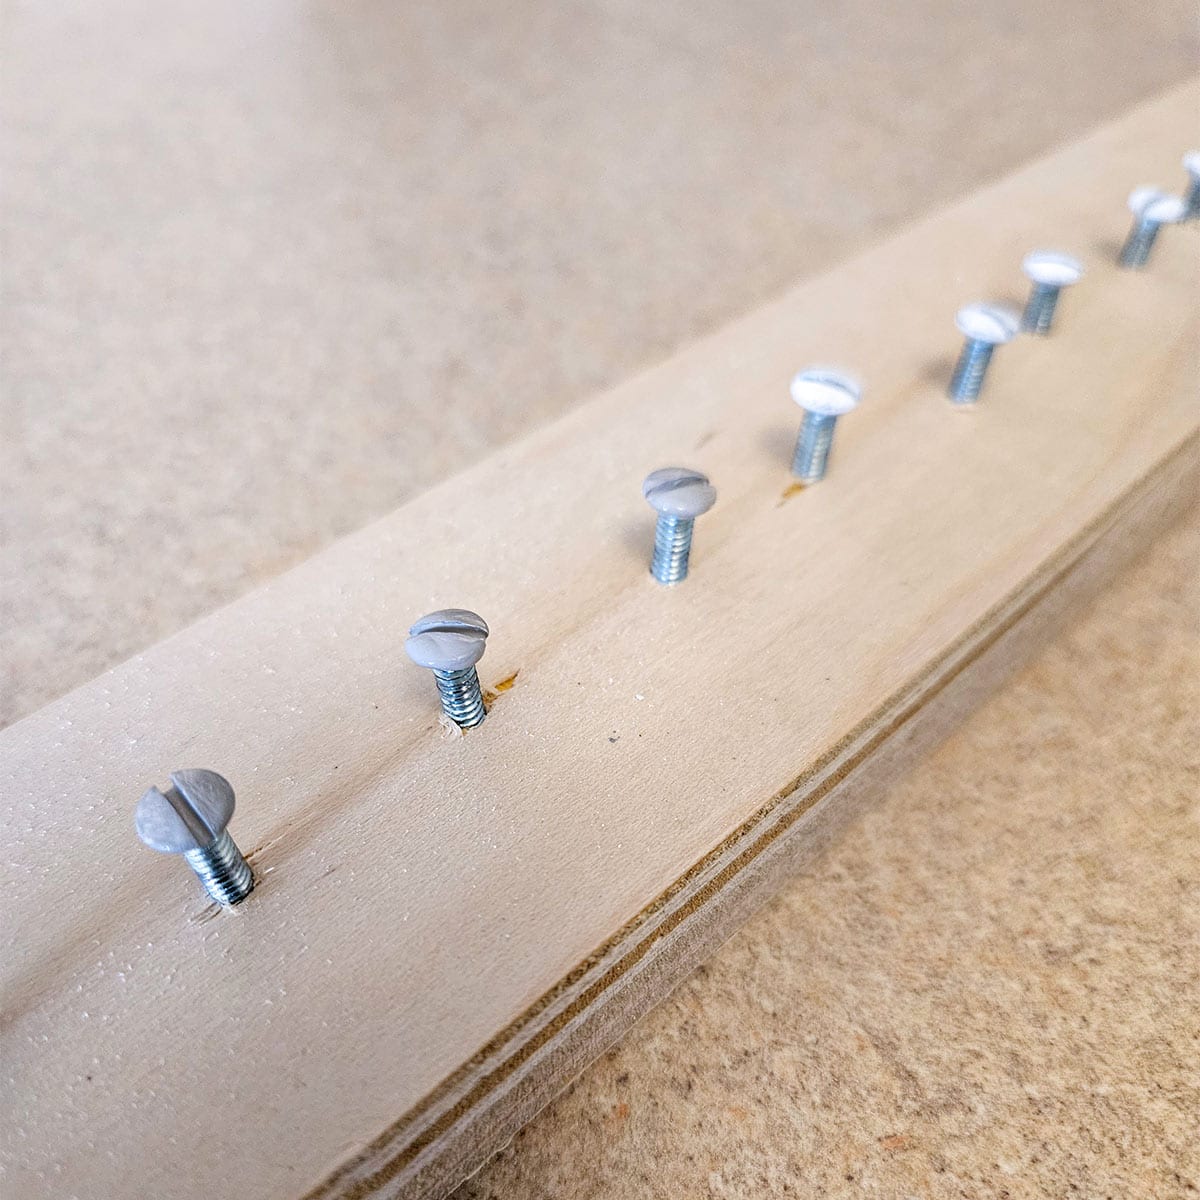
Stick each screw head into a piece of cardboard or scrap wood so they stand upright. Sand the heads similar to the covers and paint them with a small brush, making sure they get full coverage while avoiding drips.
Step 5 - Paint the Outlet & Switch Covers
Using a screwdriver, chopstick, or bamboo skewer that fits well within the hole, place it through the cover to avoid touching the wet surface.
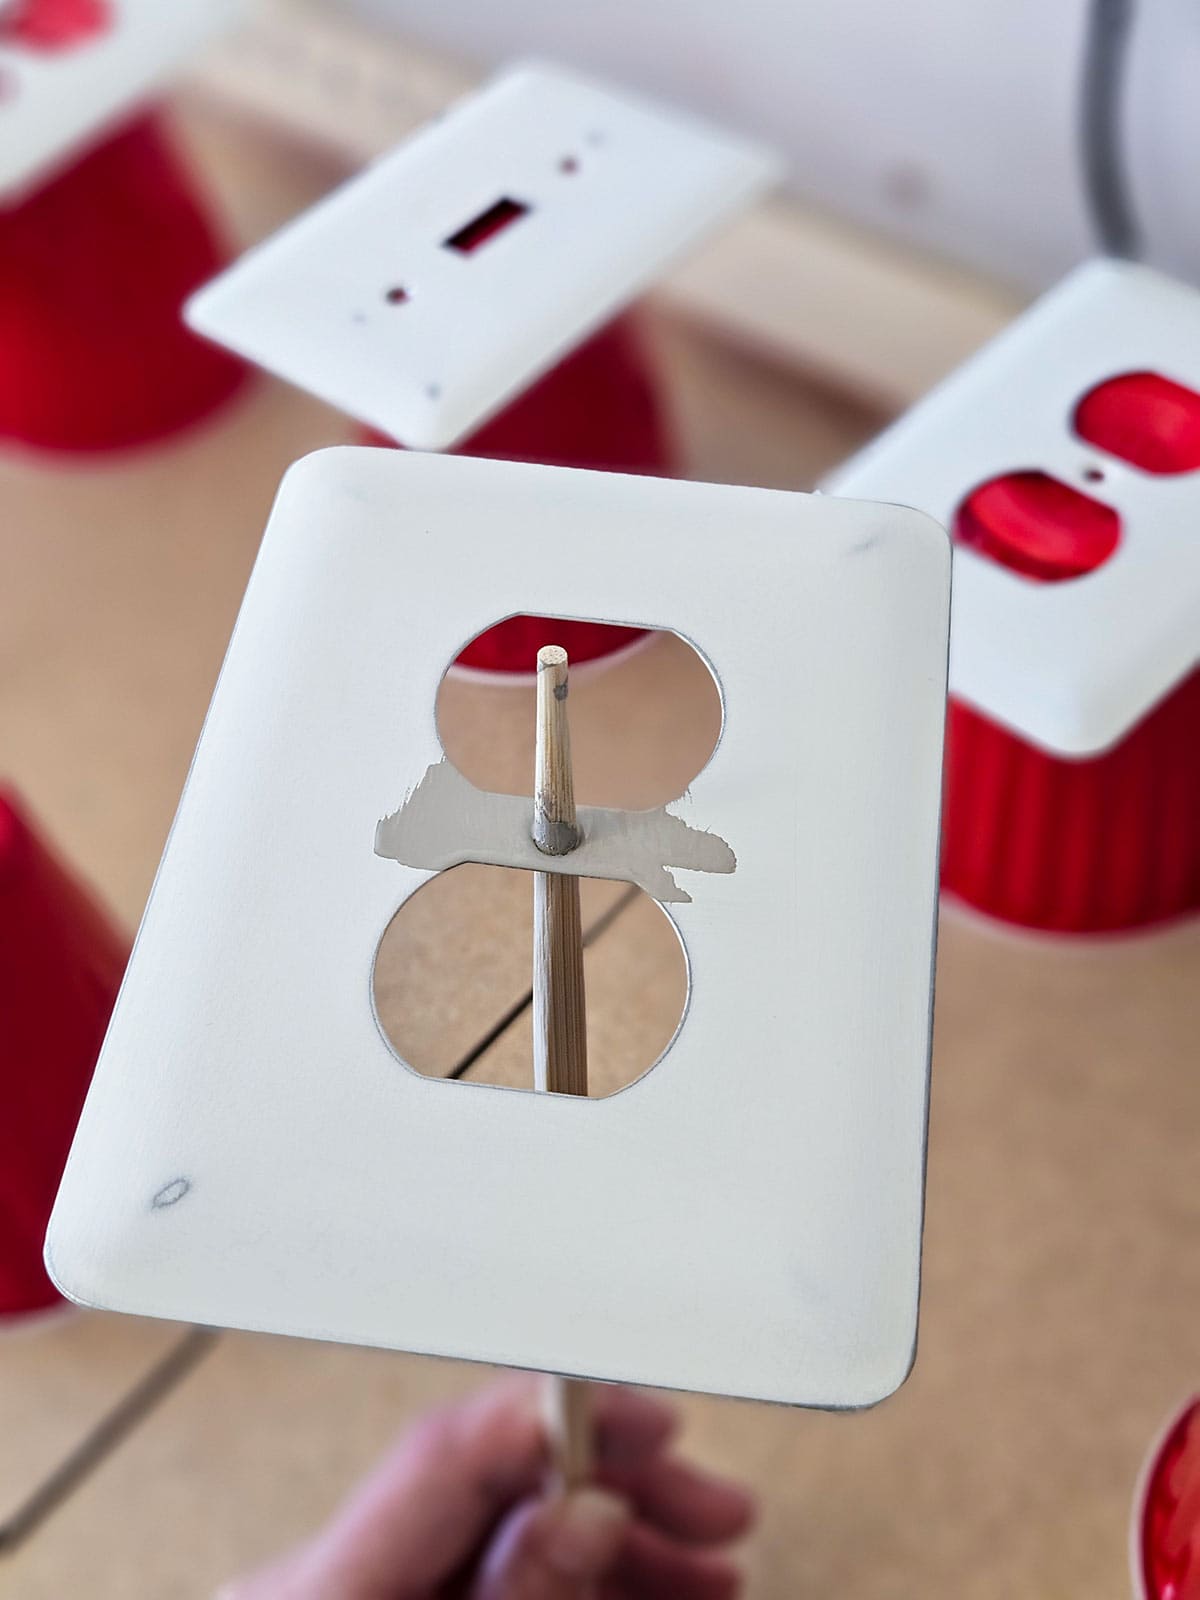
Paint the first coat with the brush, rotating around as needed to keep the paint in the same direction edge to edge. When finished, lift the cover off of the skewer without touching the paint and set onto your solo cups/pyramids for drying.
Allow the first coat to dry, lightly sand if you have imperfections, then apply a second coat.
Step 6 - Let Them Dry Properly
Place the freshly painted covers on top of solo cups or painter's pyramids so the edges don't stick or get marred while drying. Allow at least 72 hours of dry time for the paint to harden. Some paints may recommend more (I do at least a week with Benjamin Moore Advance).
Carefully reinstall the painted covers and screws. Tighten screws gently to avoid scratches.
The Final Look
While I don’t recommend painting the outlet or switch receptacles, you can purchase them in a closer tone. They come in several tones, from almond to black, and even colors like red or navy.
For us, we decided the plates were enough and the cost to replace all of the outlet receptacles wasn’t worth it. The details are super important, but everyone has a stopping point. What do you think? Would you have replaced the receptacles or maybe you would have painted the outlet covers a different color?
Grab our free series "Weekend Home Projects that will Transform Your Life" Sign up below to receive updates including free printables, organization tips, home improvement projects, recipes and more! |
More Painting Projects

PS I love seeing your creations! Be sure to take a photo and tag #cravingcreative on Instagram! You can also stay in touch with me through following me on Instagram, Pinterest, and subscribing to the newsletter!
Lonny and MarthaMarie Reever says
You can buy Outlet inserts that can be painted and then snapped over existing outlets. Mount them before replacing the covers. They are fairly cheap at Home Depot. Order on line and have shipped to your house free.