Learn how to waterproof wood for outdoor furniture to withstand what Mother Nature throws at it. This comprehensive guide includes the best ways to protect wood outdoor furniture, the best waterproof wood sealers, and even a step-by-step guide for how to refinish outdoor furniture.
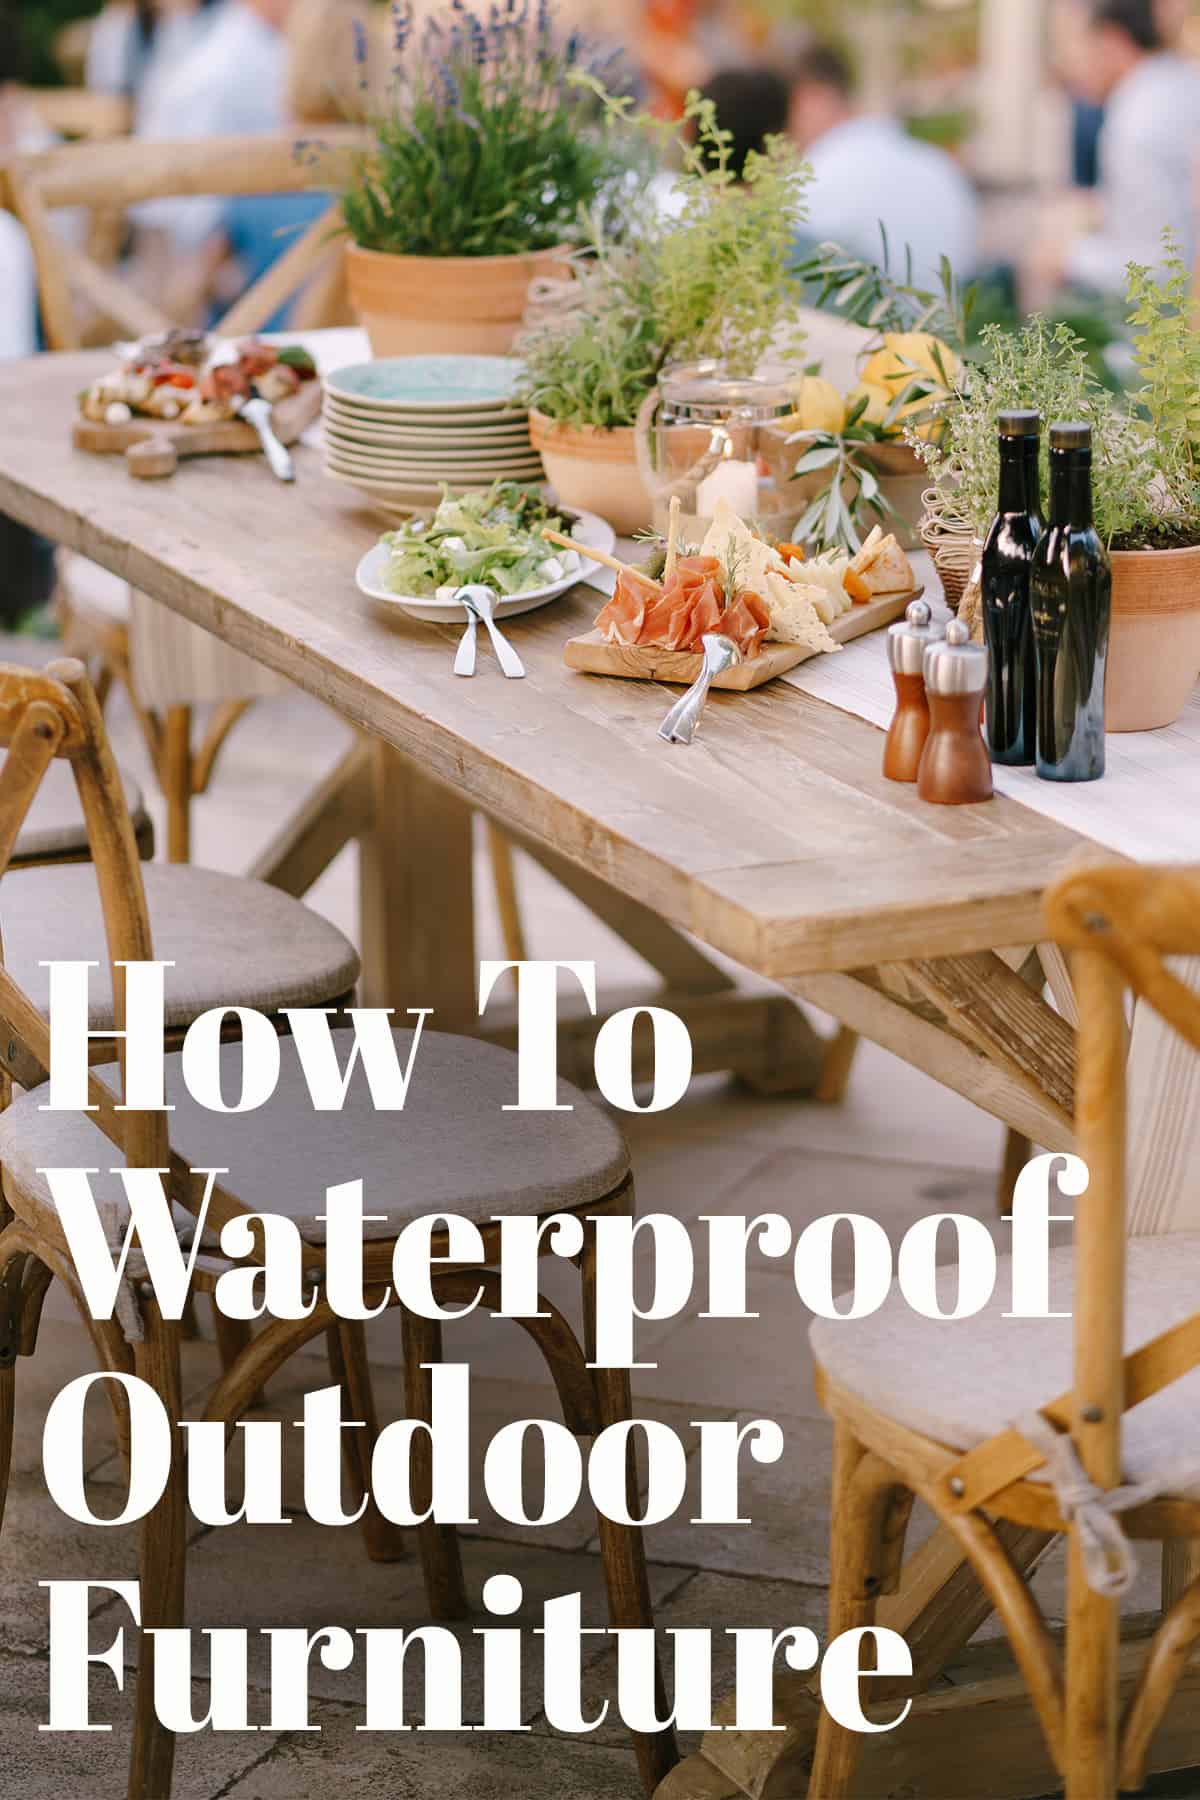
The great outdoors can be rather unpredictable. Fluctuating temperatures, harsh UV rays, heavy rain, and creepy crawlers can all take a heavy toll on outdoor furnishings and stained decks.
Untreated lumber is susceptible to warping, cracking, and rotting when left exposed to the elements. Much like our own skin, sunlight ages wood before its time whereas water attacks wood with fungal growth. Basically, this material can’t catch a break.
So, what’s a budget-conscious homeowner to do to protect your investment? Outdoor furniture doesn’t come cheap!
In order to get the biggest return on your investment, it’s essential to protect and learn how to seal wood against Mother Nature’s mood swings. With proper maintenance and our tips below, your investment can be a perennial favorite instead of an annual eyesore! You can hang some Outdoor String Lights and spend more time with friend and family playing summer Outdoor Games.
How Do You Protect Wood from Outdoor Weathering?
There are several methods you can use to protect the wood from outdoor elements. Each has their benefit. I recommend combining several methods for long lasting protection that withstands the test of time:
- Paint
- Solid Color Stain
- Sealers (Penetrating or Top Coat)
- Semi-transparent stain and sealer
- Bringing it indoors when not in use
- Covering it
If you are interested in repainting your outdoor furniture, hop over to this post to learn my best tips >>> How to Spray Paint Outdoor Furniture
Types of Outdoor Wood Sealers
A chemical water sealant preserves the natural look of the timber without covering the grain like paint does. Sealing is essentially a waterproofing method that protects the furniture from moisture and rain but also adds a small amount of UV protection (in some cases).
There are three types of sealants:
- Polyurethane sealant. Usually for painted surfaces.
- Urethane. These can be oil or water based and used with stains. Read your product label.
- Hardening Oils. These include Teak or Tung Oil. I do not recommend linseed, danish, or other oils for longevity.
What to Look for in a Sealer?
The best sealer for your project depends on what you desire in a sealer. No maintenance? Environmentally friendly? Clear? While this list isn’t exhaustive, I’ve tried many different sealers, finishes, and topcoats. I wouldn’t say that any particular product is bad, but it’s key to align your expectations with what each product is designed to do.
Wood exposed to weather elements will ALWAYS CHANGE COLOR. A sealer that has no UV protection isn’t going to keep wood looking bright and fresh. Period. It’s the sun’s ultraviolet rays that cause wood to turn grey by breaking down the lignin and cellulose structure.
Penetrating vs Topcoat. This is my personal opinion, but I’ve come to the conclusion that penetrating is a marketing term that varies broadly between brands. First, how deeply it penetrates varies vastly and it’s usually only a few cells deep. Also, penetrating products may or may not provide any abrasion resistance. So on a surface like a deck, the top layer wears off fairly quickly.
Ambering or Yellowing. The majority of oil-based or oil modified sealers will yellow over time. This may or may not be what you want. For example, with a darker natural wood stain, this yellowing will remain unnoticed and may even keep the wood looking a bit brighter. However, with a grey stain, you may want to find something that won’t amber over time.
How To Choose the Best Outdoor Wood Sealers
That being said, I highly recommend the following products. Several of these companies also offer other high-quality products that may enhance your outdoor furniture and fit your needs better.
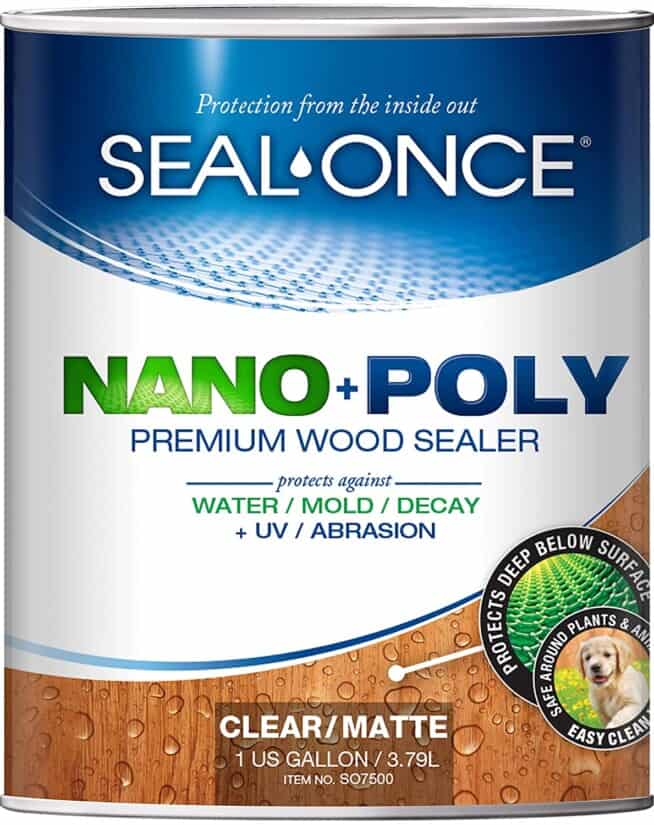
Best Sealer Combo – Seal Once Nano
This is a relatively new product that I have not yet tested long term, but the guarantee is top notch. It comes in a limited color selection, but the added poly offers abrasion resistance as well as waterproofing.
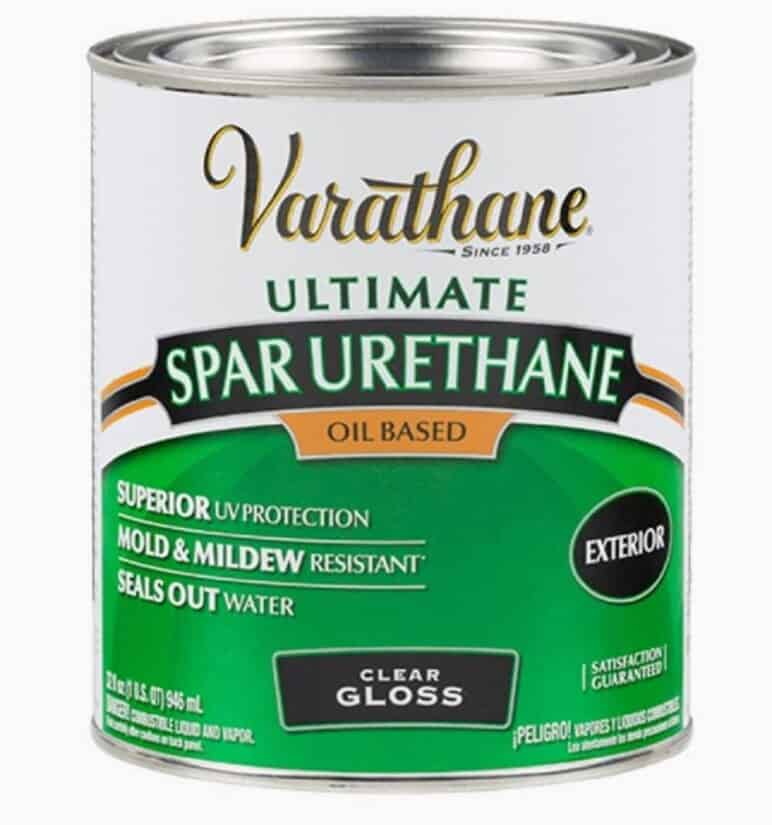
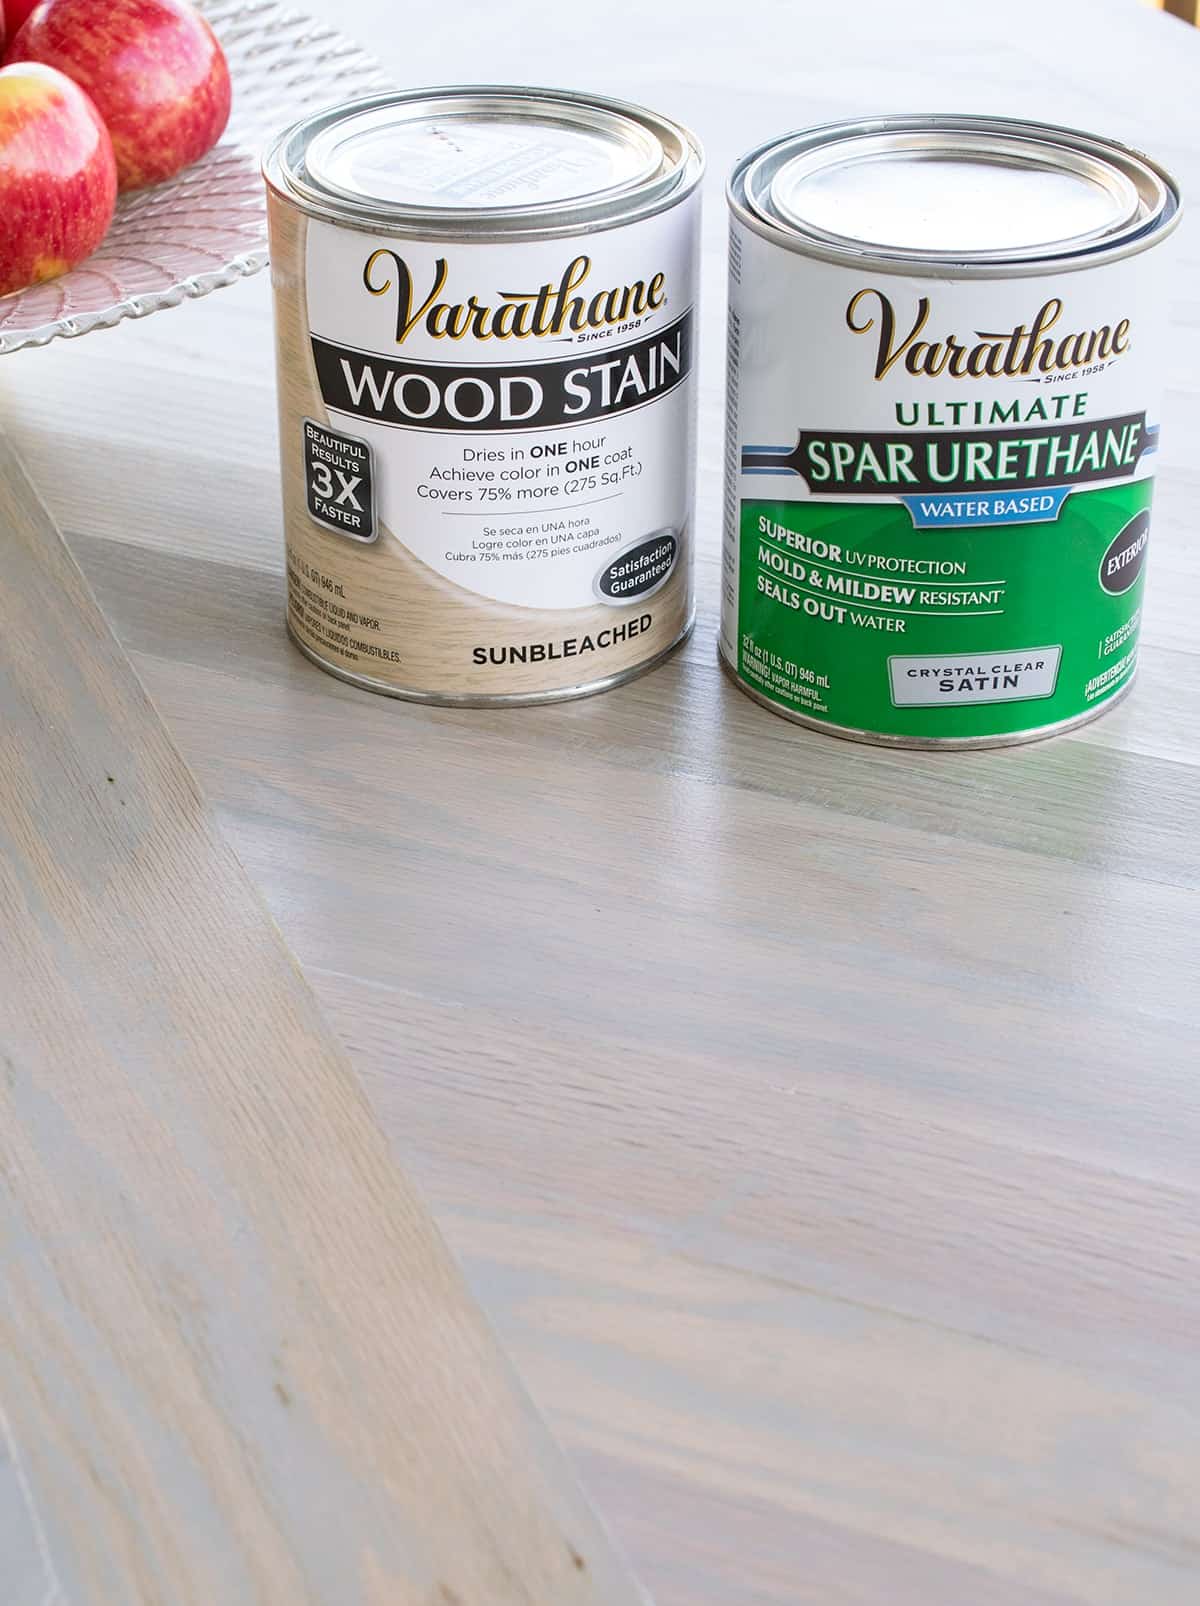
Best Clear Sealer – Varathane Water-Based Spar Urethane
A beautiful, rock-hard finish. The oil is slightly more durable, but the water-based finish is the best I know of that won’t yellow over time. It works great with grey or colorful stains. It’s easy to work with and resists UV rays decently.
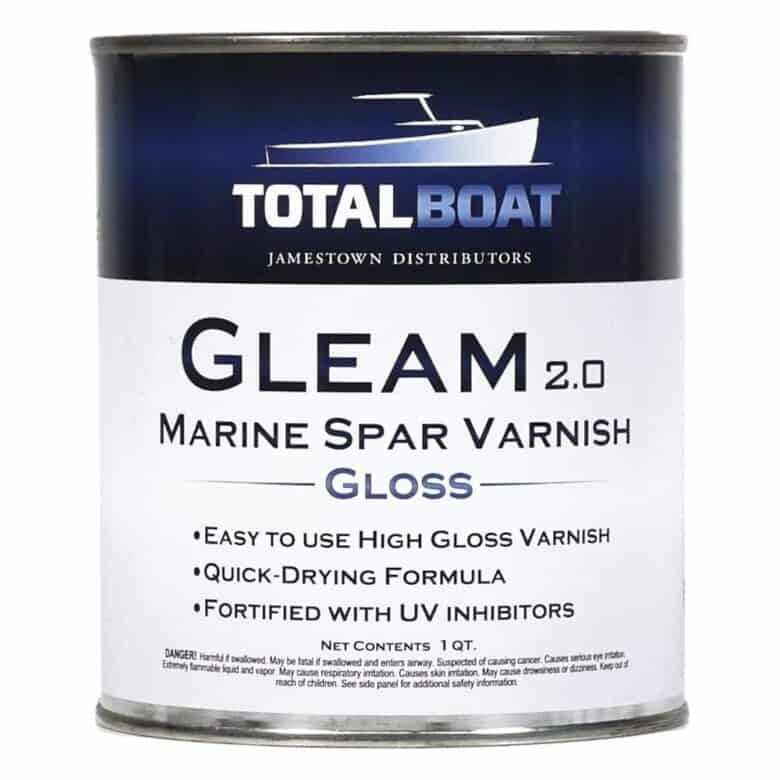
Best High Gloss Sealer – Total Boat Varnish
A spar varnish is a finish specifically designed to withstand the rigorous conditions of boating, which means it can easily handle anything your backyard throws at it. It has a beautiful, smooth finish with amazing durability.
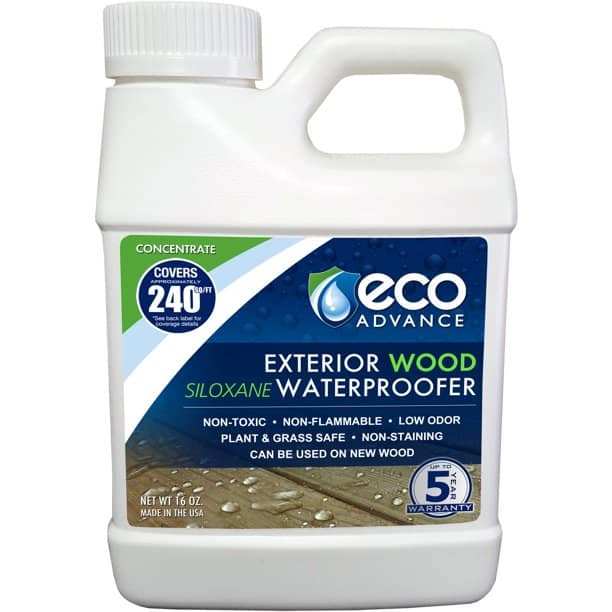
Best Eco-Friendly Sealer – EcoAdvance
This is a non-toxic, silicone-based sealer. It’s one step with a beautiful flat brush finish. It lays smooth without brush strokes and won’t destroy your shrubs and bushes. However, the full effectiveness is only about 2-3 years on horizontal surfaces.
Quick Tips for Waterproofing Wood
- Before applying a sealer, make sure your surface is clean and free of dust.
- If your wood surface has been treated previously, at least remove any loose paint or stain. You don’t always need to go down to bare wood, but it depends on the condition of the surface.
- A successful seal is tested by dropping a few drops of water. The water should bead. If the board absorbs the water, it needs re-treating.
- If you plan to paint over a sealer, choose a brand that says it can be painted. Otherwise, the paint will probably not bond correctly.
- Follow manufacturer's instructions for the best applicators for your sealer and when to reapply.
- For dry or kiln dried wood, seal all sides underneath, joints, and legs. For new or green wood, I suggest leaving the undersides until later so the wood has time to dry fully and breathe.
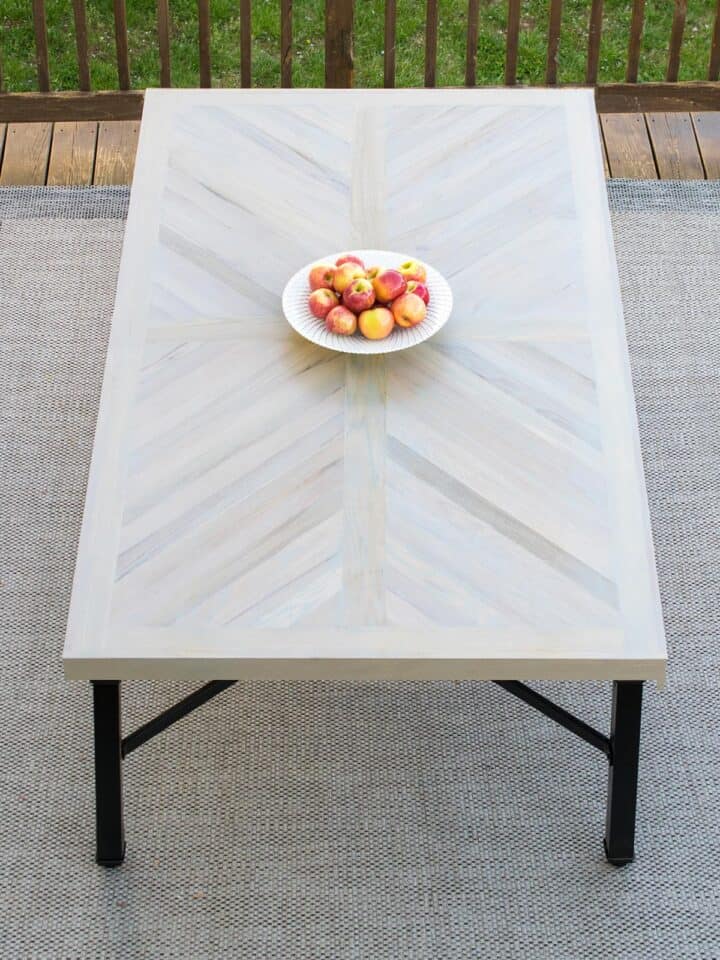
How To Refinish Outdoor Furniture
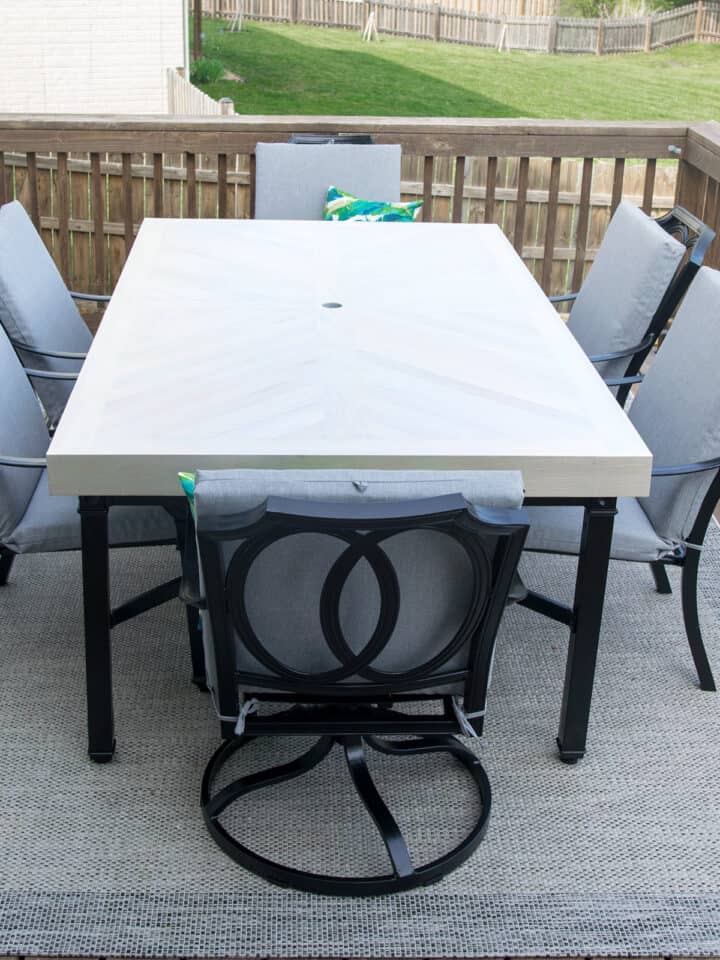
We recently had a project where we built a Farmhouse Outdoor Table. After sanding and cleaning, it needed some protection from the sun and rain.
Reader’s Note: Solid stain does not need a separate sealer coat. While semi-transparent stain does provide some protection, it’s not a sealer like a urethane. There are products with stain and sealers in them. I have not personally used them so I cannot attest to their durability. I tend to have a philosophy that products with separate purposes should remain separate. Example: a primer coat, then a paint coat is better than a paint + primer product.
Tips for Prepping Wood
Do any repairs as necessary and then remove any previous finish. This can be a light sanding or a full strip. If you need to strip the old finish, check out this post: How to strip furniture
For best protection, it’s important to note the moisture levels in the wood surface before using a sealer. Wood should be at least as low as 15% when read with a moisture meter. Stain and penetrating sealers won’t absorb as well with higher moisture. Worse, high moisture can cause early failure of a sealing product. As the wood surfaces dries out, it can leave cracks or invisible gaps that changes the structure of the surface that are essentially unprotected.
Applying a Finish
For this project, I wanted to downplay the orangey-wood while still keeping the focus on the graining and pattern of the wood.
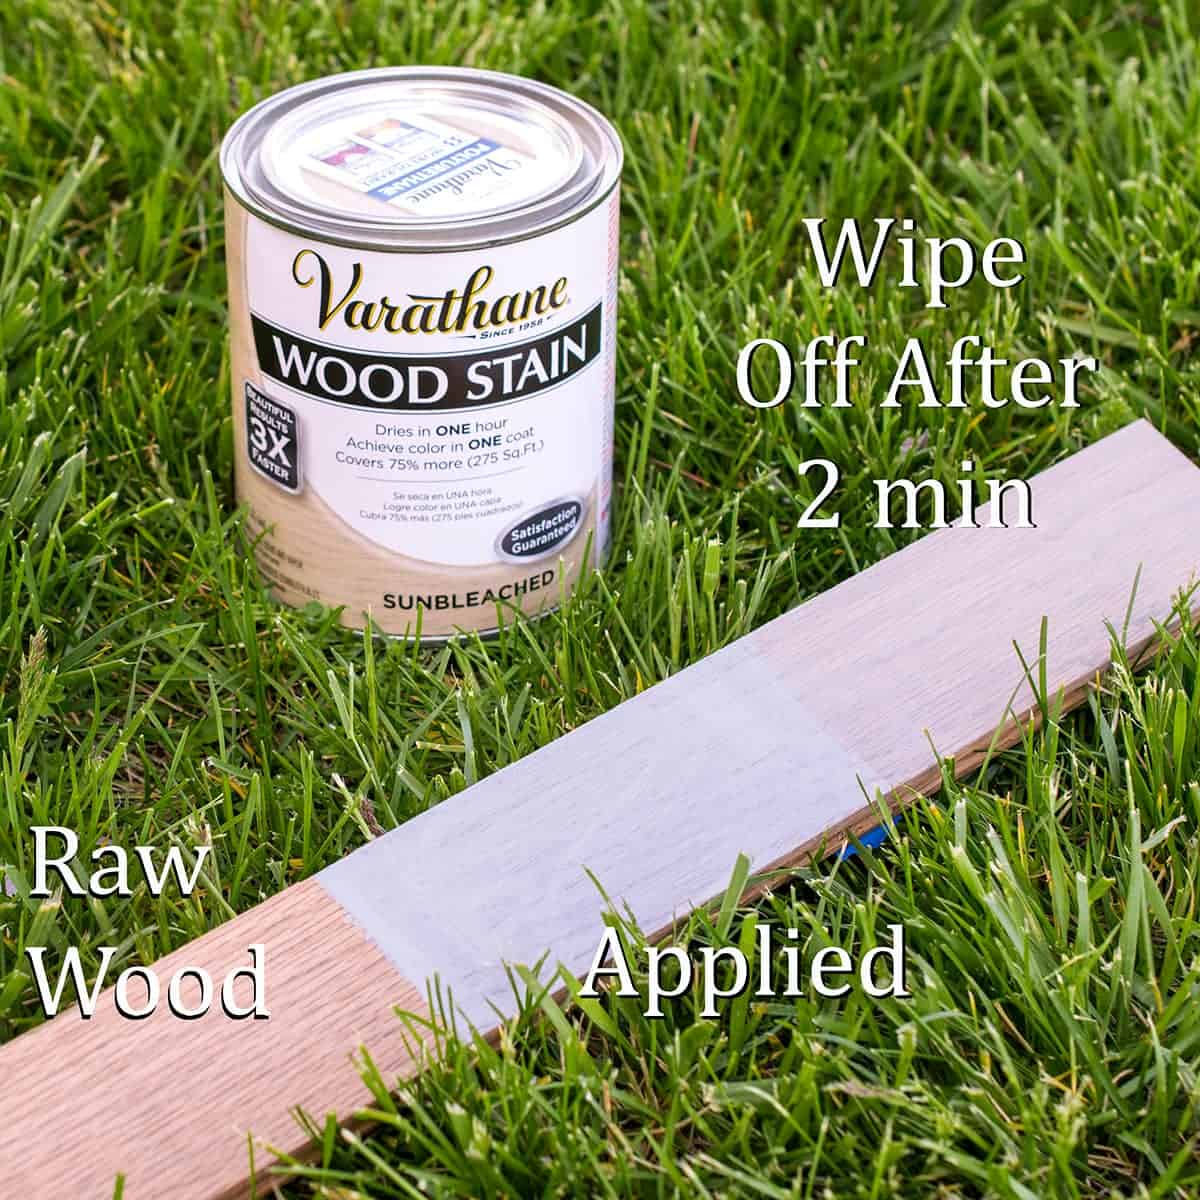
I chose Varathane Sunbleached to give it a slightly gray look that will age beautifully with time. As pictured below, it looks very opaque when you first brush it on. Then, per the directions, I wiped off any excess after 2-3 minutes with a lint-free rag (old t-shirt).
The grain pattern took up the stain more, so it played beautifully on the graining pattern. If I had used a less grainy wood such as pine, the stain would be more evenly colored. This is a one coat stain, and it dries in an hour, so I did small sections working quickly as I went.
How To Add Sealer with a Brush
- I actually like a synthetic brush for most sealers, but a natural bristle for applying stains.
- Completely stir the poly before use and occasionally during application to keep the ingredients in suspension. Be careful not to incorporate bubbles while stirring.
- Brush or wipe quickly in the same direction one end to the other. Do Not back-brush if the product is drying.
- It is generally not necessary to sand between coats, unless you have imperfections which can be sanded out.
- As with any project, do not use sealers in high (>80%) or very low humidity.
- Avoid direct sunlight when applying.
- Allow the piece to fully cure before setting items on it such as heavy lamps or other painted materials.
How To Add Sealer with a Spray Gun
Once the stain is dry, I finished the whole table off with 4 coats of Ultimate Exterior Spar Urethane from Varathane in satin. It looks beautiful without the glare of too much gloss.
This coat was sprayed using my paint sprayer for a uniform finish.
We love using paint sprayers for many projects! Learn our best recommendations in this post >>> Best Paint Sprayers for DIY Projects
More DIY Projects to Spruce Up Your Outdoor Spaces
How Long will Outdoor Furniture Last?
It’s true that today’s aesthetics have changed to things that don’t wear as well over time (hello, white couches and flat finishes). While products have made great strides and I do my best, I often have to combat expectations from clients that their waxed, chalk painted furniture will have the same stamina as their grandmother’s thickly glazed Early American style chairs. It’s a no for me.
What does this have to do with protecting outdoor furniture? It’s about managing expectations about the choices you make that affect the lifespan of your outdoor surfaces.
For example, full sun is a killer. Secondly, easy sometimes comes at a cost of longevity. We all desire solutions with easy application and cleanup, but these solutions aren’t time tested. A personal example is that I love my giant dogs, but their big nails take a toll on my deck boards. I understand that I cannot keep my own full-sun, dog-lounging deck looking picturesque for more than a few years.
Take stock of what you can do to combat these variables and use more than one method to protect your investment. It will pay off in the long run.


Grab our free series "Weekend Home Projects that will Transform Your Life" Sign up below to receive updates including free printables, organization tips, home improvement projects, recipes and more! |

PS I love seeing your creations! Be sure to take a photo and tag #cravingcreative on Instagram! You can also stay in touch with me through following me on Instagram, Pinterest, and subscribing to the newsletter!
How To Waterproof Wood
Tools
- Paint Brush
- Drop Cloths
- Paint Sprayer Optional
Supplies
- Sandpaper 220 and 100-120 grit
- Painter's Tape To tape any areas you don't want covered
- Paint trays or buckets
Instructions
- Do any repairs as necessary and then remove any previous finish. This can be a light sanding or a full strip depending on the condition of your surface. For best protection, new and wet wood should be at least as low as 15% when read with a moisture meter.
- Staining is optional but may offer additional UV protection. Brush in one direction from end to end. Let it soak into the surface but wipe off excess with a cotton cloth after 5 minutes or per manufacturer's instructions. Reapply to any spots or a second coat until you have the desired color.
- Apply sealer with a brush or sprayer. I like a synthetic brush for most sealers and a natural bristle brush for oils. Brush in one direction from end to end. Do Not back-brush if the product is drying.
- Apply 2-3 coats for best coverage. Allow the piece to fully cure before setting items on it such as heavy lamps or other painted materials.
Notes
- Completely stir the poly before use and occasionally during application to keep the ingredients in suspension. Be careful not to incorporate bubbles while stirring.
- Remember that most sealers will deepen (not necessarily darken) the color of any previous stain or paint.
- It is generally not necessary to sand between coats, unless you have imperfections which can be sanded out.
- As with any project, do not use in high (>80%) or very low humidity.
- Avoid direct sunlight when applying.
Leave a Reply