Discover the hidden potential of your weathered and worn deck as we unveil the art deck restoration. From mildewy surfaces to splinter-laden boards, we’ll show you step-by-step how to breathe new life and re-stain severely damaged decks.
It’s the summer of big remodeling projects! In fact, we had 4 deck restoration projects this year. They range in condition from well-maintained to severely neglected. Whew that is a LOT of decks to refinish!
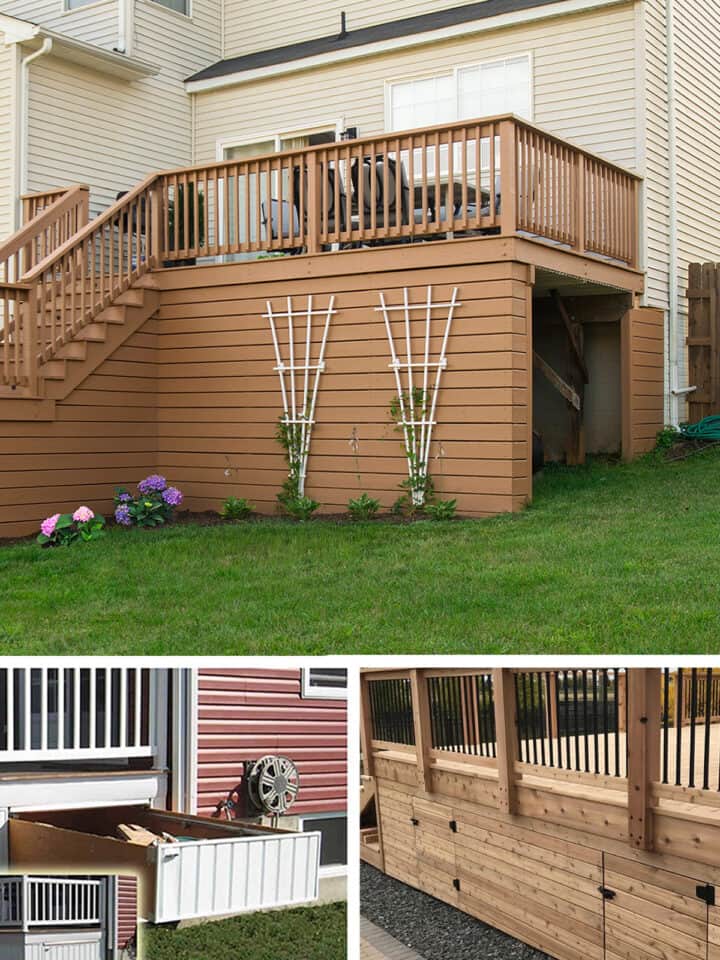
For the last three months, in addition to our own home projects, we are renovating my childhood home for sale – so many emotions with that! If you want to see our other deck projects, check out how we added a waterproof ceiling under the deck, and creating storage space under a deck.
However, even with very different conditions, the process of deck restoration remained the same, so today I wanted to share how to restore an old deck or re-stain a newer one.
5 Things to Check Before You Start
Always give your project a thorough inspection so you don’t have surprises later. Repairs always come first.
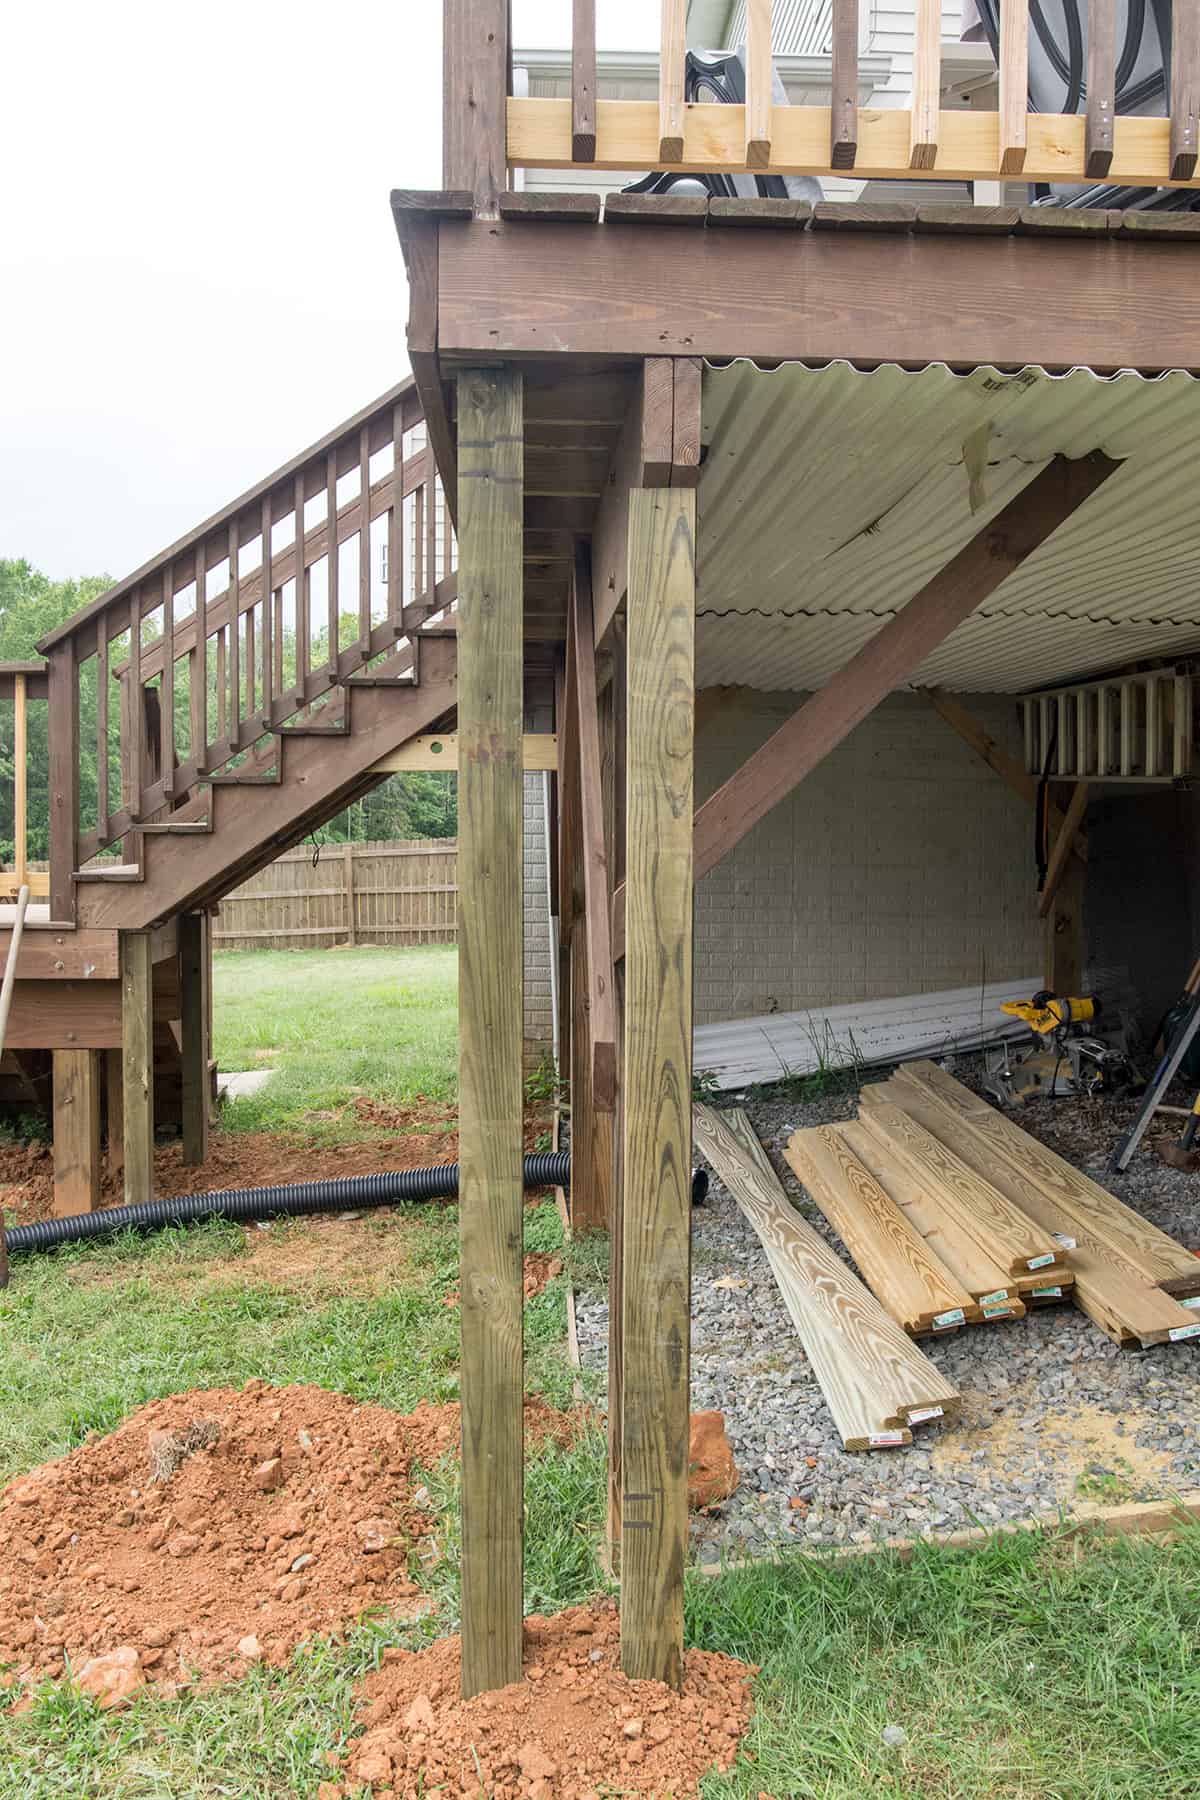
- Structural Integrity. Check underneath and around the entire structure for any movement in the framing, joists, footers, as well as warping, gaps, or severe cracks. You may need to call professionals for major replacements.
- Rot. Walk around with something like a flathead screwdriver and poke any areas that are darkened, white (fungus), or splintered. Check the footers especially because sometimes rot can happen from the inside out (hidden).
- Tighten Loose Screws and Hardware. If necessary, apply them at a new angle to grab well.
- Pest Damage. Look for signs of pest damage including borer bee holes, termite damage, and nests.
- Moisture and Drainage. One of the quickest ways to ruin a deck is to not have the proper slope or drainage underneath. If you have rotting or debris collecting water under a deck, repair that first.
How To Prep Deck Surface
Clean the deck and remove any peeling or chipping stain. If using the same brand of stain and color as before, complete removal of the previous stain is not necessary.
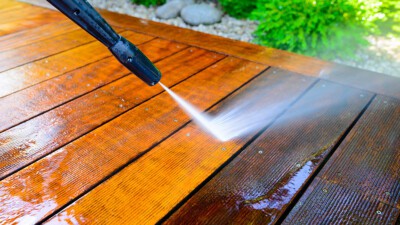
To clean, you can use a power washer and deck brush to scrub off any peeling stain or paint. We used 2800 PSI on this deck without issue. A high amount of PSI can dig out the wood grain and cause pitting in the boards, so be careful.
Do I need to sand the deck surface? While sanding is optional on newer decks, a light sanding will help the stain penetrate and bond better to the wood surface.
If all of the stain must be removed, I recommend renting a commercial orbital deck sander. A floor sander is less optimal but doable. You can usually rent them from a large home improvement store. Here are some tips:
- Be careful around screw or nail heads. If you have nails above the surface of the boards, remove and replace or hand sand around.
- 120-180 grit sandpaper is good.
- Floor sanders are specifically designed to sand completely flat surfaces. Deck boards are generally more uneven, so you will still have to sand some areas, and possibly round off edges with a palm sander.
- Ideally, deck boards should have a convex or rounded surface, so water runs to the edges and over.
- Upright sanders probably won’t be able to get under railings.

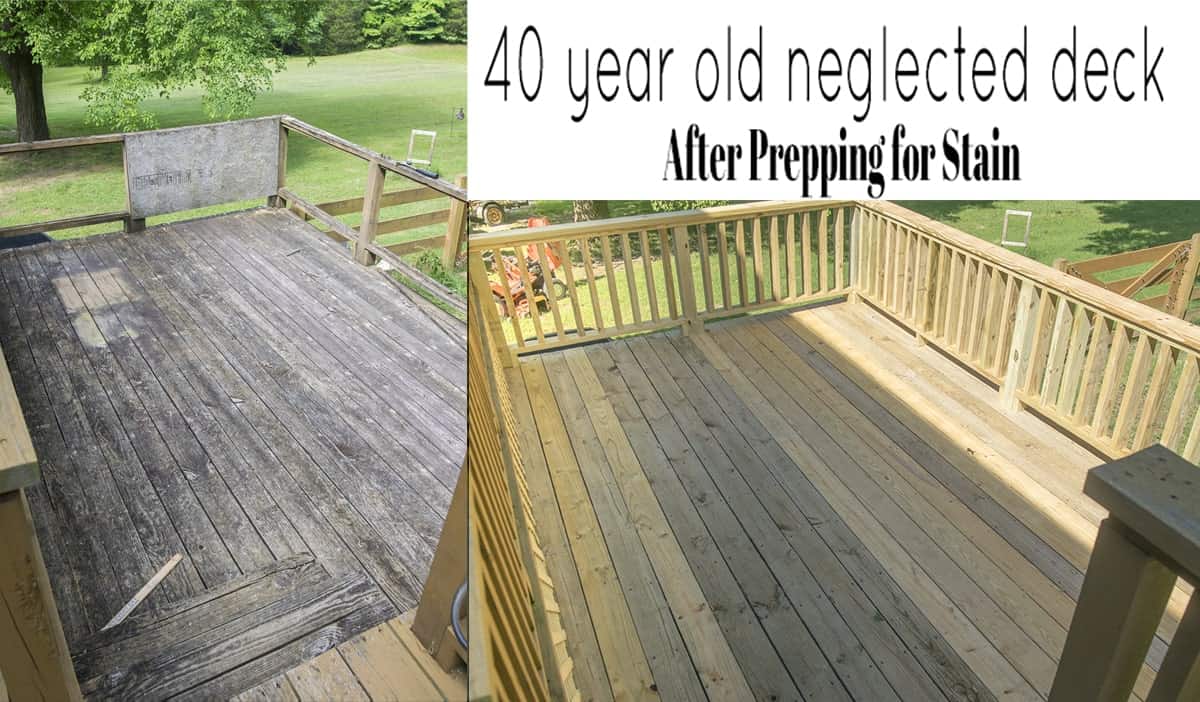
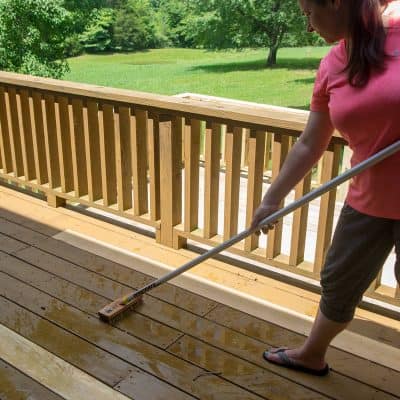
Remove mildew and gray wood, if necessary. Finally, the entire deck was cleaned with deck brightener to remove all mildew and gray wood for a fresh surface to stain. I still recommend a basic deck cleaner for exterior wood to remove dirt and debris for a fresh surface.
The Best Way to Stain a Deck
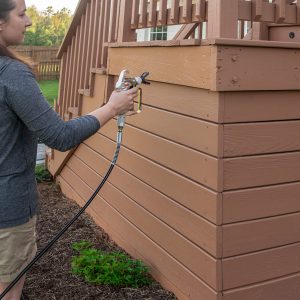
I always apply stain with a sprayer and then back brush- this method saves hours of your time compared to a roller. The brushing pushes the stain on for a better bond.
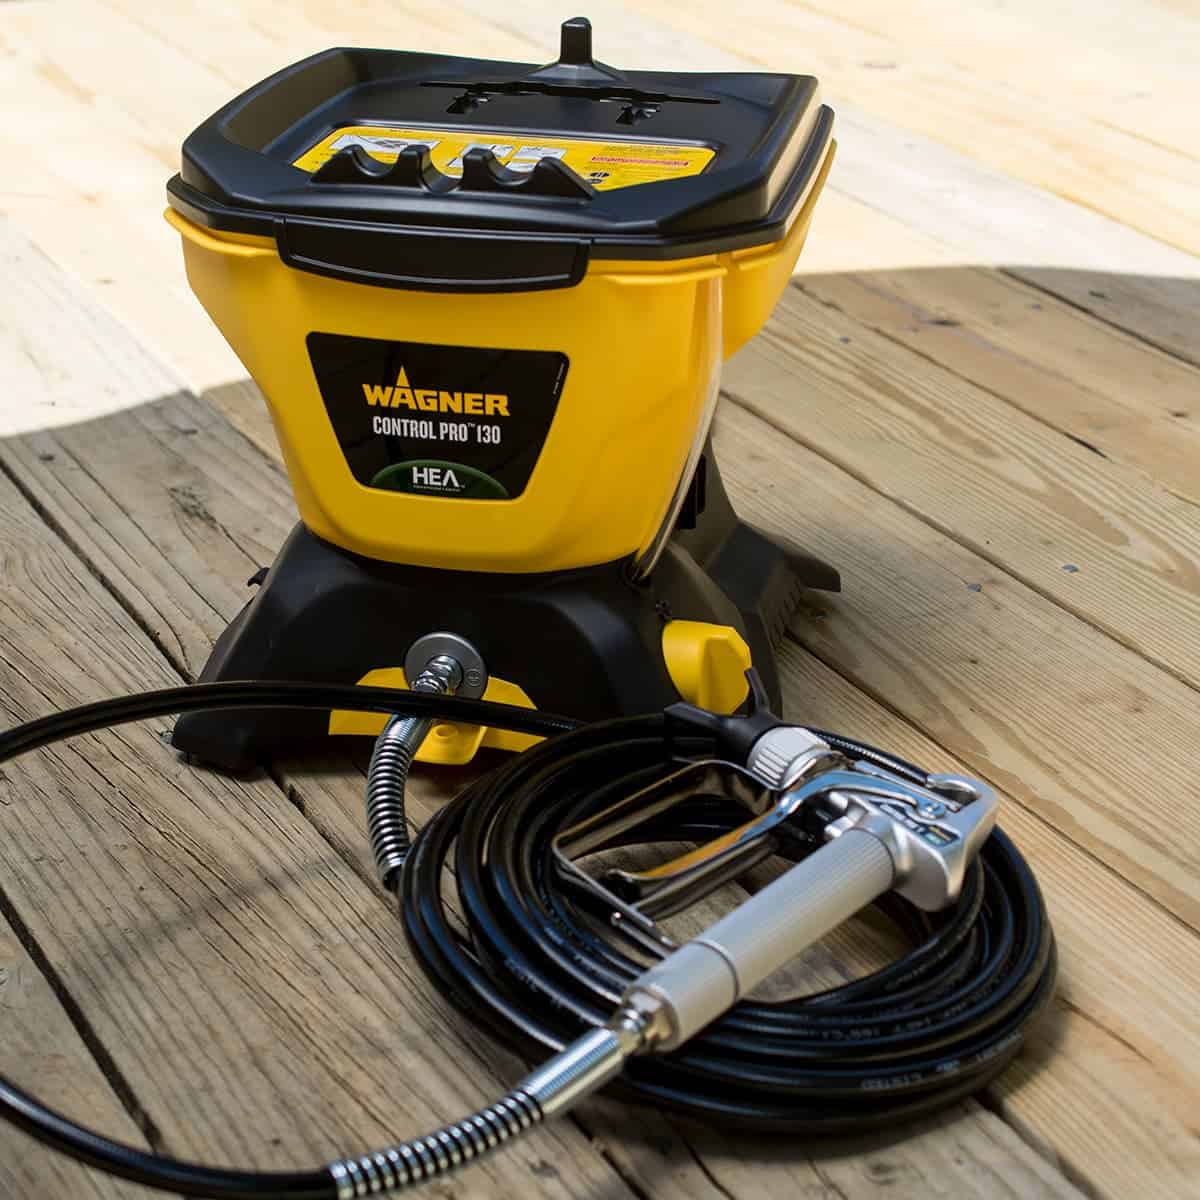
On decks that require a ladder, we are using the Wagner Control Pro 130 sprayer, which has a 25-foot hose and holds up to 1.5 gallons of stain. The tank can be left safely on the ground as we work up high. No lugging paint up a ladder!
What Kind of Stain to Use
For weathered wood with lots of cracks and splinters, I recommend a product like Behr Deckover to fill those cracks and resurface the deck.
For all decks, I generally recommend at least a semi-transparent stain on a deck because sealers or transparent stains only look good for a few years and have the lowest protective properties.
Expert Tips for Staining a Deck
- For large projects like decks, I HIGHLY recommend using a quality paint sprayer. It cuts maybe 50-80% out of the work time.
- Cover nearby bushes and windows with plastic to make cleanup easier.
- Stain top to bottom with handrails first, followed by the floors and then skirting.
- Even with a sprayer I recommend brushing the stain in. This helps catch any drips and, for transparent or semi-transparent stain, will help the stain penetrate the wood.
- I usually do at least two coats of stain, 3 for clear or light transparent stain. Check the product labels for how long to wait between coats.

Frequently asked questions
Different paint sprayers can be a better choice depending on the project at hand. You can check out my complete list of the best paint sprayers for you here.
Floor sanders are specifically designed to sand completely flat surfaces. Deck boards generally have a slightly curved surface, so you would end up with an uneven result.
It depends on the type of stain you’re using. For clear and semi-transparent stain, you will probably need to refinish your deck every three years. If using a solid color wood stain, your deck should be good for about ten years (unless you have large dogs or high traffic/sun). If your wood looks patchy, discolored, or fails to repel water, it’s time for a fresh coat.
Although I won’t say that it is required, I would recommend at least a light sanding to ensure the best bond with the stain and to avoid patches or splinters.
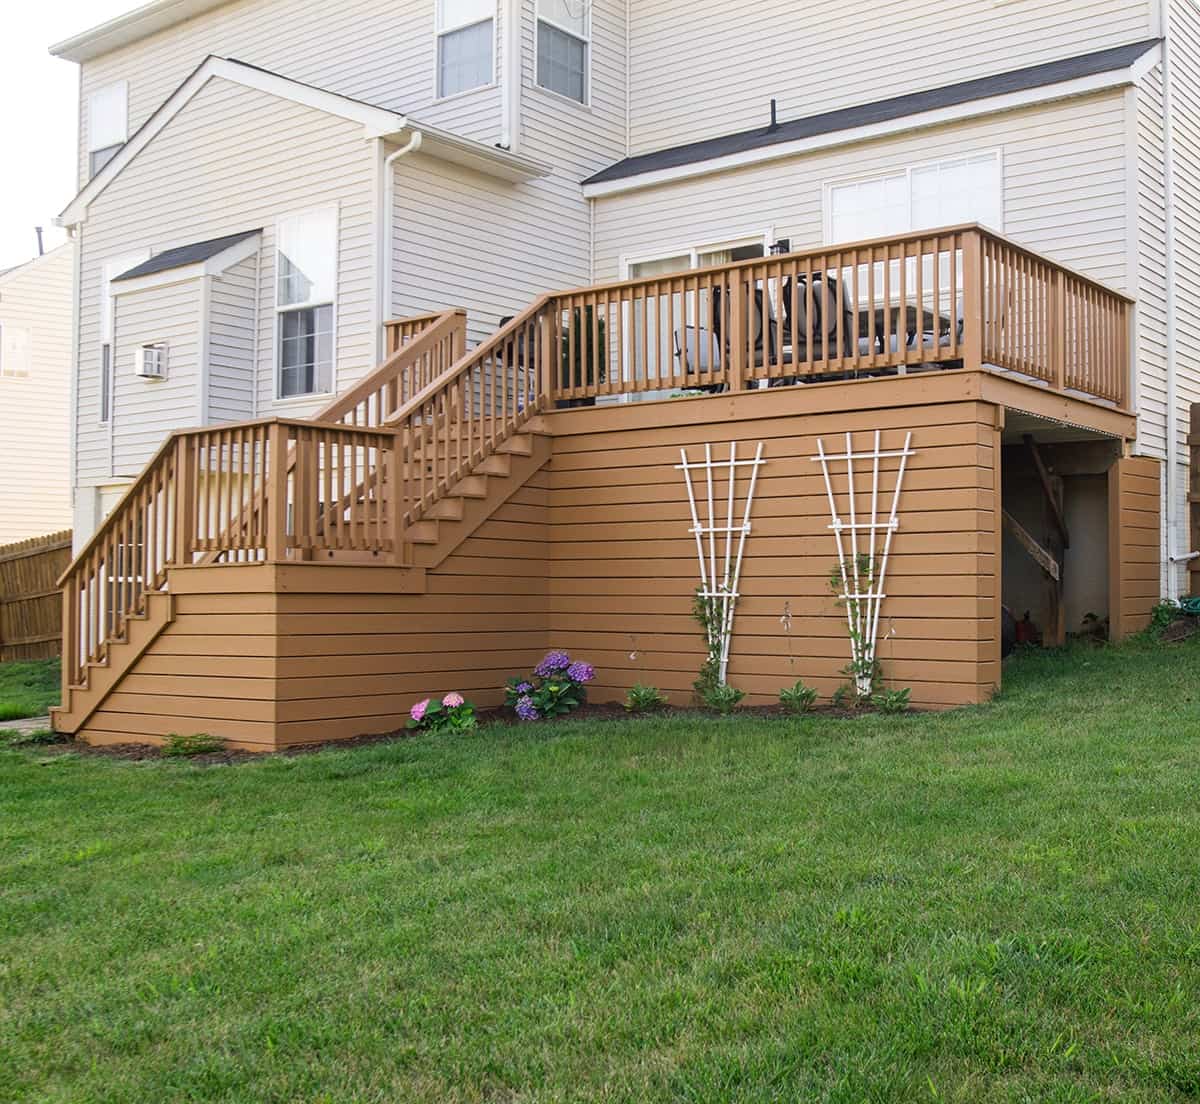
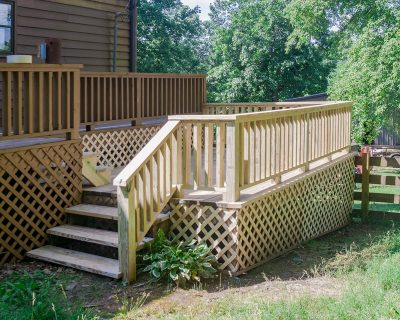
Because it looked so good, we were inspired to create a small garden space around the deck and summers are going to be great out here!

Grab our free series "Weekend Home Projects that will Transform Your Life" Sign up below to receive updates including free printables, organization tips, home improvement projects, recipes and more! |
More Home Improvement Projects
PS I love seeing your creations! Be sure to take a photo and tag #cravingcreative on Instagram! You can also stay in touch with me through following me on Instagram, Pinterest, and subscribing to the newsletter!
How To Restore an Old Deck
Tools
- Painting accessories Rags, cleaning supplies
- Stain Brushes
- Safety Equipment Eye goggles, gloves, etc
Supplies
- Deck Brightener For grayed, mildew, or mold decks
- Stain Color
- Stain Cleaner
Instructions
- Inspect and repair, as needed, the structural integrity of the deck. Replace any boards that are showing signs of rot, pest damage, or loss of support. Inspect the entire structure from all angles.

- Clean the deck and remove any peeling or chipping stain. You can use a pressure washer with up to 2000 PSI pressure but be careful not to gouge the wood.

- Remove mildew and grayed wood, if necessary. For decks that have grayed severely or been neglected, deck brightener will remove the top layer of gray wood and kill mildew.

- Sanding. While sanding is optional in some cases, a light sanding will always help the stain penetrate and bond better to the wood surface. If all of the stain must be removed, I recommend renting an orbital deck sander with multiple heads. Sweep and vacuum up dust.
- Apply stain. I always apply stain with a sprayer and then back brush to work the stain into the grain. A sprayer cuts time by 50-80%. I usually do at least two coats of stain, 3 for clear or light transparent stain. Check the product labels for how long to wait between coats.

Notes
- For large projects like decks, I HIGHLY recommend using a quality paint sprayer.
- If desired, cover nearby bushes and windows with plastic to make cleanup easier.
- Stain top to bottom with railings first, followed by the floors and then skirting/sides.
- Even with a sprayer I recommend brushing the stain in. This helps catch any drips and, for transparent or semi-transparent stain, will help the stain bond with the wood.
Megan says
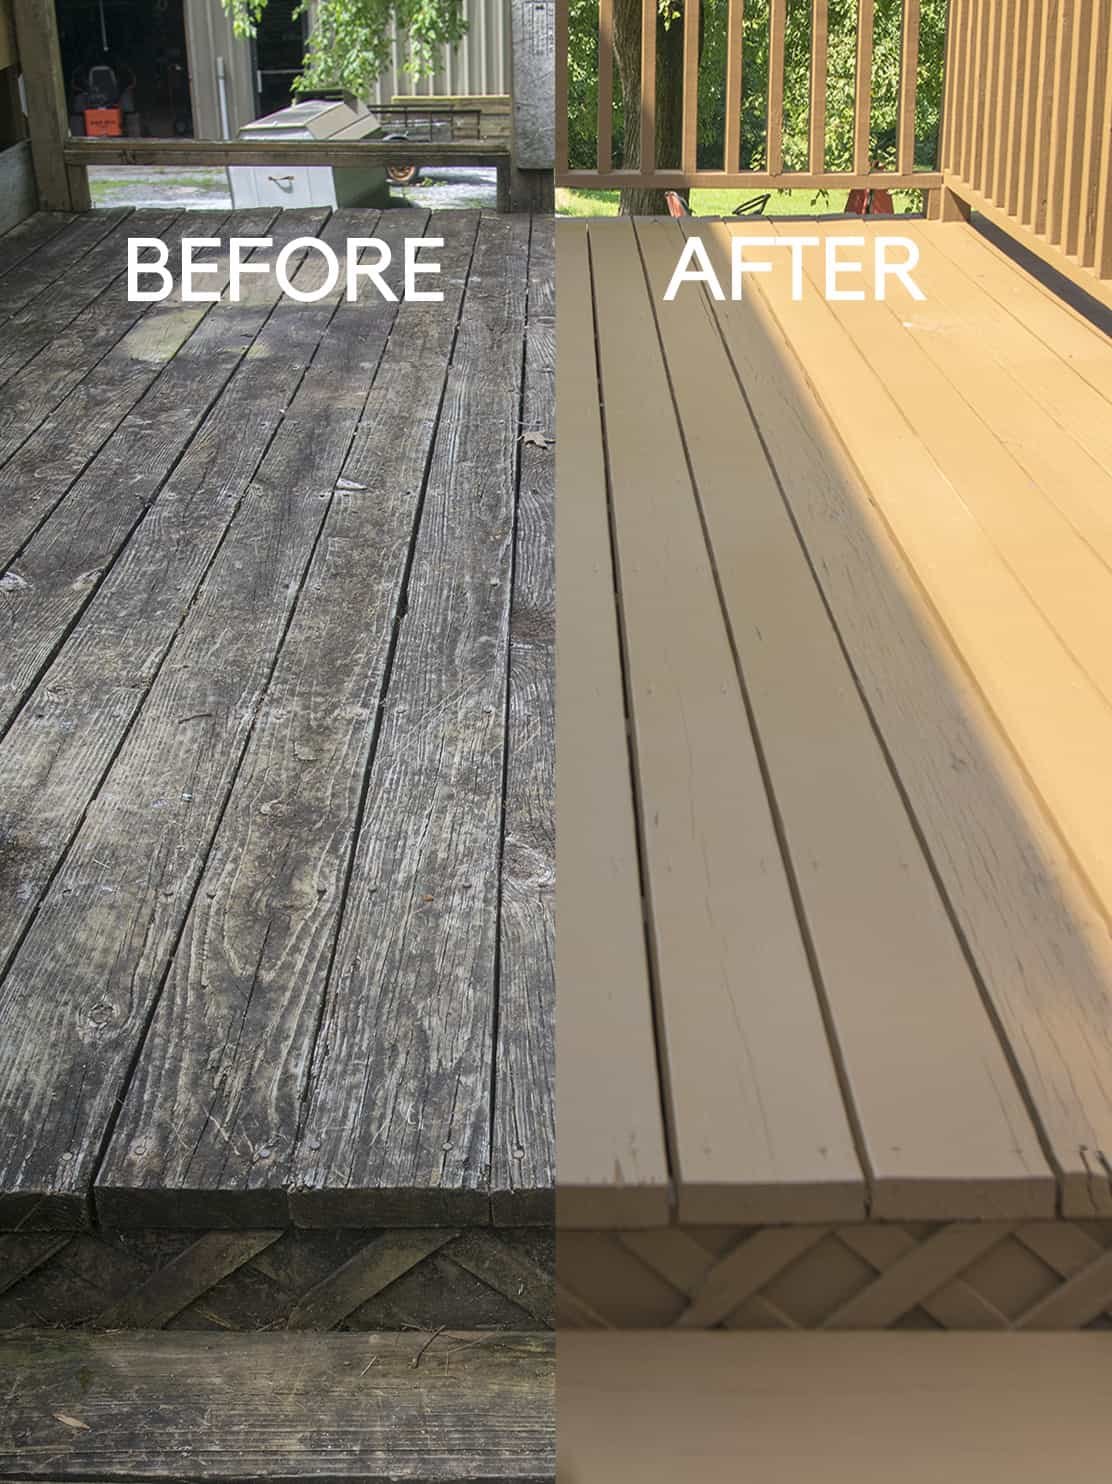
On the first pic with the before and after what color is used on the after
Rachel says
I know that rustic cedar from Behr is the color on the last photo from my deck. Unfortunately, the first photo is from my parent’s house, and they had a habit of custom mixing their own colors, so I don’t have an exact color.
Mohammed Matloob says
i just completed my new decking and was looking for future proofing inspiration. we are in UK
Stephen says
Deck Over is a terrible product. Check out the law suits! They are still selling this junk. It has ruined my deck. Don’t do it.
Michael Coleman says
Love the tips. Keep sharing we are looking for more posts. Thanks
Anna says
What color is that?
Rachel says
The color we used was rustic cedar from Behr.
Phil Porter says
Is two coats necessary with the berh deck over?
Rachel says
It would depend on the condition of your deck (how big and deep the cracks are that need to be filled), and your personal preference of how smooth you want the surface. I’ve seen both one coat with someone going around with a brush to fill cracks and I have seen two heavy coats where a friend wanted the deck to look almost textured but there was no wood grain left.
Nick says
Restoring the old deck stain is important to save one of the attractions at the house side. Make sure there is no cracks and splinters to avoid the accident.