Say goodbye to cracks with our guide to repairing drywall cracks step by step. Elevate your space with a flawless finish by removing those ugly cracks permanently and like they never happened.
Why Does Drywall Crack?
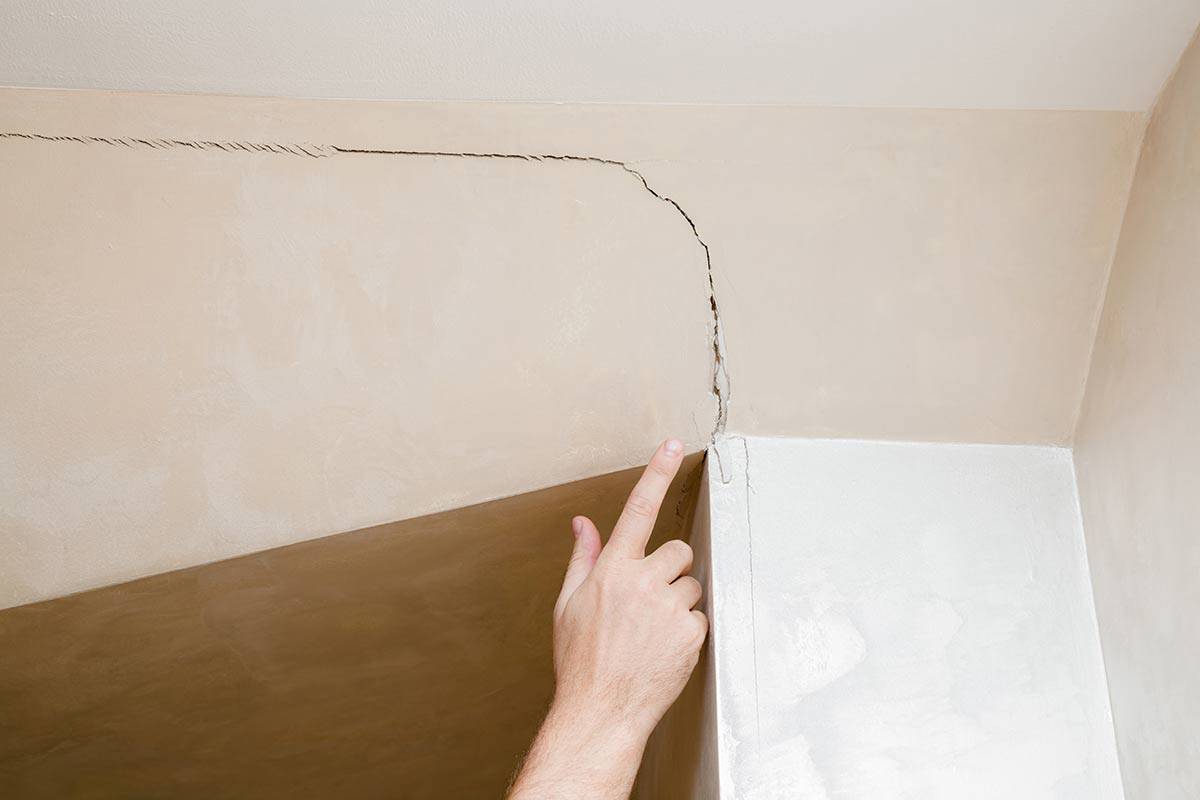
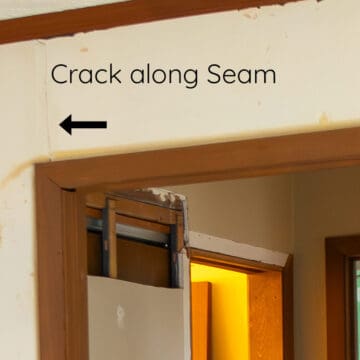
Often times, drywall will crack around stress points such as between joints or around the taped areas. Joints are where two sections of drywall meet. Common causes are insufficient framing and screws to support the weight of the drywall, truss lifting, and stress points like around doorframes due to poor taping and mudding.
However, I will say that large humidity and temperature changes can also be the culprit, particularly in homes that aren’t climate-controlled year-round. These changes can cause the drywall to expand and contract, exerting pressure on seams.
Yet another reason is home settling in the foundation from soil compacting over time. My parents lived near a rock quarry which utilizes large dynamite blasts that creates shockwaves through the bedrock. This causes a settling effect with vertical cracks along seams, particularly around door frames or openings. It also cracked the grout in their floor tile that I had to repair.
Take the time to investigate and repair the source of the drywall stress before repairing the drywall to avoid a repeating problem.
Joint Compound vs Spackle
Joint compound (example) comes in various pre-mixed consistencies, such as lightweight, all-purpose, and feather light. The lighter weight takes less stress but is easier to feather thin layers.
Joint compound is more suitable for larger repairs than spackle. Joint compound is primarily used for embedding join tape, covering seams, and finishing joints between sheets of drywall.
Spackle (example) is quite different and is primarily designed for small drywall repairs such as picture frame nail holes or nail pops. It is not intended for use in larger drywall finishing projects or taping joints.
What is Hot Mud?
Hot Mud (example here) is a yet another type of joint setting compound that comes in powder form. You add water to it and a chemical reaction occurs which causes the mud to become warm and to harden in much less time than it takes traditional mud to dry.
The primary use of hot mud is by drywall finishing professionals because drywall can be finished and feathered much faster, many times in the same day.
Because it sets up much quicker, it is more difficult for beginners to work with. If you are inexperienced with patching drywall, you may find that it starts to harden on you before you can finish, so start with smaller batches.
Additionally, hot mud doesn’t sand smooth, so you can’t leave excess on the wall. You will need a finish coat of joint compound or feather finishing coat to ensure a nice transition that covers the crack.
Types of hot mud are delineated by their set up or working times (20, 45, and 90).
Which Joint Compound Should I use?
For most surface level cracks or cracks around tape edges, I would recommend that pre-mixed all-purpose joint compound is perfectly fine to use for the repair.
However, Hot Mud is definitely stronger, dries faster, and less prone to cracking than pre-mixed joint compound. Hot mud is certainly better to use under the tape in large cracks or gaps or between sheets of drywall. You will still need at least one finishing coat of sandable joint compound.
Reader Note: This blog is geared towards the DIYing homeowner who is willing to put in the effort to get great results. It is not intended to be the end-all authority for professional drywall finishers and those installing new drywall. There are different “best” considerations in those scenarios.
How to Prep Your Wall
- Check for movement by moving along each side the cracked drywall and pushing with your thumb. If you see or feel movement, that generally indicates that the dry wall needs to be secured with additional drywall screws (to framing) to eliminate movement.
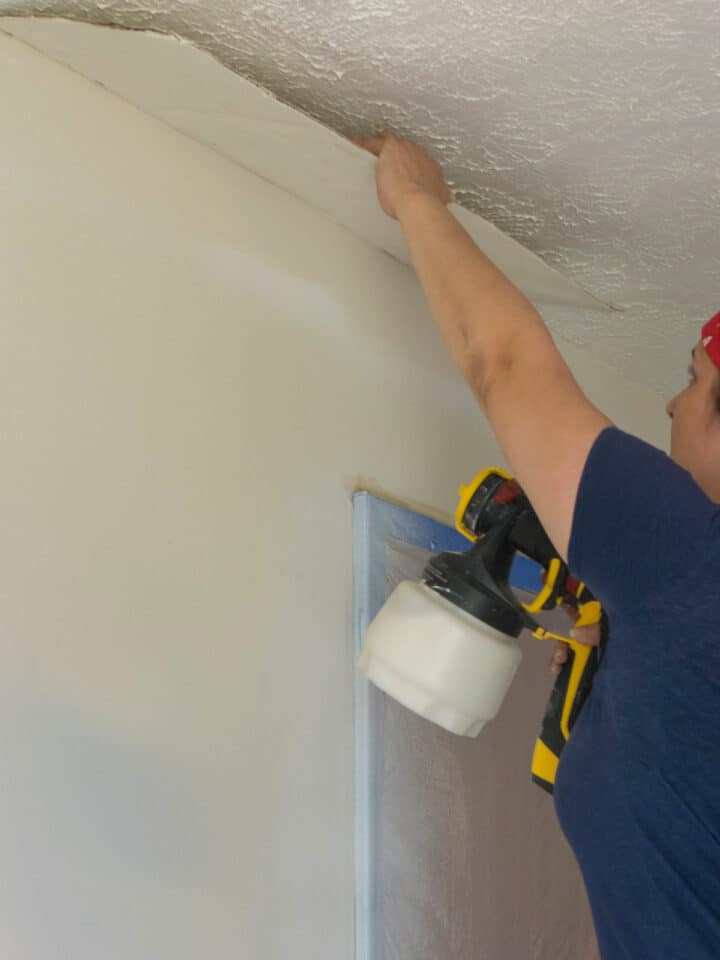
- Old plaster like I did in repairing textured ceilings requires a slightly different approach. If it is thick plaster, you may need to secure the edges with plaster buttons.
- Sheetrock panels should line up to end over top of a joist or wood stud, but I had to fix a wall crack that happened because the edges of the drywall sheets did not line up with the studs – the installers literally wallpapered over it to cover their mistake. If there is no stud behind your drywall seam, you should cut either side back to the center of the nearest stud and rehang a fresh section of drywall.
Repair & Feathering Tips
Feathering joint compound is a technique used to create a smooth and seamless transition between the repaired area and the surrounding drywall surface. This is particularly important when patching holes, cracks, or seams in drywall. Here are some tips for feathering joint compound effectively.
- Apply Thin Layers. Gradually build up thin coats, applying subsequent layers slightly wider than the previous ones. Thin layers dry quicker and are easier to blend.
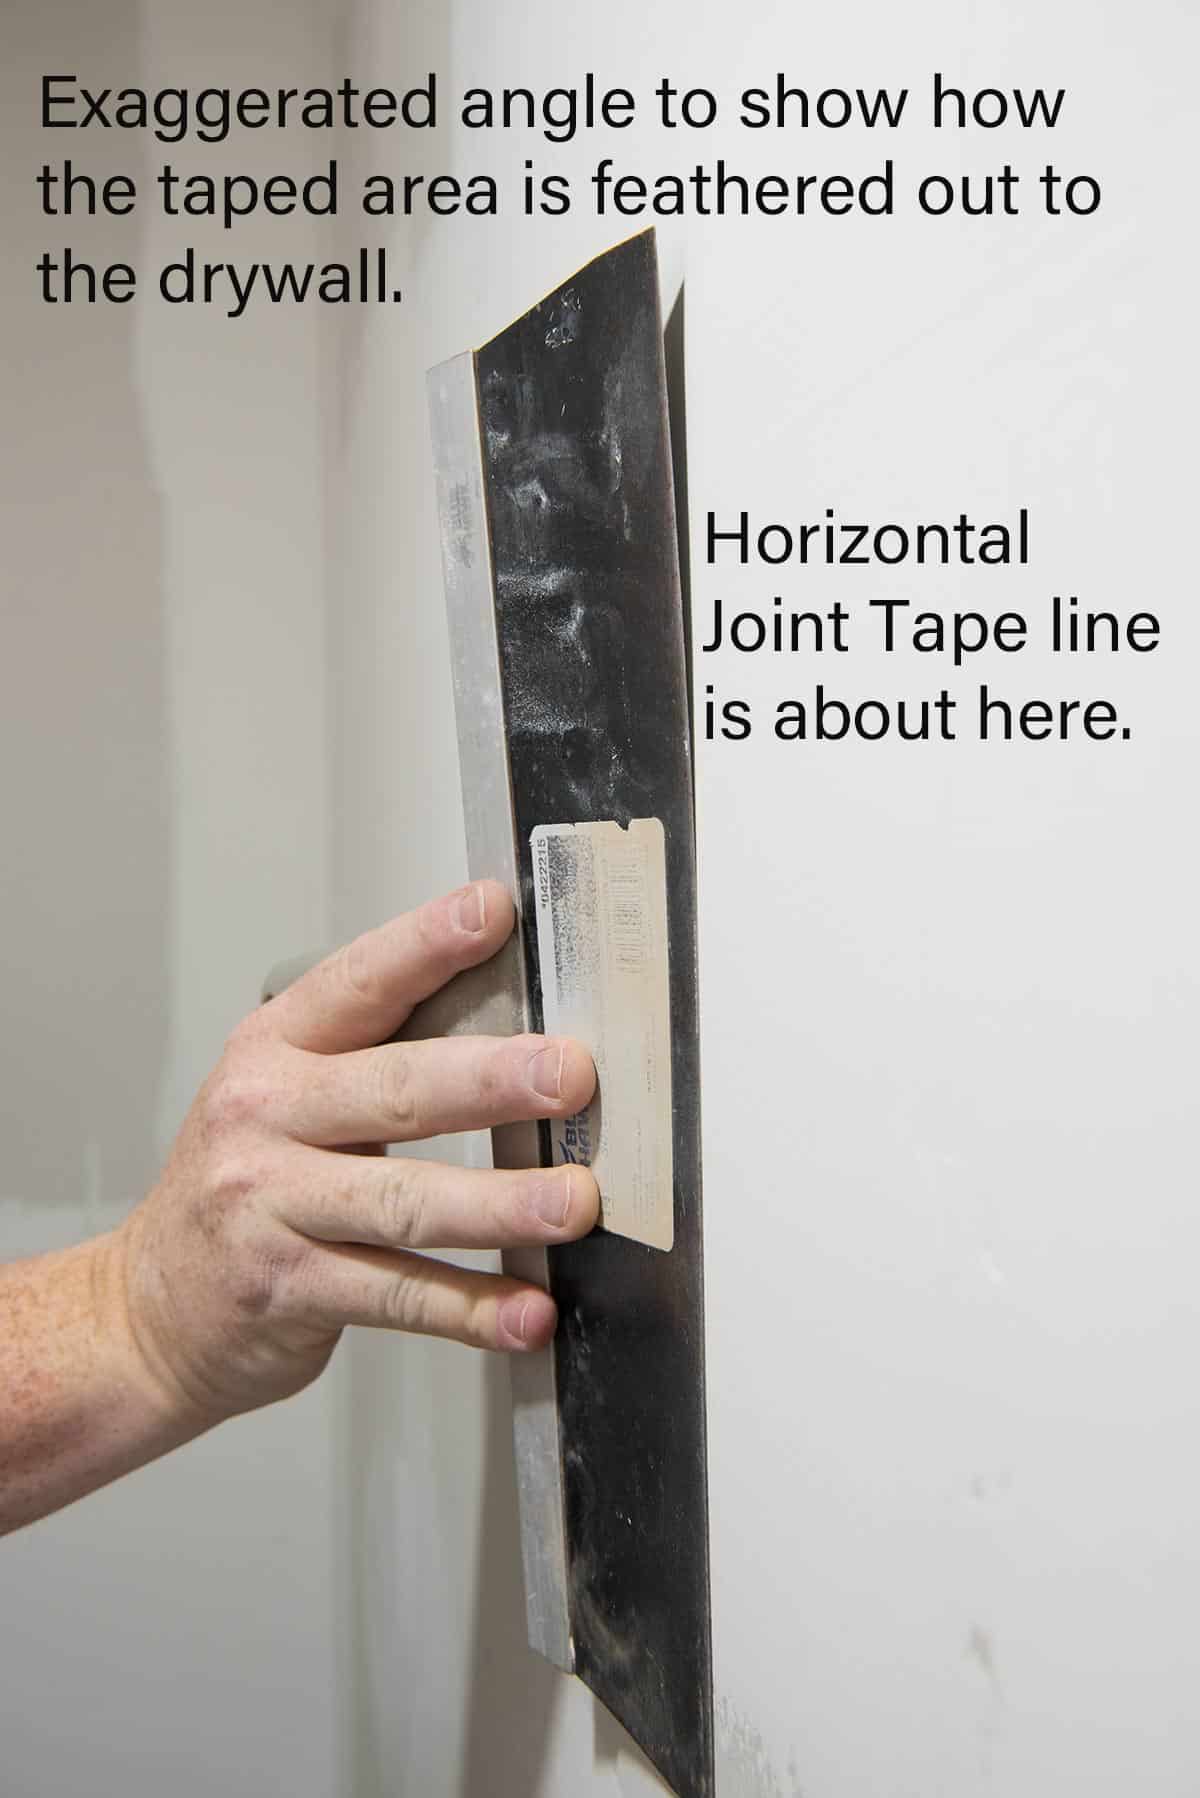
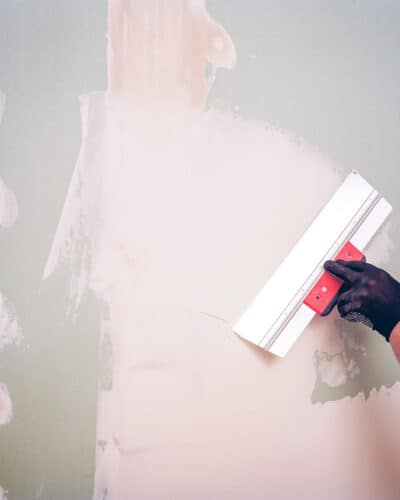
- Feathering Technique. Feathering drywall refers to angling the blade of a drywall knife so that you don’t leave thick edges. When applying drywall mud, use a feathering technique to taper the edges of the repair area outward.
- Use a Wide Knife. Use a wide drywall knife to feather the edges. Small repairs can use a 6-inch blade, but wider blade (10 to 12-inch) helps distribute the compound more evenly and makes it much easier to achieve a smooth transition.
- Sand Between Layers. Lightly sand each layer before applying the next. This should smooth out any imperfections or burrs to creates a better surface for the next layer to adhere.
- Blend with Surrounding Wall. Extend each layer beyond the repaired area, gradually blending it into the surrounding wall. As a general rule, 12-18 inches on either side of the seam helps to eliminate any noticeable transition lines.
- Use a Sanding Block. I like sanding sponges or blocks better because they keep even pressure for a smoother drywall surface.
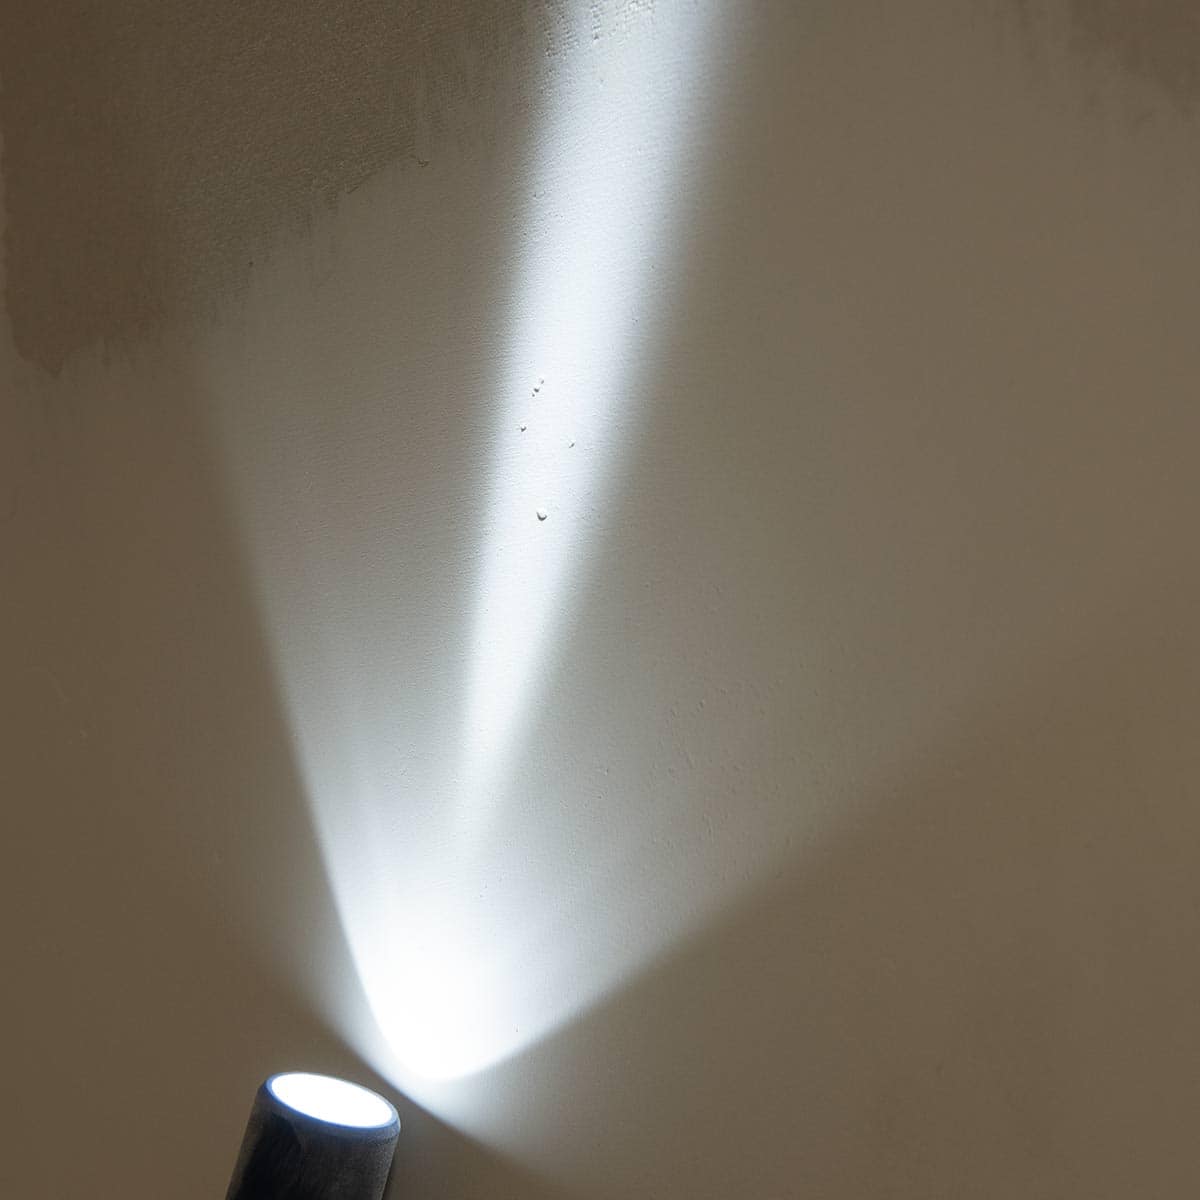
- Check with a flashlight. I like to use a flashlight set at angles around the patch area. Shadows reveal imperfections you may not see until painting.
- Patience is key. Allow each layer of joint compound to dry thoroughly before applying the next one.
- Feather Beyond the Repair Area. Your patch should be considerably wider than the area needing repaired, creating a larger blended transition zone. This helps the repair seamlessly integrate with the rest of the drywall surface.
- Work from the Outside In. Work from the outside in smoothing the transitions between the existing wall and the patch before moving to smooth out the center. This honestly made repair patching so much easier for me personally!
- Wipe down with a damp rag to remove dust. We don’t do this for every coat, but we absolutely do it for the final coat. It removes the dust and any fallen burrs.
- Prime Before Painting. Yes, you do have to prime the repaired area before painting. Primer helps ensure uniform paint absorption and sheen.
What kind of tape do I use?
The thing is that there are many ways to do drywall and factors include your budget, experience, and situation.
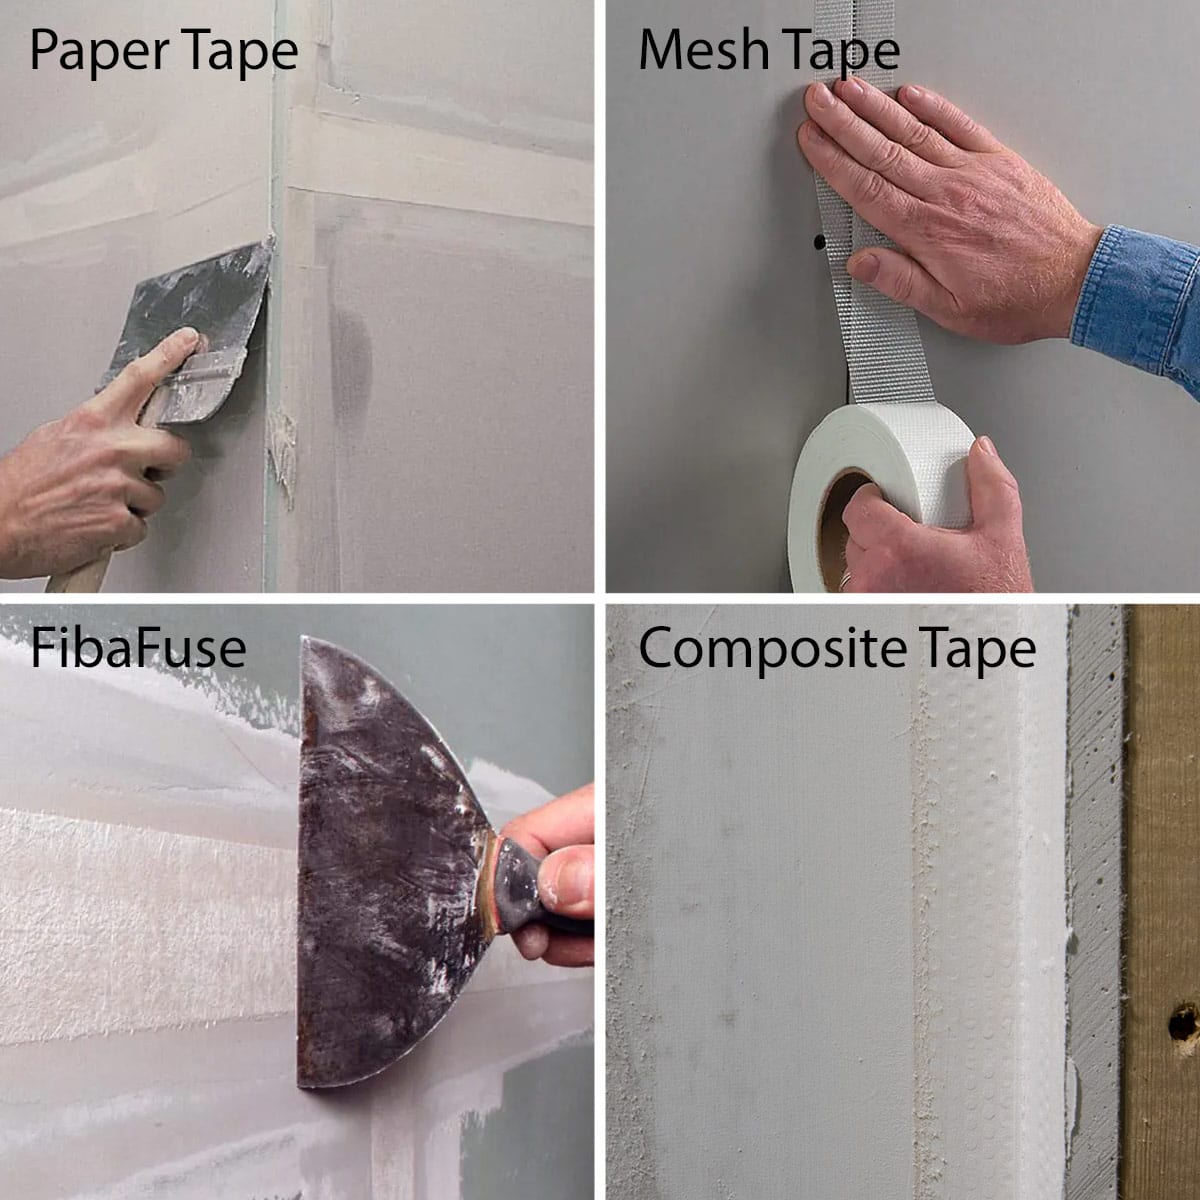
Paper Tape. Paper tape gets a bad rap. IT is the most common tape and used in most new home builds as it’s the least expensive option. It can be difficult to work with but works well if installed properly.
Mesh tape or Fibafuse. These products are generally what I use. They are just easier to work with and sand around and cheaper than composite tape. FibaFuse and FibaTape are different products. FibaTape is a mesh tape while Fibafuse aims to combine the best qualities of paper and mesh tapes. It’s stronger than mesh tape, won’t bubble like paper tape, and fuses chemically with pre-mixed joint compound to create a strong bond.
Pro Tip: Mesh tape/ FibaTape are designed to use hot mud on your first coat over the tape. This sets the tape in place. If you use bucket compound on your first coat, the chances of future cracking increase. That being said, I have done it on small, non-structural cracks where the initial reason for cracking was fully repaired.
Composite Tape. Composite tape is probably the best structurally to fix cracks, especially in corners or joints. However, it is quite expensive. I actually love these handy permanent drywall patches for holes, but the expense keeps me from using it for cracks and such.
Composite Tape for Corners. I much prefer this over metal corner bead because it is flexible, won’t rust, and won’t dent or chip after installation. This flexible corner tape is your best chance against joints cracking again are in areas with structural movement.
Proper Drying Times and Shrinkage
Different types of joint compounds have varying shrinkage characteristics. Lightweight joint compounds and setting-type compounds (such as hot mud) tend to shrink less compared to some regular all-purpose joint compound.
FAQs
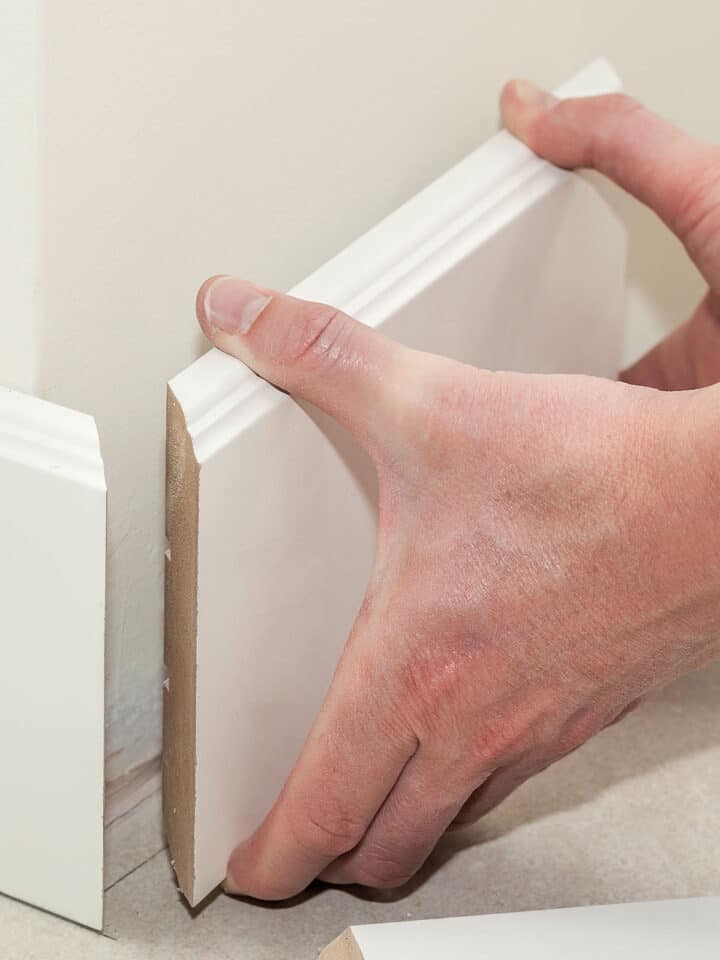
I use caulk in all kinds of places where two planes meet, especially if there is expansion and contraction of that joint. However, caulk does not like to adhere well to drywall or joint compound. I use it for repairing baseboards, but not drywall.
To keep wall cracks from coming back, you have to remove or repair the cause of them cracking in the first place.
Yes, you need to use a PVA or wall paint primer before painting if you have patched any holes or cracks in drywall. If you don’t seal a drywall patch before painting, the patch will be noticeable in the wall. Drywall compound is porous and will suck in the paint, causing a difference in paint sheen and depth of color. A paint plus primer product is usually not enough.
This would be my absolute last resort to permanently fix a crack where I cannot reasonably fix the movement and it keeps cracking over and over again. Understand that caulk and flexible rubber products are not sandable so it will ultimately look like a bad patch job. Do make sure your product is paintable.

Grab our free series "Weekend Home Projects that will Transform Your Life" Sign up below to receive updates including free printables, organization tips, home improvement projects, recipes and more! |
More Home Improvement Tutorials
PS I love seeing your creations! Be sure to take a photo and tag #cravingcreative on Instagram! You can also stay in touch with me through following me on Instagram, Pinterest, and subscribing to the newsletter!
How to Repair Cracks in Drywall
Tools
- Large Taping Knife 10-12 inches
Supplies
- Tape The post above explains the types and which to choose.
- Joint Compound
Instructions
- Before starting, make sure to locate the source and repair or minimize the cause of the drywall failure, if possible. If the area around the crack is raised, sand down to smooth so there aren't humps in the wall.

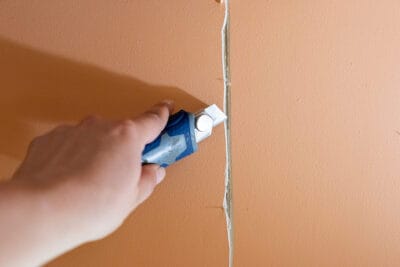
- Using a utility knife, cut along each side of the crack at an angle to cut a V-shaped notch throughout the crack. Brush or vacuum any dust and debris.
- If you have a deeper crack through the drywall (not a surface level crack) you need to pre-fill the crack before advancing to the next step. You want to ensure that it is roughly level with the surrounding drywall, if it isn't repeat this step.
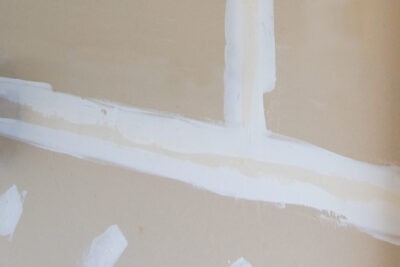
- If using paper drywall tape, apply joint compound evenly and then embed the tape into it. Use the 5 or 6-inch putty knife to smooth out the tape, squeezing excess compound and air from behind the strip. Let it dry completely, usually 24-hours.
- Using a 12 inch drywall knife, apply a smooth layer. I find it easiest to work in long vertical or diagonal strokes along the direction of the crack to minimize bumps in the wall. It's always better to extend out slightly father than you think you need. I often feather out 12 inches or more on each side from the original wall crack. Let dry again.

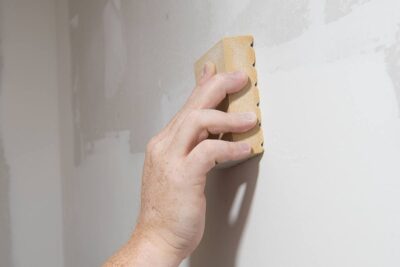
- Once dry, sand any ridges or rough spots. I recommend hand sanding unless you have a large area or deeper ridges.
- You may have to repeat the feathering and final layer a few times until the wall feels fairly flat and smooth. Sand between coats.
- When the wall feels evenly flat, it's time for the final coat. I wipe the area down with a barely damp (very well wrung out) microfiber cloth. Using joint compound thinned with just a little water, fill any pin holes that may have come up.


Leave a Reply