Brass home decor items can end up looking dull and murky. In this guide, I'll tell you the best ways to get your brass gleaming even if it is badly tarnished. I have tested vinegar, lemon, toothpaste, and cleaners to come up with the best and easiest methods and learn how to keep it from tarnishing in the future.
I am thankful to receive comments and questions from DIYers who started out just like me with a problem that needed fixing. Today’s post is in response to a reader question I received some time ago about how to clean brass that has been heavily tarnished and showing its age.
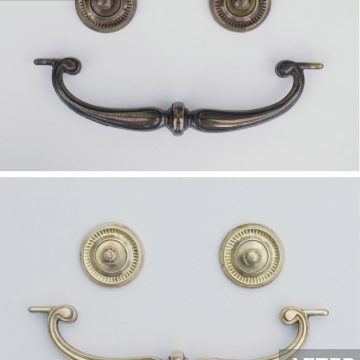
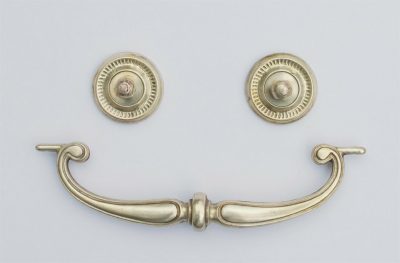
Before:
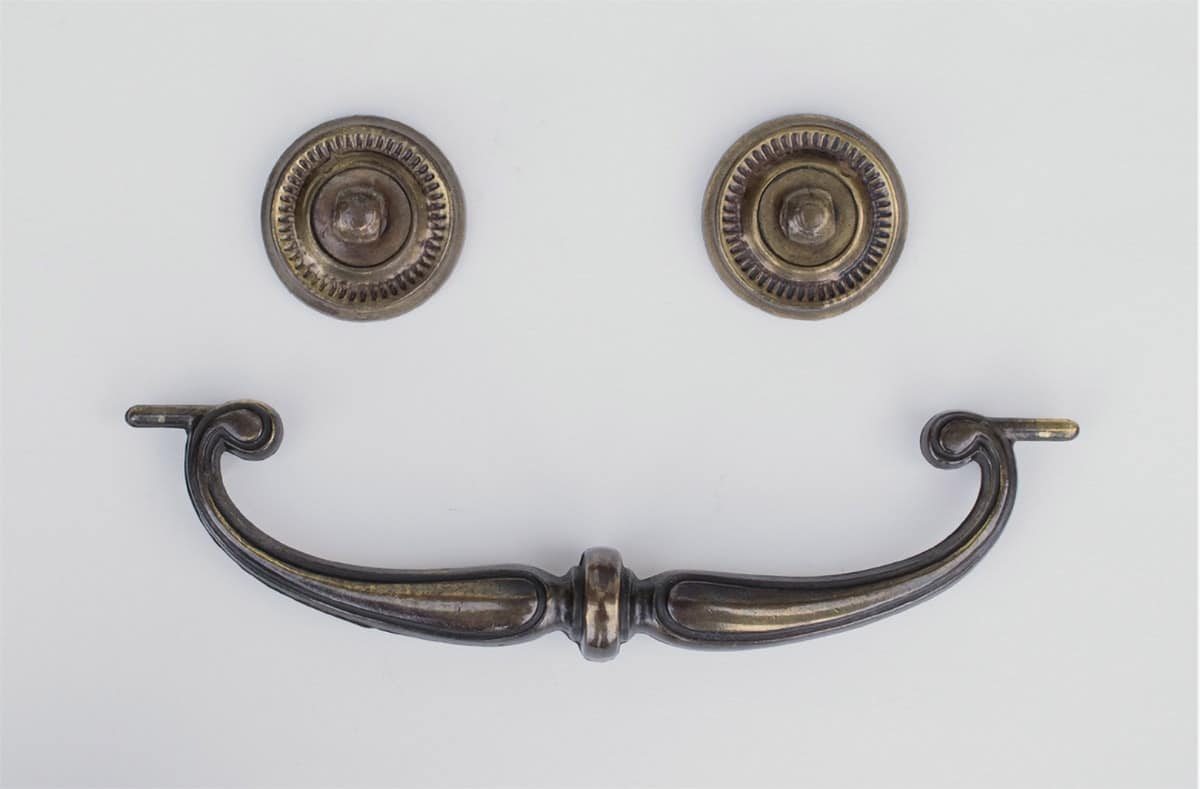
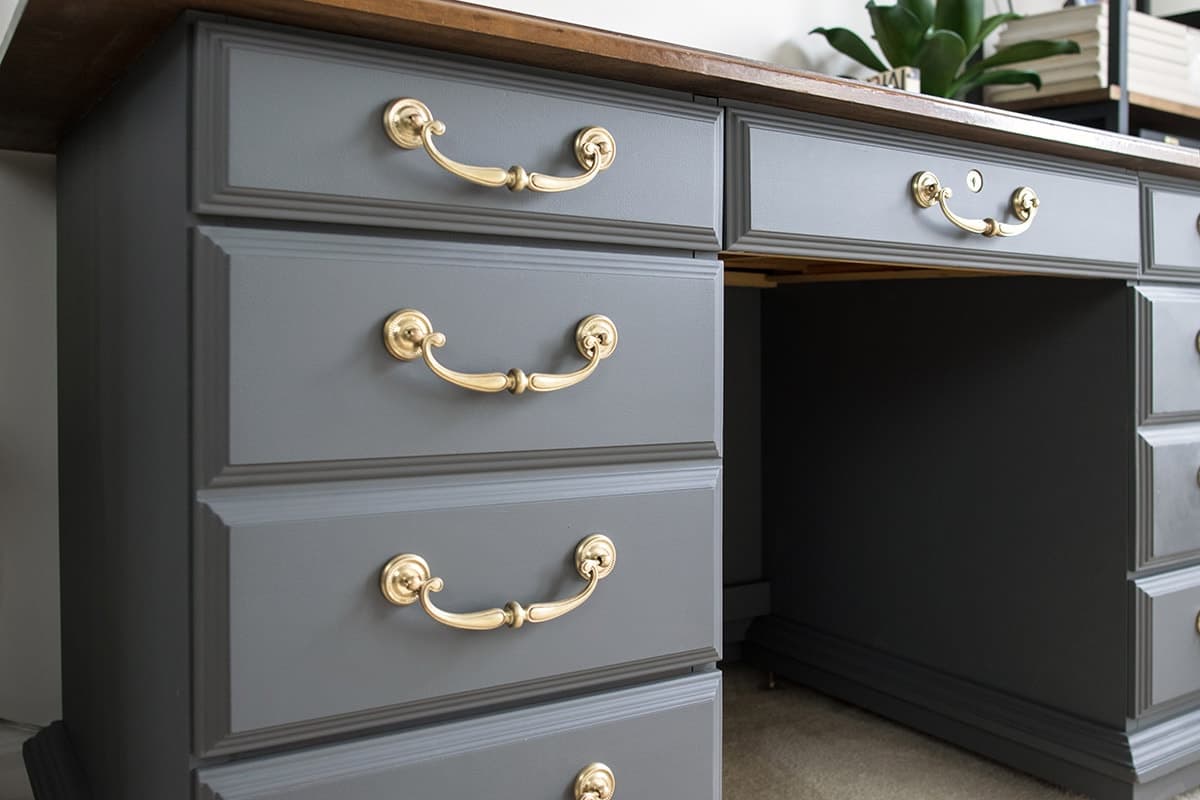
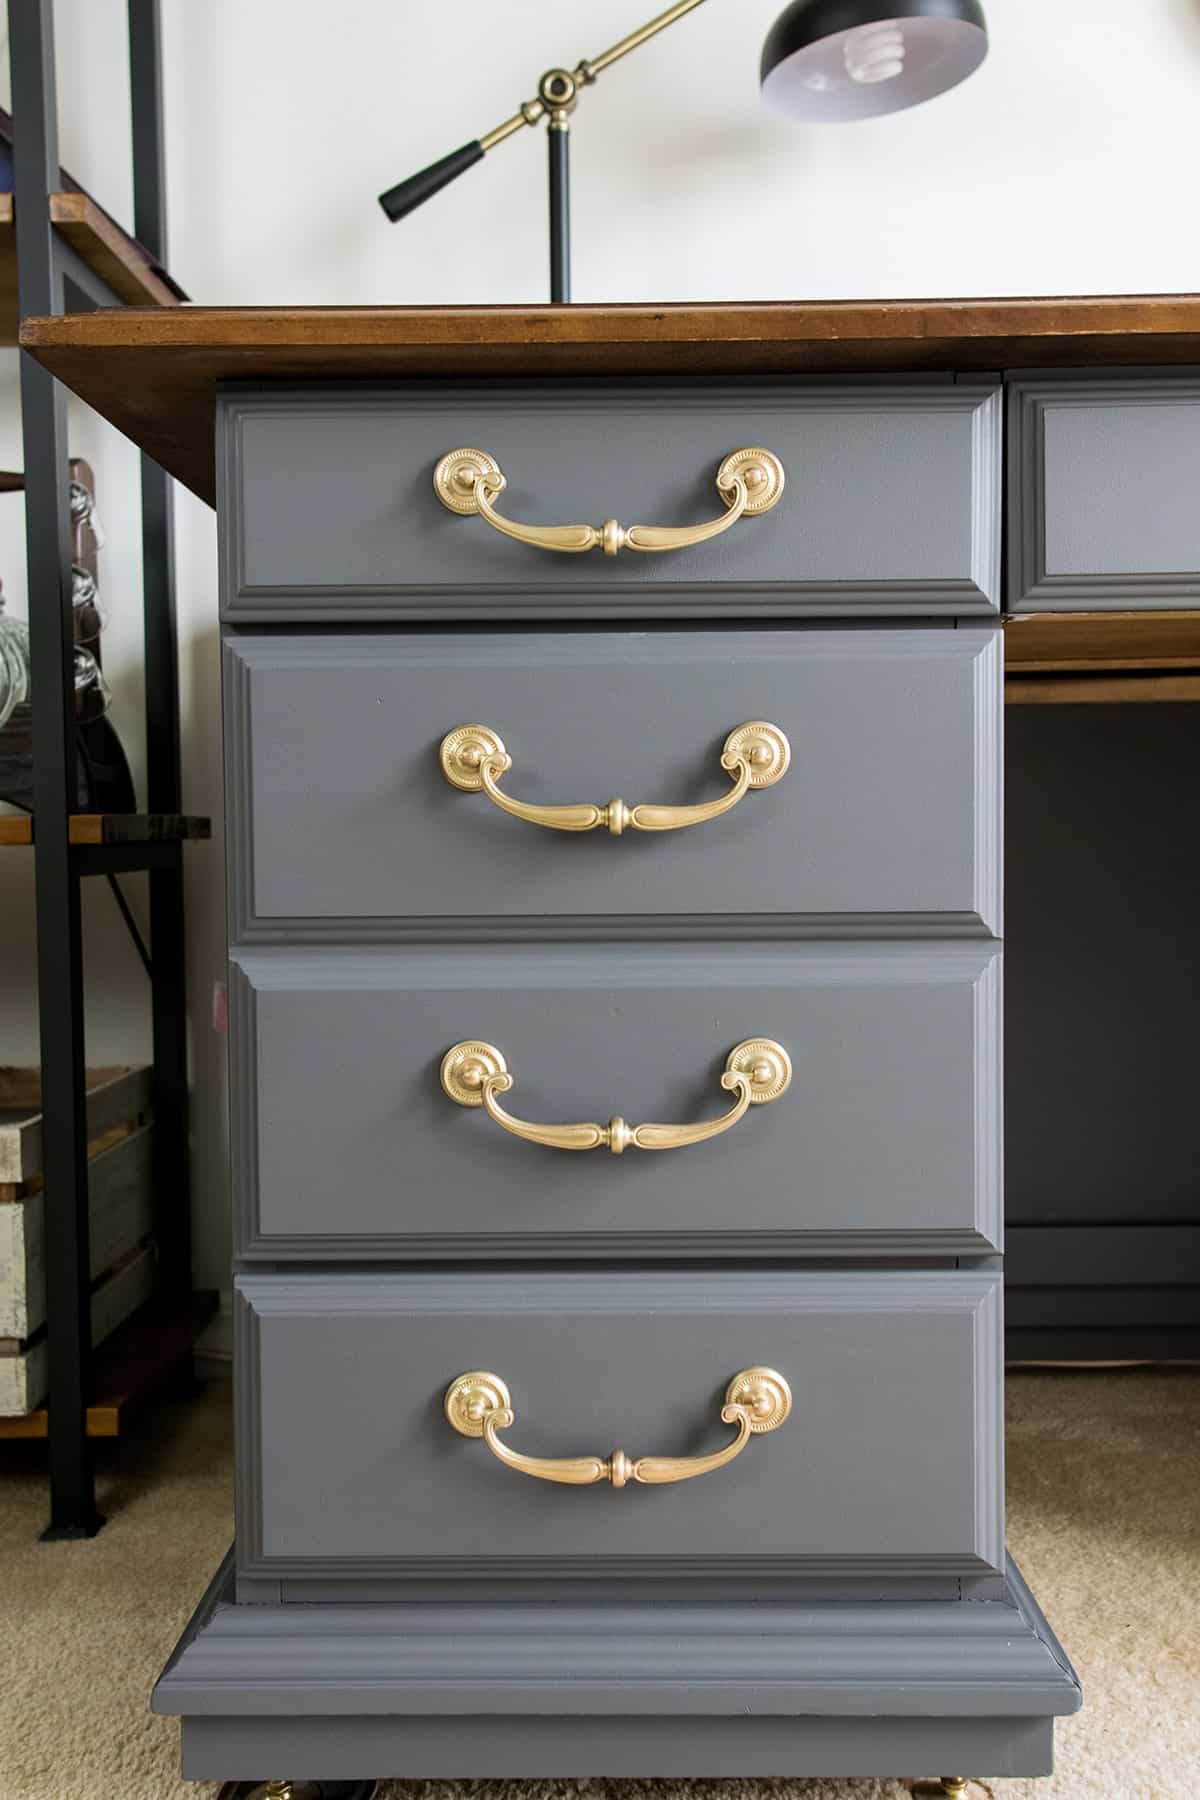
Solid brass is making a comeback in home decor and furniture refinishing. It seems that a lot of our thrift finds have beautiful but tarnished antique brass handles such as the desk makeover I shared in my husband’s office.
I have tested many, many common methods for cleaning antique brass and today, I want to reveal my favorite method, the best home remedy for removing tarnish, and even how to reduce or eliminate brass from tarnishing again.
So let’s get right to the method I use to get solid brass looking it’s sparkly and golden best.
The Best Home Remedy To Clean Brass
This is a natural method that uses common household items and really works! It will also save a lot of scrubbing without ruining or scratching the finish.
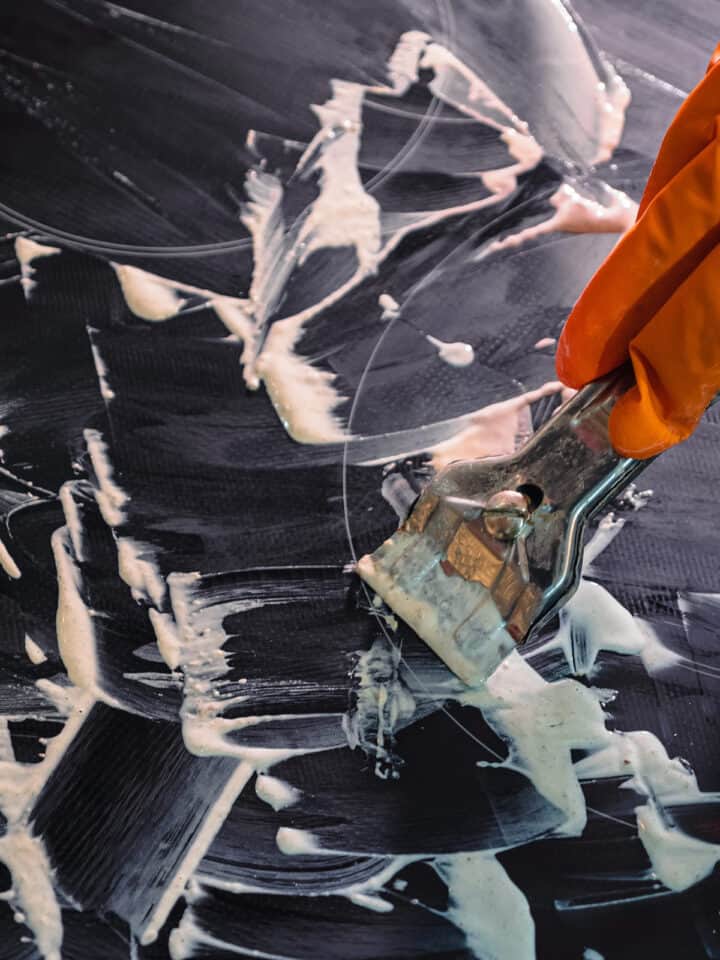
Step 1: Vinegar Paste
Ingredients –
- 1 Teaspoon salt
- ½ cup of white vinegar
- ⅓ cup Flour
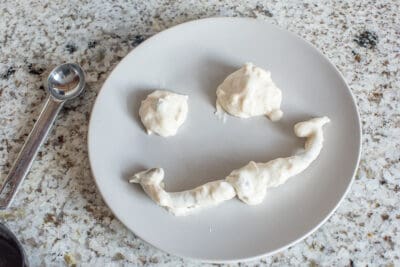
In a small bowl, dissolve the salt into the vinegar, and then flour until you make a thick paste.

Step 2: Coat the brass
Clean first with soap and water to remove any surface dirt and dry thoroughly. Cover the surface with the paste mixture and let sit for at least 10 minutes. For heavily tarnished brass, I have left this to sit several hours with no repercussions. Rinse the paste off.

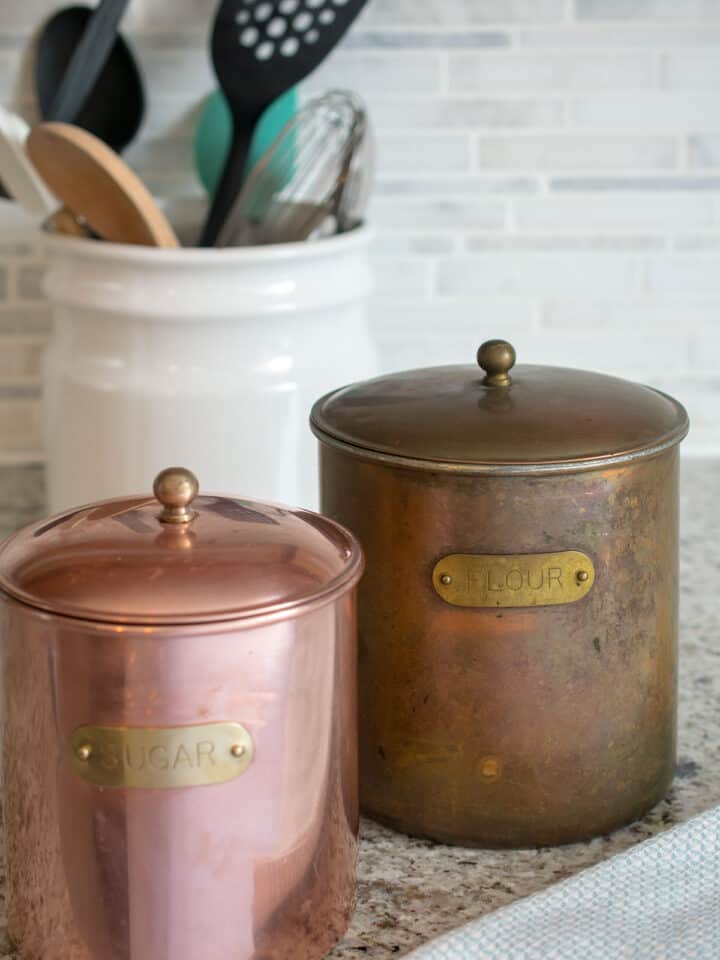
After:
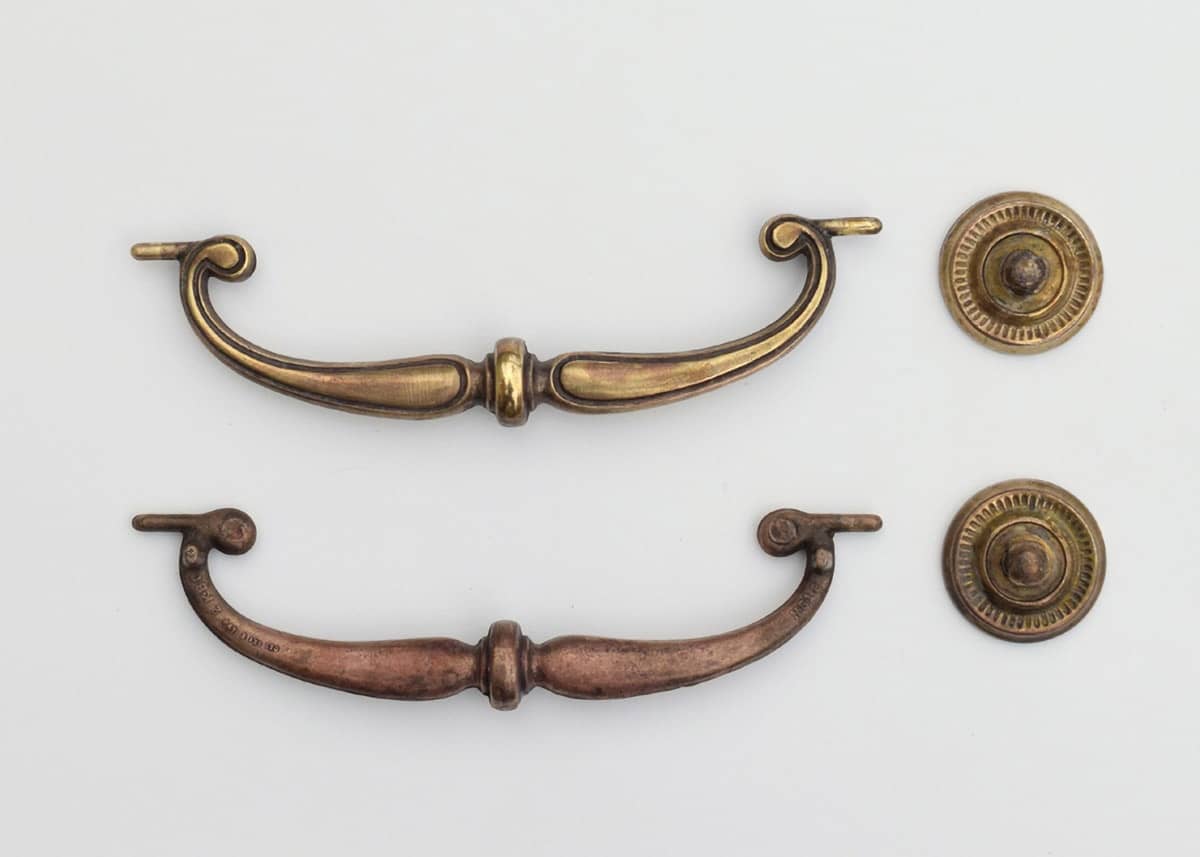
This method eliminates some of the scrubbing but may appear to discolor the brass to a rose color. Brass is essentially composed of copper and zinc, although the ratios may differ. The vinegar method may oxidize some of the zinc out of the surface of the brass, which causes the rose color as seen above (To be fair, I let these sit for several hours).
No worries though! You can buff with a soft cloth to remove the rose color or use the method below.
Best Brass Polish and Cleaner
This method is faster and can be used in conjunction with the vinegar paste method to make brass bright and shiny again.
Step 1: Polish
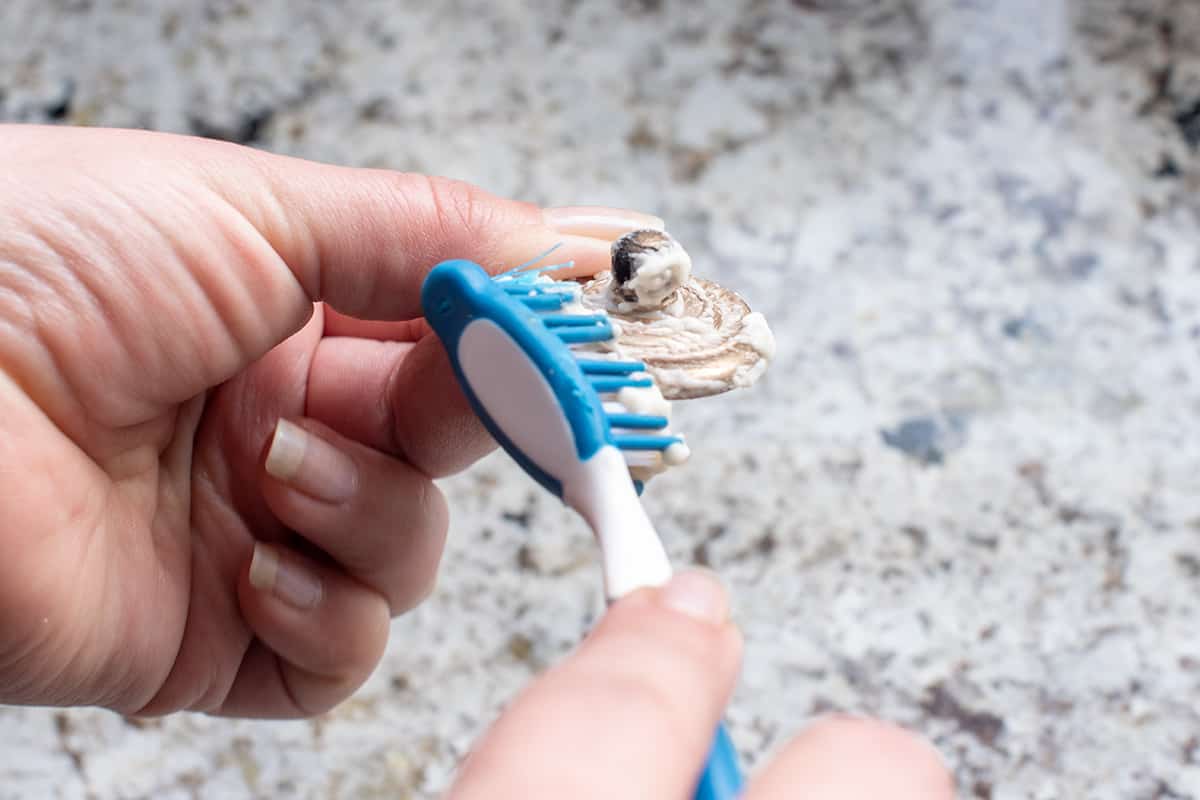
Brasso and Bar Keepers Friend are two excellent brass cleaners used to polish up and clean the brass to a nice shine. I tend to prefer Bar Keepers Friend because it comes in a powder form, and I can make a thicker paste.
Test in a small area at first to make sure it isn’t too abrasive. Using a toothbrush or soft polishing cloth, scrub the paste all over the brass. This may take a few minutes to get in all of the crevices.
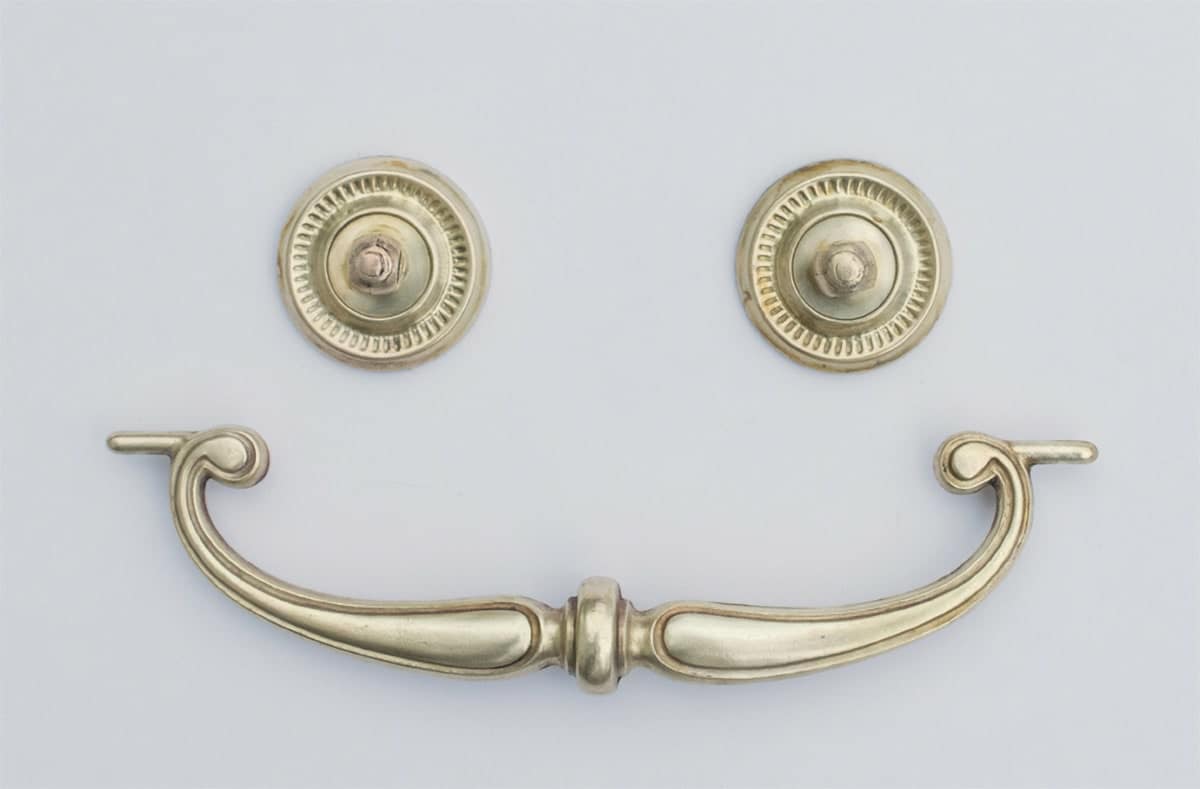
Step 2: Remove Cleaner
Make sure after you remove any residual cleaner with soapy water once it is beautifully shiny. Thoroughly dry each piece well.
Which Method Should You use?
- How To Clean Badly Tarnished Brass – The brass I used in this example was nearly black with tarnish, so I used both methods to clean and polish it. I used the vinegar method to reduce the amount of scrubbing and abrasion, and then I used the cleaner to get the last bits to really shine.
- Vinegar Method – If you like a natural method that is inexpensive, this one definitely works. I really like it as well for less tarnished pieces. It does, however, take more time and elbow grease to really shine.
- Cleaner Method – It’s definitely stronger and works faster. However, it is on the toxic side. The powder cleaners also contain abrasives that may scratch delicate surfaces.
Other Methods and Results
I tested a few other methods with lackluster results. I believe the results were more a factor of the chemical makeup of the agents used rather than the material I was using.
- Ketchup or Tomato Sauce – Slathering ketchup on brass made no discernable difference at all. It’s also expensive compared to the vinegar paste. I honestly believe the acid and chemical reaction is just not strong enough.
- Lemon Juice/salt – This method involves salting a lemon and rubbing it all over. This method worked a little better, but it is time consuming and hurts the hands after some time. I would rate ok if you have lemons laying around. Baking soda neutralizes the lemon juice, so don’t use it.
- Toothpaste – This may be good for cleaning grime or dirt, but not for tarnish.
How To Keep Brass from Tarnishing
Of course, the brass will once again dull and tarnish over time as it is exposed to air. In order to make the brass easier to maintain, you can use a UV resistant clear lacquer as a protective finish. Make sure that whatever brand you use, that it will not discolor with time.
And that’s pretty much the extent of it! If there is something you would like to see, comment or feel free to email me. As I said, I love the questions and comments I receive from you. Until then, have a great week!
Looking for More Easy Cleaning Solutions? Check Out Our Other Posts:
- Norwex Cloths: Are They Worth It?
- How to Waterproof Fabric
- Kitchen Cleaning Tips and Printable Checklist
- Small Pantry Organization Ideas
- How to Clean Grout like Magic
- How To Clean Copper Naturally and Remove Tarnish
Frequently asked questions:
It isn’t necessary to polish plated brass. It may even scratch the finish off if you rub too vigorously or you use too harsh of a chemical. You can generally tell if your brass is plated or not by using a magnet. If the magnet sticks, it is plated brass.
You can extend the time between polishing by applying a little olive oil or a high-quality car wax. Car wax is thicker and lasts a little longer but should only be used on items that are kept away from food and are not handled as much. You can also seal your brass with a clear lacquer every couple of years if you do not want to polish frequently.
Corrosion generally occurs when the brass is exposed to water. It has a pink or reddish color and is generally splotchy. Corrosion causes the brass to lose the zinc and leave behind only copper. Tarnish is a dark green, brown, or blue color. Both can be gently removed.


Grab our free series "Weekend Home Projects that will Transform Your Life" Sign up below to receive updates including free printables, organization tips, home improvement projects, recipes and more! |
More Great Cleaning Tips!
PS I love seeing your creations! Be sure to take a photo and tag #cravingcreative on Instagram! You can also stay in touch with me through following me on Instagram, Pinterest, and subscribing to the newsletter!
How To Clean Brass and Remove Tarnish
Tools
- Soft Cloth
- Toothbrush
Supplies
- 1 Teaspoon Table Salt
- ½ cup Distilled white vinegar
- ⅓ cup All-purpose Flour
- 1 Barkeepers Friend (Optional)
Instructions
- Dissolve the salt into the vinegar, and then flour until you make a thick paste.

- Cover the surface with the paste mixture and let sit for at least 10 minutes. On heavily tarnished brass (very dark), let sit for up to a few hours.
- If needed, use the remaining paste, or make a fresh batch if it has been several hours, and gently remove the remaining tarnish with a toothbrush or soft polishing cloth.
- Once all the tarnish is removed, make sure to clean the brass piece thoroughly with warm water. Vinegar and salt can speed up the collection of tarnish.

- (Optional) Barkeepers Friend. Follow instructions on the can, creating a paste.


Notes
- You can apply a lacquer coating that will seal out water and oxygen. Make sure to do several even, thin coats so it is completely coated well. This won’t work on items exposed to high temperatures.
- You can apply a thin coat of oil to slow the process. Some commonly used oils for preventing tarnish are linseed oil, baby oil, mineral oil, and beeswax. A high quality car wax can also be applied for items that are strictly for display. If you are coating something that you handle often use to cook or store food, be sure to use an oil that is safe for consumption.
Jessie says
Worked very well. This will be my go to for cleaning brass from now on.
Brenda says
Brilliant! Love this!! So easy to make and worked like a charm!! Wipe it on and wash it off… shine and you’re done! So easy!
Jessica says
Worked very well. This will be my go to for cleaning brass from now on.
yvonne says
can I leave heavily tarnished brass overnight in your vinegar solution?
Rachel says
Although I can’t see your particular project, I have left the paste overnight on several pieces that I have done if they are heavily tarnished. The only problem is that the paste will leech some of the zinc, leaving them a reddish color. The pieces can then be polished with a soft cloth or a polish cleaner to remove that. Then I would definitely recommend a topcoat or lacquer to keep this from happening again. I hope that helps!
Anne FITZGERALd says
This worked like a charm with no harsh chemicals and things I had around the house ! And I love the rose gold!
Meredith @ The Palette Muse says
This is exactly what I needed! I bought a set of cute brass candlesticks at a garage sale, but you can barely see them under all the grunge. Now I know how to fix that!
Roxanne says
Wow, what a difference! I love your feature image too, very cute!