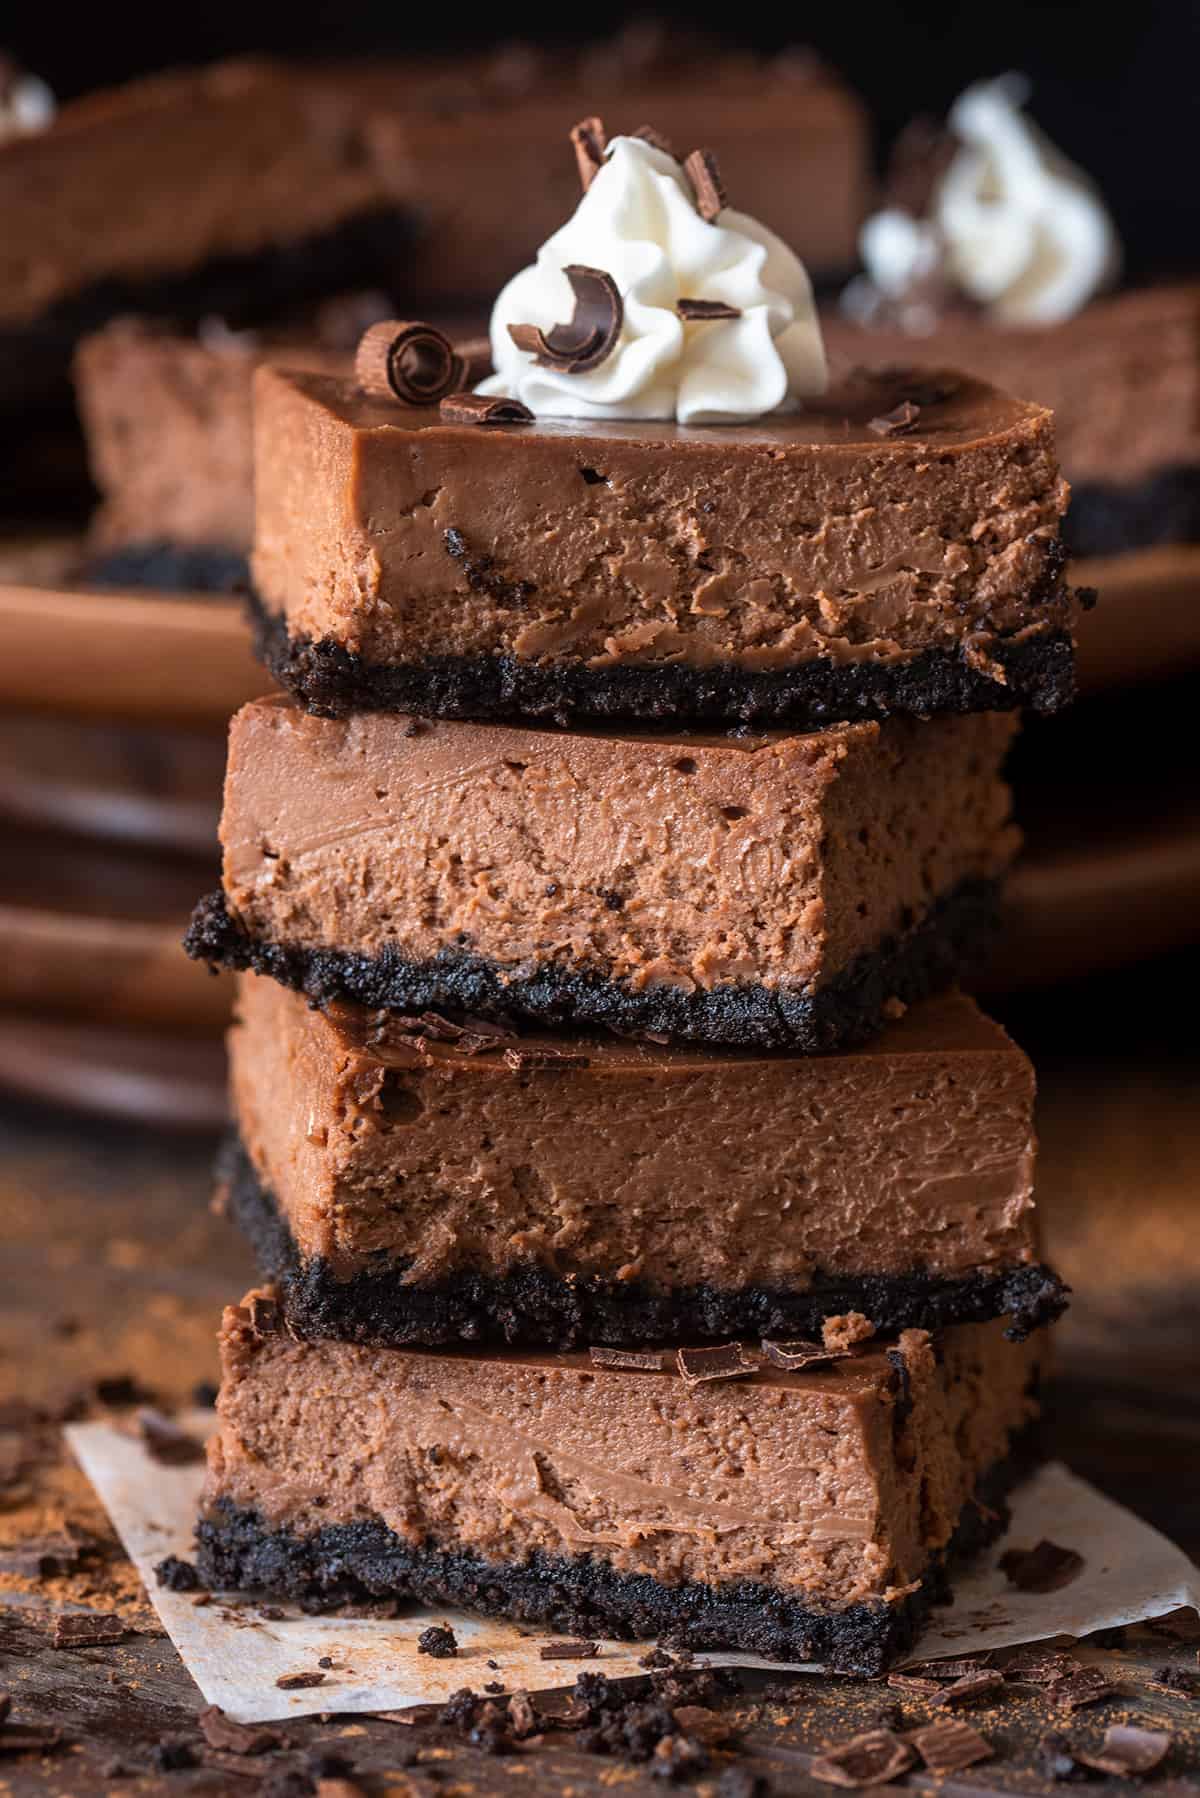
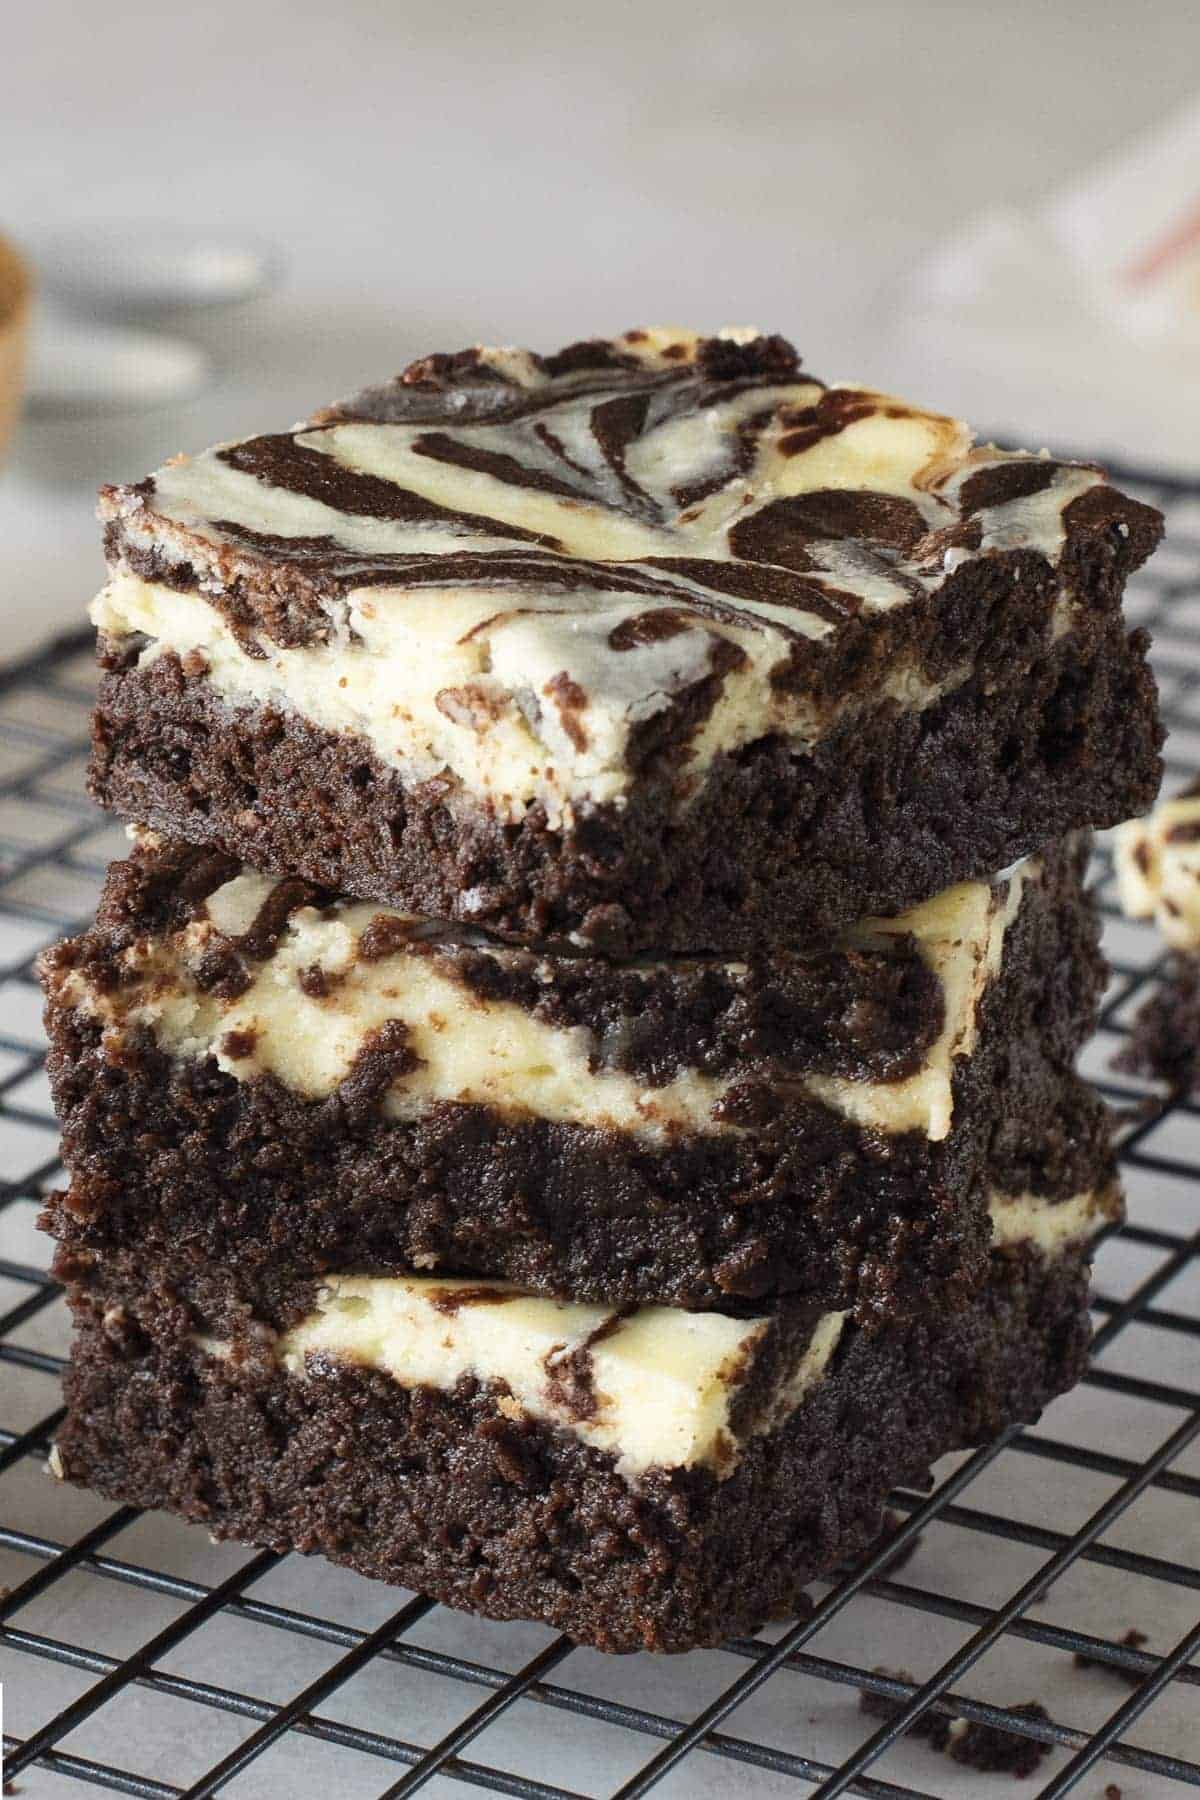
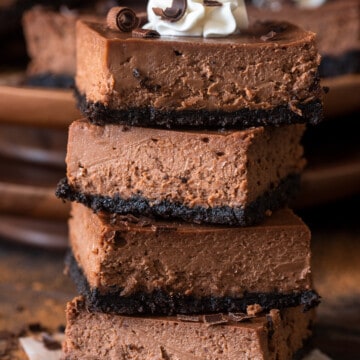
Chocoholics rejoice! We’ve given creamy cheesecake filling a decadent dark chocolate twist with our Chocolate Cheesecake Bars. A simple 2-ingredient Oreo crust adds rich crunchy sensation. Sweet dreams are made of these. Recipe includes tips and step by step directions.
Full disclosure, this is one of those desserts. The crave-worthy kind you think about randomly midday (or mid-diet). The kind family & neighbors request each time you offer to bring a dish. They are scrumptious bites of chocolate cheesecake Heaven!
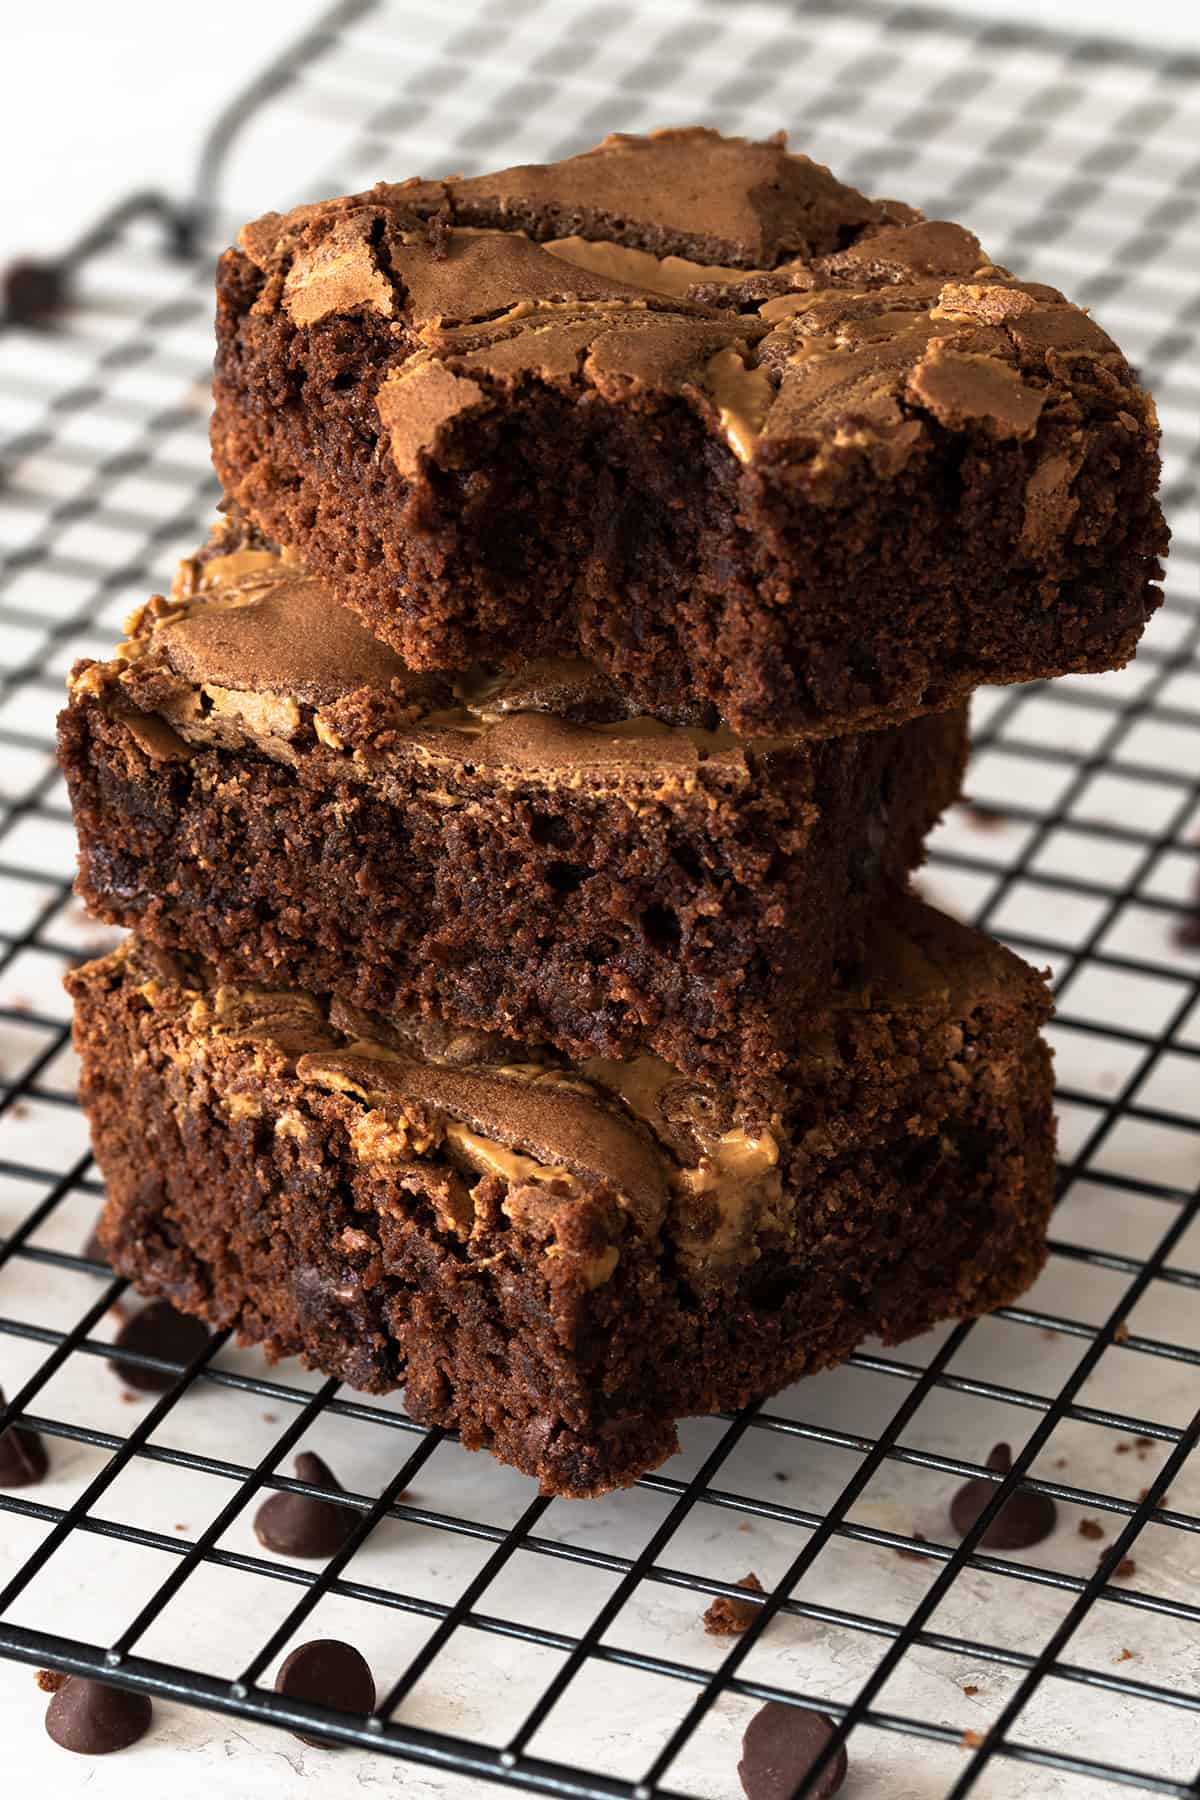
Move over peanut butter – chocolate and cream cheese are the new bff’s of dessert ingredients. The mild richness of cream cheese and rich fudgy chocolate work in tandem to create decadent delights. My Cheesecake Brownies and Easy Oreo Balls are tasty examples.
But these dark chocolate cheesecake bars truly take the cake. The simple 2-ingredient Oreo crust is crisp & buttery. Creamy cheesecake filling is blended masterfully with dark chocolate to create a chocoholic’s dream dessert. Each bite is a rich symphony of flavor and texture for your palette.
Ingredients
Below is an overview of what you will need to make these with notes for potential substitutions.
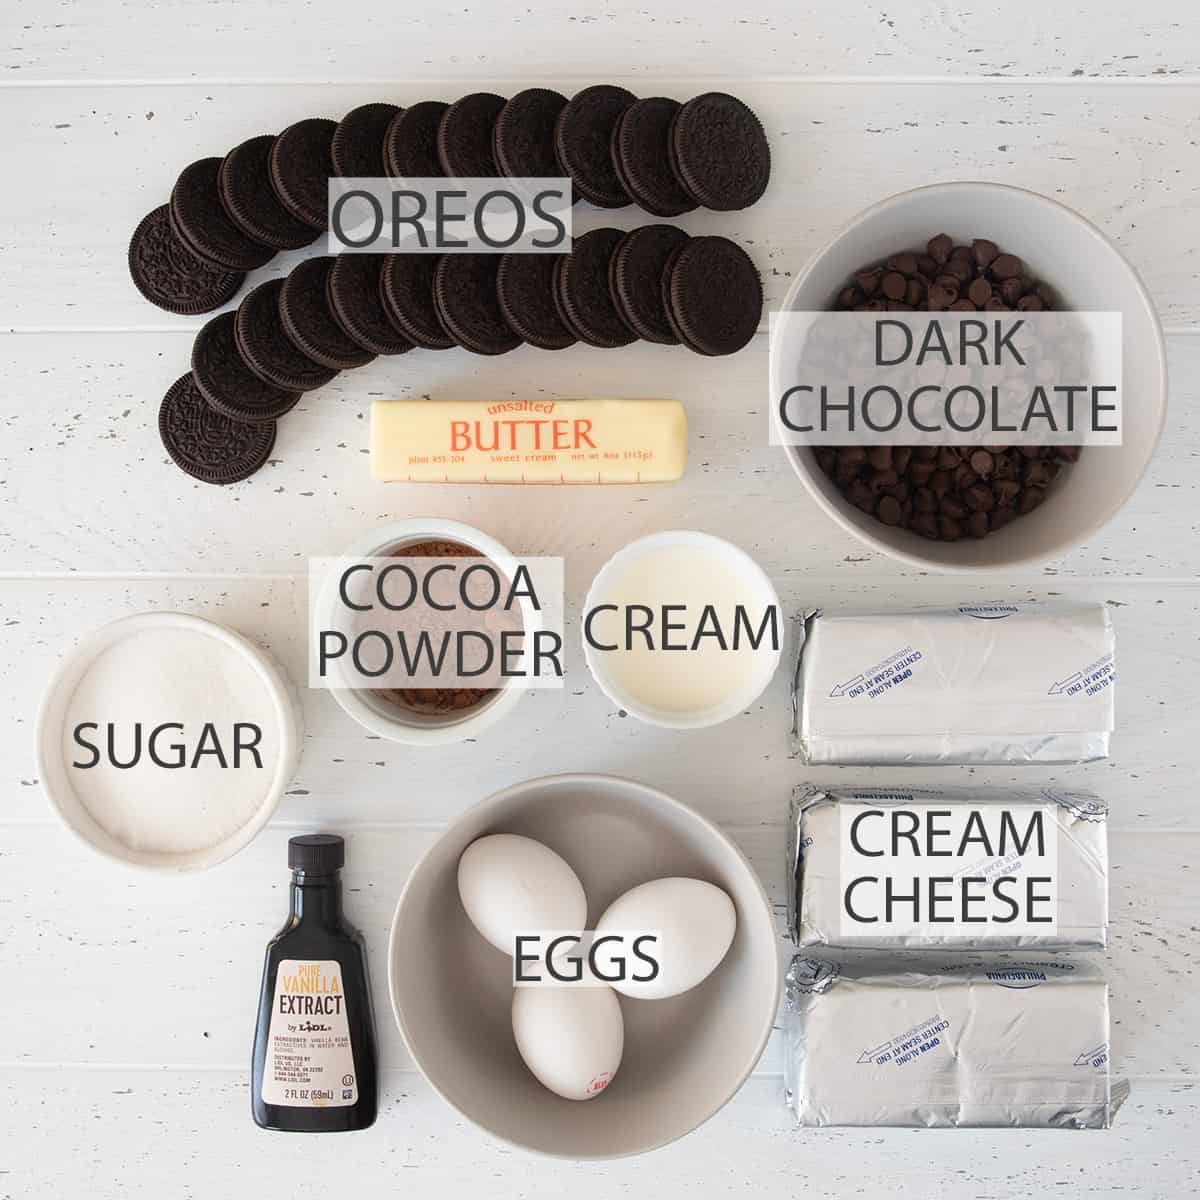
Oreos: Regular Oreos are perfect. No double stuff or flavors.
Dark Chocolate: For this recipe, it is perfectly fine to use dark chocolate chips or a chocolate bar. I don’t recommend baker’s chocolate. You can also use milk chocolate if you prefer, but I feel the dark balances out the creaminess of the cheesecake.
Cocoa Powder: A good quality cocoa powder is essential to this recipe.
Cream cheese - Standard full fat cream cheese will give the best flavor and consistency. Set out to come to room temperature.
Eggs: You will need 2 eggs + 1 yolk. I find it easiest to separate a yolk between my fingers over the sink.
Butter: Salted or unsalted is fine.
Cream: I use heavy whipping cream for its consistency and a little added sweet creaminess.
Sugar: I use granulated sugar. Brown sugar will increase the moisture too much.
Step by Step Recipe Guide
The full recipe is below in the recipe card, but I include this visual guide to answer any questions and give tips to create the best cheesecake bars ever!
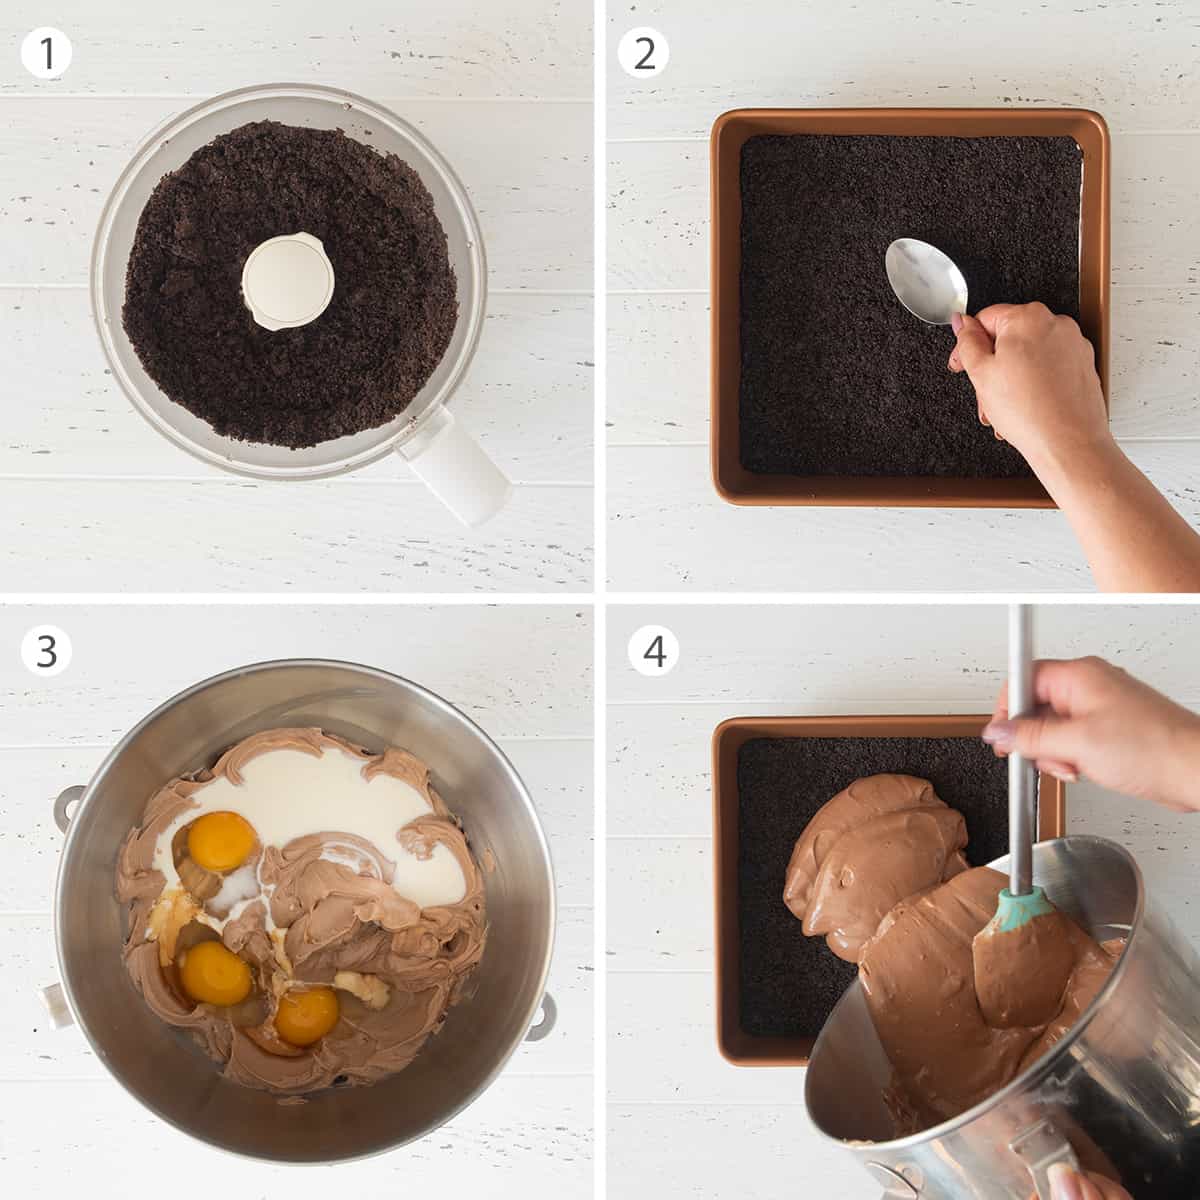
Make the Oreo Crust. Crush the Oreos in a food processor or in a plastic bag until finely crushed. (Photo 1). In a small bowl, add melted butter, and stir until well combined.
Press crust into pan. An 8×8 pan will produce taller bars, but a 9×9 pan is fine. Line with parchment paper. Press Oreo crust evenly into bottom of the pan making sure to go all the way to the edges. (Photo 2)
Melt chocolate. In the microwave, break apart chocolate and heat for about 1 minute in 1200-watt microwave. Stir gently until smooth, returning to the microwave in 15 second increments, if needed.
Mix cheesecake filling. Mix in a stand mixer or mixing bowl, beat cream cheese and sugar and coco powder until smooth and creamy. There should be no lumps or the cream cheese wasn’t room temperature. (Photo 3) Add vanilla extract, cream, and eggs, Beat until smooth. Stir in melted chocolate until smooth. Pour and spread into the baking pan evenly. (Photo 4)
Bake. It should look cooked but still be a little jiggly. After pulling out of the oven, run a knife around the outside to keep the top from cracking. Allow to cool completely before serving.
Recipe Tips
- Make sure the crust is well pressed into the bottom so that it doesn’t fall apart after baking.
- Use the entire Oreo, including the cream filling.
- To get a properly smooth filling, the cream cheese MUST be at room temperature and even. If you are very careful, and cut the cream cheese into tablespoons, you can heat in the microwave at 15 second intervals, stirring between each interval to speed it up a little. There is a risk with this method of heating too much or unevenly.
- Use parchment paper to keep the crust from sticking and to make these easier to lift out and cut.
Storage Suggestions
Store: Store them in a well-sealed, airtight container in the refrigerator. I use a sheet of wax paper in between to keep them from sticking together.
Freeze: If you've baked a huge batch, you can easily freeze them for later! After baking, allow bars to cool completely. Place them in a freezer-safe zip-top storage bag. They last up to 2 months. To thaw, spread them out until they come to room temperature.
More Decadent Dessert Recipes
- Guinness Chocolate Cake
- Cinnamon Sugar Hard Pretzels with White Chocolate Drizzle
- 3 Ingredient Oreo Balls
- Monster Cookie Bars
FAQs
These will cook more quickly in metal pans than in glass, which is why there is a cooking window in the recipe. I usually start testing for doneness at the lower end of the window. You don't want to open the oven too often.
First, the top should look done and they may jiggle a bit while moving the pan. This is perfectly fine. You can try inserting a toothpick. If it looks uncooked, bake about 5 minutes more before testing.
Because of the cream cheese component, I recommend putting these in the refrigerator like traditional types of cheesecake.
You can easily make these bars in an 8×8 or 9x9in baking pan, although the smaller pan will produce thicker bars. The baking time will be slightly less but within the recipe window.

Not Sure
What's For Dinner?
Signup for recipe updates and get a free cookbook of Easy Weeknight Supper Solutions!
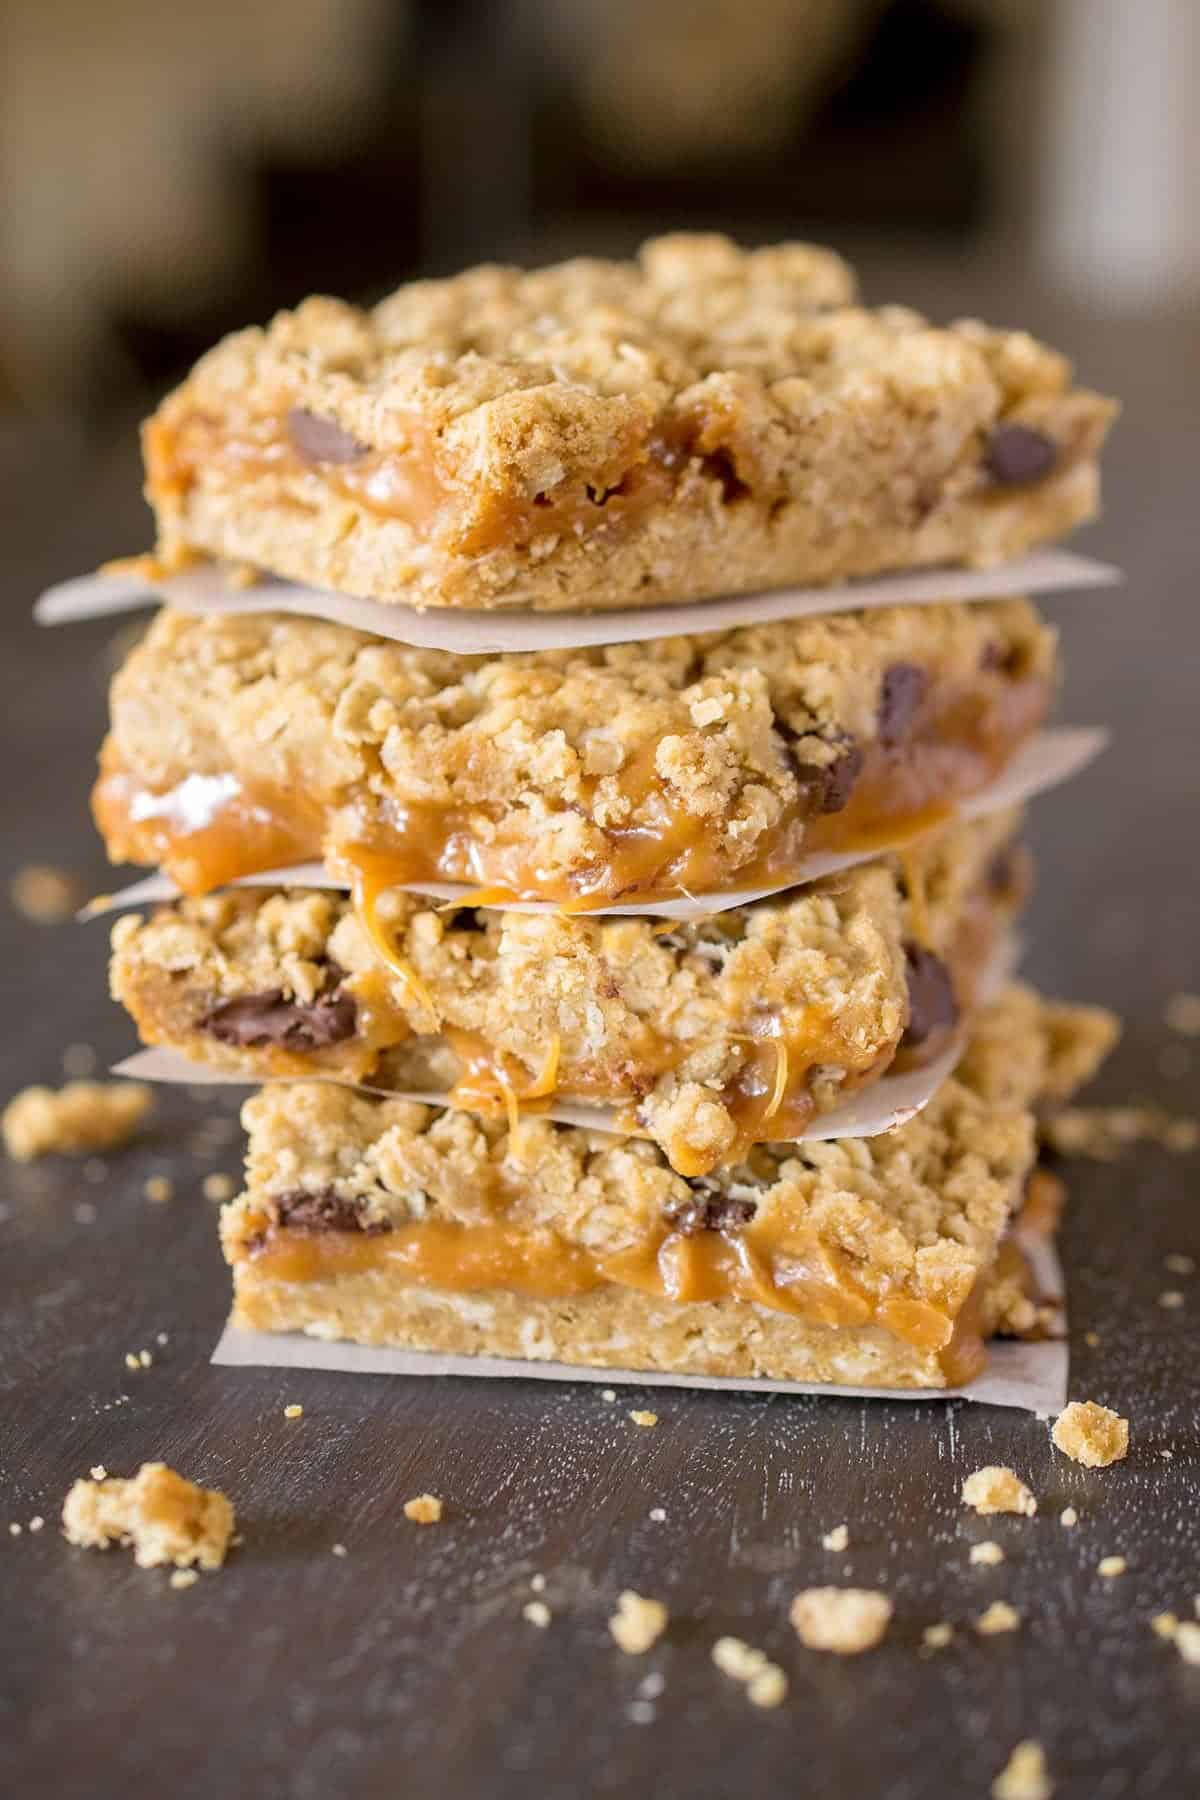
My Favorite Dessert Bar Recipes
PS. If you make this recipe, leave a COMMENT AND A STAR RATING in the comments section at the bottom and be sure to take a photo and tag it #cravingcreative on Instagram! I appreciate you for taking the time to read about me and my family recipes.
Chocolate Cheesecake Bars
Equipment
- Parchment Paper
Ingredients
Crust
- 24 Oreo Cookies
- 4 tablespoon Butter melted
Cheesecake Layer
- 8 oz Dark Chocolate Chips or Bar are fine.
- 24 oz Cream Cheese softened to room temperature
- ¾ cup White Granulated Sugar
- 2 tablespoon Cocoa Powder
- 1 teaspoon Vanilla Extract
- ¼ cup Heavy Whipping Cream
- 2 Eggs
- 1 Egg yolk
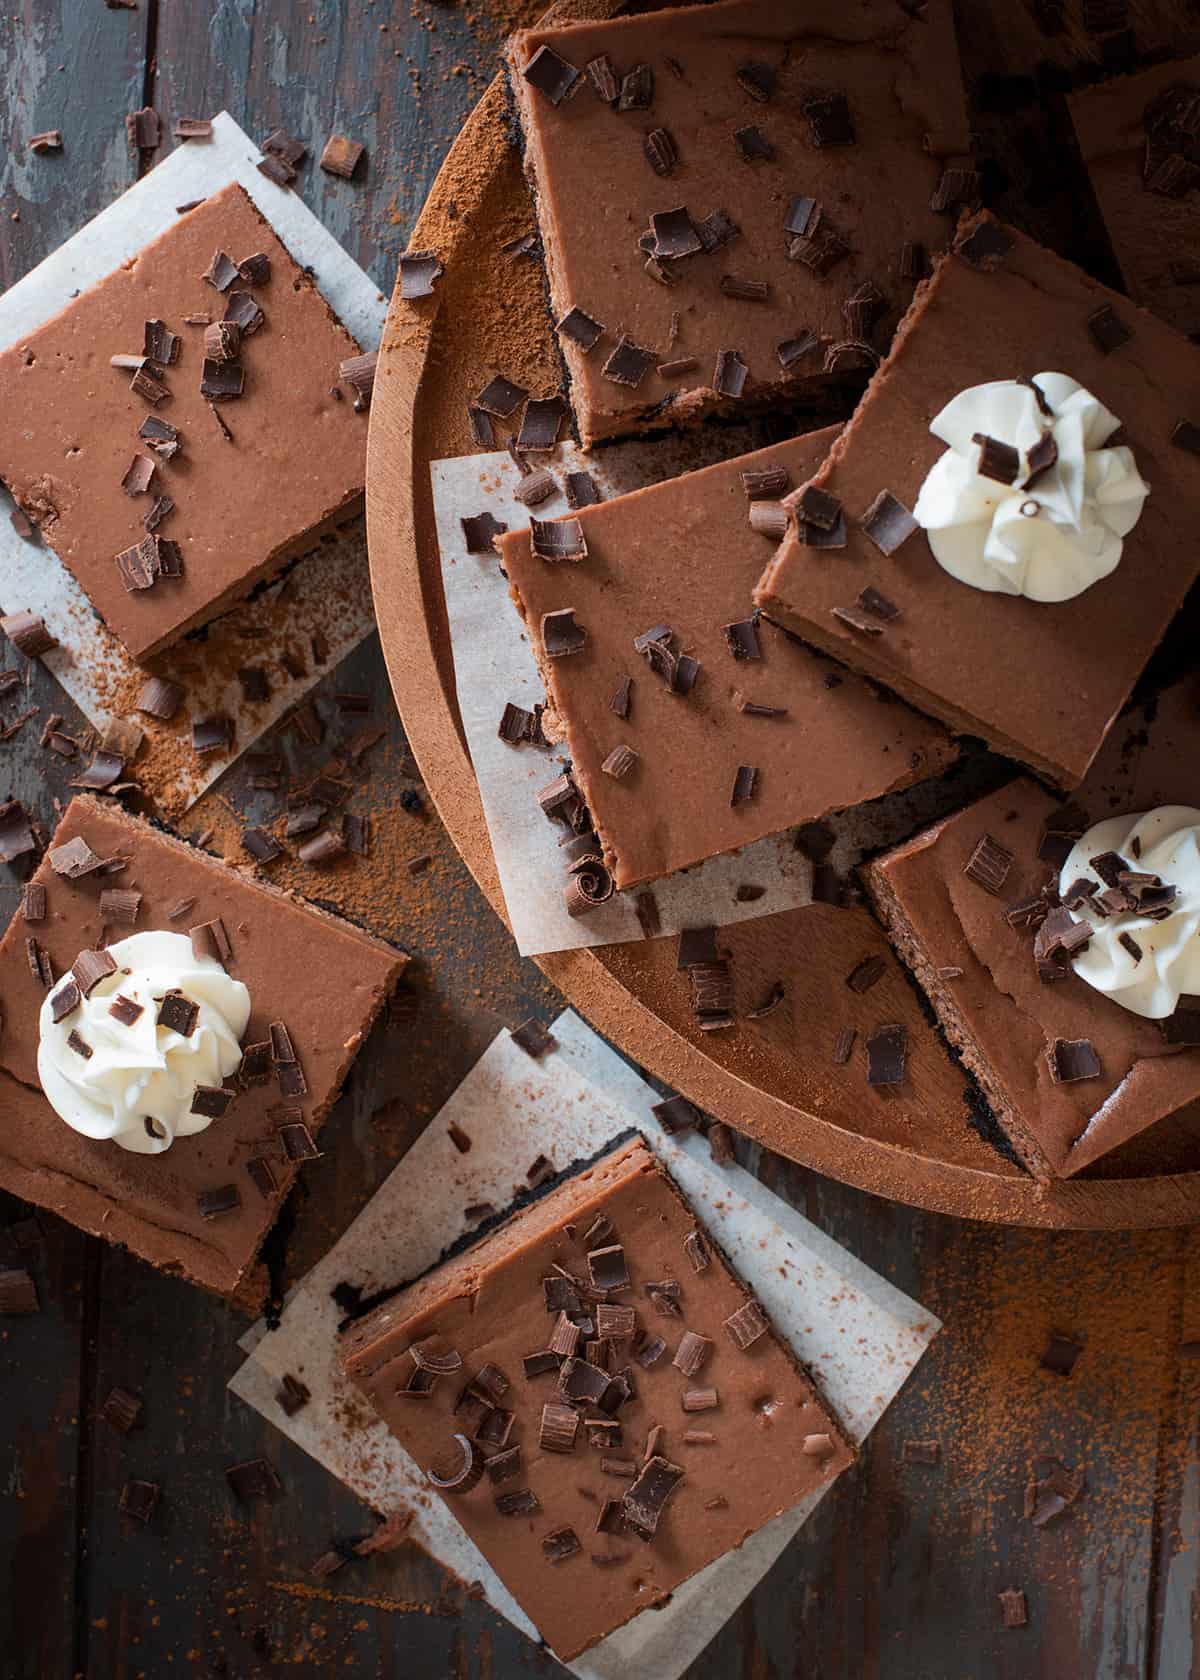
Optional Topping Ideas
- Whip Cream
- 4 Strawberries Quartered
- Chocolate shavings
Instructions
- Preheat oven to 350 degrees F. Line 9 x 9 or 8 x 8 pan with parchment paper.
- Crush 24 Oreo Cookies in a food processor or in a plastic bag until finely crushed. In a small bowl, add 4 tablespoon Butter (melted), and stir until well combined. Press Oreo crust evenly into bottom of the pan making sure to go all the way to the edges.
- Melt 8 oz Dark Chocolate in a double boiler or in the microwave. In the microwave, it takes about 1 minute 20 seconds. Stir gently until smooth, returning to the microwave in 15 second increments, if needed.
- In a stand mixer or mixing bowl, beat 24 oz Cream Cheese with ¾ cup White Granulated Sugar and 2 tablespoon Cocoa Powder until smooth and creamy. There should be no lumps. Add 1 teaspoon Vanilla Extract, ¼ cup Heavy Whipping Cream, 1 Egg yolk and 2 Eggs. Beat until smooth and stir in melted chocolate.
- Pour and spread into the baking pan evenly.
- Bake for 35-43 minutes until just set. It should look cooked but still be a little jiggly. After pulling out of the oven, run a knife around the outside to keep the top from cracking.
- Allow to cool, transfer to fridge at least 6 hours, then slice and serve. Top with Whip Cream or Chocolate shavings as desired.
Recipe Notes
- To get a properly smooth filling, the cream cheese MUST be at room temperature and even. If you are very careful, and cut the cream cheese into tablespoons, you can heat in the microwave at 15 second intervals, stirring between each interval to speed it up a little. There is a risk with this method of heating too much or unevenly.
Tracie Gill says
Hi!
I would like to make this for a crowd and was thinking of tripling the recipe and baking in a jelly roll pan. Have you ever tried this?
Rachel says
I have doubled the recipe in a larger casserole pan but not tried this myself, but I don’t see any reason why it won’t work. The baking times will change depending on how thick the bars are.
Eleri says
Perfectly creamy and smooth but rich!
Samantha says
I added a ganache layer on top and it was maybe even too rich, so I will skip next time but the cheesecake was phenomenal.
Joanne says
So good and thick! Theyre like an old fashioned chocolate cheesecake from a resturant.
Doris says
Perfectly smooth cheesecake and a chocolatey rich oreo crust. My teenage granddaughter baked this for New Years and it was the hit of the dessert table!
Jaime says
I was a little nervous when you said they should be a little jiggly so I put them in the fridge to cool and set after cooling on the counter. Perfect!
Carmen says
Best cheesecake recipe ever! Made a raspberry sauce to drizzle over instead of the chocolate curls. It was beautiful and delicious!
Julie says
This was my first ever homemade cheesecake and I thought bars might be easier. I am so happy with the results! No sticking! I made it gluten free with gluten free Oreos and its perfection.
Halle says
Love this recipe! No cracking and tastes delicious.
Holly says
This recipe wasn’t as fluffy as others I have tried but the flavor is top notch!
Jodie says
Loved the recipe! Made it for my husband’s birthday and it was a huge hit. Very rich and creamy!
Mary says
Followed the recipe exactly and eveyone raved! So, so good. Will definitely make again.