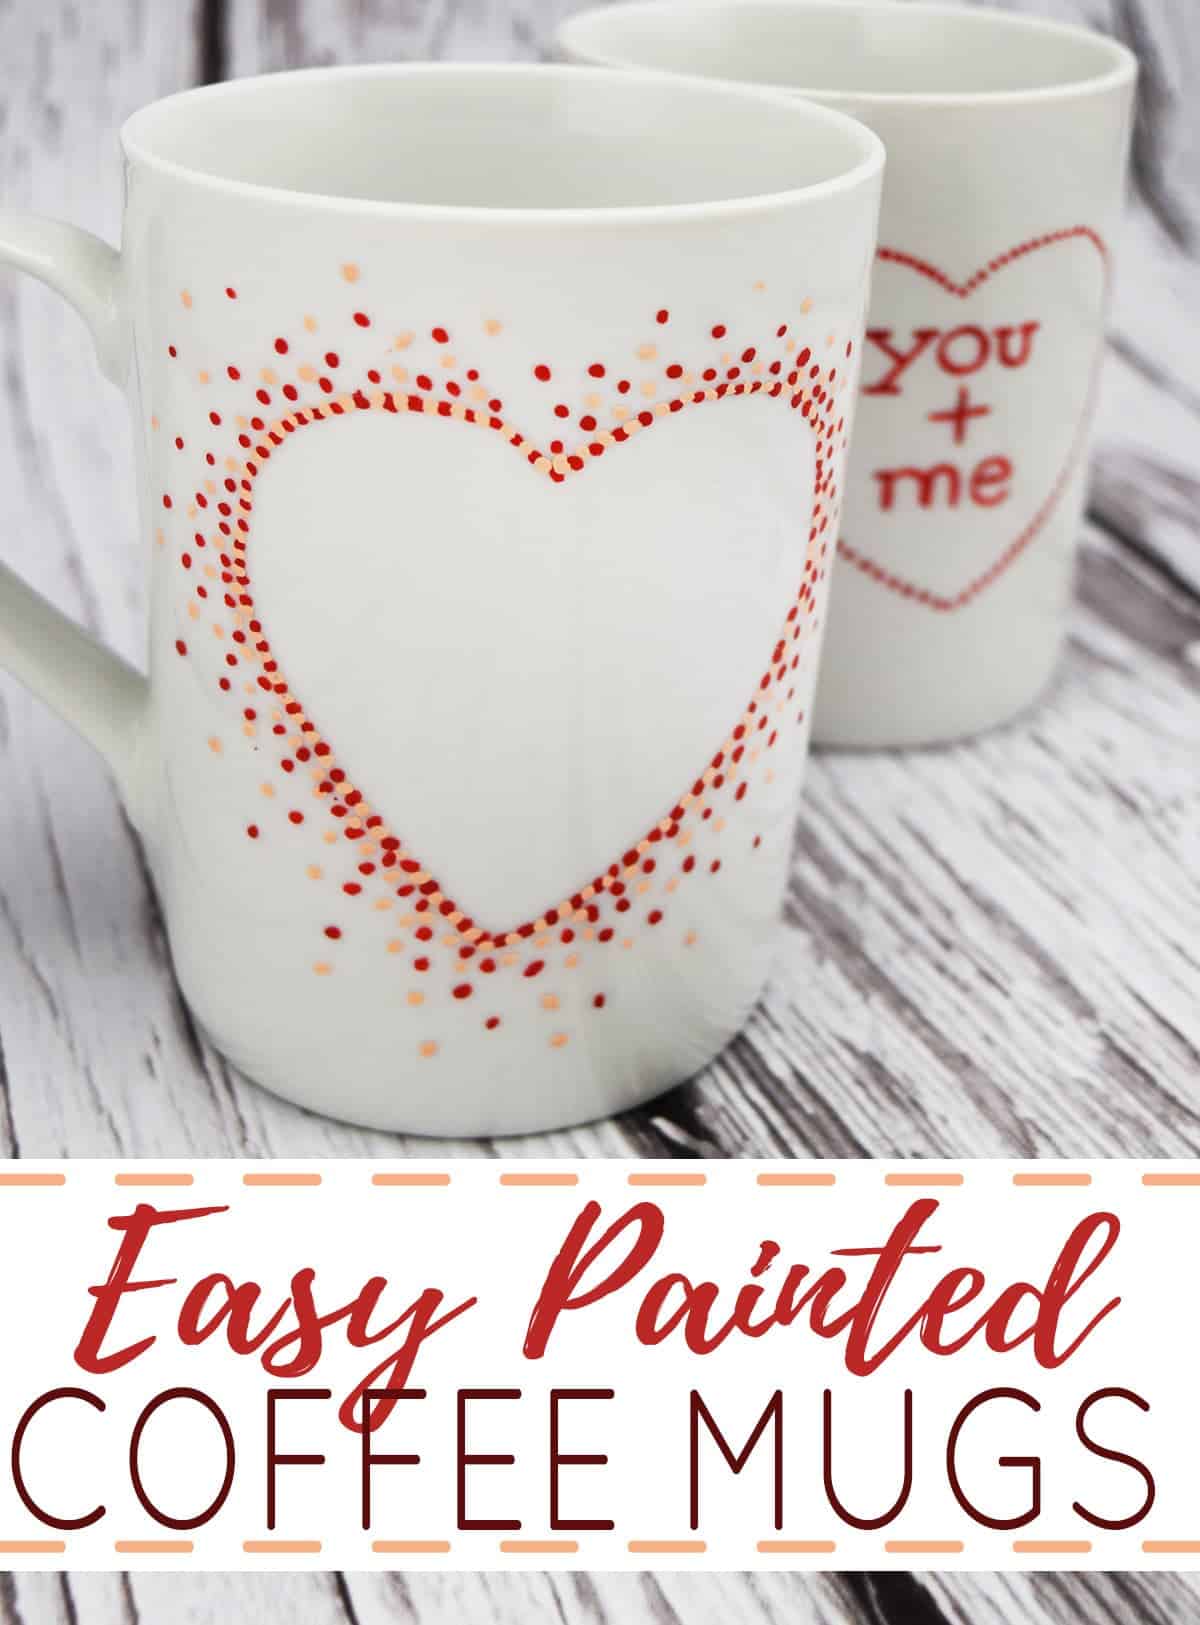
Looking to paint some cute coffee mugs? These painted coffee mugs are dishwasher safe and make a cute keepsake or DIY gift. From paint to glitter, learn how to decorate your own coffee mugs with these step-by-step instructions.
Have you seen those DIY coffee cups painted with sharpies on Pinterest? Sorry to be the bearer of bad news, but they aren’t dishwasher safe or permanent at all on surfaces such as ceramic, glass, or even most fabrics (horrible fading).
But don’t despair! I have some great solutions to paint your own mug that will last and be dishwasher safe!
Supplies
- White Ceramic Coffee Mug – The dollar store is great for these.
- Rubbing Alcohol
- Paint – See below for types and where to get them
- Paint Brush
- Q-tips or Paper Towels
- Oven
- Mod Podge (Optional)
What Kind of Paint to Use for coffee Mugs?
Many times, we paint mugs to personalize them, for gifts, or cherished keepsakes (I heart all the kid painted mugs!). Therefore, we want them to stay so we have to use the right products.
There are a few different paints you can use on glazed ceramic mugs.
- Oil based sharpies
- Acrylic Urethane Enamels that are meant for ceramics.
You can find these at craft stores and those are decent. If you are looking for something with better quality, I recommend the Pebeo Porcelain paints, which come in a variety of colors and have a watercolor style, or these professional paint markers.
If you have doubts, read the label and description. It will usually say, "dishwasher safe" and made for glazed ceramics. Unglazed mugs have different requirements.
Painted Mug Decorating Ideas
There are so many cool things you can paint on mugs!
- Glitter and Mod Podge – Mod Podge makes this dishwasher safe top coating that can be mixed with glitter to use on mugs. Do not bake the mod podge!
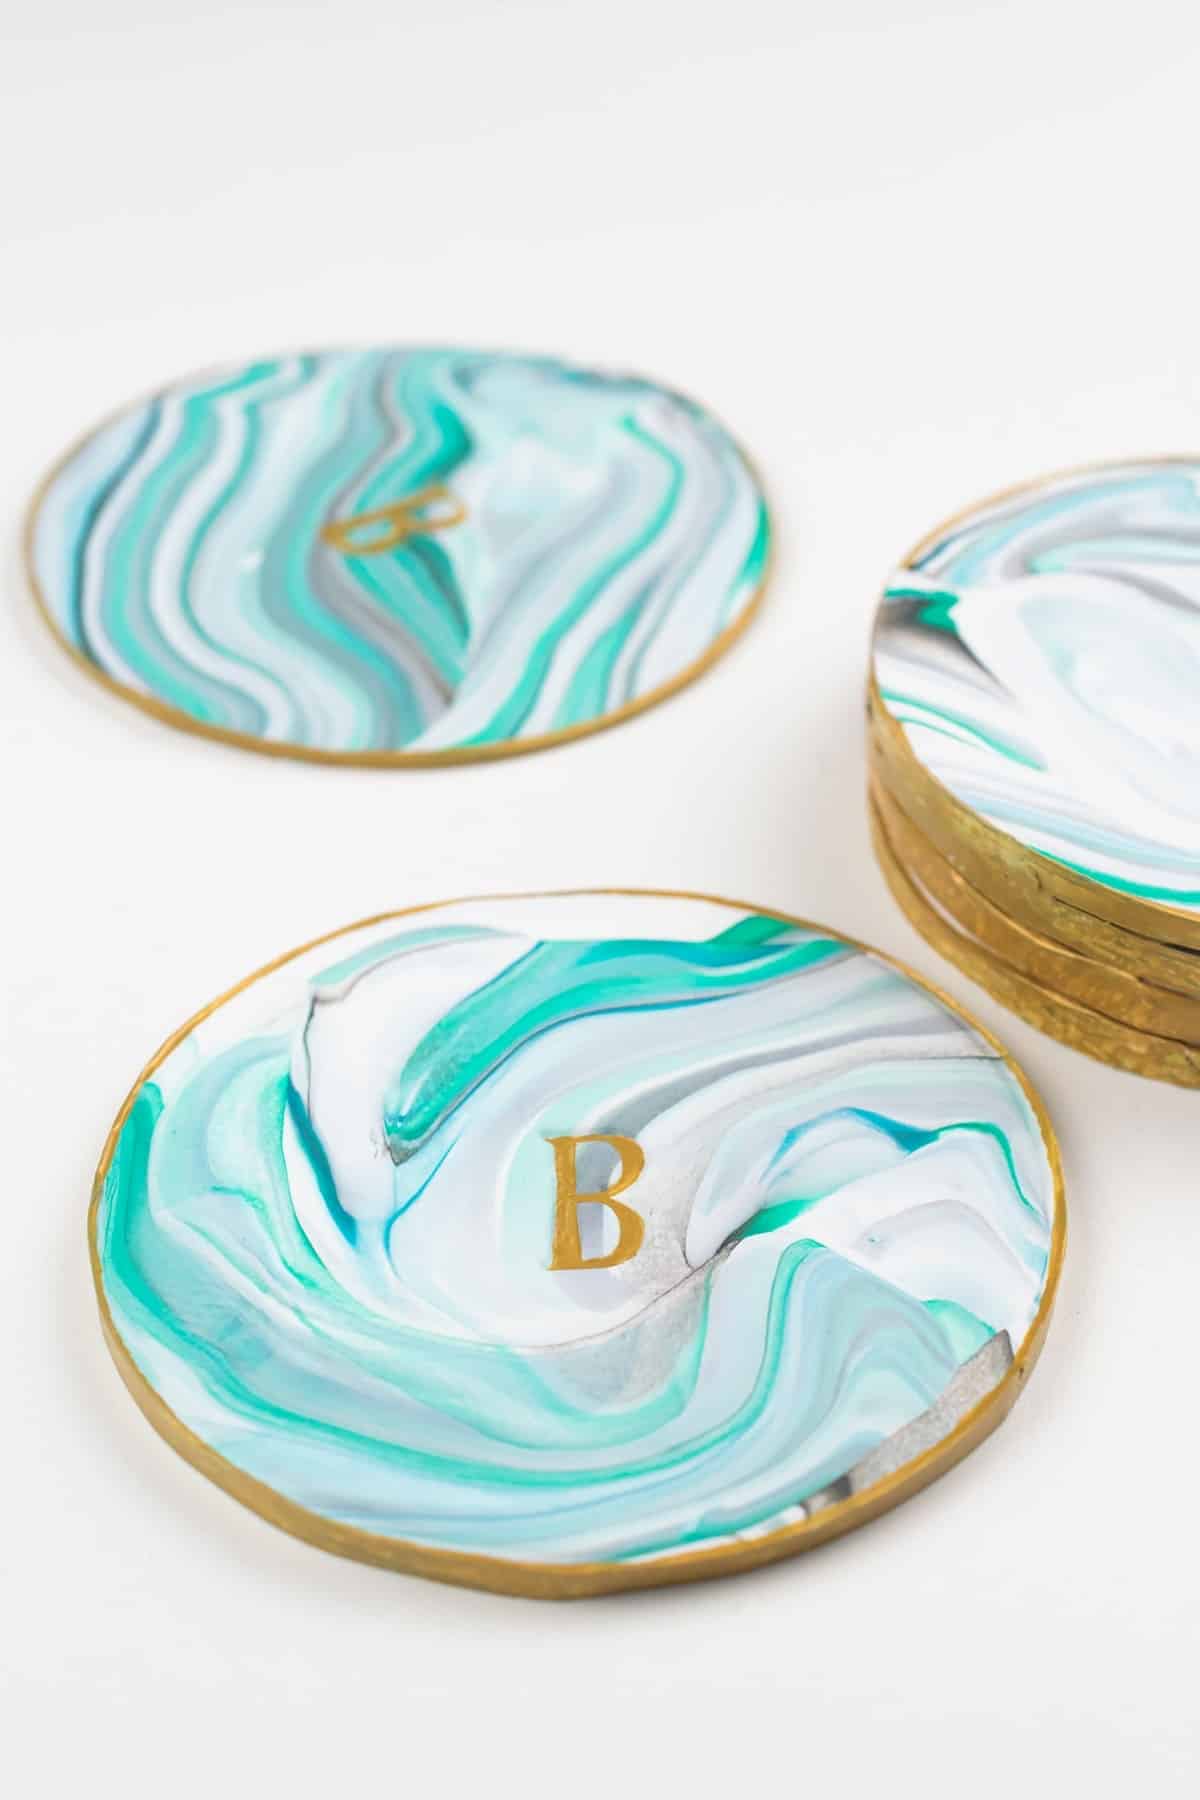
- Water Marbling – This is a great tutorial using nail polish, but do not put the nail polish on the rim. To make them dishwasher safe, you will have to seal them as well.
- Stenciling – Use stickers to create a negative to paint around, like a letter or shape. This is similar to how I did the mugs shown today.
- Monogram Design
- Handprints – The cutest kid craft!
- Repeating Patterns – simple brush strokes in different colors, chevron, or something as simple as evenly spaced peaches or trees is one of my favorites.
- Mandala or Zentangle Patterns – these are some of my favorite designs!
Instructions for Coffee Cup Painting
1. Clean the mugs well. Hand wash with a mild dish soap and dry them. Then use some rubbing alcohol and allow to completely dry, around 30 minutes. This is to break down any oils that may be left on the surface.
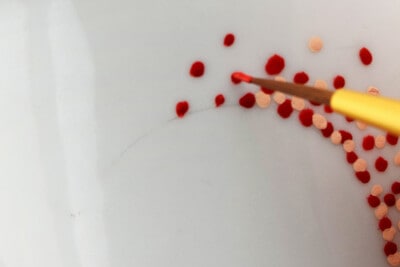
2. Draw or trace an outline of a shape with a pencil. Pencil wipes off easily but also provides a good guide. You can also use a sticker as a stencil to get the basic shape.

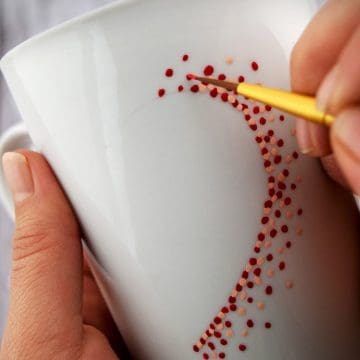
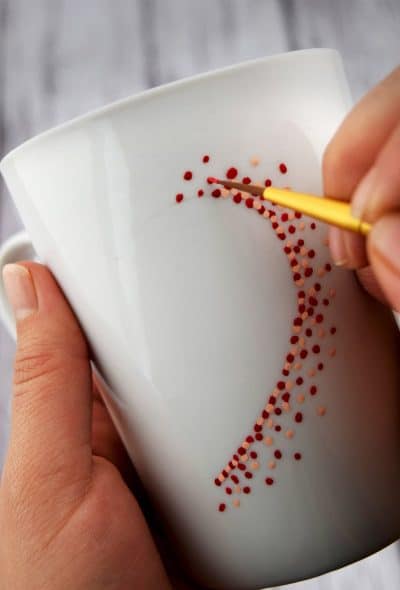
3. Paint your design. Make sure to mix the paint or shake paint pen very well. If you make a mistake, you can rub the paint off with Q-tips. Some paints are easier to remove if you dip the Q-tip in rubbing alcohol.
4. Let paint dry for 1 hour to make sure all layers of paint have dried.
5. To cure the paint and make it top-shelf dishwasher safe, you can use 1 of 2 methods:
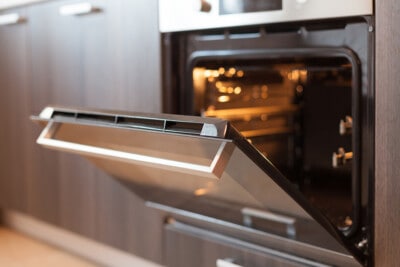
Bake Method: Place the mug in a cool oven. Set oven temperature to 350ºF. Once temperature has reached 350ºF, start timing for 30 minutes. After 30 minutes, turn the oven off. Glass must heat gradually with the oven to avoid breakage. Do not place glass or coffee cups in a hot oven. Let the cups cool completely in the oven. Do not use for 72 hours.
Air Dry Method: Air dry project for 21 days before use.
Hope you get to make your sweetheart a painted coffee mug! I think I am going to show these babies off with breakfast in bed or maybe just a quiet coffee in the morning before the little one wakes up. Whatever you do, I am sure it will be lovely.
Expert Tips
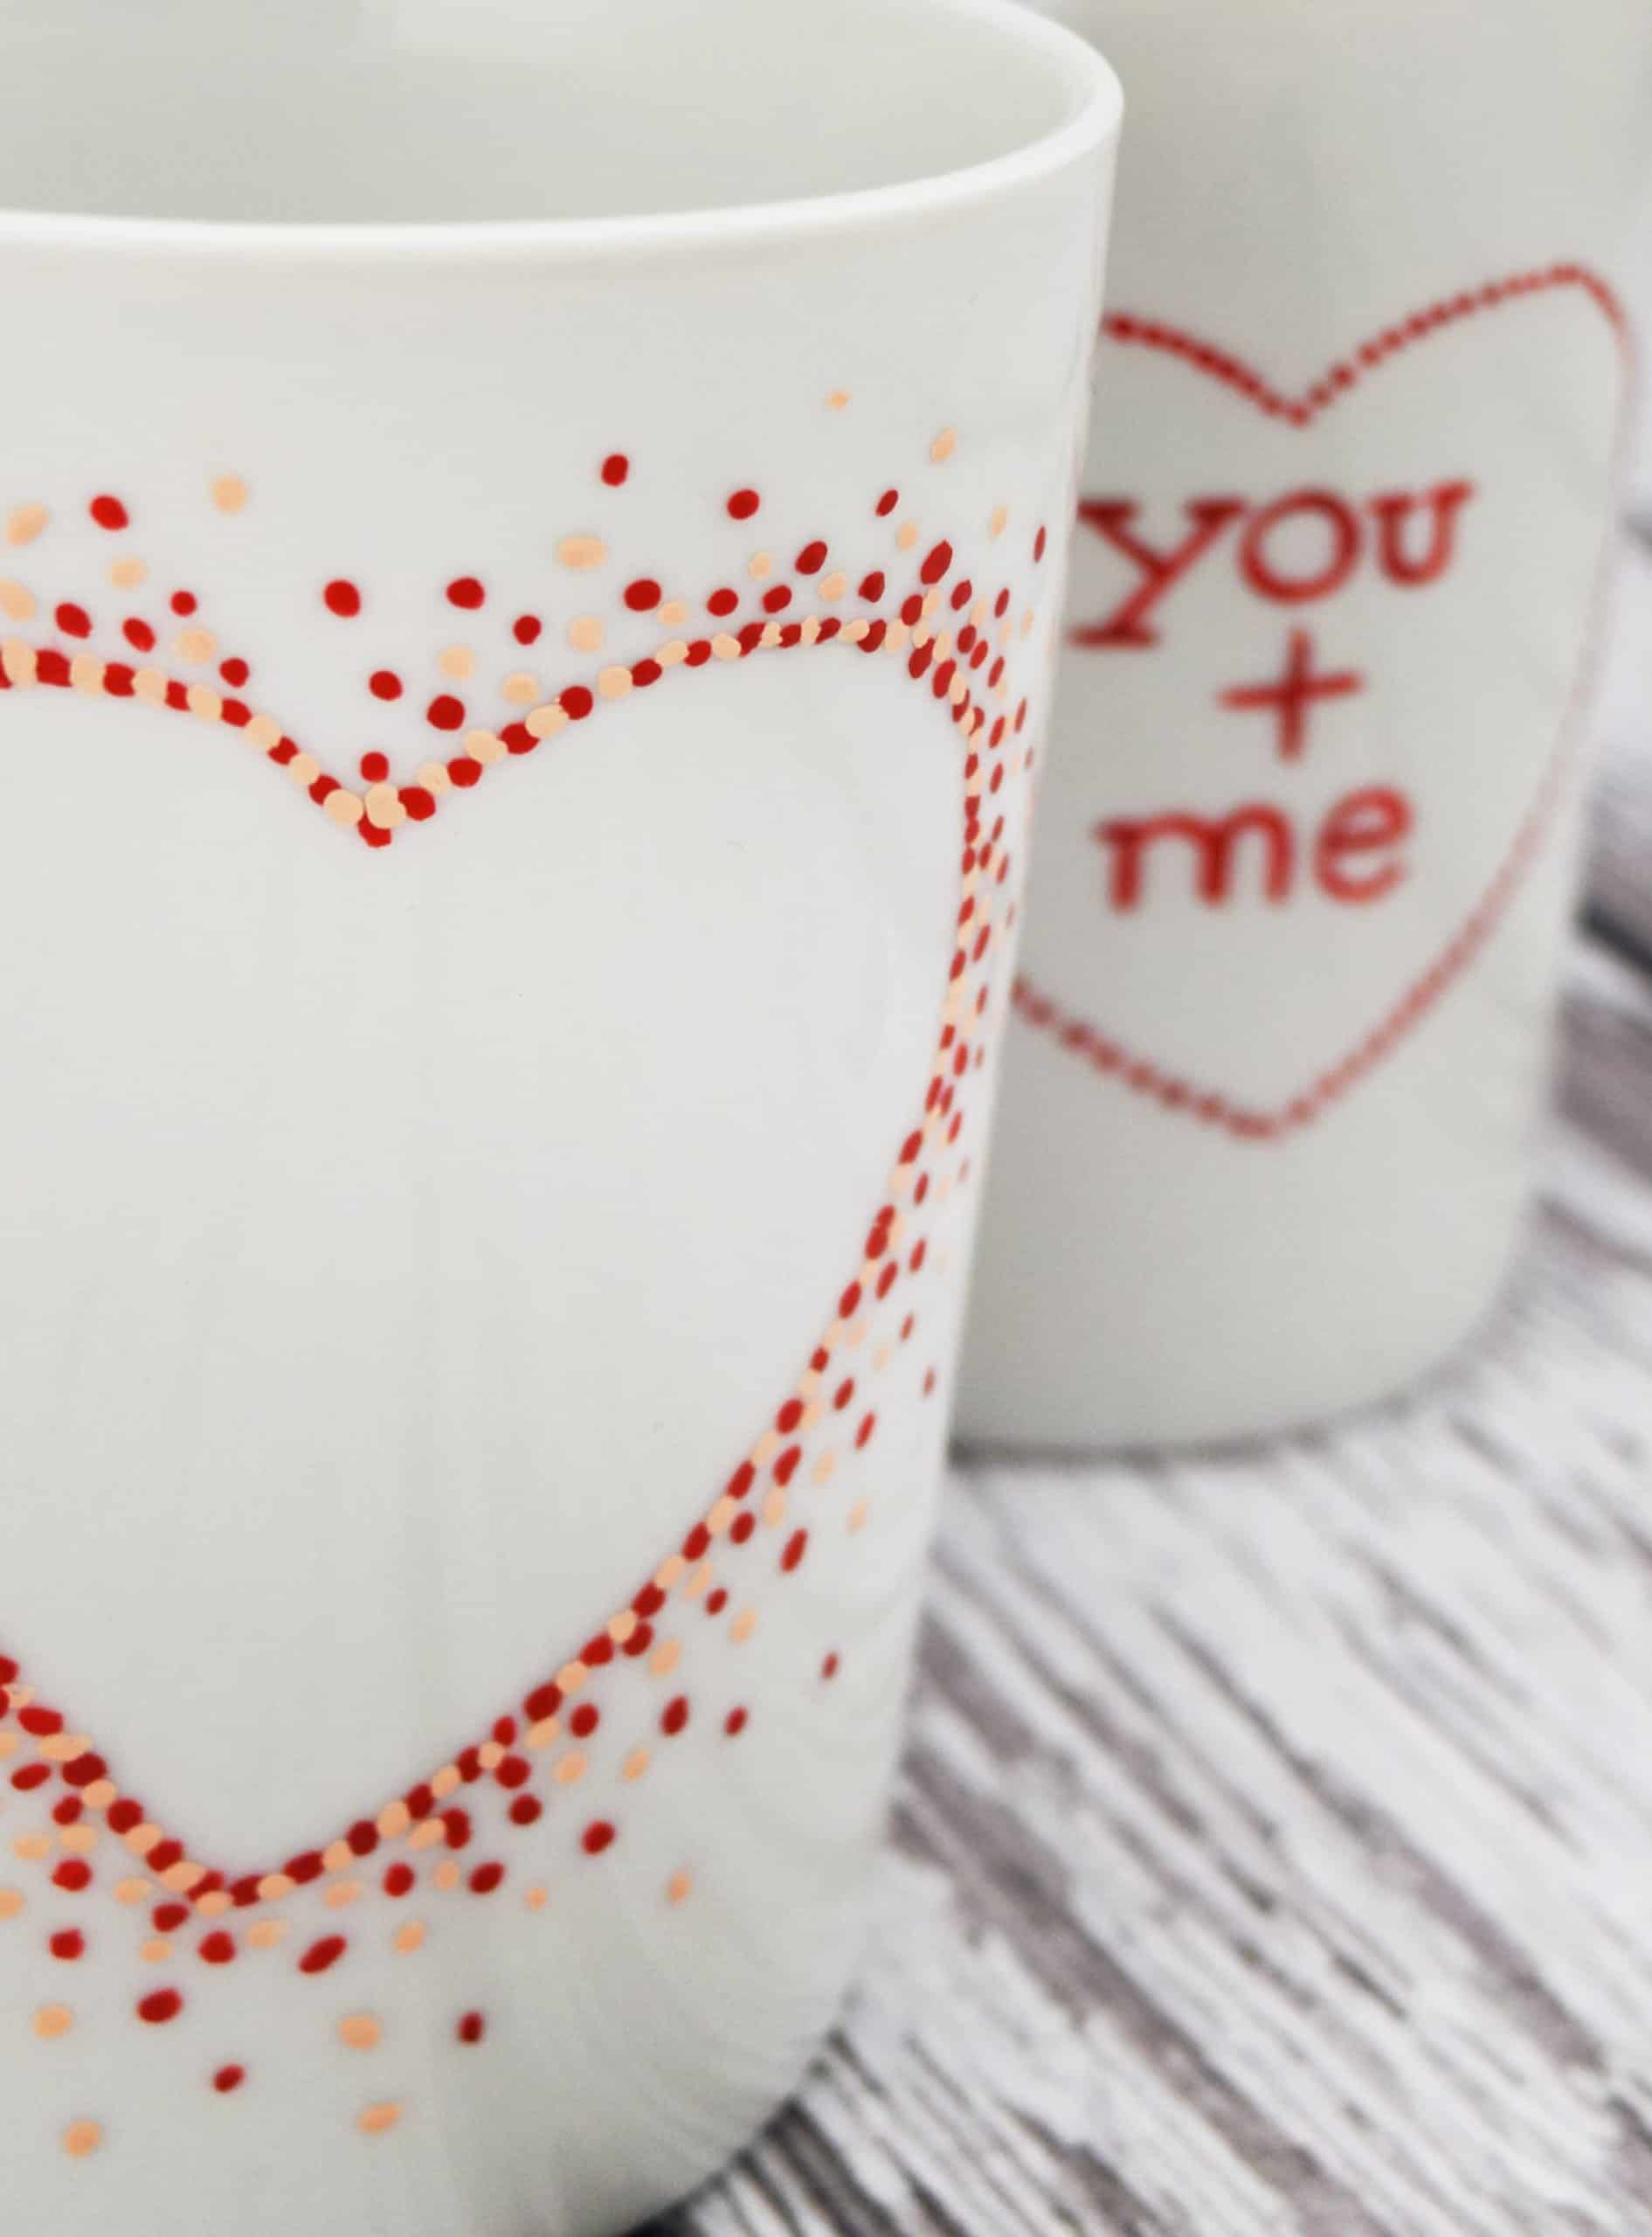
- I used an old technique from art class called stippling. Stippling is basically creating any shape or object out of drawing only dots.
- You can wipe off small oopsies with a Q-tip or a Q-tip dipped in rubbing alcohol if you use oil-based paint pens. You will have to let it dry completely again to paint over that area.
- The mugs must cool in the oven, so do this project on a day where you won’t need your oven for several hours.
- While these will hold up great in the top rack of the dishwasher, it’s still best to protect them from scratches and dings. Don’t scrub or use abrasive sponges.
- If you use a paint or medium you aren’t totally sure of, you can try sealing it with dishwasher safe mod podge. However, you will have to allow it to air dry or wait until after baking and cooling.
More Easy Holiday Crafts
- How to Fold a Felt Bunny
- ST Patrick’s Day Craft Ideas
- Stamped Transfer Candles
- Our List of Fun Family Activities
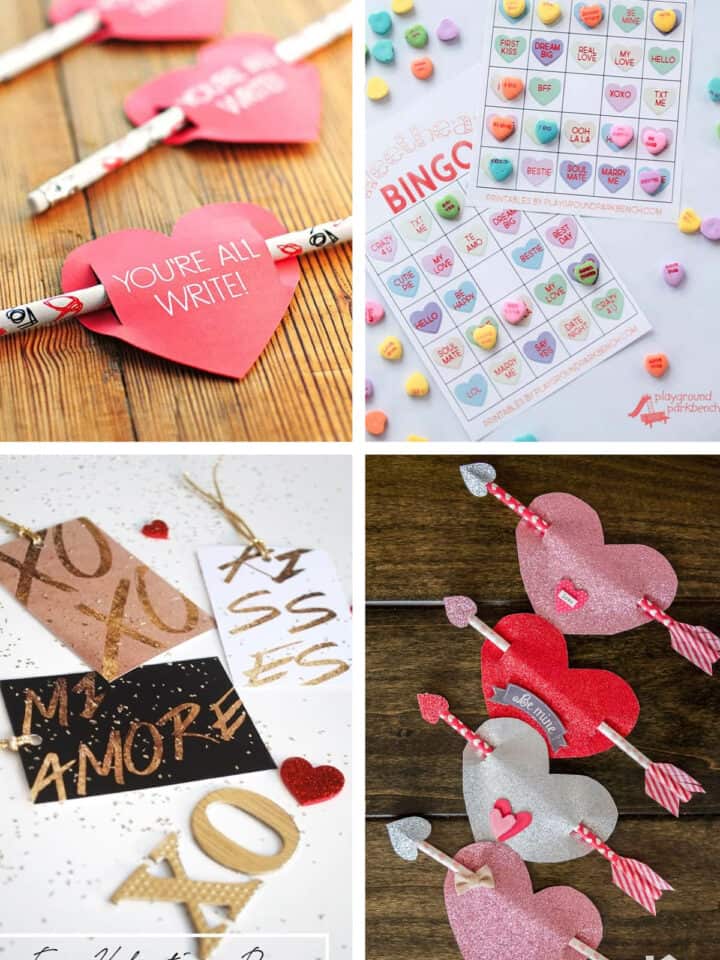
- 20 Free Printable Valentine Cards for Kids
FAQs
Acrylic enamel paint is suitable for most ceramic mugs. However, check the label before purchasing because some aren’t suitable. After you paint your mug and allow it to dry, you can use a clear sealant to add shine and prevent the acrylic paint from cracking.
Bake your mug to cure the paint. Place them in a cold oven, then turn the oven on to 350 degrees and let it come to heat. Once preheated, set a timer for 30 minutes and let the mugs bake. Turn the oven off but do not remove the mugs. Instead, let them completely cool in the oven. You can open the door after a few minutes.
Regular sharpie markers will wash off, but there are oil-based Sharpies that last much better and are dishwasher safe.

Grab our free series "Weekend Home Projects that will Transform Your Life" Sign up below to receive updates including free printables, organization tips, home improvement projects, recipes and more! |
More Valentine’s Day Crafts
PS I love seeing your creations! Be sure to take a photo and tag #cravingcreative on Instagram! You can also stay in touch with me through following me on Instagram, Pinterest, and subscribing to the newsletter!
How To Paint Coffee Mugs
Tools
- Paintbrush
- Oven
Supplies
- White Ceramic Coffee Mug
- Paint *See note for types*
- Rubbing Alcohol
- Q-tips to clean mistakes
- Dishwasher Safe Mod Podge Optional
Instructions
- Clean the mugs well. Wash and dry them. then use some rubbing alcohol and allow to completely dry, maybe 30 minutes. This is to break down any oils that may be left on the surface.

- Draw or trace outline of a shape with a pencil. Pencil wipes off easily but also provides a good guide. You can also use a sticker as a stencil to get the basic shape.
- Paint your design. Make sure to mix the paint or paint pen very well. If you make a mistake, you can rub the paint off with q-tips. Some paints are easier to remove if you dip the q-tip in rubbing alcohol.
- Let paint dry for 1 hour at least to make sure all layers of paint have dried.

- Bake Method: Place the mug in a cool oven. Set oven temperature to 350ºF. Once temperature has reached 350ºF, start timing for 30 minutes. After 30 minutes, turn the oven off. Glass must heat gradually with the oven to avoid breakage. Do not place glass in a hot oven. Let glass cool completely in oven. Do not use for 72 hours.
Notes
-
There are a few different paints you can use on glazed ceramic mugs.
- Oil based sharpies
- Acrylic Urethane Enamels that are meant for ceramics.
- You can wipe off small oopsies with a q-tip or a q-tip dipped in rubbing alcohol if you use oil-based paint pens. You will have to let it dry completely again to paint over that area.
- The mugs must cool in the oven, so do this project on a day where you won’t need your oven for several hours.
- While these will hold up great in the top rack of the dishwasher, it’s still best to protect them from scratches and dings. Don’t scrub or use abrasive sponges.
- If you use a paint or medium you aren’t totally sure of, you can try sealing it with dishwasher safe mod podge. However, you will have to allow it to air dry or wait until after baking and cooling.
Allison says
These are lovely! I love that they are painted! Thanks for linking up – I am featuring you tomorrow at A Little Bird Told Me Link party!
Erica says
These are so cute! I think these will have to be our Valentines for our teachers this year. Thanks so much!
Erica says
So cute!! I think these will be our Valentines for our teachers this year!! Thanks so much!!
Rachel says
What a great idea! I still haven’t decided what I want to make for my son’s teachers. Funny that I hadn’t even thought of these! Thank you for the idea!
Jeannine O'Neil says
Love these! I made a few gifts over the holidays but I did the Sharpie method and just warned off my giftees to hand wash. Such a fun and personal present. I was thinking of doing just this for my hubby for Valentine’s day and writing a post. Ha! Great minds think alike! AND “You and Me” by Lifehouse is our wedding song!
Rachel says
I was pretty excited when I figured this out! I love all those sharpie mugs on Pinterest. Great choice on wedding song!
Michelle@TheRibbonRetreat says
What a fun and festive Valentine’s Day project. I can’t believe how adorable those mugs are and that you free handed the whole thing! You are amazing! Thanks for sharing this fun idea! PINNED!
Michele says
I <3 sharpie mugs and your sweet designs! Pinned:)
Pam says
Such cute ideas!! Great for gifts. Thanks for sharing with the Thursday Blog Hop!
Rebecca says
I’m a big fan of the dots though I feel ya on the hand cramps. lol This project is ADORABLE! I want to do it! This is the third pin I’ve taken from your site today. You’re making my boards better! Thanks!
Jen says
This is completely adorable and you free handed it! Just pinned, thanks for sharing!
Rachel says
haha, I traced around a paper heart cutout with pencil. It was light enough to see on the ceramic but wiped off easily. I am so not that good!
Jessica cramer says
I love these mugs! I have been wanting to do ceramic painting for a long time, thanks for the great idea! Visiting you from the Spring Blog hop!
Amanda says
So cute! I’ve always wanted to try decorating coffee mugs with the sharpie, but didn’t like the idea of them fading. This is a great idea! I love how the heart turned out!
Rachel says
Thanks Amanda! I am so glad to have found this product. And the best part is that it is pretty inexpensive and available in a whole lot of colors! Do I sound like a salesman? haha! I guess I am just pretty thrilled with these.
Erlene says
Very cute. We tried the Sharpie and it was a total fail. I was planning on using ceramic paint, but I may have to take another look at all my FolkArt paints to see if I have any that will work.
Rachel says
I have a tackle box full of folk art paints and I didn’t even know they made this until we got our boxes. Now I want more colors.
Beverly says
These are so cute! I love the method you used. I’ve had two plain white mugs for a year now with plans to paint something on them. I’ve been a little skeptical of various methods I’ve seen. Thanks for the tip about the paint you used. Pinning so that I’ll actually be motivated to do this project!
Rachel says
I was totally skeptical too of the stuff I have seen. But gah! I see so many cute ones everywhere. Now I can have my own and I am pretty happy. So far, they have done as advertised as I have washed them in the top rack twice. I just rinsed the cocoa I was drinking out of it.
becka says
Oh wow these are pretty! I love the idea and can see it has many possibilities. 🙂 You have alot of patience to do all those little dots. 🙂
Rachel says
Thanks Becka! While I made these, I was honestly just chillin on the couch watching some tv. I never get to watch tv so it was awesome! The dots were nice since I didn’t really have to think about them or concentrate that much.
Emily, Our house now a home says
I love this idea, I have to say, you have one steady hand to do all of those little dots. I feel like I would have a few smudges. I love the colors you used.
Rachel says
The nice thing about this is that if you do happen to make a mistake, you can just wipe it off before it dries with a q-tip or something small. I made these little mugs while catching a tv show. I never watch tv so it was nice to craft and catch a show at the same time.