• Skip to primary navigation
  • Skip to main content
  • Skip to primary sidebar
  • Home
  • DIY Home Projects
  • Home Tour
  • Recipes
  • About

Craving Some Creativity logo

menu icon
go to homepage
search icon
Homepage link
  • DIY Home Projects
  • Home Tour
  • Recipes
  • About
  • Free Email Series
    • Facebook
    • Instagram
    • Pinterest
  • ×

    Home » Home Decorating » Spring Décor

    Published: Mar 17, 2015 · Modified: May 31, 2022 by Rachel

    Easy Easter Bunny Pouch Craft

    This post may contain affiliate links. Read my disclosure.
    6505 shares
    • Share
    • Tweet
    Jump to Tutorial Print Tutorial

    I am absolutely gushing over these adorable felt bunnies! Similar to fabric origami, this craft is super easy and takes less than 15 minutes to make. Great craft project for kids, parties, or Spring and Easter crafts.
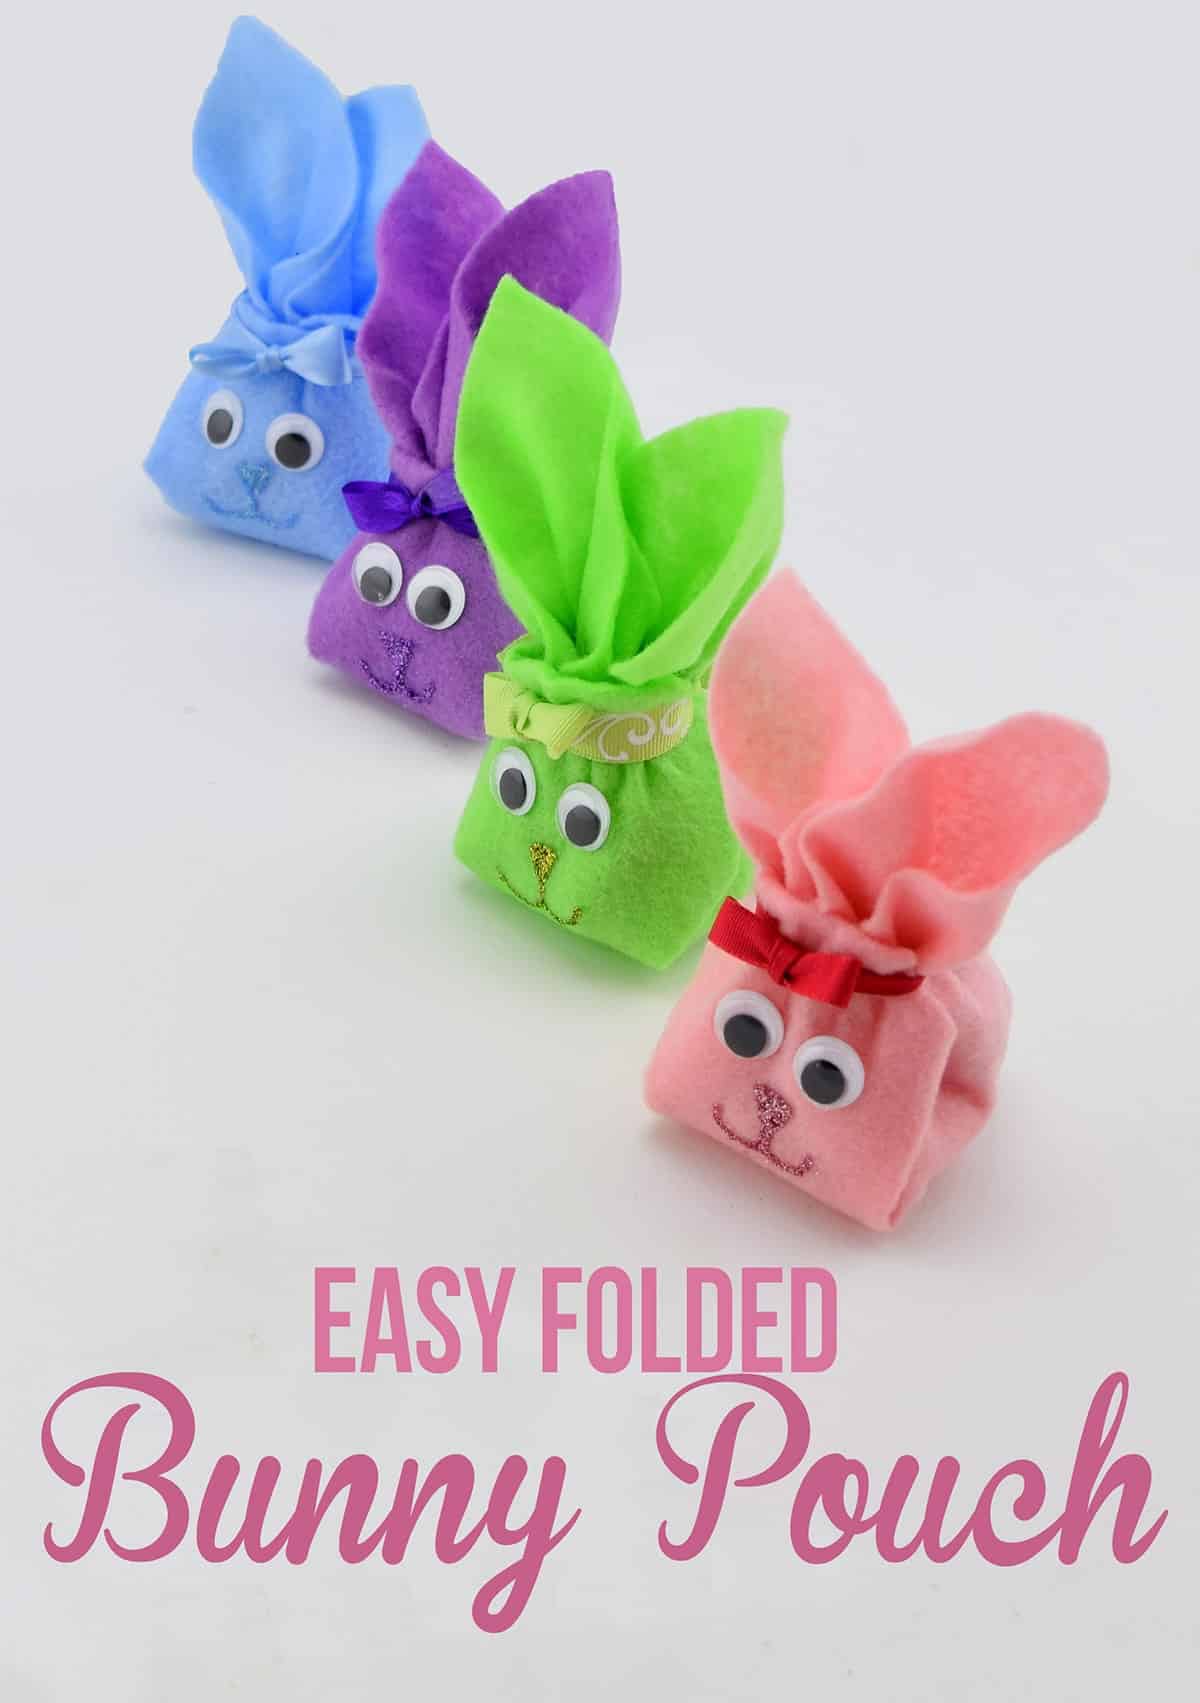
    Colorful folded felt bunnies with googly eyes, ribbon, and glitter faces in a row on white surface.
    10 min Folded Bunnies

    We love simple spring crafts! These folded bunny pouches are the cutest solution to what to do with loose Easter candy in baskets or treats for an Easter party. I used these little guys during my Easter table decorations party and they were a big hit with the kids.

    As a kid, my mom used to divvy up the loose candy (like M&Ms, Robin’s Eggs) between the kids and tossed them in the basket intermixed in the grass. It looked cute, like little eggs hidden in the grass. But here’s the thing – we always used the same grass every year and no one washes plastic grass. Think about that for a second…. yeah…. a little gross.

    Supplies

    • A square piece of fabric but I imagine a napkin would work well too. I used an 8×8 piece of felt.
    • Candy or other small filler
    • Googly Eyes
    • Ribbon
    • Rubber Band
    • Glitter Glue (multiple colors)

    Steps to Making a Bunny Pouch

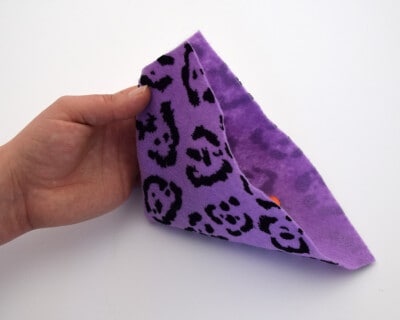
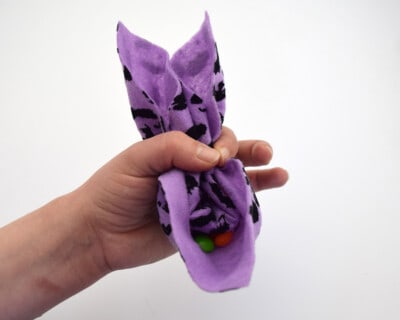
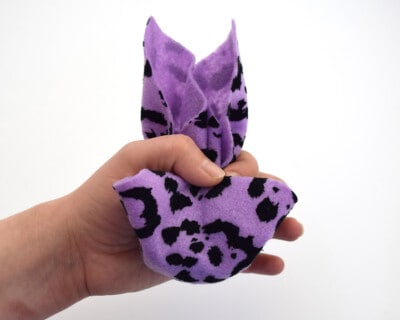
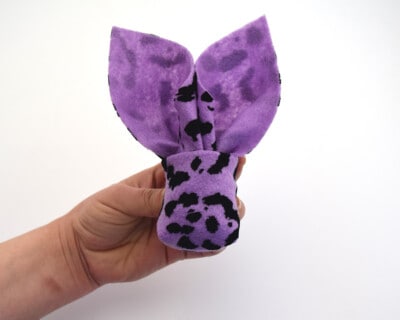
    The step by step is included in the tutorial card at the bottom of this post, so this section is more of a visual guide to show you how it comes together.
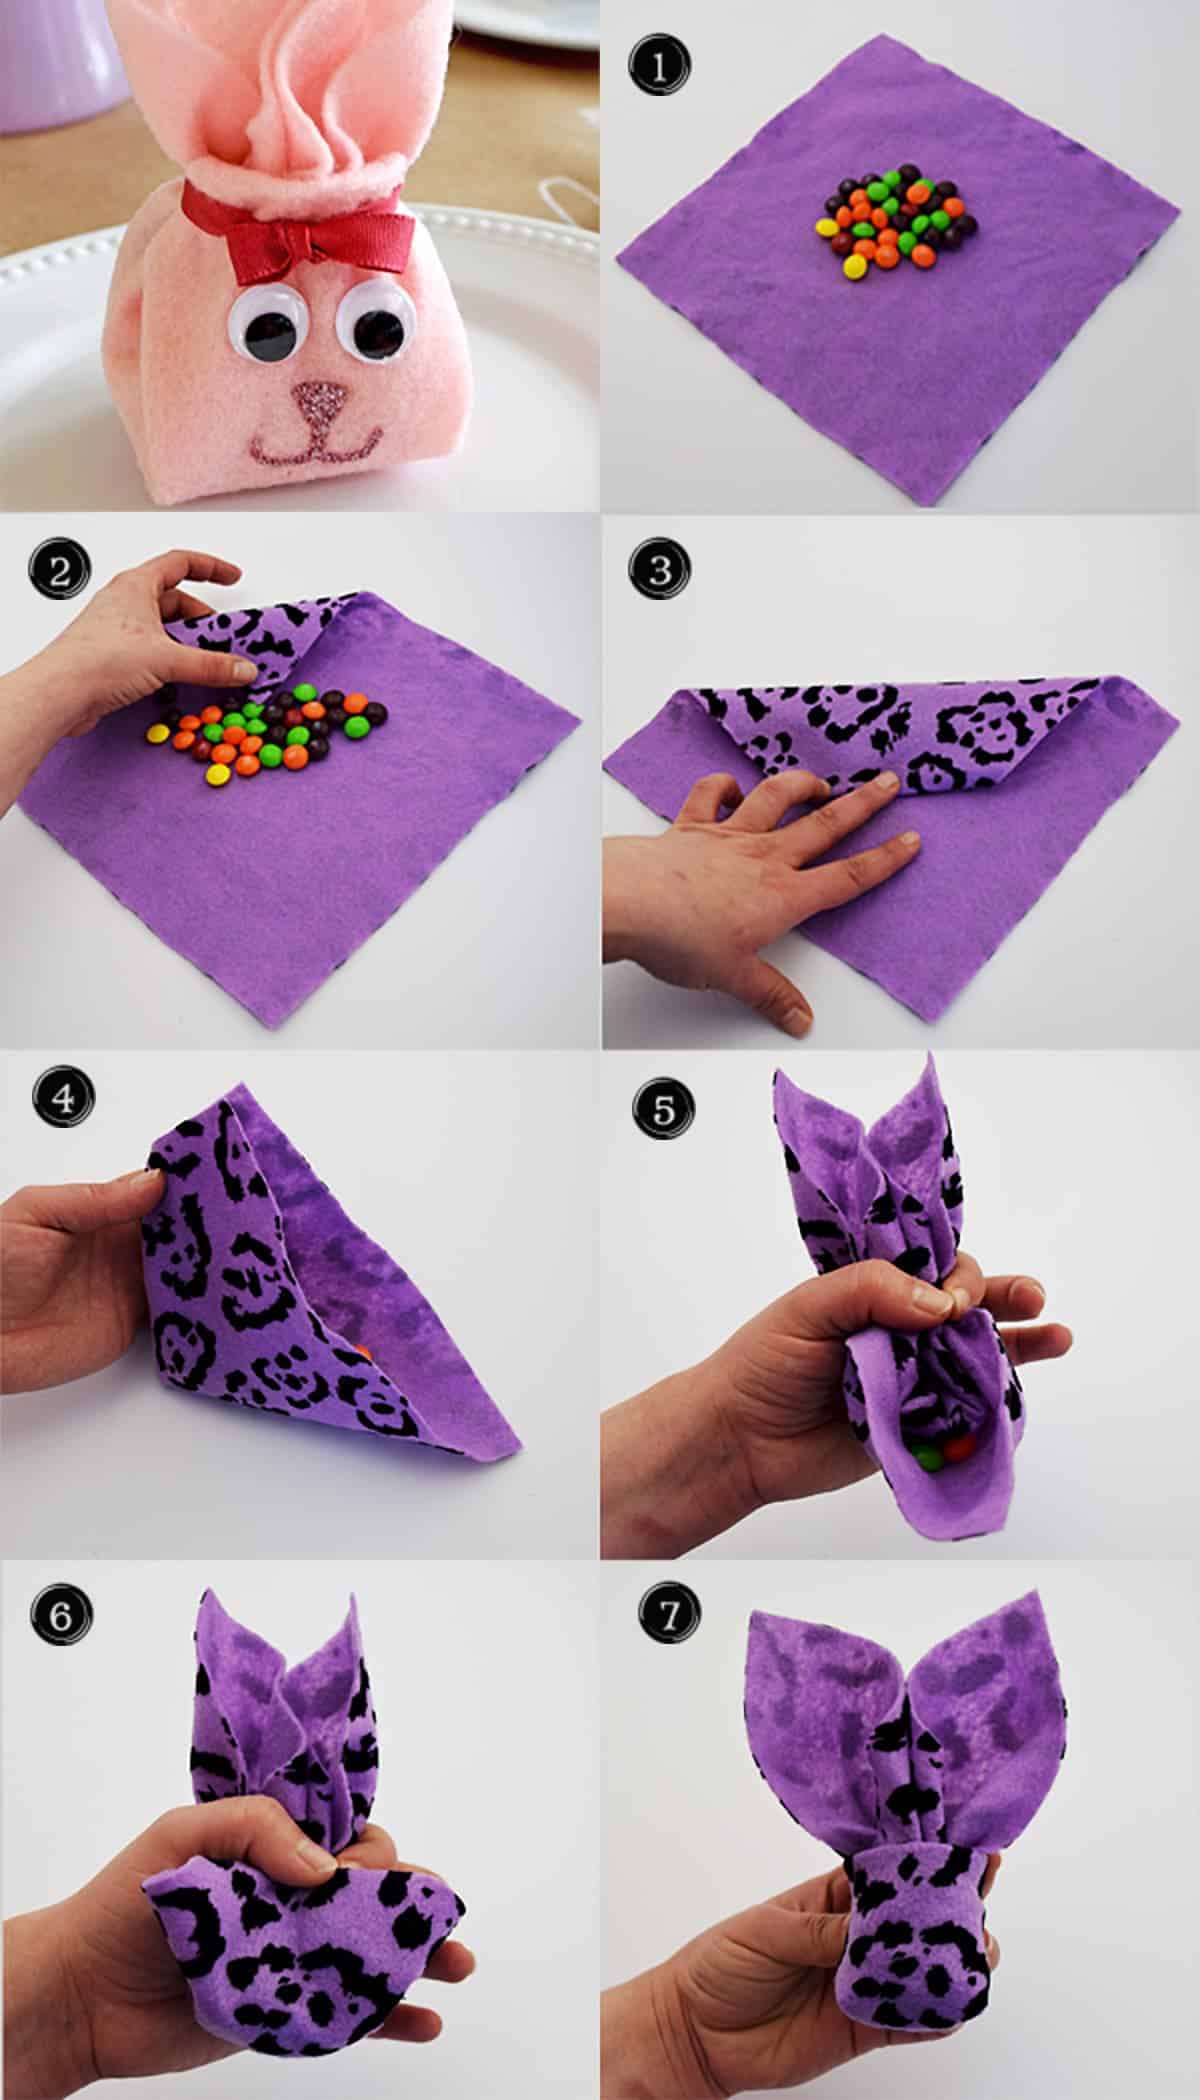
    Steps of folding fabric or napkin into a bunny shape filled with candy.

    The bunny folds up super easy, almost like a fabric origami. I love the ears especially- they are so realistic looking!

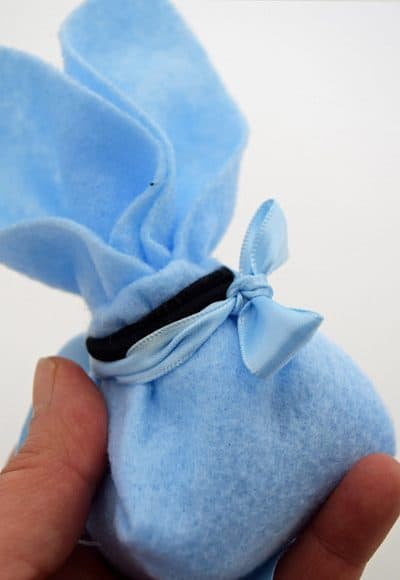
    Blue felt DIY bunny pouch with closeup of hair band to secure ears.

    The ears are secured with a rubber band. I used a fabric hairband. Depending on what ribbon you choose, you may be able to hide the rubber band under it for a more secure fitting. However, I found that I could gently remove the rubber band after I had secured the pouch with the ribbon.
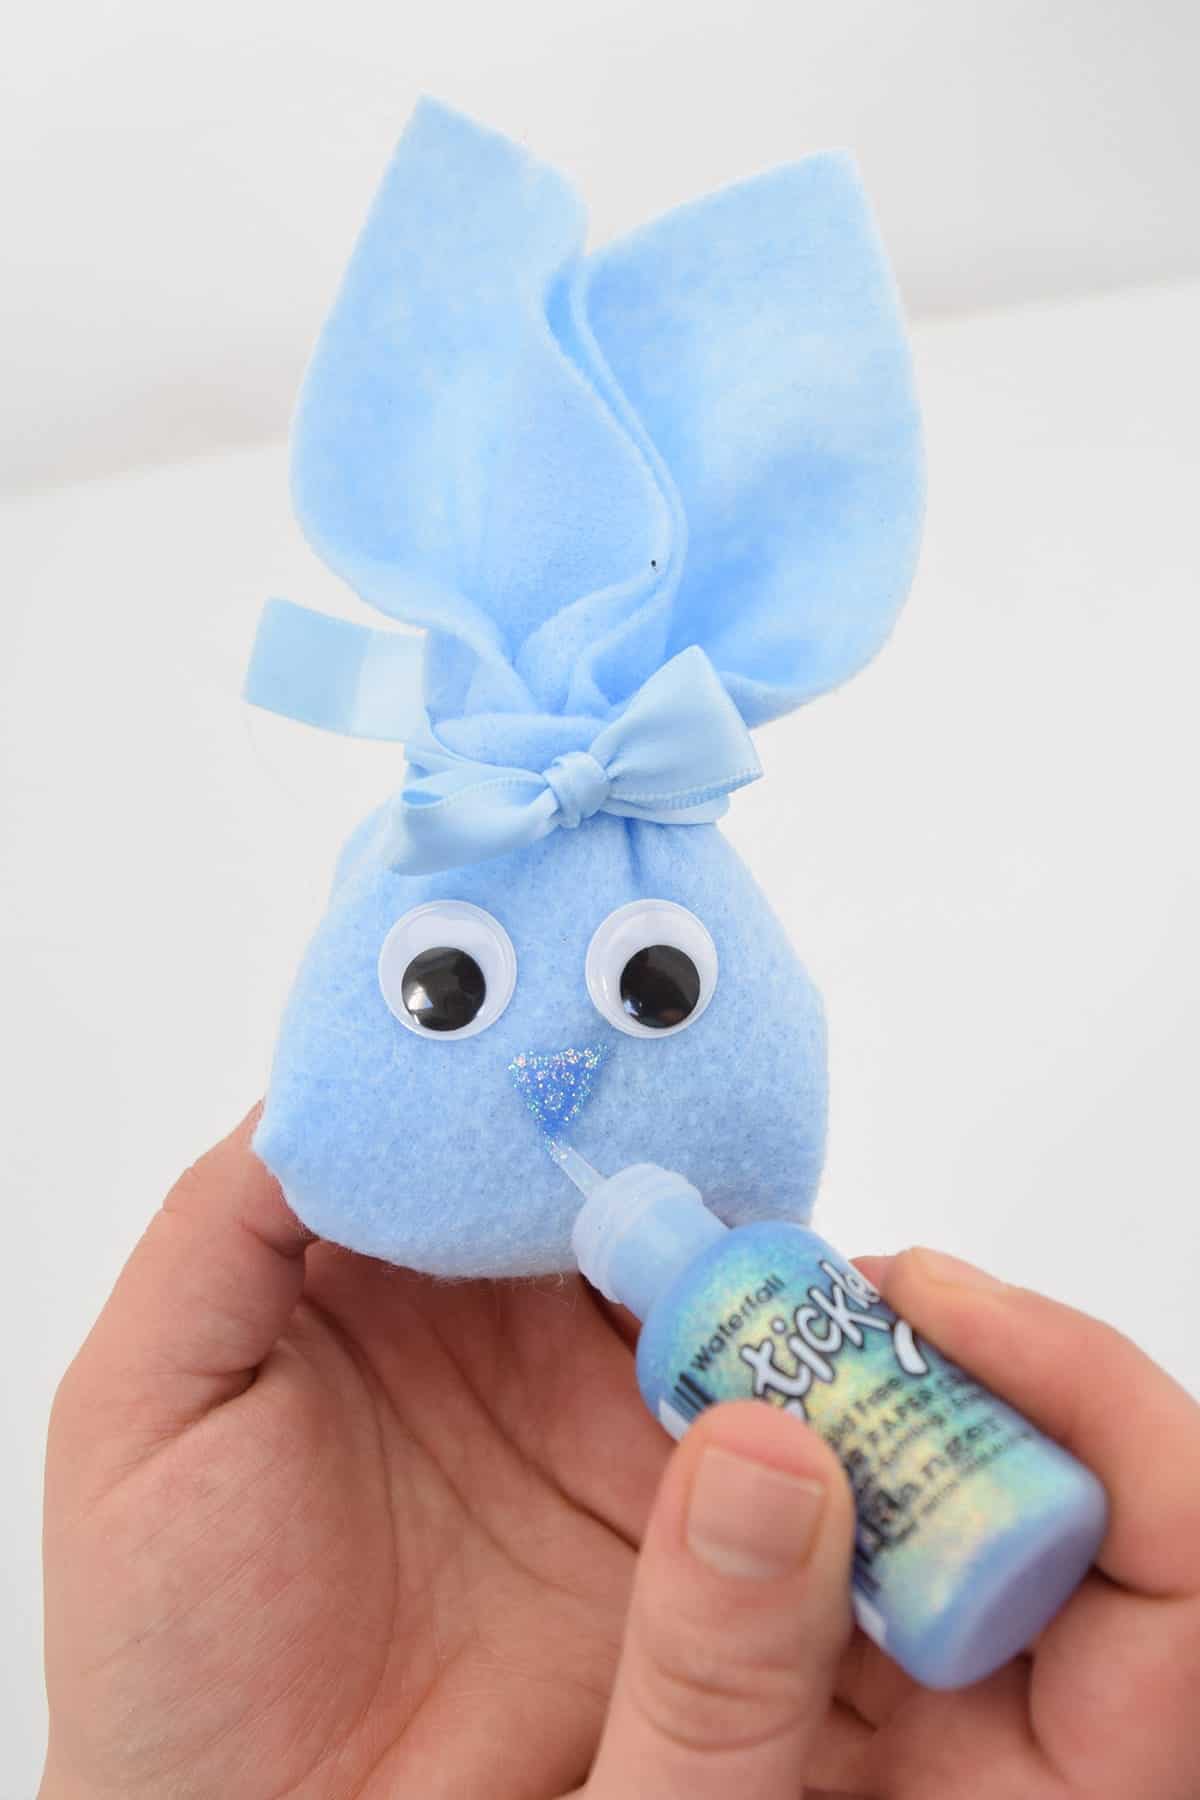
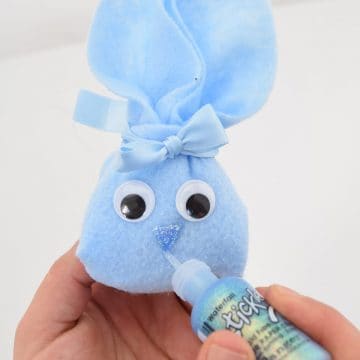
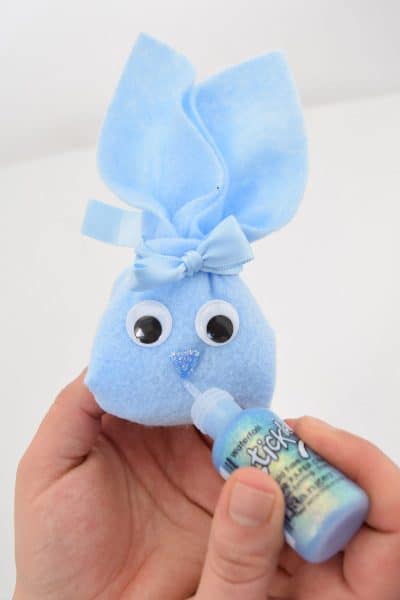
    DIY blue felt bunny pouch with googly eyes held in hand painting glitter nose and mouth on front.

    A super cute face made with googly eyes and glitter glue finishes the project! I use a 3-dimensional glitter glue, so it doesn’t absorb into the fabric. Start to finish in less than 15 minutes so it makes a great craft for kids.

    More Spring Crafts You Might Enjoy
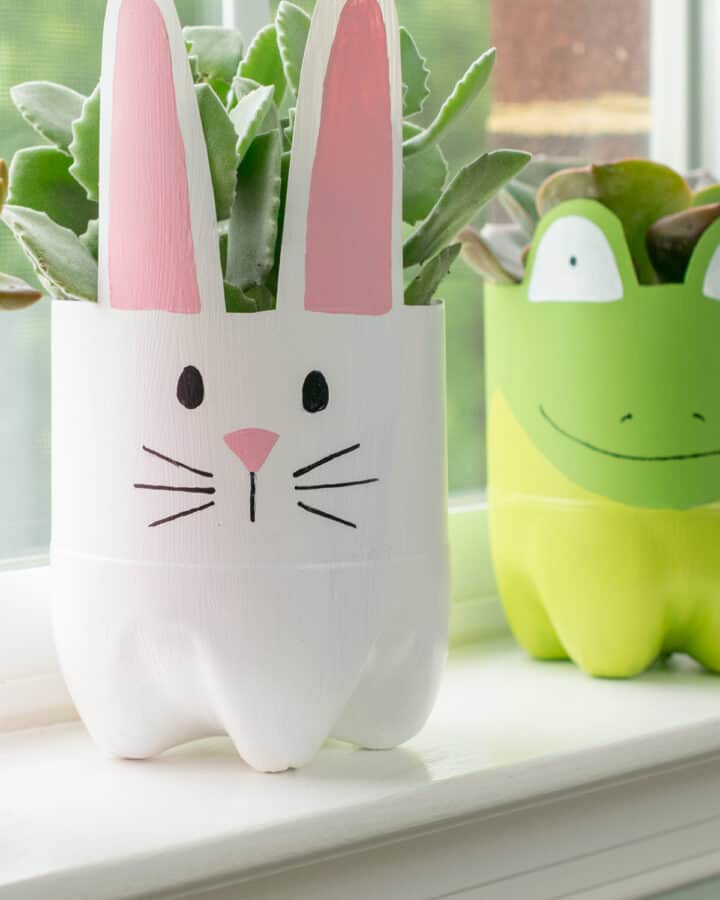
    • Soda Bottle Animal Planters
    • Rose Lavender Bath Bombs
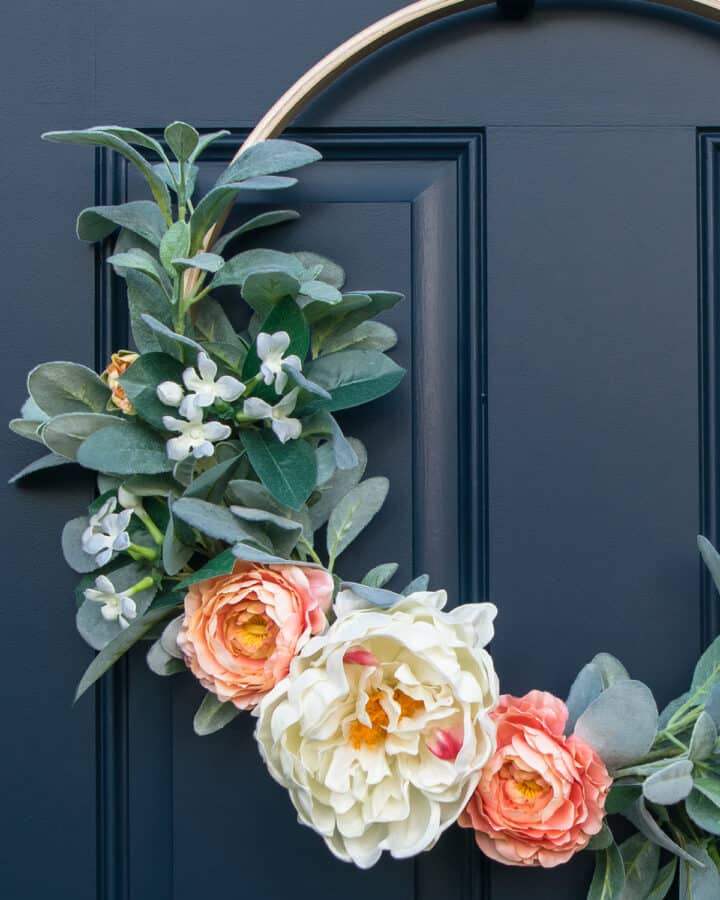
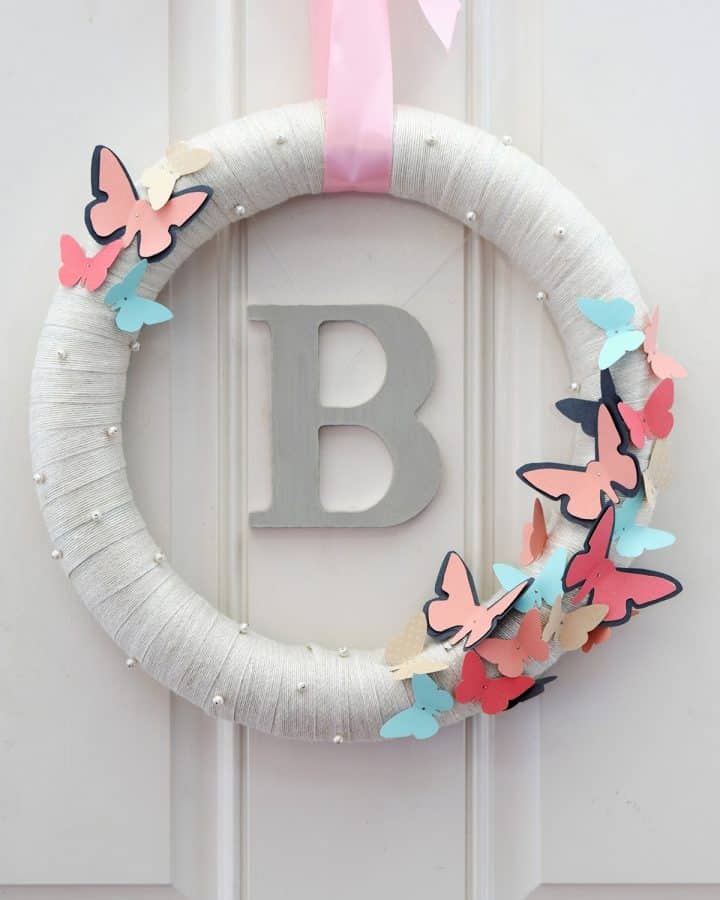
    • Spring Butterfly Wreath
    • Yummy Marshmallow Pops
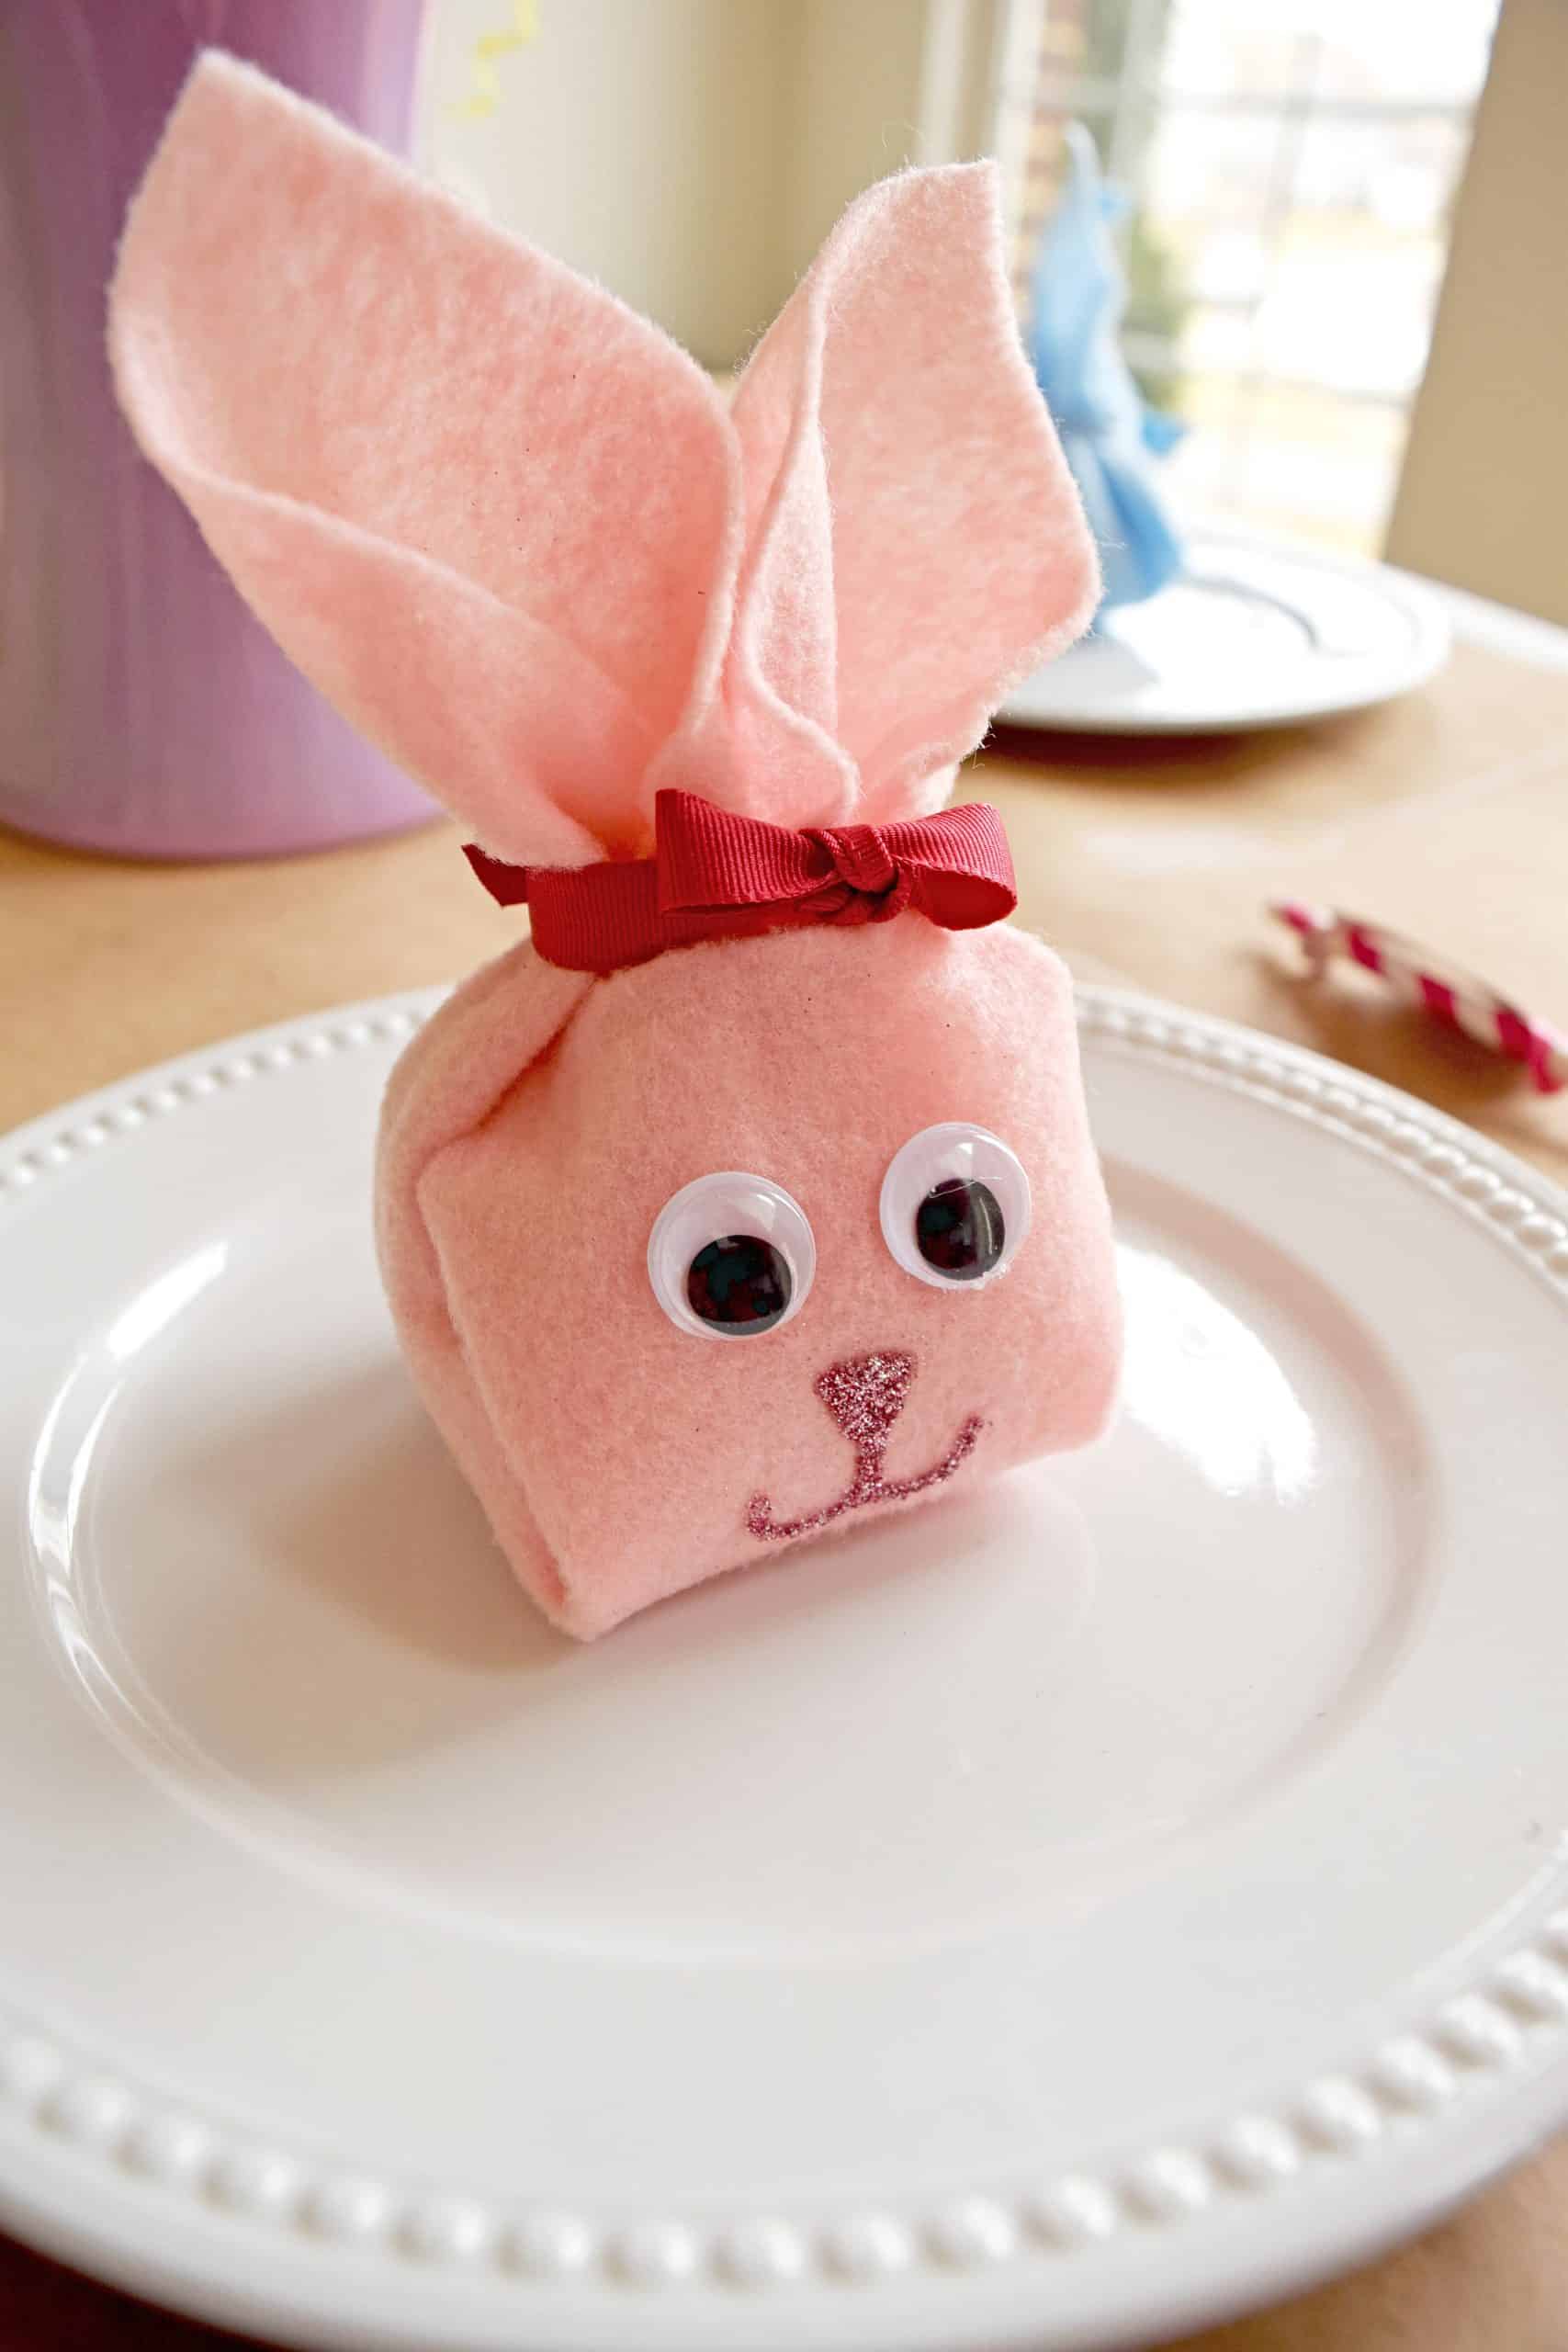
    Pink DIY felt bunny pouch with googly eyes on white plate.

    Oh and one last thing. If this is going to a child, might I suggest wrapping the loose candy in a small baggy or the candy will most likely end up all over your floor. That wouldn’t be fun. And these bunnies are all about the fun!

    Weekend DIY project. A pegboard organizer in the craft room above the desk workspace.

    Grab our free series "Weekend Home Projects that will Transform Your Life"

    Sign up below to receive updates including free printables, organization tips, home improvement projects, recipes and more!

    Spring Crafts Tutorials

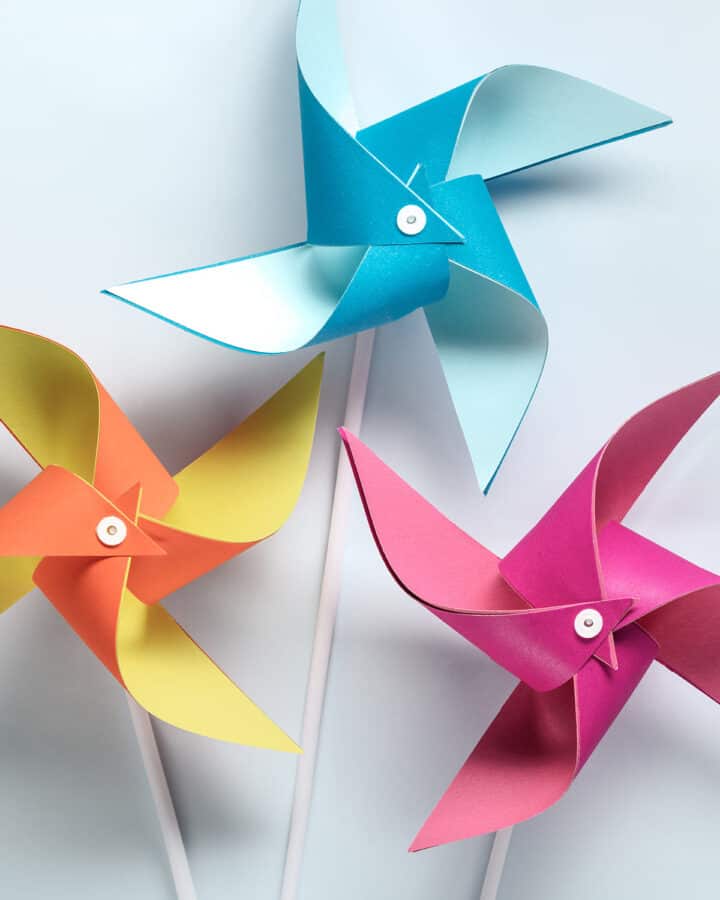
    • Three DIY Windmills craft on white backgroubd.
      How to Make Paper Windmills
    • Collage of simple Easter table decorations including carrot forks, faux greenery tray, and lots of bunnies.
      Spring Table Decorations
    • Easter themed tiered tray decorations.
      Tray Decorating Ideas
    • Two marshmallow pops dipped in chocolate and sprinkled with candies on top. how to make chocolate dipped marshmallow pops - easy decorating idea and fun to make with the kids. Add candies and colors!
      Easy Marshmallow Pops

    PS I love seeing your creations! Be sure to take a photo and tag #cravingcreative on Instagram! You can also stay in touch with me through following me on Instagram, Pinterest, and Subscribing to the Newsletter!

    DIY blue felt bunny pouch with googly eyes held in hand painting glitter nose and mouth on front.

    Easy Easter Bunny Pouch Craft

    Similar to fabric origami or napkin folding, this Easter bunny craft is super easy and takes less than 15 minutes to make. Great craft project for kids, parties, or Spring and Easter crafts.
    5 from 1 vote
    Print Pin Rate
    Project Time: 10 minutes
    Total Time: 10 minutes
    Author: Rachel
    Cost: $5

    Tools

    • 1 Rubber Band

    Supplies

    • 1 A square piece of fabric such as 8×8 piece of felt. A square napkin may work too.
    • Candy or other small filler
    • 2 Googly Eyes
    • 1 Ribbon
    • Glitter Glue

    Instructions

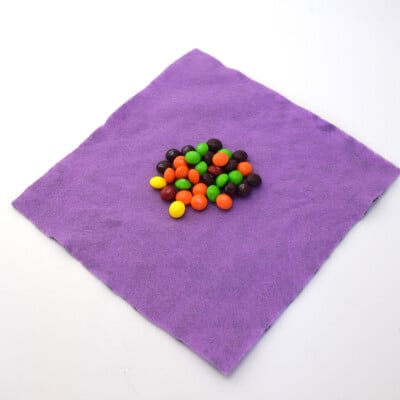
    • Lay a square piece of felt out flat. Put a small toy or handful of candy in the center if you choose.
      Napkin laying flat with candy in the center.
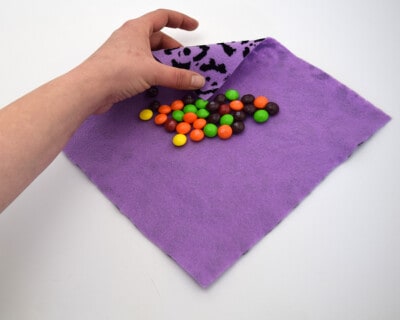
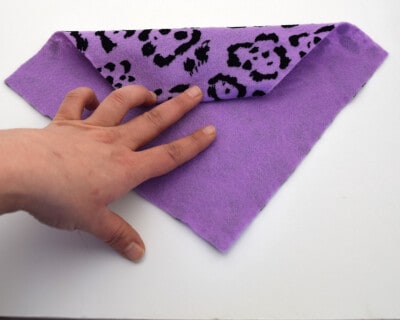
    • Fold the top corner down halfway, to the center.
    • Fold/Roll the folded end TWO MORE TIMES.
      Closeup of rolling a napkin.
    • Bring the sides together at the back. This will form the ears.
      Napkin origami folding bunny.
    • Pinch the middle where the base of the ears will be. Adjust ears as necessary.
    • Tuck the corner in and then pinch with the thumb to put in position. The picture may suggest it but I can't do this one-handed. Someone had to hold down the camera button.
      Tucking the center in of napkin to make a face.
    • Pull the front sides up and back to smooth out the face area. Adjust ears again if necessary.
      Holding a napkin folded bunny pouch up.
    • 8. Secure with a rubber band. The front face area will come just above the rubber band. Tie a ribbon underneath the rubber band, making sure it is tight enough to be secure, but it doesn't have to be super tight. You can gently remove the rubber band or hide it under the ribbon.
    • Add the face. You can hot glue the eyes and glitter glue to make the mouth and nose.
      DIY blue felt bunny pouch with googly eyes held in hand painting glitter nose and mouth on front.
    Tried this Project? Tag me Today!Mention @CravingCreative or tag #CravingSomeCreativity!
    « Kitchen Makeover Reveal
    Easy Easter Table Decor Ideas and Centerpieces »

    Reader Interactions

    Comments

    1. Emily says

      March 06, 2016 at 5:31 pm

      These are adorable! Thanks for sharing with our Merry Monday link party!

      Reply
    « Older Comments

    Leave a Reply Cancel reply

    Your email address will not be published. Required fields are marked *

    Recipe Rating


    Primary Sidebar

    Headshot of Rachel Beach, the author of Craving Some Creativity.

    Hi, I'm Rachel!

    Creativity makes me energized and fearless. My husband and I have been renovating homes for over a decade and love to share our passion for all things home. Follow along for remodeling tutorials, recipes, and entertaining ideas sure to inspire!

    More about me →


    Popular Posts

    • How to Paint a Bathroom Cabinet the Easy Way
    • How To Caulk Baseboards like a Pro
    • How To Beautifully Organize Your Linen Closet
    • How To Paint Cabinets with a Sprayer

    Featured On

    Collection of Expert Features including Better Homes and Gardens Magazine, Apartment Therapy, Angie's List, This Old House Magazine, The Huffington Post, Delish, Wayfair, and Real Simple Magazine.

    Get Organized in 2022

    • 20+ Genius Small Bathroom Storage Ideas
    • Helpful Small Pantry Organization Ideas
    • How To Beautifully Organize Your Linen Closet
    • How To Organize a Small Space with Storage Bins
    Pinterest Widget including a snapshot of what Craving Some Creativity has pinned recently.

    Footer

    ↑ back to top

    About

    • Privacy Policy
    • Disclaimer
    • Terms & Conditions
    • Accessibility Policy

    Favorites

    • Blog
    • Shop
    • Our Home

    Contact

    • Contact

    Copyright © 2022 Craving Some Creativity

    Inviting traditional Kitchen and Remodel.  Grey bar island.

    Pssst...

    Come on in!
    grab our free EMAIL series
    "weekend home projects that will transform your life"

    Sign up below to receive updates weekly including printables, organization tips, home improvement projects, recipes and more!

    Yes, I want it...

    ×