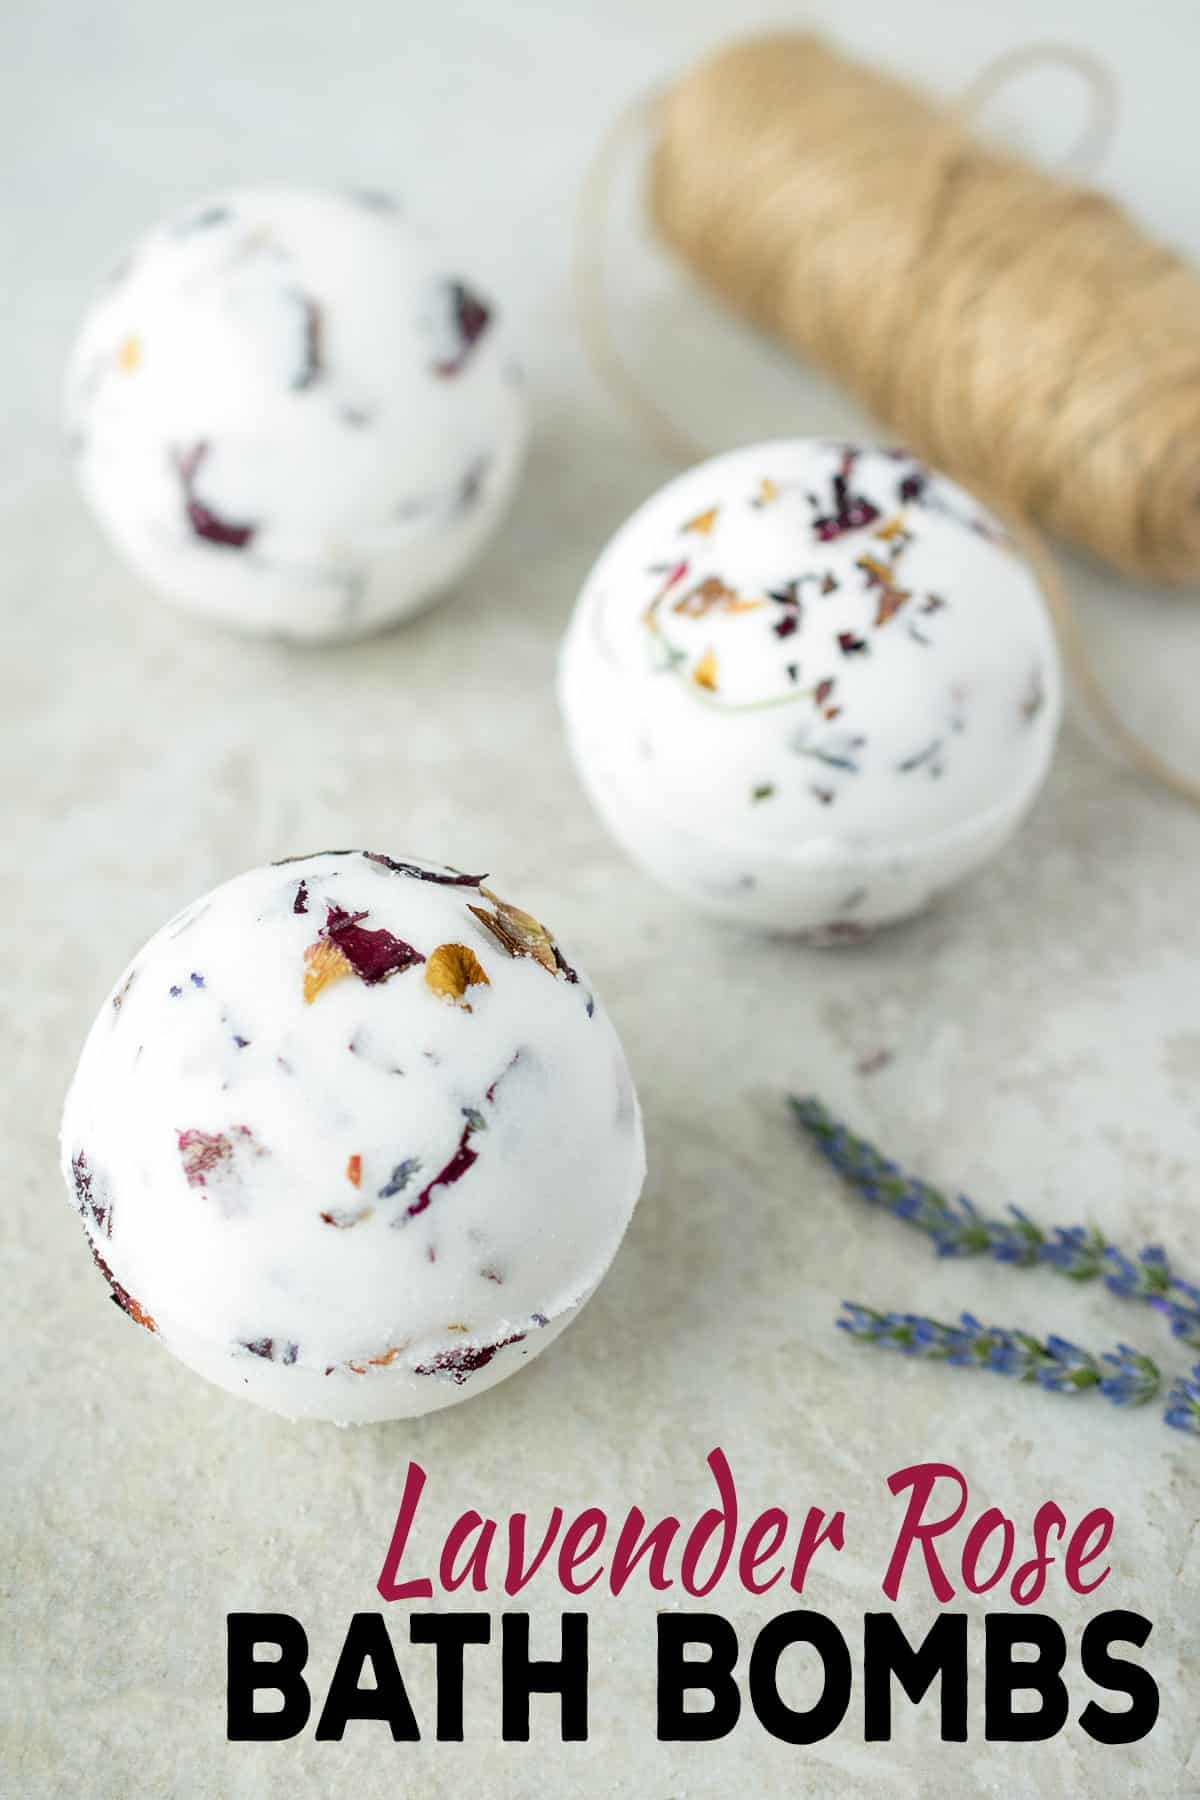
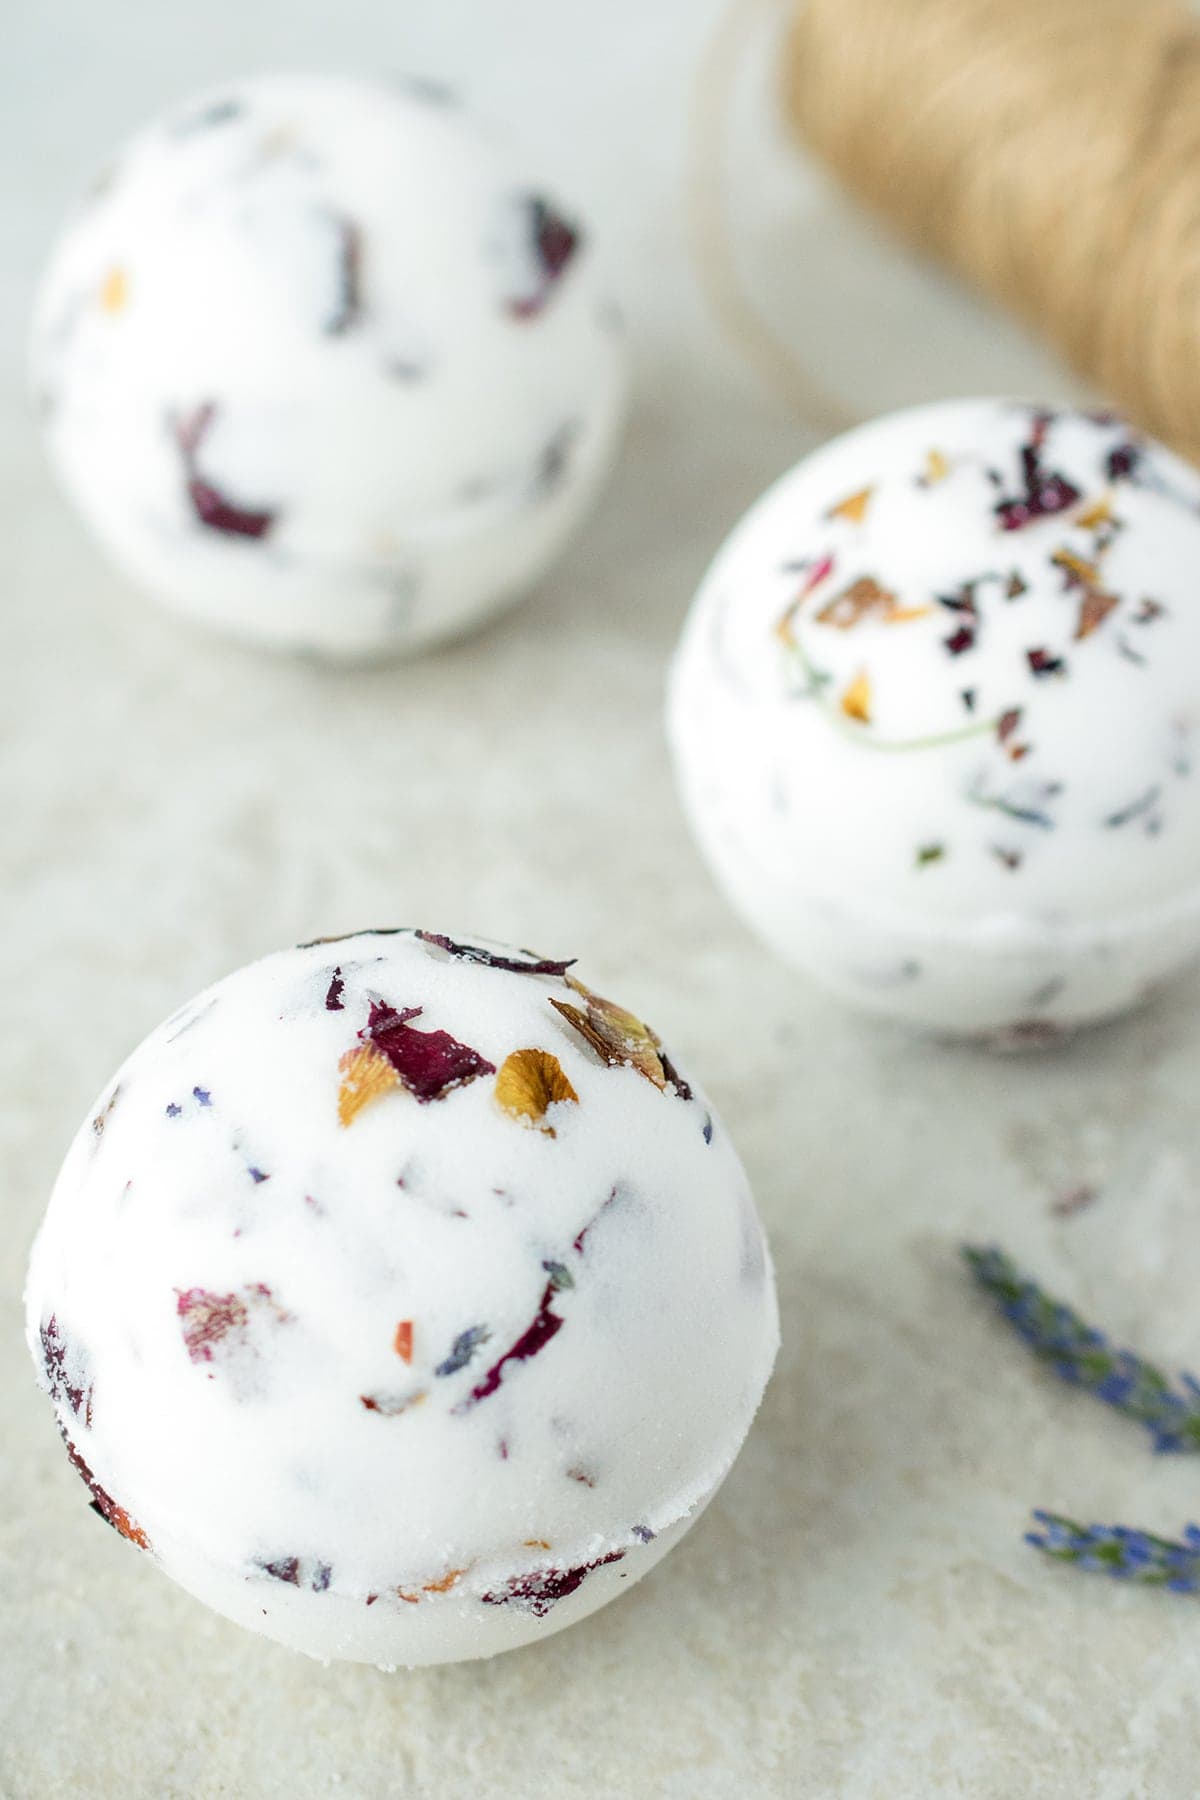
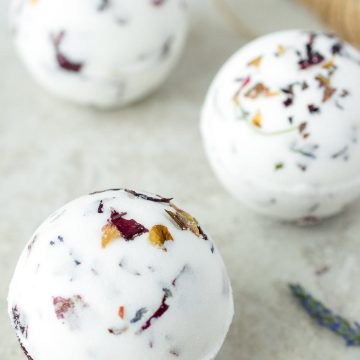
DIY Bath Bombs make the perfect handmade gift and they are really easy to make! These Lavender Rose Bath Bombs are beautifully fragrant and turn a normal bath into a luxurious setting.
Let’s be real here for a minute. If you are a busy mom and working wife like me, chances are that romantic getaways are not on the list of things that happen often or even regularly. Honestly, we haven’t had an adult vacation in 10 years. Instead, we have to make the most of small moments that we have here and there like when I mastered the Lazy Girls Guide to Making a Cozy Bed to cuddle in. I am relatively new to DIY Bath Bombs, but the chance to create a fun kid’s craft with my son this summer while also giving a bath a more romantic vibe seemed like a win-win.
At first, I didn’t realize how much experimentation and research this would take to get the perfect consistency, but I think I have perfected our bath bomb recipe! Our goal was to make them with only grocery store supplies, and we did it, except for the bath bomb forms.
I have included the recipe at the bottom for easy printing as well as a sweet gift tag to give these as cute Rose Bath Bombs and gifts to friends and family.
DIY Bath Bomb Supplies
Here are the supplies you need to make your own bath bombs and I will share what each ingredient does and why you make want to consider adding one of the optional ingredients. I have included affiliate links to products that I used or recommend so that you can find something similar.
- Bath Bomb Forms (we used these, but any mold would work such as candy molds or I’ve even heard of an ice cream scoop like this one being used)
- Citric Acid
- Baking Soda
- Cornstarch
- Coconut Oil (You can also use Shea Butter)
- Dried Flowers or Colorants that won’t stain
- Optional – Polysorbate 80, Colorants that won’t stain, essential oils, Epsom salt
Bath Bomb Ingredients and Tips about Using Them
I am not new to using bath bombs, but I was relatively new to making them. I was actually surprised at just how much trial and error it took to create the perfect bath bomb. So many recipes on the internet just didn’t come out right but I learned a lot along the way about the reasons for several ingredients and the necessary balance of each. The ingredients that I used were all found at my local Walmart, but a few of these are online only.
- Citric Acid + Baking Soda – These ingredients are what actually react and cause the fizz.
- Corn Starch – This acts as a filler which somewhat slows down the fizzing process. While it isn’t required, a bath bomb with no corn starch will fizz more violently and burn out rapidly. Contrastly, a bath bomb with too much corn starch is kind of a letdown in the fizziness.
- Epsom Salt – Another common ingredient in bath bombs, espsom salt is also more or less a filler ingredient. It gives a change in texture to the bath bomb and can even be dyed different colors for a speckled effect to the bath bomb.
- Coconut Oil – Oil helps the bath bomb components stick together, while not causing the fizz reaction. Too much oil can leave a bath bomb feeling greasy. Too little will cause the bath bomb to crumble. I like Coconut Oil because it is solid at room temperature, and it is easy to find in store. However, shea butter is a great alternative and makes a bit harder bath bomb.
- Witch Hazel or Water – Some recipes tell you to add witch hazel or water spray if the bath bomb consistency isn’t wet enough to stick together. I had a lot of trouble with this because any water at all will cause the bath bomb mixture to react. Consequently, I left it out in favor of a bit more oil if necessary. The amount of oil/ witch hazel you use may vary slightly depending on the current humidity in your area.
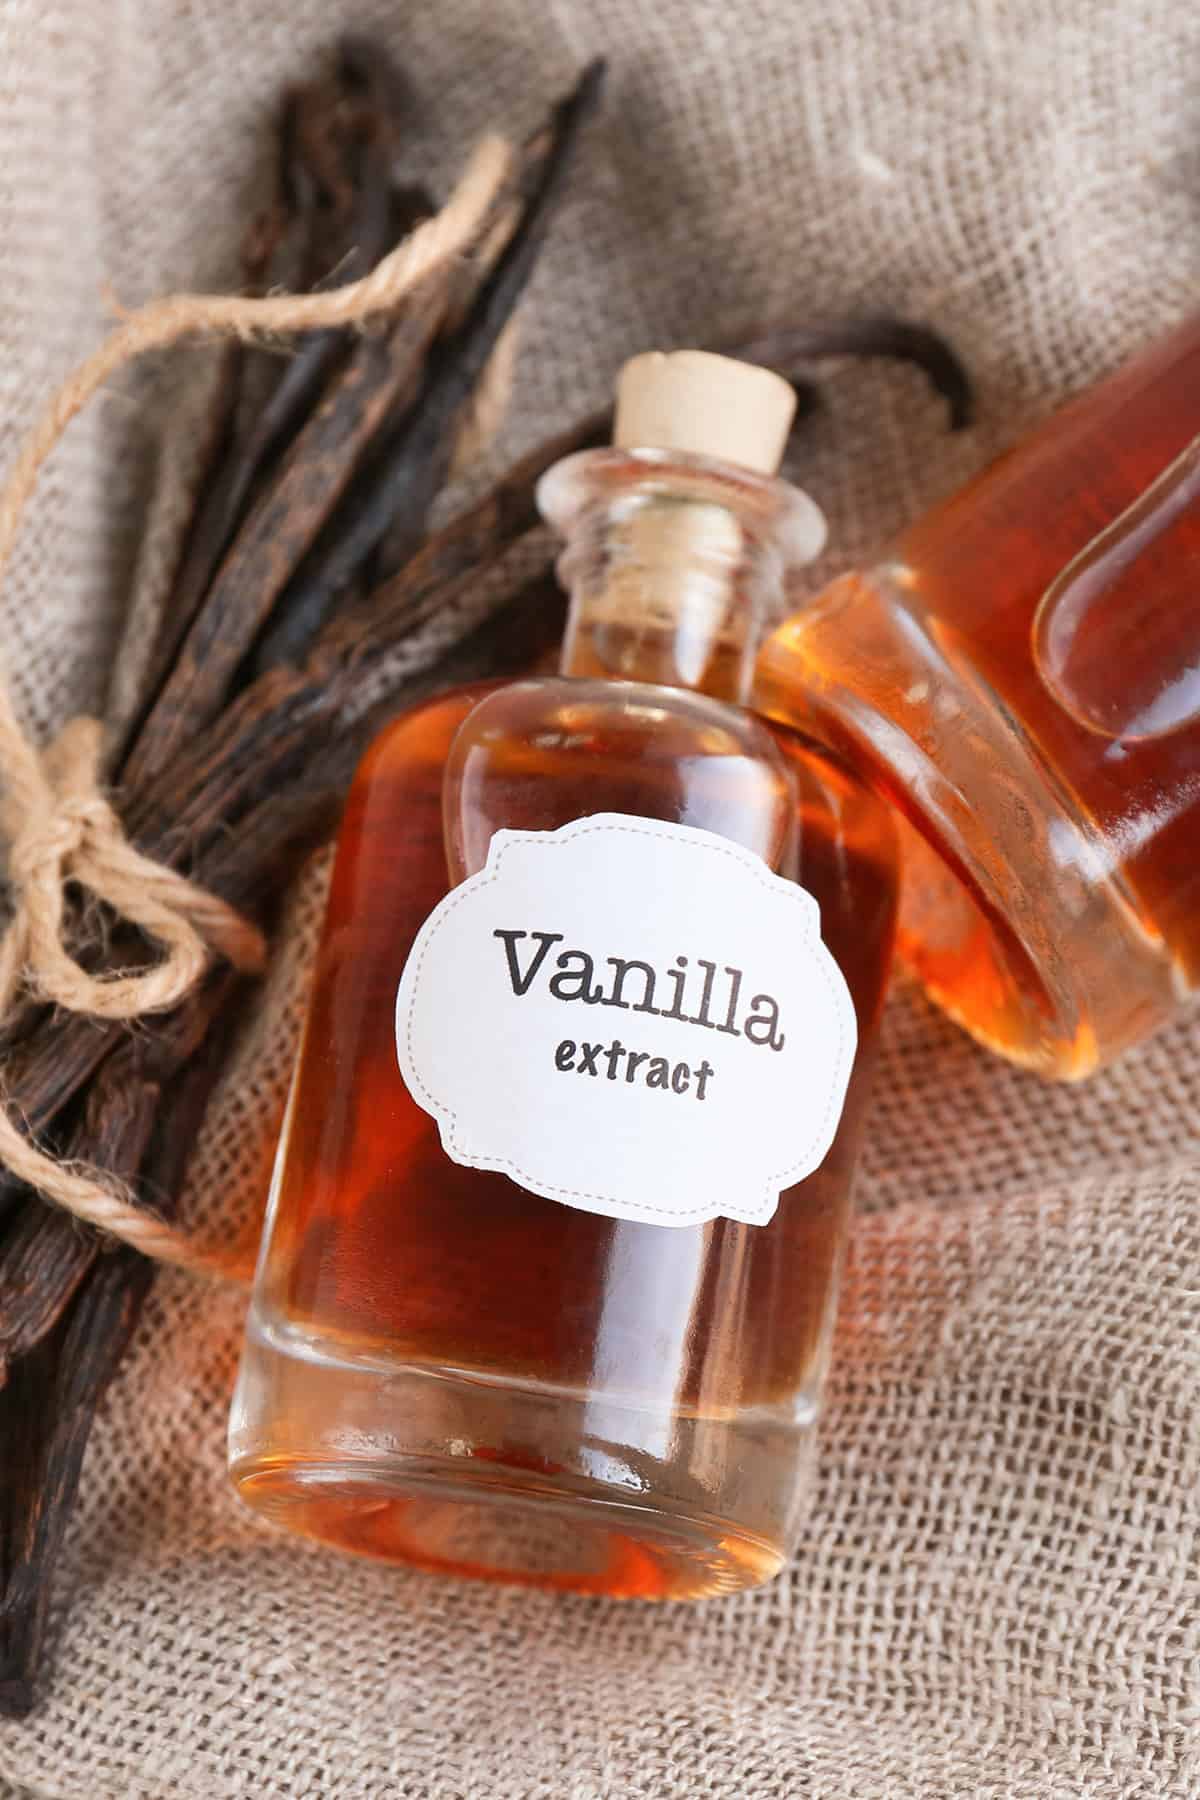
- Essential Oil – Mainly just for scenting the bath bomb. I used lavender, but other good ones include Vanilla, Sandalwood, Rose, Ylang Ylang, Peppermint, and Chamomile.
- Coloring Additives – Coloring bath bombs can be a bit tricky. There are many tutorials that recommend things like food coloring but beware that food coloring is essentially a food safe dye which can dye your skin, nails, and maybe even your tub permanently! Therefore, I highly recommend using soap grade mica powders or soap colorants, which are safe for use and won’t dye your bathtub.
- Polysorbate 80 – If you do add colors to your bath bombs, I highly recommend adding polysorbate 80. The food grade/pure version is most often recommended.
How To Make a DIY Rose Bath Bomb
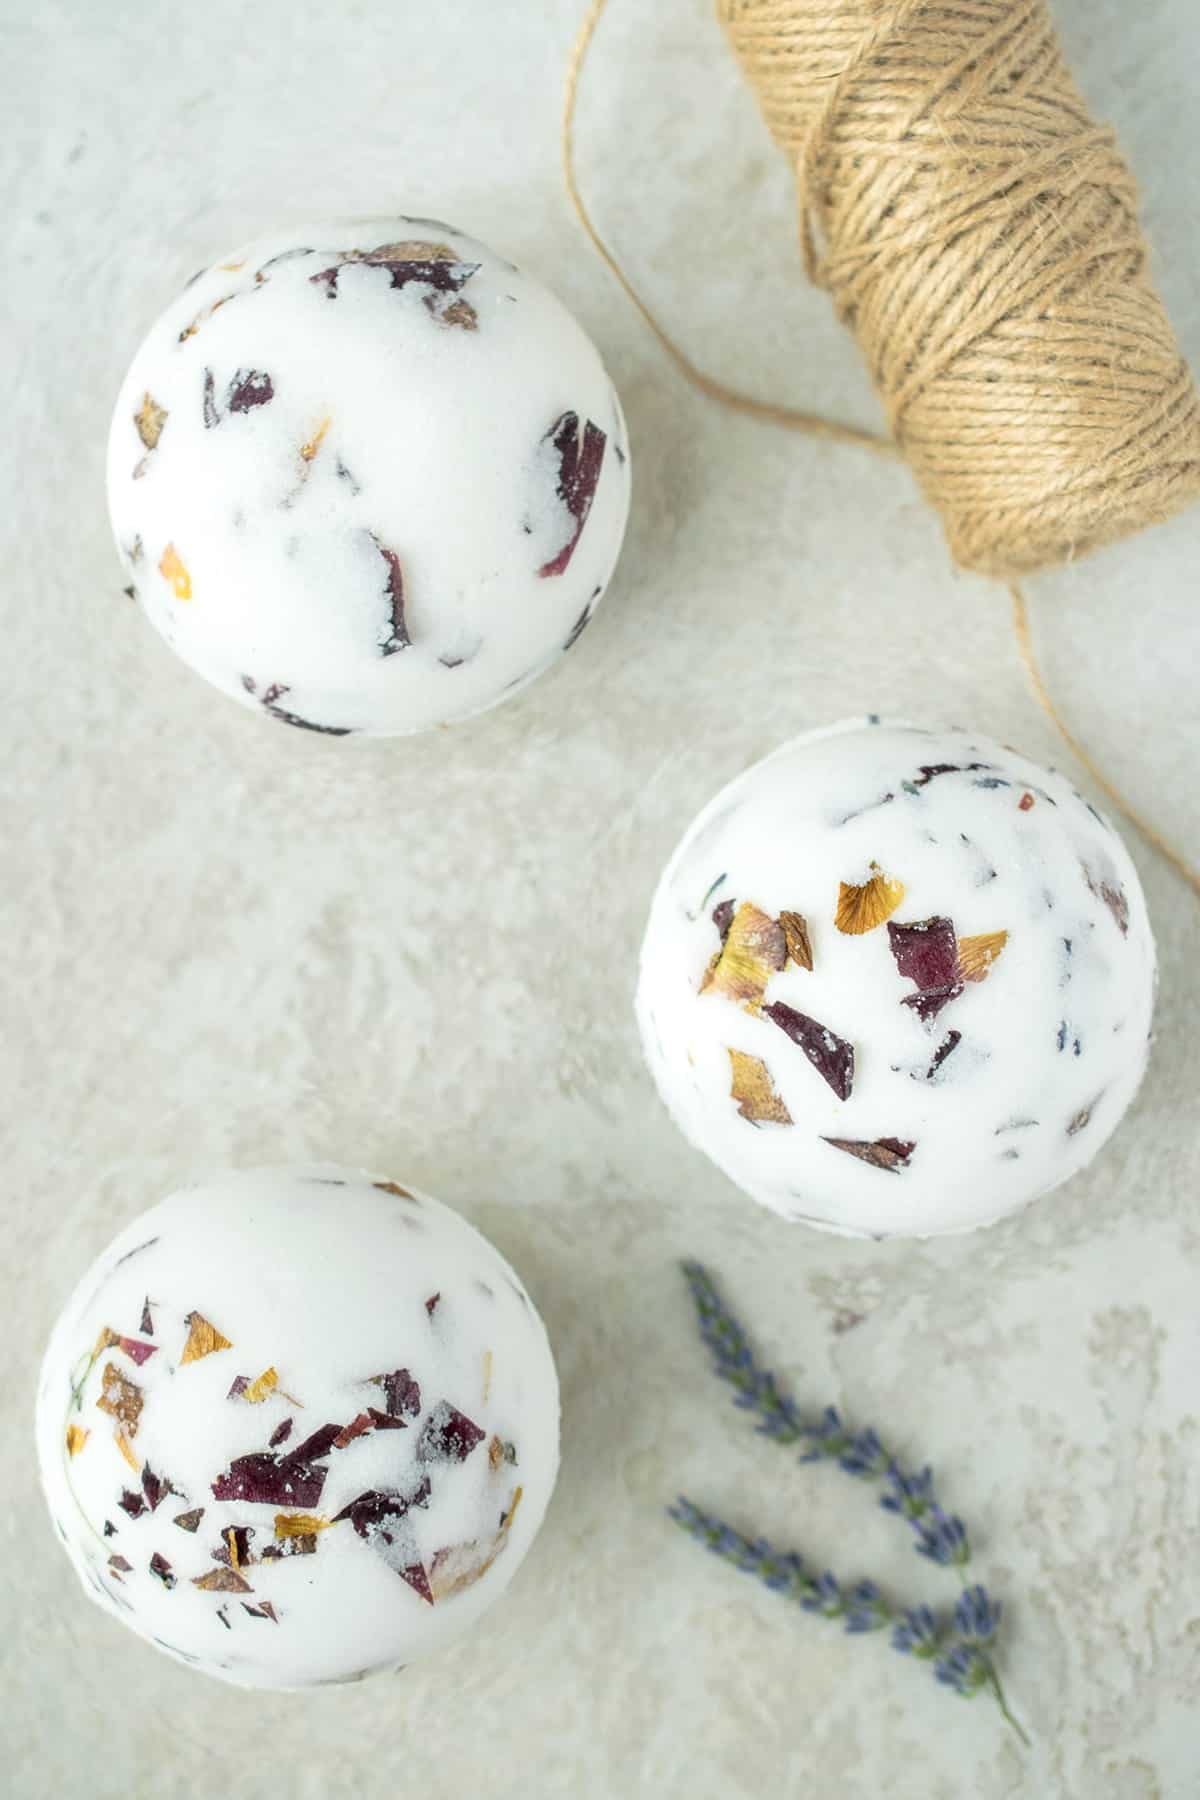
I dried our roses hanging upside down in a window for about a week. It’s been raining here profusely so it may take less time with lower humidity. I chopped them up a bit with a knife to make it easier to disperse in the bath bomb. They really do look beautiful in the bathtub!
In a large bowl, measure and mix the baking soda, citric acid, and corn starch. Melt the coconut oil (not to make it hot, but just enough to make it a liquid). Add 12 drops of lavender essential oil to the coconut oil.
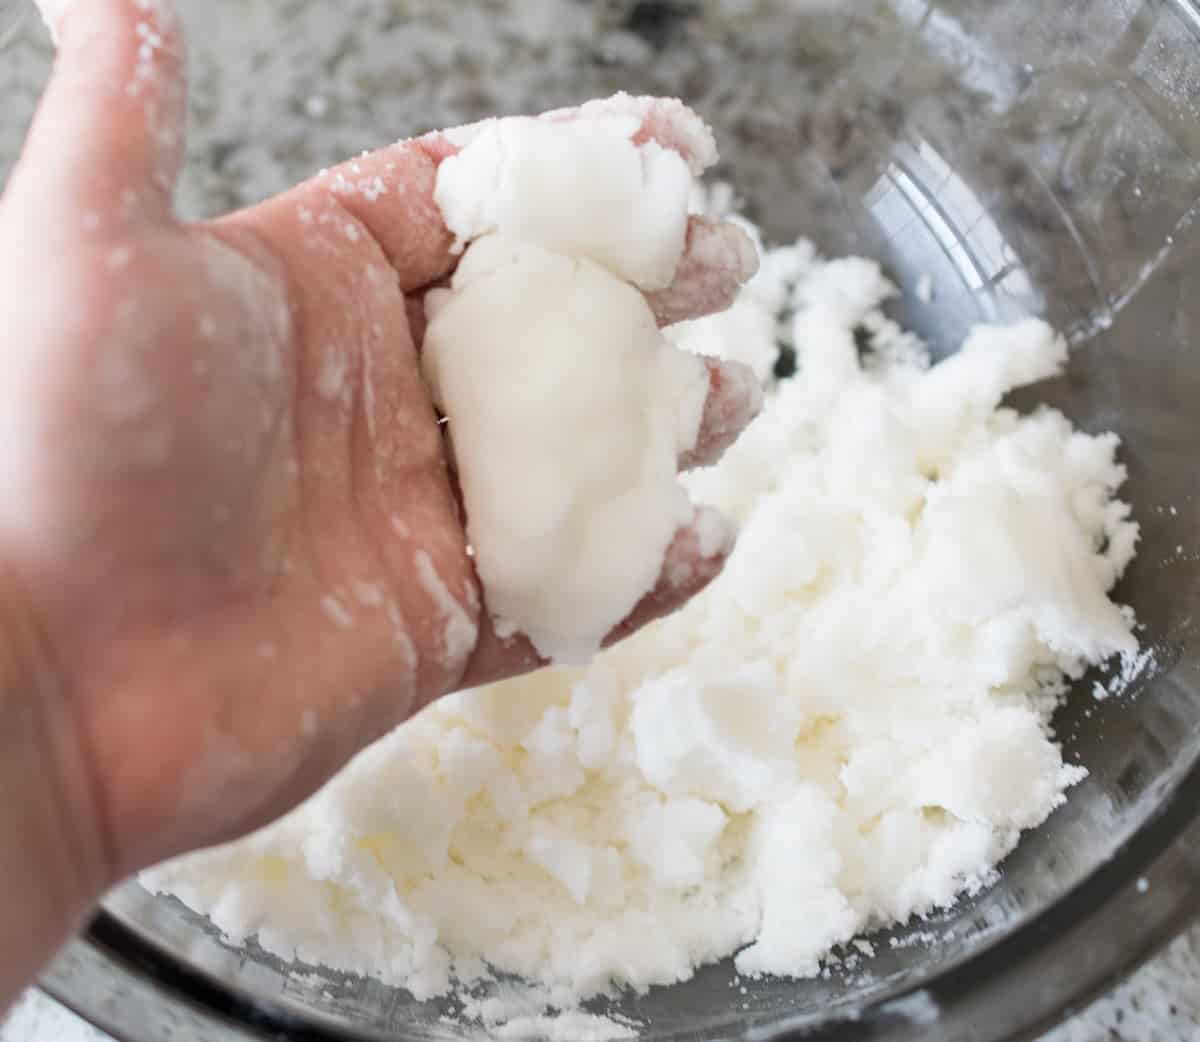
Using a whisk or your hands, gently mix in the oil mixture to the baking soda mixture, a tablespoon at a time. The mixture should have the consistency of damp sand, just enough to make a form when you squeeze it without it crumbling. However, if you find that your bath bomb is still crumbling, many people recommend adding a spritz of water or witch hazel.
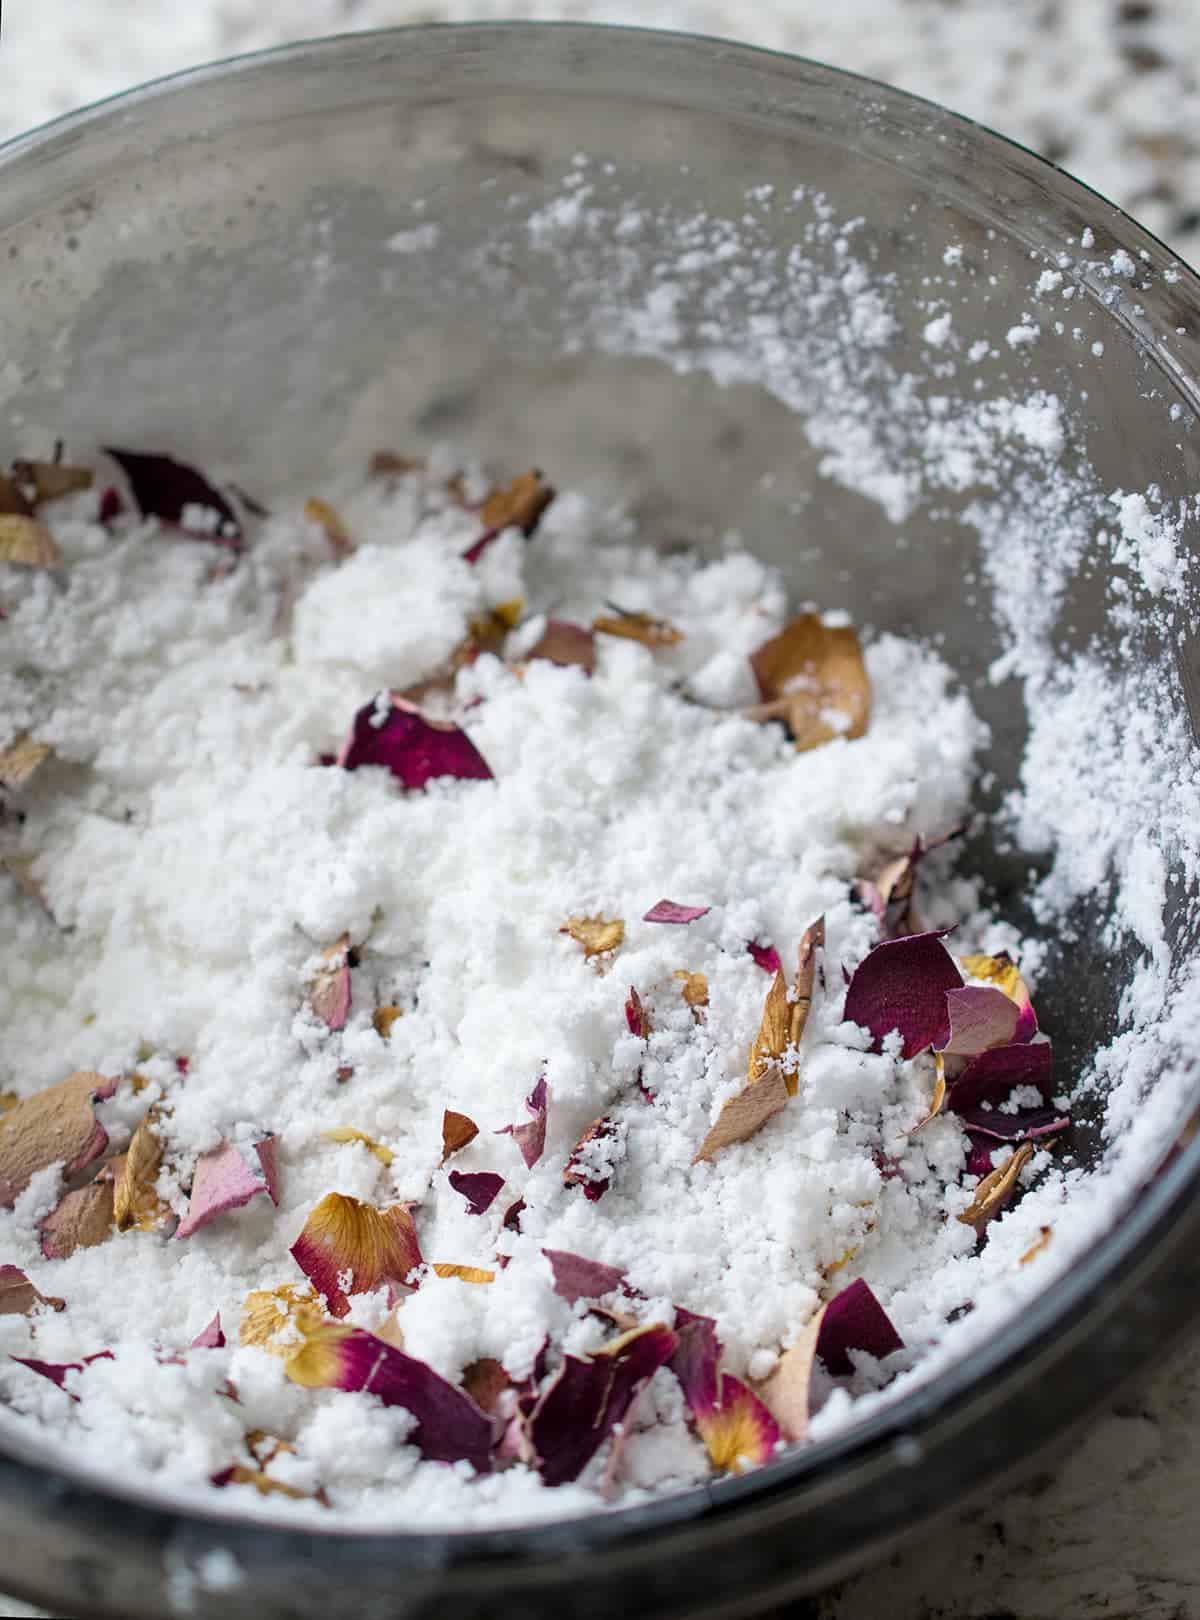
Stir in the rose petals. Using a bath bomb form, fill and press one half of the sphere mold so that it mounds a bit higher than the brim. Fill and press the mix in the other half to even with the brim.
Using a twisting motion, press and squeeze any excess out of the sides of the bath bomb until both halves are tightly together. Gently tap one side with your fingertips to release the mixture. Slowly twist the top in an upward motion to take off. You can let your bath bombs dry in the bottom half if you choose. Dry for at least 24 hours before use.
I had so much fun making these with my son, and he suggested that these Homemade Bath Bombs would make a sweet gift. And he’s right! These bath bombs are perfect gifts to give to teachers, friends, moms, daughters, or neighbors. We added a little tag and passed them out. I have included the tags as a free printable!
If you enjoyed these, check out some of our other easy crafts:
- Easy Marshmallow Pops
- How To Make Infused Cooking Oils
- How to Transfer Images to Fabric
- Painted Coffee Mugs – Dishwasher Safe!
Frequently asked questions:
I found this type at Walmart located with the canning supplies (i.e. mason jars, gelatin, and other items you would use to can your own tomatoes or make jams and jellies.) Although I have not tried them, I’ve read that lemon juice, buttermilk powder, and cream of tartar can replace the citric acid.
Sure you can. If you’d like to play around with different colors and add-ins, you can find dry coloring pigments here on Amazon.
There are many different essential oils that can be used in making bath bombs. You can use one or use them in combination to make a unique, and personalized scent. Some of the most common ones other than rose are:
Lavender
Bergamot
Cedarwood
Lemon
Rosemary
Grapefuit
Orange
Ylang Ylang
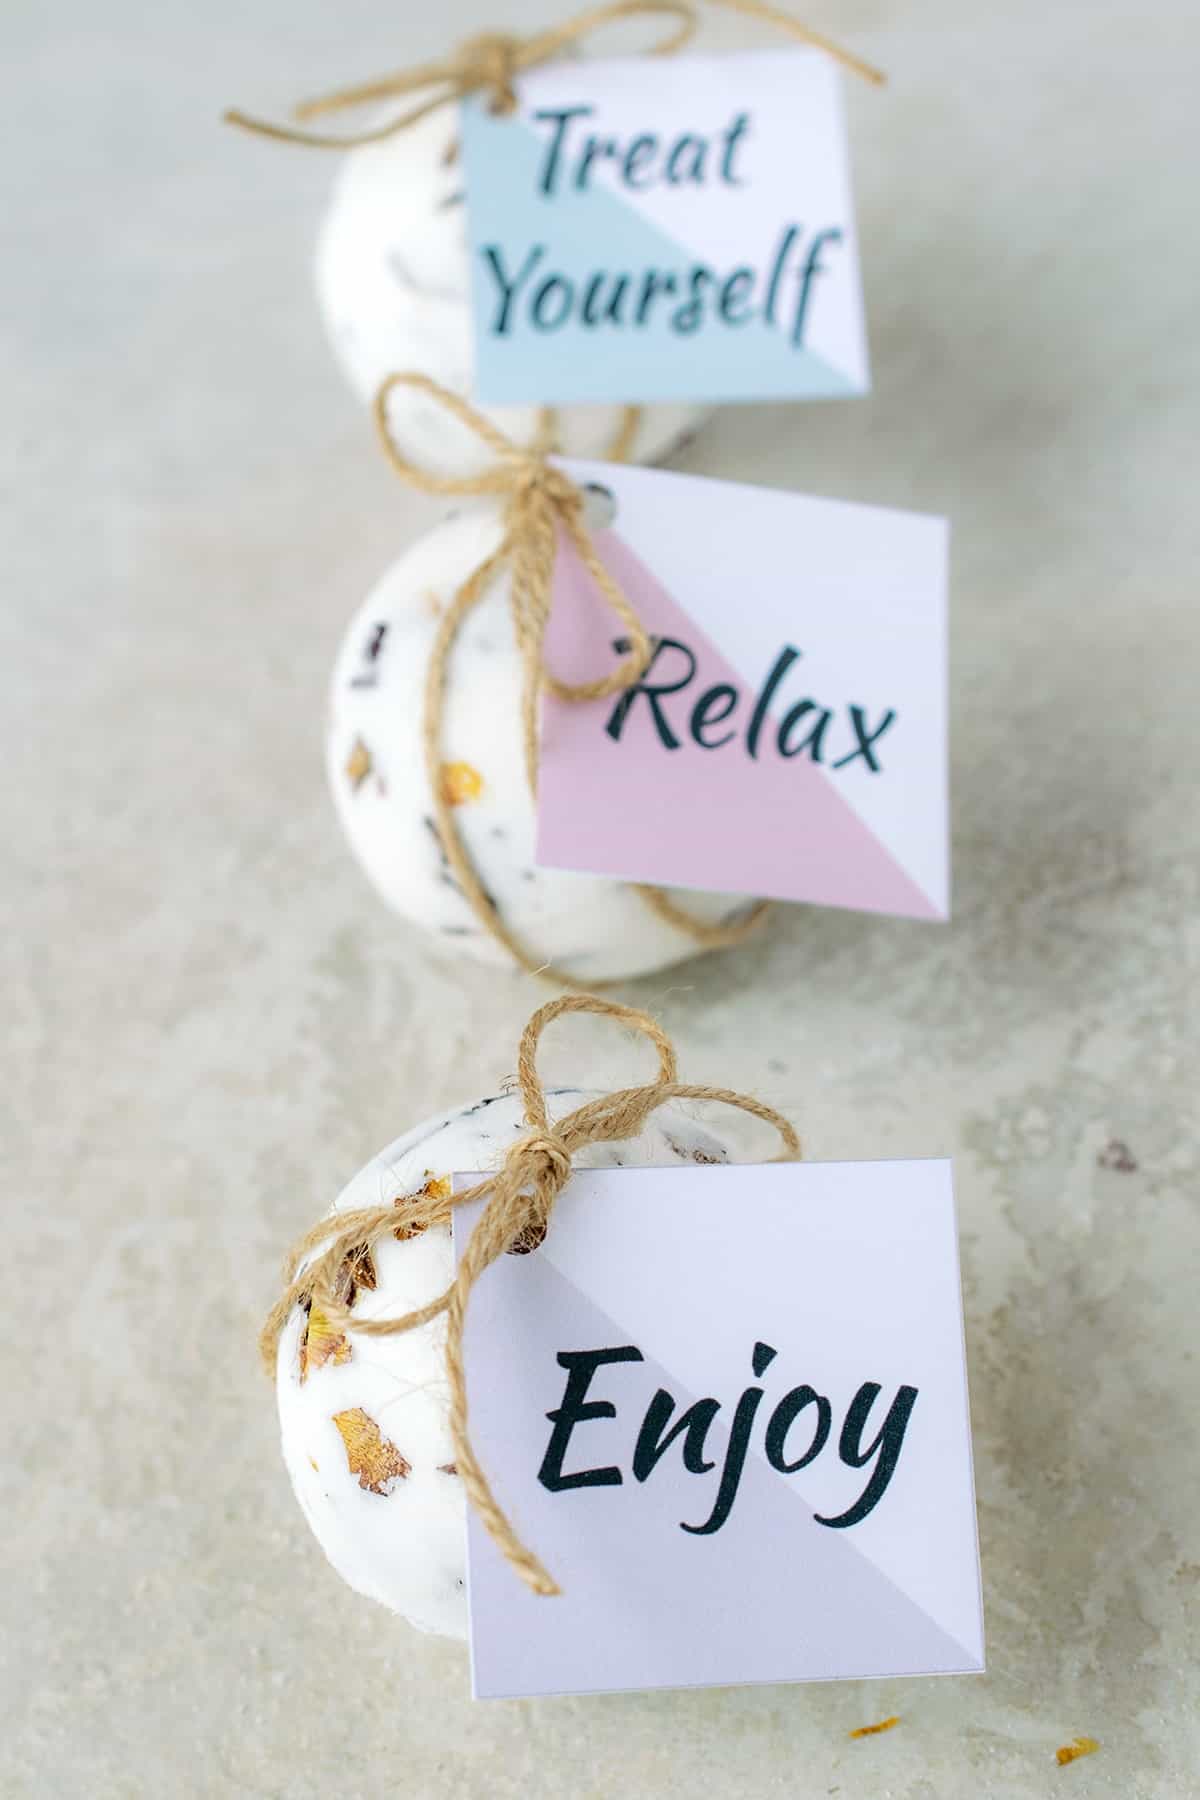
DOWNLOAD THE FREE PRINTABLE TAGS HERE
Enjoy!

Grab our free series "Weekend Home Projects that will Transform Your Life" Sign up below to receive updates including free printables, organization tips, home improvement projects, recipes and more! |
More Simple DIY Ideas


PS I love seeing your creations! Be sure to take a photo and tag #cravingcreative on Instagram! You can also stay in touch with me through following me on Instagram, Pinterest, and subscribing to the newsletter!
Lavender Rose Bath Bombs
Tools
Supplies
- ½ cup baking soda
- ¼ cup cornstarch
- ¼ cup citric acid
- 5 tablespoon coconut oil, melted
- 12 drops essential oil I used lavender
- 1 rose, dried
Instructions
- Hang flowers upside down in a window until dried. I chopped them up a bit with a knife to make it easier to disperse in the bath bomb.
- In a large bowl, measure and mix ½ cup baking soda, ¼ cup citric acid, and ¼ cup cornstarch.
- Melt 5 Tbsp coconut oil, melted (not to make it hot, but just enough to make it a liquid) in the microwave. Add 12 drops essential oil to the coconut oil.
- Using a whisk or your hands, gently add in the oil mixture to the baking soda mixture, a tablespoon at a time. The mixture should have the consistency of damp sand – just enough to make a form when you squeeze it without it crumbling. If you find that your bath bomb is still crumbling, many people recommend adding a spritz of water or witch hazel.
- Stir in the petals from 1 rose, dried.
- Using a bath bomb form, fill and press one half of the sphere mold so that it mounds a bit higher than the brim. Fill and press the mix in the other half to even with the brim.
- Using a twisting motion, press and squeeze any excess out of the sides of the bath bomb until both halves are tightly together. Gently tap one side with your finger tips to release the mixture. Slowly twist the top in an upward motion to take off. You can let your bath bombs dry in the bottom half if you choose. Dry for at least 24 hours before use.
Arlana says
No epsom salt used in this recipe?
Rachel says
Although a common ingredient in bath bombs, Epsom salt is also more or less a filler ingredient. It gives a change in texture to the bath bomb and can even be dyed different colors for a speckled effect.
ashley says
if i was to add mica powder how much polysorbate do you recommend?
Rachel says
Great question! You should use Polysorbate at about 1-2% of your total volume of your batch, although you can go as high as 6%. Since Polysorbate 80 is an oil emulsifier, you will probably need less coconut oil at the same rate. For this recipe, I would start with about 1 tsp of polysorbate 80 and increase if you experience ring around the tub or the mica colors float rather than incorporate into the water. I hope that helps!
Lauren says
Love these! The recipe I tried before this was so oily and made my skin feel greasy, but this one isn’t bad after getting out of the shower. It feels fresh!