
How To Setup a Window Halloween Projector
With this setup, you can transform your window into a captivating canvas for Halloween decorations, delighting trick-or-treaters and passersby with a spooky and immersive display.
Yield: 1 window
Cost: $100
Equipment
- Digital Decorations
- 1 Memory Storage Device A memory stick, laptop, or phone can be used.
- 1 Extension Cord
- 1 Multiplug Optional
- 1 Speakers Optional
- 1 Projector
- 1 Scissors
- 1 Portable Power Station Optional, only if you don't have a power source.
Materials
- 10-12 Zip Ties
- 1 Rear Projector Screen *see note for alternatives
- 15 feet 1 ½" Diamter PVC pipe depends on the size of your display area
- 2-4 pieces 1 ½" PVC Elbows
- 10 Heavy-Duty Command hooks Optional, or you can build a PVC frame
Instructions
Decide your setup.
- Select a window in your home where you want to project your Halloween decorations. It should be easily visible from the outside and near a power source for the projector.

- Clean the inside and outside of the selected window thoroughly to ensure a clear projection.

- Decide what storage device you would like to use to project your image. Your options may be dependant on your model of projector. Most projectors have a usb port where a memory stick can be attached, or you can use a laptop with an HDMI cable or attach with your phone through a bluetooth connection.
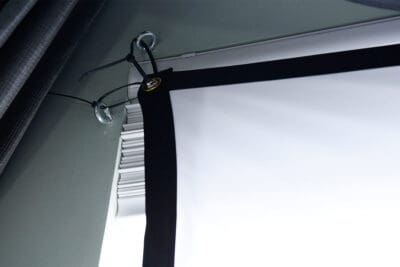
Hang the Projector Screen.
- You can use screw eye hooks or heavy duty command strips or even a curtain rod to hang the screen. Just make sure that the screen is wrinkle free and covers the entirety of the window area, preferably just outside of the frame.
- For a solution that breaks down easily, create a frame for your projection screen using PVC pipes and connectors. This frame should fit snugly within the window frame or lean against it. Attach the projector screen to the frame, ensuring it's taut and wrinkle-free.
Load Halloween Content.
- Place the projector on a stable surface inside your home, preferably on a table or tripod, facing the window. Connect the projector to your chosen media storage device. Make sure the input source matches that.

- Turn on your laptop and make sure it's set to duplicate the screen or extend the display to the projector. Adjust the display settings as needed. If you are using a memory card, you can use the projector menu to play the displays.
- Adjust the projector's position and focus until the Halloween content fills the entire projection screen in the window.

- If your projector kit includes speakers, connect them to the projector for synchronized sound effects. Alternatively, you can use external speakers and connect them to your laptop.
Start the show.
- Dim the lights in the room to maximize the impact of your Halloween projections. Play your chosen Halloween content on the laptop or media player, and let the spooky spectacle begin! Keep an eye on the projection throughout the evening to ensure it runs smoothly and spooks your Halloween guests.
Video
Notes
Video Demonstration
If you have any questions, there is a video demonstration of all the setups that I use and how I do it in the blog post on CravingSomeCreativity.com with this card.
Projector Screen alternatives
Although not as high quality, I have seen cheesecloth, bed sheets and cheap white shower curtains used. For objects to project onto, pumpkins and inflatable 3D humanoid forms are the most popular.