Easily create charming, scented gingerbread ornaments using clay or salt-dough with a simple fragrance trick to make your house smell amazing. Easy step-by-step tutorial with styling and storage tips.

There's something magical about ornaments that not only look like gingerbread, but smell like it too. These DIY gingerbread ornaments bring cozy spice and handmade charm to your tree or as a thoughtful gift. And these can be used year after year and still smell fresh. In this tutorial I'll walk you through making them from porous clay or salt-dough, adding a gingerbread-scent finish, decorating, and styling ideas that tie into your décor.
Check out our list of 16 DIY Clay Ornament Crafts to see even more ways to use inexpensive clay!
Why I love this method:
- Realistic: No puffing or curling edges. The “icing” looks real as well as the color.
- Long lasting: Unlike real gingerbread, they won’t go stale and the scent lasts for weeks, if not longer.
- Durable & display-ready: No puffing or curling edges. The “icing” looks authentic, and the ornaments can be stored for future years.
- Clay or salt dough works. Either can be used, although I prefer terracotta clay as it’s porous and no baking is required.
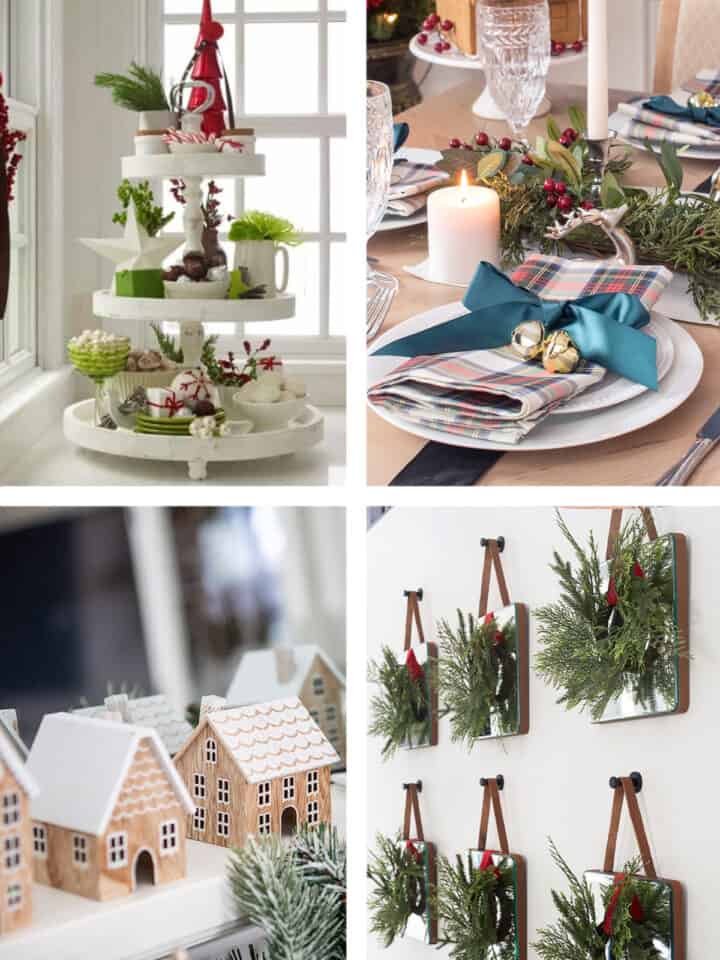
- Use them as package toppers/ Christmas gift tags, tree ornaments in my Red Christmas Tree, in wreaths or garland, Christmas kitchen decorations, or a tiered tray decor.
Supplies & Materials
I have some tips below about a few things, but you will need to gather your supplies:
- Gingerbread Oil
- Rolling Pin
- Cookie Cutter Shapes
- Small hole Icing Tip and Frosting Bag (Optional)
- Scissors
- 1 lb Clay
- Brown Acrylic Paint – if you want an authentic gingerbread color
- Puffy White Paint (for icing effect)
- Straw or Hole Maker
- String for hanging
- Wax Paper (for drying the ornaments)
- Latex Gloves (to keep the oil off your hands)
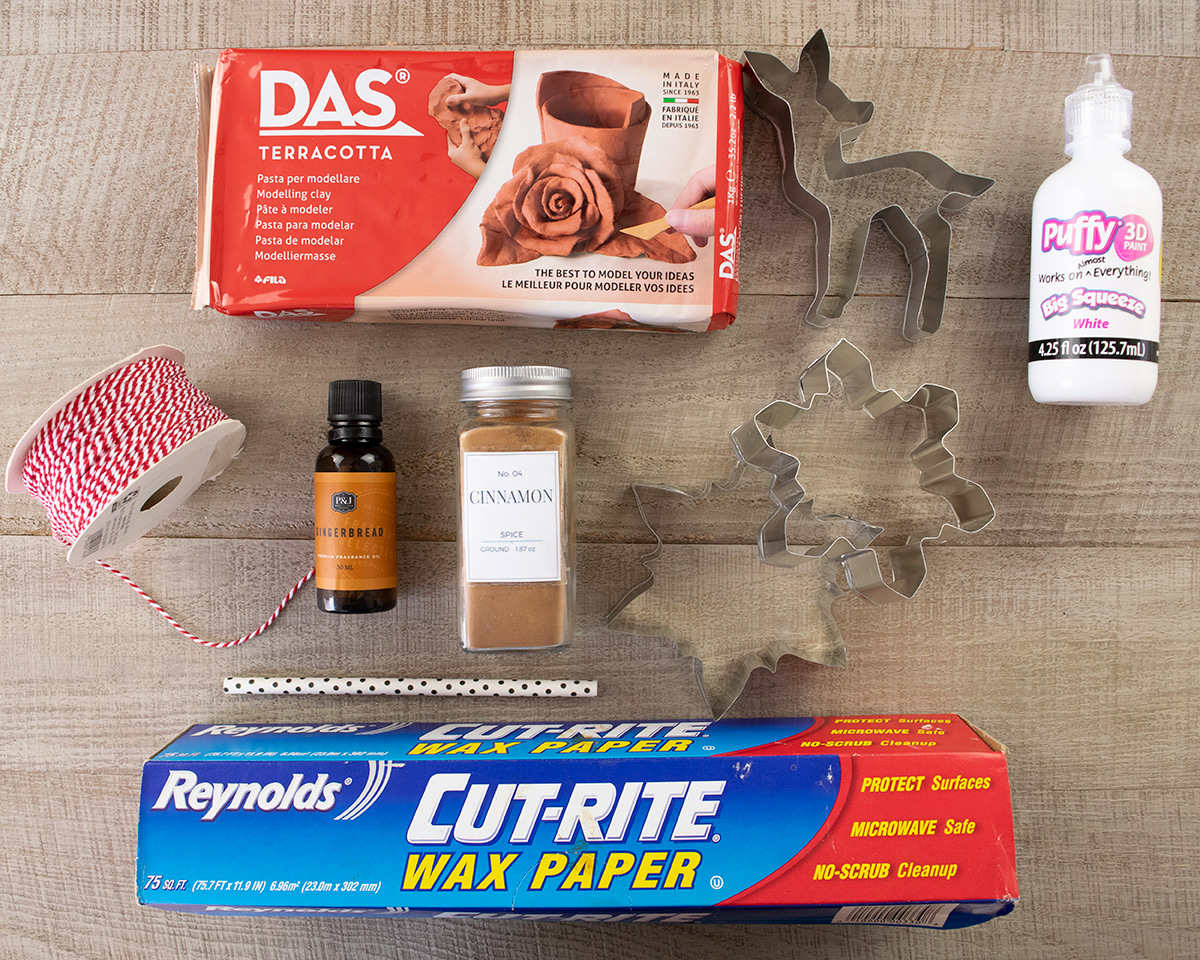
Clay or Salt Dough. I used terracotta clay for this project because it is porous to soak in the smell, air dries without cracks or curling, and is fairly close in color to gingerbread.
Pro Tip: I had some trouble with squeezing the bottle evenly for pretty stripes. I found it much, much easier to control by using a pipette bag and a #1 decorative icing tip.
Cookie Cutters. I especially loved these adorable deer and these snowflake cutters. Both are good sizes for ornaments. You could also make gingerbread man ornaments or Christmas trees.
Cinnamon or Gingerbread Fragrance (optional). I would recommend using fragrance oil rather than an essential oil because it lasts longer. Also, this gingerbread fragrance oil smells amazing, and you can make a ton of ornaments for cheap. I used it last year and it lasted the whole month through the holidays!
How to Make Clay Gingerbread Ornaments
Time needed: 1 day and 1 hour
These DIY gingerbread ornaments are so easy to make and fill your home with the cozy scent of real gingerbread cookies! Perfect for hanging on the tree, adding to garlands, or gifting to friends and neighbors.
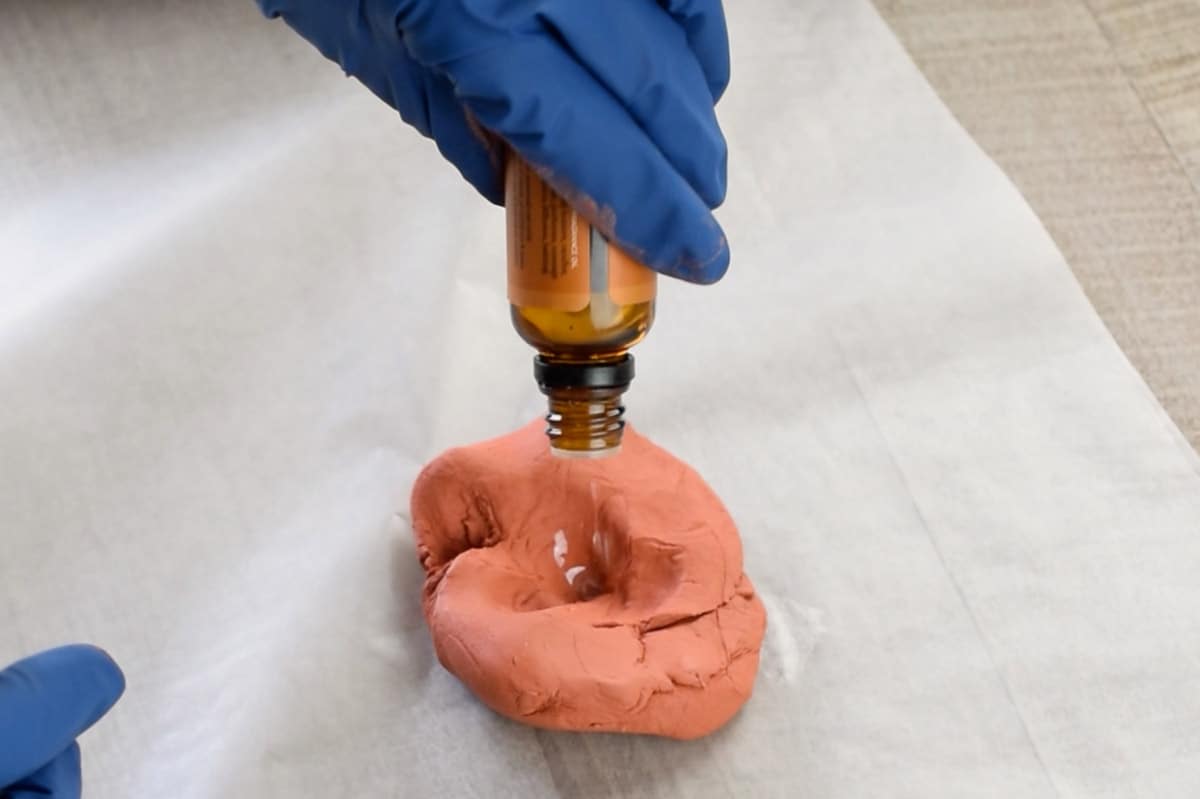
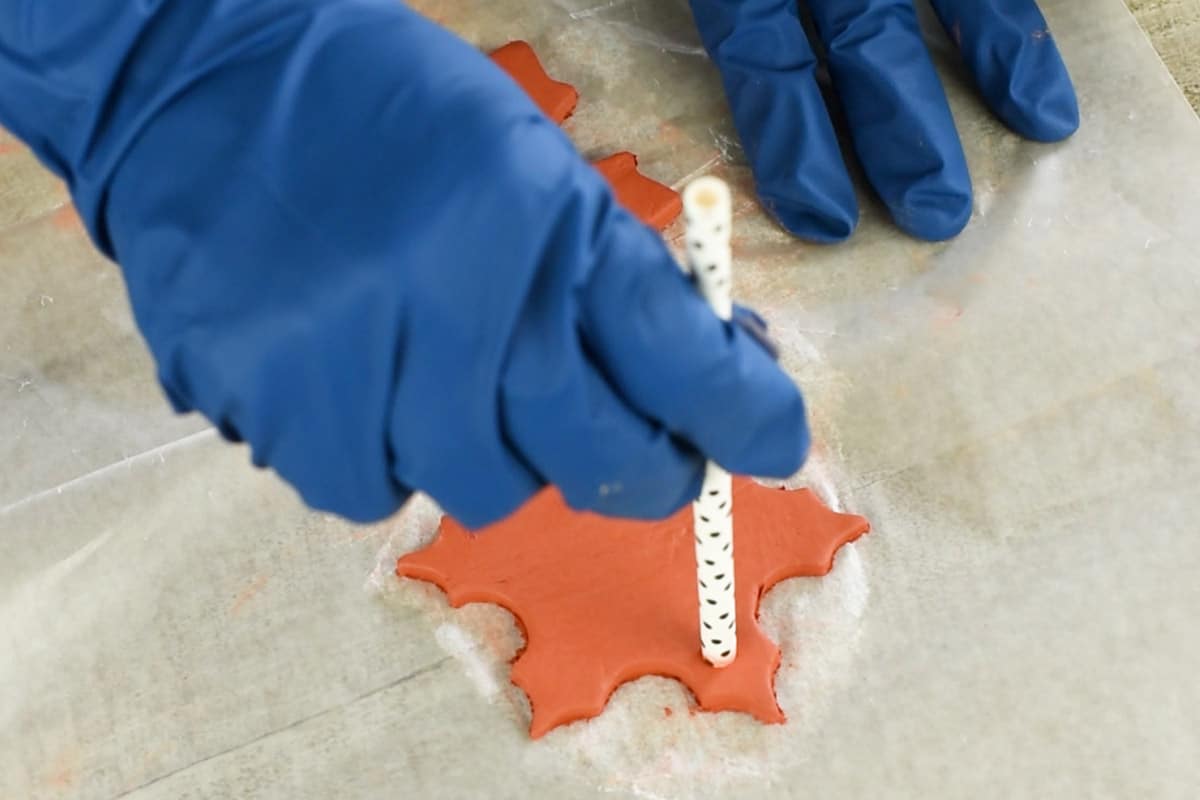
- Mix in the scent.
On a flat surface, lay a chunk of clay you that you intend to use. Wear gloves to avoid transference and put a dent in the center of the clay. Add a few drops of gingerbread oil. Work and mix the clay so the scent spreads throughout. You can also brush a drop or two on the back of each ornament after drying or to refresh the scent.

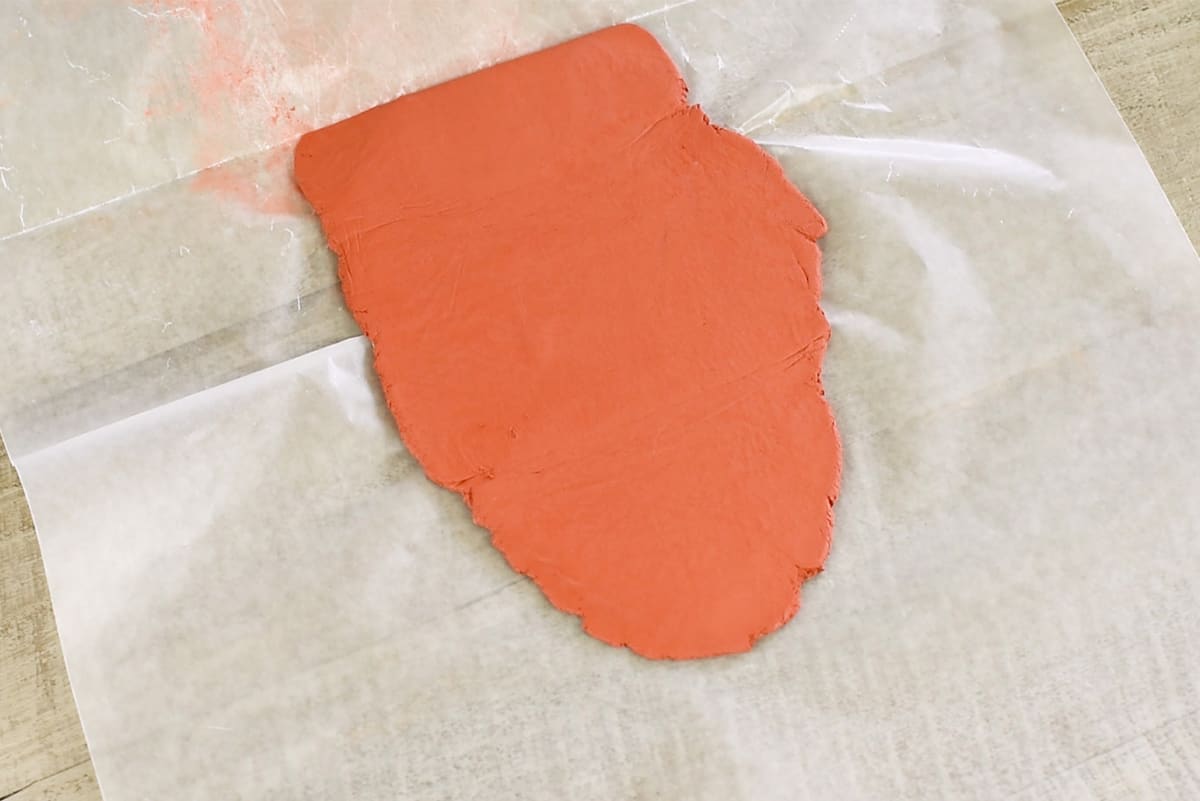
- Roll Out the Ornament Dough.
Smooth out the clay between two sheets of wax paper and flatten with a rolling pin until about ¼ inch thick.

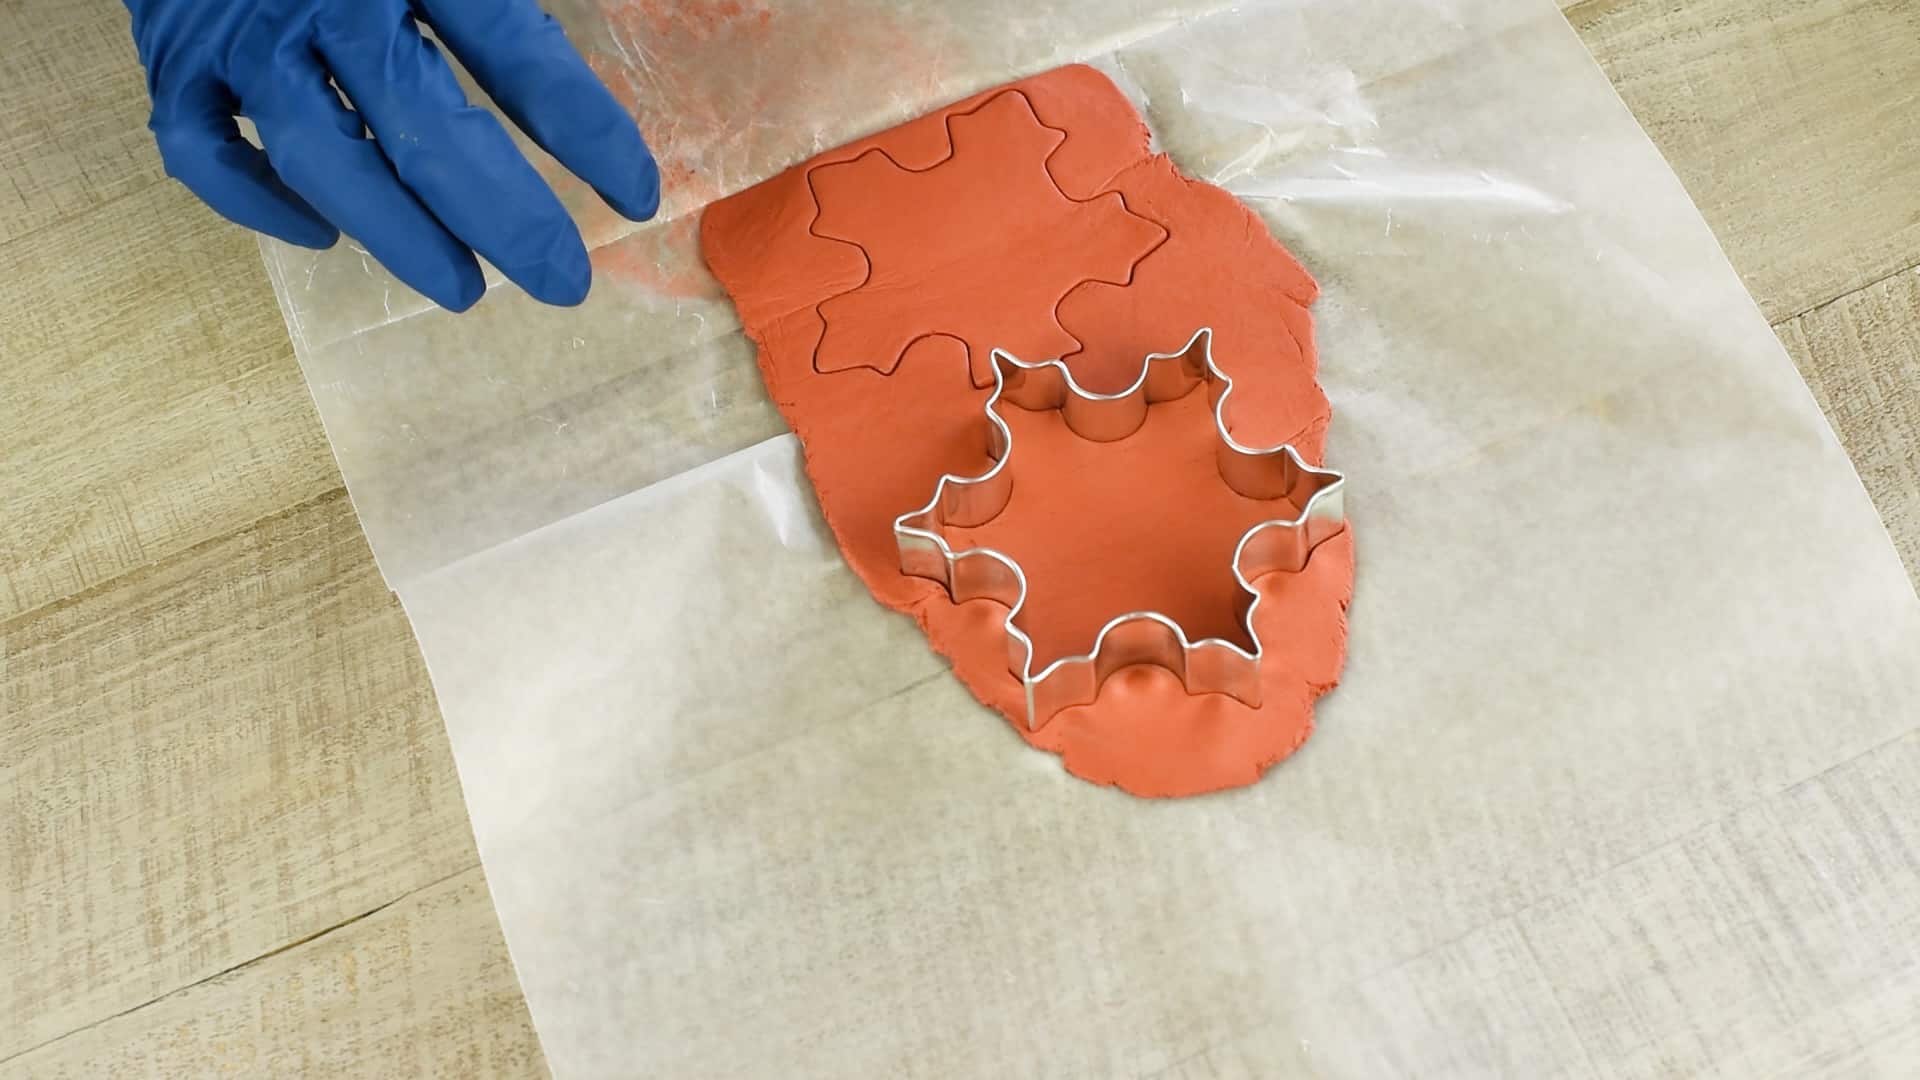
- Cut out the shape.
Use cookie cutters to make shapes in the clay dough. Reroll the clay as needed to get as many ornaments as you like.

- Make a hole for hanging, if desired.
Use a stiff straw to add a hole somewhere on the ornament for hanging. Allow to dry flat overnight, flipping over after several hours to dry the backside well.

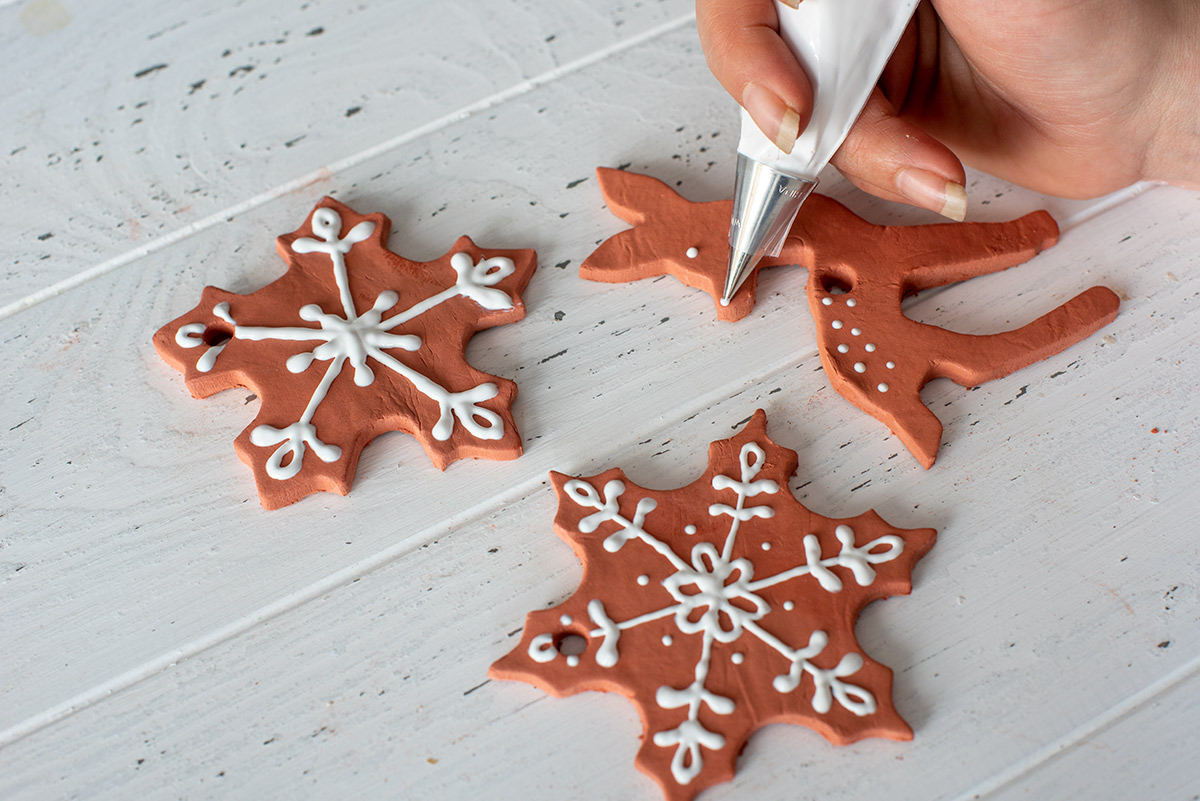
- Paint & Decorate.
If you want to paint them, use an acrylic paint and only paint one side so you don’t seal the scent in. Decorate with traditional gingerbread designs using white puffy paint. I found it hard to squeeze the bottle, so I put the paint into an icing bag with a #1 decorating tip. Allow to dry completely.
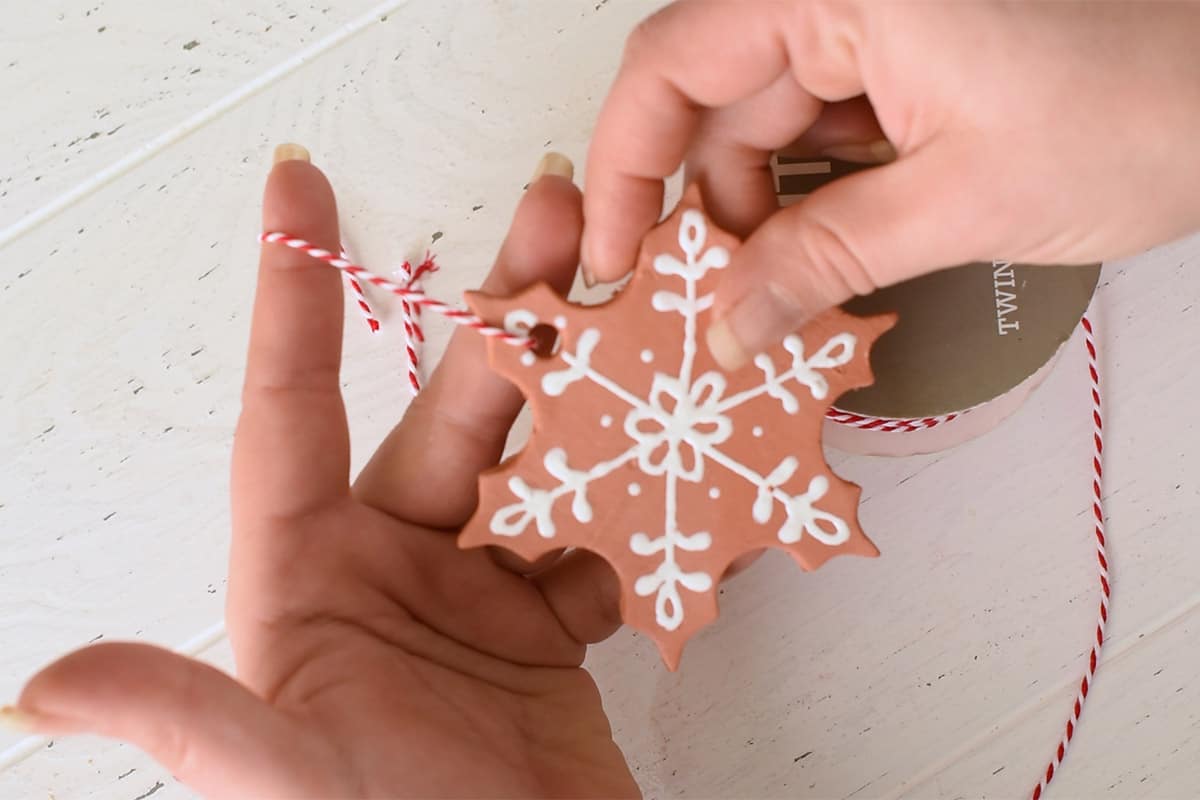
- Hang the ornament with twine or ribbon.
Tips & Troubleshooting
- Salt-dough may develop a white salt bloom on the surface. Brush with vegetable oil after cooling to restore the color. This won’t affect the scent.
- For scent longevity, brush on a fresh drop or two of fragrance oil every season to refresh.
- Avoid over-thick shapes. They may take much longer to dry/cure and risk cracking.
- Perfection not necessary. When I added the designs, I tried to make them mostly unique but an oopsy is totally fine…I wanted them to feel homemade and fun. All of these ornaments, even the reindeer, look a little different which I love.
Video Tutorial
I walk you through the tutorial step by step in the recipe card below, but if you like to see things in action rather than read them, I also created a video showing the super simple process.
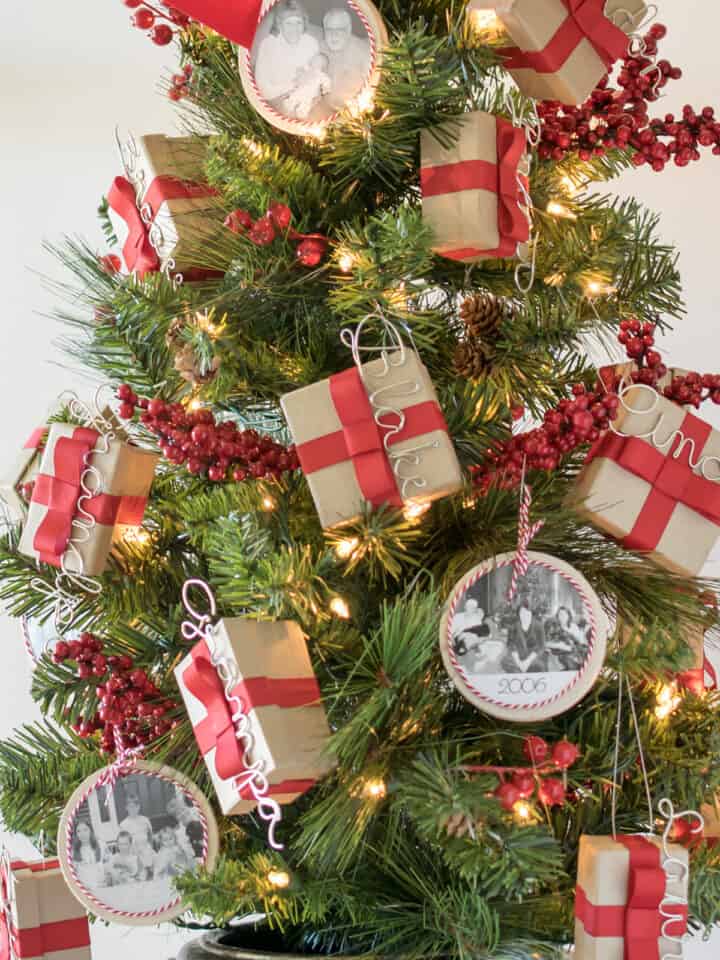
This year’s glorious Gingerbread Christmas tree was inspired by these little goodies. You will see it here on my 2023 Red and Gold Christmas Tree.

Air-Dry vs. Oven-Bake Clay: Which Should You Use?
Air-Dry Clay
Pros:
- No baking required - hardens naturally at room temperature, perfect for beginners or crafting with kids.
- Lightweight - great for ornaments that hang easily on branches.
- Paints beautifully once fully dry; matte, porous surface holds acrylics and water-based paints well.
- Easy cleanup - water-based and simple to mold with household tools.
Cons:
- Less durable - can chip or crack more easily if dropped or exposed to moisture.
- Longer drying time - usually 24-72 hours, depending on thickness.
- Not waterproof unless sealed with varnish or Mod Podge. This is not needed for this project.
Best for: Simple shapes, stamped or textured designs, keepsakes, and natural rustic finishes.
Oven-Bake (Polymer) Clay
Pros:
- Very durable. Strong, smooth, and less likely to break once baked.
- Vibrant color options. Available pre-tinted or can be mixed for custom hues.
- Precise details. Great for fine work like miniatures, lettering, and sculptural designs.
- Water-resistant once cured and sealed.
Cons:
- Requires baking. A consistent temperature (usually 250-275 °F).
- Heavier than air-dry clay.
- Less porous surface. Acrylic paint may need a primer or light sanding for grip.
Best for: Intricate ornaments, personalized name tags, or any project that needs a professional, long-lasting finish.
FAQs
Unlike salt dough, clay won’t curl or get a dusty white appearance like salt dough can. However, you can use salt dough if you wish. Allow to air dry 24 hours and paint for color.
I stack and lightly wrap my ornaments in tissue paper in a small shoebox when packing up Christmas decorations.
Using a fragrance oil will last at least a few weeks although it fades over time. I spread a drop on the backs of several ornaments when I hang them each year.

Grab our free series "Weekend Home Projects that will Transform Your Life" Sign up below to receive updates including free printables, organization tips, home improvement projects, recipes and more! |
More Christmas Crafts

PS I love seeing your creations! Be sure to take a photo and tag #cravingcreative on Instagram! You can also stay in touch with me through following me on Instagram, Pinterest, and subscribing to the newsletter!
Leave a Reply