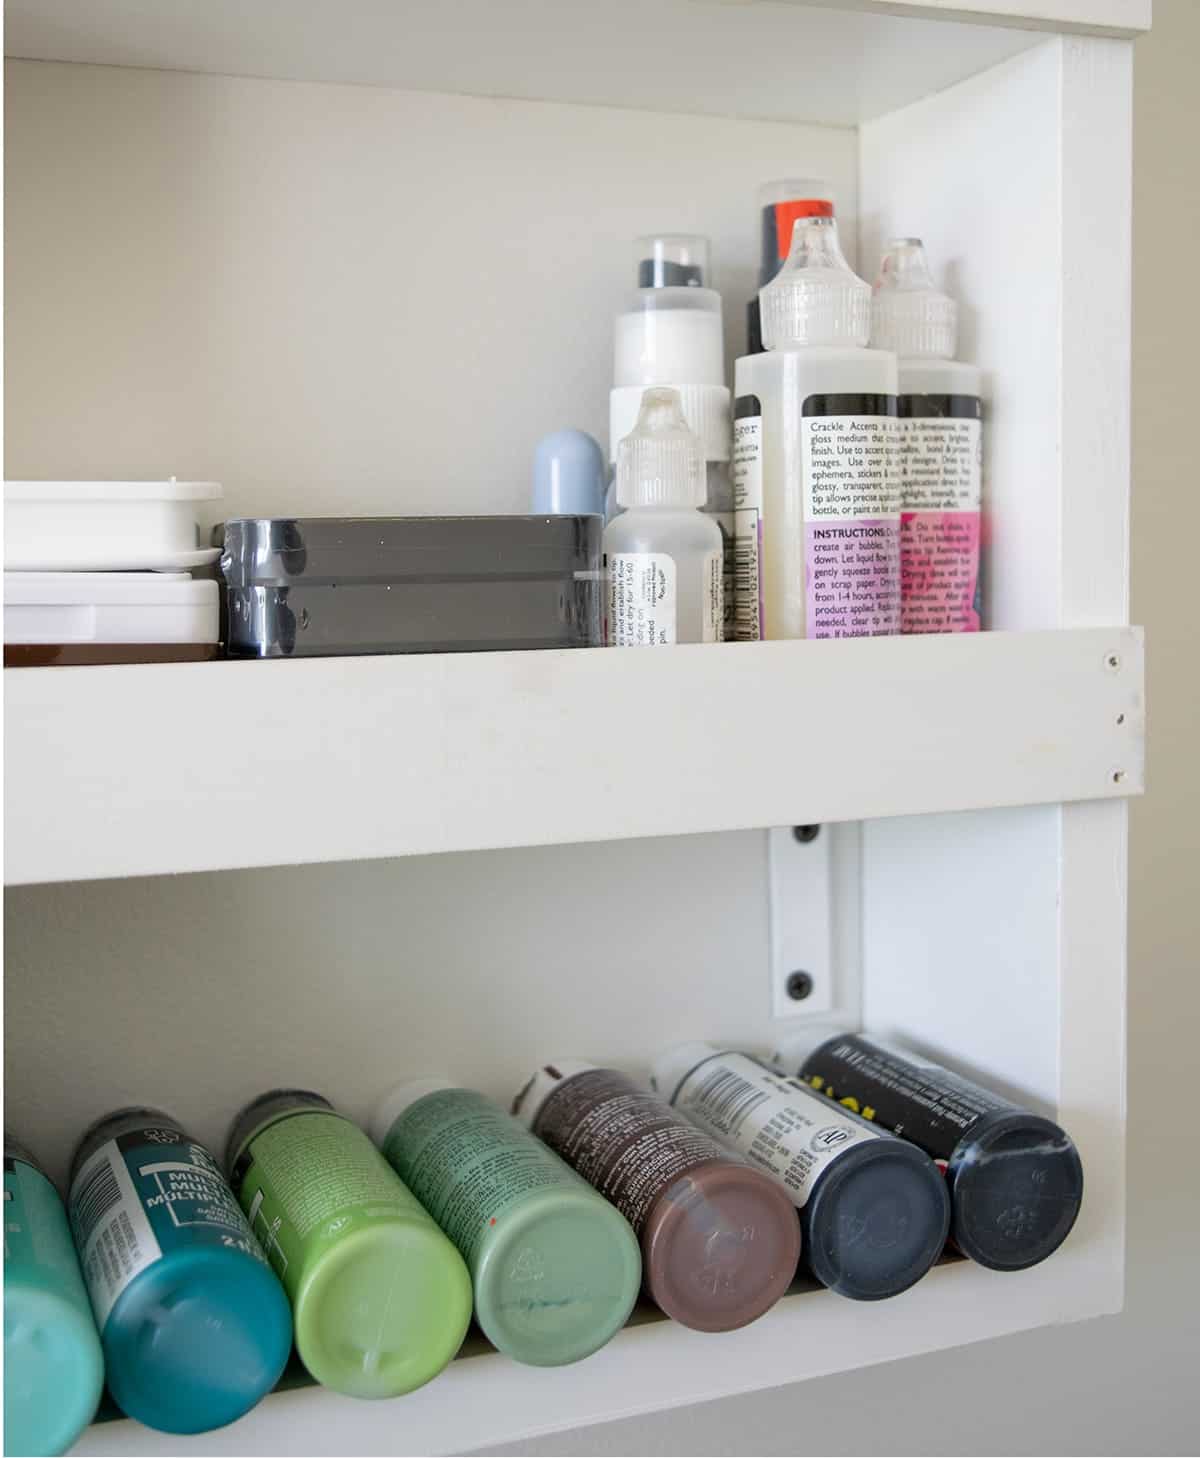
Are you looking for the perfect way to both store and display items on the wall? This completely custom wall shelf will hold all your craft supplies including inks, paints, stamps, and more.
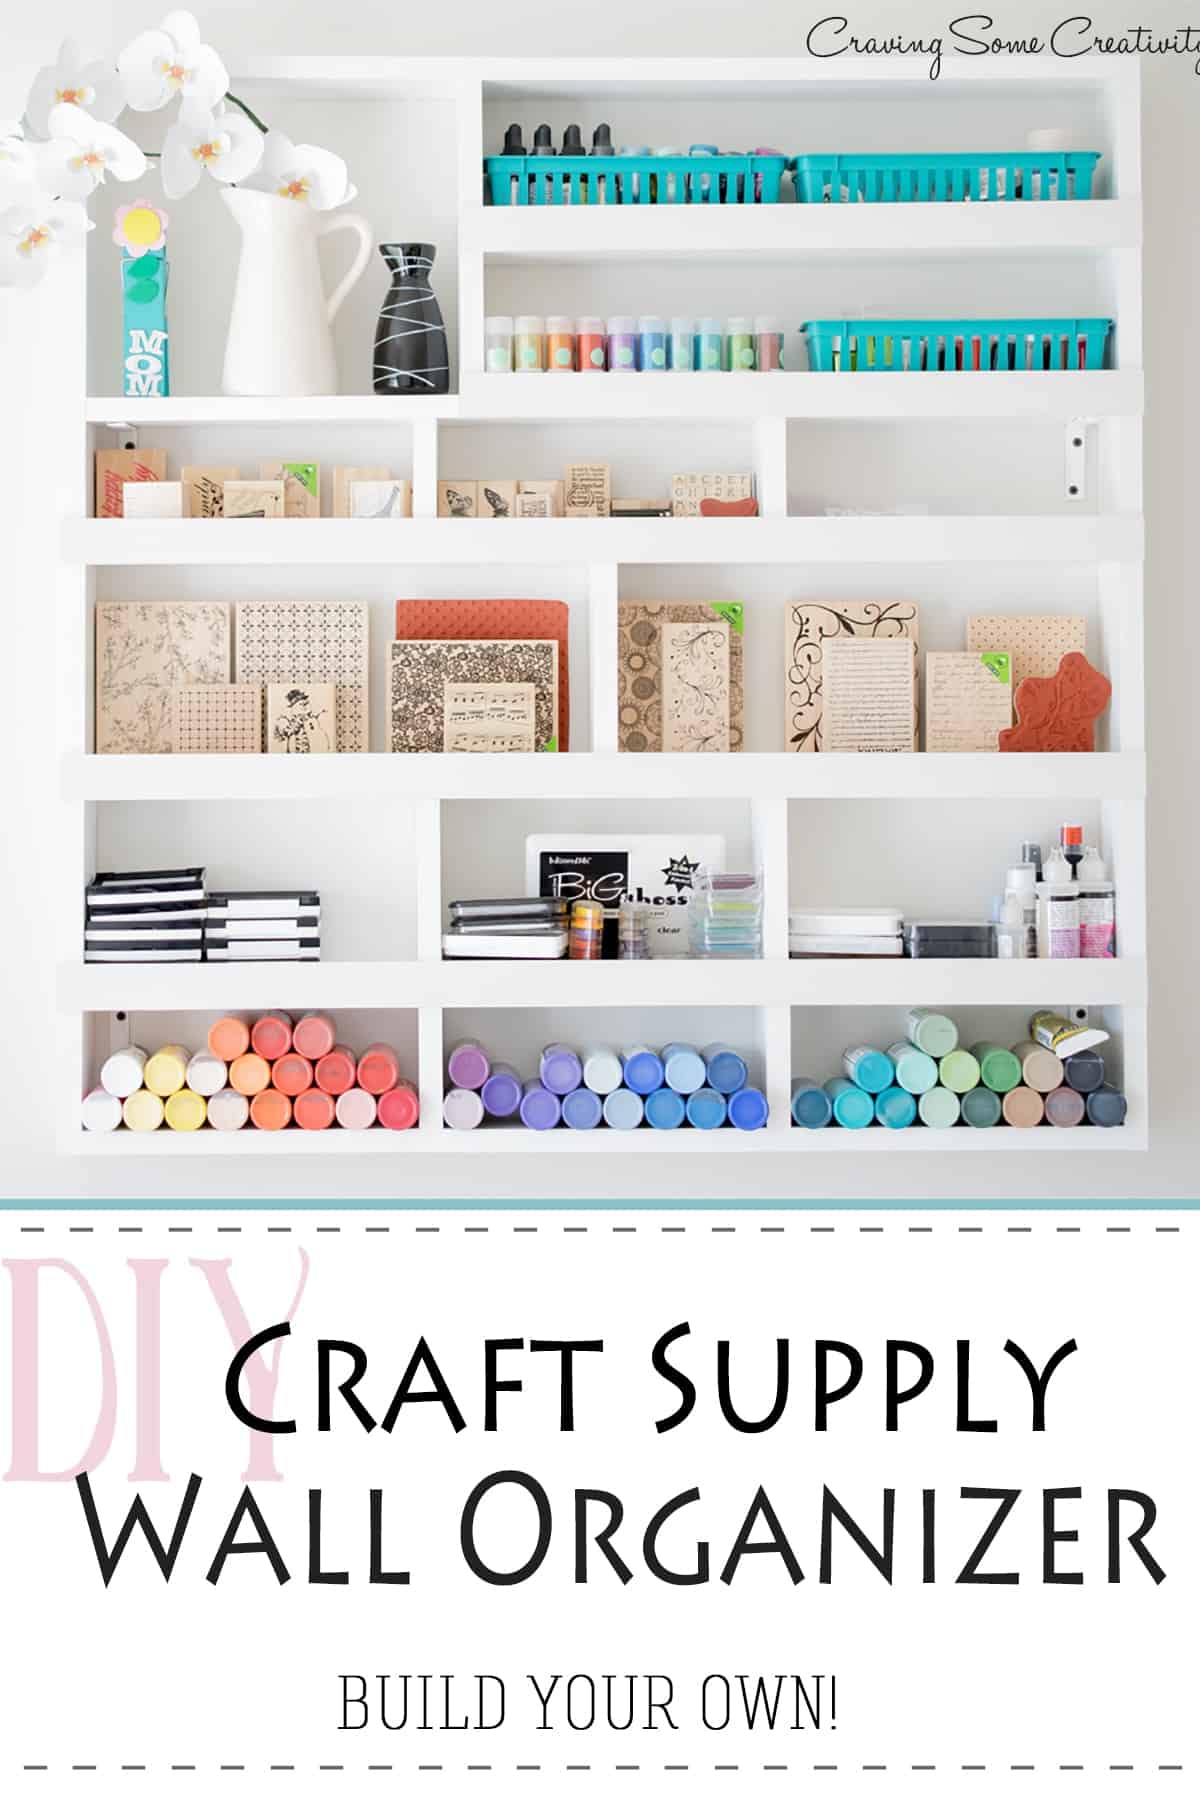
I’m sure you remember when we got a little over our heads zealous in the craft room makeover. This beautiful wall storage shelf came from that project and today I am going to show you how we made it.
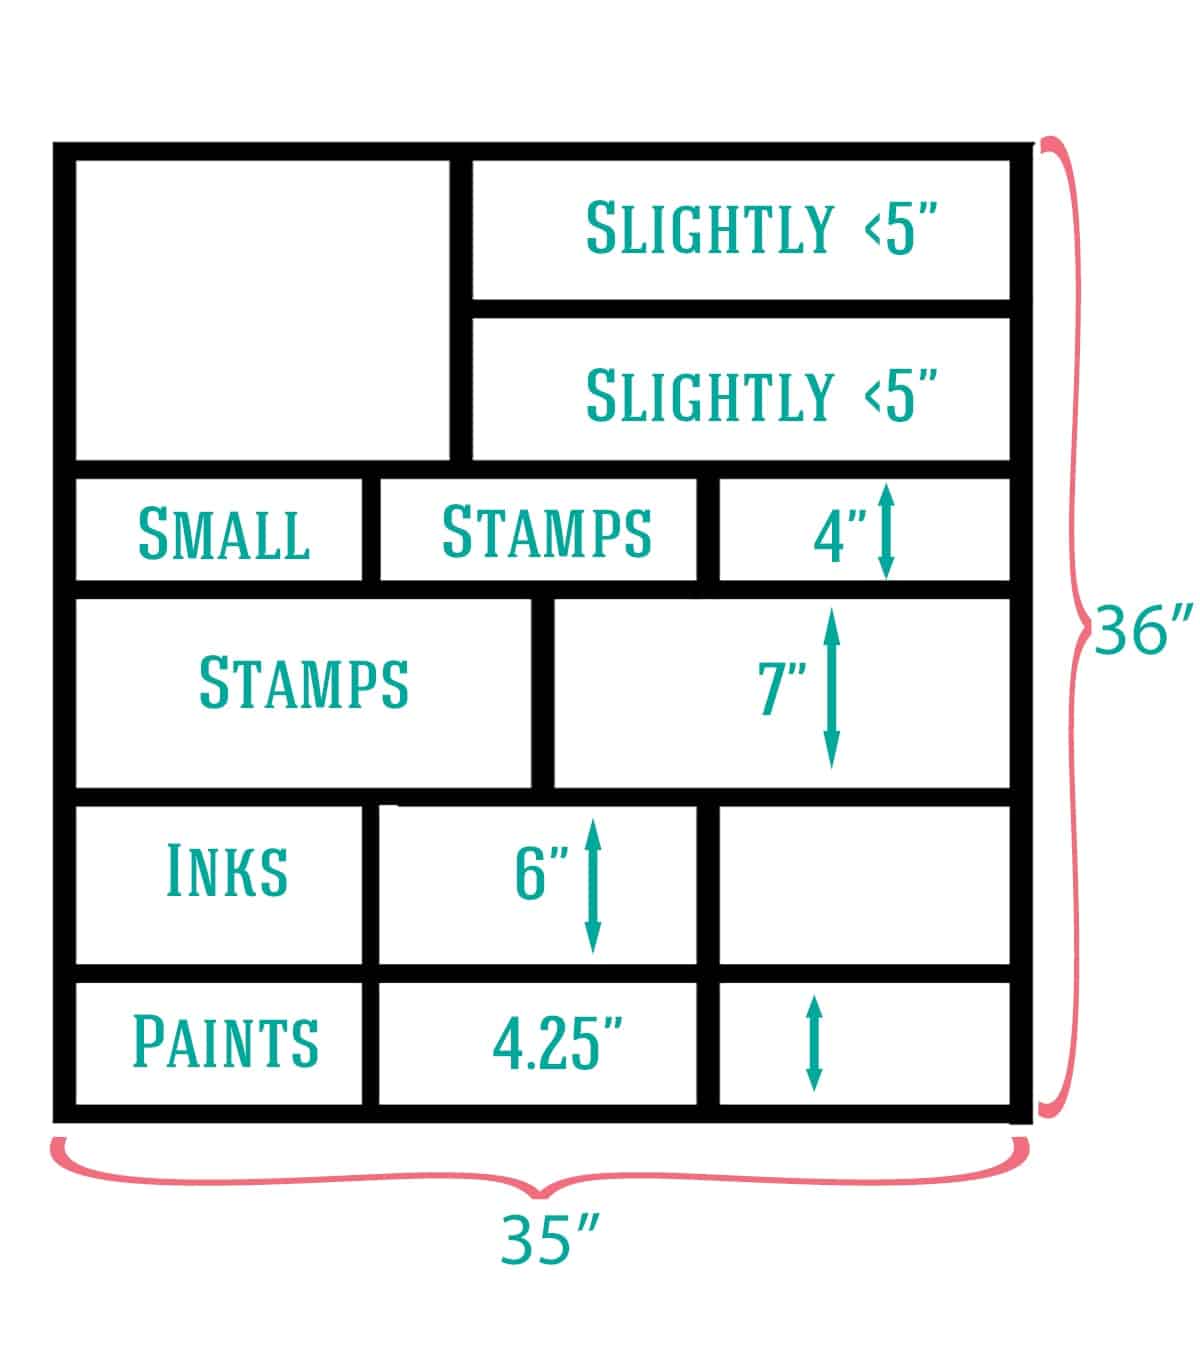
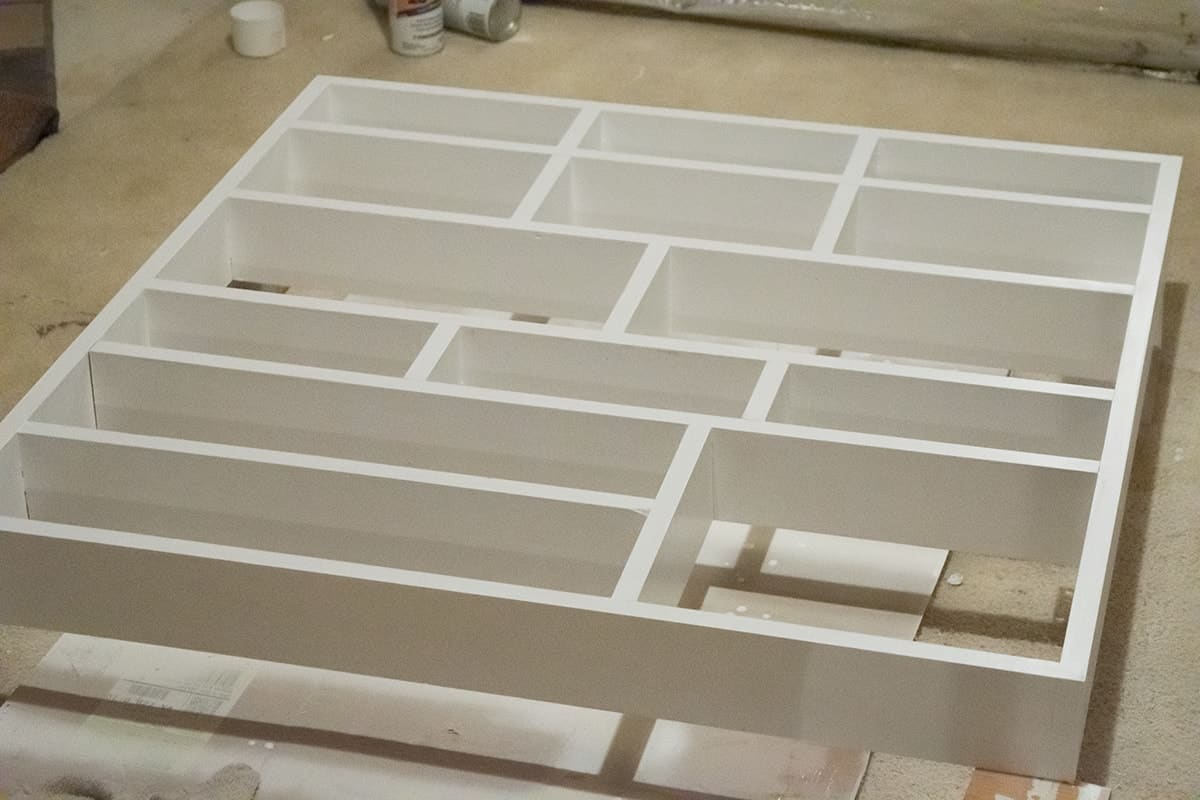
The entire shelving unit is comprised of 1×4 boards. So here is the basic design with APPROXIMATE (pretty close) inside measurements. The outside ones are exact. It’s hard to pin down the exact inside measurements because of the variance of the boards. See, a 1-inch board is not truly 1 inch thick. It’s about ¾ inch thick.
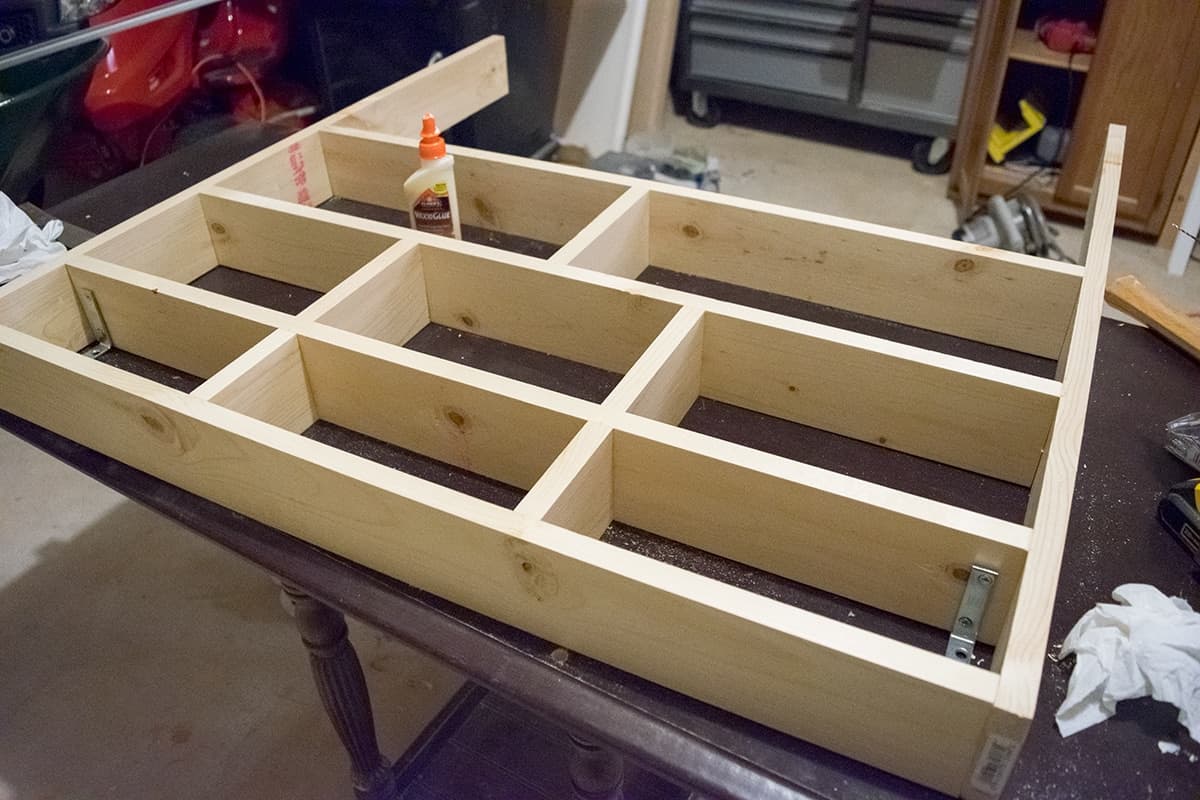
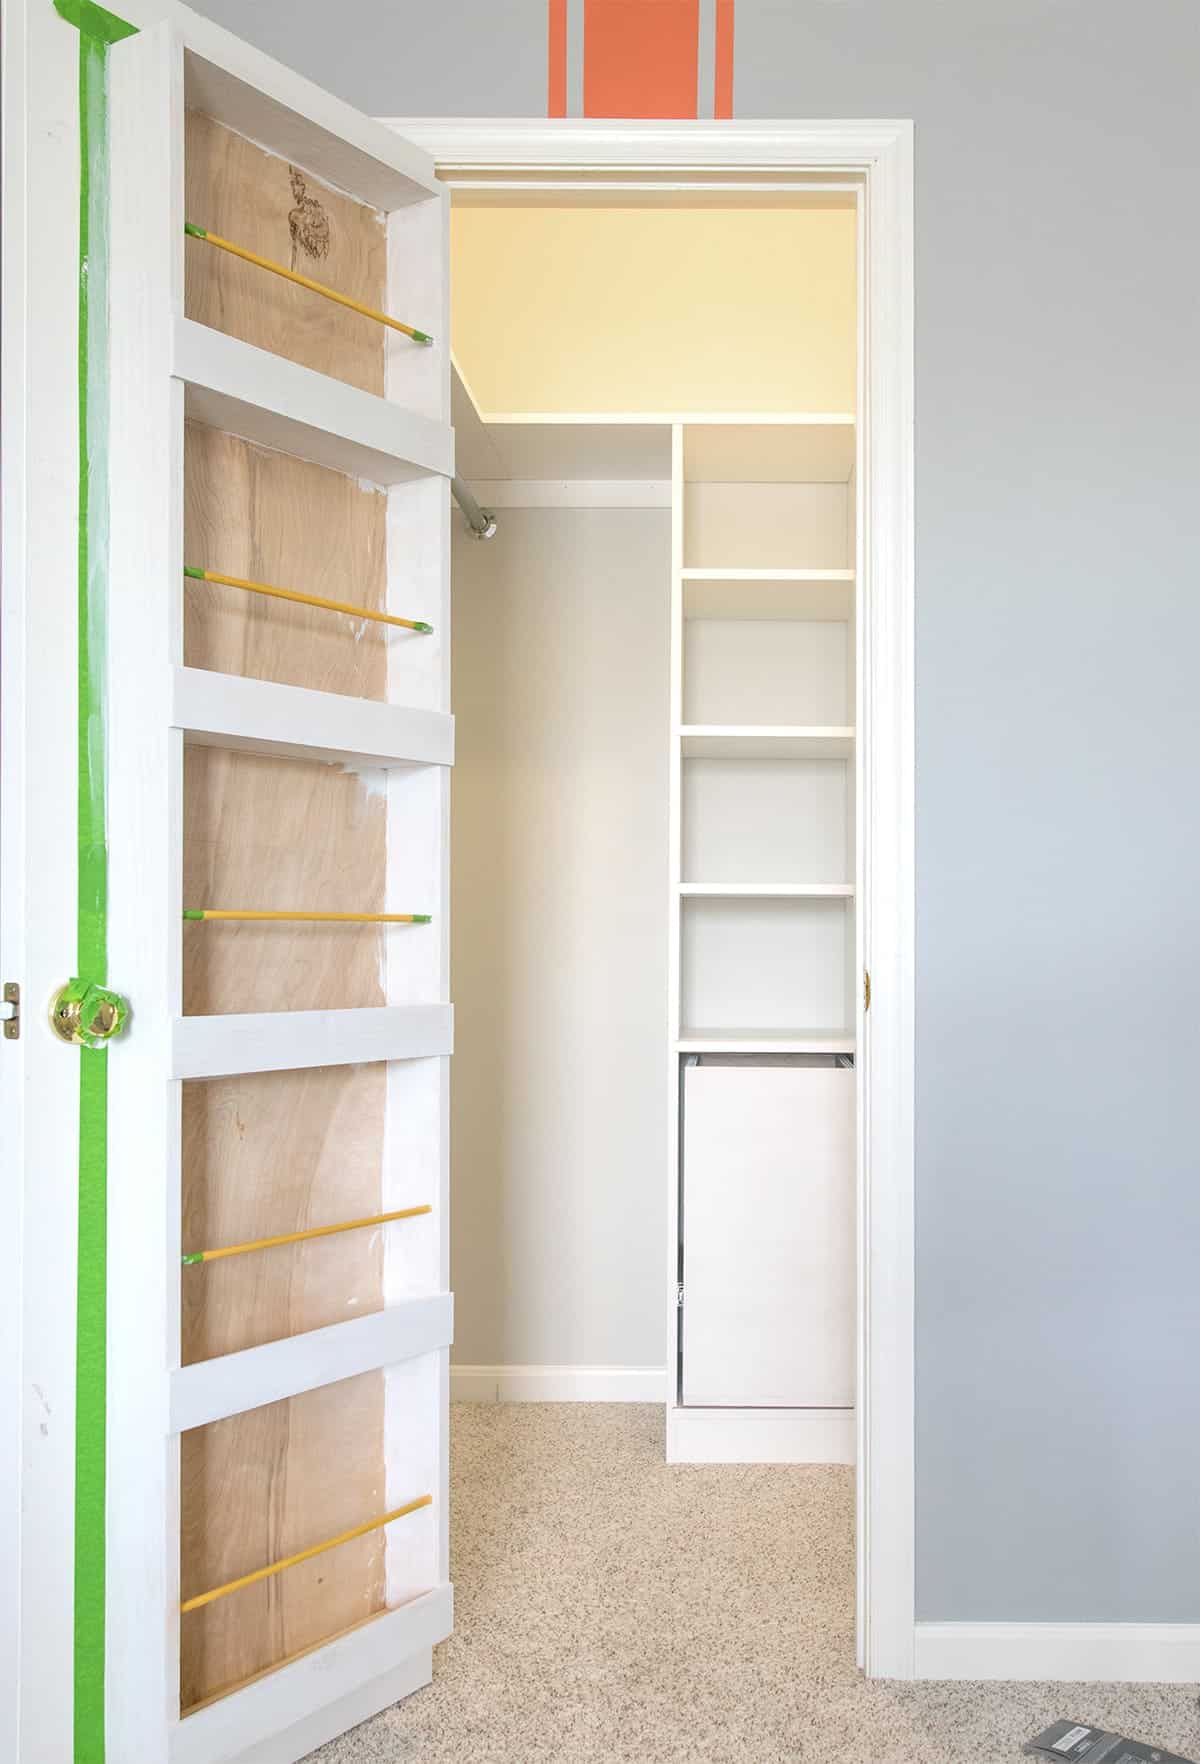
We wood glued and nailed 3 sides of the outside frame together. Working from the bottom up, add in the boards are the desired height, one layer at a time. A thin layer of wood glue is added and then nailed from the outside in. The spacers are wood glued and inserted. Then nailed in place as well. One thing to note is that the wall L-brackets are screwed into the shelves before being placed into the unit. We used 4 L-brackets on this unit. It would be rather difficult to screw them in after the unit is ready to be hung.
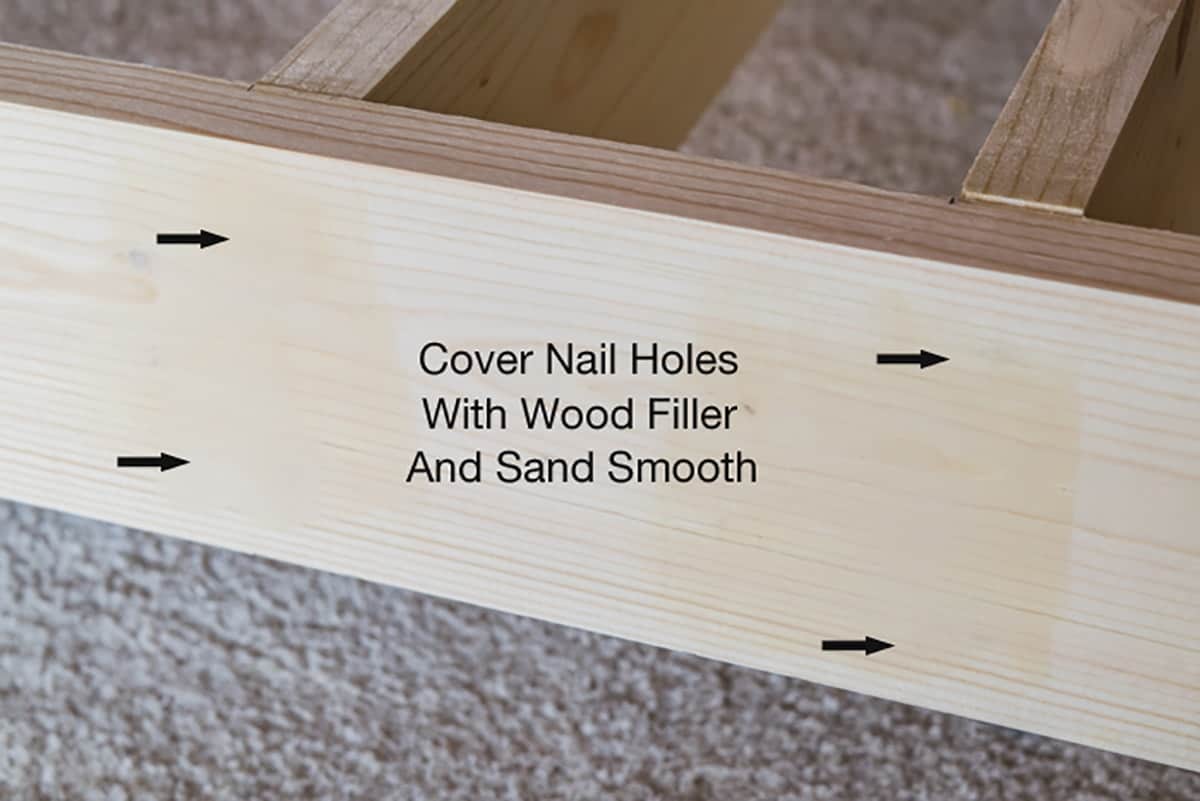
The nail holes are covered in the picture above and the entire piece is lightly sanded. I brushed on two coats of primer and lightly sanded. After wiping all dust off, I spray painted 3 coats.
Lastly, I added ¼×1-¾ flat molding on the facing of the shelves. This is really optional, but I like the look. Once again, finishing nails, patch, and paint. The white molding was pre-primed.
To hang, screw the L-brackets into the wall by either anchoring them from the back or directly into a stud.
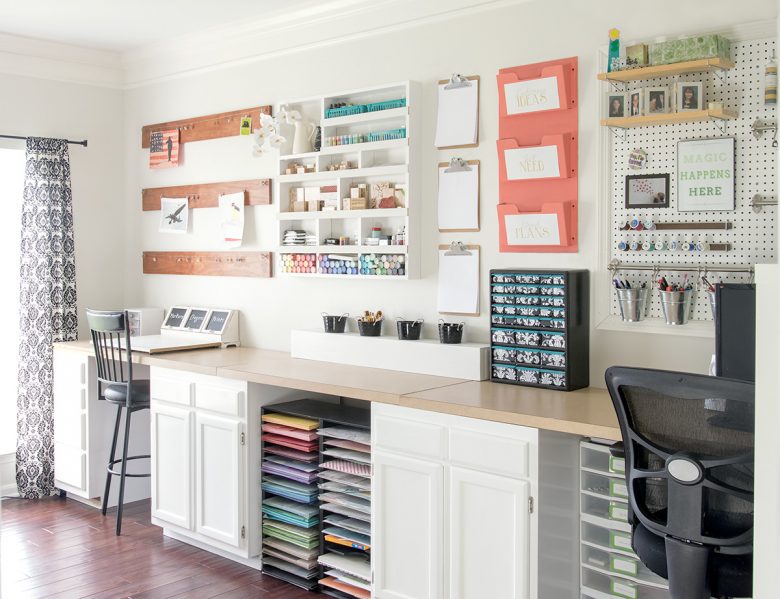
We built this in one evening and painted it the next day. Not too bad for such a functional piece! I would say it’s my favorite item from the craft room makeover, but I have so many favorites there, haha!
Happy Crafting!

Grab our free series "Weekend Home Projects that will Transform Your Life" Sign up below to receive updates including free printables, organization tips, home improvement projects, recipes and more! |
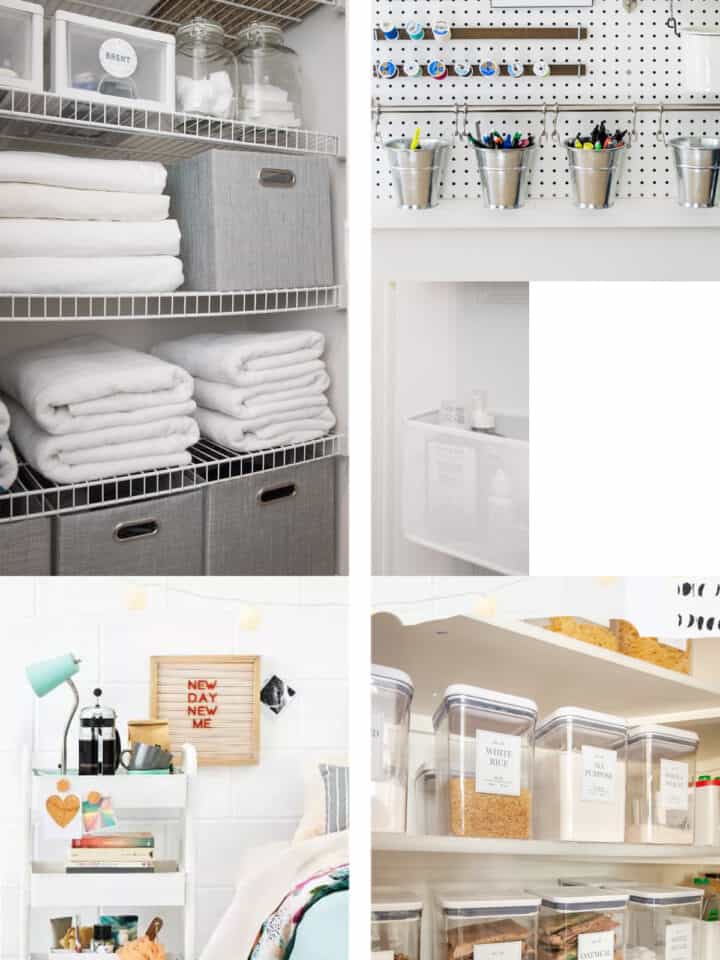
More Creative Organization Ideas
Clare says
Hi. How do I make sure the pieces are square? They always seem to be skew wif.
Rachel says
I generally eyeball it or check for square with a Speed Square. You can really use anything that has a good right angle though, even a sheet of thicker paper.
Courtney says
Can you share how your made your desks? That’s exactly what we are looking to add to our craft room/office!
TiA!
Rachel says
Sure, glad you like it! You can see more information about the craft room makeover here. First, we painted some cabinets that we bought off of craigslist for cheap. You can also buy stock cabinets at a big box hardware store. The countertop is actually from our kitchen renovation. It’s 3 pieces of laminate countertop and just sets on top of the cabinets.
Heather Serra says
I have so many craft supplies and I can totally use more organization in my life. I pinned this!
#HomeMattersParty
Jamie says
I love that!! Perfect that it can be made to fit any space and for any supplies…amazing!! Glad I saw this at the #HomeMattersParty