Learn how to fix an extension cord or other electrical cord for $5. Stop throwing out small appliances because the dog chewed the electrical cord! These simple steps take only a few minutes to save money and time. Includes 2 prong and 3 prong plugs and video instructions.
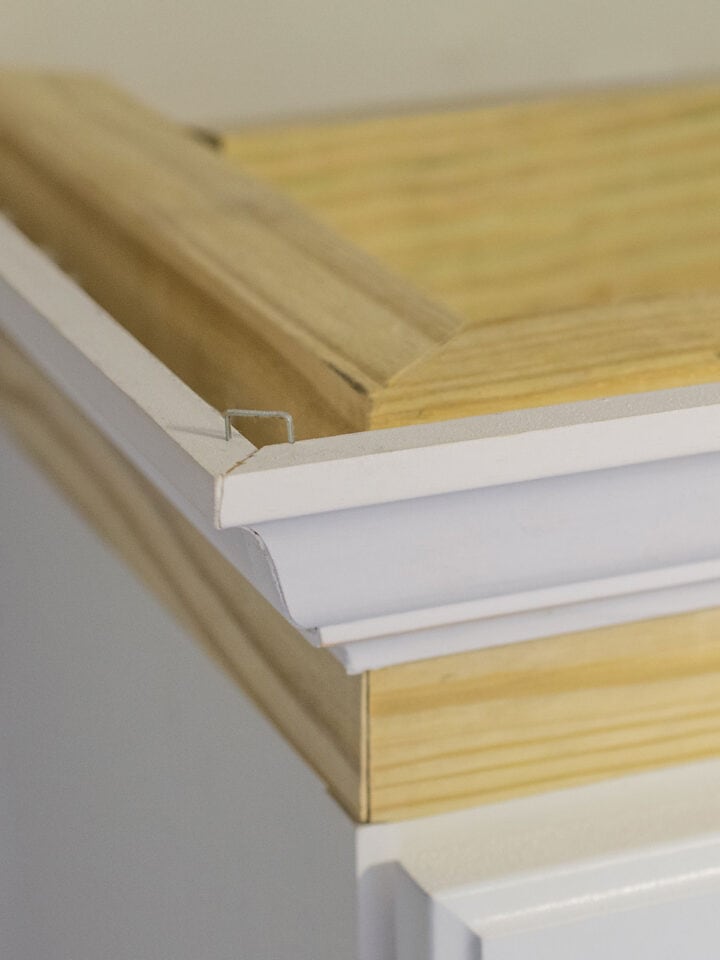
Along with the myriad of upkeeping task that we run into in maintaining our homes from recaulking baseboards or bathtubs to upgrading our rooms to our taste, especially in our kitchens and bathrooms. Today’s post is sort of random, but in the same vein and you wouldn’t believe how many times this has come up for us. From extension cords to power tools, we have had to replace several plugs.
A neighbor accidentally burned our sander cord, the dog chewed the lamp cord, a friend’s crock pot melted, fixing an extension cord that was a little too extended, and the list goes on.
This is a great way to save some money as extension cords and power tools are very expensive. And it only takes a few minutes! While I don’t advocate trying to do a home improvement project you aren’t prepared for, if you can put in a light fixture, this is even more simple.
While you can replace the cord itself, and splice together, I find this method easier and more steady long term. This method will replace both bad plugs and damaged cords.
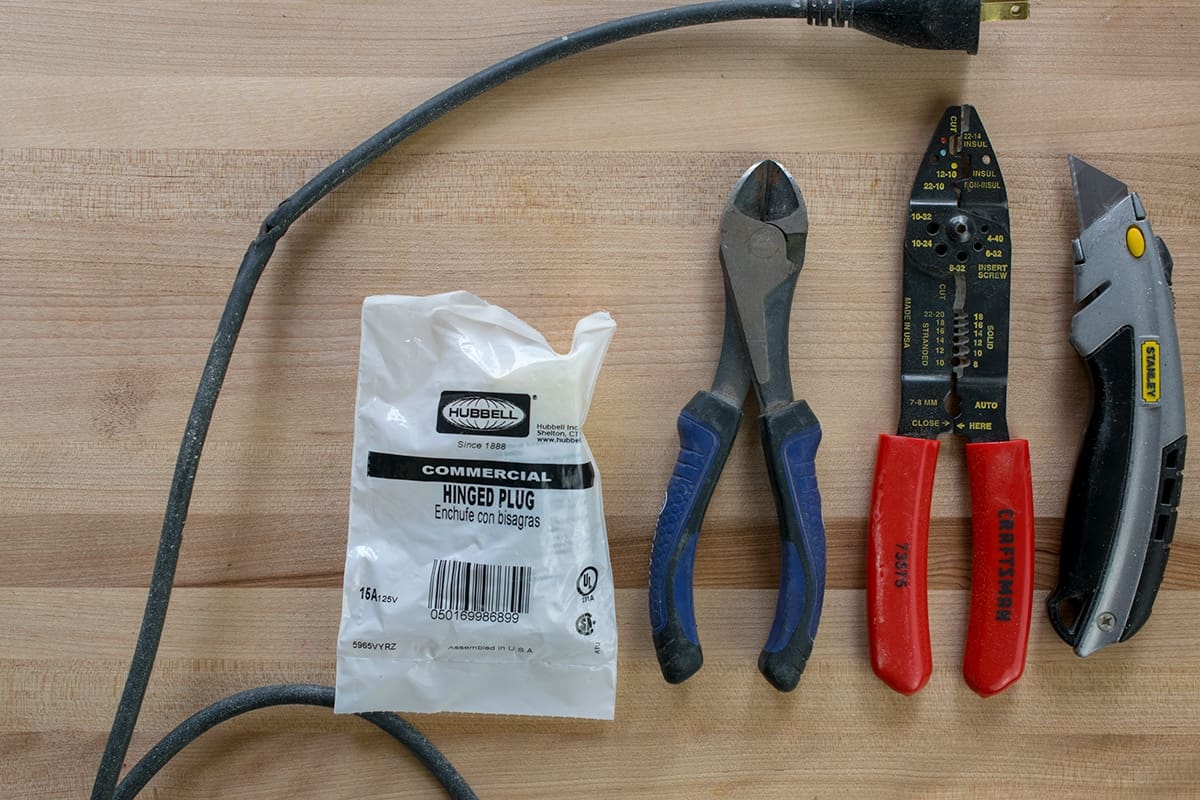
Recommended Supplies
- Wire cutters or scissors
- Razor Blade
- Strippers– this set also has a small cord cutter built in.
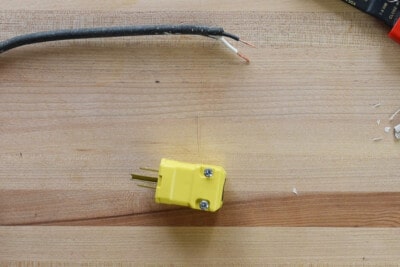
- Replacement Plug – For exterior plugs like power tools, extension cords, etc, I recommend a commercial grade plug like this. Sometimes wires can pull over time out of cheap plugs. Replace a 2 prong plug with a 2 prong and a 3 prong (grounded) plug with a 3 prong.
Tip: The numbers on the side of stripper tools refer to the wire gauge or AWG. As the wire gets smaller in diameter, the AWG number increases. It is important to note that wire strippers usually have two sets of numbers, one for stranded wire and the other is for solid wire.
What tool is best to cut wires?
For small wires or those with a thin casing, a good set of strippers is the easiest bet. If you are unfamiliar with using strippers, here is a quick guide.
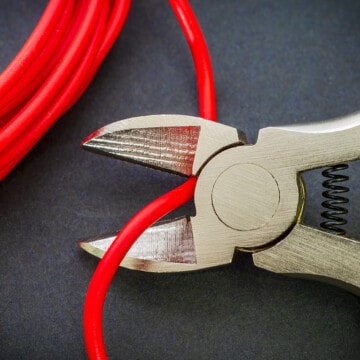
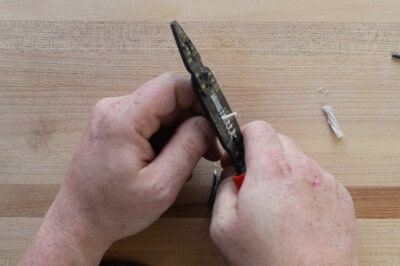
For cutting or stripping large wires or those with thick plastic coatings, I like super sharp cutting pliers. The classic wire strippers just never seem to pull the plastic covering off well even if you have the right size. Cutting pliers don’t need to be large or heavy for most wires, they need to be sharp, and you will have to rotate them around to remove the wire covering.
Some strippers come with a cutting section and a flat plier section. I don’t like many of those because they tend to crush more than actually cut, but I have nothing against them if you find a good pair that works for you.
How To Replace a Three Prong Plug
The instructions for a three-prong plug are also at the bottom of this post with step-by-step photos, but there are a few tips for identifying wires and terminals included here.
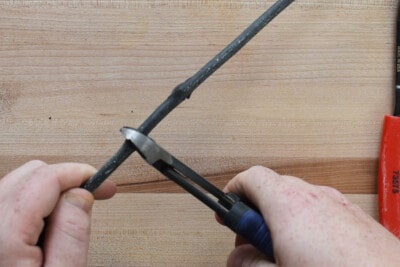
- Using scissors or wire snips, cut the wire just behind the damaged area. Make sure the item is unplugged (yes, I had to say it!).
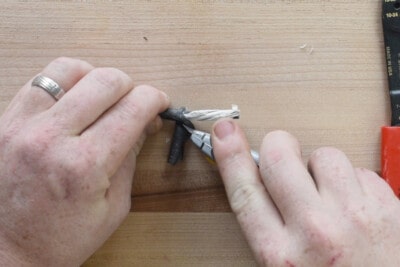
- Carefully remove one inch of the outer covering without cutting into the wires themselves. The easiest way is to cut down with a razor blade about an inch and then unwrap and cut off the outer casing. You will want to have roughly an inch exposed at least.
- Identify the wires. In three pronged plugs, the white wire is always the neutral wire. The ground wire is either green or a copper wire with no casing. The hot wire is the last one and is black.
- Using strippers (or a razor blade), cut ½ inch of the colored casing around the wire off, exposing the bare metal. Not to fret if you cut through the wire or cut into the wire, just cut back the outer case back a bit further and try again.
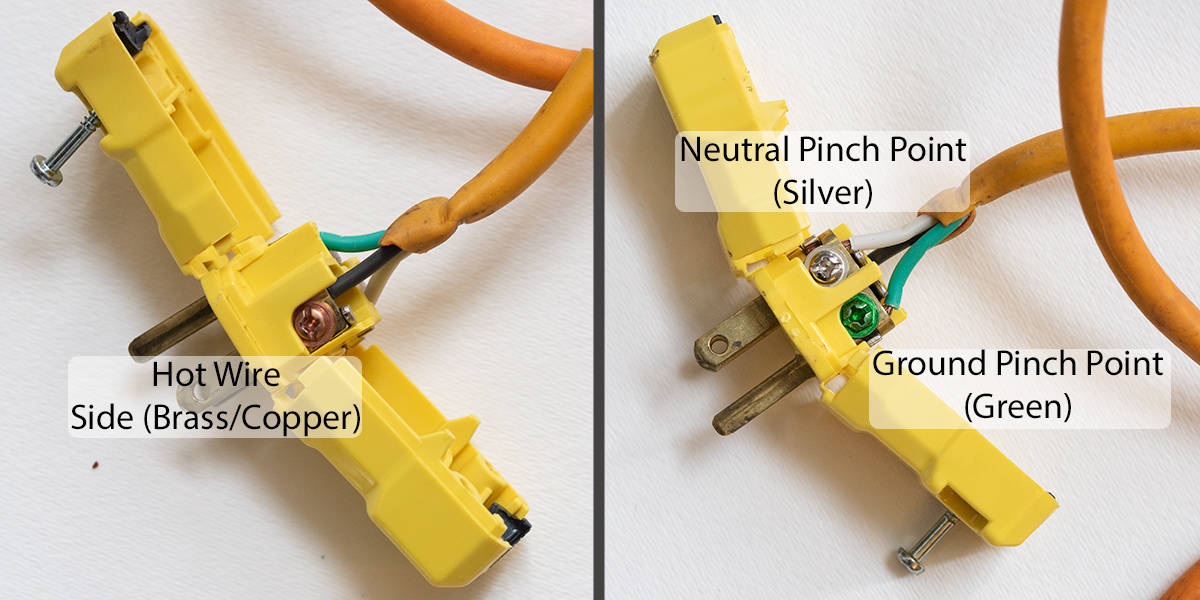
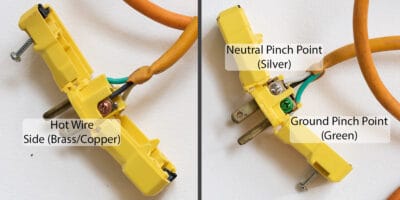
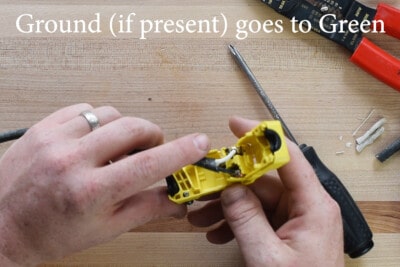
- Open the replacement plug according to the instructions. Push the white (neutral) wire into the silver pinch point. Tighten the screws and lock the wire in place. The black wire (hot) goes into bronze or copper colored pinch point. The green or copper wire (ground) goes into green pinch point. All wires should be securely screwed as well.
- Close up the replacement plug, ensuring that none of your wires or casings are exposed outside the plug housing. You should give it a tug to make sure none of the wires move or separate from the plug housing.
Tip: After identifying the wires, you can use some tape around the wires to label them and keep from mixing the wires up. (This occasionally helps me speed things up.)
How To Replace A Two Prong Plug
This process is nearly the same as that of the three-prong plug. However, there is not a grounded or green wire in a two-prong cord.
- Using scissors or wire snips, cut the wire just behind the damaged area. Make sure the item is unplugged (yes, I had to say it again!).
- Strip the wires. Most two prong appliance cords don’t have a protective outer casing, but if yours does, remove 1 inch back from the end. You may have to peel the two sides apart. Cut ½ inch of the protective plastic around the wire off, exposing the bare metal.
- Open the replacement plug according to the instructions. There should be a silver terminal on one side and a bronze/copper colored terminal on the other, each with a screw. Push the white (neutral) wire into the silver pinch point. Screw and lock the wire in place. The black wire (hot) goes into gold pinch point and securely screwed.
- Close up the replacement plug, ensuring that none of your wires or casings are exposed outside the plug housing. You should give it a tug to make sure none of the wires move or separate from the plug housing.

Identifying wires: The neutral wire (white wire) will always be marked in some way: writing on the length of the wire, ribbing, a white stripe, or a thin white covering around the wire itself. If you cannot figure it out by looking at the cord, the neutral wire is more easily identified by the prongs. Modern appliance cords usually have two prongs of different sizes, so that you can only insert the plug into an outlet one way. With cords of this type, the larger prong always connects to the neutral wire.
Video Demonstration
Here is a video of my husband demonstration the technique. I had to operate the camera.
FAQs
I always advise people to never take on projects they have no business trying. Exposed wires and melted cords are NOT safe; replacing a plug is completely safe as long as you follow the instructions well and identify wires correctly.
If it is too short to reach an outlet, you can use an extension cord. If the cord is too short to wire into a new plug, you would need an entirely new cord in order to wire it back into the housing of the item, which can be more difficult and varied from one item to the next.
This solution works on everything from lamps to power tools. And multiple scenarios including burned plugs, broken plug prongs, separated wires and plugs, and even animal chewed electrical cords. I do not recommend utilizing on large appliances such as dryers or electric stoves.
Yes. Follow the same steps as for a damaged cord and cut it behind the damaged area.

Grab our free series "Weekend Home Projects that will Transform Your Life" Sign up below to receive updates including free printables, organization tips, home improvement projects, recipes and more! |
More Home Improvement Tutorials

How To Repair an Electrical Cord
Tools
- Razor Blade Box Cutter
Supplies
- 1 Replacement plug 2 prong or 3 prong matching what you are replacing.
Instructions
- Using scissors or wire snips, cut the wire just behind the damaged area. Make sure the item is unplugged.

- Take the razor blade and carefully remove one inch of the outer covering (if one is present) without cutting into the wires themselves. You will want to have roughly an inch of the wires exposed at least.
- Identify the wires. In three pronged plugs, the white wire is always the neutral wire. The ground wire is either green or a copper wire with no casing. The hot wire is the last one and is black. Two prong plugs do not have a green wire.

- Using wire strippers (or a razor blade), cut ½ inch of the colored casing around the wire off, exposing the bare metal.
- Open the replacement plug according to the instructions. Push the white (neutral) wire into the silver pinch point. Tighten the screws and lock the wire in place. The black wire (hot) goes into bronze or copper colored pinch point. The green or copper wire (ground) goes into green pinch point. All wires should be securely screwed.

- Close up the replacement plug, ensuring that none of your wires or casings are exposed outside the plug housing. You should give it a tug to make sure none of the wires move or separate from the plug housing.
Brian says
Thank you. With tools becoming more expensive I wanted to cry. I felt stupid but accidents happen. Was plugged into gfi but anyways….Found this helpful video and saved myself the cost of a new circular saw.
Fidel Mccarty says
Hiya, I am really glad I have found this info. Nowadays bloggers publish only about gossips and internet and this is really irritating. A good website with exciting content, this is what I need. Thank you for keeping this web-site, I’ll be visiting it. Do you do newsletters? Cant find it.
Rachel says
Thank you! Yes I do. You can sign up here.
Alice Carroll says
It’s interesting to know that there are three different wires to take note of inside a appliance’s electrical cord. My microwave over has not been working since two weeks ago and I suspect that the damage is from its plug top. I’m a bit reluctant to test it out myself so I guess I will just have to hire a plug top replacement service to fix this problem.