A tutorial to make a Spring Butterfly Wreath. I also have a free printable butterfly template available for download as a PDF.
Are you one of those people that love crafts like handmade windmills, wreaths and or planters? If so, then this post of for you. Handmade crafts are the best to give that special customization and touch that makes the gift or build just right for the occasion.
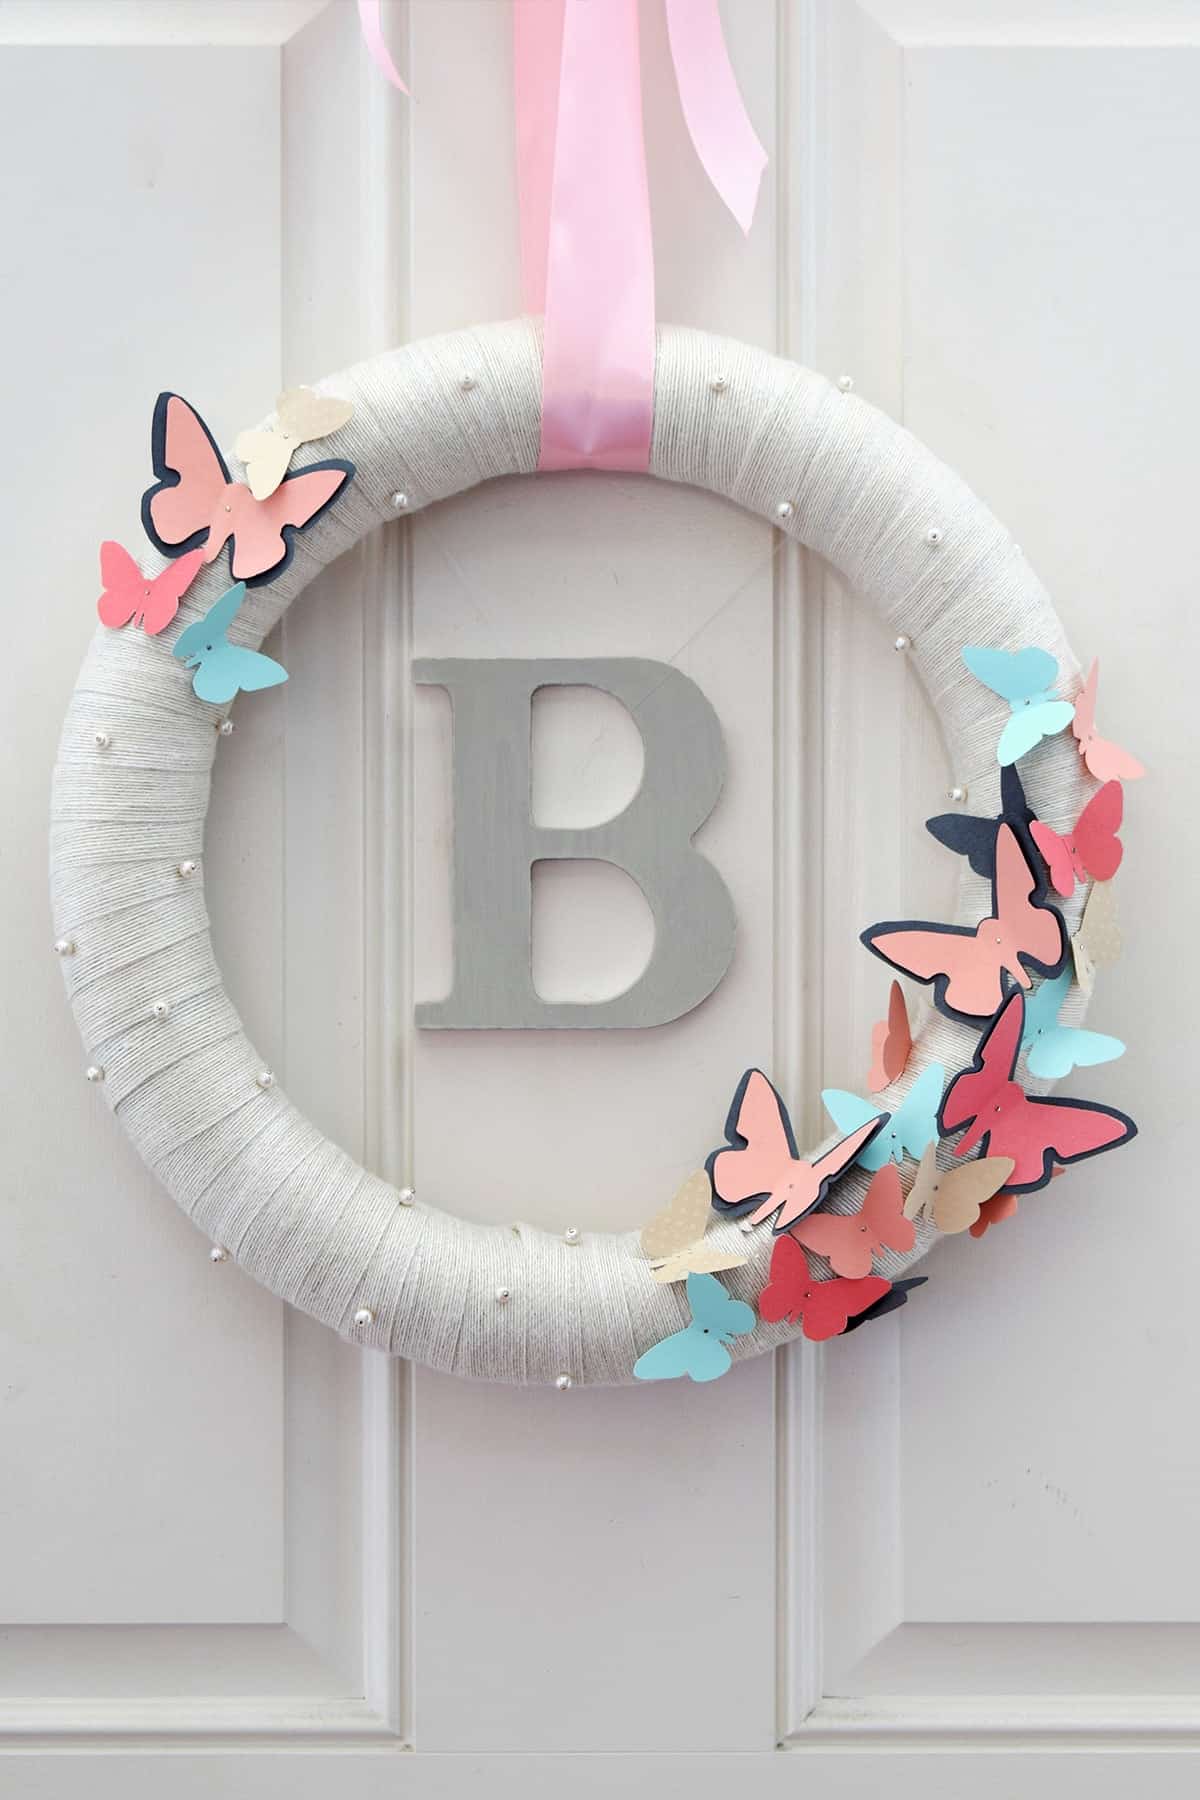
This particular wreath is to be a gift for a little girl who just found out she is going to be a big sis! As per our family tradition, all the kids are named with B names. I know this wreath will be perfect to decorate her door. Since this is an indoor wreath, I went the simple route of using paper butterflies, but felt or stiffened fabric would be good to use on a covered porch or front entry.
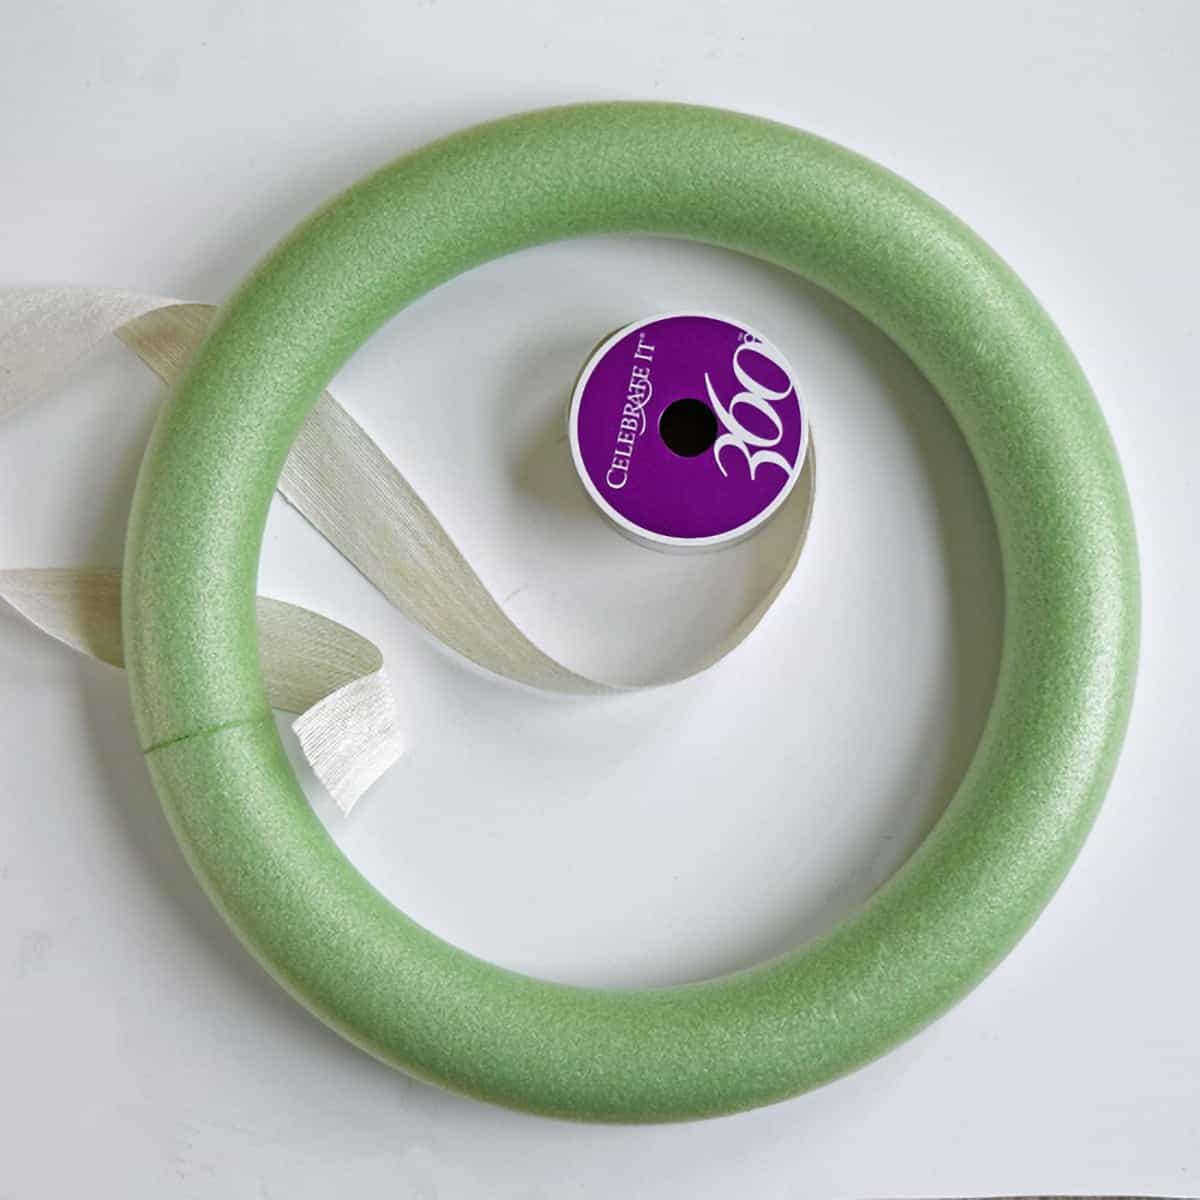
This project used 9 yards of 1 ½ in wide jute. I was hoping to use 3 in wide, which would require less material. Burlap Ribbon is also a good choice.
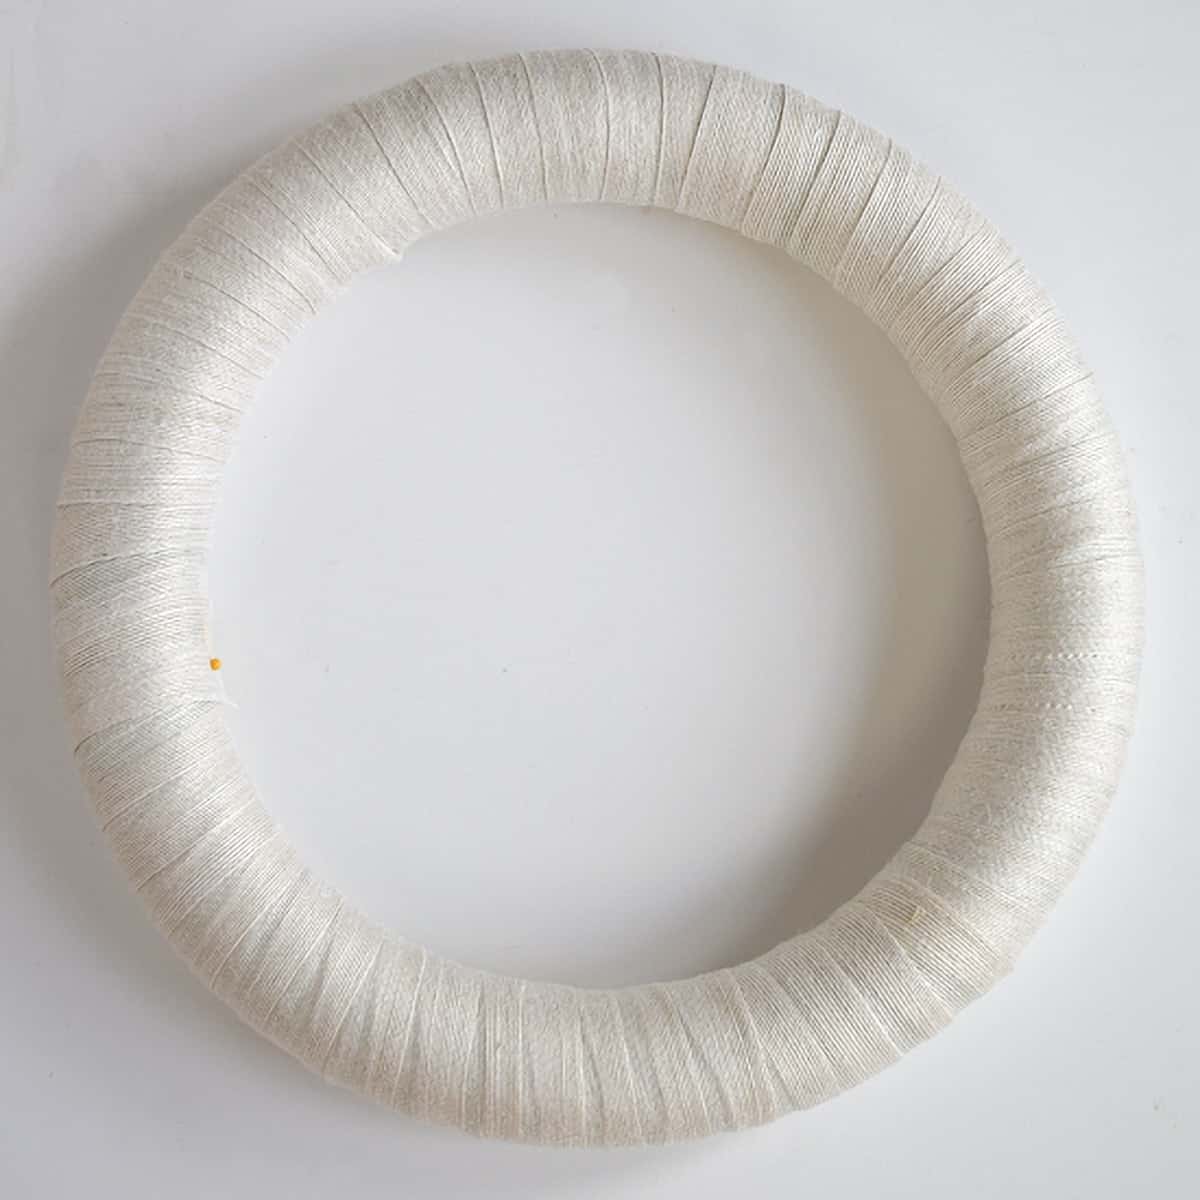
Wrap the ribbon around the hoop and secure with a sewing pin. Occasionally, it would pucker in the weave so hide any imperfections in the back.
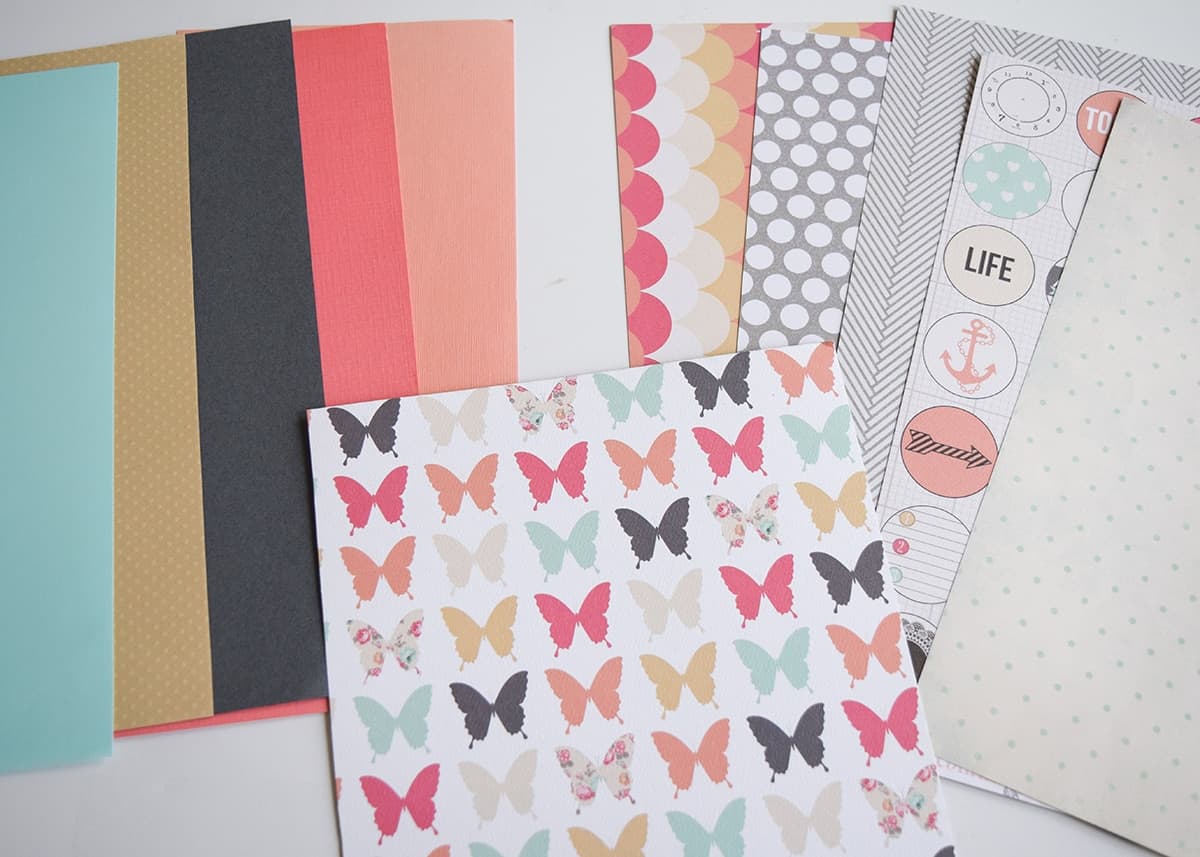
Here is the inspiration for the color scheme. I found this beautiful butterfly paper from Heidi Swapp and I knew it was the one. It even had butterflies, lol! I picked several solid and patterned papers for my butterfly wreath. I only ended up using the solid colors but being prepared never hurts. 🙂
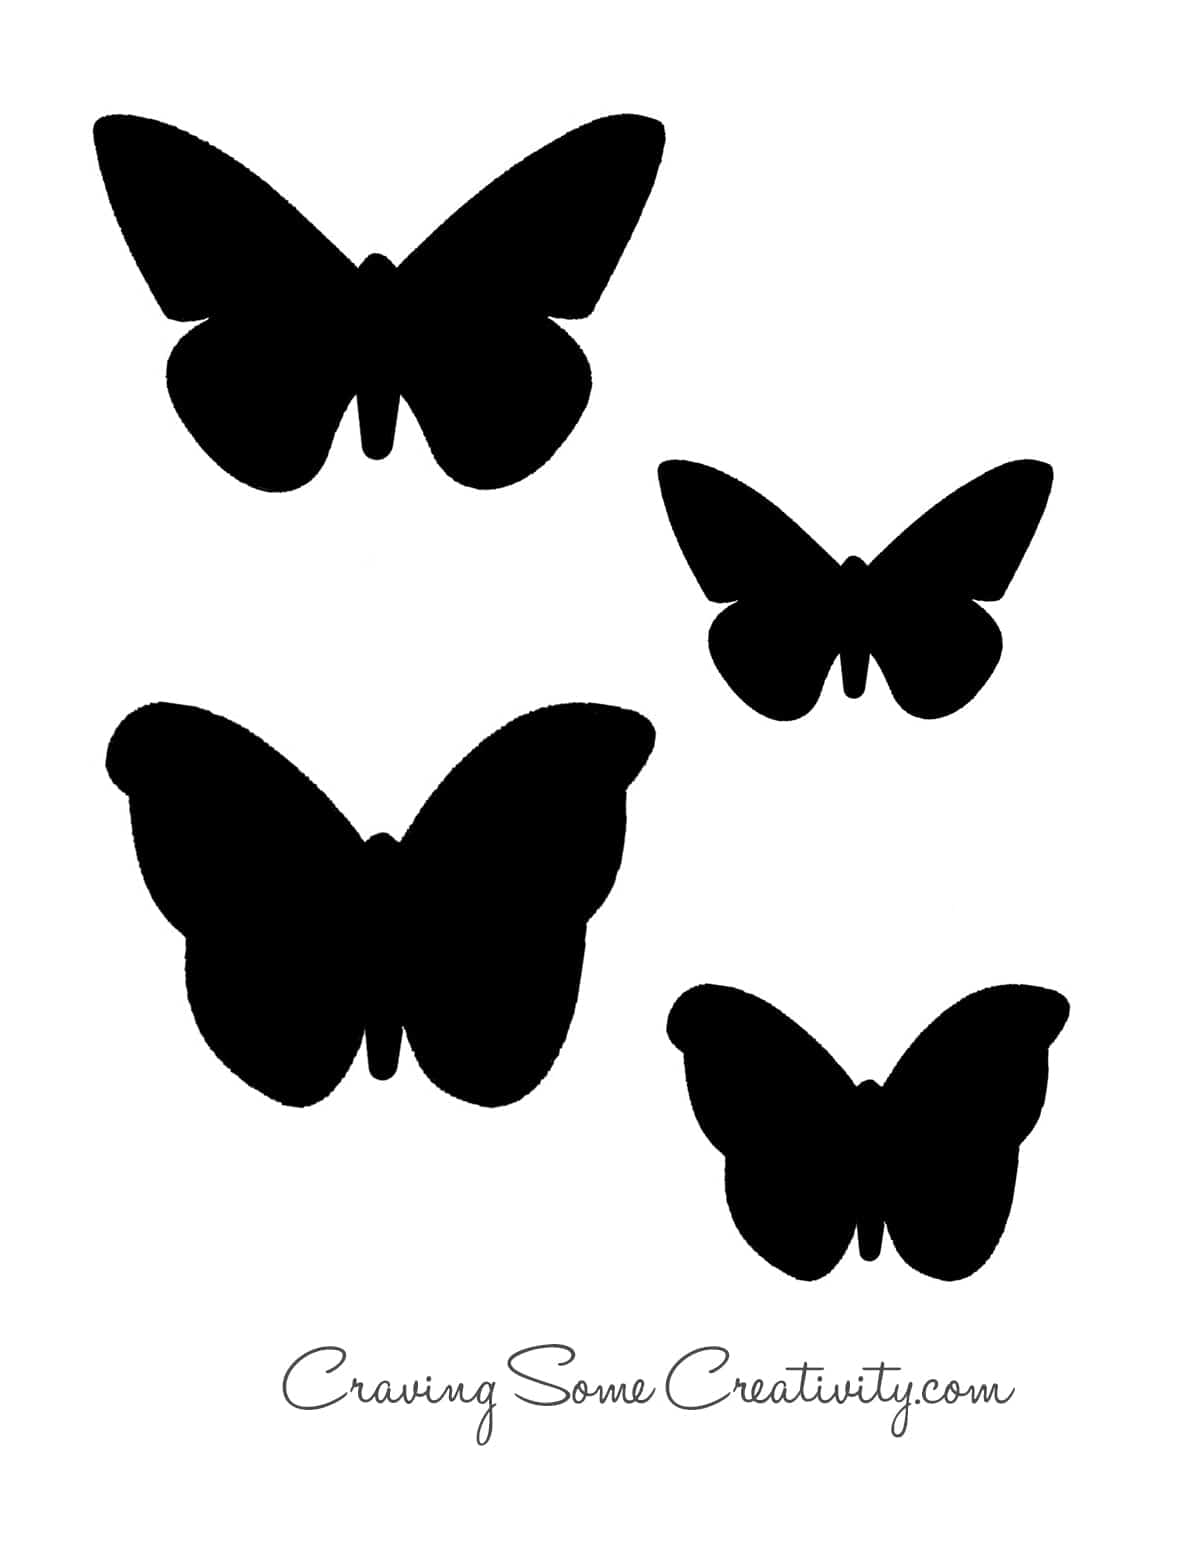
Here is the butterfly template I made. I only used the top one, but I have two available for your personal use. There are two sizes of each, a 3 inch and ~2 inch. I cut them out of regular cardstock and traced the butterflies for each paper used on the wreath.
>>FREE PDF BUTTERFLY TEMPLATE FOR DOWNLOAD HERE<<
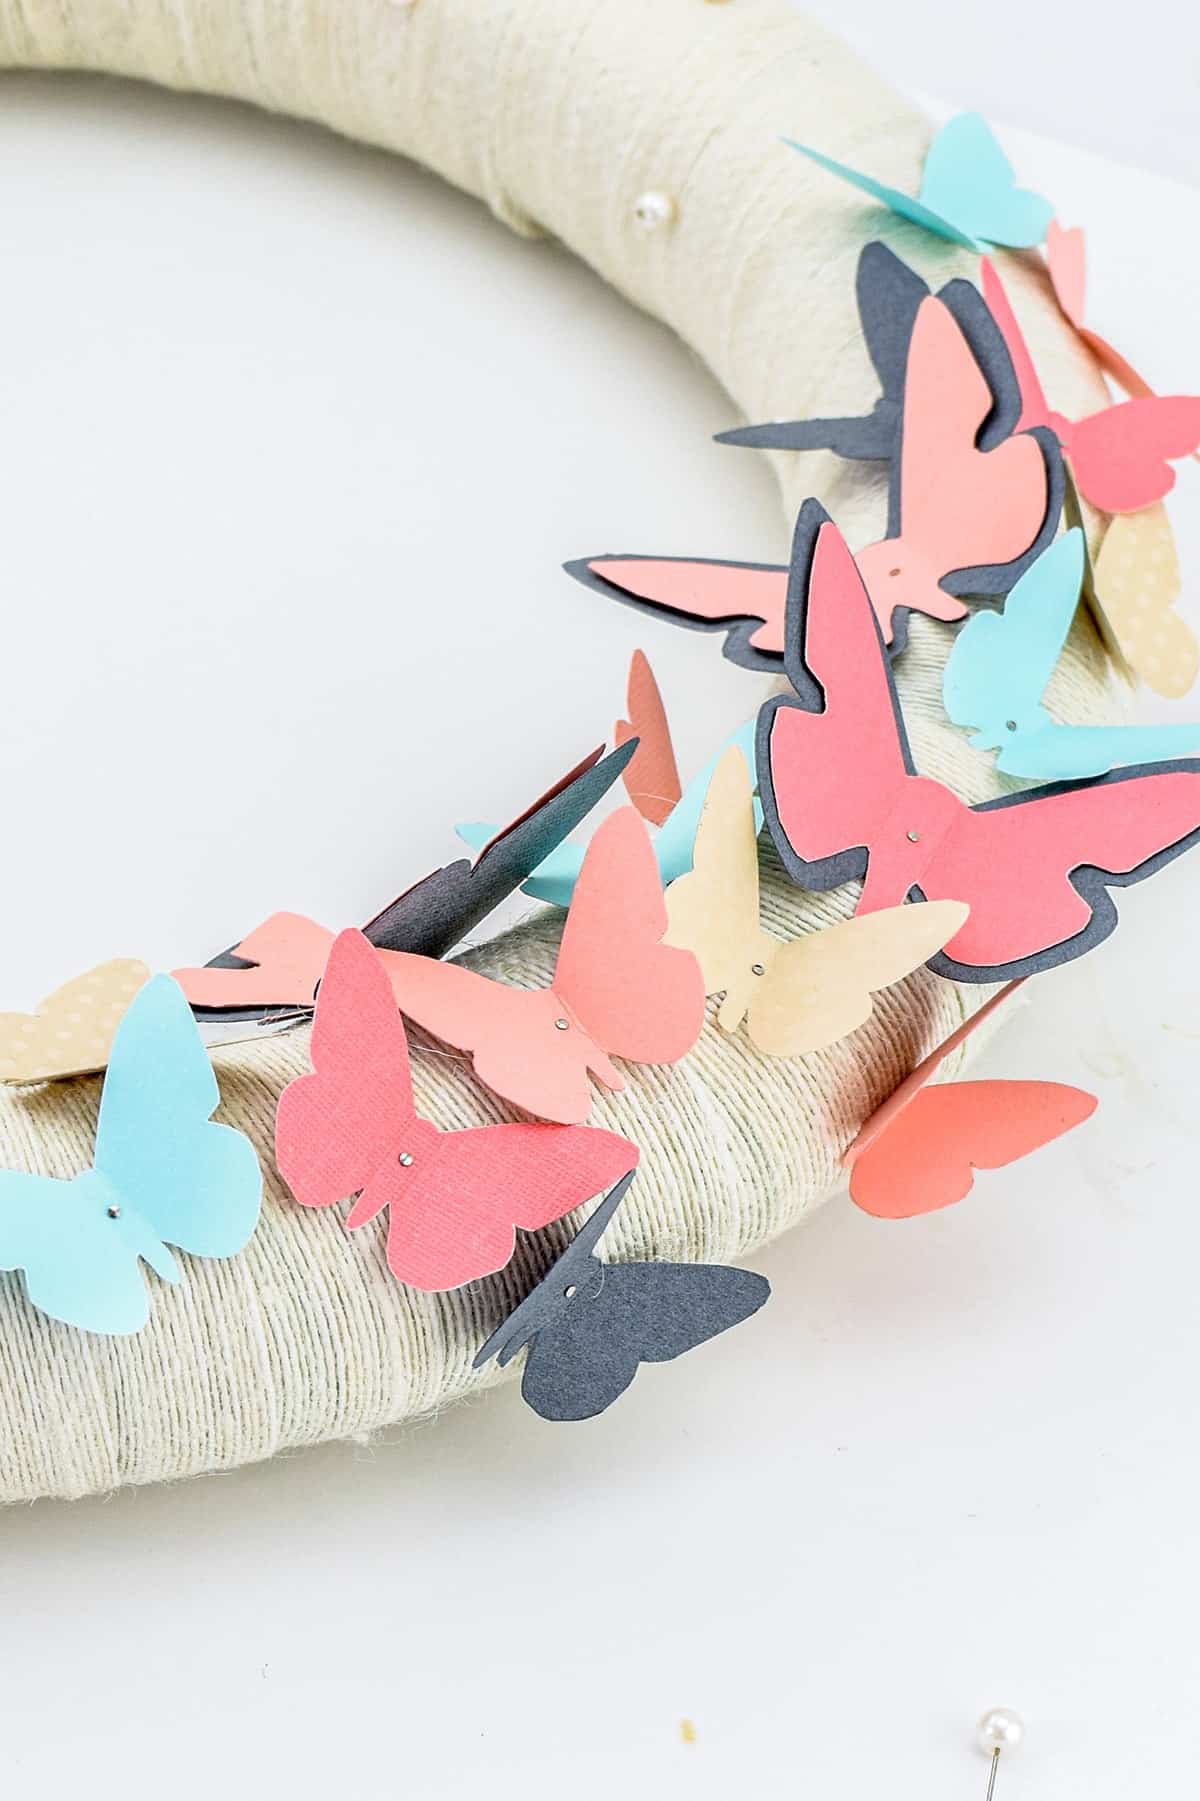
I folded back the wings on the paper butterflies and pinned them to the form with some small metal sewing pins. I love how easy they are to attach and fix if you change your mind.
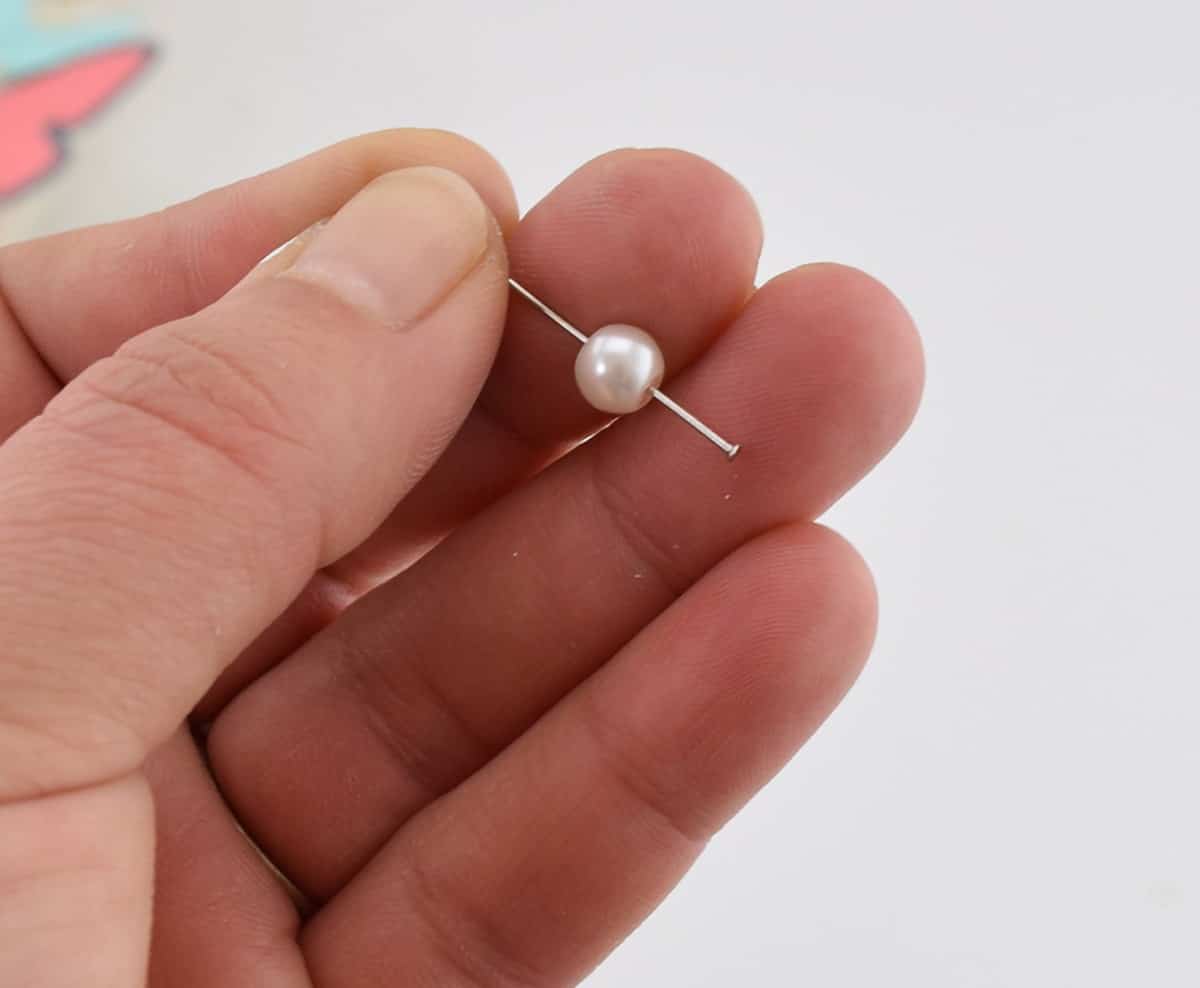
Now this butterfly wreath needs some spring bling! Using necklace pearls, thread yet more sewing pins through the hole and attached them to the wreath form.
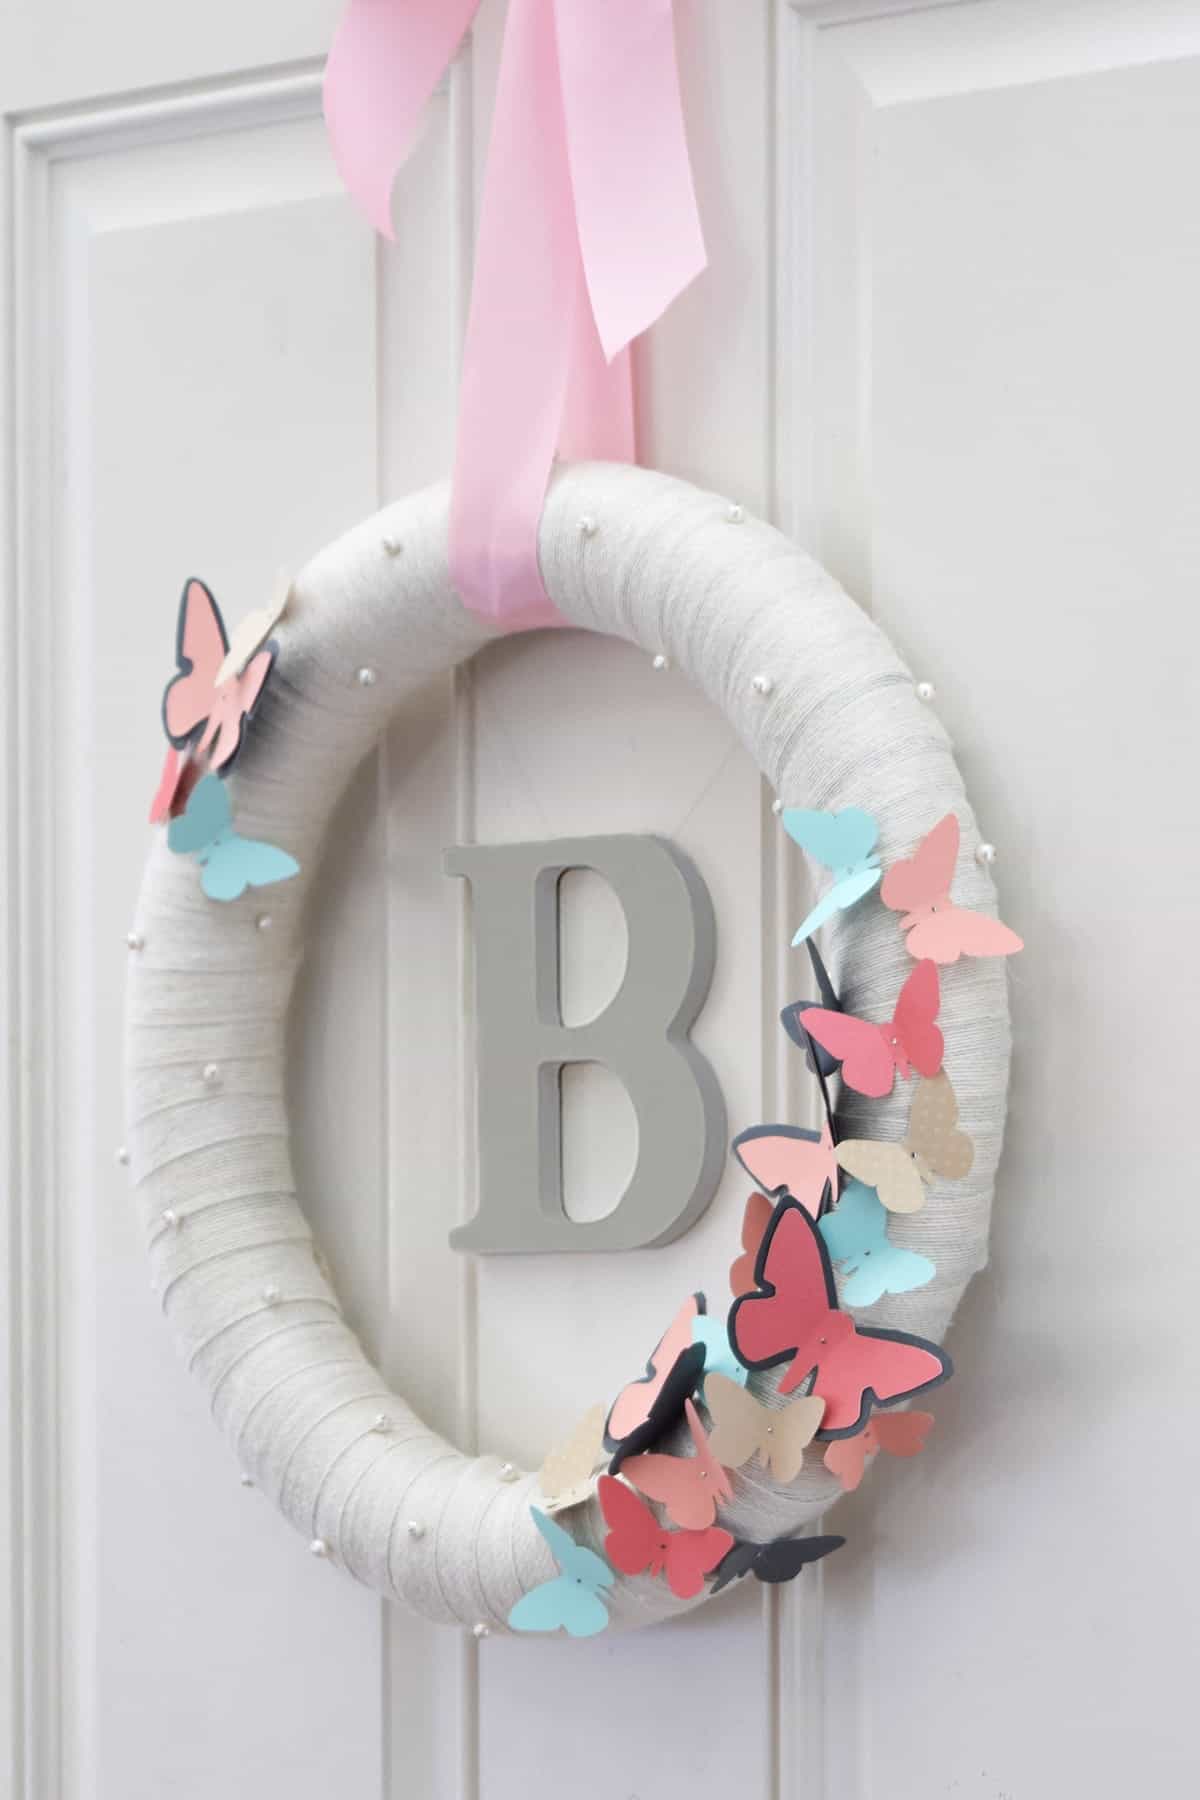
The wreath is finished off with a monogram “B” in the middle. It is suspended from the wreath using thread, but clear plastic thread or fishing line would be even better.
Hope you enjoyed this tutorial!

Grab our free series "Weekend Home Projects that will Transform Your Life" Sign up below to receive updates including free printables, organization tips, home improvement projects, recipes and more! |
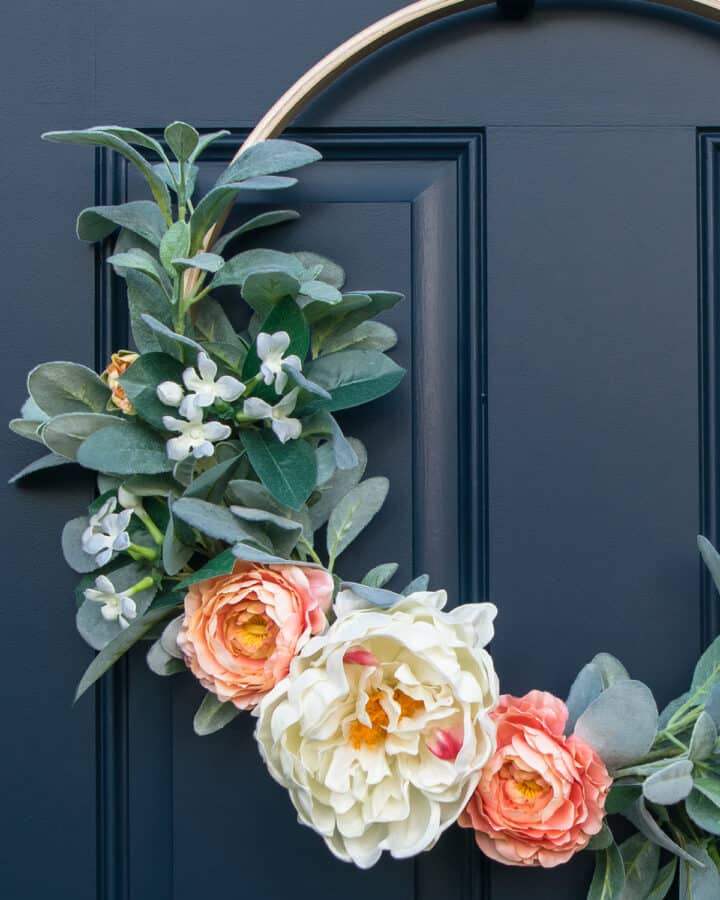
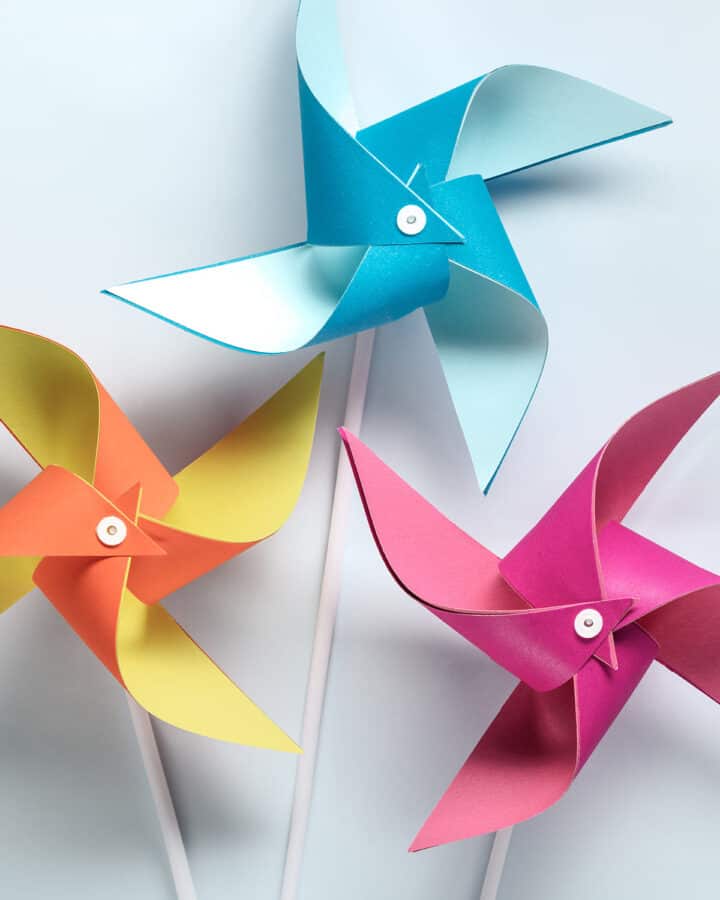
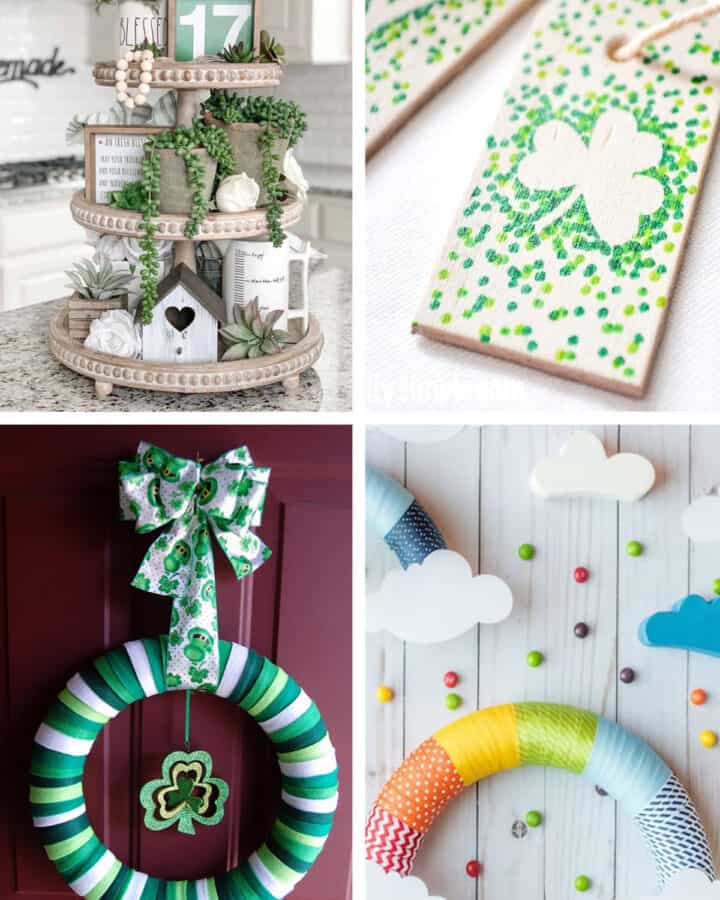
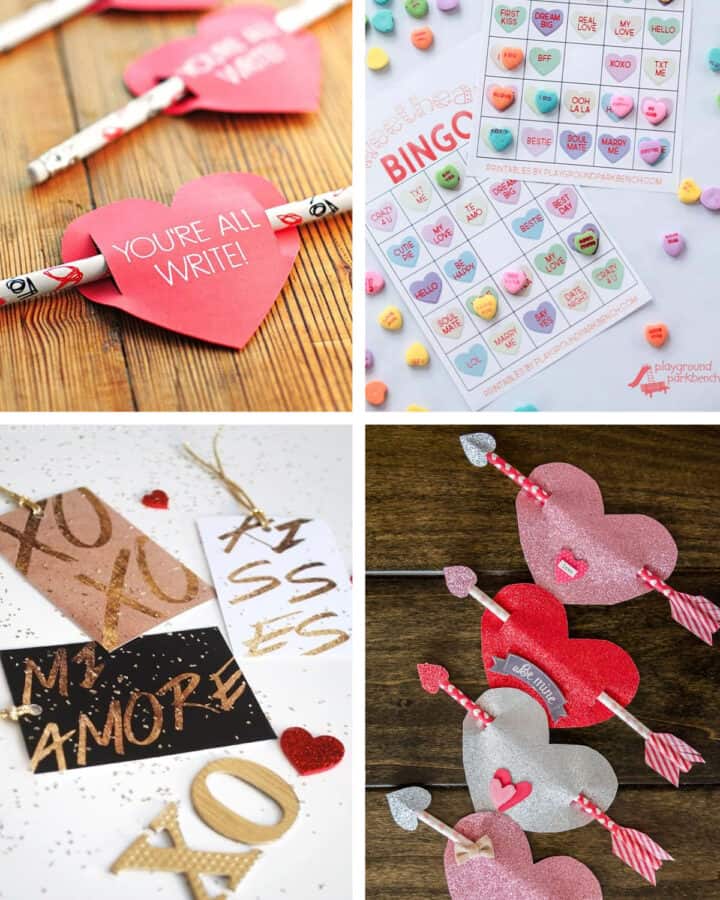
More Spring Crafts
PS I love seeing your creations! Be sure to take a photo and tag #cravingcreative on Instagram! You can also stay in touch with me through following me on Instagram, Pinterest, and subscribing to the newsletter!
laurascraftylife says
This wreath is beautiful. I love butterflies. Thanks so much for linking up to The Creative Exchange link party We are featuring your project this week. Be sure to stop by because we are hosting a fun giveaway in honor of our 100th party!
Kimberly says
Hello gorgeous! I love seeing your masterpieces.Thank you for bringing such great things to our party. Pinned and tweeted. I hope to see you on Monday at 7 pm.. Lou Lou Girls
Camila says
I’m LOVING this wreath! I love wreaths and love butterflies {you can tell by my blog’s design LOL}. Super cute and fresh!
XOXO
Amanda @ Dwelling in Happiness says
This is SO pretty! I just love the butterflies and those little pearls! Totally girly it up. 🙂 Thanks for linking it up with us at Motivational Monday! I’m featuring it on Sunday evening. 🙂 Hope to see you back again!
Bonnie @ The Pin Junkie says
Thanks for sharing this pretty wreath at The Pin Junkie. It’s being featured at this week’s party!
Rachel says
Wow! Thank you so much! I love visiting every week.
Beverly says
How pretty! I love the look of the pearls. What a sweet wreath to give to your niece.
Nina says
Well, how cute is that! Adorable wreath and absolutely perfect for spring. Thanks for sharing and for linking up to the Thursday Favorite Things Blog Hop at Katherine’s Corner. Hope to see you again this week at the hop! Nina @ Vintage Mama’s Cottage