Your budding Picasso’s works of art deserve a proper display! Encourage them with a kid’s art display that will be both attractive and show your pride in their work.
In my craft room makeover, I am happy to share the space with my son as he works alongside me on homework, doodles, and building Lego villages. Like most proud mommas, I could probably wallpaper an entire room with just his favorite artworks. Of course, I want him to feel pride in his art (while saving our poor fridge from looking like a mummy).
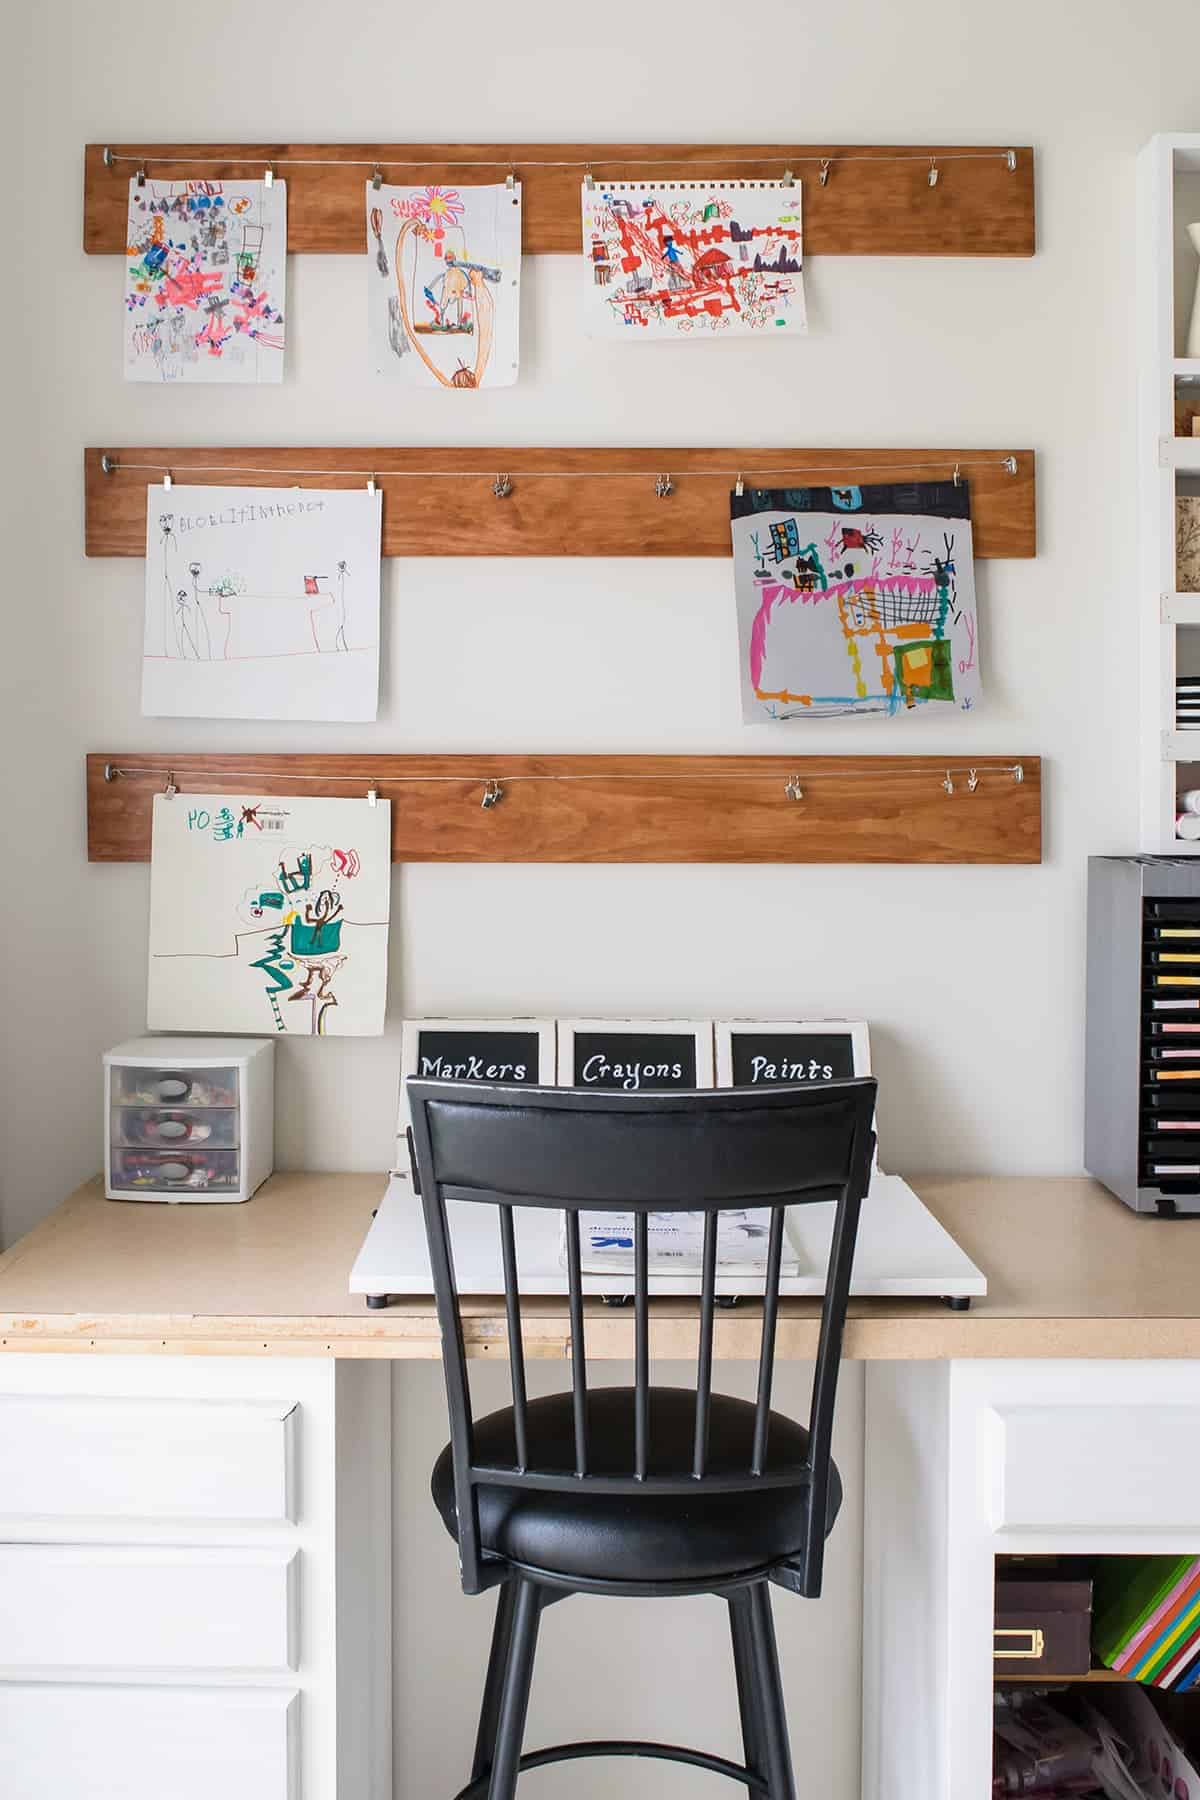
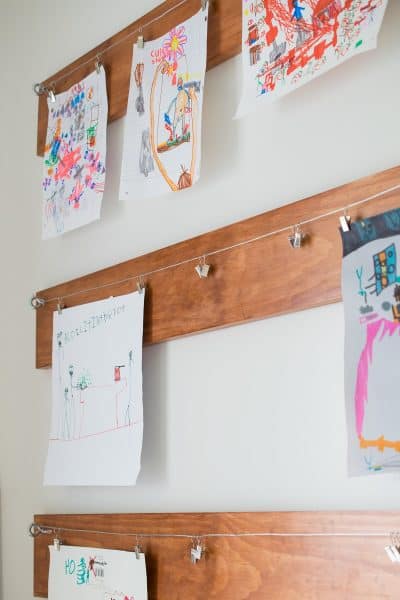
As part of that makeover, I wanted to display some of his original artwork on the walls and found a really fun way to showcase it in a kid’s art display (more on that in a minute). It is really easy, but I also want to give you some of the best ideas I have seen around the internet to show off those heartfelt creations.
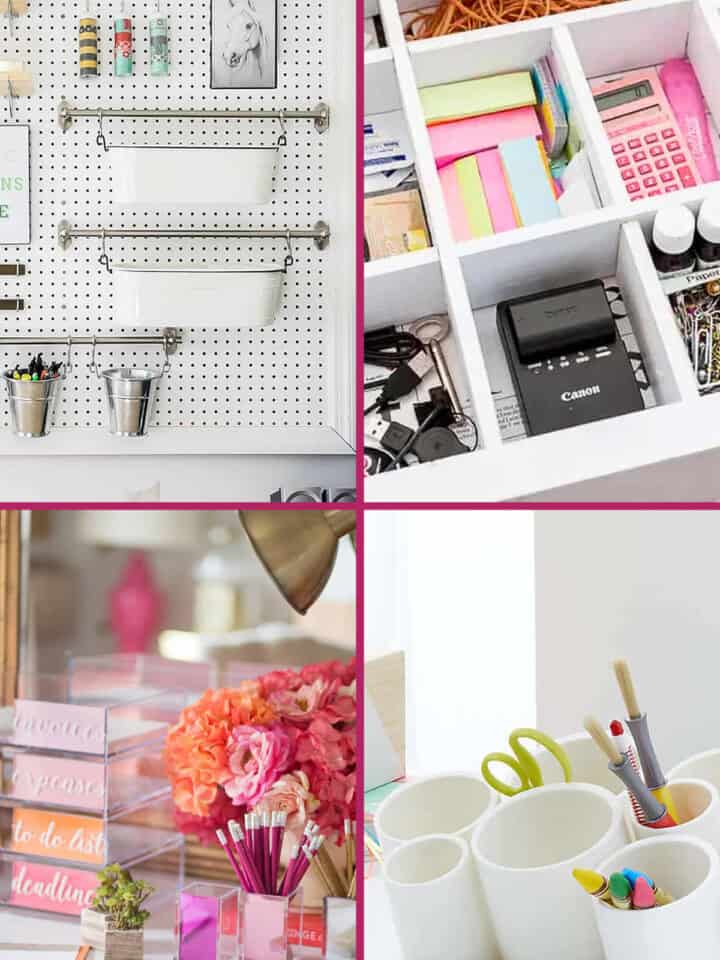
If you like working in an organized space, check out our favorite DIY desk organization ideas as well.
Children’s Artwork Display Ideas
Years ago, when I made my son’s gallery wall, there weren’t many options so we had to make one. But times have changed! These are my favorite ideas you can use to create a kid’s art gallery wall or mix and match with our tutorial below for a custom display.
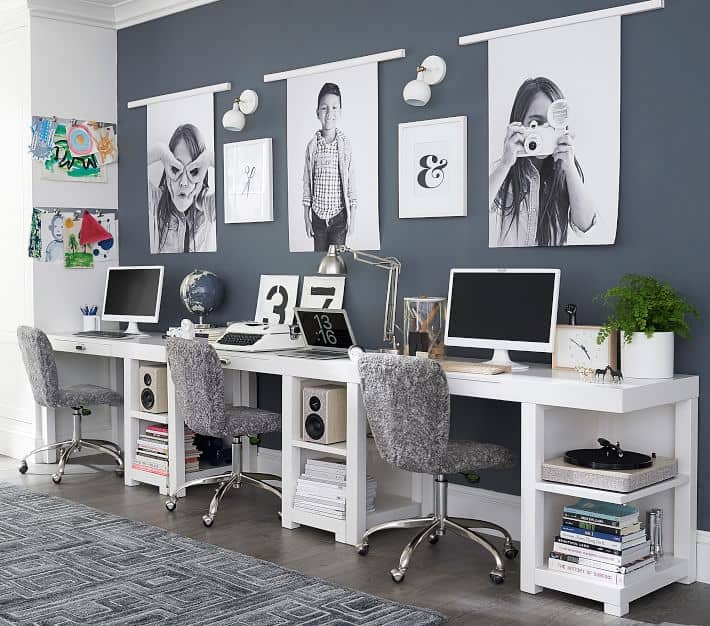
Oversized Photo Holders – Includes 25 clips and mounting hardware to make it so easy to hang! I have also seen cork boards used in much the same way.
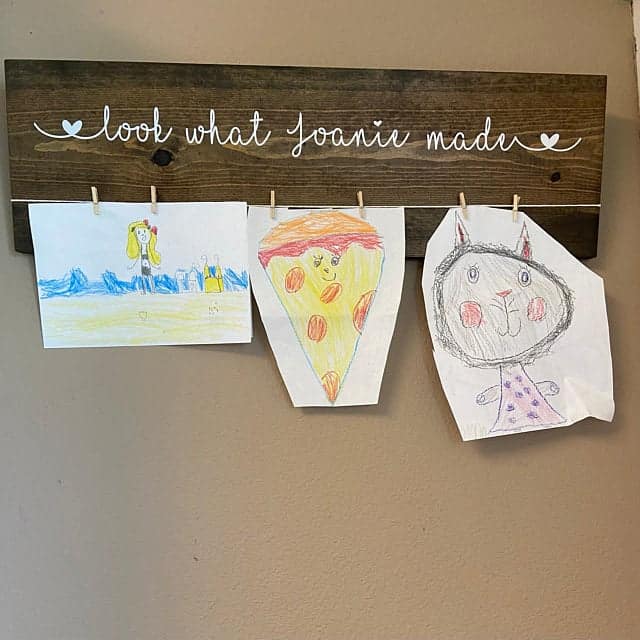
Personalized Sign with Wooden Clothespins – The clothespins are actually glued to the surface here rather than hung by string, which means the string won’t bend. The sting in the photo is only decorative.
White Clamp Style – Powerful magnets secure the artwork between the two wooden slats, which separate easily to allow for a frequent rotation of their latest and greatest creations.
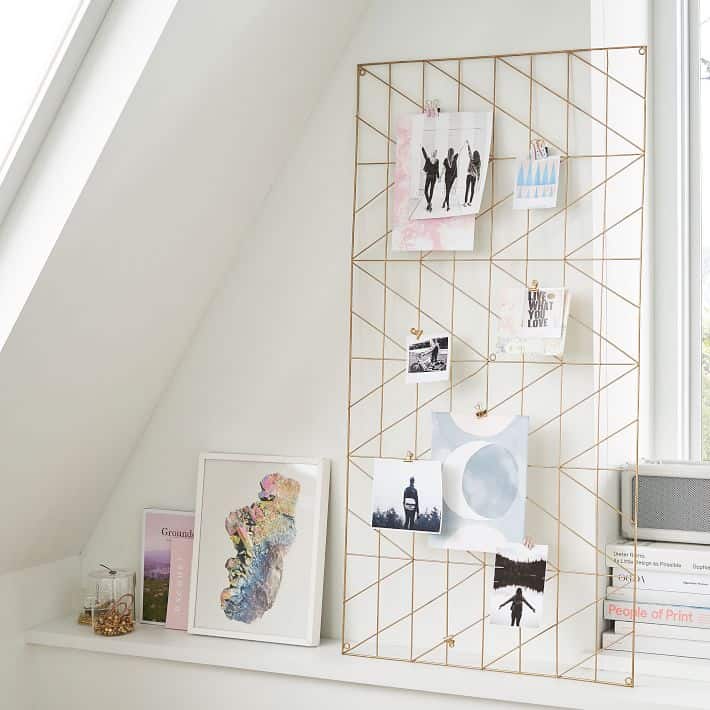
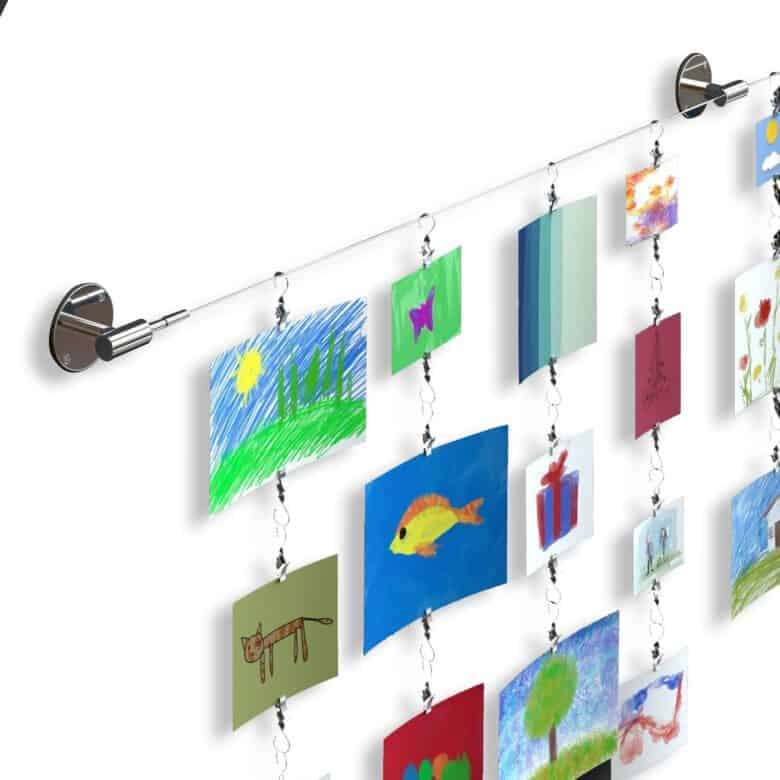
Steel Rod Hanging Apparatus – Make your child feel special by displaying art projects, photos, greeting cards and other family keepsakes on the hanging clips, which cascade down or you can buy multiple rods. Wire cable can support 30 LBS and the mounting cylinder brackets have a contemporary chrome finish.
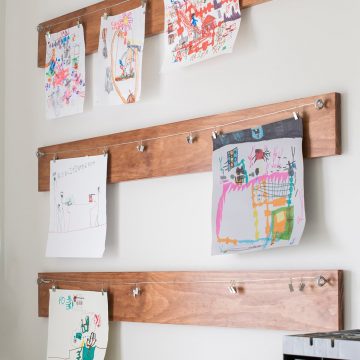
How We Built Our DIY Kid’s Art Display
Supplies
- 1 x 6 boards (we bought 1 4-foot board and 1 8-foot poplar board, cut in half)
- Screw Eye hooks (extra-long to go through the board and wall)
- Cable Wire
- Hanging Clips – we used these and used approximately 2 per linear foot of board
*Note: Boards are not really required for this project if you install the screw eyes into studs. We used boards to match the room aesthetic, and to prevent the cable wire tension from pulling the screw eyes together.

Step 1: Prepare the Back board
We cut the boards to our desired length, 48 inches long.
I used poplar boards with no knots and Early American Stain and sanded them with 320 grit sandpaper. I used a brush on the first coat, but the boards were so dry, they soaked in the stain in seconds which made it difficult to fix runs or blemishes. After that, I used a soaked, wadded-up t-shirt for the last 2 coats.
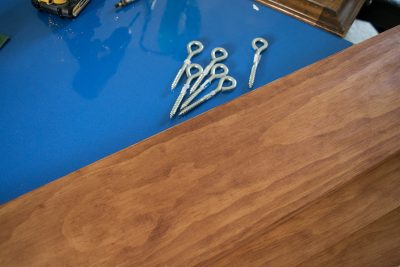
Step 2: Pre-drill the Eye Screws
The boards are hung directly on the wall using the eyelet screws. Of course, we pre-drilled a hole in the board and the wall to anchor the screws.
Pro Tip: Screw eyes aren’t the easiest to drive in. You can use a screw driver put through the eye and turn it by hand to get more leverage. However, you can also use a Wing Nut driver on a drill.
Step 3: Decide Positioning and hang board
After deciding the distance necessary between boards, we held them up to the wall. We used a level and finished screwing the screw eye through the drywall.

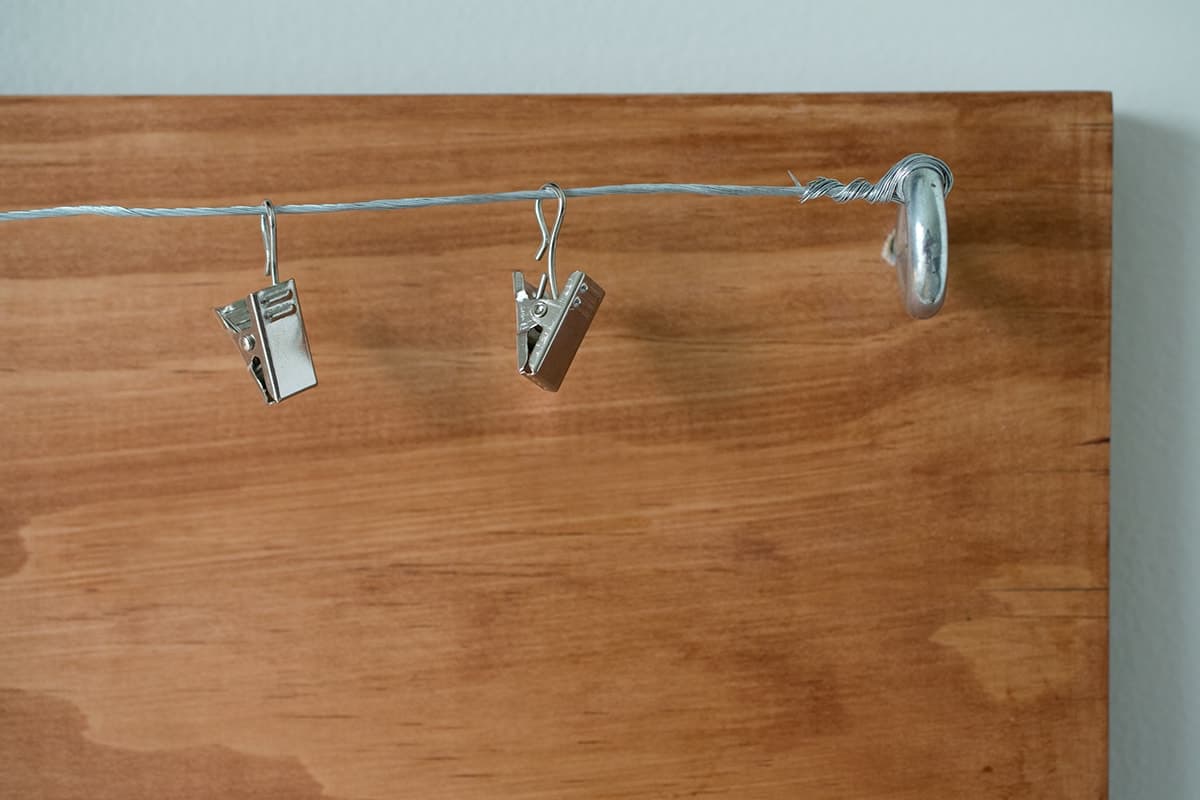
Step 4: Add wire and clips
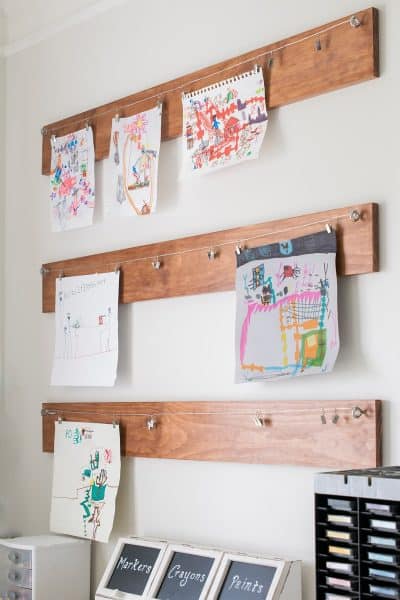
After hanging the art display boards, I used wire to string the clips between the eyelet screws. I simply twisted the ends very tight. Because my child’s artwork can vary wildly in size, I mostly use two (or more if really large) clips to hang each piece of art.

Looking for More Kids Organization Ideas? Check These Out:
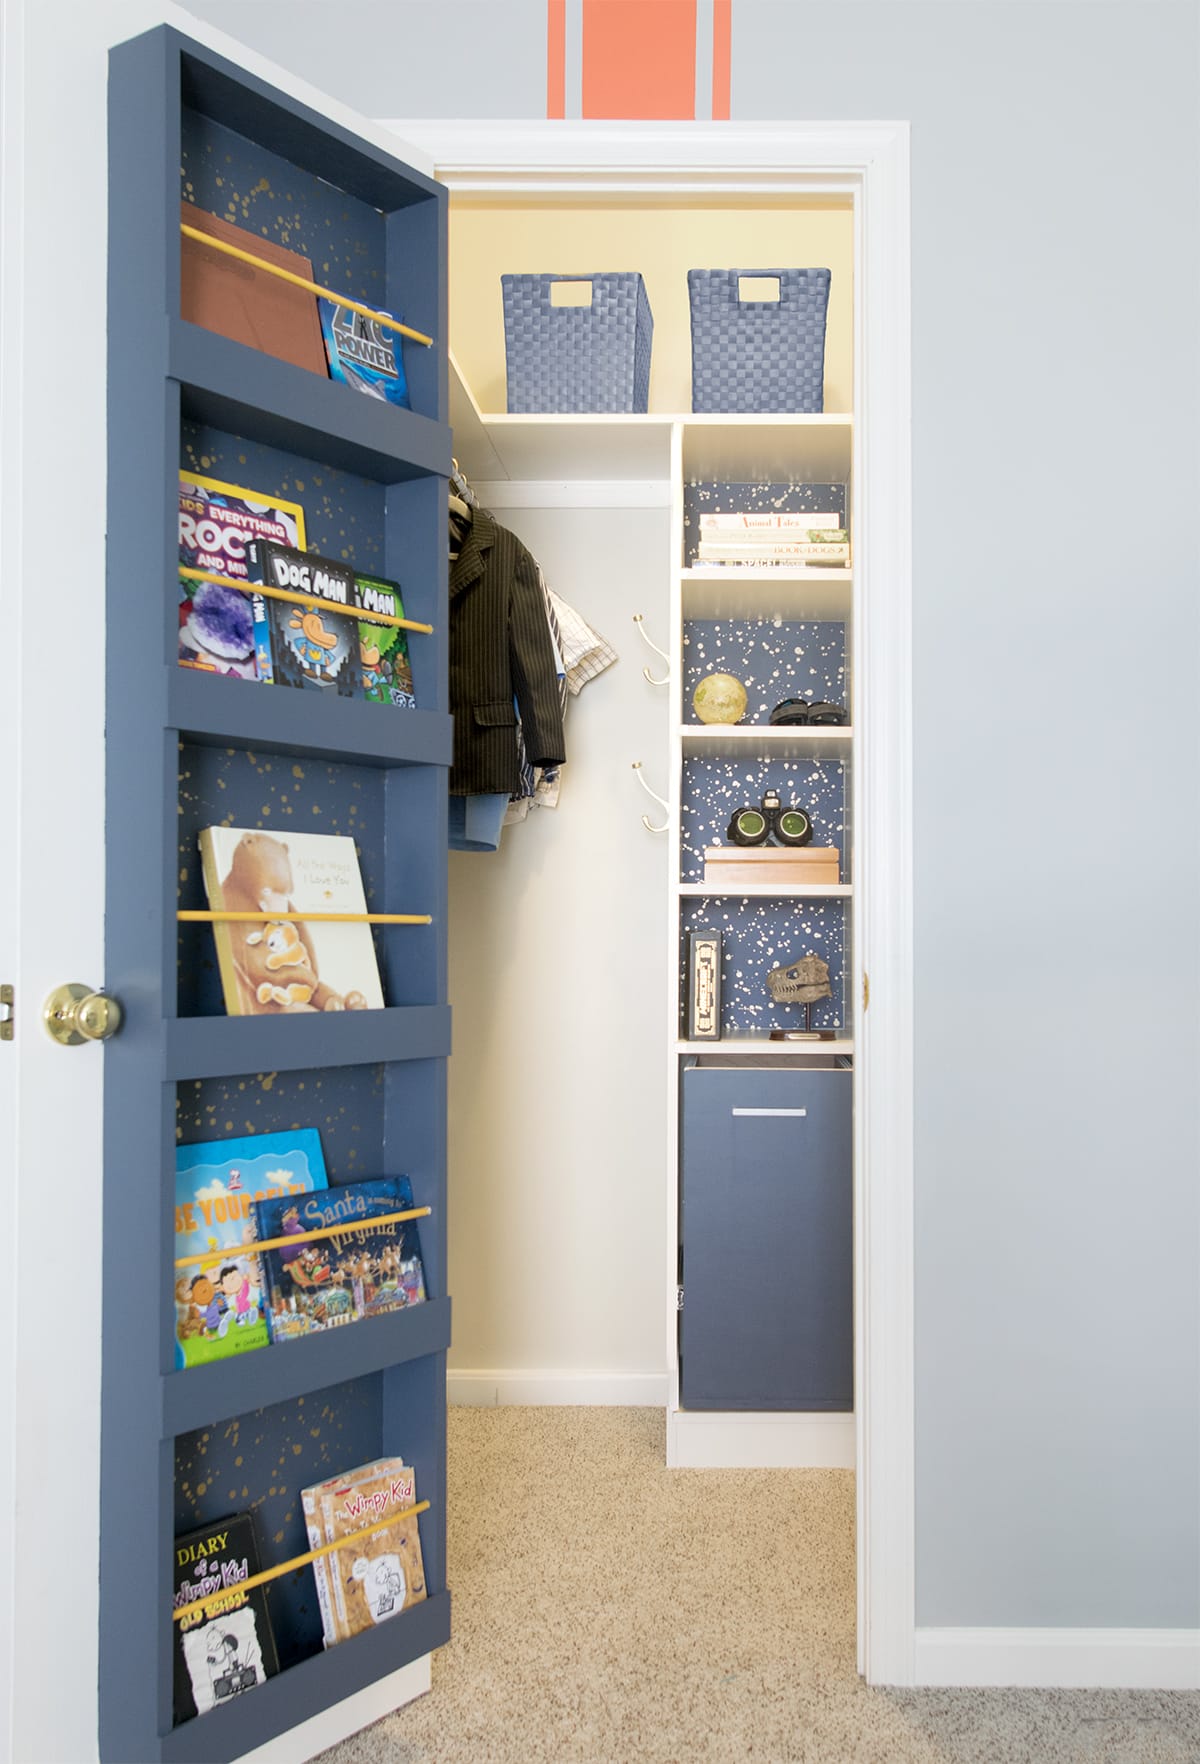
- Kids Stylish Closet Makeover with Book Storage
- DIY Desk Organizers
- Small Bathroom Organization Ideas
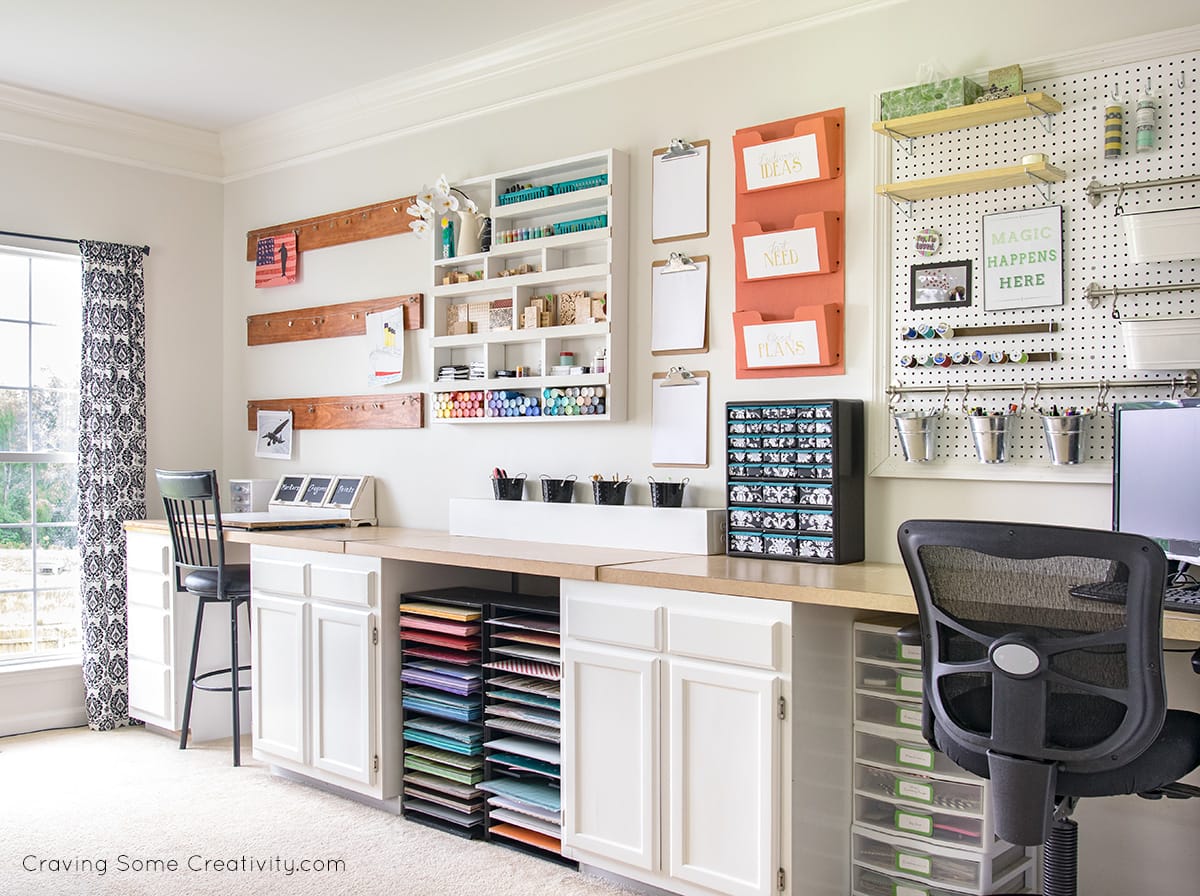
I love how it finished out his desk area. Now he has his own personal art work area. I thought about putting something like this in his room but it definitely feels like it belongs here.
The craft room is complete! Check it out:

Grab our free series "Weekend Home Projects that will Transform Your Life" Sign up below to receive updates including free printables, organization tips, home improvement projects, recipes and more! |
More DIY Projects For Kids

DIY Kid’s Art Display
Tools
- Screw Driver
- Wing Nut driver optional
Supplies
- 3 1 x 6 boards cut to length
- 6 Screw Eye Hooks 2 per board and long enough to go through the board and wall
- Cable Wire
- 14 Hanging Clips
- Stain or Paint
Instructions
- Cut boards to desired length and stain or paint as desired. Pay attention to whether the weight requirement (i.e. children pulling on the boards or very heavy mixed media art work) necessitates screwing into studs or using additional wall anchors.

- Pre-drill holes in the boards and screw the anchor through the board. A wing nut driver makes it easier to screw into the wood, but it is not required. You can thread a screw driver through the eye and twist by hand. The holes should not be too close to the edge or you risk splitting or cracking the wood.
- Decide spacing between the boards. Hold each board up to the wall at the desired spacing. Use a level and finish drilling the anchors into the walls.

- Twist the wire around the eye screws tightly. Add clips as desired.

Notes
- Screw eyes and eyelet lags are terms sometimes used interchangeably for a long screw with a rounded eye on the end similar to a closed hook.
- Boards are not really required for this project if you install the screw eyes into studs. We used boards to match the room aesthetic, and to prevent the cable wire tension from pulling the screw eyes together.
Stephanie says
I know it’s been quite some time since you posted this. I was wondering how it held up over time, your likes and dislikes and also what was about your overall cost all in?
Rachel says
The art display has been great! The boards have held up really well. Although my son has grown and moved away from artwork, he now adds photos, patches, and little memorabilia or crafts. It wasn’t something I thought of at first, but it’s so creative. When I first made it, my cost was about $25, with the boards being the largest chunk. However, I’m pretty sure that the poplar boards have nearly doubled in price. We already had the wire and screw eyes. I wouldn’t do it differently, but the only negative is the wire must be as taunt as possible, otherwise the hooks tend to fall to the middle. Multi-thread wire works better than something smooth and thin like fishing line, for example. That bing said, everything we hang is very lightweight so it’s very rare that I have had to adjust the wire.
Jenny says
Do you know what wood you used?
Janan says
Love this and working on doing this for my kids right now! I was wondering how much space is in between the boards? I want to make sure there is enough space to hang stuff without covering up the next row. Looks in the photo like you have them spaced just right!
Rachel says
The distance I have between the boards is 10 inches. Good luck with your project! My son loves it so I am sure your kids will too!
Zara says
Love your ideas, I’m going to copy a coupe of them.
Quick question where did you obtain the white three wooden bin on top of the desk that has markers, crayons, and paint.
Thank you
Zara
Rachel says
I got that at Kohl’s a few years ago. Unfortunately, I haven’t seen one like it for a while.
Deb says
Hi, Love the long desk. I am wanting to do something similar. Where did you get it?
Rachel says
Thank you! In the craft room (you can see the entire reveal hereyou can see the entire reveal hereyou can see the entire reveal here), I used a set of used kitchen cabinets, painted them, and laid a formica counter top on it. The countertop was actually from our kitchen and we cut it to size. I love it!
Beckie says
Did you ever have any problems with everything falling to the middle… how did they all stay in place?
Rachel says
If there was too much slack in the wire or something heavy, that might happen. I never had problems with art work, but I have tightened the wire before because my son pulled on it to hang something.
Sonia says
Hi there! I’m planning on making these to hang my son’s artwork from school, and then as he grows, he can hang pictures or posters from it. What thickness is the board you used? Poplar board comes in different thicknesses, and I like the way your’s looks. Thanks for your help!
Rachel says
The boards I used are known as 1″x6″ (true measurements are about 3/4″x5.5″). I really hope he likes using it!
Jennyfer says
I am totally in love with your space! I am like you use to be, stuff everywhere. I love that you included a spot for your son. I am going to keep my daughters in mind when I finally get my spot. They are always into my stuff but I bet it would make them feel pretty special if they had their own spot. Thanks for the idea! It kinda feels like another art angel got her wing when someone get an amazing art space! Lol. Congrats!
Rachel says
Your comment made my day! Probably my entire week, actually. I hope you can find your own spot to enjoy soon!
Dalynn Anderson says
Where did you get the colors, markers & paint storage at????
Rachel says
I bought that at Kohl’s department store in their home decor section with the picture frames and such.
Heart says
This is exactly what I **need**. My kids love to draw anything in a paper. Now, I know what to do with their drawings (because they want to keep it). Thank you for sharing. It’s lovely!
Christine | Where The Smiles Have Been says
I love this! It’s great how it’s so easy to swap out the artwork, and it still looks very classy and doesn’t look juvenile or like it should be in a preschool room. Great job!