Learn how to remove countertops to save you money on a kitchen remodel. We have included removing laminate countertops as well as stone or granite. This project is fairly easy for a beginner but may require some help from strong friends.

Often times, installers won’t tell you about the hidden costs of their installation prices. Current prices for removing old countertops are about $17-30 a square foot! In fact, we saved on average, $650 by removing the old countertops ourselves during several renovations including replacing bathroom vanity tops and kitchen countertops.
If you are relatively handy, removing countertops is a pretty straight forward do it yourself.
There are essentially only two ways in which countertops are installed. They either screwed into brackets, as is the case of laminate counter tops, or they simply rest on the cabinets themselves. Today, I am taking you step by step through how to remove a countertop to save money!
Recommended Tools and Supplies
- Screwdriver or drill with attachment
- A Caulk knife or box cutter
- Adjustable Wrench (to loosen pipes for sink, faucet or stove)
- Bucket
- Putty knife
- Flashlight
- Prybar – to remove the 4-inch lip surround if you have one.
- Reciprocating saw – only needed to break very large or heavy countertops when disposing. Do not cut stone countertops.
- Tools for patching walls, if necessary.
Important tip: Wear the proper gear such as gloves, masks, glasses, and proper shoes. You never know when you are going to drop a hammer on your foot or step on a nail. You should also use the proper safety equipment to prepare for the unexpected, particularly if you have an older home that may have things like asbestos, lead paint, or mold.
Required Prep
Empty the cabinets underneath
Dust will happen. Dropping something may happen. removing your countertop will leave your dishes and bakeware exposed.
Uninstall appliances and Drains
Remove any connecting pipes such as those to the sink and faucet first. Gas lines or electrical lines to a stove also need to be shut off and secured for removal.
How To Remove Laminate Countertops
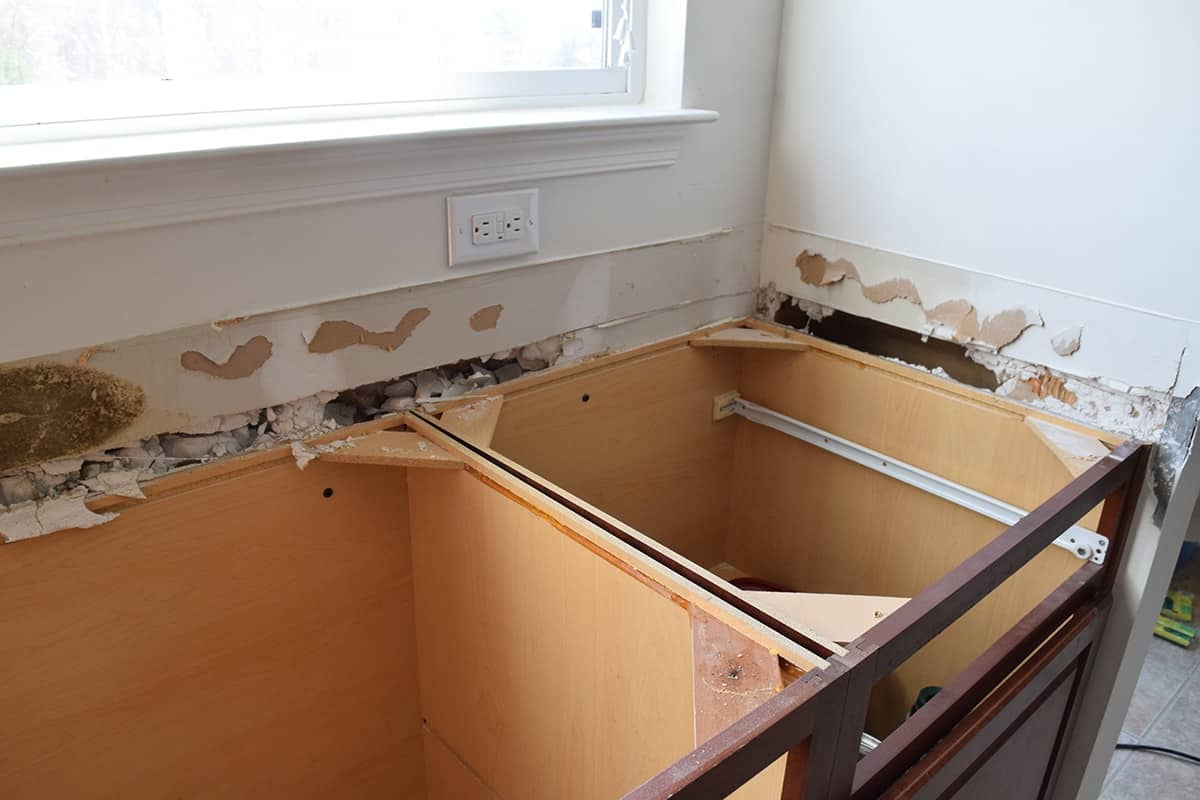
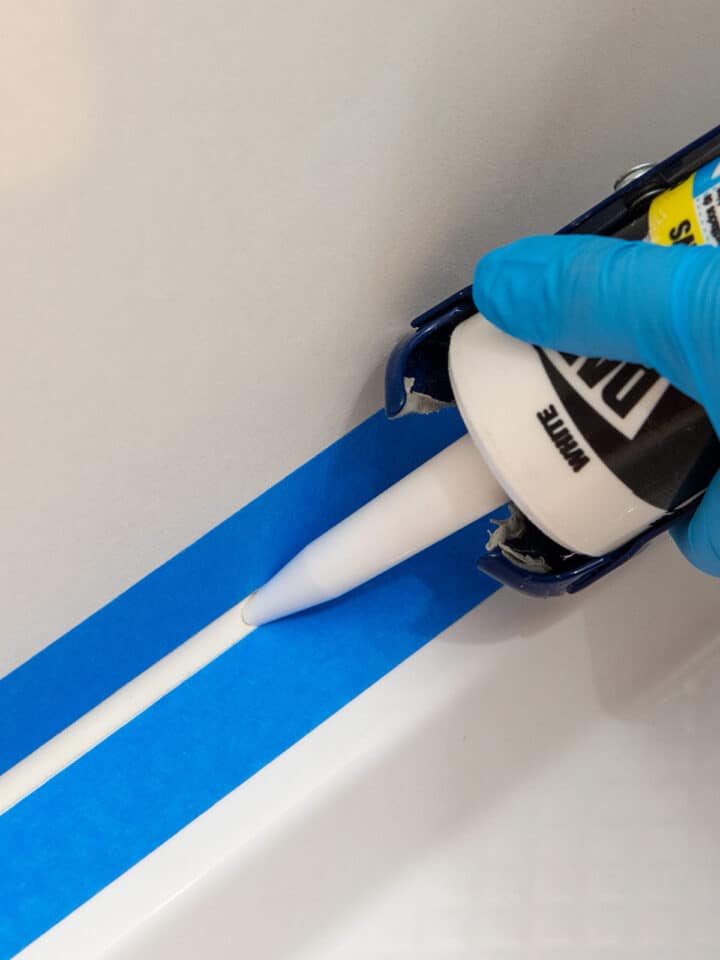
For any type of countertop, first remove the 4-inch surround if you have a separate one. Cut any caulk that attaches it to the wall and to the countertop with a box cutter or caulk knife. Use a pry bar to gently pry away from the wall.
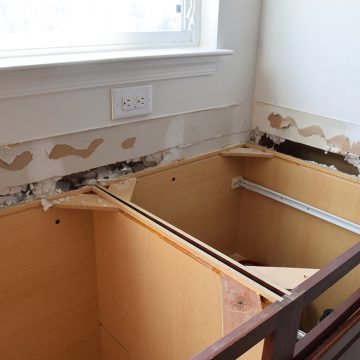
You may pull some of the drywall paper and that’s ok. It can be patched or will be covered with a backsplash or another surround.
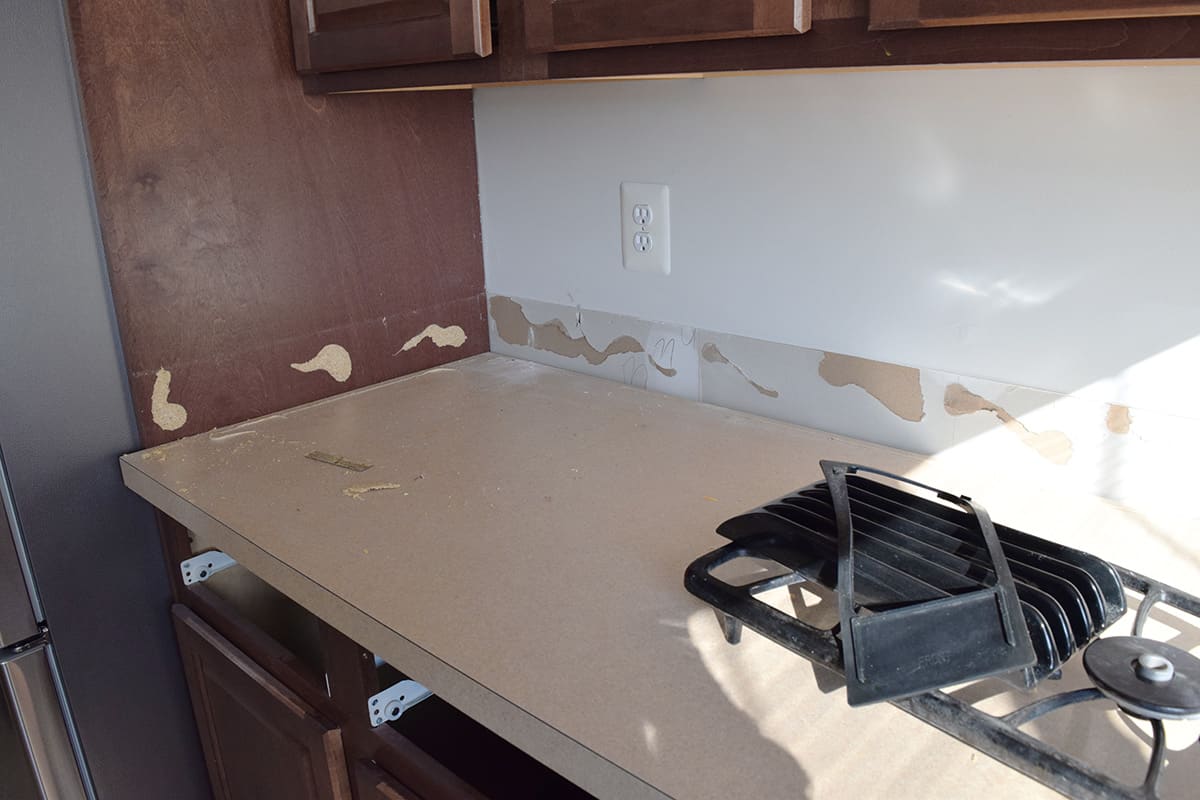
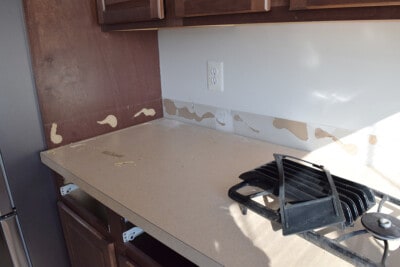
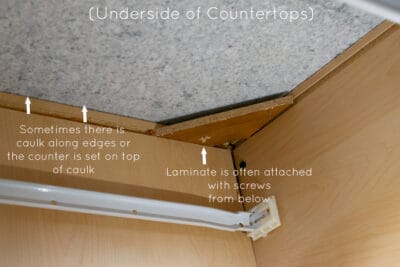
To remove laminate countertops, plastic, or sometimes molded surface countertops, check for brackets and screws underneath. These are usually in the corners but can be anywhere along the frame. These types of countertops may also be caulked in addition to the brackets. (Photo below in “How to Remove Granite Countertops).
After all screws are removed, use a box cutter to run along the front edge of the countertops. This is often caulked with clear silicone. After all caulk is cut enough (both inside and out) to release the top, gently lift the countertops from the front to a 30-degree angle and pull out from the cabinets.
Remove any excess caulk that was left with a putty knife before installing the new countertop.
How To Remove Granite Countertops
If you have a four-inch surround that is separate, first remove that. Cut any caulk that attaches it to the wall and use a pry bar to gently pry away from the wall. (See photo above.)
To remove quartz or granite countertops, there is often a caulk line between the cabinets and the countertop. Check both the inside and the outside of the base cabinets. To remove, use a utility knife, and cut the caulk line, being careful not to mar the cabinet faces. Granite and other stone surfaces are not bracketed to the cabinets themselves.

After all caulk is cut enough (both inside and out) to release the top, gently lift the countertops from the front to a 30-degree angle and pull out from the cabinets.
That’s all there is to it!
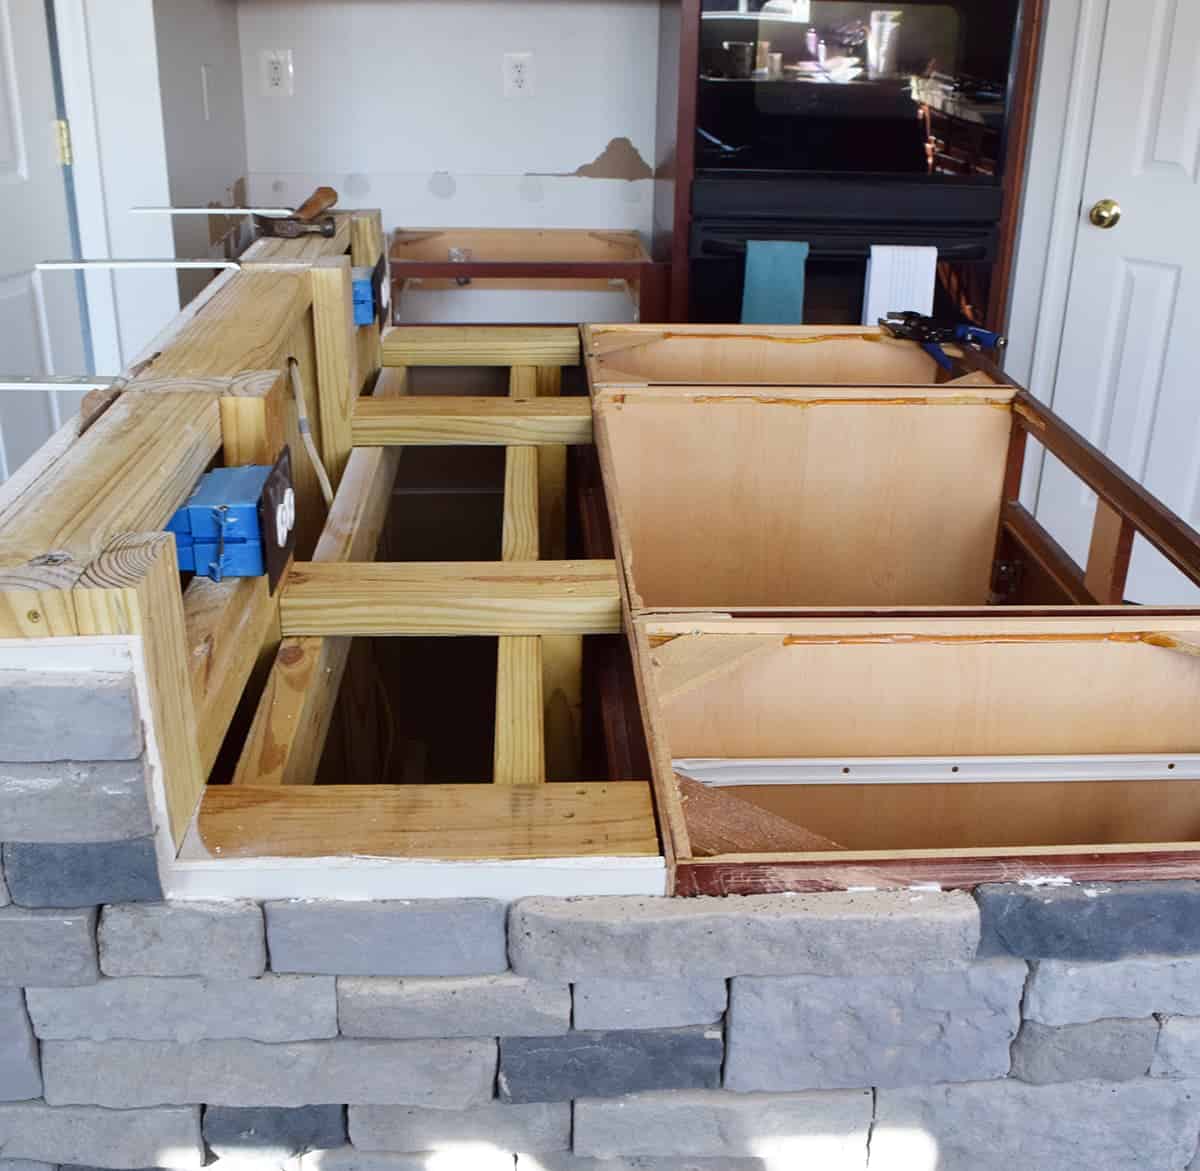
Tips for Replacing Countertops
Whether you install new countertops yourself or have a company do it, there are a few tips for a professional and successful installation.
Check for Proper Fit
If you are also replacing your sink or any appliance with connections, make sure the connections will properly fit before the install. This is particularly true if you are changing the depth of the sink.
- Make sure the pipes, gas lines, and electrical are long enough for a potential change in height.
- Will the garbage disposal still hook up properly?
- If you are installing a new drainpipe, make sure you have 1 inch, at minimum, of drain line coming out from the wall. (This is fixable if you don’t, but I have run into this problem a few times.)
- Even if your installation comes with a sink, they usually only include the basin. You will have to purchase a drain kit and plumbing separately.
How to Check for Level
It’s a fact that houses settle and that cabinets may not be level. A good countertop installer will make sure that your counter tops are level. However, you can and should check by placing a level on the countertops before your installers leave.
Review and Approve Everything
Very few things are cut on site. If you have a natural stone, make sure you approve not only the slab, but the placement of the cuts as well. Review the seams. There may be a mar in a section of the countertop you want to avoid, or you may want to minimize any seams.
Ask to see the slab with the cut markings on it before they cut. The outlets behind our bar were not correctly measured.
Wider pieces should be the priority such as islands and bar tops. Reviewing and asking questions is very important when you are working with any company.
Looking for More Kitchen DIY Projects? We have tons from our Renovations:
- 4 Ways to Waterproof a Shower for Tile Installation
- How To Repair Electrical Cords for Small Appliances
- Sanded vs Unsanded Grout
- How to Use Air Stone for a Faux Stone Island
- What to Know Before Finishing a Basement
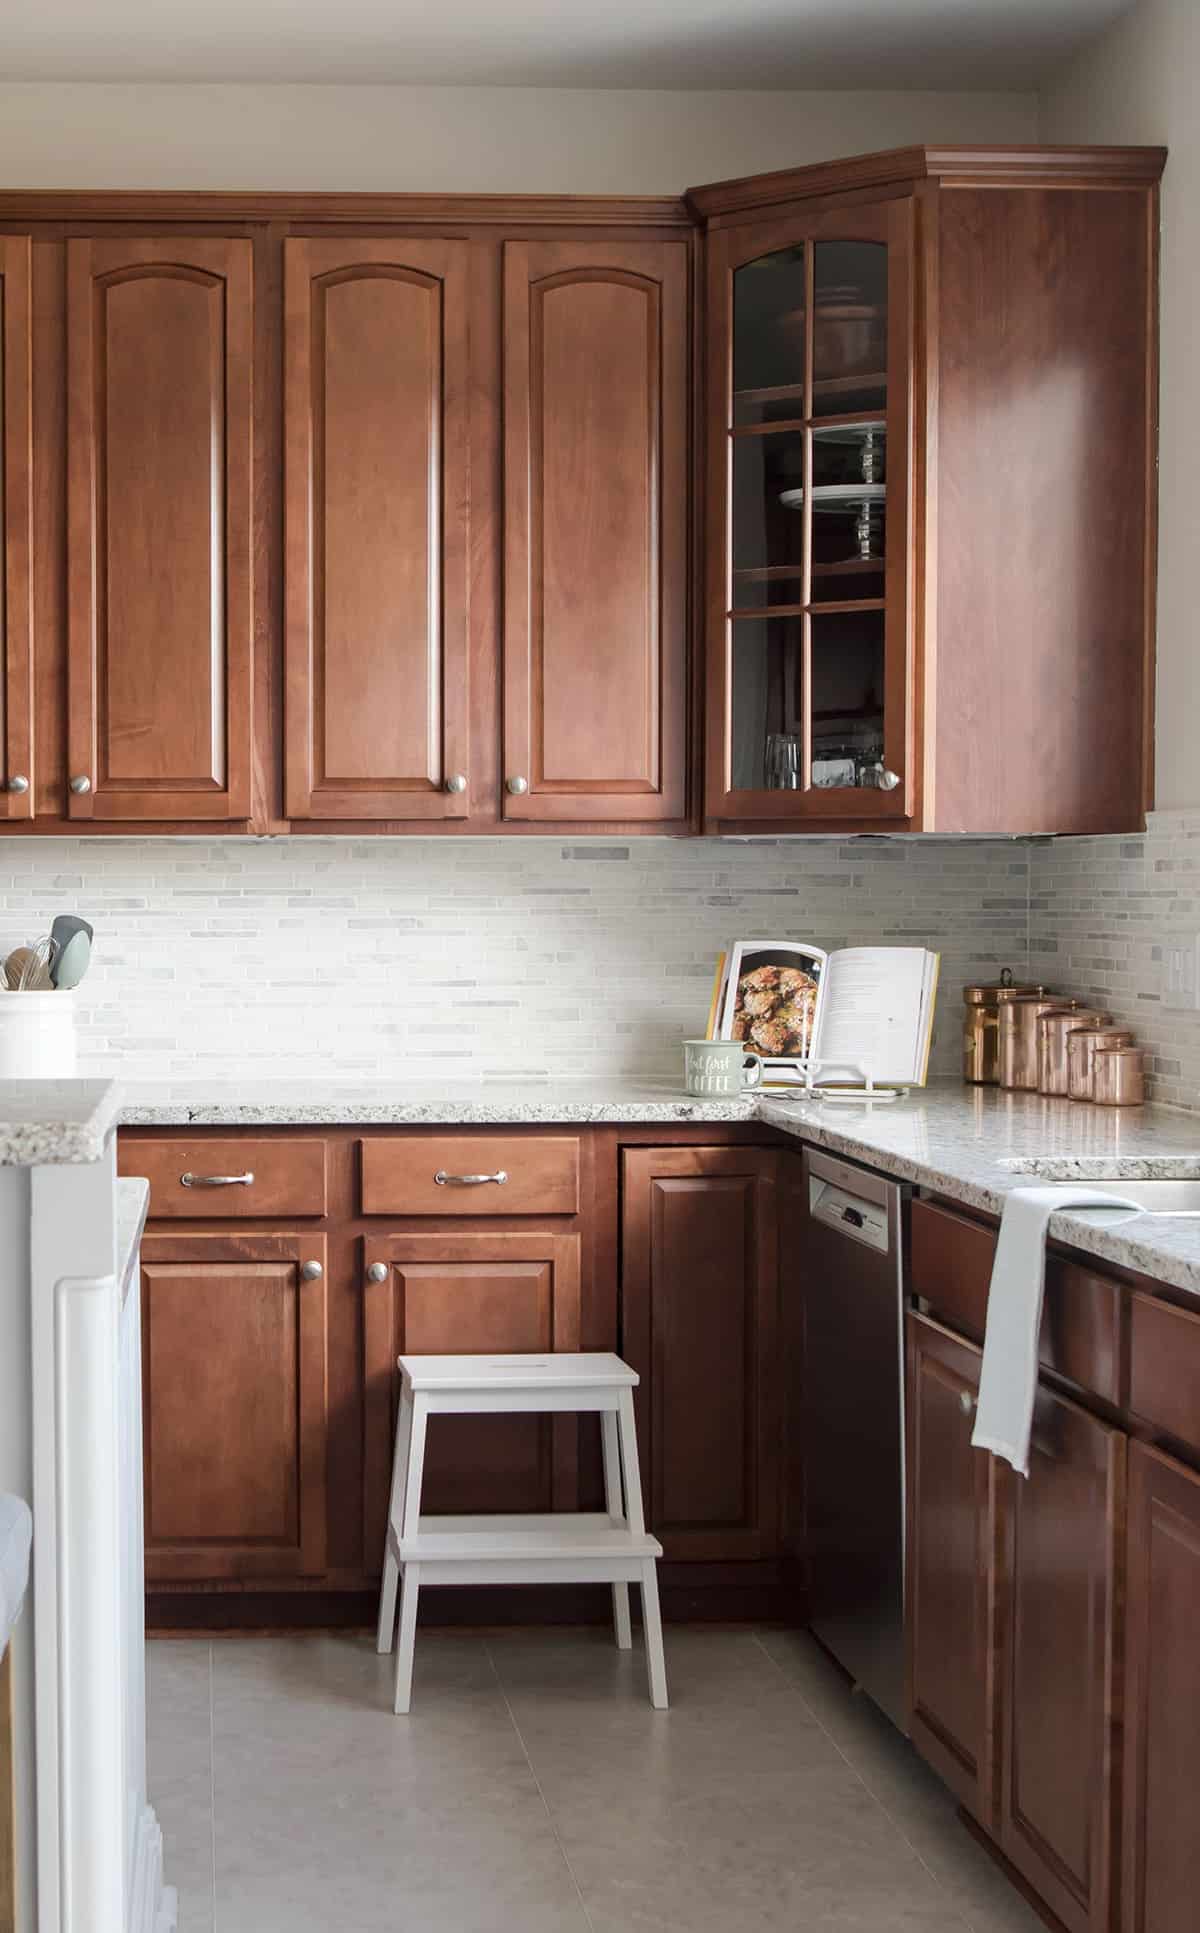
After having been through the process of replacing countertops many times in so many different houses and for others, I know what to look for and have always been extremely happy with how it turns out.

Grab our free series "Weekend Home Projects that will Transform Your Life" Sign up below to receive updates including free printables, organization tips, home improvement projects, recipes and more! |
More Kitchen Ideas


PS I love seeing your creations! Be sure to take a photo and tag #cravingcreative on Instagram! You can also stay in touch with me through following me on Instagram, Pinterest, and subscribing to the newsletter!
How To Remove Countertops
Tools
- Adjustable Wrench for detaching plumbing
- Screwdriver or Drill with attachment
- Bucket
- Flashlight
- Reciprocating Saw Only needed to break very large or heavy countertops when disposing. Do not cut stone countertops.
- Safety Equiptment Gloves, proper shoes
Instructions
- Empty the base cabinets to prevent dust and the potential of something dropping on breakable dishes.

- Turn off water and unhook all plumbing and appliances.
- For any type of countertop, first remove the 4-inch surround if you have a separate one. Cut any caulk that attaches it to the wall and to the countertop with a box cutter or caulk knife. Use a pry bar to gently pry away from the wall.
- To remove laminate countertops, plastic, or sometimes molded surface countertops, check for brackets and screws underneath. These are usually in the corners. Stone or granite are rarely screwed. For all countertop types, there is often a caulk line between the cabinets and the countertop. Check both the inside and the outside of the base cabinets. To remove, use a utility knife, and cut the caulk line, being careful not to mar the cabinet faces.
- After all caulk is cut enough (both inside and out) to release the top, gently lift the countertops from the front to a 30-degree angle and pull out from the cabinets.


Notes
- Make sure the pipes, gas lines, and electrical are long enough for a potential change in height.
- Will the garbage disposal still hook up properly?
- If you are installing a new drainpipe, make sure you have 1 inch, at minimum, of drain line coming out from the wall. (This is fixable if you don’t, but I have run into this problem a few times.)
- Even if your installation comes with a sink, they usually only include the basin. You will have to purchase a drain kit and plumbing separately.
Hannah says
I believe our new house has the exact same cabinets, and I have struggled so hard with what to do about them – keep them, paint them, reface them, etc. This is so beautiful, and I finally feel confident enough to keep them as is – thank you! One question – what is the wall paint color?
Rachel says
Glad you got some inspiration! Asiago by Valspar. It’s a very light taupe that reads as a warm white, although it isn’t a true white.
Afton Jackson says
My wife and I have been planning to make some upgrades to our house now that we have a bigger budget to work with. It was especially helpful when you made a note to check the proper fit of a new countertop because we’re used to having a lot of sink features like garbage disposal and easy-rinse attachments and so we’ll definitely need to take this into account when getting a kitchen renovation. I’ll be sure to show your article to my wife so we can ensure that our kitchen renovation is successful the first time. Thank you!