Learn how to tile a shower niche with this step-by-step guide. From measuring and planning to grouting, this tutorial covers everything you need to know for a successful DIY shower niche project.

There are certainly some design choices I’m not sure I lived without before. One of those is having a shower niche – those little boxes to hold shampoo and other bathroom necessities.
I am finally sharing the step by step if you want to add one in your bathroom remodel. If you haven’t done so yet, be sure to check out our full tutorial on how to tile shower walls for even more information for a successful DIY tiling job.
Benefits Of A Shower Niche
- Storage: They provide a convenient space to store shower essentials such as shampoo, conditioner, and soap.
- Aesthetic Appeal: Niches can enhance the visual appeal of the shower by creating a streamlined and clutter-free look.
- Functionality: Strategically placed niches optimize space making it more functional and comfortable for daily use.
- Customization: The size and shape can be customized to fit your specific needs and shower design.
- Easy Maintenance: Unlike hanging baskets or plastic shower caddies, recessed niches are easier to clean and maintain.
Overall, incorporating a tile shower niche adds both practicality and visual appeal to your shower space, so let’s talk about how to put one in any shower remodel project!
Determining The Ideal Location and Size
Ask yourself these questions to find the most suitable location and size to maximize functionality, aesthetics, and usability:
- What is the most useful place? Stand in a shower with your eyes closed and ask where is comfortable to reach for something. That gives an approximation for height and arm’s reach.
- How much storage do you need? Consider the items you plan to store in the niche and their sizes. Ensure the niche is large enough to accommodate bottles, soap, and other shower essentials without overcrowding.
- Where are your studs? A niche must be mounted on 2x4s or studs. I have an example below of how we framed a larger cubby.
- Where is your plumbing? Adjust for obstructions such as showerheads, plumbing pipes or electrical elements.
- What placement looks the best? Symmetrical on a wall can be beautiful, but consider other ideas as well. For example, we once added 2 smaller ones on the front wall on either side of the shower plumbing.
- Where does the water fall? It is best to place the box out of direct contact with the showerhead to prevent water damage. Particularly if you are short in stature like me, an ill placed niche can make the shower head water bounce off the bottom shelf and hit your face.
- Where will the tile lines intersect? Tiny slivers can be hard to work with. Therefore, you may want to measure your tile and look at how the grout lines may fall and adjust accordingly.
Designing Our Shower
We have done some of the most intricate tile shower niche designs in other bathroom remodels. This one from our beveled tile shower installation is one of my favorites:
However, this was entirely custom designed and built. I wouldn’t recommend it unless you have amazing patience, math skills, and tiling experience. Our newest niche is much more simple and ultra-modern.

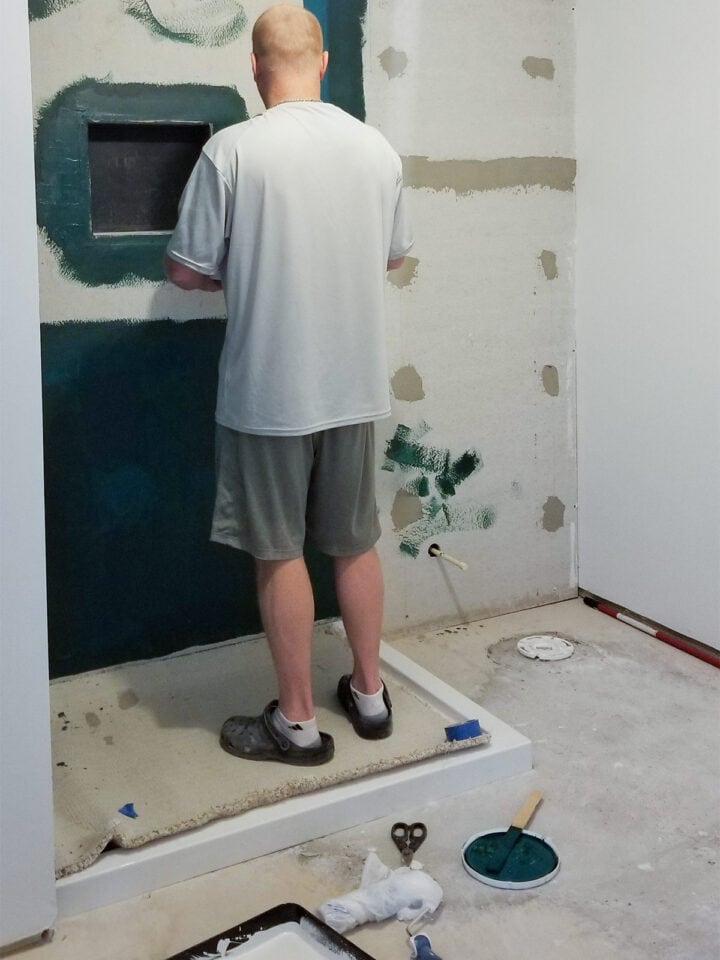
I forgot to take a framing photo of our newest shower niche, but this is how we framed for the larger niche. Since this is not a load bearing wall, we cut the studs and framed it out.
For ease, I recommend using a pre-made form like this to create a perfectly sized installation.
Pro Tip: When sizing, don’t forget that concrete board, waterproofing or Schluter Kerdi, mortar, and tile thickness will reduce space.
Do I need any special tools?
You pretty much need the same tools and such as tiling your wall. I would recommend getting a small or tight trowel like this one for putting mortar in. The large ones are difficult to use in small spaces.
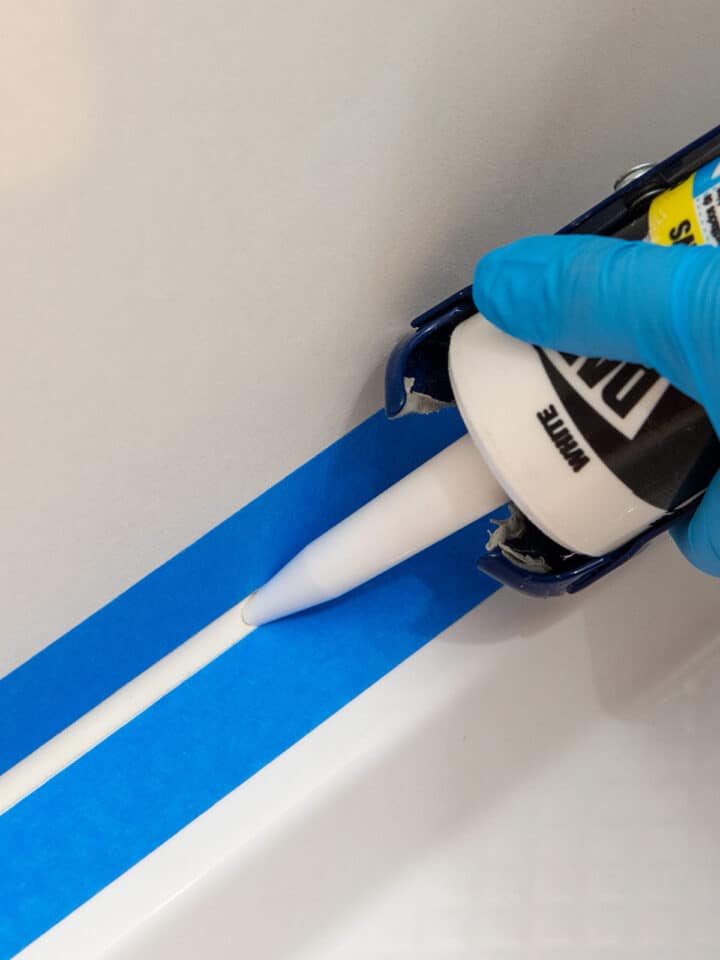
Check out our full guide >>>> 4 Ways to Waterproof your Shower. This will provide the best long term protection.
Planning and Pre-cut tile
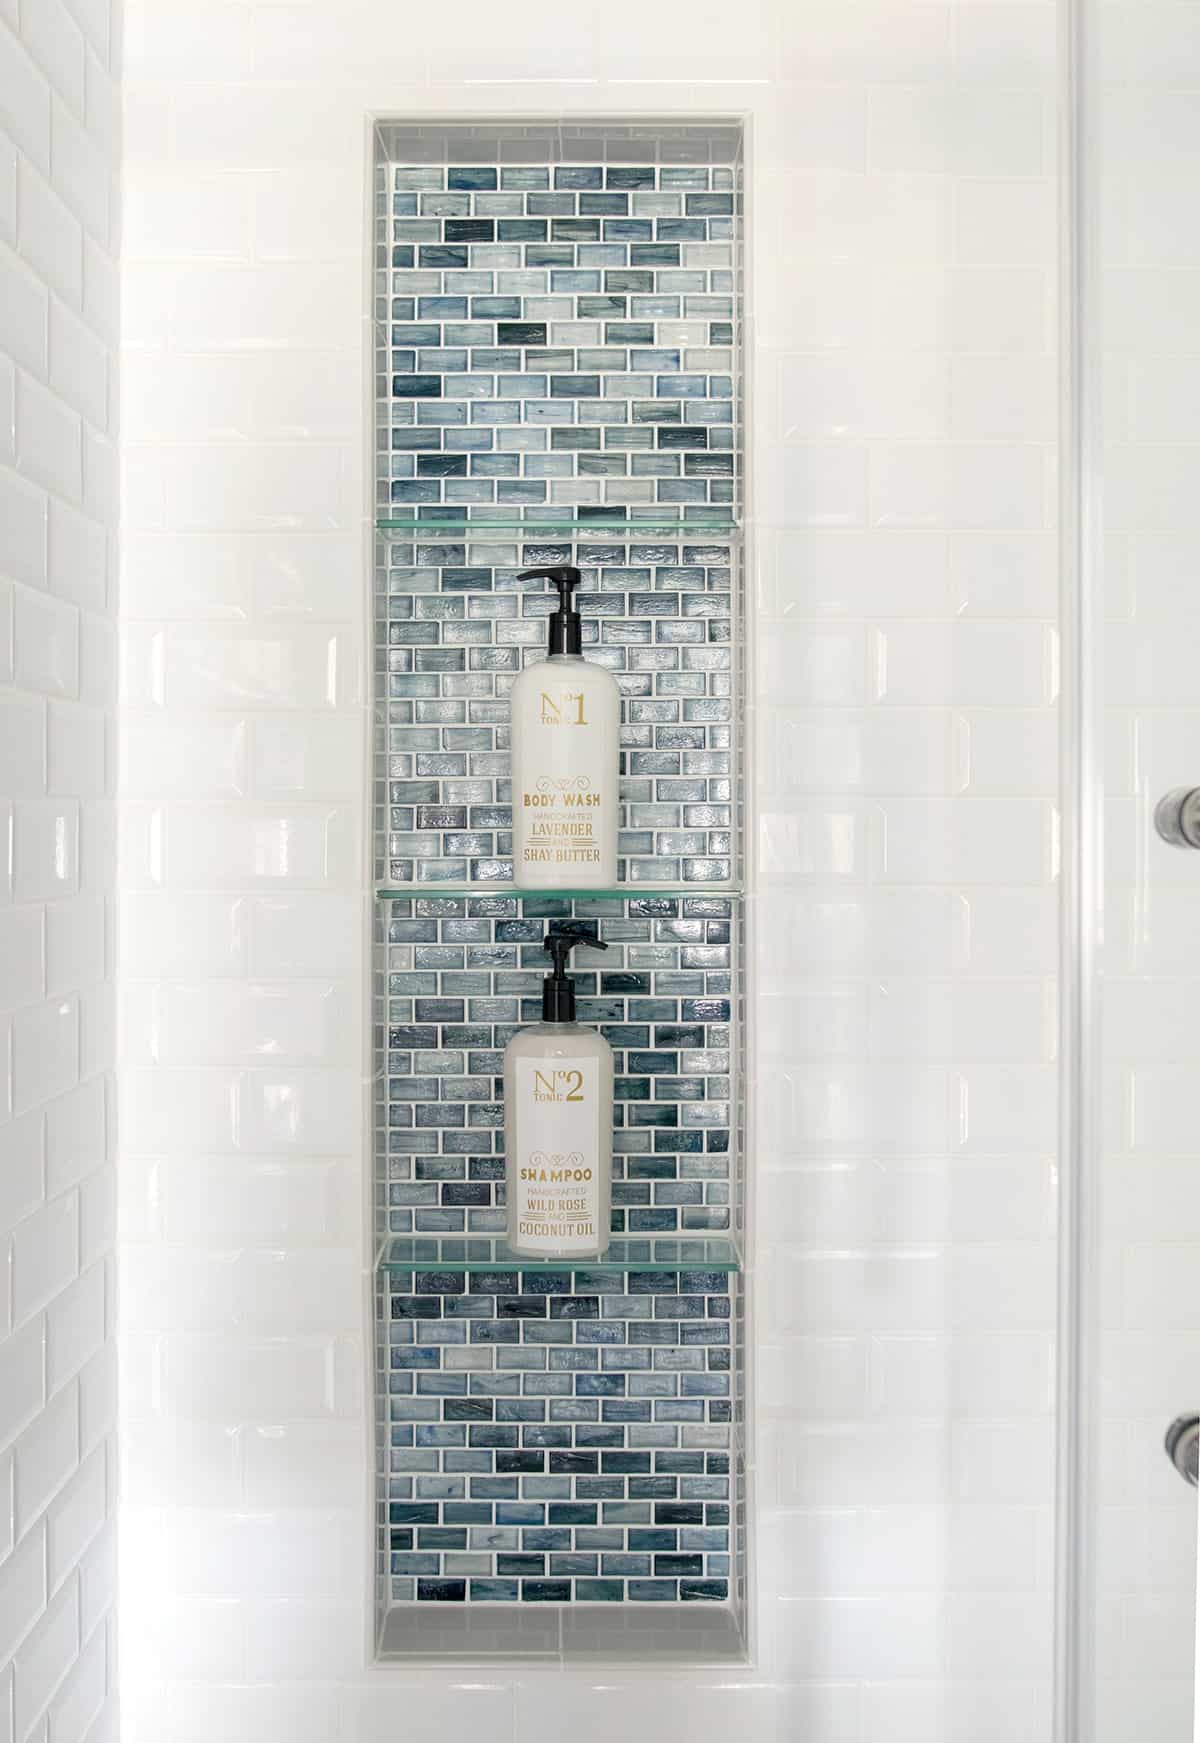
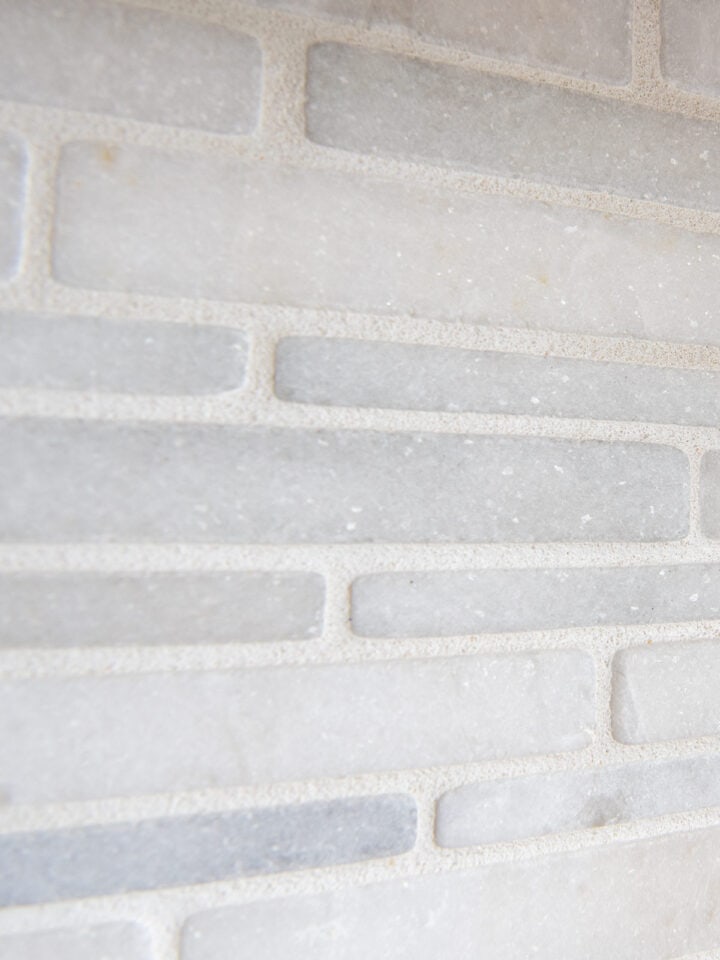
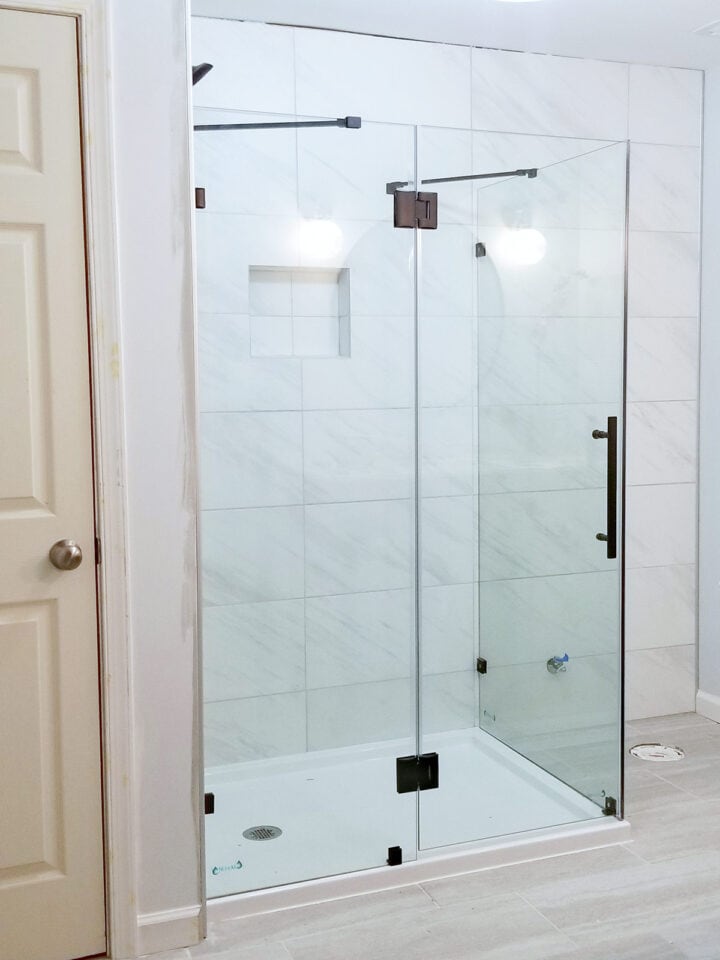
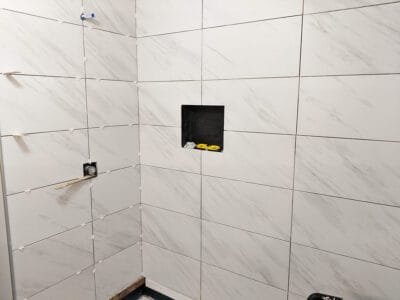
For our newest niche project, this is an ultra-modern and simple design. Most of the time, you see niches with a background accent tile. Today’s niche, however, is designed as an integral part of the wall. It uses only the same wall tile, and no trim tile or bullnose tile.
Below is how I laid out our design on the floor. I then cut and labeled the tile before mixing the mortar. The grout lines are created as a continuation of the surrounding tile. They are not actually centered.
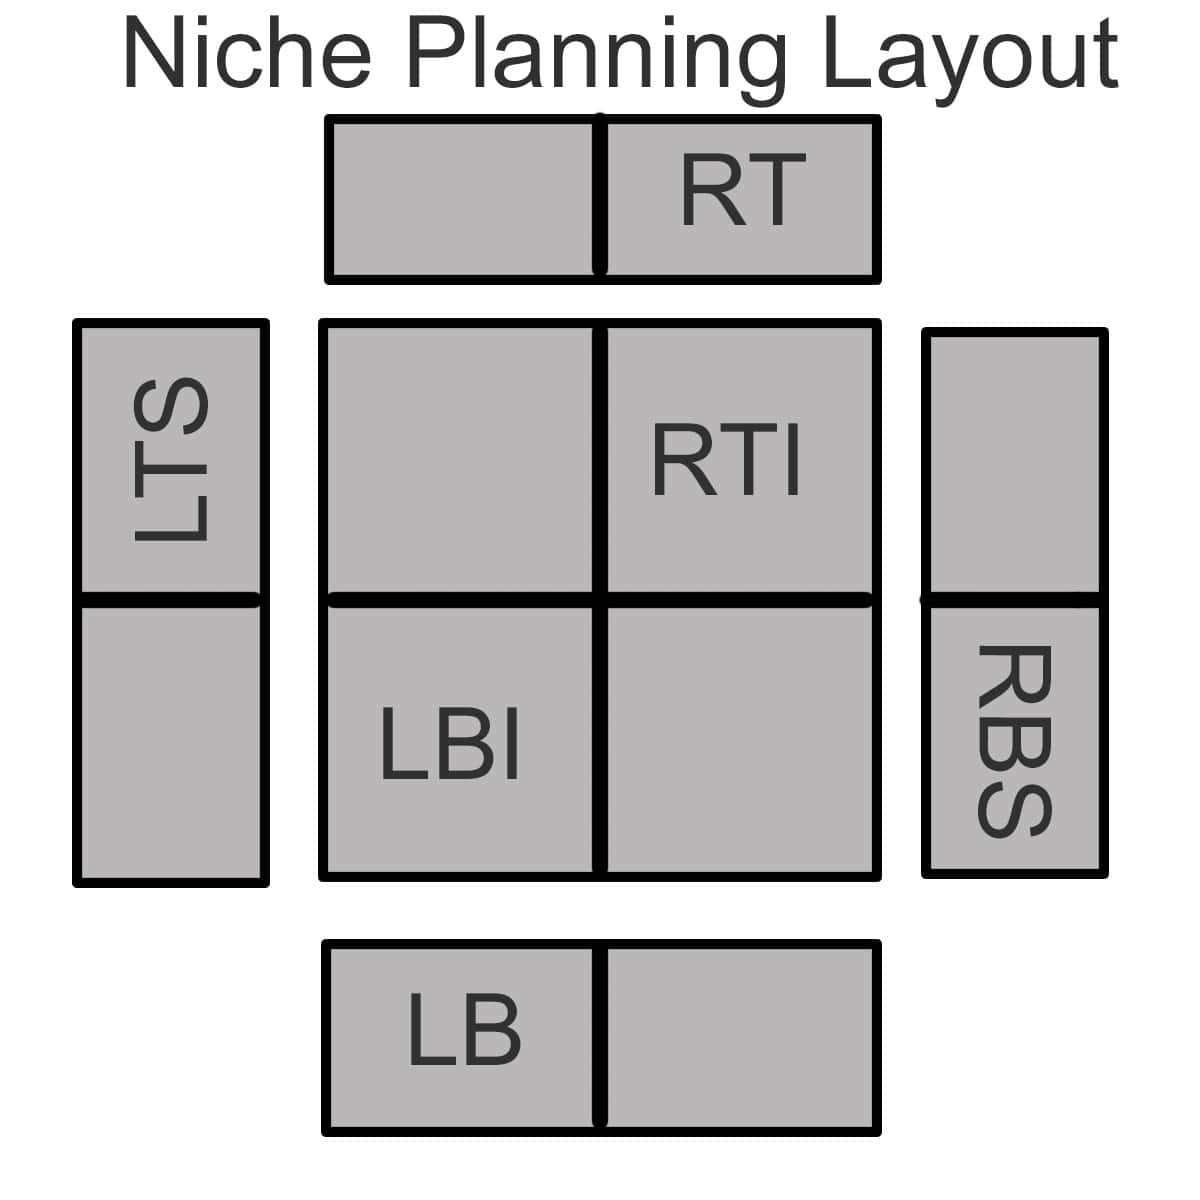
L= Left, R=Right, T=Top, B=Bottom, I=inside (back), S=side panels. You can also extend this to trim tile if you have that to add.
Tips for Installing a Shower Niche
- You can tile either the back or the sides first, depending on your design and tile spacing and depth.
- I recommend tiling the wall before the niche.
- Make sure that the bottom tile is slanted downward at least 1/16″ so that water drains out without pooling. VERY important!
- A pre-made form makes these shelves easier to install. However, I have made custom niches with concrete board and waterproofing.
- Waterproofing is highly recommended as corners and dips are more prone to water retention and cracking. If installed correctly, this should not be a problem however.
- Measure twice, cut once.
- For more complicated structures, the shelves are supported by tile and mortar to keep them in place.
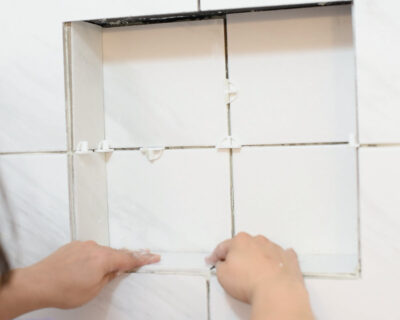
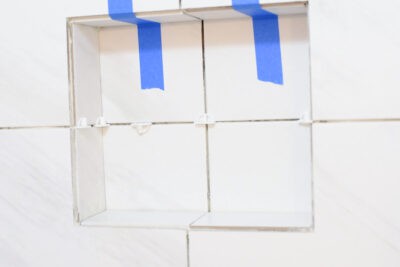
- Tape any precarious tiles into place while the mortar sets and dries. I recommend doing the top tiles last so the mortar has more time to set.
- Cut and dry fit tiles before mortaring to avoid mistakes.
- Do lay your pattern out on the floor ahead of time and label each part. (My own son decided to move my design before I started, and I couldn’t figure out which piece was which!)
- Make sure to clean and seal your grout surfaces. We have a handy tutorial for how we keep our grout clean and sparkling for years to come.

Frequently Asked Questions
You can choose to use a trim tile such as bullnose around the exterior. Contrary to what I see online, this is generally an aesthetic choice. I recommend installing the bullnose so it forms a slight lip for easier grouting and better design.
I have tiled several shower niches with no bullnose or trim tile. It can still be grouted appropriately around the edge and you can see from our example today how that looks.
Use of accent tile is a popular way to add style to a shower. However, the choice of tile style is only for aesthetic purposes. I have mix and matched accent tile as well as used the same tile throughout the niche and wall.
Because a niche is integrated into the wall behind the tile, the niche form must be done before tiling. If you cut into the wall, you will damage the water barrier in the other tile, causing major problems.
Grouted. The only places to caulk are around the shower pan or tub and where the tile meets the wall/ceiling.
After framing the shower niche and waterproofing the shower, it is easiest to tile the walls first. This will keep niche tile flush and best supported while drying. Remember to adjust space for the tile and edging your will use for the niche.

Not Sure
What's For Dinner?
Signup for recipe updates and get a free cookbook of Easy Weeknight Supper Solutions!
More Tiling Ideas and Tutorials
PS I love seeing your creations! Be sure to take a photo and tag #cravingcreative on Instagram! You can also stay in touch with me through following me on Instagram, Pinterest, and subscribing to the newsletter!

How to Tile a Shower Niche
Tools
- 1 Drill
- 1 Thin-set Mixing Paddle
- 1 Safety glasses
- 1 Square Trowel Get a small one too
Supplies
- Tile
- T-spacers See note for other varieties.
- Wedge Spacers
- Bucket
- Thinset Mortar Use the type that is recommended for your tile.
- Grout
- Tile Sponge
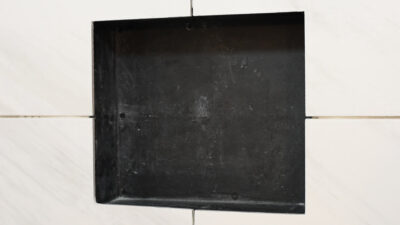
- Niche Form You can also build one/.
Instructions
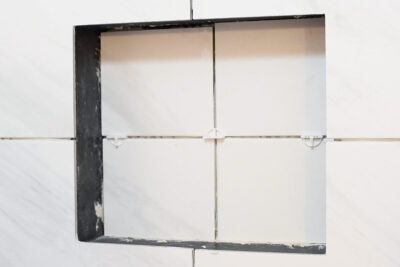
Mount Your Niche Form
- Either purchase a pre-made niche form or create your own from concrete board. Niches must be secured on all four sides by wood studs. (Photo is the framing for a larger niche we previously did.)

- Proceed to waterproof the niche area and shower tile as normal. I recommend tiling the shower wall first.


Plan Your Layout
- After deciding your design, do lay out your tile nearby and label all parts. Measure for accuracy before cutting the tile. Dry-fit the cut tiles to ensure they fit properly before applying mortar.


Prepare the surface
- It is best to tile your entire wall first before doing a niche so you can add spacing trim if desired.

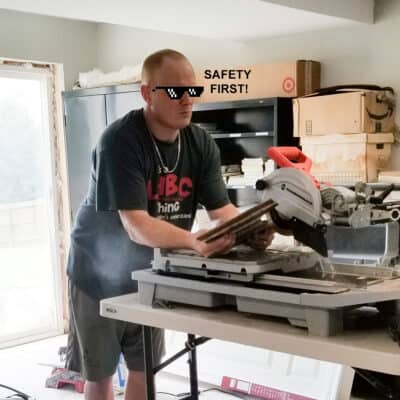
- Set up your tools including the wet saw and cover any areas you want to protect. Measure and mark tiles for cutting using a tile marker or pencil. Use a tile cutter or wet saw to make precise cuts.
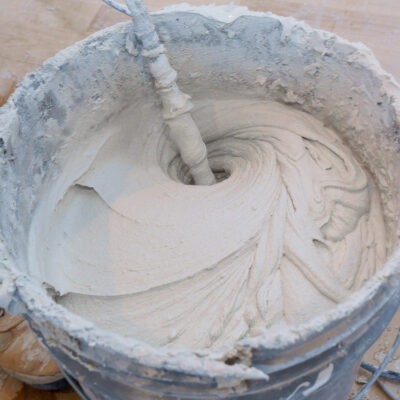
Mix the Mortar
- Use the mortar manufacturer instructions for mixing ratios and setting time. Pour the appropriate amount of water or additive into a clean bucket. Start the drill with the mixing paddle attachment. Slowly add the dry mortar mix to the water while mixing continuously. Continue mixing until you achieve a smooth, lump-free consistency. Mix only enough that you can use before the setting time.
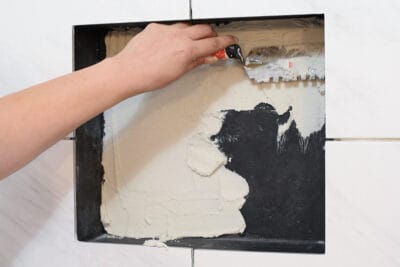
Apply the Mortar to the Niche.
- Spread a thin layer of mortar onto the area using a notched trowel. Then, hold the trowel at a 45-degree angle to create ridges in the mortar.

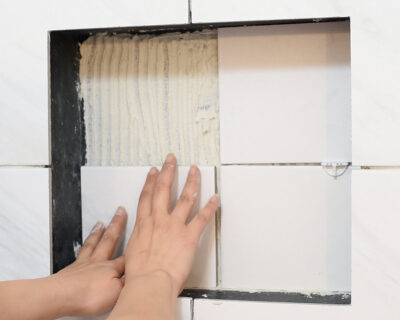
Add tile.
- You can tile either the back or sides first. I find it easier to tile the back and work outwards, but tiling the sides first is sometimes better too.
- If desired, back butter the tiles (scrape a thin, flat layer of mortar on the back of the tile with a trowel at about 30 degrees).

- Press the tiles firmly into the mortar, using slight twisting motions to ensure good adhesion. Check the edges are level with adjacent tile. Insert tile spacers between each tile to maintain consistent spacing. Wipe away any excess mortar from the tile grout lines and surface before it dries.

- The bottom tile should be at a slope at least 1/16 of an inch back to front to allow water to drain. The top tile should be done last and can be taped to hold in place while the mortar dries. Tape can also be used to hold bullnose or trim tile.

Dry Time and Grouting
- Let the mortar dry according to manufacturer instructions before grouting, which typically takes 24-48 hours. The process for mixing grout is the same as mortar, mix enough grout to use within the setting time, or about 20 minutes.
- Use a grout float or your hands to push the grout mixture into the lines and then wipe away excess grout. Make sure to push and wipe in multiple directions to completely fill the gaps.
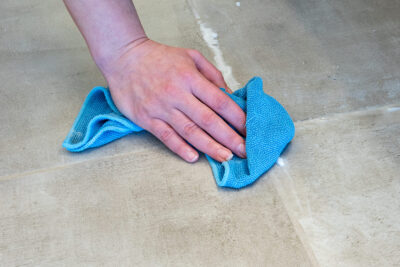
- After about 10-15 minutes, use a damp grout sponge to clean excess grout and make the lines smooth. Cleaning as much grout as possible will make haze removal easier later.

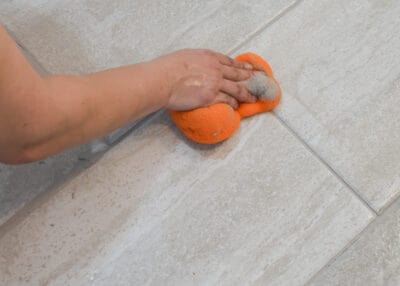
Haze Removal
- Wait at least 24-48 hours and wipe several times with a clean, damp sponge to remove any haze. The longer you wait, the harder it is to remove. Use a water bucket to rinse the sponge constantly and change out the water frequently. It may take a few cleanings to remove all of the haze. More will show up as it dries.
Sealing Grout
- I do recommend sealing all new grout for longevity and maintenance. Even those with pre-treatments in them will last better with an outer sealant.

Leave a Reply