Turn almost any planter into a self-watering container! Discover the secret to lush, thriving plants with our step-by-step tutorial on building your own DIY self-watering planter.
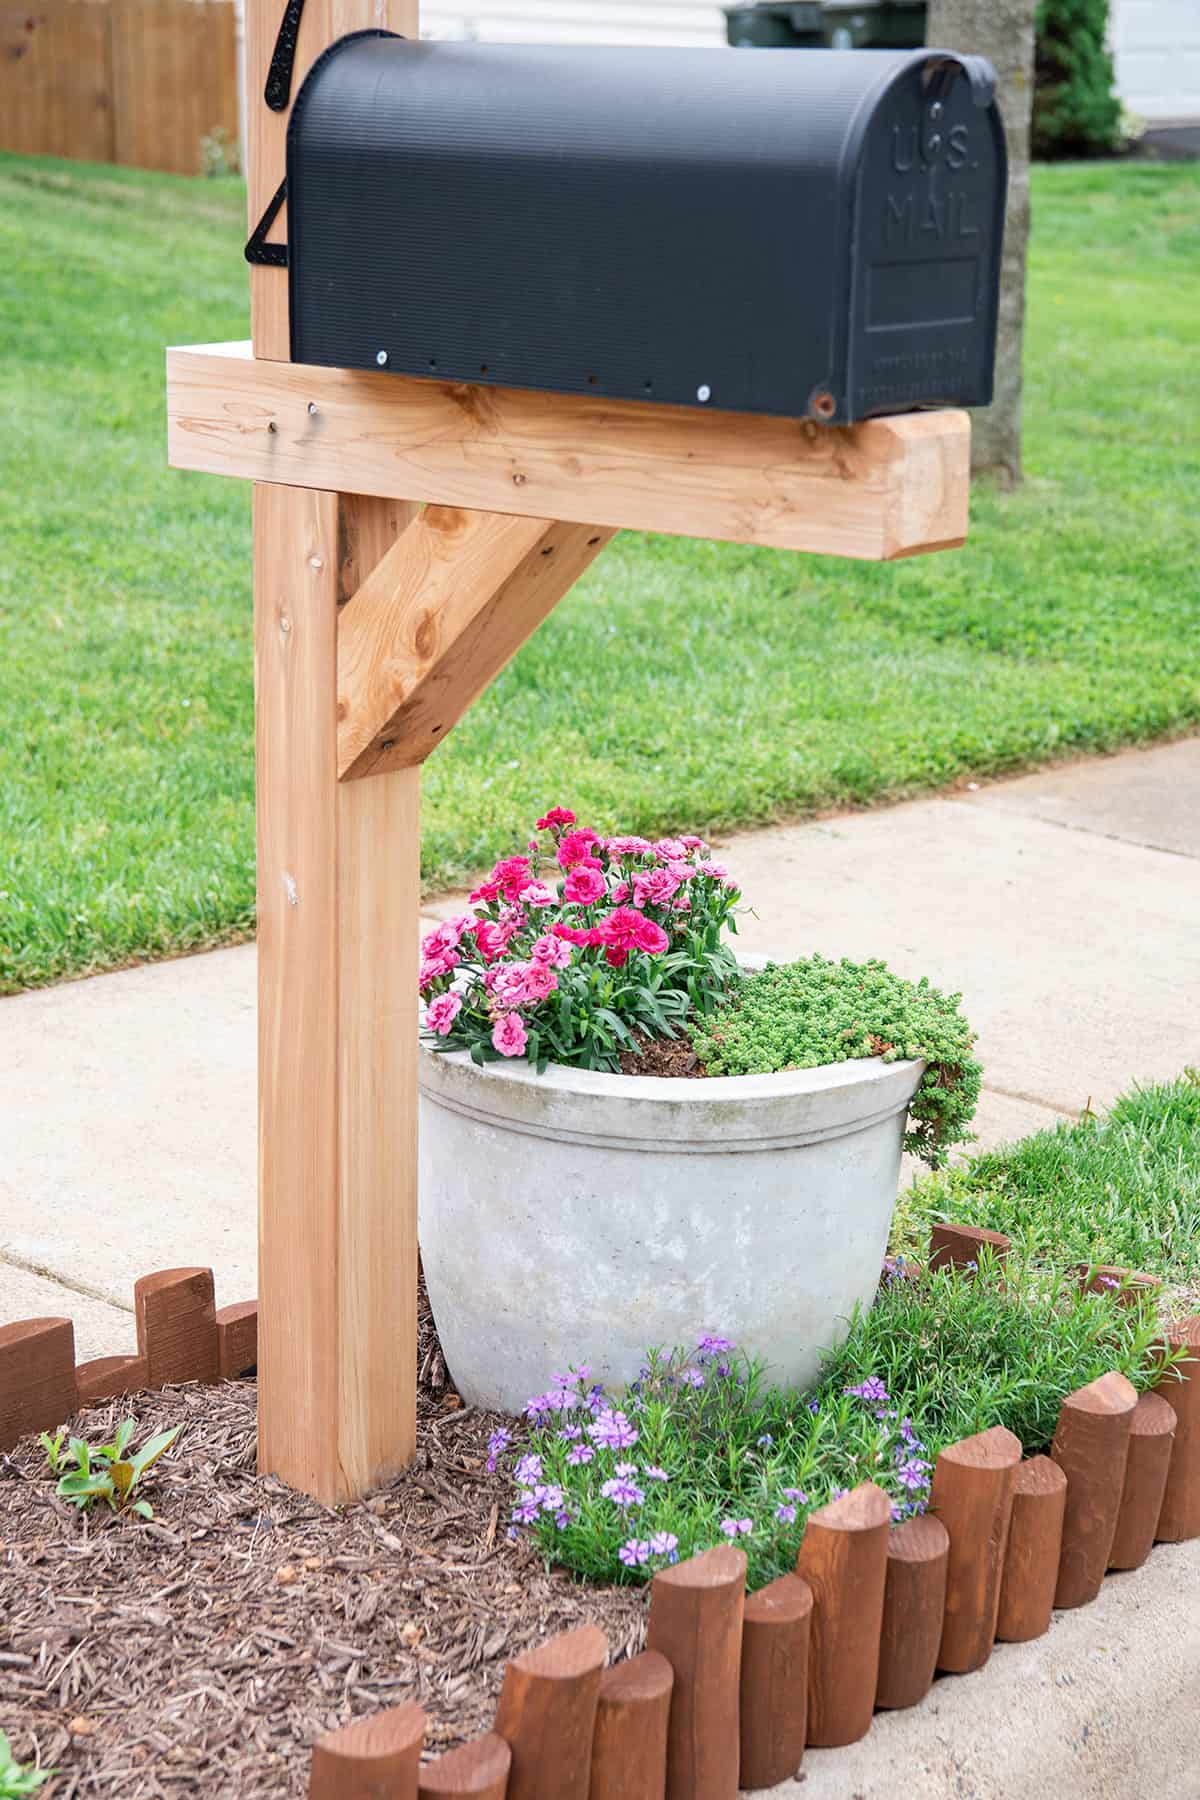
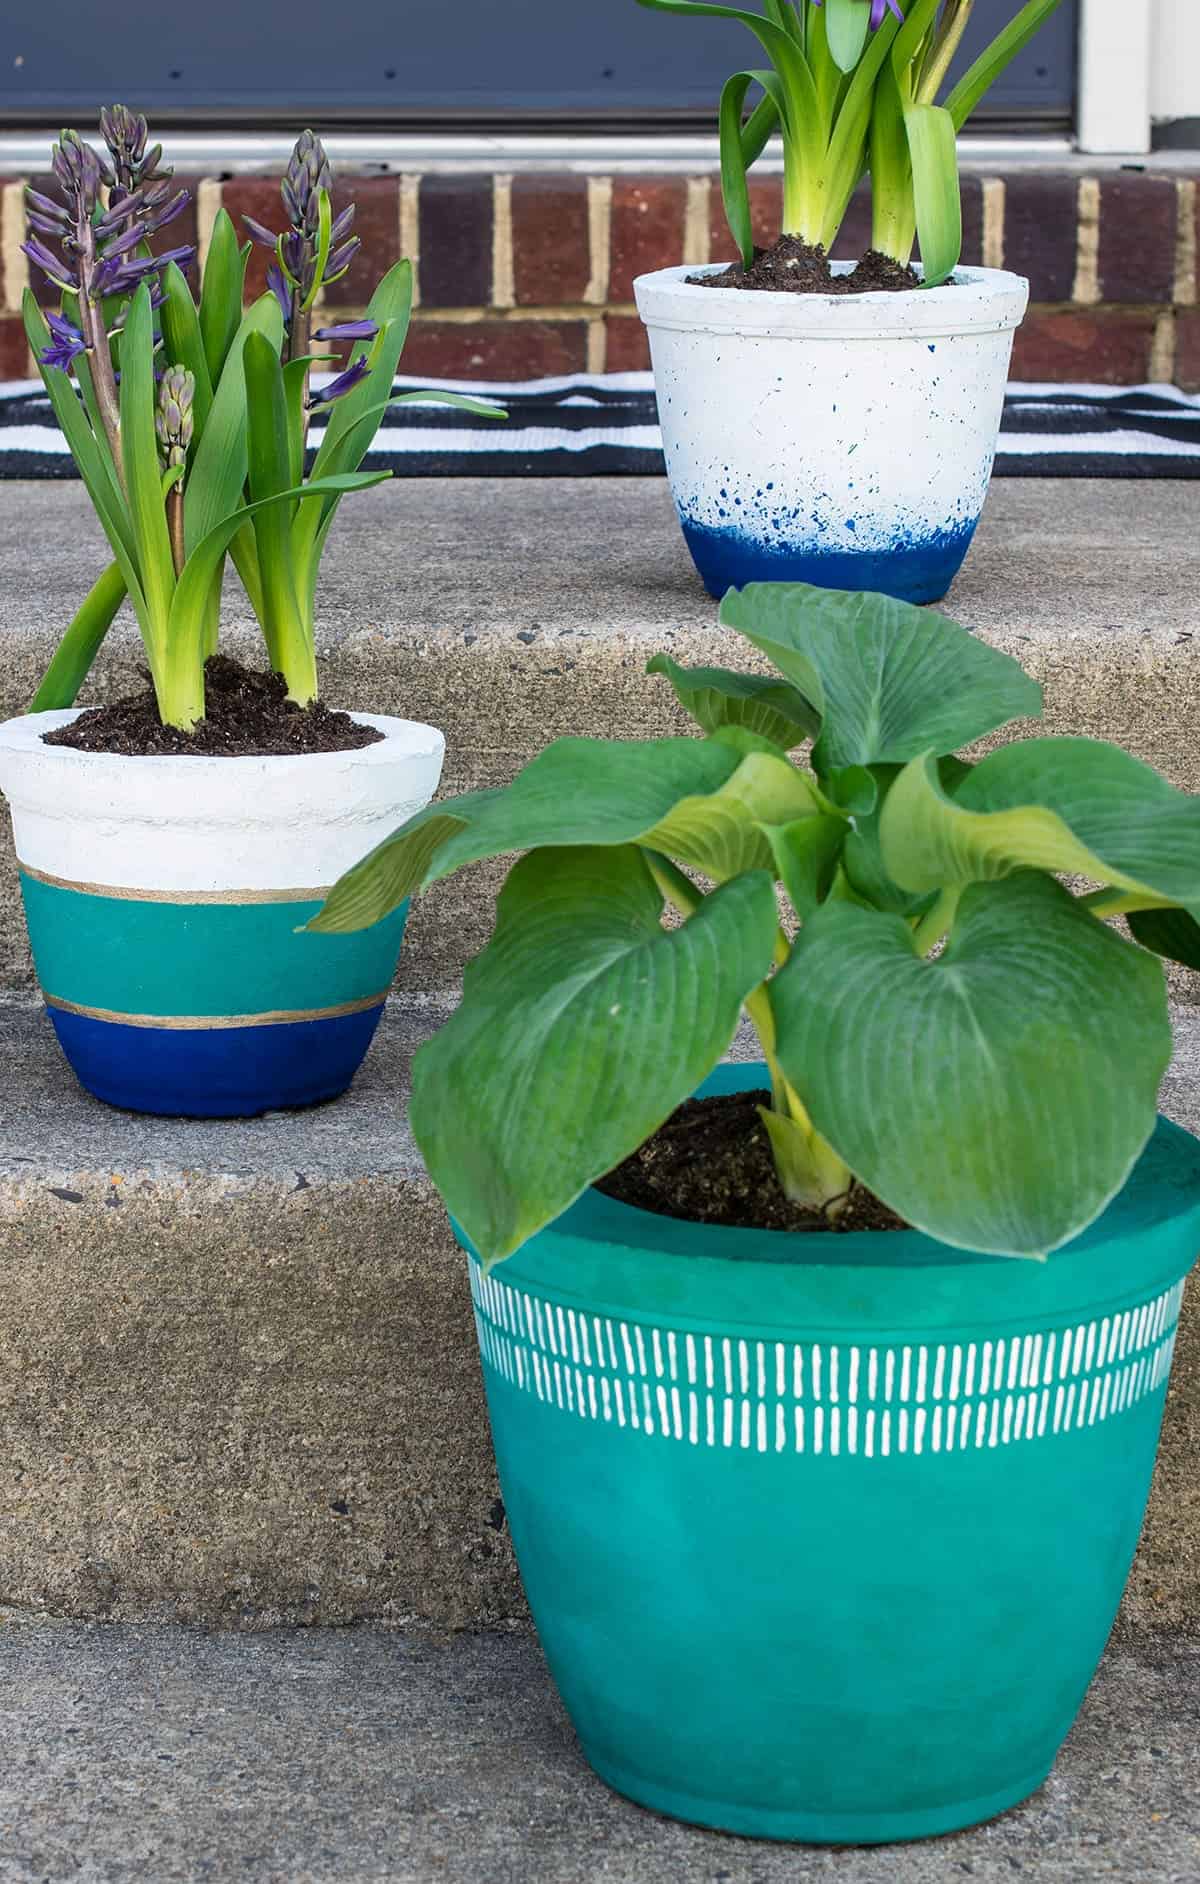
While I do love gardening, I have killed my fair share of plants by forgetting to check on them. So I turned my DIY concrete plant pots into DIY self -watering planters!
Truthfully, I completed this project 2 years before writing this post. The main reason is that I wanted to thoroughly test out this design before putting it up.
I have seen many other designs out there with major flaws like holes that the dirt will fall into and clog up or rotting t-shirts as wicks. While I don’t put this up as the perfect design, after 2 full years and not killing a single plant, I can confidently say this works well for a very long time!
More reasons I love this design:
- Water Efficiency. They prevent overwatering or underwatering, which is particularly helpful for fruit and vegetable plants like peppers, potatoes, and tomato plants. The reservoir system allows plants to draw water as needed, reducing water waste.
- Consistent Moisture Levels. This helps plants avoid stress caused by fluctuations in moisture levels without being soggy. My container tomatoes plants never crack now!
- Perfect for Vacation. In my Virginia area, I have not had to add water to the chamber ever, but that may be different in other regions. Month long vacations are no problem with this!
- Enhanced Plant Growth. By ensuring plants receive a consistent amount of water and nutrients, self-watering pots can promote optimal growth. The steady supply of moisture encourages deep root development, resulting in healthier and more vigorous plants like herbs and container vegetables.
- Versatility and Accessibility. This project is designed to work with planters you already have rather than building something new. You can adjust the design to fit a multitude of different sizes and shapes. It works indoors and outdoors.
Tiny Pots Note: For my windowsill herb garden, I have an easy watering setup using plastic bottles. The recycled plastic soda bottle planters seen here are quite small and herbs grow extremely fast, which means they generally need a lot of water. You can see how I created a self-watering system for tiny pots in the card at the bottom of the post.
Materials and Supplies
There is a step-by-step card at the bottom that can be printed for convenience, but here are some suggestions when deciding how to setup your DIY self-watering pots.
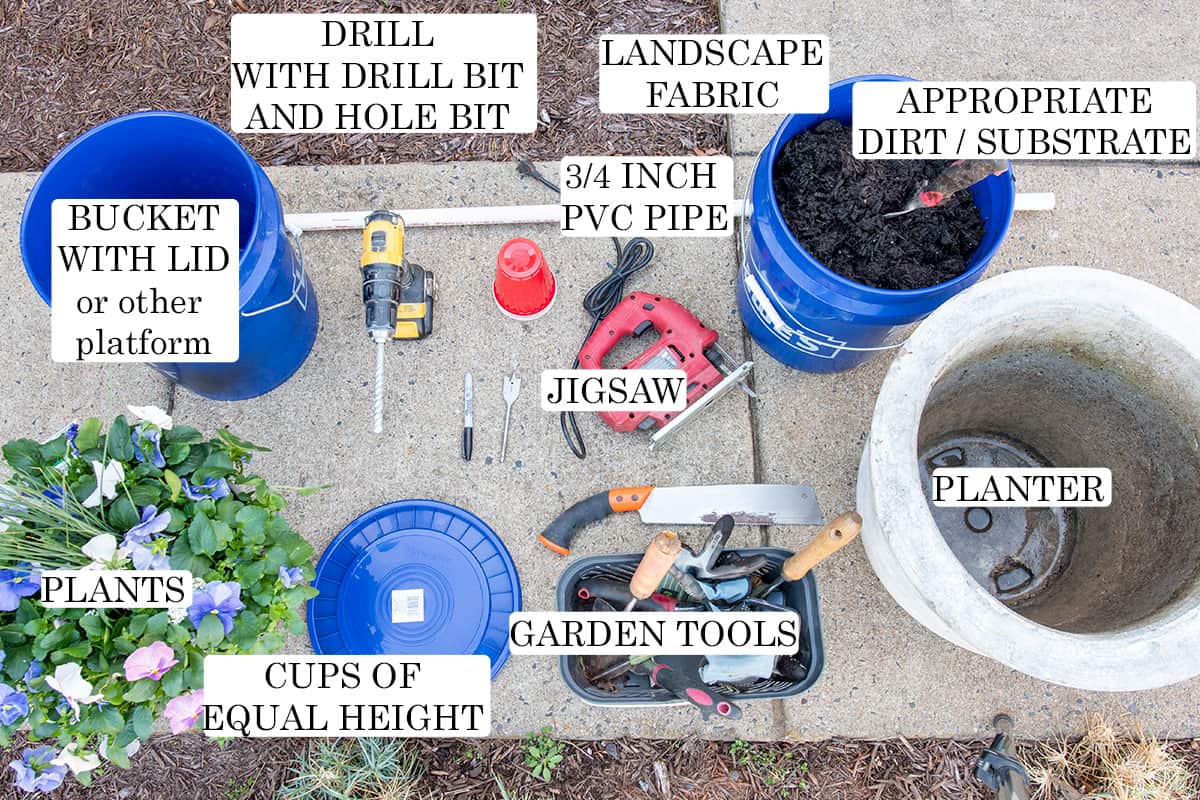
Tools:
- Drill.
- Drill Bit. We are using a concrete planter, so we used a large concrete drill bit.
- 1 inch hole cutter. The size of the hole cutter should match the pvc pipe, so it can be inserted through the platform. You can use a paddle bit, a hole bit, or a Forstner bit depending on the material you are using for a platform.
- Jigsaw. You need something like a jig saw to cut the chamber platform to size.
- Garden Tools. I used a small shovel and some gloves mostly.
- Permanent Marker. A sharpie is good.
Supplies:
- A Planter. Your design can be almost any size or shape.
- Sturdy containers of equal height. These are to prevent the platform from collapsing. They can be leftover food containers, solo cups, pvc pipe coupling, etc.
- 1-2 feet of PVC Pipe. We used a ¾ inch (inside diameter) pipe.
- Landscape Fabric. I like the heavy duty kind that lets in water, but not light as a liner to prevent dirt from falling into the chamber below.
- A platform. We cut a 5-gallon bucket lid as a cheap way to get a sturdy platform.
- Dirt or Potting Soil Mix. This will comprise the top half to ¾ of the container.
- Plants of choice. Excellent wicking system for most any plant that fits appropriately in the planter.
Pro Tip: My planter narrows at the bottom, so the platform fits snug without really needing pillars to keep from collapsing. Therefore, the solo cups that I used are perfectly fine. There are stronger options if you need to support the weight.
How a Self-Watering System Works
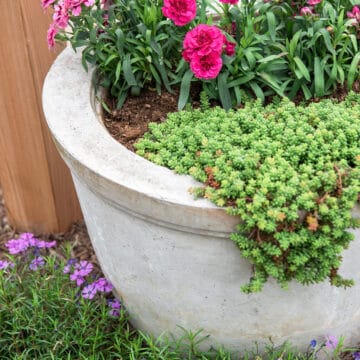
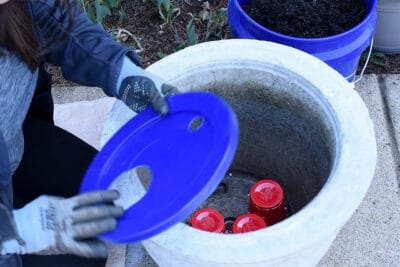
In a normal planter, you have dirt all the way to the bottom. However, in a self-watering planter, the dirt is separated from a water reservoir with a platform that won’t collapse.
In order to get the water from the bottom of the planter to the plant roots, a wicking system creates capillary action to transfer as needed. This can be vermiculite, dirt, a cotton string wick or even an organic, unbleached cotton t-shirt.
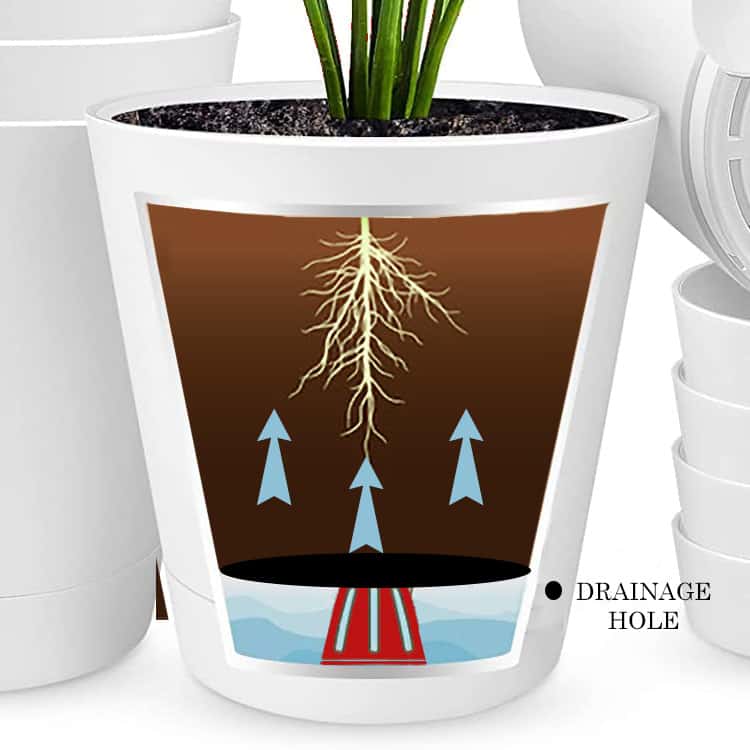
The central idea of how this self-irrigation system design works is that water fills in the reservoir at the bottom. Excess water can either drop from above, through a layer of landscape tarp, or from a pvc tube that goes directly to the chamber.
Note: We used a pvc pipe for watering because this is a deep, large container. For small, indoor pots, you probably wouldn’t need a separate watering pipe.
For our wicking system, we used a solo cup inserted through the platform and filled with dirt. The watering chamber takes up about ⅓ of the space at the bottom. The dirt wicks up the water from the chamber as needed to the roots of the plant. If roots got into this cup, it might cause root rot, but this pot is pretty deep to avoid that problem.
Video Demonstration
The best way to see this all explained is in video. So, I made one of us turning my largest concrete planter into a self-watering system with step-by-step instructions.
Maintenace Tips
To be honest, I really don’t check my outdoor pots hardly at all. I have an few indoor plants that I check though. I live in Virginia, so we do get a good amount of rain throughout the year.
- Regularly check the water level in the reservoir and refill as needed. You can put a dowel rod down the watering tube to see how much is in the chamber.
- Monitor the moisture level of the potting mix and adjust watering accordingly.
- Clean the planter every few years to prevent clogs or buildup.
- Replace the potting mix with fresh every few years to keep the wicking system smooth.
- Check out some of our DIY plant stand ideas to make the most out of your space if you have multiple plants or want to get them off the ground.
- Use mulch or straw to keep weeds out of your container.

Grab our free series "Weekend Home Projects that will Transform Your Life" Sign up below to receive updates including free printables, organization tips, home improvement projects, recipes and more! |
More DIY Outdoor Projects
PS I love seeing your creations! Be sure to take a photo and tag #cravingcreative on Instagram! You can also stay in touch with me through following me on Instagram, Pinterest, and subscribing to the newsletter!
DIY Self Watering Planter
Tools
Supplies
- 1 Planter or Pot
- 3-4 Sturdy Containers of equal height We used plastic cups.
- 1-2 feet PVC pipe ¾ inch diameter
- 1 Platform cut to size We used the lid from a 5-gallon bucket
- 1 yard Landscape fabric
- 1 bag Potting soil Mix
Instructions
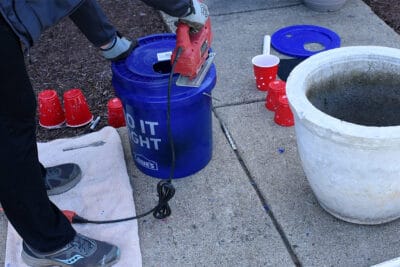
- Make a reservoir platform. Start by taking the sturdy containers to make pillars (we used solo cups). Drill holes in them to allow water to flow around.

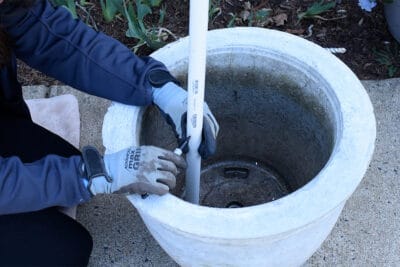
- Cut the pvc pipe long enough that it is a few inches taller than the soil line will be. This tube allows you to water the container directly to the reservoir, if necessary.
- Configure the platform. Cut holes for the wicking material (or dirt cup in our project) and for the pvc pipe to be inserted.
- Cut the platform to size. Decide where your platform should lay, based on the height of your pillars. Cut the platform so it fits snug with a jigsaw.
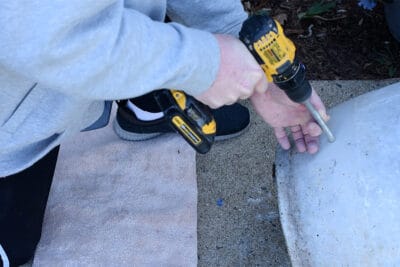
- Make an overflow drainage hole. On the outside of the container, make a mark just below the platform. Use this mark to drill a hole into the container to allow excess water to drain from the reservoir.
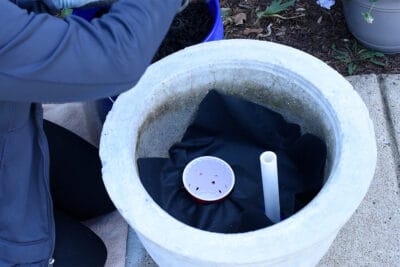
- Put the platform together. Put in the solo cups first and the platform on top. Insert the pvc pipe through its hole.
- Lay landscape fabric. Cut holes for the pvc pipe to run through, as well as the dirt wicking cup. The landscape fabric should run slightly up the sides to keep any dirt or drainage material from going into the reservoir. Insert the last solo cup into the hole cut for the wicking material.
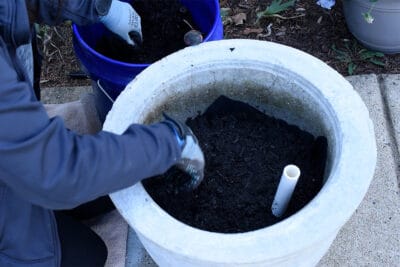
- Add drainage material such as vermiculite or dirt to the cup. Add more dirt or high quality potting mix and your plants. The dirt should stay a few inches below the pvc pipe end. Water thoroughly through the dirt and the pvc pipe and add your desired plants or seeds.

Leave a Reply