
Want to give your space a polished, high-end look? Installing crown molding can be DIYed with the right techniques. Using our basement project to demonstrate, I include expert tips from our years of home improvement experience. Learn how to get seamless results and avoid common mistakes!
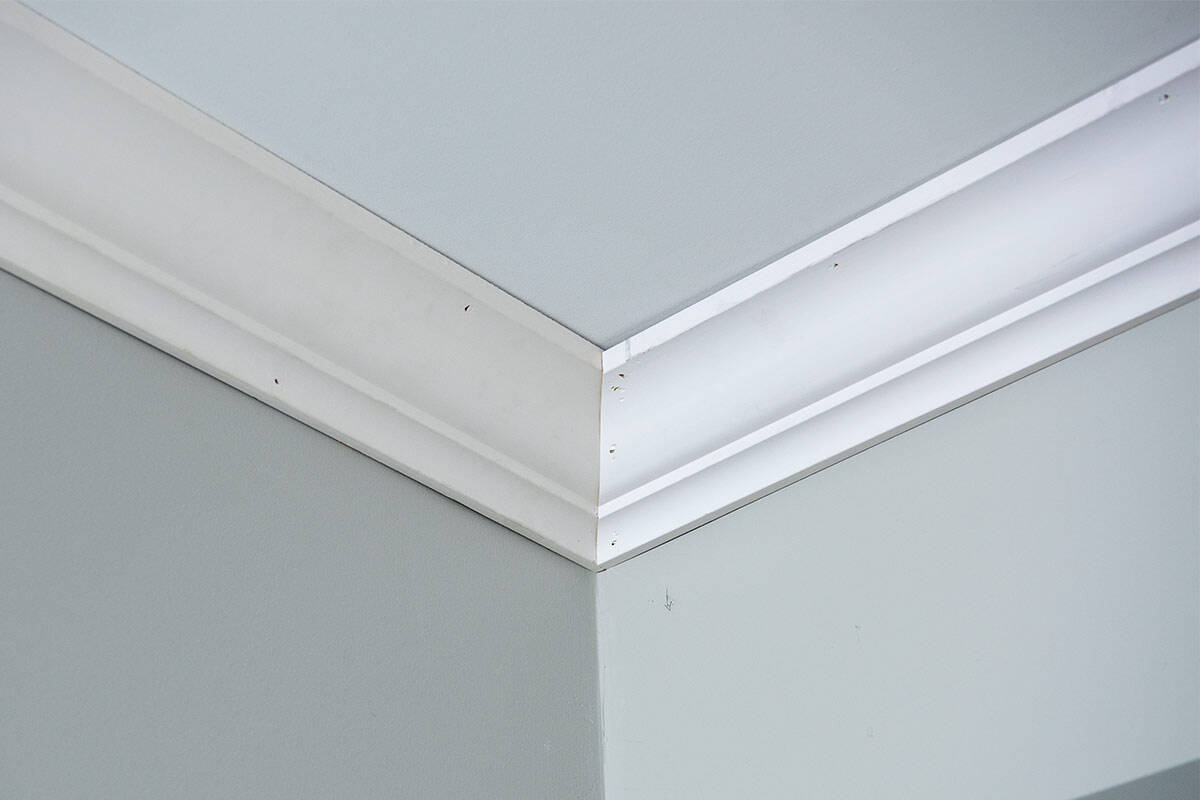
Crown molding is a small detail that makes a big impact, adding a polished, slightly traditional look. While it can seem tricky to install, the right approach makes all the difference.
If you're new to crown molding, don't worry! We've already covered essential skills like the easiest way to cut crown molding with a miter saw, and how to get perfect caulk lines on baseboards-all of which will come in handy for this project. Whether you’re installing crown molding for the first time or looking for pro tips to get cleaner results, I hope to help you avoid common mistakes and achieve a seamless finish.
And if you love adding character to your home, check out our post on avoiding mistakes with wall trim and wall trim ideas for even more inspiration.
Tips for Deciding Where to Start
I prioritize doing the outside corners first, then inside corners, and then whole boards or scarf joints. However, it is best to work in one direction around a room, so you may have to make some adjustments.
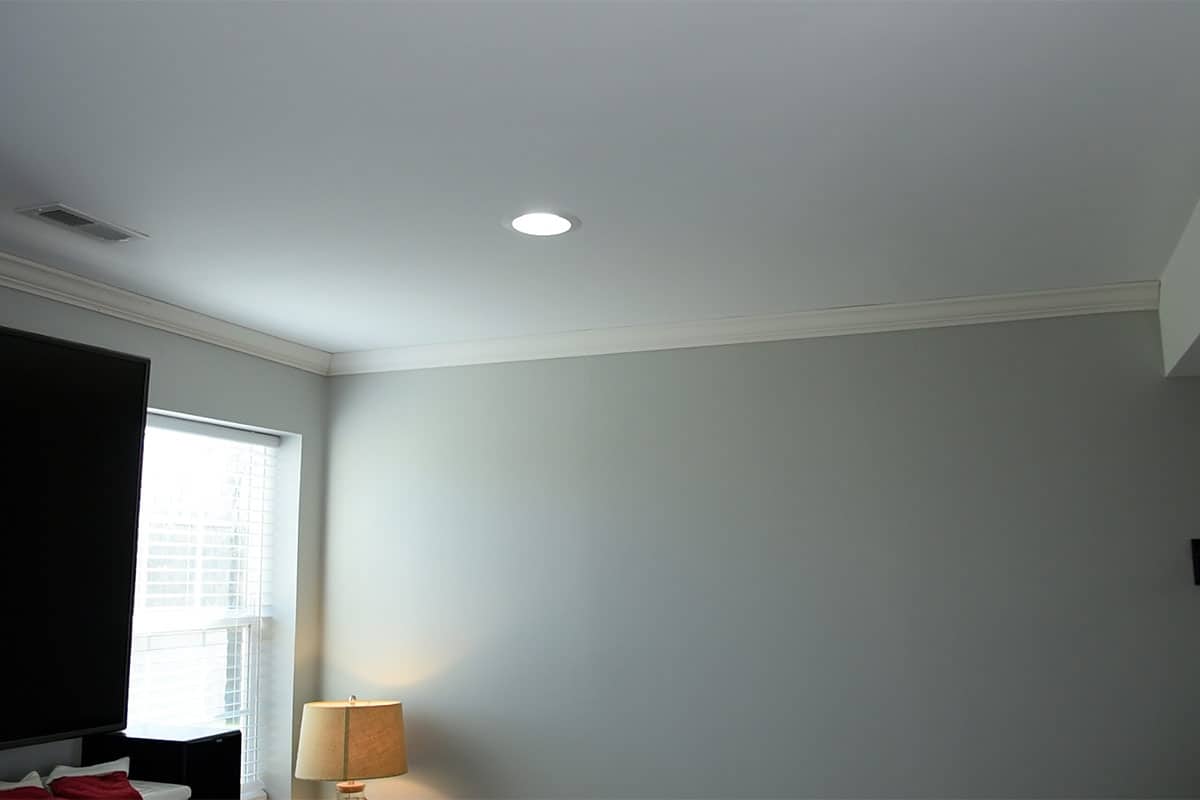
For example, in our tv area of the basement shown above, there are 3 walls. The wall behind the tv required two boards for coverage, while the outside walls only needed one full board each. Therefore, we laid the two shorter outside walls first as full boards (no coping or mitering needed). Then we did the TV wall by coping the right corner on a full 12 ft board. Lastly, we patched in the last 4 ft by coping the left corner. We essentially made it symmetrical rather than moving in one direction.
Understanding Angles and Cutting Crown Molding
This tutorial focuses on understanding the layout and installation for larger projects in crown molding. While cutting is the most difficult part, I have a whole post dedicated to the easiest method for cutting crown molding here.
How to Correctly Install Crown Molding
Step 1: Find and Mark the Studs in your walls and ceiling.
Especially if working on a ladder, it’s best to mark studs ahead of time, when your hands are free from other tools and materials.
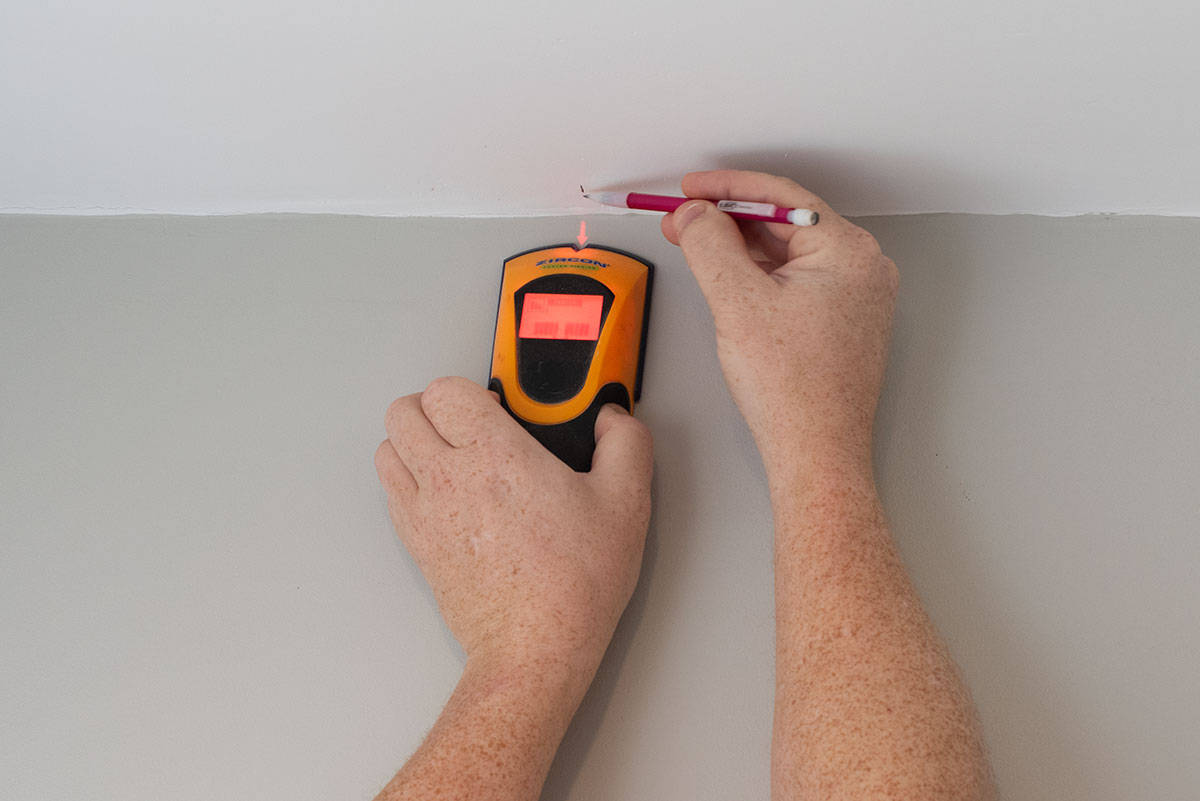
You will need to nail in the crown molding, preferably into studs and ceiling joists where available. A stud finder is essential for this to not only see studs, but to avoid other items in your wall. You can mark with an arrow in pencil or painter’s tape.
Pro Tip!: If possible, position scarf joints over a stud when planning your layout and board lengths. This creates a stronger, more stable seam that's less prone to cracking. It's better to cut a full board so it ends on a stud rather than prioritizing material efficiency.
Step 2: Create a Reference Line
This step isn’t strictly necessary, but it’s good to do if you aren’t super used to woodworking or working with trim moulding.
Using a laser level or a chalk line, mark where the bottom edge of the molding should sit. This helps ensure your molding stays level as you install it.
If your crown molding is large or heavy, install thin strips of ¼-inch backer board along the top of the wall where the molding will sit. This gives the molding a secure surface to attach to and ensures a straight installation.
Step 3: Understanding Scarf Joints
If multiple boards must be used to cover the length of the wall, cut the ends at an angle so that the ends overlap rather than being next to each other. Hang boards end to end with straight cuts. Here is my husband dry fitting a corner and measuring for the scarf joint:
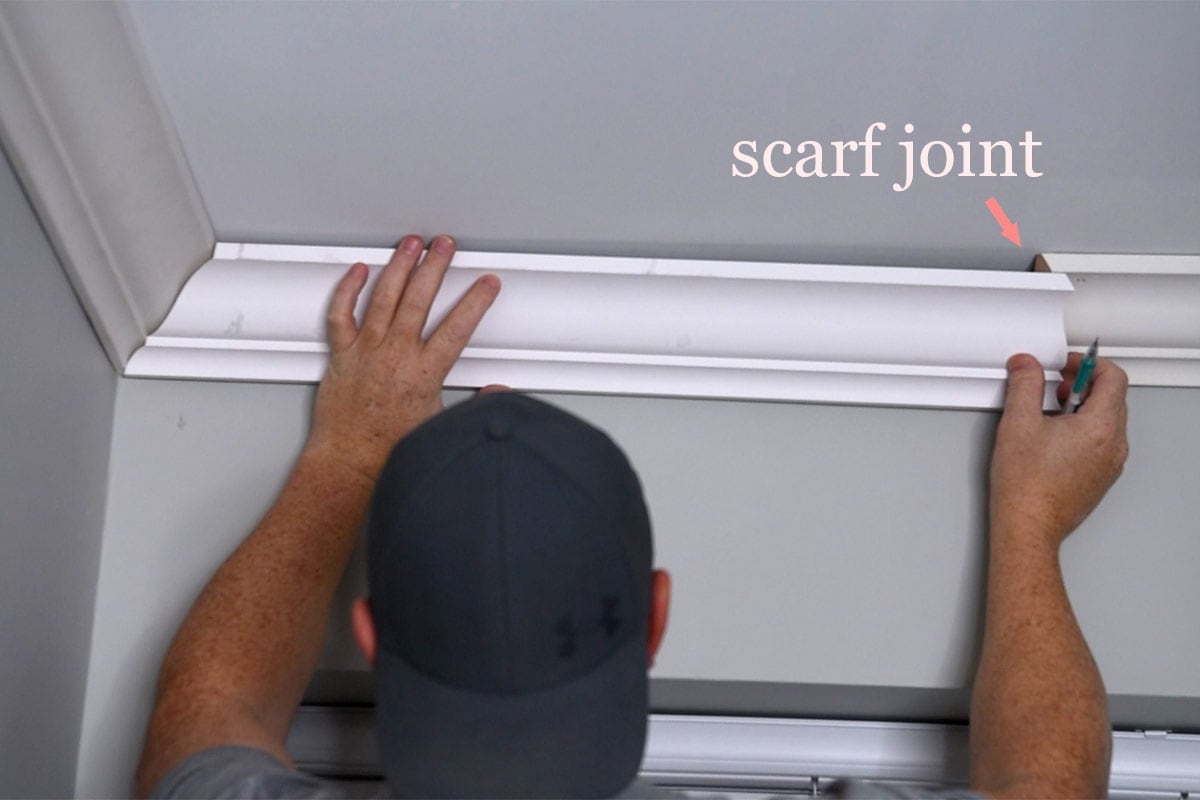
Pro Tip!: Corners and cutting them properly is the hardest part. I always recommend getting the corners perfect, then cutting the scarf joint to the right length. You can cut a board a few inches longer to make it manageable.
Step 4. How to Attach Crown Molding
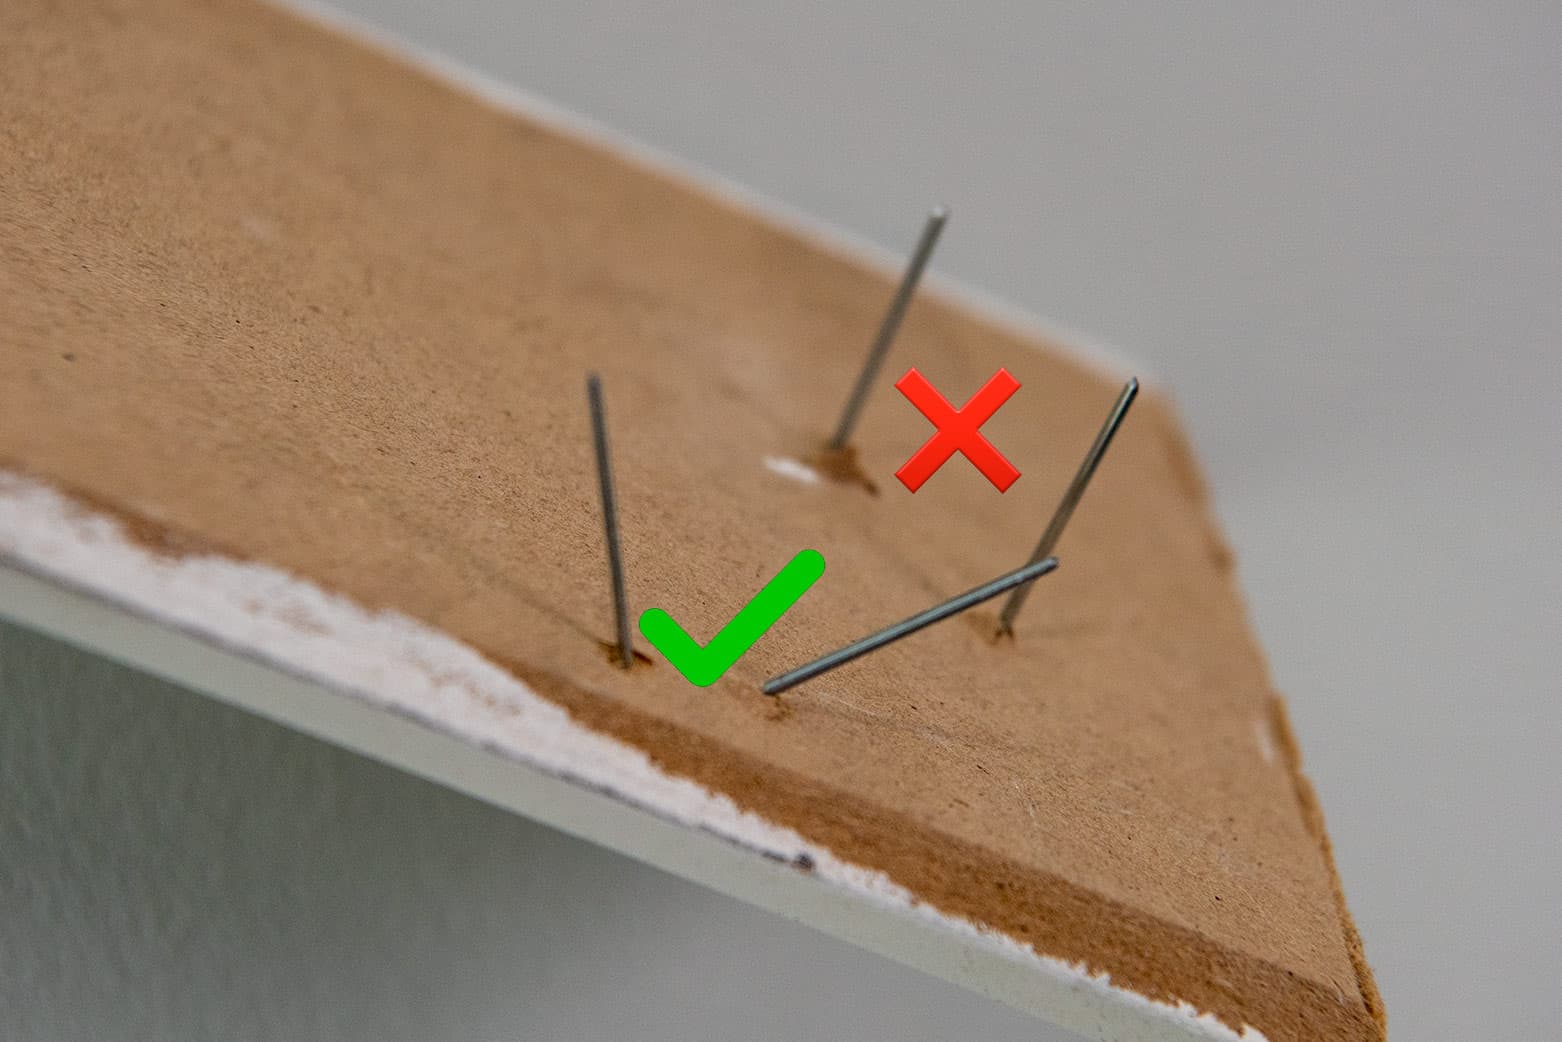
Changing angles of the nails helps to keep the board in place, making it less likely to pull out. Aim the pin nailer so the nail goes directly into the stud, rather than just straight into the molding.
Step 5: Fill Holes and Gaps with Caulk
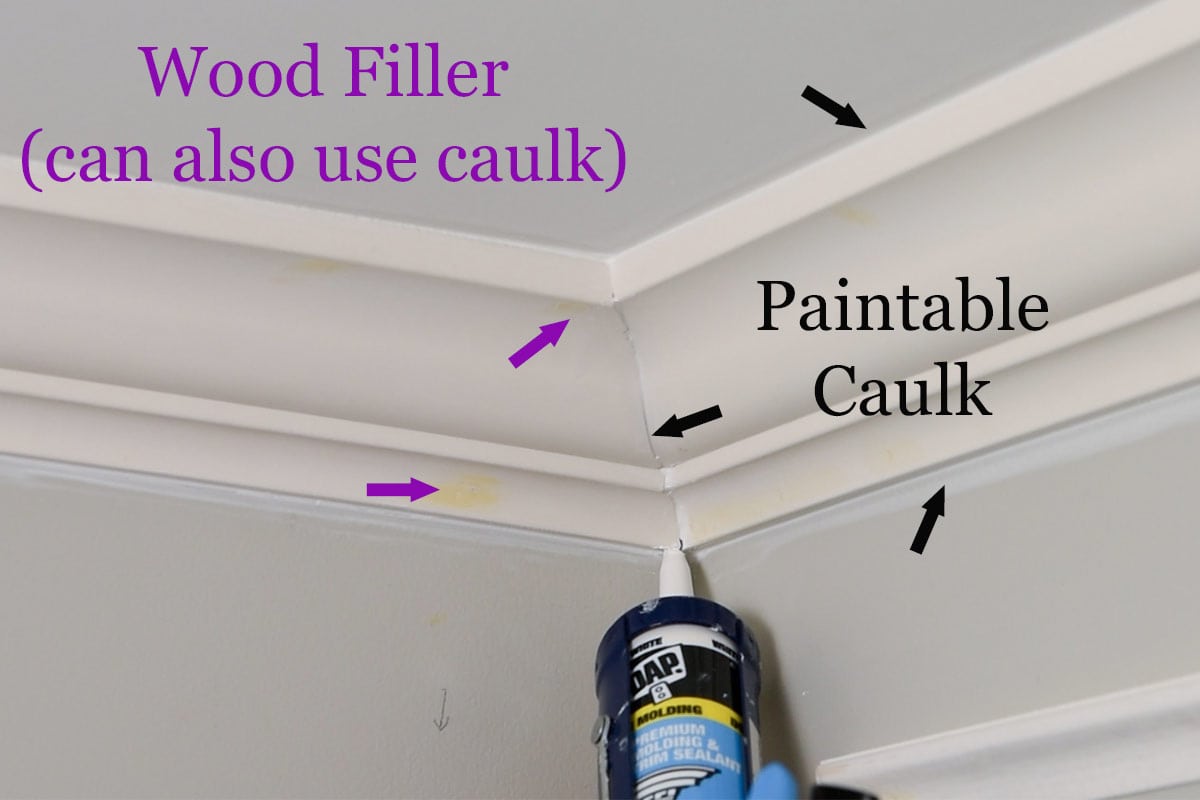
I always recommend filling seams and corners with paintable caulk. You can fill nail holes with either wood filler or paintable caulk. Wood filler can be sanded so it will be smoother but takes more work. Be careful not to use too much caulk though because that will show in bumps and lumps.
Step 6: Prime and Paint as desired.
Most crown molding comes pre-primed. While wood filler or drywall patch should technically be primed, it’s not a big deal to skip if you are just filling nail holes.
Video Demonstration and Steps
If you would like to see all the types of cuts and installation tips step by step, my husband and I made a video of us doing the entire process below!
More Tips for Installing Crown Molding
- Find studs using a stud finder or knock method. It's best to find both the studs and joists in the ceiling because you will pin nail both the top and bottom of the crown molding.
- Your walls don’t have to be completely level. Crown molding is actually a good way to hide walls that slope or are uneven. Houses settle, walls move, it happens. While you can install crown molding perfectly fine without knowing whether your walls are sloped, I would still recommend you check.
- Install panel moulding before crown and baseboards. We installed picture frame style moulding all along these walls and the walls were not level, which we knew but didn’t think about.
- Before installing, check the boards. You want to make sure the ends are flat or don't have any nubs from the priming process. Also check for any damage, knicks, warping or sagging in the box stores.
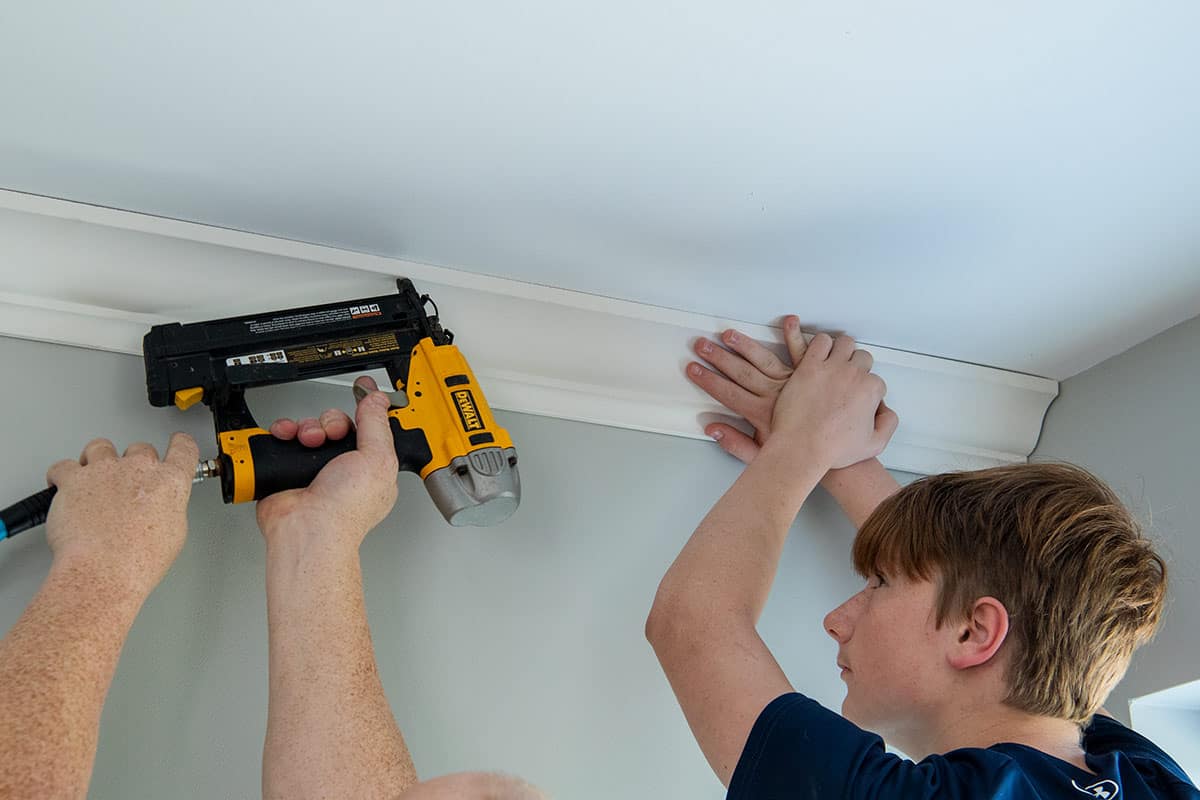
- Have a partner on hand. DIY is a family affair around here. Since I am the only one who can operate the camera, our son helped out with holding up the long boards. An extra set of eyes when cutting angles is very helpful to avoid mistakes.
And, now we’ve got to get back to work as we continue finishing the basement. Next up: installing whole wall picture frame style trim!
Installing crown molding takes patience, but with the right techniques, you can do it without spending a fortune. I hope these tips help make your project smoother! If you have any questions, drop them in the comments-I'm happy to help.
Grab our free series "Weekend Home Projects that will Transform Your Life" Sign up below to receive updates including free printables, organization tips, home improvement projects, recipes and more! |
More Wall Moulding Tutorials
PS I love seeing your creations! Be sure to take a photo and tag #cravingcreative on Instagram! You can also stay in touch with me through following me on Instagram, Pinterest, and subscribing to the newsletter!
Leave a Reply