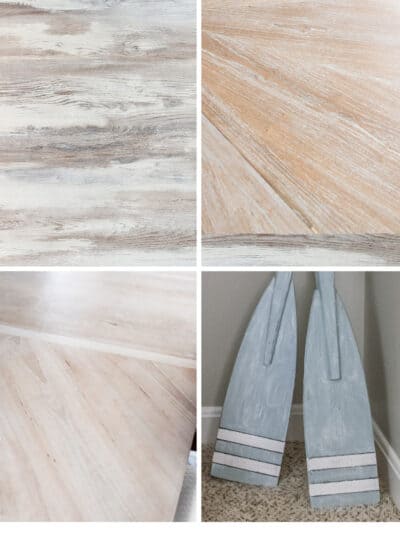
How To Whitewash Wood
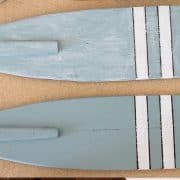
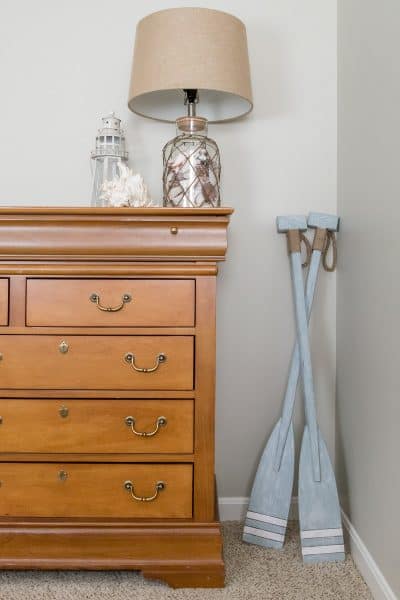
Whitewashing wood furniture is a beautiful technique that lightens a piece of furniture without covering completely. For beachy weathered wood, learn how to mix paint and apply.
Yield: 1 table
Cost: $45
Equipment
- Paint Brush
Materials
For prepping wood
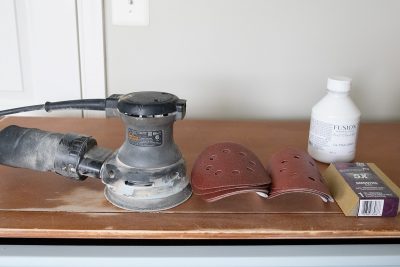
- Sand paper 220 and 120 grit
- 000 Steel Wool
Basecoat
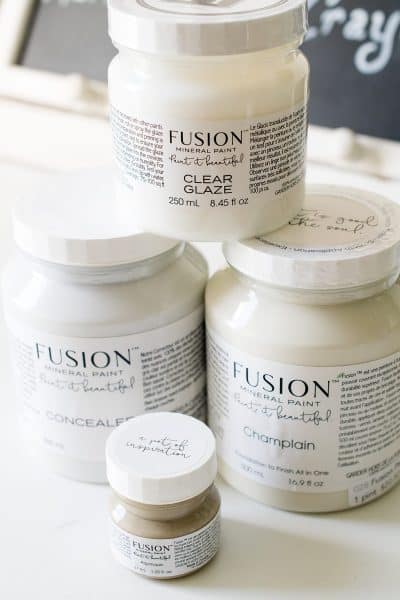
- Paint or Stain of your preference
- Primer Only if adding paint basecoat under whitewash
Whitewash mixture
- White or Grey Paint Matte or Chalk paint
- Empty Paint Container
- Lint free dust cloths
- Cotton Rags or T-shirt
- Protective Top Coat
Instructions
Prep the Furniture Piece.
- You can use this technique on raw wood or a prefinished piece. If the existing finish is in good condition, you can just rough up the piece with some 000 steel wool. Make sure to go in the direction of the wood grain with long strokes when possible.
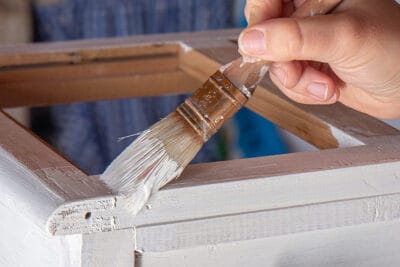
- Apply 1-2 coats of water based stain or primer and paint of your choice as the basecoat. Use thin coats. This will raise the grain a bit.
Make the Paint Mixture.
- Make the paint mixture. Start by mixing 1 part water to 3 parts of white furniture paint. You can thin a bit more or less depending on your desired effect.
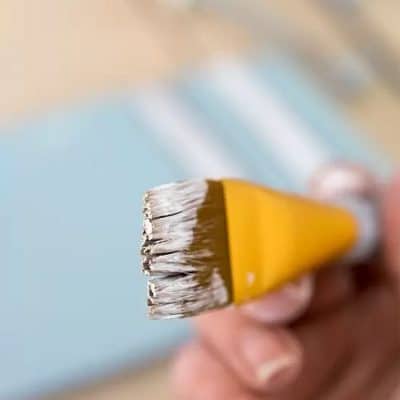
Choose Whitewash application method.
- Dry Brushing with a Paintbrush: This means you dip your paintbrush in the paint and then wipe 90% of it off on a paper towel. You still want to use diluted paint for this. Undiluted paint and dry brushing aren’t friends. It often leave odd marks and doesn’t look smooth. Brush in the direction of the wood grain.T-shirt or Rag method: Dip the cotton rag or t-shirt into the whitewash mixture and gently wipe onto wood working in small sections and long strokes. Use a second dry cloth to wipe off and push the paint into the creases or texture of the wood. Work in one direction and try to keep moving before the previous paint dries. Feel free to layer this technique if you like.You can try experimenting and mixing the two techniques or altering them to get the exact finish you want. Play around with it!
- Practice method on a scrap piece of wood until you get the technique you like. You can mix and layer the methods above.
Final Coat
- Add a sealing topcoat. Give the surface a few days at least to dry and harden before sealing. This will make the surface more durable.
Notes
Tips for the Best Result
- Always work in the direction of the grain. This includes painting, dry brushing, and removing excess paint. Working across the grain will produce scratches rather than defining the grain.
- Keep your coats thin.
- Some woods have a chemical reaction with steel. Therefore, avoid using a steel brush. Fragments left can blacken the wood and disfigure the finish. Steel wool shouldn't have an effect if the table is sealed.
- Don't take shortcuts on the prep work. Prepping the surface correctly is the foundation for a great result. If you remove the existing finish to raw wood, always give a final sanding to even out the color and completely allow the surface to dry.