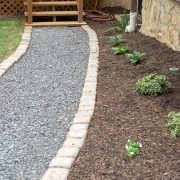
How To Lay A Gravel Path
Step by step tips for installing a budget friendly gravel walkway. Using traditional materials, like gravel, mulch or crushed brick, this project is affordable and beginner friendly.
Cost: $100
Equipment
- a mattock or shovel
Materials
- Marking Paint or String to mark the lines of the path
- Weed Control Base *See Notes for options
- Gravel 30-35lbs per square foot depending on size
- Edging Material
Instructions
- Decide the shape of the path. Spray the outer shape with marking paint or use string.
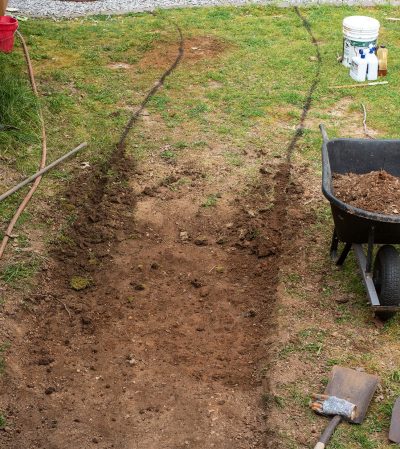
- Dig a 4 inch deep trench evenly throughout. Adjust for areas that may pool water. If you plan to use a 2 layer system, dig at least 6 inches deep.
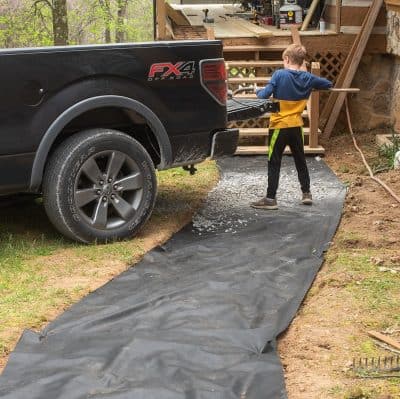
- Lay a foundation to keep weeds out and to help keep the gravel packed down. For sandy or loamy soils, adding stone pack creates solid base. For hard soils that don't grow grass well, you can use a landscaping tarp to keep weeds out.
- Add the gravel stones. For a 4 inch depth, you need about 35lbs per square foot.
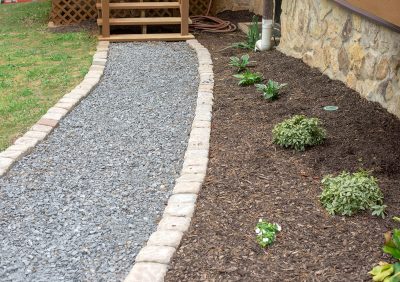
- Edge the path with landscape edging, paver stones, or natural barriers like logs.
Notes
Weed Control and Foundation Options
For weed control and a strong foundation, sand or stone pack make for a great 2 inch base below the gravel. Landscaping tarp is another budget friendly option, but may deteriorate over time.
What Gravel To Use
The type of gravel you use is a personal choice. Gravel is most commonly made of either basalt, limestone, or sandstone. You can also purchase tumbled stones, which are rounded and smoother on the surface. You can use rocks from 0.5 inches up to 1.5 inches, or choose something like a pea gravel walkway which uses smaller, rounded stones. Smaller rocks tend to be more comfortable to walk on, but shift more under weight and weather.