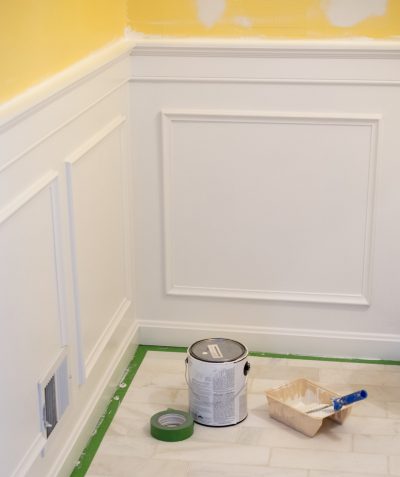
How To Install Wainscoting
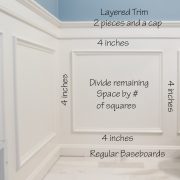
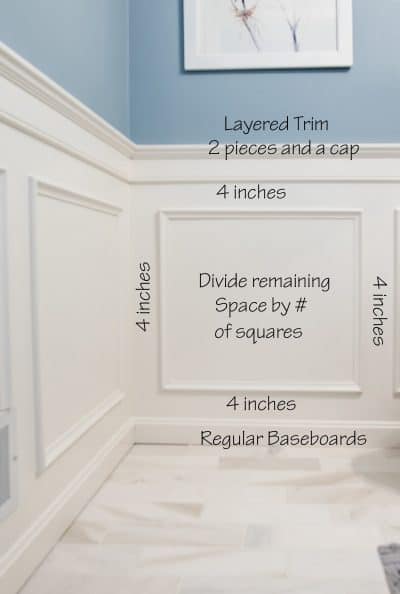
Wainscoting adds an elegance to a room you can't get any other way. A beautiful architectural statement, wainscoting is an inexpensive way to make a room feel upscale and custom designed. This tutorial shows you how to get the look with basic materials.
Yield: 1 wall
Cost: $200
Equipment
- Straight Edge or Level
Materials
- Trim and Moulding
- Nails
- Wood Filler
- Caulk
- Paint's Tape
- Paint
Instructions
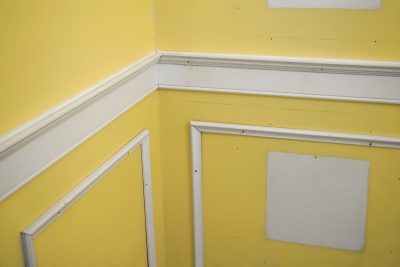
- Cut pieces to size using a compound miter saw. Label your cut pieces as you go so you aren't searching for where they belong when tacking them to the wall.
- Attach the trim to the wall using a small bead of caulk along the backside of the trim and then nail into place. Although nails and a hammer will work for this project, I highly recommend a brad nailer. It's fast and requires a lot less hole filling.
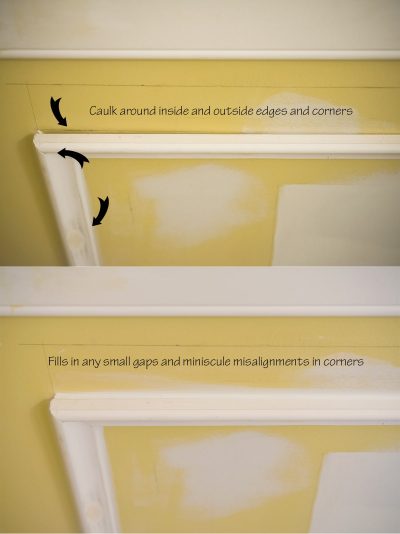
- To get professional looking results, use a thin bead of caulk around every edge that touches the wall. Make sure to use paintable, interior caulk.
- After drying, paint the wainscoting in desired trim paint of choice. If using pre-primed wood, there is no need to prime before painting.
Notes
General Tips
- Use painters tape while you are still deciding on the design. That way you only have to mark once. I still recommend drawing out the squares once you have decided the sizing.
- The corners are mitered (i.e. cut at 45 degrees to line up). I personally prefer to cut one piece at a time and tack them as we go around.
- Although finishing nails and a hammer will work for this project, I highly recommend a brad nailer. It's fast and requires a lot less hole filling.