DIY Fog Chiller
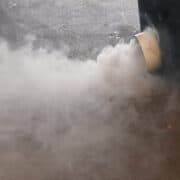
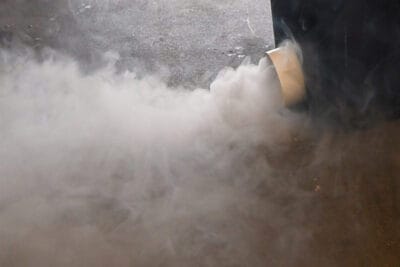
Learn how to craft your own DIY fog chiller chilling, low-lying fog that lingers eerily close to the ground. This tutorial is cheap, easy to do, and designed to work with regular ice.
Yield: 1 cooler
Cost: $50
Equipment
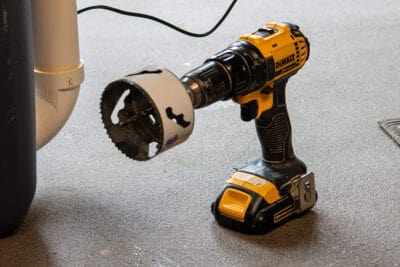
- 2.5 inch hole saw
- Pliers
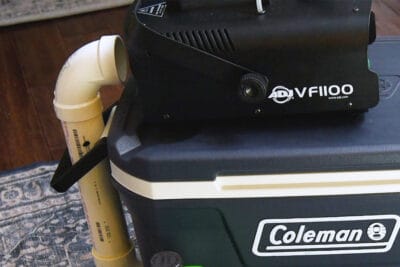
- Fog Machine We use an 850 watt machine.
- Hacksaw something to cut pvc pipe like a miter saw or pipe cutter
- Marking Pens
Materials
- 1 Cooler or Storage Bin, we used a 52qt cooler
- 3-4 feet PVC pipe 2 inch inside diameter
- 1 PVC cement
- 3 2 inch PVC elbow
- Chicken Wire
- 1 100% waterproof caulk
- 1 Low Lying Fog Juice
- 1 PVC increaser optional
Instructions
- Drill a 2.5 inch hole with the hole saw drill bit in each side of the cooler near the bottom, but high enough to clear the insulated floor of the container. The drain plug should give you an idea how high to cut.
- The pvc pipe must be long enough to line up with the fog machine when the machine is placed on top of the cooler. Cut the pvc pipe to length, taking the elbows into account.
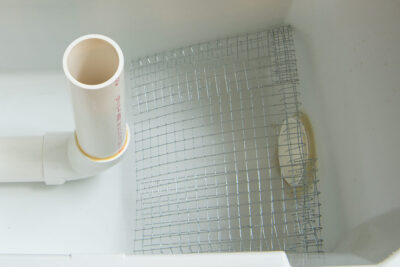
- On the inside, cut two lengths of pvc pipe. One to go from the outside of the cooler, through the hole and to the middle of the cooler bottom. Dry fit with an elbow and cut the second piece an inch or two below the lid of the cooler.

- For the outlet side on the front of the cooler, you can use either a short section of pvc pipe or a pvc increaser. We used an increaser so we could angle it downward a little.
- Using pvc cement, attach all of the pvc components together in place after you are sure you have the correct measurements. I prefer waterproof caulk instead of hot glue, around the cooler holes to seal it well.

- Prop a piece of chicken wire near the vent opening to keep the ice from clogging the front and to give more room for the fog to flow out.
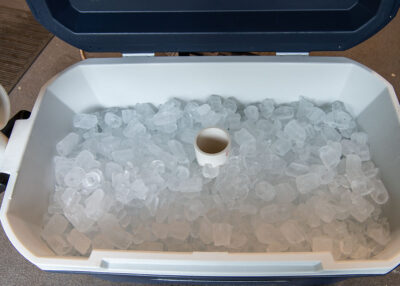
- Place ice inside the cooler. The cold air and ice will cool down the fog as it passes through the cooler. Dry ice works great but can be hard to find.
- Setup your fogger. The fog machine generally must be 1 inch away from the entrance tube to prevent back pressure. Fill with juice and run per manufacturer's instructions. If you have any air leaks from the lid, you can tape closed.
Video
Notes
- The bigger the container (and thus more ice that the vapor comes in contact with) the better. We used a 52qt cooler due to hiding this in the bushes.
- I have seen storage bins, garbage cans, and coolers used.
- Even a slight breeze is going to have major negative effects on the fogging ability.
- The hot fog will pass through the area of least resistance, so keep that in mind for how much ice you add.