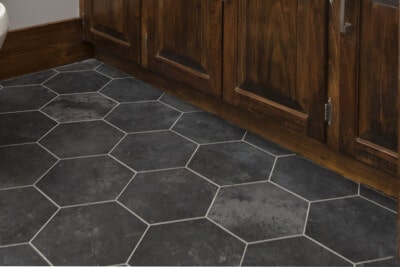
Groutable Vinyl Tile Installation
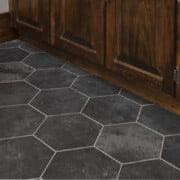
A Step-by-step tutorial for how to install groutable vinyl tile that a beginner tiler can accomplish! These peel and stick tiles mimic the effect of ceramic or stone while also being more cost effective.
Yield: 1 floor
Cost: $200-700
Equipment
- Ruler Metal or hard sided
- Razor or Cutting Tool
- Putty Knife If you need to reposition tile, and for floor patch
- Marking Pen To mark tile for cutting
- Tile Spacers 1/16 or ⅛
Materials
- Underlayment To create a smooth and water resistant surface
- Groutable Vinyl Tile
- Floor Patch
- Vinyl Adhesive
- Vinyl Grout
- Adhesive Trowel
Instructions
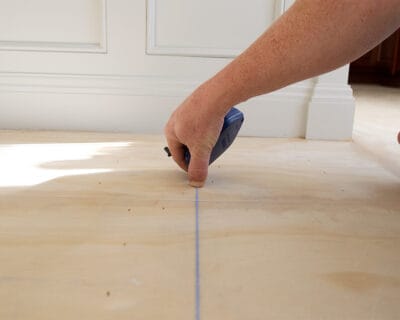
- If using a thin plywood underlayment, screw down the underlayment with appropriate screws and check for any loose or creaky areas. Decide layout of tile.
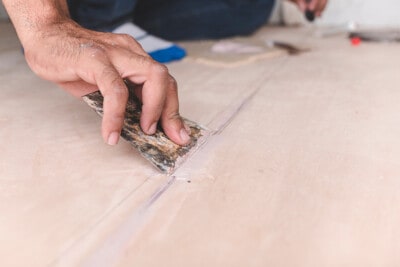
- Fill any seams and nail holes with floor seam filler using a putty knife. Allow the filler to harden according to directions or 24 hours before installing the vinyl.
- Remove all debris and dirt from the surface with a vacuum.
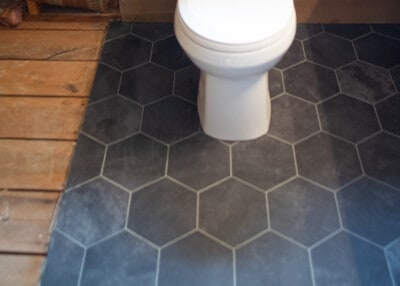
- Apply in the pattern you would like and use spacers to create even spaces between grout lines. Use something heavy to make sure the tiles are completely down. We used a heavy kitchen rolling pin and our body weight to make sure they were completely stuck down. Make sure to remove any excess glue from the grout lines.
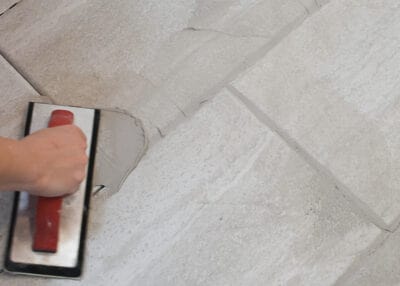
- Add Grout. after waiting 24-48 hours. Scoop up a hand-sized ball of grout and start pushing it into the cracks. With grout you really want to push into the grooves to make sure the space fills completely. The grout lines aren’t as deep at traditional tile, so it’s pretty easy to get in there. Then drag the float at a 45-degree angle to remove the excess.
- Wipe excess grout off of floor with a tile sponge and water. This will make the lines look professional and flat. Change the water often.
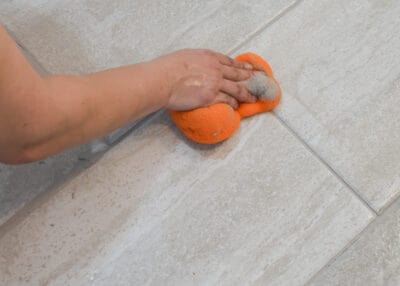
- Wait about 24-48 hours to wipe off the haze from the grout. If you do this step early enough (i.e. don’t wait a week), using a damp, soft sponge and water will get it off. Change your water often when it turns dirty and it will take a few wipe downs to remove all the haze.