How to Add a Waterproof Ceiling Under A Deck
Free up some extra space in the garage or expand your outdoor living space with this inexpensive project to make a waterproof ceiling under a deck. We added a shed under the deck this way.
Yield: 1 deck
Cost: $200
Equipment
- Cordless drill
- Drill bit set
- Safety glasses
- Stepladder
Materials
- Gutter and downspout
- Pressure treated 2x4s
- Metal Roofing screws
- Waterproof sealant
- Corrugated Fiberglass or PVC panels
Instructions
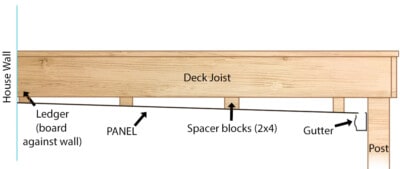
- First, to the underside, add spacer blocks to every joist if spaced 12 or more inches apart. Blocks or shims are cut from a treated 2x4 and spaced every 2 feet on a joist. Each block is ½ thicker than the last as it runs down the joist. This creates enough slope to direct the water down to the edge and into a gutter.

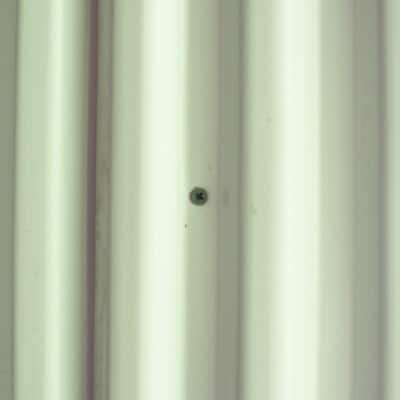
- Starting at one end, attach the fiberglass panels to the spacers with non-rusting roofing screws or deck screws and rubber washers. Screw into the valleys, not the water channels. Overlap edges of panels and seal with caulk or flex seal, if desired.
- Adding gutters does make an under deck ceiling more aesthetically pleasing as well as functional. Plan ahead and attach the panels so that there is space for the water to properly flow into them and for you to be able to clean them out if necessary.